Introduction
Welcome to this guide on how to download songs onto an iPod! If you’re a music lover who has just purchased or owns an iPod, you may be eager to fill it with your favorite songs. Fortunately, with the help of iTunes, the popular media player and library software developed by Apple, transferring your music collection to your iPod is a breeze.
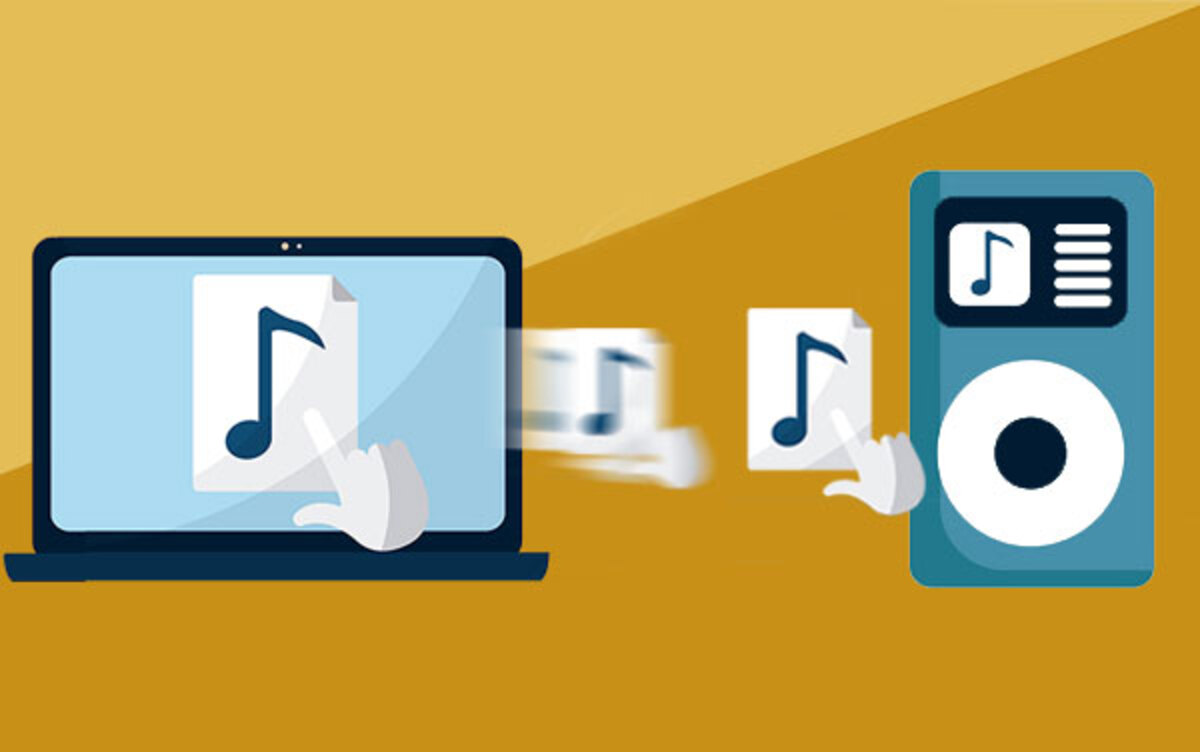
Whether you want to create a playlist for your daily workout sessions or listen to your favorite tracks while on the go, downloading songs onto your iPod can provide a personalized and portable music experience. In this step-by-step guide, we’ll walk you through the process of connecting your iPod to your computer, opening iTunes, selecting the songs you want, and transferring them to your device.
Before we dive into the details, it’s important to note that this guide assumes you have already set up your iPod and have the latest version of iTunes installed on your computer. If you haven’t done so, make sure to complete these preliminary steps before proceeding. Once you’re all set, let’s get started on downloading songs onto your iPod!
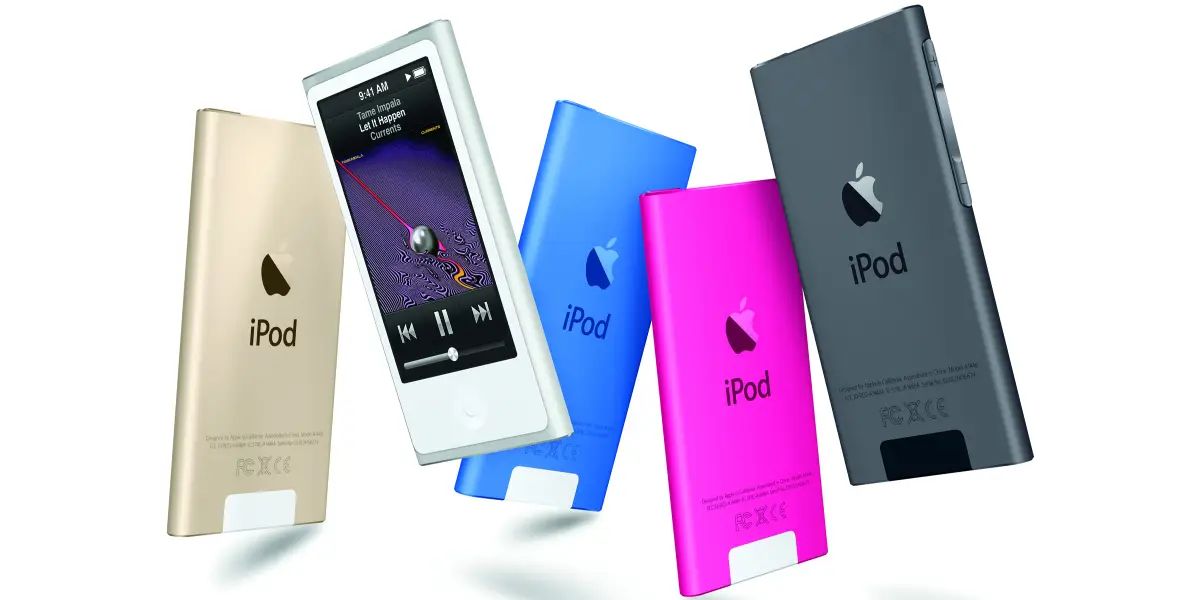
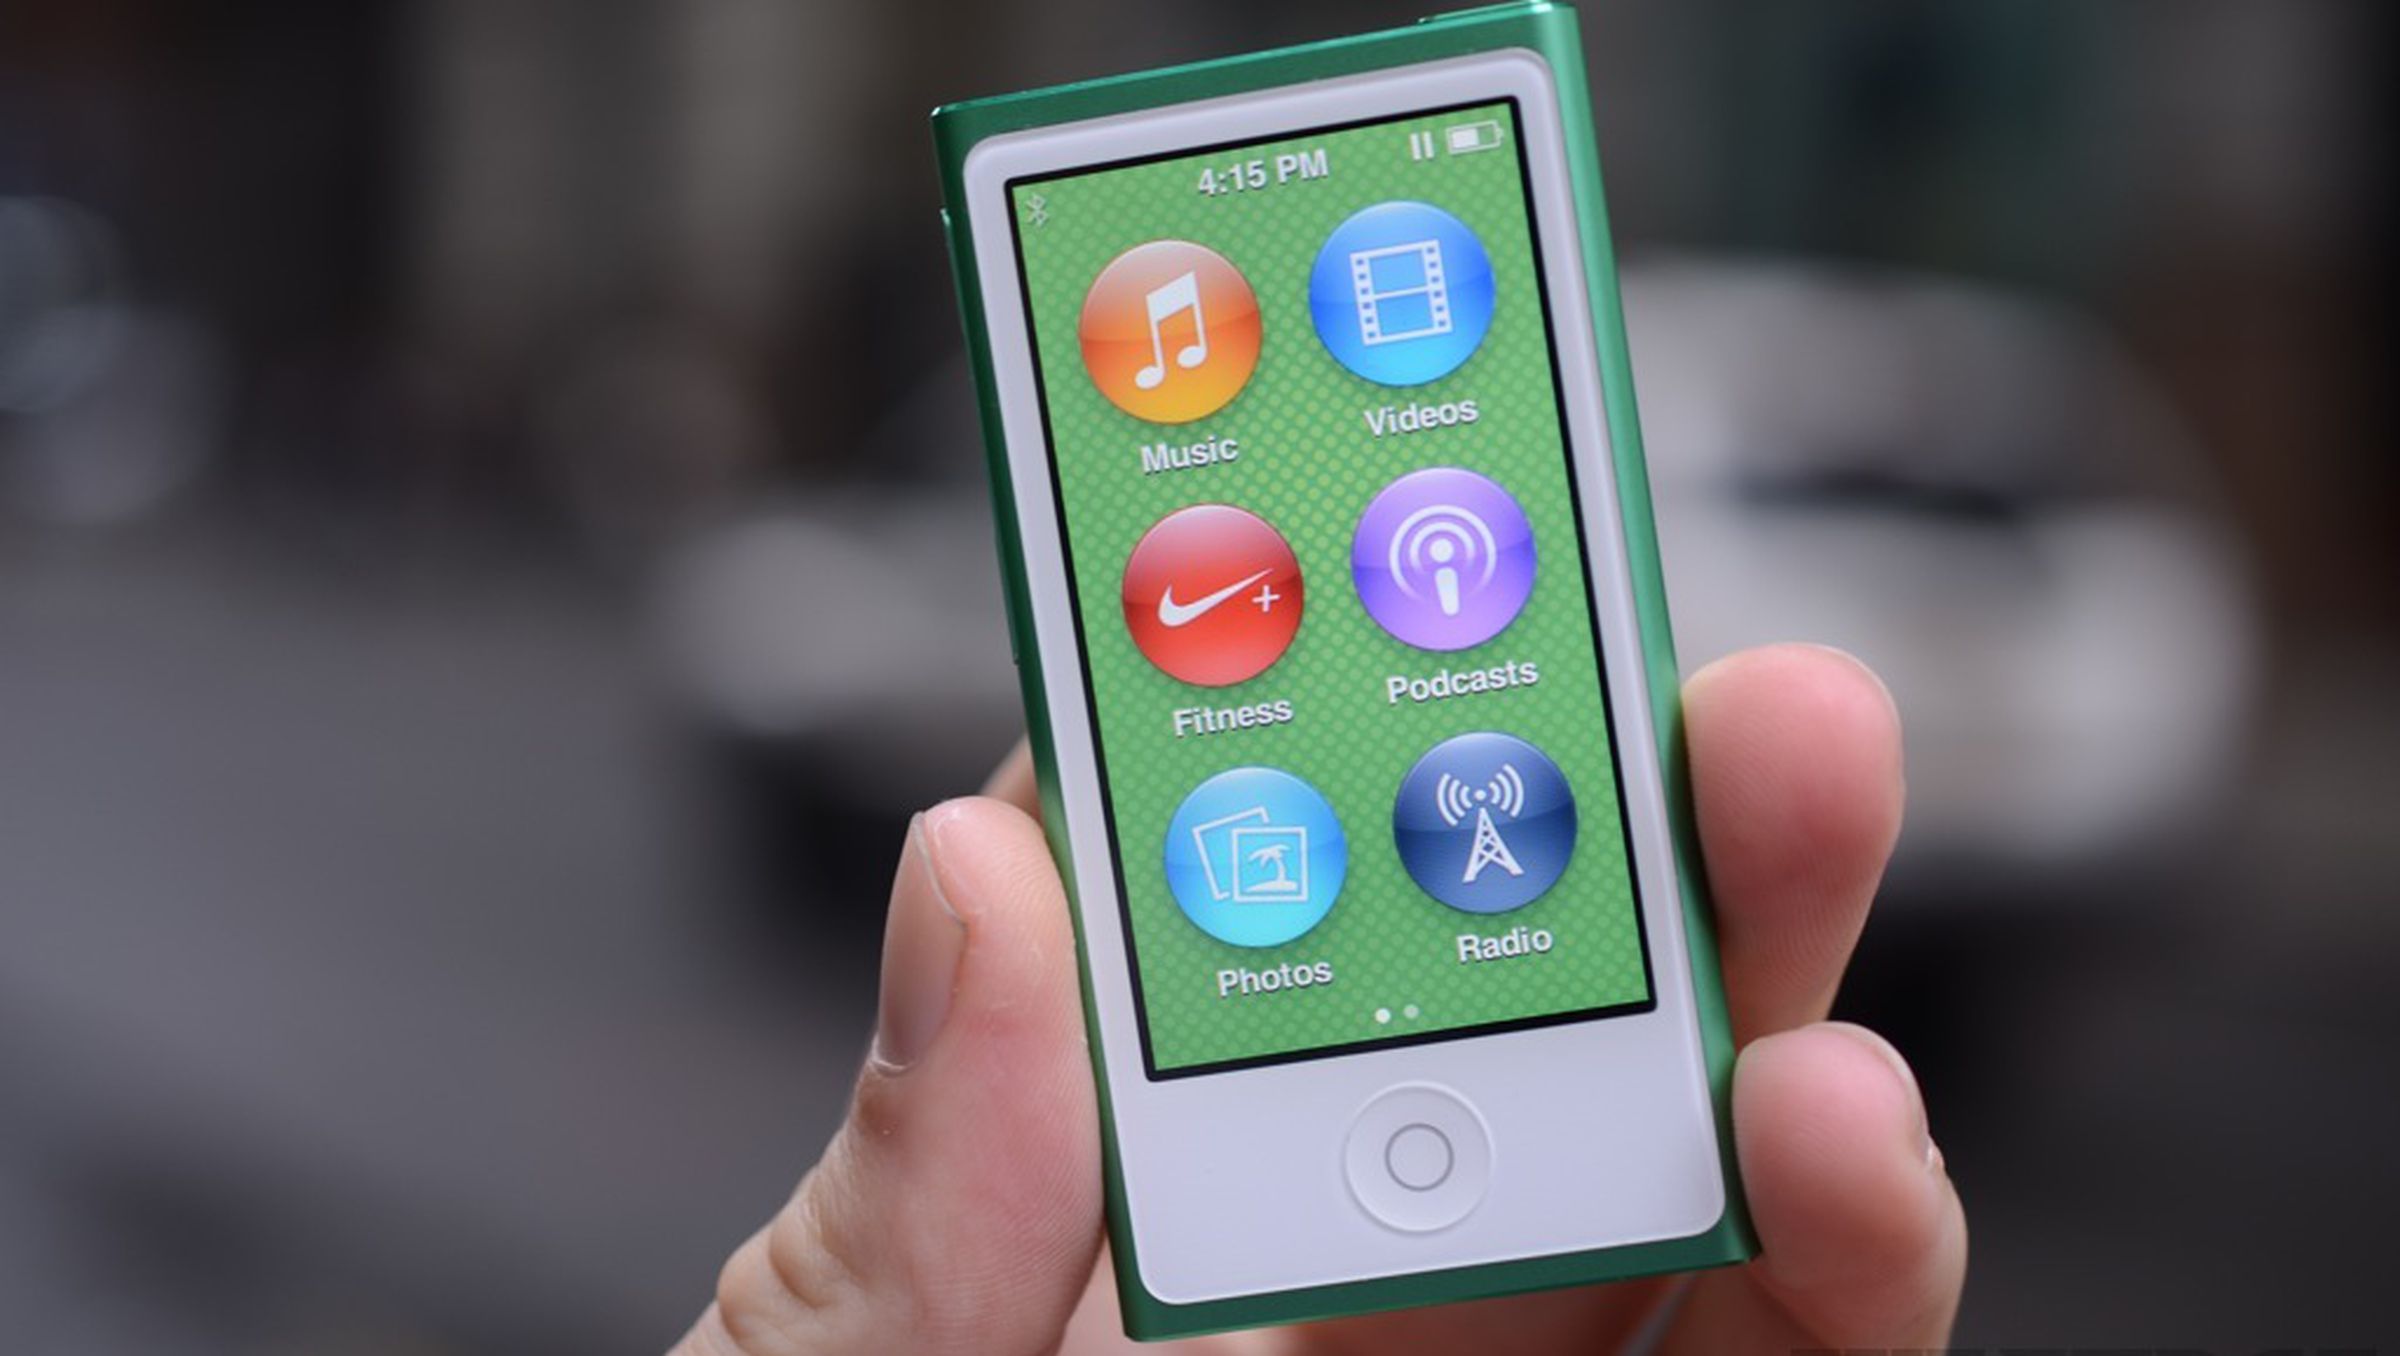
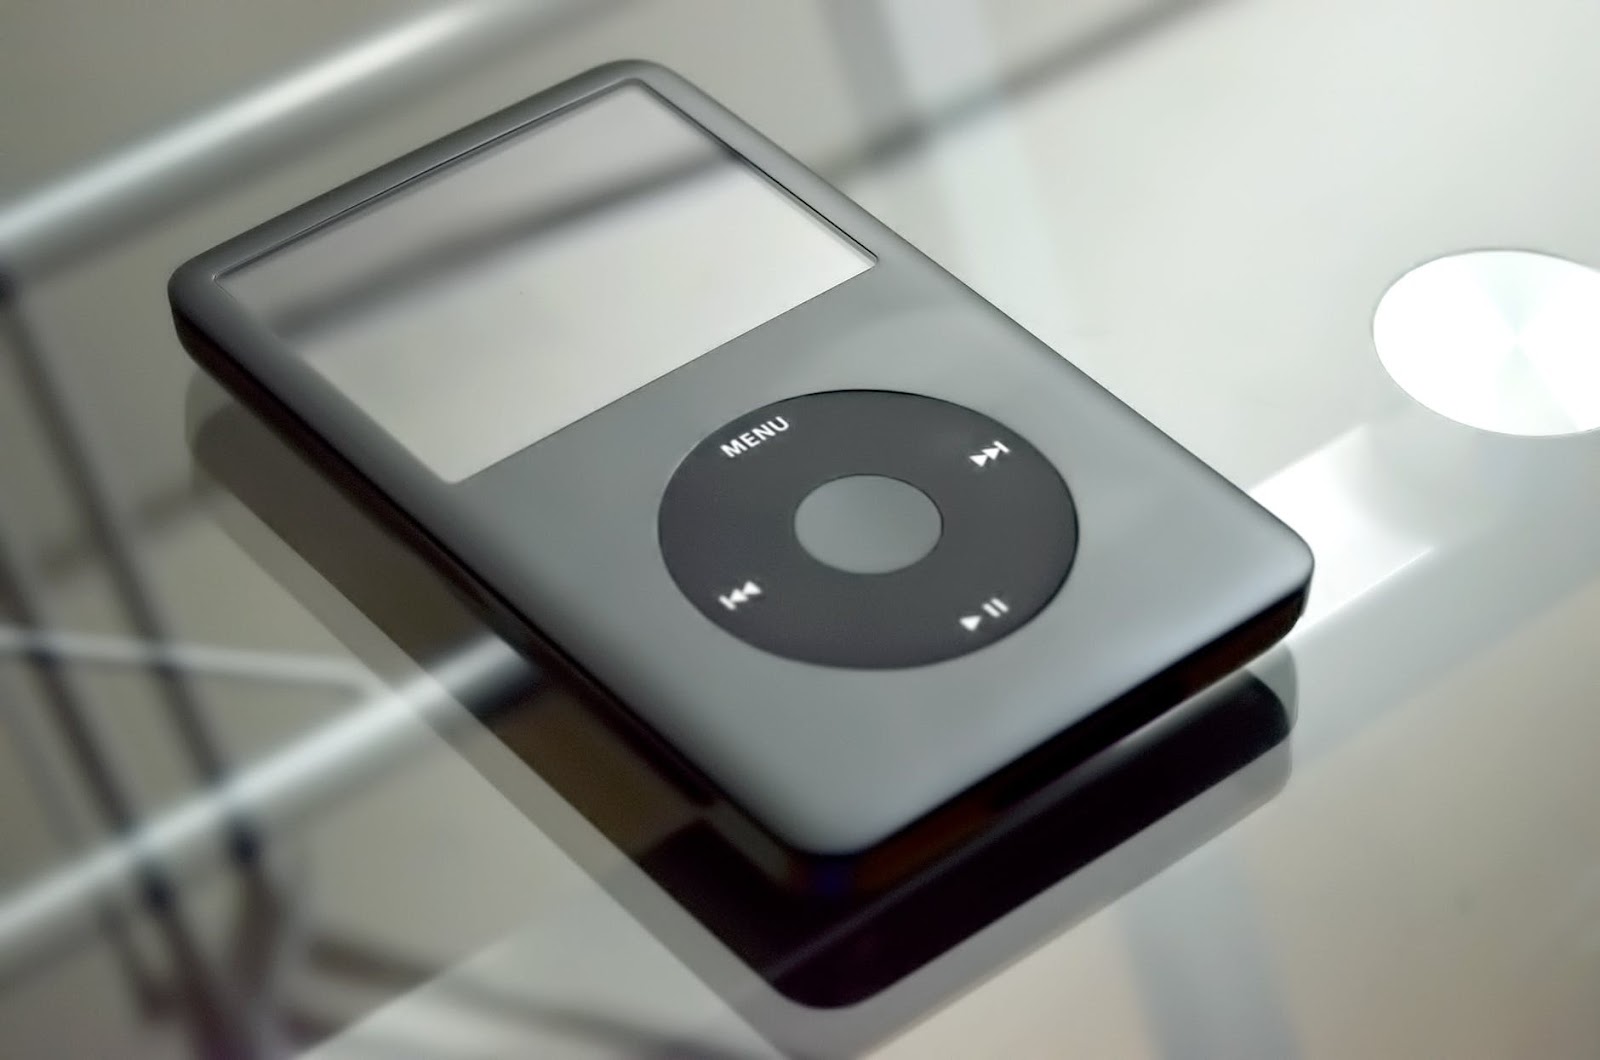
Before we can proceed with the song download process, it’s crucial to understand the two different types of iPods commonly available: the iPod Classic and the iPod Touch. The iPod Classic is a standalone music player that can store large music libraries, while the iPod Touch is a multifunctional device that functions as a music player, smartphone, and more. The following steps are applicable to both iPod Classic and iPod Touch devices, although some features may vary slightly.
Now that we have the basics covered, let’s move on to the first step: connecting your iPod to your computer. This will allow you to establish a connection between your device and iTunes, enabling the seamless transfer of your favorite songs. Follow the steps outlined in the following section to ensure a smooth and successful connection process.
Step 1: Connect your iPod to your computer
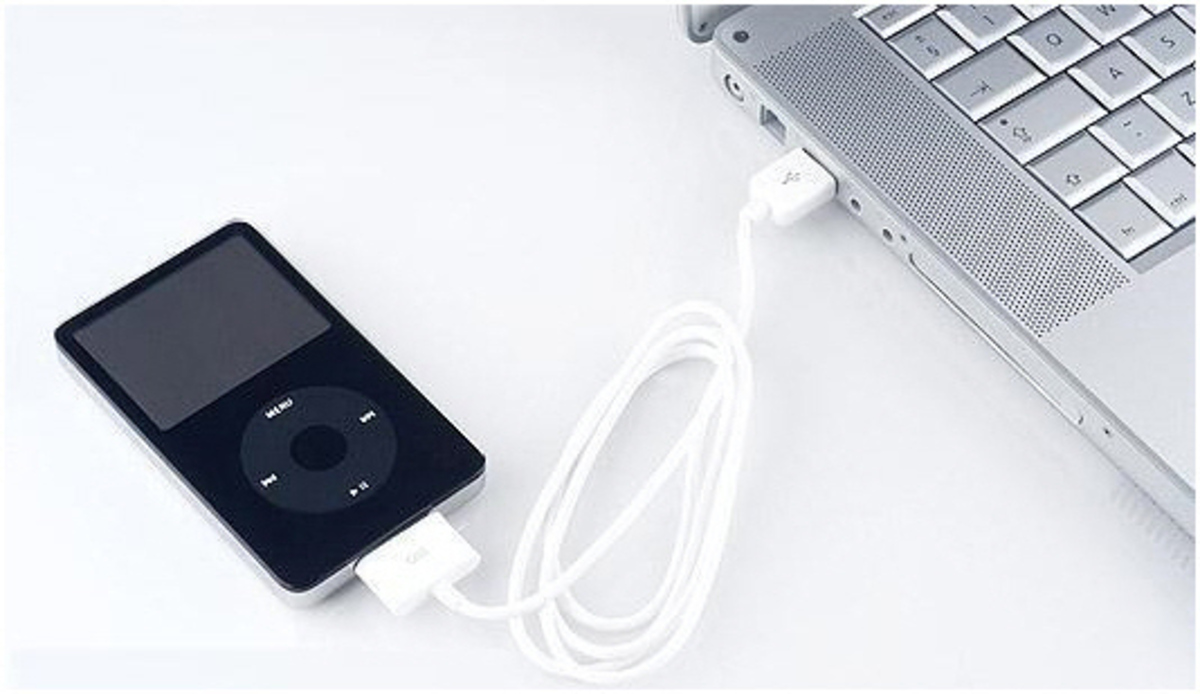
The first step in downloading songs onto your iPod is to establish a physical connection between your device and your computer. To do this, you will need a USB cable that is compatible with your specific iPod model. Most iPods come with a USB cable included in the package. If you don’t have one, you can purchase it separately from an electronics store.
Once you have the USB cable, follow these steps to connect your iPod to your computer:
- Locate the USB port on your computer. It is usually located on the side or back of the computer tower or on the side of a laptop.
- Take one end of the USB cable and insert it into the USB port on your computer.
- Take the other end of the USB cable and insert it into the charging port on your iPod.
- Ensure that the USB cable is securely plugged in on both ends.
When the iPod is successfully connected to your computer, you should see a charging symbol on your iPod’s screen, indicating that it is properly connected. Additionally, your computer may display a notification or make a sound to confirm the connection.
It’s important to note that your computer may prompt you to trust the connected device. If you see a message asking you to trust the computer on your iPod’s screen, simply follow the on-screen instructions to proceed. This step is necessary to establish a secure connection between your iPod and your computer.
Once you have successfully connected your iPod to your computer, you are ready to move on to the next step: opening iTunes. This essential software will serve as the platform for managing and transferring your music collection to your iPod.
Step 2: Open iTunes
With your iPod successfully connected to your computer, it’s time to open iTunes. iTunes is a free media player and library software developed by Apple, specifically designed for managing and organizing your music, movies, and other media files.
To open iTunes, follow these simple steps:
- Locate the iTunes icon on your desktop or in your computer’s application folder. It is represented by a musical note inside a white circle.
- Double-click on the iTunes icon to launch the application.
Alternatively, you can also open iTunes by searching for it in your computer’s search bar or using the Start menu on a Windows computer.
Once iTunes is open, you will see a user-friendly interface with various tabs and menus to help you navigate through your music library and manage your iPod. The main screen of iTunes will display your music collection, including songs, albums, and playlists.
If this is your first time using iTunes, you may be prompted to set up your preferences and import your existing music library. You can follow the on-screen instructions to customize your iTunes settings and bring in your music files from your computer.
If you have already set up your iTunes library, you can proceed to the next step. In the following section, we will cover the process of finding and selecting the songs you want to download onto your iPod.
Step 3: Find and select the songs you want to download
Now that iTunes is open and ready, it’s time to find and select the songs that you want to download onto your iPod. iTunes provides various options for browsing and discovering music, making it easy to locate your favorite songs or explore new tracks. Here’s how you can find and select the songs:
- On the left-hand side of the iTunes window, you will find a navigation panel. Here, you can choose from different categories, such as “Library,” “Playlists,” “Artists,” and more.
- Click on the desired category to access your music collection. For example, if you want to browse songs by a specific artist, click on the “Artists” tab.
- Once you have selected a category, the main window of iTunes will display the corresponding content. You can scroll through the list of songs, albums, or playlists to find the specific tracks you want to download onto your iPod.
- If you have a large music library, you can use the search bar at the top right corner of the iTunes window to quickly find a particular song or artist.
- To select multiple songs, press and hold the “Ctrl” (Windows) or “Command” (Mac) key on your keyboard while clicking on the songs. This allows you to choose multiple songs that are not adjacent to each other.
Alternatively, you can create a playlist in iTunes to gather all the songs you want to download onto your iPod. To create a playlist, simply click on the “File” tab at the top left corner of the iTunes window and select “New Playlist.” Give your playlist a name and start adding songs to it by dragging and dropping them from your music library.
Once you have selected the songs you want to download onto your iPod, you are ready to proceed to the next step: adding the selected songs to your iPod. In the following section, we will cover this process in detail.
Step 4: Add the selected songs to your iPod
After selecting the songs you want to download onto your iPod, the next step is to add them to your device within the iTunes software. This process ensures that your chosen songs are synchronized and transferred to your iPod for offline listening. Here’s how you can add the selected songs to your iPod:
- In the main iTunes window, navigate to the playlist or category where your selected songs are located.
- Ensure that your iPod is still connected to your computer via the USB cable.
- Select and highlight the songs you want to add to your iPod. You can do this by clicking on each song while holding down the “Ctrl” (Windows) or “Command” (Mac) key to select multiple songs.
- Once the songs are selected, right-click on the highlighted area and choose the option “Add to Device.” A drop-down menu will appear, showing the name of your connected iPod. Click on the name of your iPod to initiate the transfer process.
Alternatively, you can also drag and drop the selected songs directly onto your connected iPod listed in the left-hand sidebar of iTunes. Simply locate your iPod’s name under the “Devices” section and release the songs onto it.
During the transfer process, a progress bar will appear, indicating the status of the song transfer. The duration of the transfer will depend on the number and size of the selected songs. Once the transfer is complete, the selected songs will be added to your iPod’s music library.
It’s important to keep in mind that the available storage capacity on your iPod will determine the number of songs you can add. If your iPod’s storage is nearing its capacity, you may need to remove existing songs from your device or consider upgrading to a higher-capacity iPod.
Now that you have successfully added your selected songs to your iPod, you are almost done! The next step involves syncing your iPod with iTunes to ensure that the downloaded songs are properly organized and playable on your device. In the following section, we will guide you through the syncing process.
Step 5: Sync your iPod with iTunes
Syncing your iPod with iTunes is an essential step to ensure that the downloaded songs are correctly organized and transferred to your device. Syncing allows iTunes to update your iPod’s music library, playlists, and other settings, keeping them in sync with your iTunes library on your computer. Here’s how you can sync your iPod with iTunes:
- Make sure your iPod is still connected to your computer via the USB cable.
- In the left-hand sidebar of iTunes, locate your iPod’s name under the “Devices” section. Click on it to select your iPod.
- In the main iTunes window, you will see various tabs at the top, such as “Music,” “Movies,” “TV Shows,” and more. Click on each tab to choose what you want to sync to your iPod.
- Within each tab, you have the option to select specific playlists, artists, albums, or genres to sync. You can also choose to sync the entire library by selecting the corresponding checkbox.
- Once you have made your selections, scroll to the bottom of the iTunes window and click on the “Apply” or “Sync” button. iTunes will start syncing your chosen content to your iPod.
During the syncing process, the progress will be displayed on the screen, showing the number of items being synced and the time remaining. It’s important to keep your iPod connected to your computer until the syncing is complete to ensure a successful transfer.
If you want to make changes to your synced content in the future, simply repeat this syncing process and update your selections. iTunes will automatically update your iPod with the modified content and remove any items that are no longer selected for syncing.
Once the syncing process is complete, you can safely disconnect your iPod from your computer. Your downloaded songs will be ready for playback on your iPod, allowing you to enjoy your personalized music collection wherever you go.
With your iPod now synced and ready, you have successfully completed the crucial steps required to download songs onto your iPod. The final step is to safely eject your iPod from your computer, which will be covered in the next section.
Step 6: Eject your iPod from the computer
After successfully syncing your iPod with iTunes and ensuring that all your downloaded songs are safely transferred, it is important to properly eject your iPod from your computer before disconnecting the USB cable. Ejecting your iPod allows the computer to complete any pending processes and ensures that your device’s data is not corrupted or lost. Follow these steps to safely eject your iPod from the computer:
- Open iTunes on your computer if it’s not already open.
- In the left-hand sidebar of iTunes, under the “Devices” section, locate your iPod’s name and click on it to select it.
- At the top of the iTunes window, you will find an eject icon next to your iPod’s name. It looks like an upward-pointing arrow inside a rectangle.
- Click on the eject icon to initiate the ejection process.
- Once you have ejected your iPod, you will see a notification on your computer confirming that it is safe to disconnect your device.
It is important to wait for the ejection process to complete before physically disconnecting your iPod from the computer to avoid any data loss or damage to your device. Once the ejection is complete, you can unplug the USB cable from both your iPod and your computer.
Remember to handle your iPod with care when disconnecting it from the computer. Gently remove the USB cable without exerting any force or twisting the connector. Properly disconnecting your iPod ensures the longevity and smooth functioning of both your device and your computer.
With your iPod now safely disconnected from your computer, you can enjoy your downloaded songs on the go, whether it’s during your daily commute, workout sessions, or anytime you desire high-quality music.
Congratulations! You have successfully completed all the necessary steps to download songs onto your iPod. Now you can enjoy your personalized music collection and create the perfect soundtrack for your day. Happy listening!
Conclusion
Congratulations! You have now learned how to download songs onto an iPod using iTunes. By following the six simple steps outlined in this guide, you can easily connect your iPod to your computer, open iTunes, find and select the songs you want to download, add them to your iPod, sync your device, and safely eject it from your computer.
Having your favorite songs on your iPod allows you to enjoy a personalized music experience anytime and anywhere. Whether you’re on a road trip, at the gym, or simply relaxing at home, your iPod can be your trusty companion, providing the perfect soundtrack to your life.
Remember, iTunes provides various features to enhance your music library, such as creating playlists, organizing your music by artists or genres, and even discovering new songs through recommendations and charts. Explore the different functionalities of iTunes to make the most out of your iPod and create a music collection that suits your taste.
Additionally, keep in mind the storage capacity of your iPod. If you find that it’s reaching its limit, consider managing your music library by removing or archiving songs to free up space for new additions. This way, you can continuously update your iPod with fresh tracks and keep your music collection up to date.
Don’t forget to regularly connect your iPod to your computer and sync it with iTunes to ensure that any new songs or changes to your music library are reflected on your device. This will keep your iPod’s content in sync with your iTunes library and provide you with the latest updates.
Now that you have the knowledge and skills to download songs onto your iPod, it’s time to start building your ultimate music collection. Enjoy the journey of discovering new artists, creating playlists for every mood, and immersing yourself in the joy of music.
Thank you for following this guide, and we hope you have a fantastic experience with your iPod and your favorite songs! Happy listening!


