Introduction
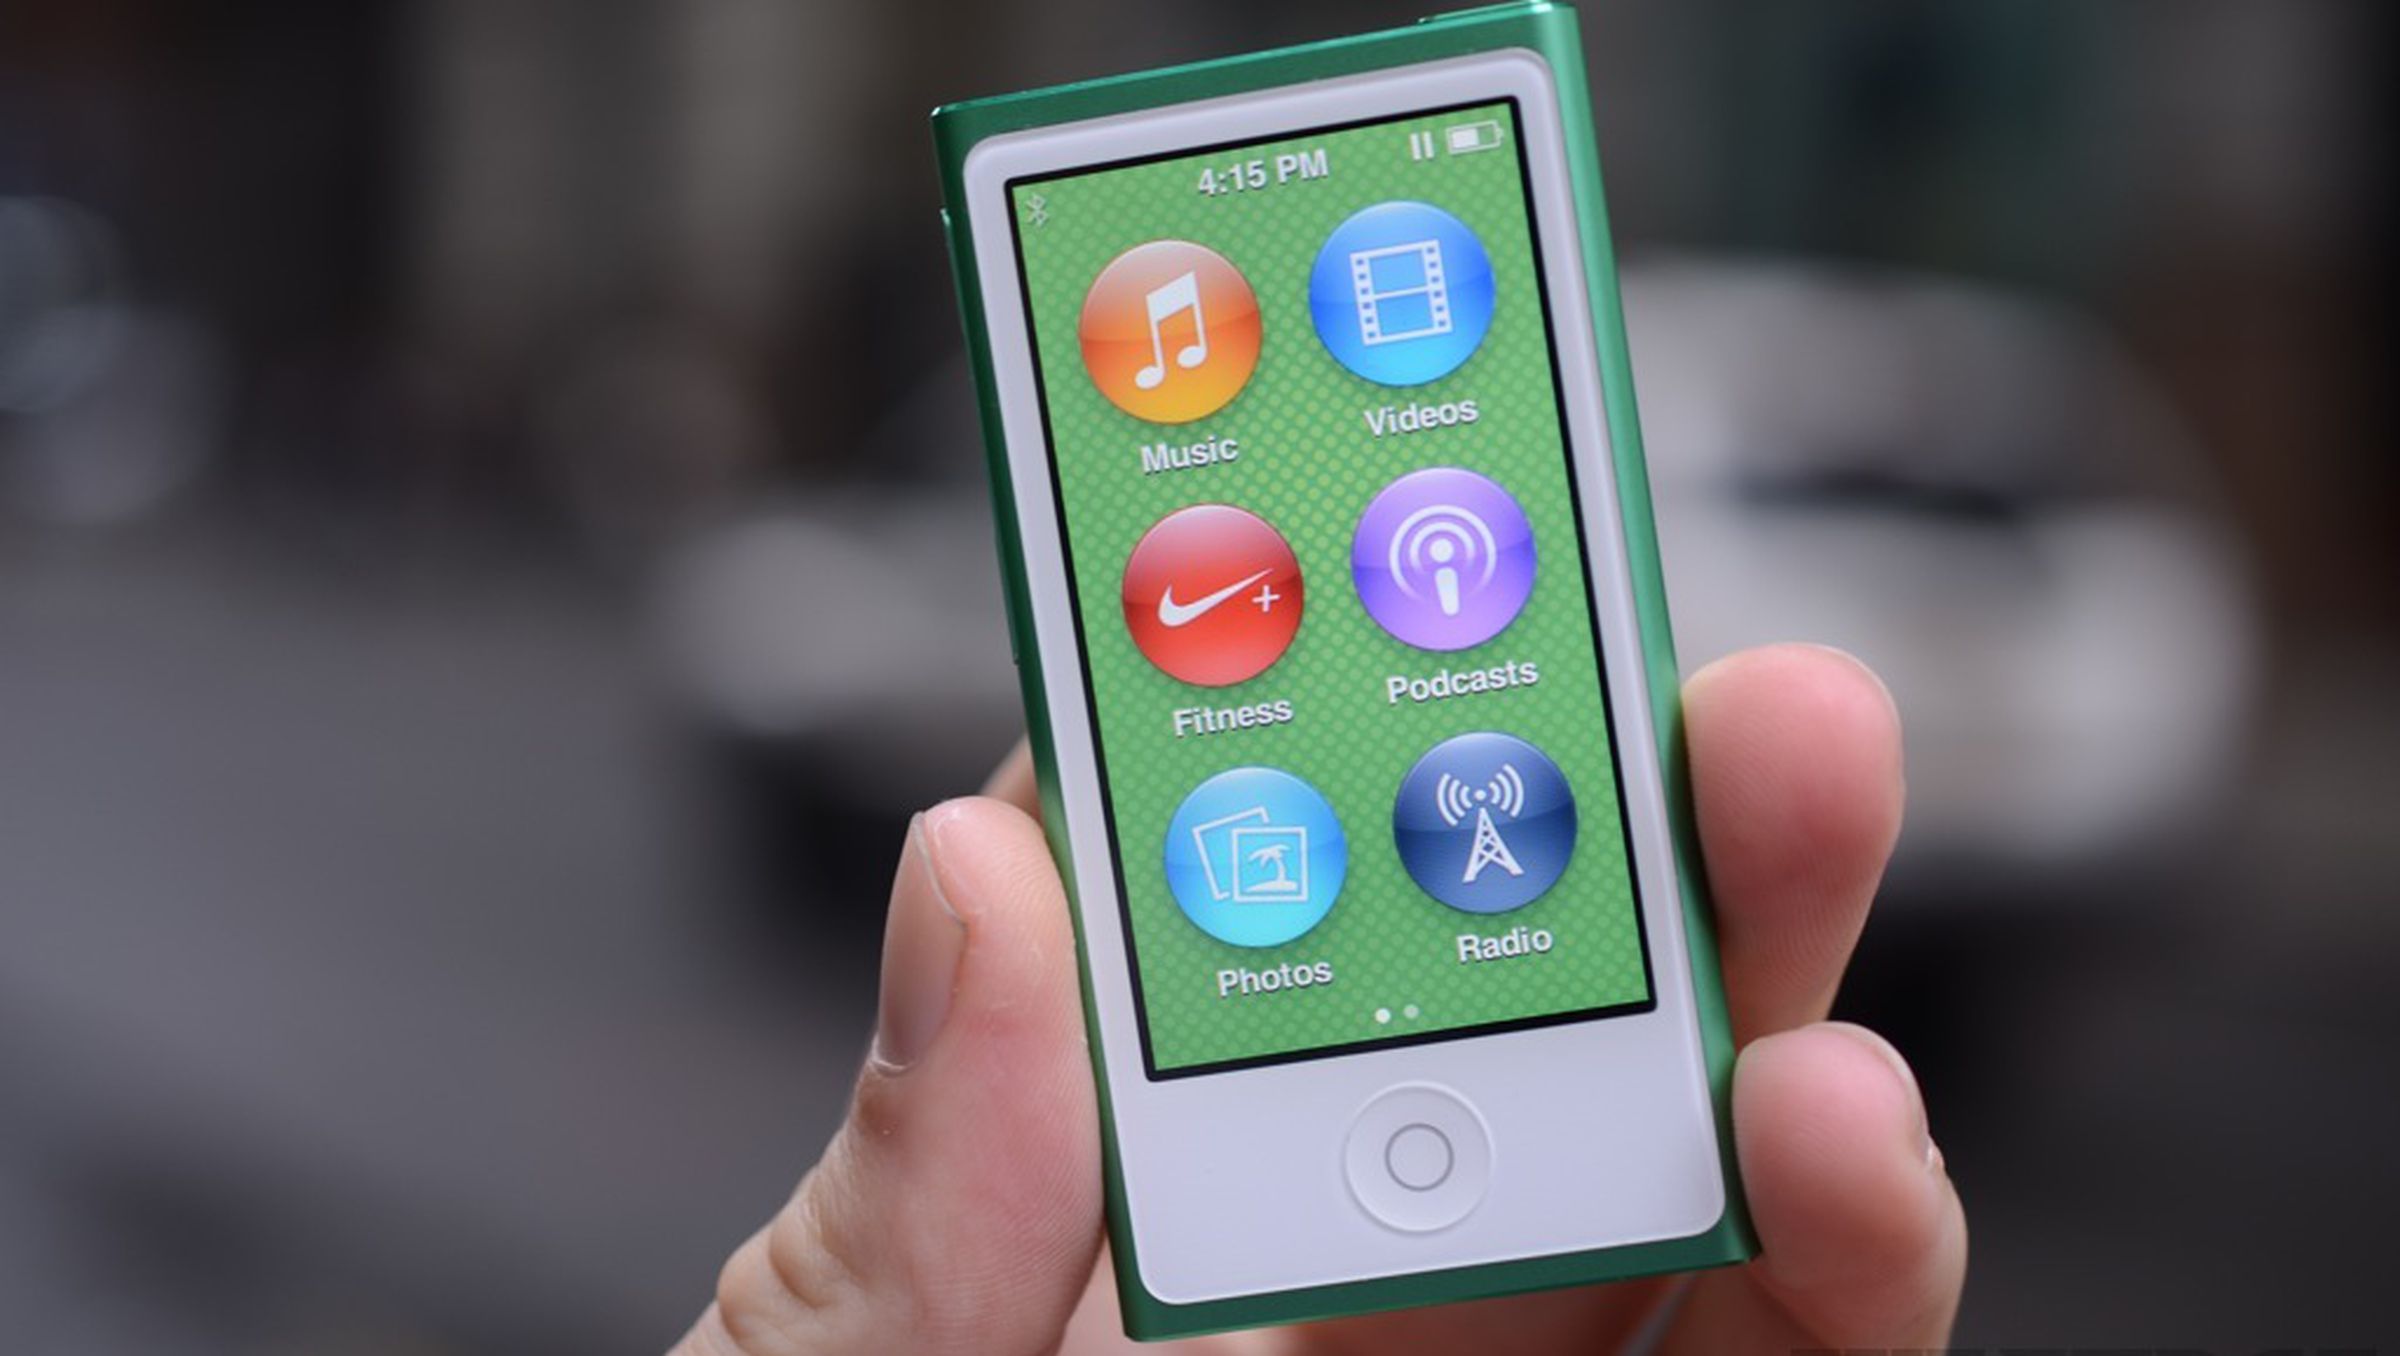
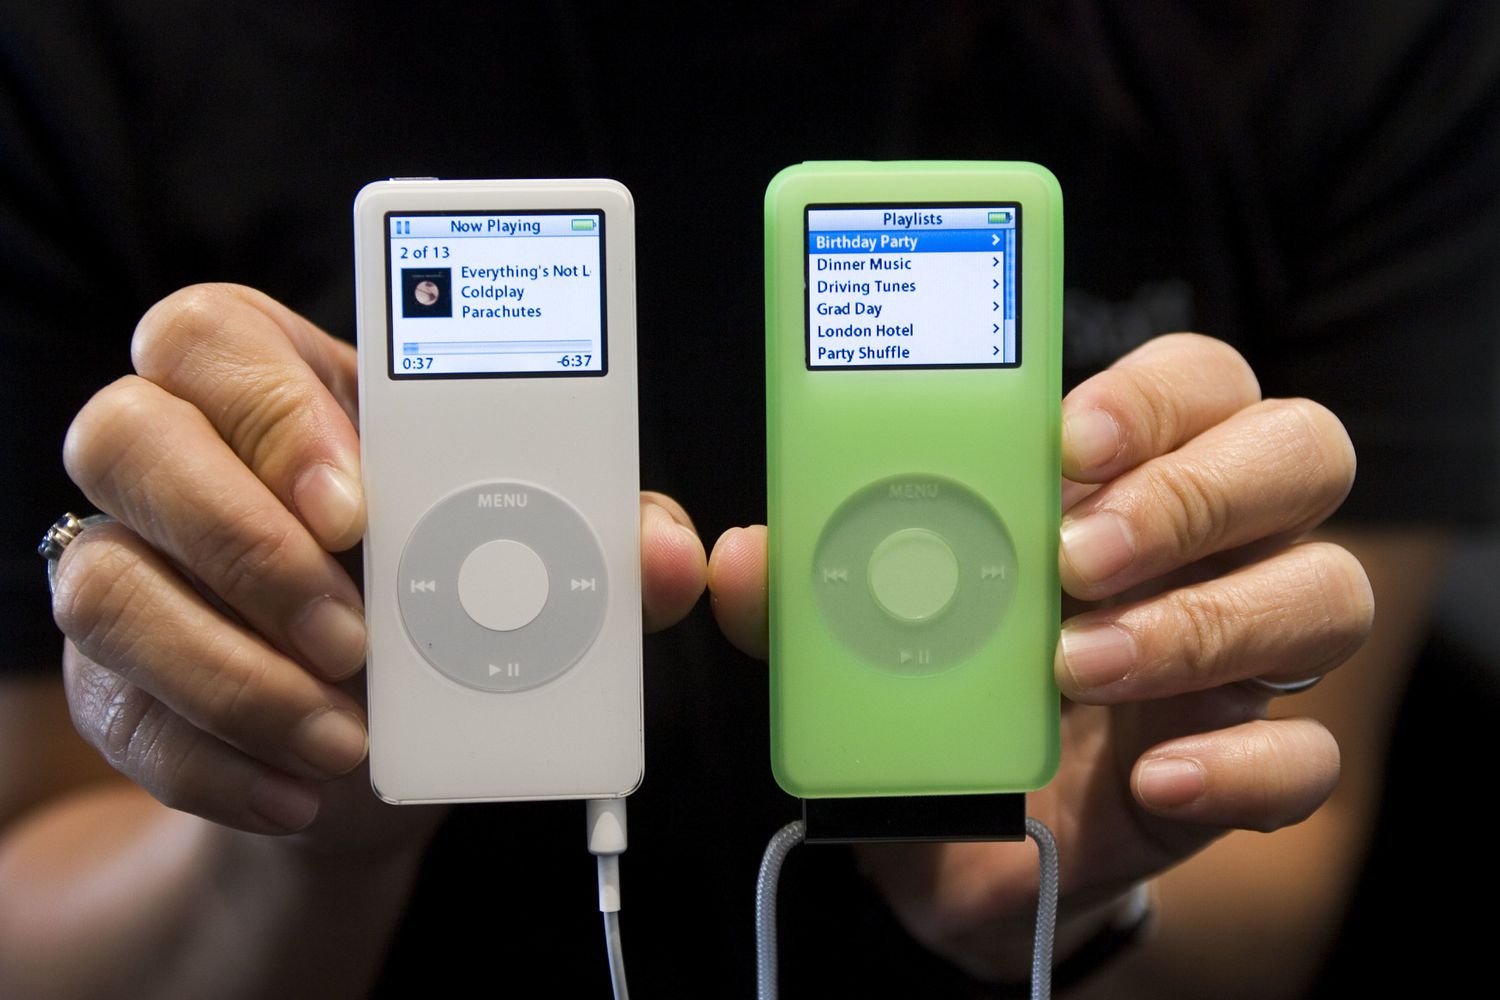
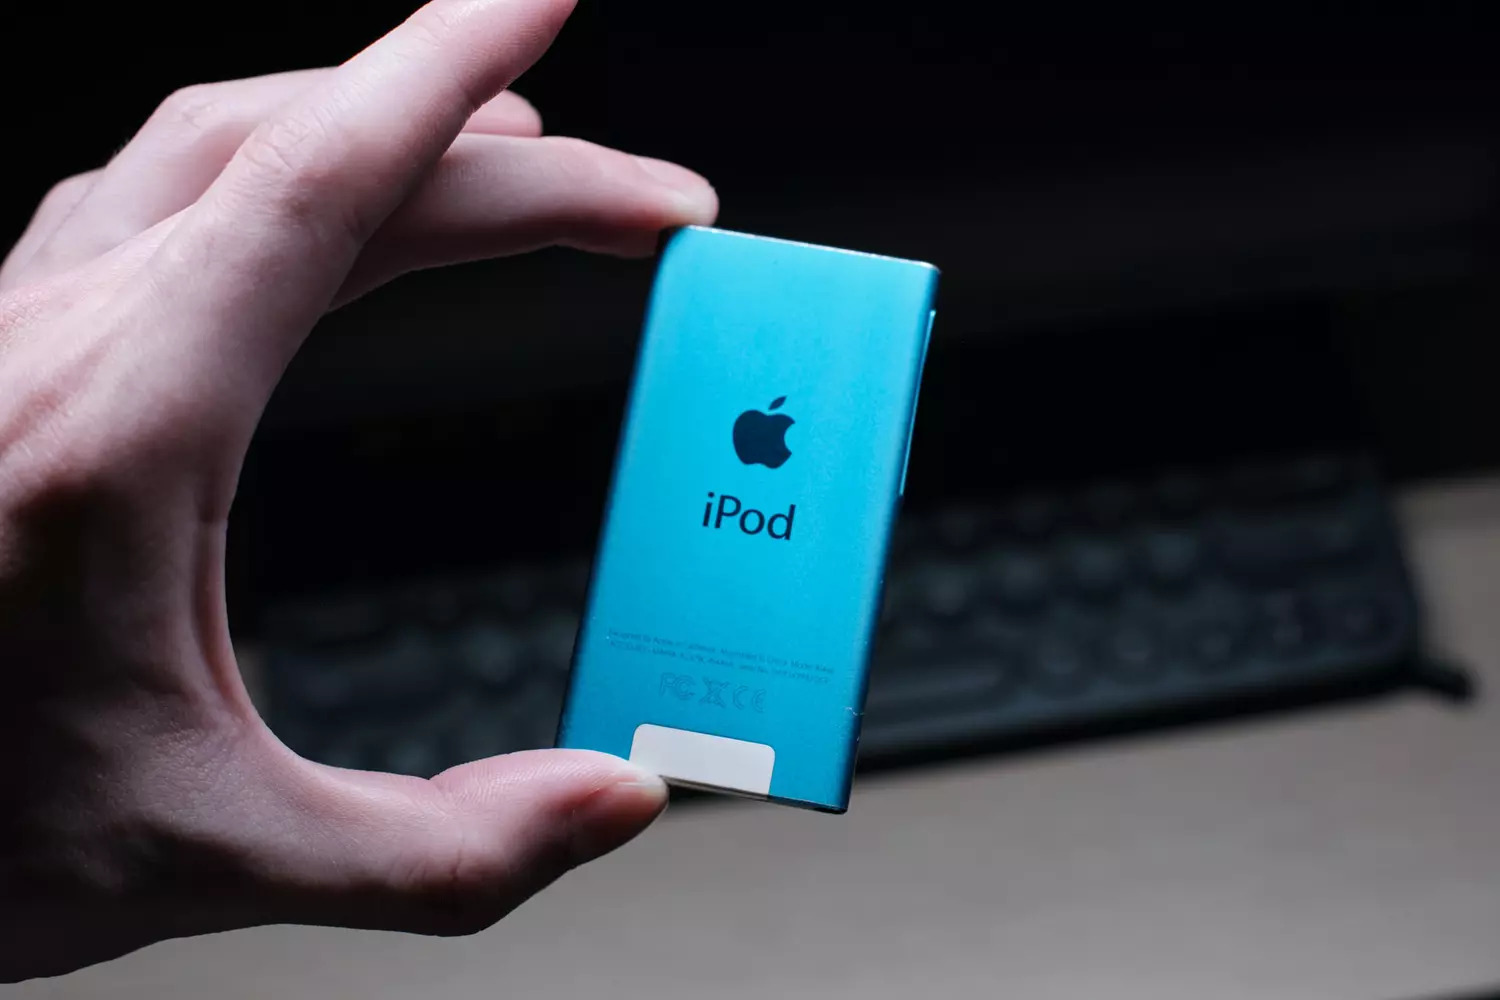
Welcome to the world of iPod Nano, where music takes center stage. With its sleek design and compact size, the iPod Nano is the perfect companion for music lovers on the go. Whether you’re a fan of rock, pop, hip-hop, or classical, this portable music player allows you to carry your favorite tunes with you everywhere you go.
In this article, we will guide you through the process of downloading music onto your iPod Nano, ensuring that you have access to your favorite songs wherever and whenever you want. We will cover everything from connecting your iPod Nano to your computer to managing your music library with iTunes.
But before we dive into the steps, it’s important to note that you will need to have iTunes installed on your computer in order to transfer music to your iPod Nano. iTunes is a software developed by Apple that allows you to organize and play music, movies, and podcasts. It also acts as the interface between your computer and your iPod Nano, enabling you to sync your music library seamlessly.
Not only does iTunes provide access to a vast collection of songs through the iTunes Store, but it also allows you to import music from CDs, purchase and download music directly to your computer, and create personalized playlists. With iTunes, you have full control of your music library, ensuring that you have the perfect soundtrack for every occasion.
So, if you’re ready to embark on a musical journey with your iPod Nano, let’s get started. Follow the steps outlined below to download music onto your iPod Nano and enjoy your favorite tunes wherever you go.
Step 1: Connecting your iPod Nano
The first step in downloading music to your iPod Nano is connecting it to your computer. To do this, you will need the USB cable that came with your iPod Nano.
Start by locating the USB port on your computer. It is usually found on the back or side of your computer tower, or on the side of your laptop. Once you have found the USB port, plug one end of the USB cable into it.
Next, take the other end of the USB cable and connect it to the charging port on your iPod Nano. Make sure the connection is secure and that the USB cable is inserted fully into both the USB port and the charging port.
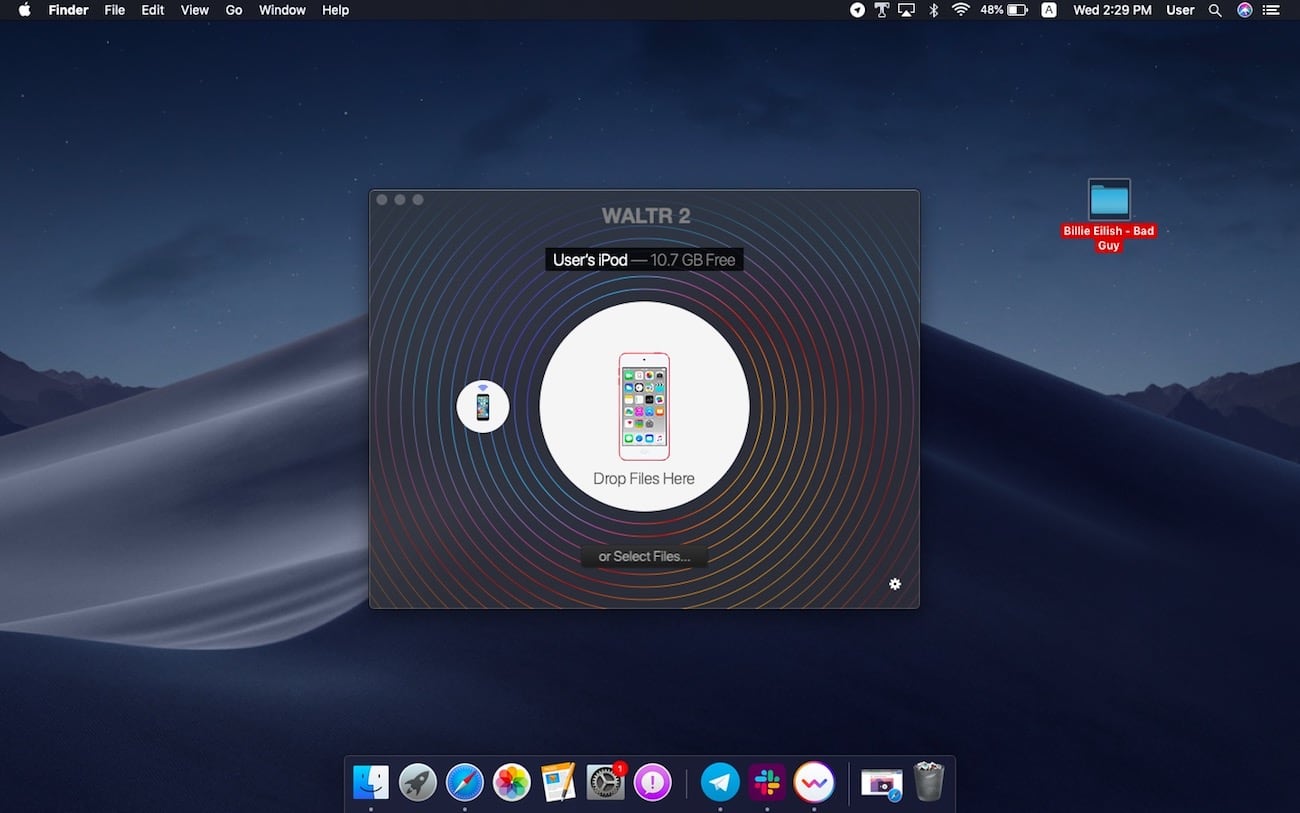
Once you have connected your iPod Nano to your computer, you will see an icon for your iPod Nano appear on your computer screen. This indicates that your computer has recognized your iPod Nano and is ready to sync with it.
It’s important to ensure that your iPod Nano is fully charged before proceeding with the next steps. If your iPod Nano is low on battery, leave it connected to your computer for a while to charge before continuing.
Now that you have successfully connected your iPod Nano to your computer, you are ready to move on to the next step: installing iTunes. This software is essential for managing your music library and transferring songs to your iPod Nano. So, let’s move on to step 2.
Step 2: Installing iTunes
In order to download music onto your iPod Nano, you need to have iTunes installed on your computer. If you don’t already have iTunes, you can easily download it from the official Apple website.
To install iTunes, follow these simple steps:
- Open your web browser and navigate to the Apple website (www.apple.com).
- Click on the “Support” or “Downloads” section of the website.
- Search for iTunes or navigate to the iTunes download page.
- Choose the appropriate version of iTunes for your operating system (Windows or Mac).
- Click on the “Download” button to start the download process.
- Once the download is complete, locate the downloaded file and double-click on it to begin the installation.
- Follow the on-screen instructions to complete the installation process.
After the installation is complete, launch iTunes on your computer. You will be prompted to agree to the terms and conditions of the software. Read through the terms and conditions carefully and click on the “Agree” button to proceed.
Once you have successfully installed iTunes, the software will automatically detect your iPod Nano, which is still connected to your computer via the USB cable. The iPod Nano icon will appear in the top-left corner of the iTunes window.
Now that you have installed iTunes, you are one step closer to downloading music onto your iPod Nano. In the next step, we will guide you through the process of creating an Apple ID, which is necessary for accessing the iTunes Store and purchasing music. So, let’s move on to step 3.
Step 3: Creating an Apple ID
In order to access the iTunes Store and download music onto your iPod Nano, you will need to create an Apple ID. An Apple ID is a unique identifier that allows you to make purchases, access iCloud services, and sync your devices.
To create an Apple ID, follow these steps:
- Open iTunes on your computer if it’s not already open.
- Click on the “Account” tab at the top of the iTunes window and select “Sign In.”
- A pop-up window will appear. Click on the “Create New Apple ID” option.
- Read and agree to the Terms and Conditions.
- Fill out the required information, including your email address, password, and security questions.
- Choose a payment method. While many resources in the iTunes Store are free, some may require payment. You can select a credit card or use other payment options like PayPal or App Store & iTunes Gift Cards.
- Verify your account through the email address you provided.
- Once your Apple ID is created and verified, sign in to iTunes using your new Apple ID.
Congratulations! You have successfully created an Apple ID, which you will use to access the iTunes Store and download music onto your iPod Nano. Now you can explore the vast collection of songs, albums, and playlists available on the iTunes Store.
It’s worth noting that you can also create an Apple ID directly on the iTunes Store website or through your iPhone or iPad. Regardless of the method you choose, the process is straightforward and requires similar information.
With your Apple ID in hand, you are now ready to move on to the next step: syncing iTunes with your iPod Nano. This crucial step will enable you to transfer music from your computer to your iPod Nano seamlessly. So, let’s proceed to step 4.
Step 4: Syncing iTunes with your iPod Nano
Now that you have installed iTunes and created an Apple ID, it’s time to sync your iPod Nano with iTunes. Syncing your iPod Nano allows you to transfer music from your iTunes library to your device, ensuring that you have all your favorite songs at your fingertips.
To sync iTunes with your iPod Nano, follow these steps:
- Make sure your iPod Nano is still connected to your computer via the USB cable.
- Launch iTunes on your computer if it’s not already open.
- Your iPod Nano icon should appear in the top-left corner of the iTunes window. Click on the icon to access your device’s settings.
- In the left sidebar of the iTunes window, you will see various tabs, including “Summary,” “Music,” “Movies,” “Podcasts,” and more. Click on the tab that corresponds to the type of media you want to sync with your iPod Nano, such as the “Music” tab.
- Check the box next to “Sync Music” to enable music syncing.
- You can choose to sync your entire music library by selecting the option “Entire music library,” or you can manually select specific playlists, artists, albums, or genres to sync.
- Click on the “Apply” or “Sync” button at the bottom-right corner of the iTunes window to begin the syncing process.
- Wait for iTunes to transfer the selected music to your iPod Nano. The progress will be displayed at the top of the iTunes window.
- Once the syncing process is complete, you will see a message indicating that it’s safe to disconnect your iPod Nano.
- Disconnect your iPod Nano from the USB cable.
Now, your iPod Nano is synced with your iTunes library, and all the selected music has been transferred to your device. You can now enjoy your favorite songs on the go.
It’s important to note that you can also sync other media types, such as movies, TV shows, podcasts, and audiobooks, in a similar manner. Simply select the respective tab in iTunes and choose the desired content for syncing.
In the next step, we will explore how to download music from the iTunes Store directly onto your iPod Nano. This gives you access to a vast collection of songs, albums, and more. Ready? Let’s move on to step 5.
Step 5: Downloading Music from iTunes Store
The iTunes Store is a treasure trove of music, offering a wide variety of songs, albums, and playlists to suit every musical taste. In this step, we will guide you through the process of downloading music directly from the iTunes Store onto your iPod Nano.
To download music from the iTunes Store to your iPod Nano, follow these steps:
- Make sure your iPod Nano is connected to Wi-Fi or has a cellular data connection, as downloading music requires an internet connection.
- On your iPod Nano, find the “iTunes Store” app and open it. It is represented by a purple icon with a white star.
- Once in the iTunes Store, you can browse through the various sections, including “Featured,” “Charts,” “Genres,” and more, to discover new music or search for specific songs or artists using the search bar at the top of the screen.
- When you find a song or album you want to download, tap on it to view more details.
- On the song or album page, you will see the price of the item. Some songs may be available for free, while others may require a purchase. Tap on the price or the “Get” button to initiate the download.
- If prompted, enter your Apple ID and password to authenticate the purchase.
- The song or album will begin downloading to your iPod Nano. You can monitor the progress by going to the “Downloads” section of the iTunes Store app.
- Once the download is complete, you can access the downloaded music by going to the “Library” tab of the “Music” app on your iPod Nano.
Downloading music from the iTunes Store directly to your iPod Nano is a convenient way to expand your music library and discover new artists and songs. You can browse through the vast collection of music and customize your playlist to match your mood and preferences.
Remember to keep your device connected to Wi-Fi or have a data plan to ensure a smooth and uninterrupted downloading experience. Additionally, make sure you have sufficient storage space on your iPod Nano to accommodate the downloaded music.
In the next step, we will explore how you can import music from CDs or other sources into your iTunes library for syncing with your iPod Nano. Let’s proceed to step 6.
Step 6: Importing Music from CDs or other sources
If you have a collection of CDs or music from other sources, you can easily import them into your iTunes library and sync them with your iPod Nano. This allows you to have all your music in one place and enjoy it on the go.
To import music from CDs or other sources into your iTunes library, follow these steps:
- Insert the CD into your computer’s CD/DVD drive.
- If iTunes is not already open, launch it on your computer.
- In the top-left corner of the iTunes window, click on the “File” tab and select “Import” from the drop-down menu.
- A file browser window will appear. Navigate to the CD drive and select the songs or album you want to import. You can select multiple songs by holding down the Ctrl (Windows) or Command (Mac) key while clicking on the songs.
- Click on the “Import” button to begin the importing process. iTunes will convert the songs from the CD into a digital format and add them to your iTunes library.
- Once the import is complete, you can find the imported songs in your iTunes library.
- If you have music files from other sources, such as MP3s stored on your computer, you can also import them into iTunes. Simply click on the “File” tab, select “Add File to Library” or “Add Folder to Library,” and browse for the files or folders you want to import.
After you have imported the music into your iTunes library, you can now sync it with your iPod Nano by following the steps we discussed in earlier sections. Simply connect your iPod Nano to your computer, select the songs or playlists you want to sync, and click on the “Apply” or “Sync” button in iTunes.
Importing music from CDs or other sources into your iTunes library not only allows you to have a digital copy of your favorite music, but it also ensures that you have access to it on your iPod Nano anytime, anywhere.
In the next step, we will guide you through the process of transferring music from your computer to your iPod Nano. This gives you the flexibility to choose specific songs or playlists to carry with you on your device. Let’s move on to step 7.
Step 7: Transferring Music from your computer to iPod Nano
Transferring music from your computer to your iPod Nano allows you to take your personalized music collection with you wherever you go. Whether it’s a carefully curated playlist or your favorite albums, syncing your iPod Nano with your computer ensures that you have the music you love at your fingertips.
To transfer music from your computer to your iPod Nano, follow these steps:
- Ensure that your iPod Nano is connected to your computer via the USB cable.
- Open iTunes on your computer if it’s not already open.
- Click on the iPod Nano icon that appears in the top-left corner of the iTunes window.
- In the left sidebar of the iTunes window, click on the “Music” tab to access your music library.
- Now, you have two options to transfer music to your iPod Nano:
- Option 1 – Automatic Syncing: If you want to sync your entire music library, check the box next to “Sync Music” and select the option “Entire music library.”
- Option 2 – Manual Selection: If you prefer to manually choose the songs or playlists to transfer, select the option “Selected playlists, artists, albums, and genres” instead. Then, choose the specific playlists, artists, albums, or genres you want to transfer.
- Click on the “Apply” or “Sync” button at the bottom-right corner of the iTunes window to start the transfer process.
- Wait for iTunes to transfer the selected music from your computer to your iPod Nano. The progress will be shown at the top of the iTunes window.
- Once the transfer is complete, you will see a message indicating that it’s safe to disconnect your iPod Nano.
- Disconnect your iPod Nano from the USB cable.
You have successfully transferred music from your computer to your iPod Nano! Now, you can enjoy your favorite songs, playlists, and albums on the go.
Remember, you can always update your music library on your iPod Nano by repeating these steps and selecting different songs or playlists to sync. It allows you to keep your music collection fresh and tailored to your current preferences.
In the next step, we will explore how to manage your music library using iTunes, giving you the ability to create playlists, organize your songs, and make changes to your music collection. Let’s move on to step 8.
Step 8: Managing your Music Library with iTunes
iTunes provides powerful tools for managing your music library, allowing you to organize your songs, create playlists, and make changes to your music collection. Taking control of your music library ensures that you can easily find and enjoy your favorite tunes on your iPod Nano.
To manage your music library with iTunes, follow these steps:
- Open iTunes on your computer if it’s not already open.
- Click on the “Music” tab in the top-left corner of the iTunes window. This will display your music library.
- You can sort your music library by different criteria such as artist, album, genre, or song name. Simply click on the respective column header to sort your music library accordingly.
- To create a new playlist, click on the “File” tab and select “New” and then “Playlist.” Give your playlist a name and drag and drop songs from your music library into the new playlist.
- If you want to edit the information of a song, right-click on the song and select “Get Info.” This allows you to change the song title, artist, album, genre, and more.
- If you want to delete a song from your music library, simply select the song and press the “Delete” key on your keyboard or right-click on the song and select “Delete from Library.”
- To add album art to your music, select a song or album, right-click, and choose “Get Album Artwork.” iTunes will search its database and download the album art for you.
- By accessing the “Preferences” in the iTunes menu, you can customize various settings such as the location of your music library, how iTunes manages your files, and the appearance of the iTunes interface.
These are just a few of the ways you can manage your music library with iTunes. Take some time to explore the different options and features available to you. This will help you organize, customize, and personalize your music collection to fit your preferences.
Remember that any changes you make to your music library in iTunes will be reflected on your iPod Nano once you sync the devices. This ensures that you have a consistent music experience across all your Apple devices.
Now that you have mastered music library management in iTunes, let’s move on to step 9, where we will cover updating your iPod Nano with the latest software enhancements from Apple.
Step 9: Updating your iPod Nano
Regularly updating your iPod Nano with the latest software enhancements from Apple ensures that you have access to new features, improved performance, and bug fixes. Updating your device is a straightforward process that can be done through iTunes.
To update your iPod Nano, follow these steps:
- Ensure that your iPod Nano is connected to your computer via the USB cable.
- Open iTunes on your computer if it’s not already open.
- Click on the iPod Nano icon that appears in the top-left corner of the iTunes window.
- In the summary section of the iPod Nano settings, you will see information about the device, including the software version.
- If there is a new software version available, iTunes will prompt you to update. Click on the “Update” button to proceed.
- Review the terms and conditions for the software update, and click on the “Agree” or “Accept” button to continue.
- Wait for the update process to complete. Your iPod Nano will restart after the update is installed.
- Once the update is complete, you can disconnect your iPod Nano from the computer.
It is important to keep your iPod Nano up to date to ensure optimal performance and compatibility with the latest features and technologies. Software updates may also address security vulnerabilities, making it essential to stay current with the latest releases.
Additionally, updating your iPod Nano may introduce new features or improvements, enhancing your overall experience with the device. Apple periodically releases software updates for its devices, so it’s a good practice to check for updates regularly or enable automatic updates in iTunes.
With your iPod Nano updated and ready to go, you can seamlessly enjoy your music collection, explore new features, and make the most of your Apple device.
Congratulations! You have successfully completed all the steps necessary to download music onto your iPod Nano. You can now enjoy your favorite songs anywhere with this portable music player.
We hope this guide has been helpful in providing you with the information you need to make the most of your iPod Nano. Now, go ahead and immerse yourself in the world of music with your iPod Nano!
Conclusion
Congratulations on successfully learning how to download music onto your iPod Nano! Armed with the knowledge and steps provided in this guide, you can now enjoy your favorite tunes whenever and wherever you go. Let’s recap what we’ve covered throughout this article:
We started by connecting your iPod Nano to your computer using the USB cable, ensuring a stable connection. Then, we installed iTunes, the essential software for managing your music library and syncing with your iPod Nano.
Next, we created an Apple ID, enabling us to access the vast collection of songs available on the iTunes Store. We explored downloading music directly from the iTunes Store onto your iPod Nano, giving you access to new releases, popular songs, and your preferred genres.
We then covered importing music from CDs or other sources into your iTunes library, expanding your collection with your existing music. This step allows you to have your entire music library in one centralized location.
Following that, we learned how to transfer music from your computer to your iPod Nano, allowing you to select specific songs, albums, or playlists to take with you on the go.
Furthermore, we discussed the importance of managing your music library with iTunes, organizing your songs, creating playlists, and making changes to your collection to suit your preferences.
Lastly, we emphasized the significance of updating your iPod Nano with the latest software enhancements from Apple. Keeping your device up to date ensures optimal performance, new features, and bug fixes.
By following these steps, you now have the skills and knowledge to make the most of your iPod Nano and enjoy all your favorite songs anytime, anywhere.
Thank you for choosing this guide to aid you in downloading music onto your iPod Nano. We hope this article has been informative and helpful. Now, it’s time to explore the endless world of music and embrace the joy it brings to your life with your iPod Nano!


