Introduction
Welcome to the world of iPod Shuffle, where you can carry your favorite music wherever you go. The iPod Shuffle is a small, lightweight device that allows you to listen to your music on the move. Whether you’re at the gym, commuting to work, or taking a relaxing walk, having your favorite tunes playing on your iPod Shuffle can make any experience more enjoyable.
In this guide, we will walk you through the process of downloading music onto your iPod Shuffle. It’s easier than you might think, and soon you’ll be grooving to your favorite beats in no time.
Before we dive into the steps, there are a few things you’ll need to gather to ensure a smooth downloading experience. Firstly, make sure you have your iPod Shuffle, a computer with iTunes installed, and a USB cable to connect the two. Additionally, you’ll need to have the music files you want to transfer to your iPod Shuffle stored on your computer.
Once you have everything ready, let’s get started on how to download music on your iPod Shuffle!
Step 1: Connect your iPod Shuffle to your computer
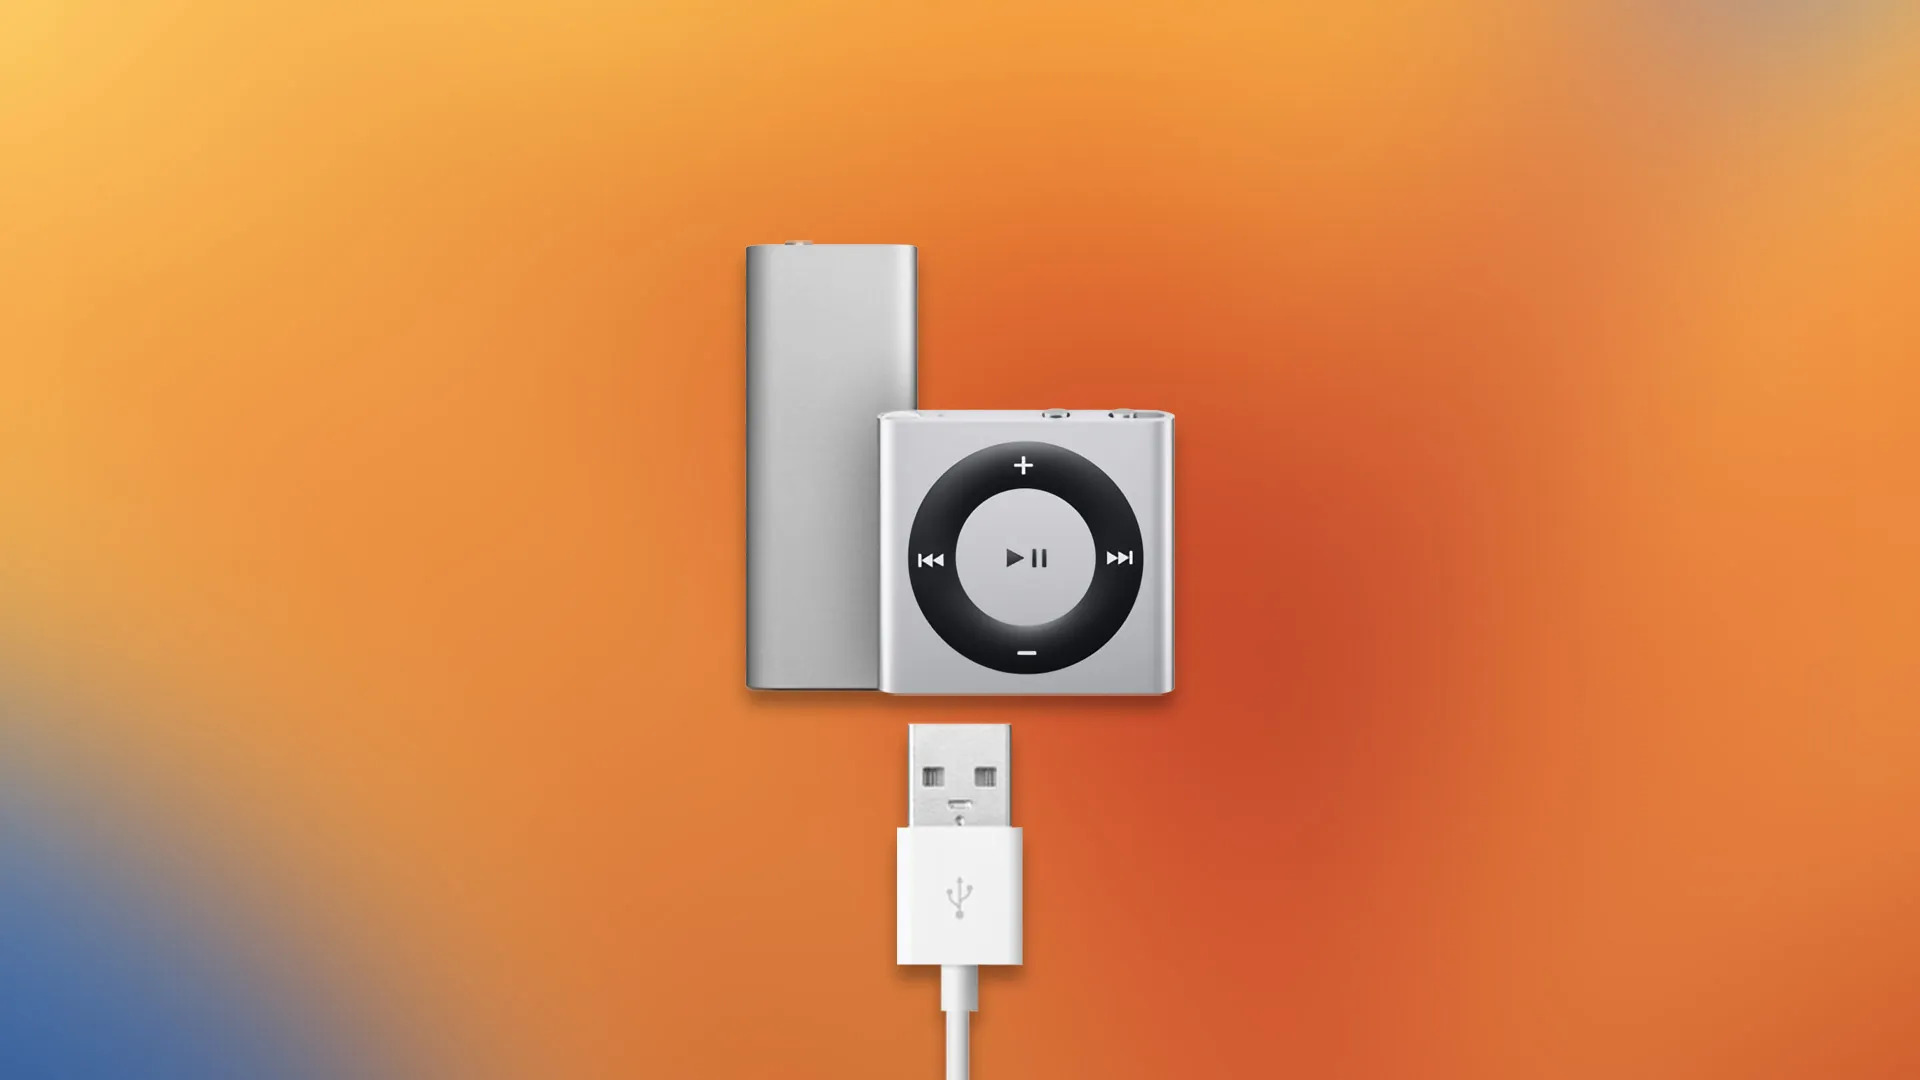
The first step in downloading music onto your iPod Shuffle is to establish a connection between your device and your computer. To do this, you’ll need a USB cable provided with your iPod Shuffle.
Start by locating the USB port on your iPod Shuffle. It is usually located on the bottom of the device. Next, connect one end of the USB cable into the port on your iPod Shuffle, and the other end into an available USB port on your computer.
Once the connection is established, you’ll notice that your iPod Shuffle will appear as a device in iTunes. This allows you to transfer music from your iTunes library to your iPod Shuffle. Now that your iPod Shuffle is connected to your computer, you’re ready to proceed to the next step.
Note: Make sure your iPod Shuffle is charged before connecting it to your computer. If it’s not charged, connect it to a power source and wait until it has enough battery to complete the process successfully.
Step 2: Open iTunes on your computer
With your iPod Shuffle connected to your computer, the next step is to open iTunes. iTunes is a media player and library provided by Apple, specifically designed for organizing and playing digital music and videos.
If you haven’t already installed iTunes on your computer, you can easily download and install it from the Apple website. Once installed, open iTunes by clicking on the icon on your desktop or searching for it in your computer’s applications.
After launching iTunes, you’ll see the interface where you can manage your music library, create playlists, and sync your iPod Shuffle. Take a moment to familiarize yourself with the different sections of iTunes, such as the Library, Playlist, and Devices tabs. These will be essential in the upcoming steps.
If this is your first time using iTunes, you may be prompted to sign in with your Apple ID. If you don’t have one, you can create it for free. Your Apple ID will allow you to access the iTunes Store, download music, and make purchases if desired.
Ensure that you have the latest version of iTunes installed to avoid any compatibility issues with your iPod Shuffle. You can check for updates by clicking on the “Help” tab and selecting “Check for Updates” from the drop-down menu.
With iTunes open and your iPod Shuffle connected, you’re now ready to move on to the next step, where we’ll add music to your iTunes library.
Step 3: Add music to your iTunes library
Now that iTunes is open, the next step is to add music to your iTunes library. There are a few different ways you can do this:
- Importing from CDs: If you have music CDs that you want to add to your iTunes library, insert the CD into your computer’s CD drive. iTunes will detect the CD and prompt you to import the tracks. Click “Yes” to begin importing the music.
- Purchasing from the iTunes Store: If you want to buy music directly from iTunes, click on the “iTunes Store” button in the top-right corner of the iTunes window. Browse and search for the music you want to purchase, and then click on the price button next to the song or album you wish to buy. Follow the prompts to complete the purchase.
- Adding existing digital files: If you already have music files stored on your computer, you can easily add them to your iTunes library. Click on the “File” tab in iTunes and select “Add File to Library” or “Add Folder to Library.” Navigate to the location of your music files and select the files or folder you want to add. Click “Open” to import the selected music files into iTunes.
Regardless of the method you choose, iTunes will begin importing the music files into your library. Depending on the size of the files and the number of tracks, this process may take a few minutes.
Once the import process is complete, you’ll see your added music files listed in the iTunes library. These files will be available to sync with your iPod Shuffle in the next step. You can organize your music by creating playlists, assigning genres, and adding artist information if desired.
Now that you have successfully added music to your iTunes library, let’s move on to the next step where we will organize your music playlist.
Step 4: Organize your music playlist
With your music now added to your iTunes library, it’s time to organize your music playlist. A playlist is a collection of songs that you can create to customize your listening experience on your iPod Shuffle.
To create a playlist, click on the “Playlist” tab in iTunes. Then, click on the “+” button in the bottom-left corner of the iTunes window. Give your playlist a name and press Enter. Your new playlist will appear in the sidebar under the “Playlist” section.
To add songs to your playlist, you can simply drag and drop them from your iTunes library onto your playlist. You can also right-click on a song or multiple songs and select “Add to Playlist” and choose the desired playlist.
Feel free to arrange the songs in your playlist by dragging them up and down the list to achieve your preferred order. Additionally, you can customize your playlist by adding album artwork or adjusting the song’s information, such as the artist or genre.
Creating multiple playlists can give you the flexibility to organize your music based on your preferences or for specific occasions. For example, you can have a workout playlist, a relaxing playlist, or a party playlist.
Once you have organized your music playlist to your liking, it’s time to proceed to the next step, where we will sync your iPod Shuffle with iTunes.
Step 5: Sync your iPod Shuffle with iTunes
Now that you have organized your music playlist, it’s time to sync your iPod Shuffle with iTunes. Syncing your iPod Shuffle will transfer the selected music from your iTunes library to your device.
Start by selecting your iPod Shuffle from the Devices section in iTunes. You will see options for customization and syncing in the main window.
Before proceeding, ensure that the “Sync Music” option is checked. This will allow iTunes to transfer the music from your selected playlist to your iPod Shuffle.
If you want to sync all the music in your iTunes library, select the “Entire music library” option. If you prefer to sync specific playlists, choose the “Selected playlists, artists, albums, and genres” option. Make sure to select the playlist you created in the previous step.
If you want to manually manage your music on your iPod Shuffle, you can choose the “Manually manage music and videos” option. This gives you more control over the content on your device, but requires you to manually drag and drop songs onto your iPod Shuffle.
Once you have selected your preferred syncing options, click the “Apply” or “Sync” button to start the synchronization process. iTunes will begin transferring the selected music to your iPod Shuffle. The progress will be displayed in the status bar at the top of the iTunes window.
Make sure not to disconnect your iPod Shuffle from your computer while the syncing process is in progress. Doing so may interrupt the transfer and result in incomplete content on your device.
Once the synchronization is complete, you will see a notification indicating that your iPod Shuffle is ready to be disconnected. At this point, you can safely disconnect your iPod Shuffle from your computer.
Congratulations! You have successfully synced your iPod Shuffle with iTunes and transferred your selected music. Now you can enjoy your favorite tunes wherever you go with your iPod Shuffle.
Step 6: Safely disconnect your iPod Shuffle
After syncing your iPod Shuffle with iTunes, it’s important to properly disconnect your device to ensure that the data transfer is complete and no files are damaged. Follow these steps to safely disconnect your iPod Shuffle:
- Check the status indicator: Before disconnecting your iPod Shuffle, make sure it is not actively syncing or transferring data. Look for the solid green light on the device, indicating that it is not in use.
- Quit iTunes: Close iTunes on your computer by clicking on the “X” button or selecting “Quit” from the drop-down menu. This ensures that there are no active connections between your computer and your iPod Shuffle.
- Eject your iPod Shuffle: To safely disconnect your iPod Shuffle, locate the iPod Shuffle icon in the Devices section of iTunes. Right-click on the icon and select “Eject” from the options. Alternatively, you can click on the eject symbol next to the device name in the sidebar of Finder on Mac or in My Computer on Windows.
- Wait for the “OK to disconnect” message: After ejecting your iPod Shuffle, wait for a few seconds until you see the “OK to disconnect” message appear on the screen of your device. This indicates that it is safe to disconnect your iPod Shuffle from your computer.
- Disconnect the USB cable: Once you see the “OK to disconnect” message, gently remove the USB cable from your iPod Shuffle and your computer’s USB port. Ensure that you do not pull on the cable forcefully to avoid damaging the connector or the device itself.
- Verify disconnection: Double-check that your iPod Shuffle is no longer connected to your computer by examining the iTunes interface. The iPod Shuffle icon should no longer be visible, indicating that the device has been successfully disconnected.
By following these steps, you can ensure that your iPod Shuffle is safely disconnected from your computer and ready to be used independently. Enjoy your music on the go!
Conclusion
Congratulations! You have successfully learned how to download music onto your iPod Shuffle. By following the steps outlined in this guide, you can now enjoy your favorite music on the go whenever you want. Here’s a quick recap of the steps:
- Connect your iPod Shuffle to your computer using a USB cable.
- Open iTunes on your computer and make sure it is up to date.
- Add music to your iTunes library by importing CDs, purchasing from the iTunes Store, or adding existing digital files.
- Organize your music by creating playlists and customizing the song information.
- Sync your iPod Shuffle with iTunes to transfer the selected music to your device.
- Safely disconnect your iPod Shuffle from your computer by following the proper procedure.
Remember, the iPod Shuffle is a convenient and portable music player that allows you to enjoy your music collection wherever you go. Take advantage of its compact design and personalize your music experience with playlists and organization.
Now that you have mastered the process, you can continue to explore more features and functionalities of your iPod Shuffle, such as creating additional playlists, listening to podcasts or audiobooks, and adjusting settings to enhance your listening experience.
Enjoy the rhythm and melodies of your favorite songs as you embark on your daily adventures with your iPod Shuffle. Dance to the beat, sing along, and let the music brighten your day!