Introduction
Welcome to the world of digital music where downloading songs is just a click away. With the advent of iTunes, Apple’s popular media player and online music store, it has become easier than ever to discover, purchase, and download your favorite songs. Whether you’re a fan of the latest chart-toppers or a connoisseur of classic hits, iTunes offers a vast library of songs from various genres.
Downloading songs from iTunes is not only convenient but also legal, ensuring that you support the artists and creators behind the music. In this guide, we will walk you through the step-by-step process of downloading songs from iTunes, so you can enjoy your favorite tunes anytime, anywhere.
Before we dive into the details, note that iTunes is available for both Mac and Windows users. Therefore, regardless of the device you’re using, you can follow these instructions and start building your digital music collection.
So, let’s get started! In the following sections, we will guide you through the process of opening iTunes, searching for a song, purchasing it, downloading the song file, accessing the downloaded song, and even syncing it across different devices for a seamless listening experience.
By the end of this guide, you’ll feel confident navigating through iTunes and downloading songs with ease. So, without further ado, let’s embark on this musical journey together!
Step 1: Open iTunes
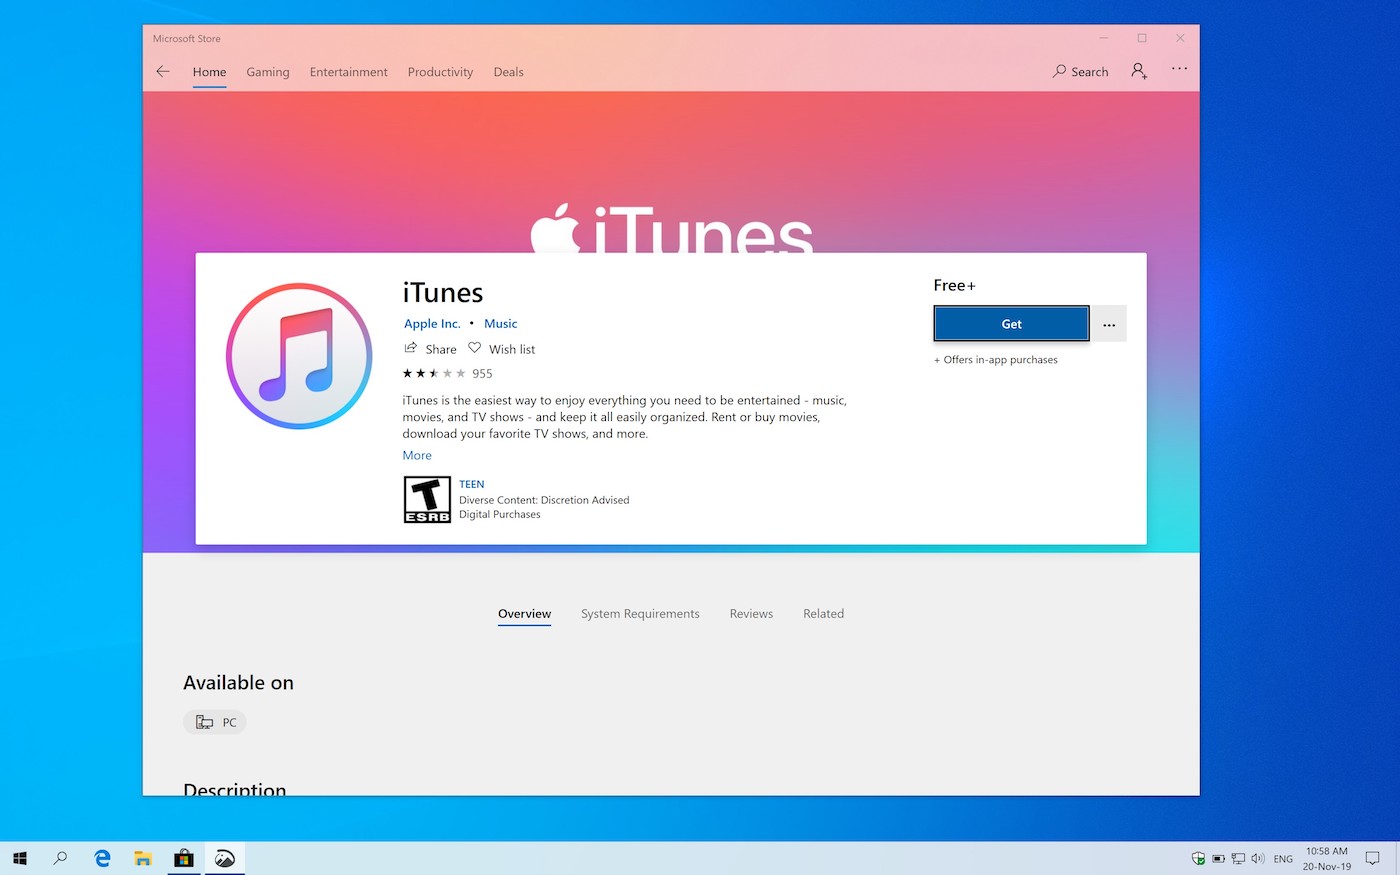
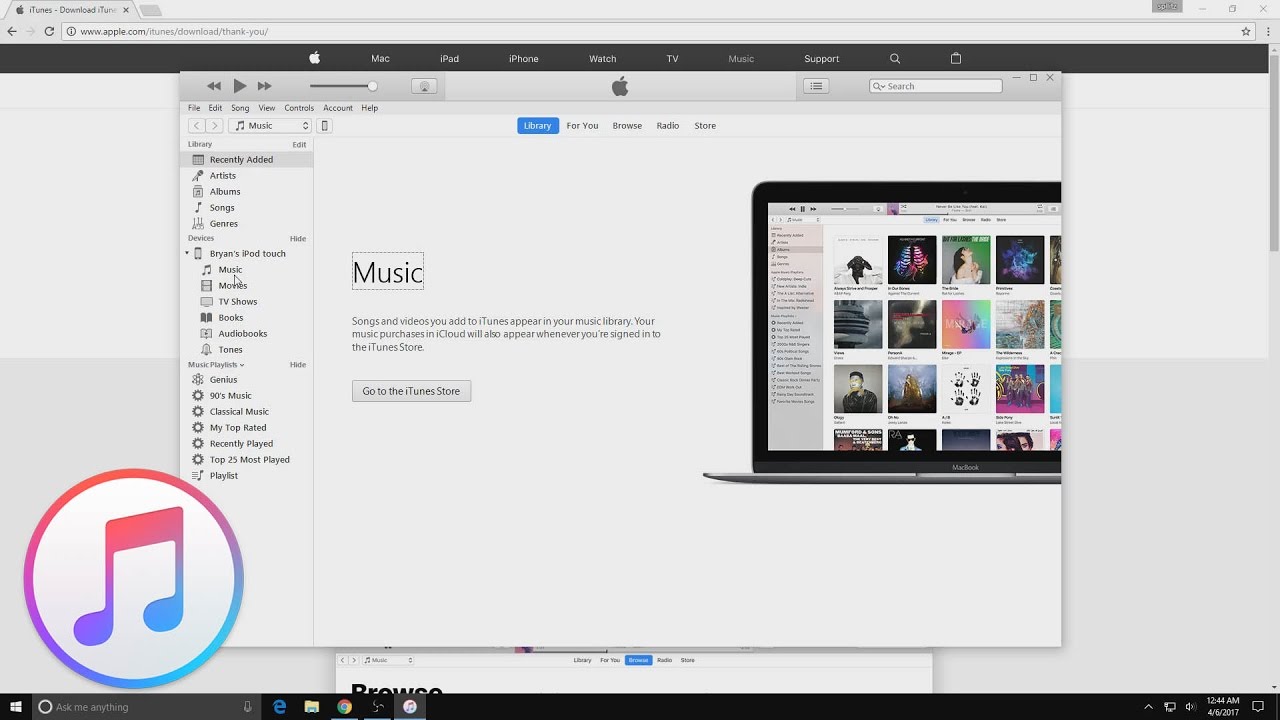
The first step to downloading songs from iTunes is to open the iTunes application on your computer. If you haven’t yet installed iTunes, you can download it for free from the Apple website. Once you have it installed, follow these simple steps:
- Locate the iTunes icon on your desktop or in your applications folder and double-click on it to launch the program.
- If prompted, sign in with your Apple ID and password. If you don’t have an Apple ID, you can create one by clicking on “Create New Apple ID” and following the instructions.
- Once logged in, the iTunes window will open, displaying the main interface of the application.
Now that you have successfully opened iTunes, you are ready to navigate through its features and start browsing the extensive music library it offers. From here, you can search for specific songs, albums, or artists, explore different genres, and discover new music to add to your collection.
Before moving on to the next step, make sure you have a stable internet connection to ensure smooth browsing and downloading. Now that you have iTunes up and running, let’s move on to the next step and learn how to search for a specific song.
Step 2: Search for the Song
Now that you have iTunes open, it’s time to search for the song you want to download. iTunes provides several ways to find your desired song, whether you know the title, artist, or album. Follow these steps to search for a specific song:
- At the top right corner of the iTunes window, you will find a search bar. Click on it or place your cursor inside the search bar to activate it.
- Type in the name of the song or the artist you’re looking for. You can be as specific or as general as you want.
- As you start typing, iTunes will automatically generate search results based on your input. You can browse through the options and click on the one that matches your desired song.
- If you’re not getting the desired results, try refining your search by including more specific details like the album name, release year, or genre.
- Once you find the song you’re looking for, click on it to view additional details such as the artist, album, duration, and price.
Searching for a song on iTunes provides you with a convenient way to explore and discover new music. In addition to searching by song title or artist, you can also browse through curated playlists, top charts, and recommended tracks based on your listening preferences.
Once you have successfully found the song you want to download, it’s time to move on to the next step: purchasing the song. Stay tuned for step 3, where we will guide you through the process of purchasing the song and adding it to your iTunes library.
Step 3: Purchase the Song
Now that you have found the song you want to download, it’s time to make a purchase. iTunes offers a wide variety of songs, both popular hits and indie gems, available for purchase at affordable prices. Follow these steps to purchase the song of your choice:
- Click on the price button next to the song. It will often display the price as “$0.99” or “$1.29” depending on the track.
- If prompted, enter your Apple ID password to initiate the purchase. Keep in mind that you may also be required to enter your billing information if you haven’t already done so.
- After confirming the purchase, you will see a progress bar indicating the download process. Once the download is complete, the song will be added to your iTunes library.
It’s important to note that when you purchase a song from iTunes, you are obtaining a digital copy of the track that is legally licensed for personal use. By supporting the artists and creators behind the music, you contribute to the continuation of their work.
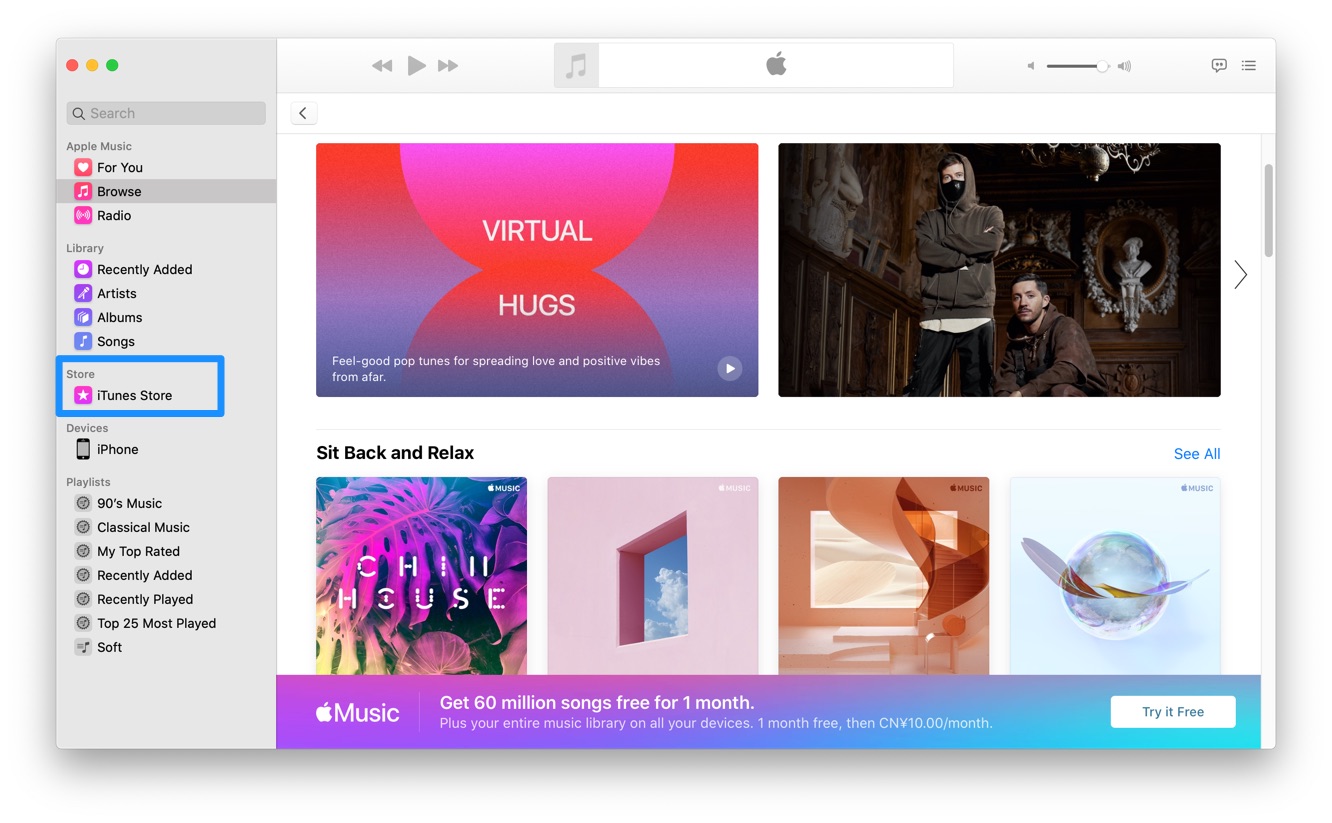
In addition to individual song purchases, iTunes also offers the option to buy full albums or subscribe to Apple Music, a streaming service with a vast catalogue of music from around the world. Exploring these options allows you to create a personalized music collection that suits your preferences.
Now that you have successfully purchased the song, it’s time to move on to the next step: downloading the song to your device. Stay tuned for step 4, where we will guide you through the process of downloading the song and ensuring that it’s accessible in your iTunes library.
Step 4: Download the Song
After purchasing a song on iTunes, the next step is to download it to your device. By downloading the song, you can listen to it offline, without an internet connection. Follow these simple steps to download the song:
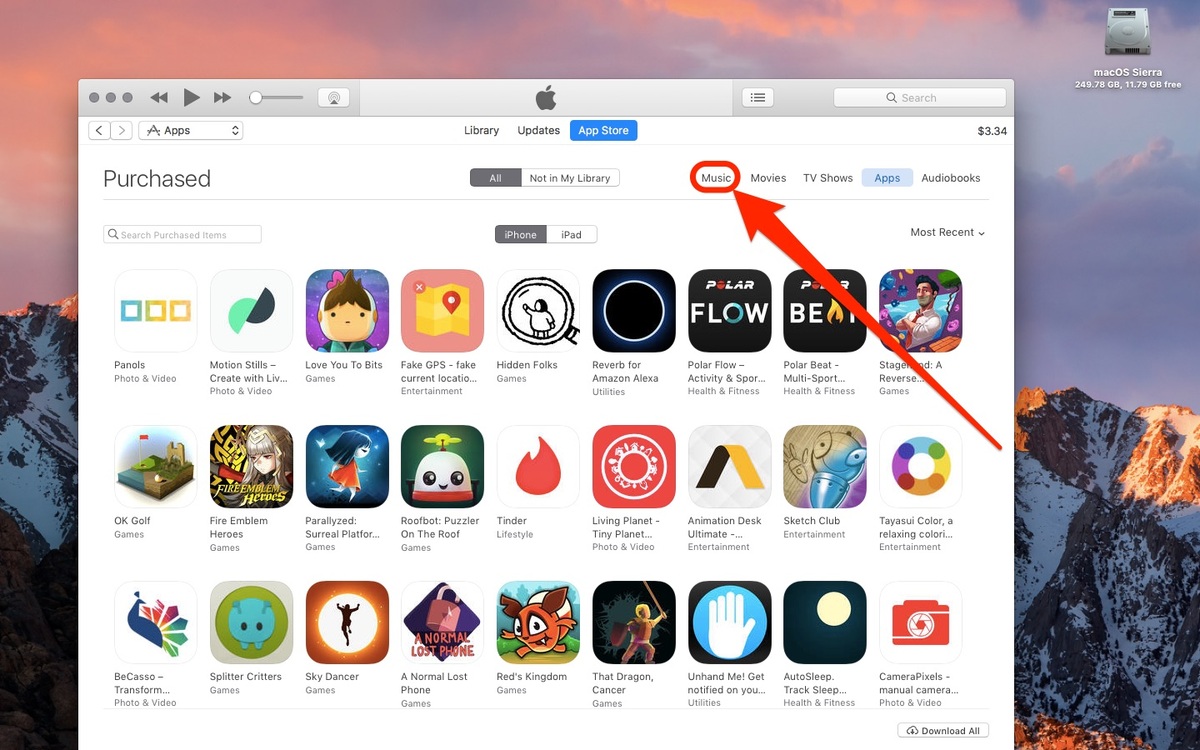
- In the iTunes interface, navigate to the “Library” section located at the top left corner of the window.
- Within your library, you will find a category called “Songs.” Click on it to view all the songs in your iTunes library.
- Locate the song you just purchased, either by scrolling through the list or using the search bar at the top right corner of the window.
- Once you locate the song, right-click on it (or control-click on Mac) to open the contextual menu.
- From the contextual menu, select the “Download” or “Download Album” option. This will initiate the download process for the selected song.
- A progress indicator will appear, showing the status of the download. Once the download is complete, the song will be saved on your device and accessible for offline listening.
It’s worth mentioning that if you have multiple devices linked to your Apple ID, such as iPhone, iPad, or iPod touch, downloading the song on one device automatically makes it available on all your connected devices through iCloud Music Library. This allows you to enjoy your purchased songs seamlessly across all your Apple devices.
Now that you have successfully downloaded the song, it’s time to move on to the next step: accessing the downloaded song and listening to it on your preferred device. Stay tuned for step 5, where we will guide you through the process of accessing and playing the downloaded song.
Step 5: Access the Downloaded Song
Now that you have downloaded the song from iTunes, it’s time to access and play it on your preferred device. Whether you want to listen to the song on your computer, iPhone, iPad, or iPod touch, iTunes provides seamless access to your downloaded music. Follow these steps to locate and enjoy your downloaded song:
- On your device, open the iTunes application or Music app. If you are using a computer, launch iTunes as you did in Step 1.
- Navigate to the “Library” or “My Music” section, depending on the device you’re using. This section displays all the songs available in your iTunes library.
- Within the library, you can use the search bar or browse through the categories to locate the downloaded song.
- Once you find the song, simply click or tap on it to start playing. If you have multiple songs, you can create playlists or organize your library to easily access specific tracks.
- Enjoy listening to the downloaded song on your device! You can use the playback controls to adjust the volume, skip to the next song, or repeat the track.
Whether you’re commuting, working out, or relaxing at home, having access to your downloaded songs on your devices allows you to enjoy your favorite music wherever you go. You can even create playlists, shuffle songs, or organize your library based on your preferences.
It’s important to note that when accessing the downloaded song, ensure that you have the necessary licensing rights to play it on the specific device. Having legally purchased the song from iTunes should grant you the proper permissions to enjoy it without any restrictions.
Now that you know how to access the downloaded song, it’s time to explore the final step: syncing the song across multiple devices for a seamless music experience. Stay tuned for step 6, where we will guide you through the process of syncing the song to other devices.
Step 6: Sync the Song to Other Devices
If you have multiple Apple devices, such as an iPhone, iPad, or iPod touch, you can sync the downloaded song across all your devices seamlessly. This ensures that you have access to your favorite music wherever you go. Follow these steps to sync the song to your other devices:
- On your primary device where you purchased and downloaded the song, ensure that you are signed in with the same Apple ID on all the devices you want to sync.
- Connect your other devices to the internet and ensure they are connected to the same Apple ID.
- On your device where the song is downloaded, navigate to the “Settings” app and tap on your Apple ID.
- From the Apple ID settings, tap on “iCloud” or “Music,” depending on the device, and ensure that “iCloud Music Library” is enabled.
- Allow some time for your device to sync the downloaded song to the iCloud Music Library.
- On your other devices, open the iTunes application or Music app, and make sure you are signed in with the same Apple ID.
- Navigate to the “Library” or “My Music” section and wait for the library to sync with the iCloud Music Library.
- Once the iCloud Music Library is synced, you will now have access to the downloaded song on your other devices.
By syncing the song to your other devices, you can seamlessly switch between devices and continue listening to your favorite music without interruption. You can enjoy the same personal music library, playlists, and downloaded songs on all your Apple devices.
It’s important to note that syncing your music library and downloaded songs using iCloud requires a stable internet connection. Ensure that you have a reliable internet connection on all your devices to sync the songs effectively.
Now that you have successfully synced the downloaded song to your other devices, you can enjoy your favorite music on any Apple device you own.
Congratulations! You have now learned how to download songs from iTunes, access them on your devices, and sync them across multiple devices. Start exploring the vast iTunes library, purchase your favorite songs, and create your personalized music collection.
Conclusion
Congratulations! You have now mastered the process of downloading songs from iTunes and enjoying them on your devices. By following the steps outlined in this guide, you can easily access an extensive music library, search for your favorite songs, make purchases, and download them to your device for offline listening.
iTunes provides a seamless and user-friendly platform for music lovers to explore, discover, and collect their favorite songs. Whether you’re a fan of the latest hits, timeless classics, or niche genres, iTunes offers a vast selection to satisfy every musical taste.
Remember that when you make a purchase on iTunes, you are not only accessing high-quality music, but you are also supporting the artists and creators behind the songs. By purchasing music legally, you contribute to the industry and help ensure that artists can continue producing the music you love.
Additionally, with the ability to sync your songs across multiple devices using iCloud Music Library, you can enjoy your downloaded music seamlessly across all your Apple devices. This feature allows you to create a consistent music listening experience, no matter which device you choose to use.
So, whether you’re on the go, working out, or relaxing at home, iTunes empowers you to curate your own personal music collection and enjoy your favorite songs whenever and wherever you desire.
Now that you have become adept at the process of downloading songs from iTunes, feel free to explore new artists, discover hidden gems, and build your library with your favorite tracks.
Happy downloading and happy listening!