Introduction
Music has the power to uplift our mood, transport us to another world, and make our everyday moments more enjoyable. If you’re a proud owner of an iPod Shuffle, you have the perfect companion to take your favorite tunes wherever you go. However, you may be wondering how to download songs to your iPod Shuffle effortlessly. Well, you’ve come to the right place!
In this article, we will guide you through the step-by-step process of downloading songs to your iPod Shuffle. Whether you’re a music aficionado or a casual listener, these simple instructions will help you add your favorite tracks to your device in no time.
Before we dive into the details, please make sure you have the following essentials ready: your iPod Shuffle, a computer with iTunes installed, and a USB cable to connect your device to the computer. Once you have everything ready, you’re just a few clicks away from enjoying a personalized music collection on your iPod Shuffle.
Downloading songs to your iPod Shuffle not only allows you to enjoy your favorite tunes while on the go, but it also provides a convenient way to carry your music library with you. No matter where you are – whether it’s on a run in the park, commuting to work, or relaxing on a beach vacation – having your favorite songs at your fingertips can enhance your overall listening experience and bring joy to your day.
So, let’s get started! In the following sections, we will walk you through the step-by-step process of downloading songs to your iPod Shuffle. By the end of this article, you’ll be able to effortlessly sync your favorite tracks onto your device, ensuring that you always have the perfect soundtrack for every moment.
Step 1: Connect your iPod Shuffle to your computer
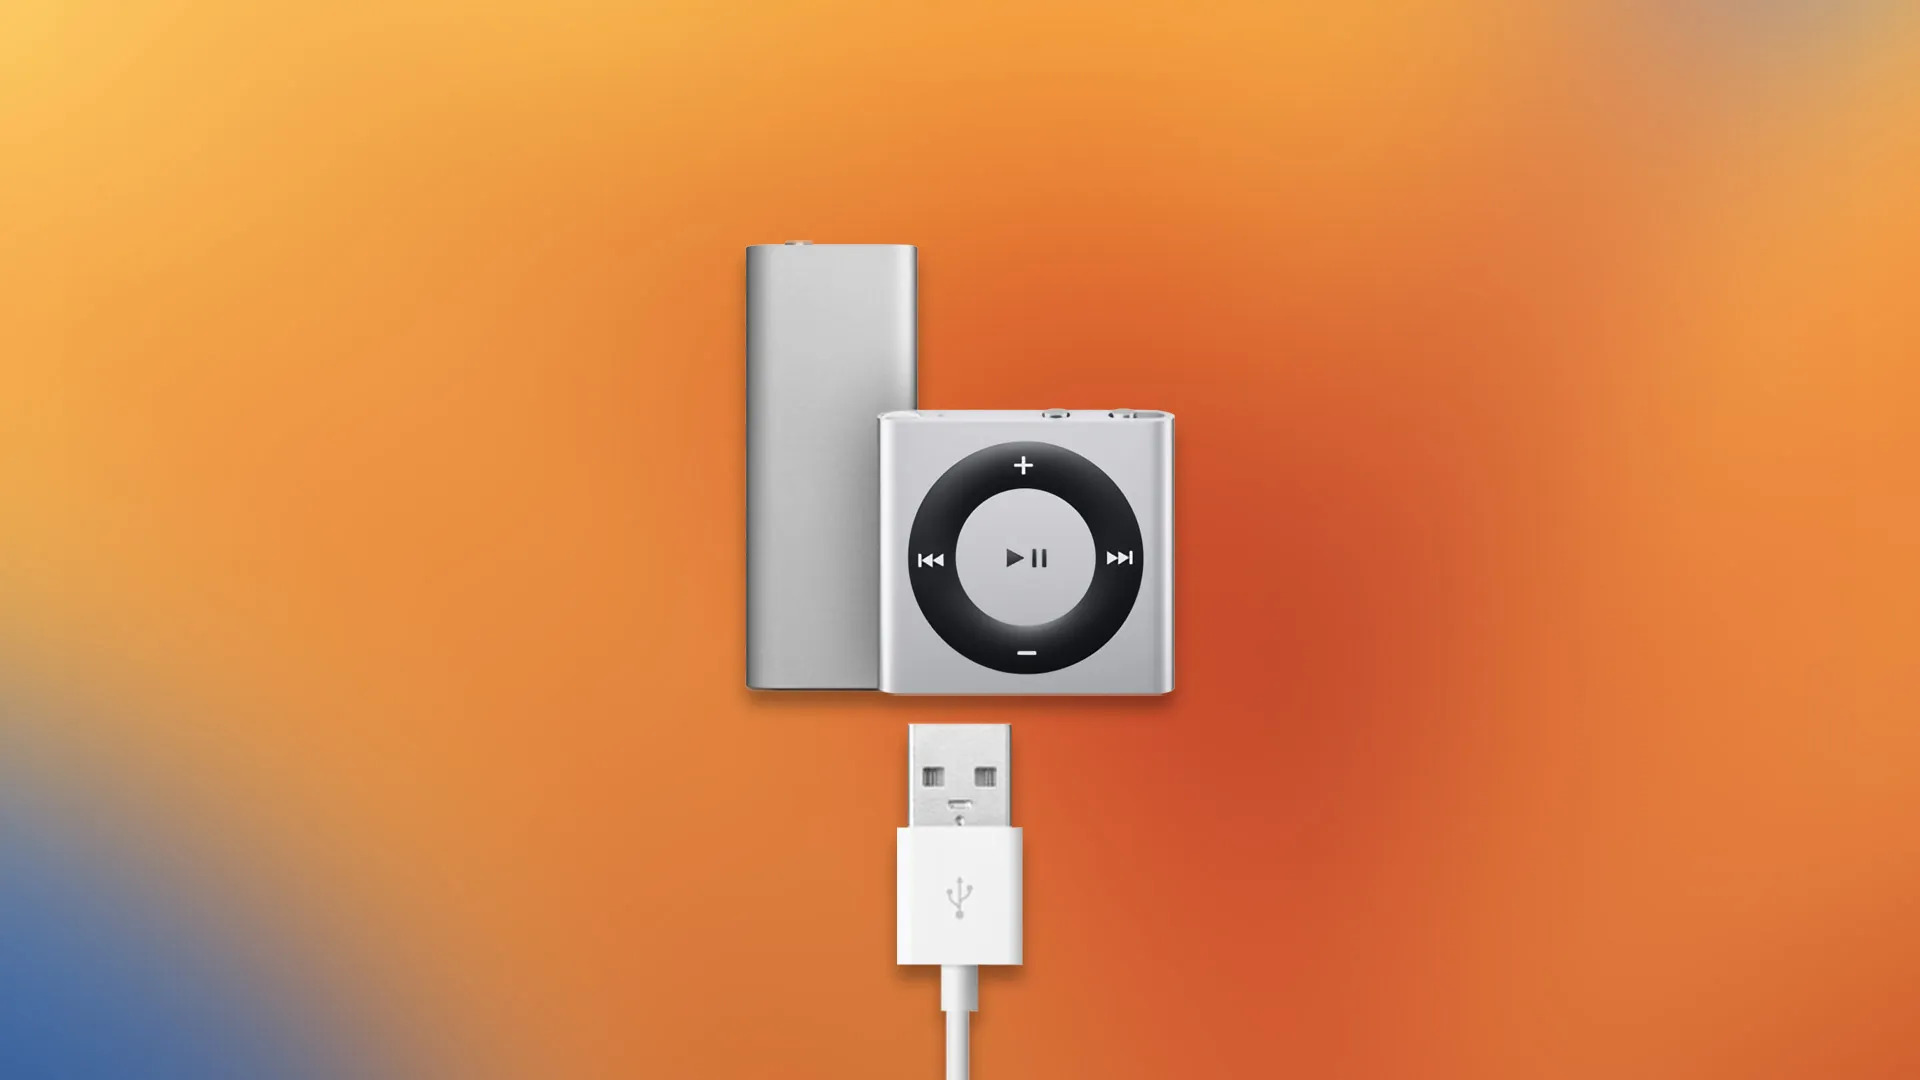
The first step in downloading songs to your iPod Shuffle is to establish a connection between your device and your computer. To do this, you’ll need a USB cable that is compatible with your iPod Shuffle. Start by plugging one end of the USB cable into the port on your iPod Shuffle and the other end into an available USB port on your computer.
Once the cable is connected, your iPod Shuffle will be recognized by your computer. You may see a notification or hear a sound indicating that a device has been connected. At this point, you’re ready to move on to the next step.
It’s important to note that you should use the official USB cable that came with your iPod Shuffle, as using third-party cables may not provide a stable connection or may not be compatible with your device. If you don’t have the original cable, you can purchase one from an authorized retailer or directly from Apple.
Now that your iPod Shuffle is securely connected to your computer, you can proceed with the next steps to download your favorite songs and create your personalized music library.
Step 2: Open iTunes and select your iPod Shuffle
With your iPod Shuffle connected to your computer, it’s time to open iTunes, the official software for managing and syncing music on Apple devices. If you don’t already have iTunes installed on your computer, you can download the latest version from the Apple website and follow the installation instructions.
Once iTunes is launched, you’ll see the familiar interface that allows you to organize and play your music. Look for the icon representing your iPod Shuffle in the top-left corner of the iTunes window. Click on it to select your device and access its settings.
When you select your iPod Shuffle, a summary page will appear, showing information about your device, such as its storage capacity, software version, and battery status. This page is where you will manage the syncing of music and other content to your iPod Shuffle.
Before proceeding further, it’s a good idea to ensure that your iTunes version is up to date. Visit the iTunes menu and select “Check for Updates” to ensure that you have the latest features and improvements. This will ensure a smooth experience during the music syncing process.
Once you have selected your iPod Shuffle and made sure your iTunes is up to date, you’re ready to move on to the next step: choosing the songs you want to download to your device.
Step 3: Choose the songs you want to download
Now that you have successfully connected your iPod Shuffle to iTunes, it’s time to choose the songs you want to download and sync to your device. iTunes offers a convenient way to organize your music library and select the tracks that you want to enjoy on the go.
Start by navigating to the music library section within iTunes. Here, you will find all the songs in your iTunes library. If you have already imported and organized your music collection in iTunes, this step will be even easier. You can browse through your library by artist, album, or genre, or use the search bar to quickly find specific songs.
To select the songs you want to download to your iPod Shuffle, simply click on the checkboxes next to the songs. You can choose individual songs, entire albums, or even playlists. Feel free to mix and match to create the perfect selection for your device.
If you are unsure which songs to choose, iTunes also offers suggestions based on your listening habits, as well as curated playlists and charts. This can be a great way to discover new music or rediscover old favorites.
Keep in mind that the storage capacity of your iPod Shuffle will dictate how many songs you can download. As you select songs, iTunes will display the total size of the selected items and how much space is available on your device. Make sure to stay within the limits to avoid any issues during the syncing process.
Once you have made your selection, double-check to ensure that you have chosen the right songs. It’s always a good idea to preview the songs before downloading them to ensure they’re the ones you want. Once you’re satisfied with your selection, you’re ready to move on to the next step: adjusting the settings for the downloaded songs.
Step 4: Adjust the settings for the downloaded songs
After selecting the songs you want to download to your iPod Shuffle, it’s time to adjust the settings to ensure the best listening experience on your device. iTunes provides several options that allow you to customize how the songs are synced and organized on your iPod Shuffle.
To begin, select your iPod Shuffle from the left sidebar in iTunes. This will bring up the summary page for your device. Look for the “Music” tab at the top of the page and click on it to access the music syncing settings.
In the music syncing settings, you’ll find various options to tailor the synchronization process. One important setting is the “Sync Music” checkbox, which allows you to choose whether to sync all your music or only selected playlists, artists, albums, or genres. Select the option that best suits your preferences and needs.
Below the syncing options, you’ll find a checkbox labeled “Convert higher bitrate songs to 128 kbps AAC.” This setting is useful if you have songs in your library with higher bitrates and limited storage space on your iPod Shuffle. Enabling this option will automatically convert those songs to a lower bitrate during the syncing process, reducing their file size and maximizing the number of songs you can have on your device.
Additionally, iTunes offers the option to include or exclude certain audio formats from syncing. If you have specific audio formats that you prefer not to include on your iPod Shuffle, make sure to adjust these settings accordingly.
Once you have adjusted the settings to your liking, take a moment to review them and ensure they align with your preferences. This can help prevent any surprises during the syncing process and ensure that your downloaded songs meet your desired specifications.
With the settings adjusted, you’re now ready to move on to the next step: starting the syncing process and transferring the selected songs to your iPod Shuffle.
Step 5: Start the syncing process
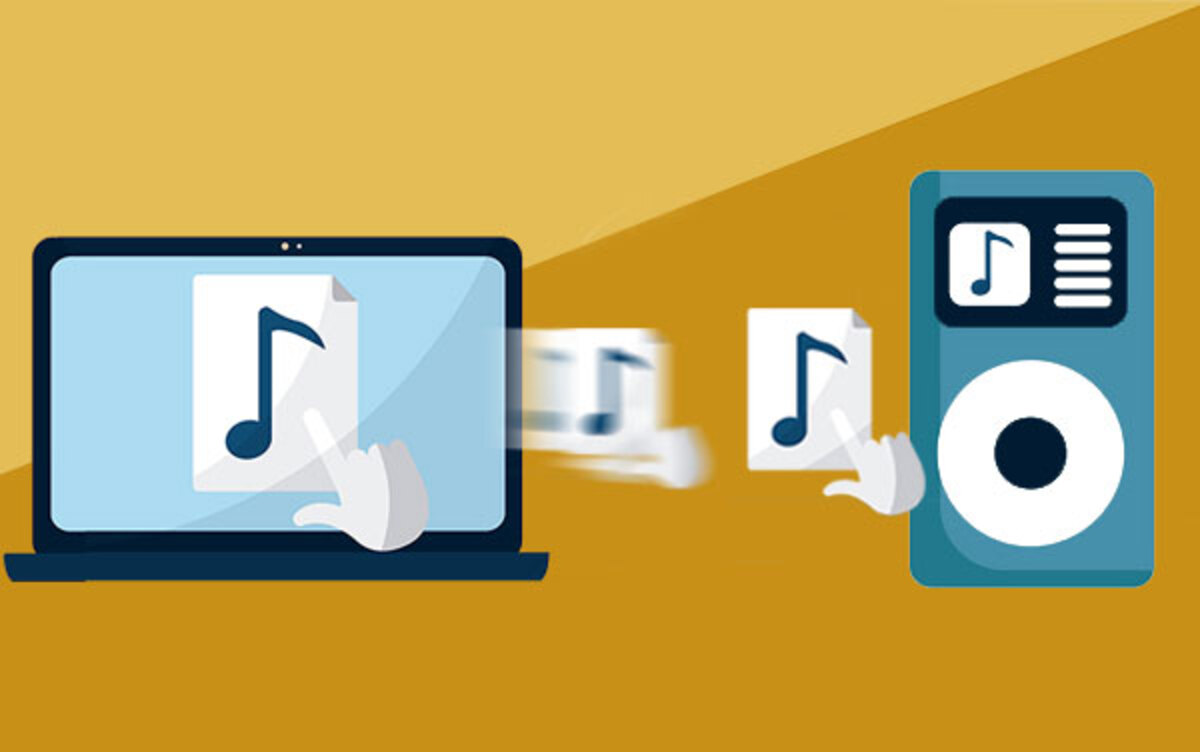
Now that you have chosen the songs and adjusted the settings to your preference, it’s time to initiate the syncing process. This step will transfer the selected music from your iTunes library to your iPod Shuffle, ensuring that you have all your desired songs readily available on your device.
To begin, make sure your iPod Shuffle is still connected to your computer via the USB cable. If it has been disconnected for any reason, simply reconnect it and wait for it to be recognized by iTunes.
Once your device is connected, navigate to the summary page for your iPod Shuffle in iTunes. Look for the “Sync” button located in the lower-right corner of the page. Click on this button to start the syncing process.
The syncing process may take some time, depending on the number of songs you are transferring and the speed of your computer. iTunes will display a progress bar and provide an estimate of how long the process will take. It’s important to keep your iPod Shuffle connected during this process to ensure that all the selected songs are successfully transferred.
While the syncing is in progress, make sure not to disconnect or interrupt the connection between your iPod Shuffle and your computer. Doing so may result in incomplete syncing or potential data loss on your device.
Once the syncing process is complete, you will receive a notification from iTunes indicating that your music has been successfully transferred to your iPod Shuffle. At this point, you can disconnect your device from your computer by safely ejecting it. This will ensure that no data is lost and that your iPod Shuffle is ready for use.
With the syncing process complete, you can now enjoy your newly downloaded songs on your iPod Shuffle. Take a moment to browse through your device and explore the music you’ve added. You can navigate through your songs using the controls on your iPod Shuffle, allowing you to play, pause, skip, and adjust the volume to your liking.
Now that you’ve successfully completed the syncing process, you’re ready to disconnect your iPod Shuffle and embark on your musical journey wherever you go. Happy listening!
Step 6: Eject your iPod Shuffle and enjoy your music!
Congratulations! You’ve reached the final step in the process of downloading songs to your iPod Shuffle. In this step, we’ll cover the important task of safely ejecting your device from your computer and getting ready to enjoy your music on the go.
Before disconnecting your iPod Shuffle from your computer, it’s crucial to ensure that all data has been successfully transferred and that no files are being actively synced. To do this, return to the iTunes program on your computer and locate your device in the left sidebar or navigation menu.
Once you’ve found your iPod Shuffle in iTunes, right-click on it (or control-click on a Mac) to bring up a menu of options. Look for the option to “Eject” or “Disconnect” your device and select it. This action will safely remove your iPod Shuffle from your computer, preventing any potential data loss or device errors.
After ejecting your iPod Shuffle, you can disconnect it from the USB cable. Your device is now ready for portable music enjoyment. Take a moment to admire your collection of downloaded songs and appreciate the effort you’ve put into creating your personalized music library.
To play your music, simply navigate through the menus on your iPod Shuffle using the control buttons. You can pause, skip, or adjust the volume to suit your listening preferences. Whether you’re taking a jog, commuting to work, or relaxing in the park, your iPod Shuffle will be your faithful companion, providing the perfect soundtrack for every moment.
Remember to periodically update your music library by connecting your iPod Shuffle to your computer and repeating the syncing process. This will allow you to add new songs, remove old ones, and keep your music collection fresh and up-to-date.
Now that you’ve successfully completed all the steps, it’s time to say farewell to your computer and venture into a world of musical bliss with your iPod Shuffle. Immerse yourself in the melodies that inspire, uplift, and entertain you. Enjoy the rhythmic beats and captivating lyrics as you embark on your musical journey, wherever it may take you.
So, it’s time to put on your headphones, press play, and let the music transport you to a world of sound and emotion. Enjoy your music, and remember to keep exploring new artists, genres, and songs to broaden your musical horizons. Happy listening!