Introduction
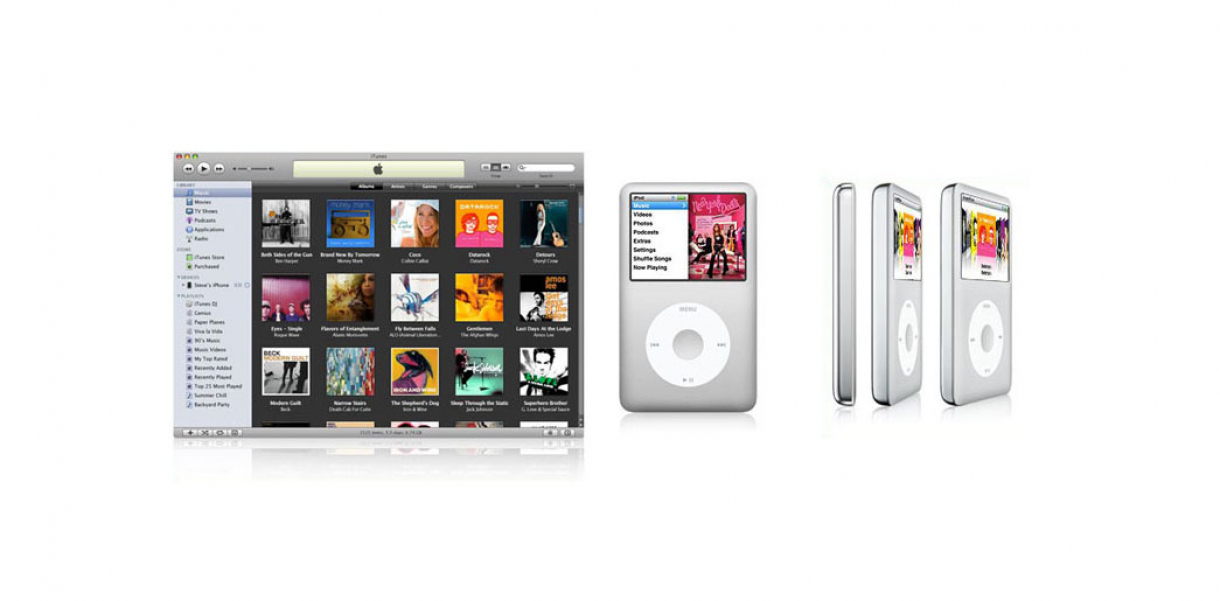
Downloading music from an iPod to iTunes can be a task that many users find challenging. Whether you’re looking to transfer your entire music library or just a few favorite songs, understanding the process and selecting the right method is crucial.
It’s not uncommon for users to encounter obstacles when attempting to transfer their music from an iPod to iTunes. This can be due to restrictions imposed by Apple, such as Digital Rights Management (DRM) protection or limitations within the iTunes software itself. However, there are several workarounds and solutions available to help you overcome these challenges and successfully download your music.
In this article, we will explore different methods and techniques for downloading music from an iPod to iTunes. We will discuss the use of third-party software as well as manual transfer options. Additionally, we will cover how to import both purchased and non-purchased music, and address the issues regarding DRM-protected songs.
If you’ve ever found yourself in a situation where you need to transfer your music from your iPod to iTunes, but weren’t sure where to start, this article is for you. By the end, you’ll have a clear understanding of the options available to you and be equipped with the knowledge to successfully download your music and enjoy it within the iTunes library.
Understanding the Challenge
Before we delve into the methods of downloading music from an iPod to iTunes, it’s important to understand the challenges you may face during the process. Apple has implemented certain restrictions and limitations when it comes to transferring music, which can make the task more complex.
One of the primary barriers you may encounter is Digital Rights Management (DRM) protection. DRM is a technology used to restrict the unauthorized sharing and copying of digital media, including music. Songs purchased from the iTunes Store prior to 2009 are typically protected by DRM, making it difficult to transfer them directly from an iPod to iTunes.
Another challenge is the difference in file formats between the iPod and iTunes. While iPods support various formats like MP3, M4A, and AAC, iTunes primarily uses the AAC format. This means that some songs may not be compatible with iTunes and require conversion or transcoding.
Furthermore, Apple does not provide a built-in feature within iTunes to transfer music from an iPod to the computer. This can be frustrating, especially when you need to restore your iTunes library or switch to a new computer.
Fortunately, there are solutions to these challenges. Third-party software and manual transfer methods can help you overcome these obstacles and successfully download your music. In the following sections, we will explore these options in detail and guide you through the process of transferring your music from your iPod to iTunes.
Using Third-Party Software
If you’re unable to transfer your music from your iPod to iTunes using the conventional methods, utilizing third-party software can be a viable solution.
There are several reliable software options available that specialize in iPod-to-iTunes transfers. These software programs provide a user-friendly interface and advanced features to facilitate the process.
One popular option is iExplorer, which allows you to connect your iPod to your computer and access its contents. With iExplorer, you can browse through your iPod’s music library and selectively transfer songs or entire playlists to your iTunes library. The software also supports converting incompatible formats on the fly, ensuring seamless compatibility with iTunes.
Another widely used software is Senuti (iTunes spelled backward). Senuti allows you to transfer your music from your iPod to iTunes with just a few clicks. It provides a straightforward interface where you can select the songs you want to transfer and initiate the transfer process. The software also offers additional features like recovering missing or deleted music from your iPod.
When using third-party software, it’s essential to download reputable and trustworthy software from trusted sources. Ensure that you follow proper installation instructions and exercise caution to avoid any potential risks or malware.
Using third-party software can simplify the process of transferring your music from an iPod to iTunes. It offers a convenient solution that bypasses Apple’s restrictions and allows for greater control over your music library.
In the following sections, we will explore alternative methods for manually transferring music and importing both purchased and non-purchased music into iTunes from your iPod.
Manually Transferring Music
If you prefer not to rely on third-party software or are experiencing compatibility issues, manually transferring your music from an iPod to iTunes is another viable option.
To manually transfer your music, you’ll need to enable the “Disk Use” option on your iPod. This allows your iPod to function as an external storage device, giving you access to its files.
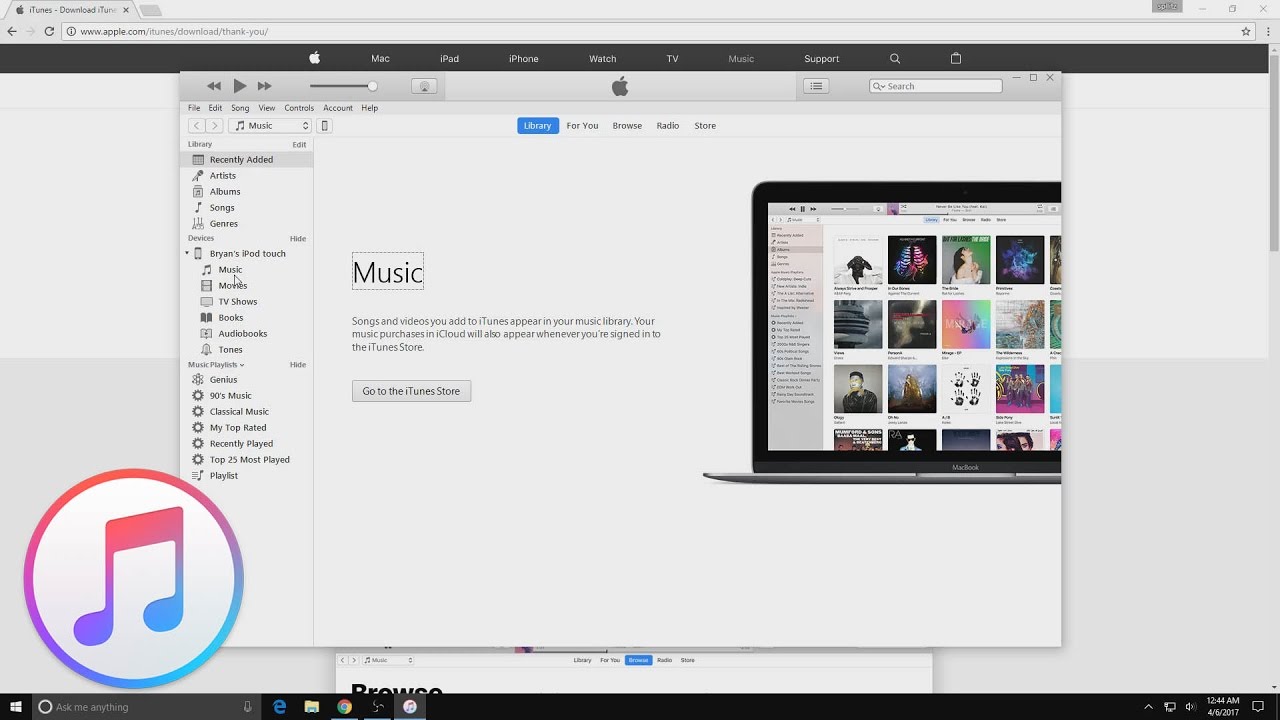
Connect your iPod to your computer using a USB cable and open iTunes. Locate your iPod in the “Devices” section within iTunes and click on it. In the iPod summary page, check the box next to “Enable disk use” or “Manually manage music and videos.” This will allow you to access your iPod’s files on your computer.
Next, navigate to your iPod’s file system. Depending on your operating system, you can do this by opening “My Computer” on Windows or using Finder on Mac. Look for your iPod under the list of connected devices or in the sidebar.
Once you’ve accessed your iPod’s file system, navigate to the “Music” folder. This is where your songs are stored. Copy the desired songs or folders and paste them in a location on your computer, such as your desktop or a designated folder.
Once you’ve copied your music from your iPod to your computer, you can then import it into iTunes. Open iTunes, go to “File” and select “Add File to Library” or “Add Folder to Library.” Navigate to the location where you saved your copied music files and select them. iTunes will then import the files into your library.
It’s important to note that manually transferring your music can be time-consuming, especially if you have a large music library. However, this method offers more control and allows you to customize the files you transfer.
In the next sections, we will discuss how to import both purchased and non-purchased music into iTunes from your iPod, as well as address the issue of DRM-protected songs.
Importing Purchased Music
Importing purchased music from your iPod to iTunes is relatively straightforward, as long as the songs are not protected by DRM. Here’s how you can do it:
- Connect your iPod to your computer using a USB cable.
- Launch iTunes on your computer. If it doesn’t open automatically, you can open it manually.
- In iTunes, go to the “File” menu and select “Transfer Purchases from [Your iPod’s Name]”. This will initiate the transfer process and import all the purchased music from your iPod to iTunes.
- After the transfer is complete, you will find the imported music in your iTunes library, ready for you to enjoy.
Keep in mind that this method only works for songs that you have purchased from the iTunes Store. If you have non-purchased or DRM-protected music on your iPod, you will need to explore alternative methods, which we will discuss in the following sections.
It’s important to note that if your purchased music is DRM-protected, you may encounter restrictions when trying to transfer it from your iPod to iTunes. In such cases, you may need to use third-party software or convert the DRM-protected files into a compatible format before importing them into iTunes.
Now that you know how to import purchased music from your iPod to iTunes, let’s explore the next section, which covers transferring non-purchased music.
Transferring Non-Purchased Music
Transferring non-purchased music from your iPod to iTunes can be a bit more challenging, especially if the songs are not in a compatible format. However, with the right approach, you can successfully transfer your non-purchased music to your iTunes library.
One option is to manually transfer the non-purchased music files, as we discussed earlier in the “Manually Transferring Music” section. By enabling the “Disk Use” option on your iPod and copying the music files from your iPod to your computer, you can then import them into iTunes.
If you have non-purchased music files in formats that are not compatible with iTunes, you will need to convert them to a compatible format first. There are various software programs available that can help you with the conversion process, allowing you to convert the files to formats like MP3 or AAC.
Once you’ve copied and converted the non-purchased music files, you can import them into iTunes by selecting the “Add File to Library” or “Add Folder to Library” option from the “File” menu in iTunes. Navigate to the location where you saved the copied and converted music files, and select them for import.
Another option for transferring non-purchased music is to use third-party software specifically designed for iPod-to-iTunes transfers. As mentioned earlier, software like iExplorer or Senuti can assist you in transferring non-purchased music from your iPod to iTunes. These programs often include features to handle compatibility issues and simplify the transfer process.
It’s important to ensure that you have the necessary rights and permissions to transfer non-purchased music. Piracy or copyright infringement is illegal and can result in serious consequences.
With the methods and options discussed in this section, you should be able to successfully transfer your non-purchased music from your iPod to iTunes and enjoy your entire music collection within iTunes.
In the next section, we will address the issue of DRM-protected songs and how to deal with them during the transfer process.
Dealing with DRM-Protected Songs
Dealing with DRM-protected songs can pose a challenge when transferring music from an iPod to iTunes. Digital Rights Management (DRM) is a technology used to protect copyrighted content, and it can restrict the transfer and playback of these songs on unauthorized devices or software.
If you have DRM-protected songs on your iPod, you may encounter difficulties when attempting to transfer them directly to iTunes. However, there are a few workarounds to help you overcome this issue.
One solution is to use third-party software that specializes in converting DRM-protected files into a compatible format. These software programs can remove the DRM restrictions from your songs, allowing you to transfer them to iTunes without any issues.
Another option is to use the iTunes Match service, available for a subscription fee. iTunes Match allows you to upload your entire music library, including DRM-protected songs, to the iCloud. Once uploaded, you can then access your music from any device with iTunes, including your iPod and other authorized devices.
If you no longer have access to the original source or files for your DRM-protected songs, you may need to explore alternative methods, such as repurchasing the songs from the iTunes Store or seeking legal options for acquiring DRM-free versions of the songs.
It’s important to note that removing DRM protections or engaging in unauthorized methods to transfer DRM-protected songs may be considered copyright infringement, which is illegal. Always ensure that you have the necessary rights and permissions to handle DRM-protected content.
By following the appropriate methods and options available, you can navigate the challenges associated with DRM-protected songs and successfully transfer your music from your iPod to iTunes.
In the next section, we will address common troubleshooting issues that may arise during the music transfer process.
Troubleshooting Common Issues
While transferring music from an iPod to iTunes, you may encounter common issues that can be easily resolved with some troubleshooting. Let’s take a look at a few common problems and their solutions:
- Device not recognized: If your iPod is not being recognized by iTunes, make sure you have the latest version of iTunes installed on your computer. Additionally, try using a different USB cable or port to connect your iPod. Restarting both your computer and iPod can also help resolve recognition issues.
- Incompatible formats: If you come across songs in unsupported formats, consider using a third-party software to convert them into a compatible format like MP3 or AAC. This will allow you to import the songs into iTunes without any issues.
- Authorization issues: If you’re unable to transfer DRM-protected songs due to authorization problems, ensure that you’re using the correct Apple ID associated with the purchased songs. You may need to deauthorize and then reauthorize your computer if the issue persists.
- Corrupted files: If certain songs appear to be corrupted or play incorrectly, try deleting those files from your iPod and then redownload or reimport them. If the issue persists, consider restoring your iPod to its factory settings and then syncing your music again.
- Incomplete transfers: Sometimes, during large transfers, some songs may not successfully transfer to iTunes. If this happens, try transferring the songs in smaller batches to identify if there is a specific file causing the issue. You can also try restarting the transfer process or using a different method or software.
If you encounter any other issues during the music transfer process, checking for updates, restarting your devices, and ensuring proper connections can often help resolve the problem. Additionally, referring to online forums, support communities, or contacting Apple support can provide further guidance and assistance.
By troubleshooting and resolving common issues, you can ensure a smooth and successful transfer of your music from your iPod to iTunes.
In the next section, we will provide a brief overview and conclude our discussion on how to download music from an iPod to iTunes.
Conclusion
Transferring music from an iPod to iTunes may seem like a daunting task, but with the right methods and techniques, it can be accomplished successfully. Whether you prefer using third-party software or manually transferring your music, there are options available to suit your needs.
Understanding the challenges, such as DRM-protected songs or incompatible formats, can help you navigate the transfer process more effectively. By utilizing third-party software or converting the files to compatible formats, you can overcome these obstacles and enjoy your entire music library within iTunes.
Importing purchased music is relatively straightforward, as iTunes provides the option to transfer your purchased songs directly from your iPod to iTunes. However, non-purchased music may require manual transfer or the use of third-party software for a seamless transfer process.
Dealing with DRM-protected songs can be more complex. Removing DRM restrictions using trusted software or utilizing services like iTunes Match can help overcome these limitations.
Keep in mind that when troubleshooting common issues, such as device recognition problems or file corruption, checking for updates, restarting devices, and seeking assistance from support communities can often resolve the problems efficiently.
By following the methods and techniques discussed in this article, you can successfully download your music from an iPod to iTunes, ensuring that your entire music collection is organized and accessible within the iTunes library.
Remember to always abide by copyright laws and ensure that you have the necessary rights and permissions for the music you transfer. Legal options and authorized methods should always be prioritized.
We hope that this article has provided you with the guidance and knowledge you need to overcome the challenges and successfully download your music from your iPod to iTunes. Enjoy your music on any device with ease and convenience!