Introduction
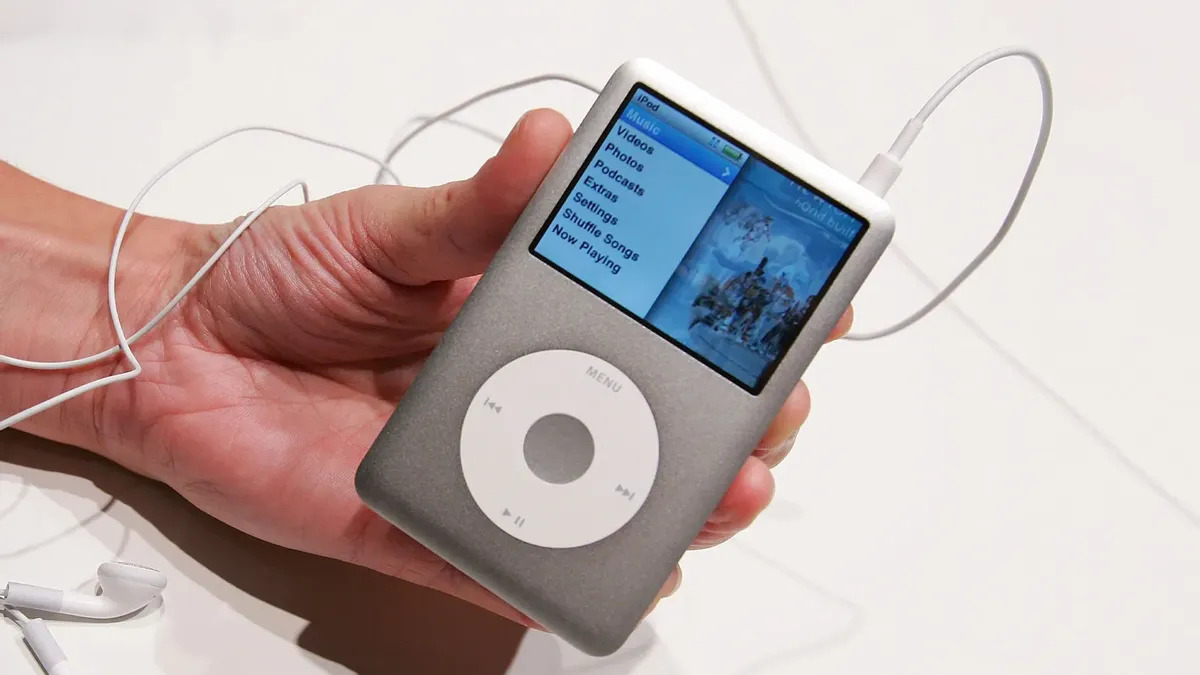
Welcome to the world of music! If you’re an avid music lover, chances are that you have an extensive collection of songs stored on your iPod. While it’s great to have all your favorite tracks conveniently accessible on your device, there may come a time when you want to download your music from your iPod to your computer. Whether it’s to make a backup of your precious library or to transfer songs to another device, having the ability to download your music is essential.
In this article, we will explore three different methods that will allow you to download your music from your iPod. The first method involves using iTunes, the official software from Apple, which is widely used to manage and transfer music to and from iPods. The second method involves using third-party software that offers additional features and flexibility. Lastly, we will discuss the manual method of transferring music, which can be useful if you prefer a hands-on approach or if the other methods are not suitable for your specific situation.
Regardless of which method you choose, it’s important to note that downloading music from your iPod to your computer should be done for personal use only and not for any illegal distribution or copyright infringement.
Now, let’s dive into the different methods that will help you download your music from your iPod and make the most of your music collection!
Method 1: Using iTunes
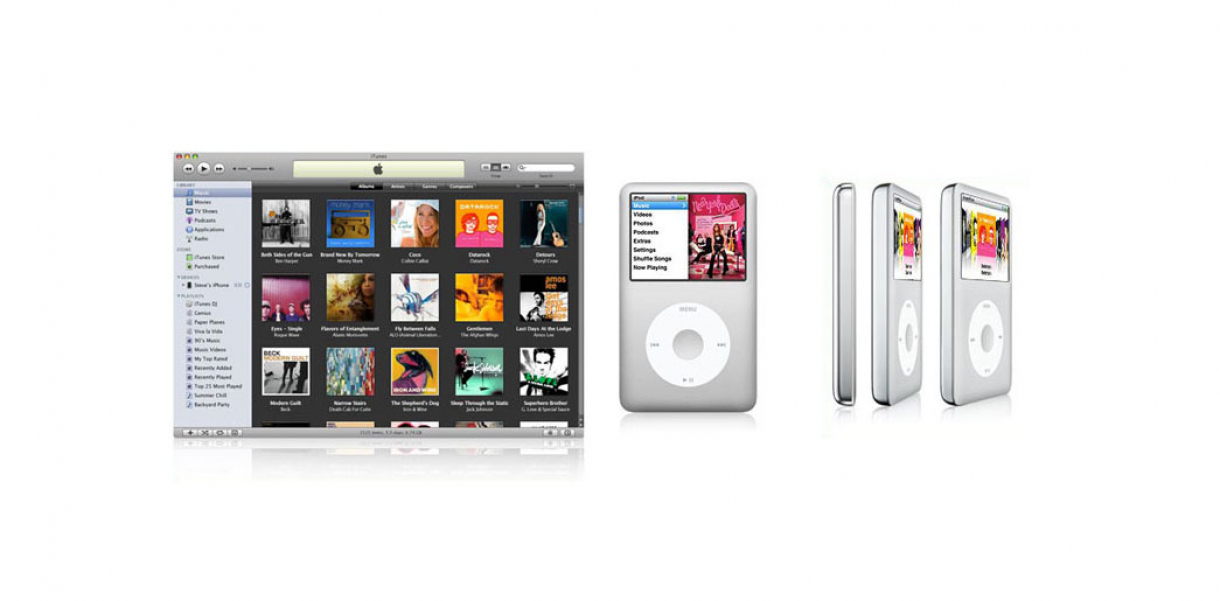
If you have your music library synced with iTunes on your computer, downloading your music from your iPod is a breeze. Follow these steps to get started:
- Connect your iPod to your computer: Use the USB cable that came with your iPod to connect it to your computer. Make sure iTunes is open on your computer.
- Authorize your computer: If this is the first time you’re connecting your iPod to this particular computer, you may need to authorize it. Follow the on-screen prompts to authorize your computer to access your iPod’s content.
- Select your iPod: In the top-left corner of iTunes, you should see an iPod icon. Click on it to select your iPod and open its summary page.
- Enable manual management: Scroll down to the “Options” section on the summary page and check the box next to “Manually manage music and videos”. This will allow you to manually transfer your music from your iPod to your computer.
- Transfer your music: Go to the “Music” tab in the left sidebar of iTunes. Here, you will see a list of all the music on your iPod. Select the songs you want to download by clicking on the checkboxes next to each song or album.
- Click “Import CD” or “Export” button: Once you have selected the songs you want to download, click on the “Import CD” button or the “Export” button, depending on the version of iTunes you are using. This will transfer the selected music from your iPod to your iTunes library on your computer.
That’s it! Your selected music will now be downloaded to your computer and accessible through iTunes. You can repeat these steps to download more of your favorite songs from your iPod. Remember to regularly back up your music library to ensure you never lose your precious collection.
Using iTunes is a straightforward and reliable method to download your music from your iPod. However, if you prefer more advanced options or face any limitations with iTunes, don’t worry! There are alternative methods available, which we will explore in the following sections.
Method 2: Using Third-Party Software
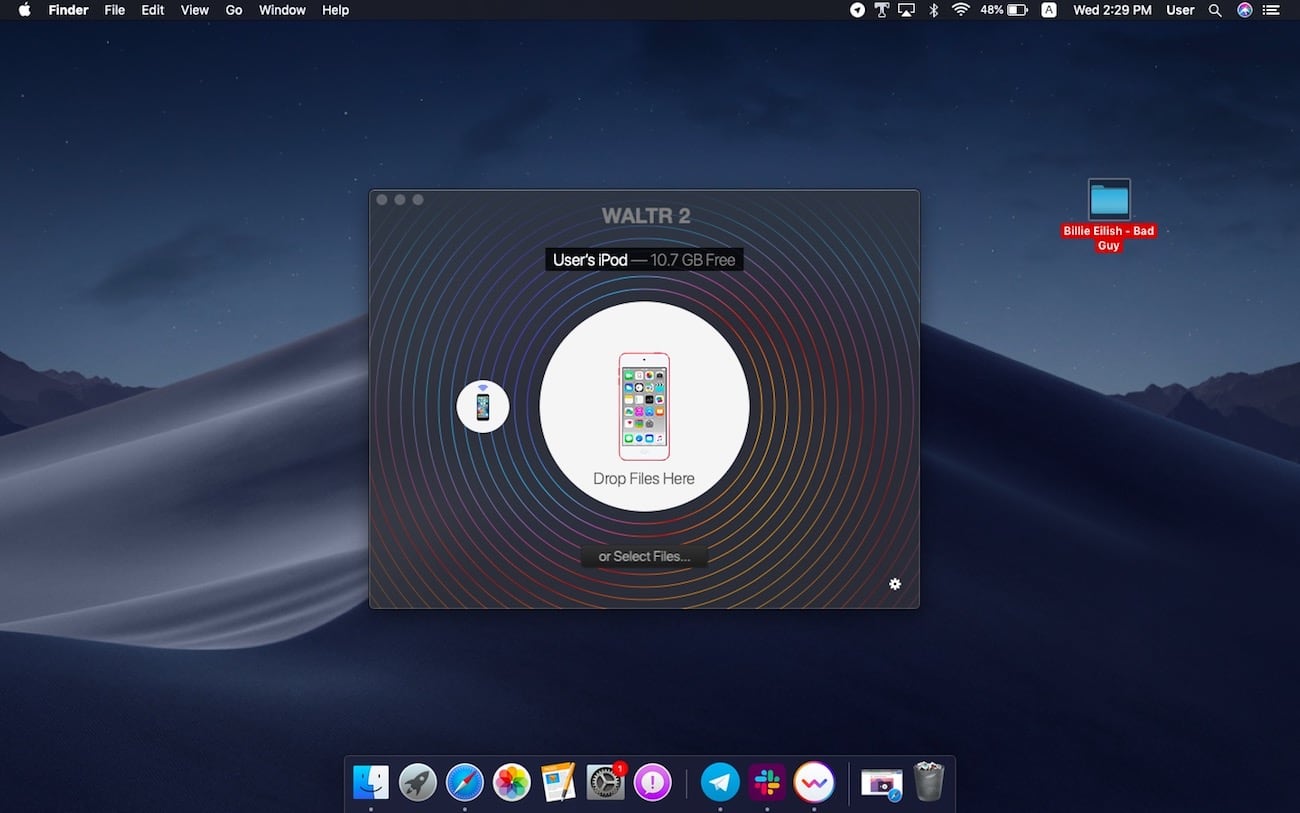
If you’re looking for more flexibility and additional features beyond what iTunes offers, using third-party software can be a great option to download music from your iPod. Here’s how you can do it:
- Research and download a reliable third-party software: There are several third-party software options available that specialize in transferring music from iPods to computers. Take some time to research and choose a software that fits your needs and has positive reviews.
- Install and launch the software: After downloading the software, follow the installation instructions to set it up on your computer. Once installed, launch the software.
- Connect your iPod to your computer: Similar to the iTunes method, use the USB cable to connect your iPod to your computer. Ensure that the third-party software recognizes your iPod’s connection.
- Select and transfer your music: Depending on the software you’re using, the interface may vary. Look for options to select the music you want to download from your iPod and initiate the transfer process. This could involve selecting specific songs, albums, or playlists.
- Choose the destination folder: As the transfer process begins, the software may prompt you to choose a destination folder on your computer where the downloaded music will be saved. Choose a location that you can easily access.
- Wait for the transfer to complete: The time required to transfer the music will vary depending on the size of your music library. Be patient and allow the software to complete the transfer process.
- Verify and organize your downloaded music: Once the transfer is finished, navigate to the destination folder on your computer. Verify that all the selected music has been successfully downloaded. You can then organize the music in your preferred way using your computer’s file management tools.
Using third-party software can provide you with more control and options when it comes to downloading music from your iPod. Many of these software options also offer additional features like automatic file conversion, customization of transfer settings, and more. However, be cautious when downloading and using third-party software, and make sure to choose reputable sources to avoid any security risks.
Now that we’ve explored using iTunes and third-party software, let’s move on to the manual method of transferring your music from your iPod, which can be handy in certain situations.
Method 3: Transferring Music Manually
If you prefer a hands-on approach or if the previous methods are not suitable for your situation, you can transfer your music from your iPod to your computer manually. Here’s how you can do it:
- Connect your iPod to your computer: Use the USB cable to connect your iPod to your computer.
- Access your iPod as a storage device: Once connected, your computer should recognize your iPod as a storage device. Open the file explorer or Finder on your computer to access the contents of your iPod.
- Navigate to the music folder: Within the iPod’s storage, locate the “Music” folder. This is where all your music files are stored.
- Select and copy the music files: Select the music files you want to transfer to your computer and copy them. You can either copy individual files or select multiple files at once.
- Paste the music files onto your computer: Open the destination folder on your computer where you want to save the music files. Paste the copied files into this folder. The transfer process may take some time depending on the size of the files.
- Verify and organize your transferred music: Once the copying process is complete, navigate to the destination folder on your computer to verify that all the selected music files have been successfully transferred. You can then organize the music in your preferred way using your computer’s file management tools.
The manual method of transferring music may be suitable if you have specific preferences or if you want more control over the transfer process. However, keep in mind that this method can be time-consuming, especially if you have a large music library on your iPod.
It’s essential to note that transferring music manually might only give you access to the music files and not retain any metadata or information associated with the songs, such as playlists, album artwork, or song titles. If you want to preserve this information, using iTunes or third-party software is recommended.
With these three methods at your disposal, you can now download your music from your iPod to your computer with ease. Choose the method that works best for you based on your preferences, convenience, and the size of your music library. Enjoy your music collection on your computer and keep it safe by regularly backing up your files.
Conclusion
Downloading music from your iPod to your computer is a valuable skill that allows you to create backups, transfer music to other devices, and expand your music library. In this article, we explored three different methods to accomplish this task: using iTunes, utilizing third-party software, and manually transferring music files.
If you have your music library synced with iTunes, the first method is a convenient option. By connecting your iPod to your computer and selecting your desired songs, you can easily transfer your music from your iPod to your iTunes library.
For more flexibility and additional features, the second method allows you to use third-party software. Research and choose a reliable software that meets your needs, and follow the instructions to connect your iPod and initiate the music transfer process.
Lastly, if you prefer a hands-on approach or have specific preferences, the manual method of transferring music files gives you full control. By accessing your iPod as a storage device, you can manually copy and paste your music files to your computer.
Remember to always download music from your iPod for personal use only and respect the copyrights of artists and content creators. Additionally, it’s crucial to regularly backup your music library on your computer to prevent any loss of your valuable collection.
Now that you are equipped with these methods, you can choose the one that best suits your needs and begin downloading your music from your iPod to your computer. Enjoy your music on multiple devices, explore new playlists, and continue to indulge in the wonderful world of music!


