Introduction
Downloading music from iTunes to your computer allows you to enjoy your favorite tunes offline, whether you want to listen to them during a long commute or when your internet connection is not available. iTunes, the popular media player developed by Apple, offers a vast library of songs, albums, and playlists that you can purchase and download directly to your computer. With just a few simple steps, you can have your favorite music collection on your computer ready to be played whenever you desire.
In this guide, we will walk you through the process of downloading music from iTunes to your computer, ensuring that you have a seamless and enjoyable experience. Whether you want to download a single song or a complete album, we’ve got you covered. By following our step-by-step instructions, you will be able to build your music library on your computer in no time.
Before we dive into the details, it’s important to note that downloading music from iTunes requires an authorized computer and an Apple ID. If you don’t have an Apple ID, you can easily create one for free. Additionally, iTunes is available for both Windows and Mac operating systems, so regardless of the computer you are using, you will be able to follow along and download your favorite music.
So, let’s get started on this musical journey and learn how to download music from iTunes to your computer!
Step 1: Launch iTunes on your computer
The first step in downloading music from iTunes to your computer is to launch the iTunes application. If you don’t have iTunes installed on your computer, you can download it for free from the official Apple website.
Once you have iTunes installed, locate the application icon either on your desktop or in your applications folder. Double-click the icon to launch the iTunes program.
After launching iTunes, you will be greeted with a beautiful interface that showcases various options and features. Take a moment to familiarize yourself with the layout, as you will need to navigate through the different sections to download music.
If you are using a Mac computer, you can find the iTunes application in the Applications folder. Simply click on the Finder icon on your dock, then select Applications from the sidebar. Look for the iTunes app and click on it to open.
If you are using a Windows computer, you can find the iTunes application in the Start menu. Click on the Start button located at the bottom-left corner of your screen, then navigate to the iTunes folder. Click on the iTunes app to launch it.
Once iTunes is open, you are ready to move on to the next step and connect your iOS device to your computer. Whether you have an iPhone, iPad, or iPod, connecting it to your computer will allow you to transfer and download music seamlessly.
Stay tuned for the next step, where we will guide you through the process of connecting your iOS device to your computer.
Step 2: Connect your iOS device to your computer
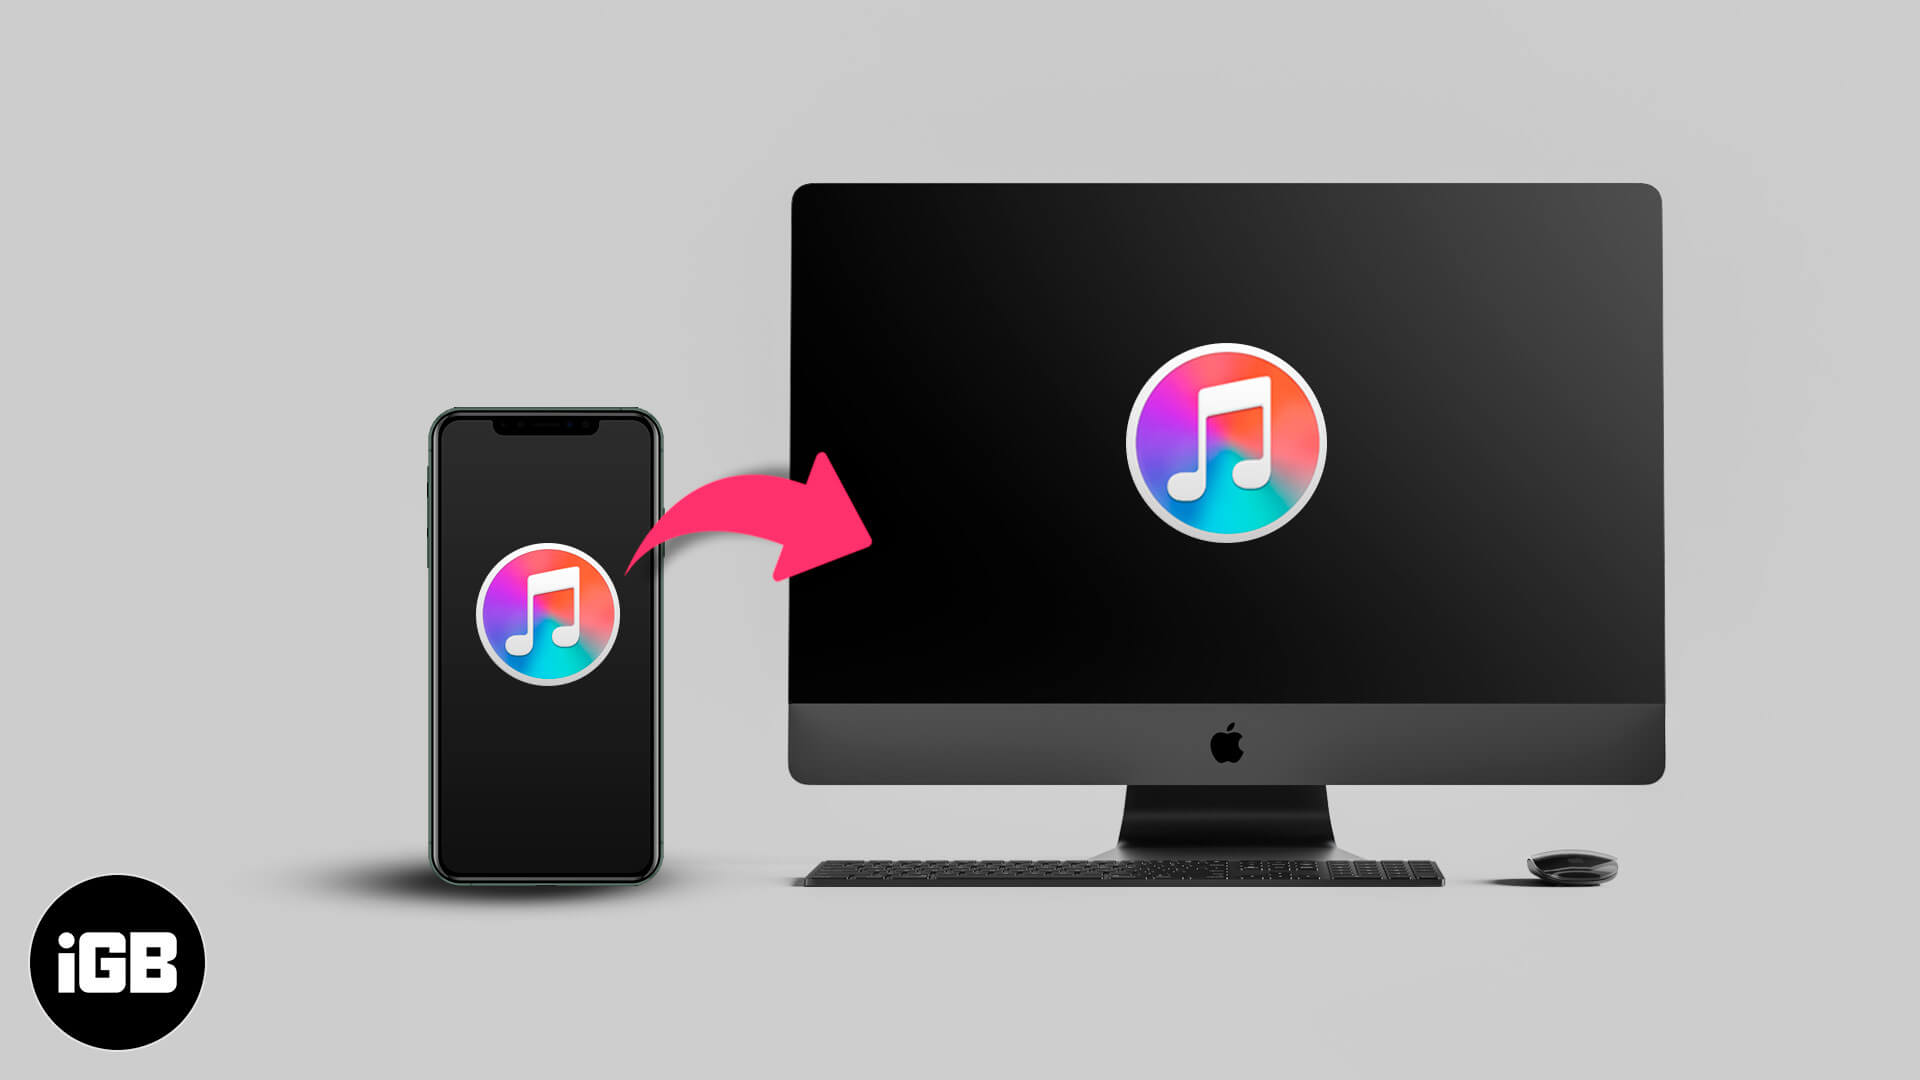
Now that iTunes is open on your computer, it’s time to connect your iOS device, whether it’s an iPhone, iPad, or iPod, to your computer using a USB cable. This will allow iTunes to recognize your device and enable you to transfer and download music.
Locate the USB cable that came with your iOS device. One end of the cable has a Lightning connector (for newer devices) or a 30-pin dock connector (for older devices), while the other end has a USB connector.
Take the USB connector and plug it into an available USB port on your computer. Then, take the opposite end of the cable and connect it to the corresponding port on your iOS device. Make sure the connection is secure to ensure a stable transfer.
Once you have connected your iOS device to your computer, you will see a prompt on your device asking for permission to allow the computer to access your device. Tap “Trust” or “Allow” to grant permission. This step is important to establish a secure connection between your device and iTunes.
Now, on the iTunes interface, you should see your device’s icon appear on the top-left corner. This indicates that your iOS device is successfully connected to your computer.
If you encounter any issues with the connection, such as your device not being recognized by iTunes, try using a different USB port on your computer or a different USB cable. Restarting your computer and iOS device can also help resolve any temporary glitches.
With your iOS device successfully connected to your computer, you are now ready to move forward and authorize your computer with your Apple ID. This step is crucial for downloading music from iTunes to your computer.
Proceed to the next step to learn how to authorize your computer with your Apple ID for seamless music downloading.
Step 3: Authorize your computer with your Apple ID
Authorizing your computer with your Apple ID is an essential step to ensure that you can access and download music from iTunes. By authorizing your computer, you give it permission to access your purchased content, including music, so that it can be synced and transferred.
To authorize your computer, follow these simple steps:
- Make sure your iOS device is still connected to your computer via the USB cable.
- In iTunes, click on the Account tab located at the top of the screen. A drop-down menu will appear.
- Select “Authorizations” from the drop-down menu and then click on “Authorize This Computer”.
- You will be prompted to enter your Apple ID and password. Type in your credentials and click on the “Authorize” button.
Once you have successfully authorized your computer with your Apple ID, a message will appear confirming the authorization. From now on, this computer will have access to your purchased content, including music on iTunes.
It’s important to note that you can only authorize up to five computers with the same Apple ID. If you reach the maximum limit and want to authorize a new computer, you will need to deauthorize one of the previously authorized computers.
To deauthorize a computer and free up an authorization slot, simply follow these steps:
- In iTunes, go to the Account tab again and select “Authorizations”.
- Click on “Deauthorize This Computer”.
- You will be prompted to confirm the deauthorization. Click on “Deauthorize”.
By authorizing your computer with your Apple ID, you ensure that you can access and download your purchased music from iTunes hassle-free. Now that your computer is authorized, let’s move on to the next step and select the music you want to download.
Step 4: Select the music you want to download
With your computer authorized and your iOS device connected, it’s time to choose the music you want to download from iTunes. Whether you want to download a single song, an entire album, or a curated playlist, iTunes offers a vast library of options to suit your musical preferences.
To select the music you want to download, follow these steps:
- In iTunes, click on the “Music” tab located at the top-left corner of the screen. This will take you to the music section of iTunes.
- Explore the various categories, including “For You”, “Browse”, “Radio”, and “Library”. These sections provide different ways to discover music and find songs that align with your interests.
- Use the search bar located in the top-right corner of the iTunes interface to search for specific songs, albums, or artists. Type in the keyword or the name of the song/album/artist you want to download, and iTunes will display relevant results.
- Browse the search results or navigate through the different sections to find the music you want to download. You can listen to song previews by clicking on the play button next to each track.
- Once you have found the music you want to download, click on the “+” or “Add” button next to the song, album, or playlist. This will add the selected music to your iTunes library and initiate the download process.
It’s important to note that for certain songs or albums, you may need to purchase them before you can download them. iTunes offers options to either purchase individual songs or buy entire albums, depending on your preferences.
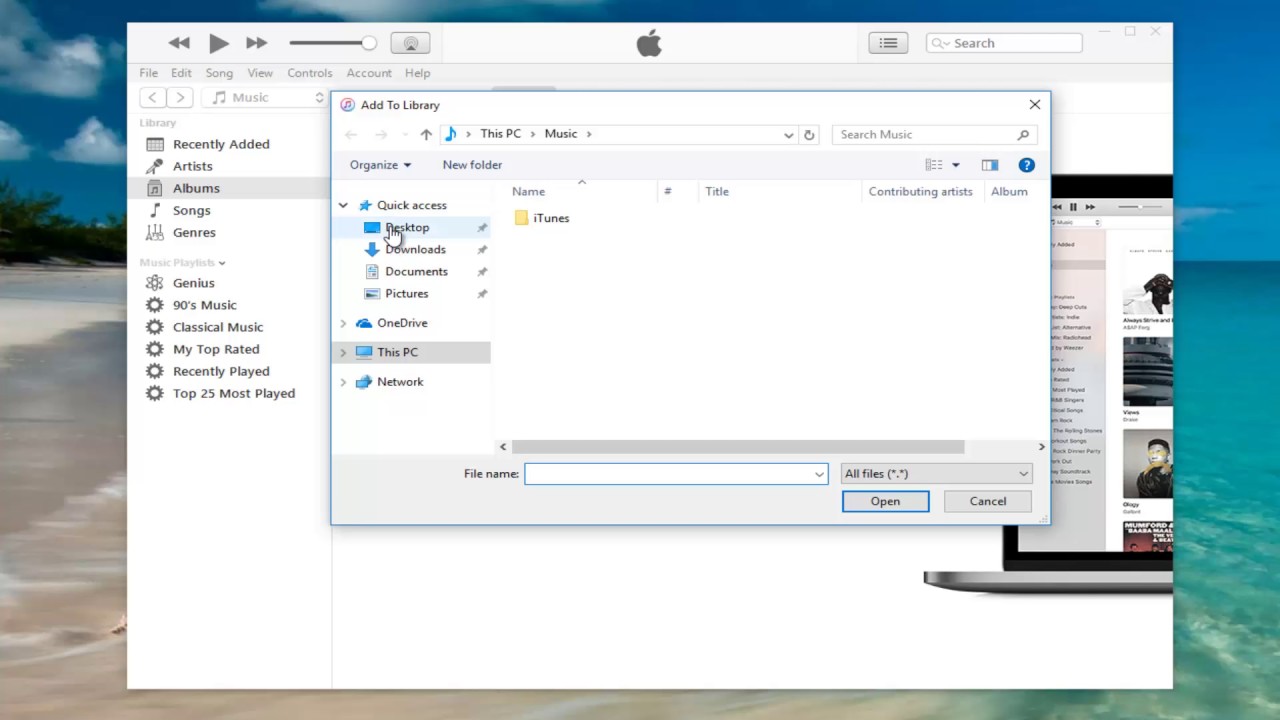
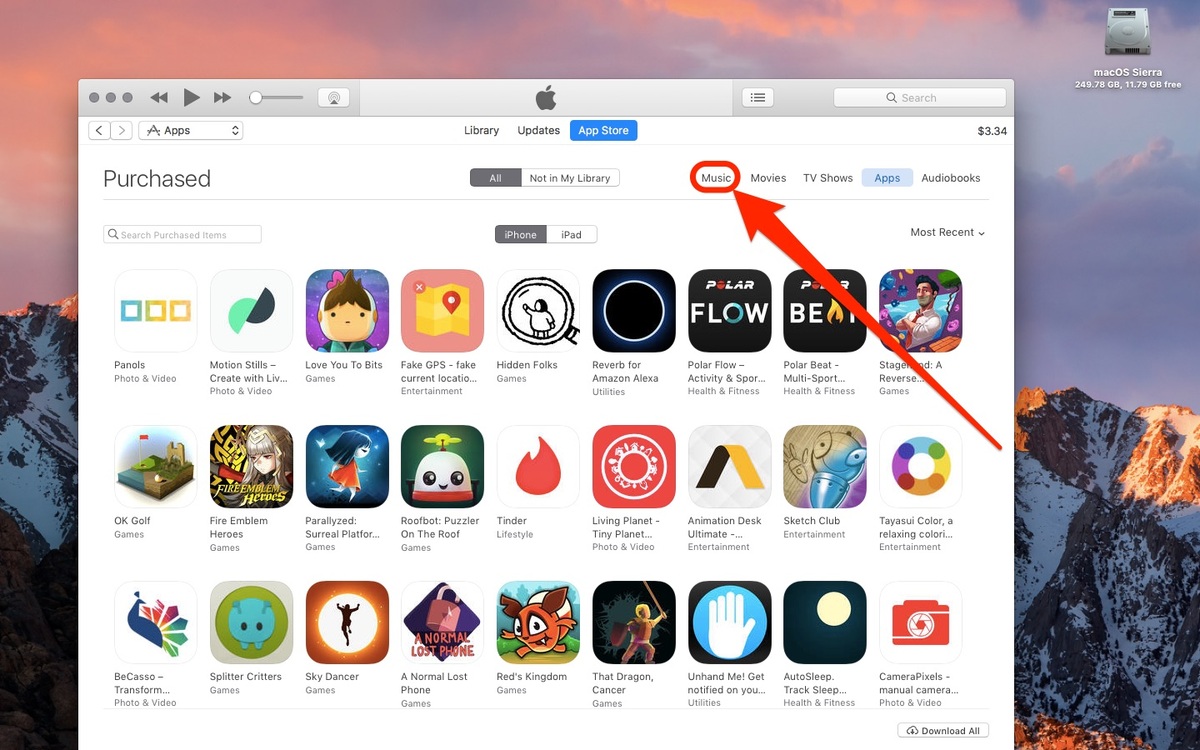
Additionally, if you have previously purchased music from iTunes, you can easily access your “Purchased” section within the “Account” tab to re-download your purchased music onto your computer.
By following these steps, you can select the music you want to download from iTunes and add it to your library. Now that you have chosen the music, it’s time to move on to the next step and initiate the download process.
Step 5: Click on the “Download” button
Once you have selected the music you want to download from iTunes, it’s time to initiate the download process. iTunes provides a simple and straightforward way to start downloading your chosen songs, albums, or playlists onto your computer.
To click on the “Download” button and start the download process, follow these steps:
- In your iTunes library, locate the music you want to download. It could be a single song, an entire album, or a curated playlist.
- Select the music by clicking on it. You can choose multiple items by holding down the “Ctrl” (Windows) or “Command” (Mac) key while selecting the music.
- Once the music is selected, you will notice a toolbar at the top of the iTunes interface. Among the toolbar options, look for the “Download” button represented by a downward arrow icon. Click on this button to initiate the download.
- As you click on the “Download” button, iTunes will start the download process for the selected music. You can monitor the progress of the downloads in the “Downloads” tab, which is located next to the music section.
- Depending on the size of the music files and the speed of your internet connection, the download process may take a few moments or longer. You can see the download progress, including the number of songs being downloaded and the remaining time, in the “Downloads” tab.
During the download process, it’s important to ensure that your computer remains connected to the internet and that there are no interruptions in the internet connection. If your internet connection is unstable or gets disconnected, iTunes will automatically resume the download once the connection is restored.
With the click of the “Download” button, you have successfully initiated the download process for your chosen music from iTunes. Now, it’s time to monitor the download progress and ensure that the music is successfully downloaded onto your computer.
Proceed to the next step to learn how to monitor the download progress in iTunes.
Step 6: Monitor the download progress
After initiating the download process for your selected music in iTunes, it’s important to monitor the download progress to ensure a smooth and successful download. Monitoring the download progress allows you to see how many songs have been downloaded and if any issues arise during the process.
To monitor the download progress in iTunes, follow these steps:
- In the iTunes interface, click on the “Downloads” tab located next to the music section. This will provide you with an overview of the download progress.
- The “Downloads” tab will display the number of songs being downloaded and the remaining time for completion. You can also see a progress bar indicating the overall download progress.
- If any issues arise during the download process, such as a stalled download or an error message, iTunes will display relevant information in the “Downloads” tab. Pay attention to any error messages and take appropriate actions to resolve the issue.
- If the download process is interrupted due to an unstable internet connection or any other reason, iTunes will automatically resume the downloads once the connection is restored or the issue is resolved.
- While monitoring the download progress, it’s crucial to ensure that your computer remains connected to the internet. If your internet connection gets disconnected, the download may pause, and you may need to manually resume it once the connection is restored.
Depending on the size of the music files and the speed of your internet connection, the download process may take a few moments or longer. It’s important to be patient and allow iTunes to complete the downloads before accessing the downloaded music on your computer.
Once the download progress is complete, you can proceed to the next step and access the downloaded music on your computer. Having successfully monitored the download progress, you are one step closer to enjoying your favorite music offline!
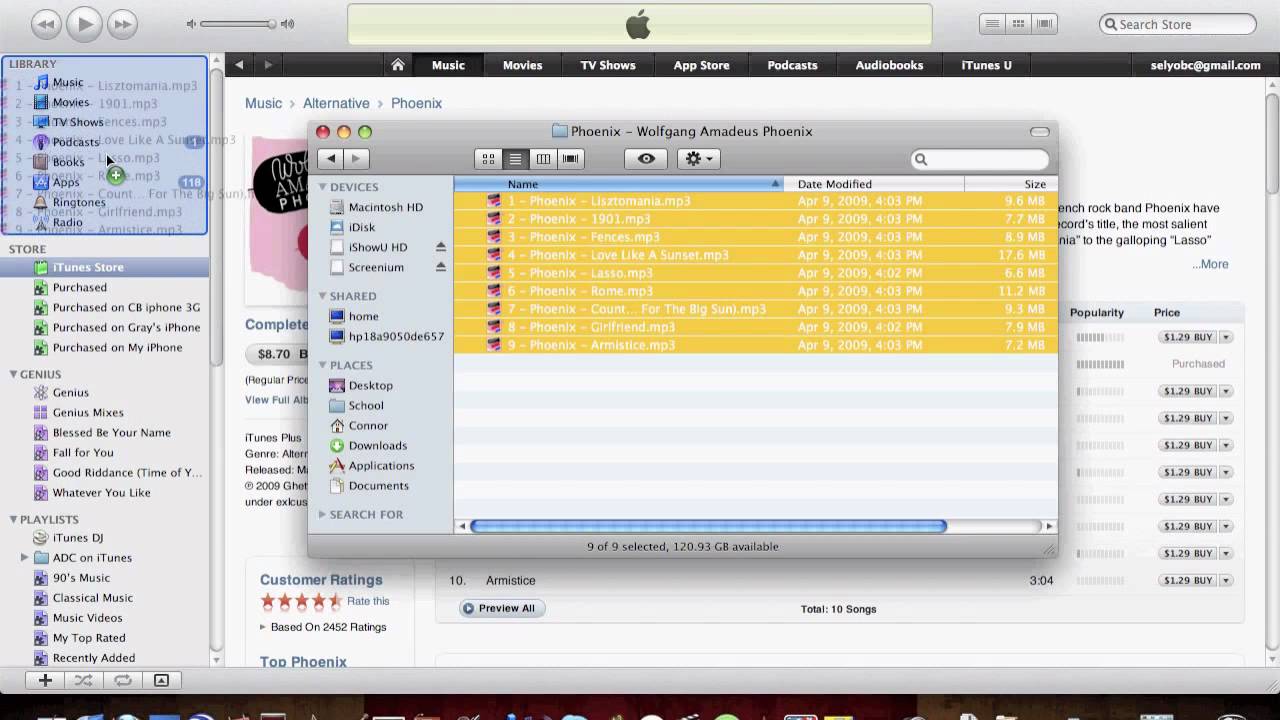
Step 7: Access the downloaded music on your computer
Now that the download process is complete, it’s time to access the downloaded music on your computer and enjoy your favorite tunes offline. iTunes provides a convenient way to organize and access your downloaded music within its library.
To access the downloaded music on your computer, follow these steps:
- In iTunes, navigate to the “Music” tab located at the top-left corner of the screen. This will take you to your music library.
- Within the music library, you will find your downloaded music categorized by songs, albums, and playlists. You can easily navigate through these categories to find the specific music you want to access.
- If you have downloaded individual songs, they will be listed under the “Songs” category. You can scroll through the list or use the search bar to find a specific song by its title or artist.
- If you have downloaded entire albums, you can find them under the “Albums” category. Clicking on an album will display its songs, allowing you to easily access and play them.
- For downloaded playlists, they will be listed under the “Playlists” category. Clicking on a playlist will show the songs included, and you can play them in the playlist order.
Once you have located the downloaded music you want to access, you can double-click on the song, album, or playlist to play it within iTunes. Alternatively, you can right-click on the music and choose options such as “Add to Library” or “Show in Finder/Explorer” to manage and access the music files outside of iTunes.
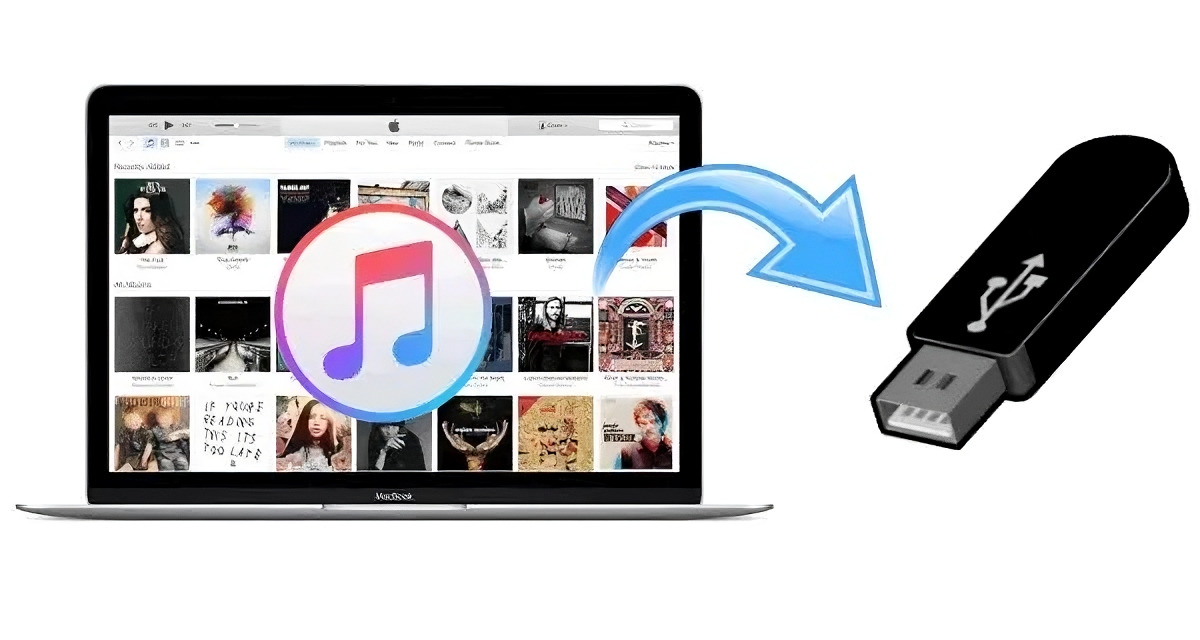
It’s important to note that the downloaded music is stored within the iTunes media library folder on your computer. If you want to directly access the music files on your computer’s file system, you can locate the iTunes media library folder and navigate to the appropriate subfolder where the downloaded music is stored.
Now that you have successfully accessed the downloaded music on your computer, you are ready to enjoy your favorite songs offline. Take the time to create playlists, organize your music library, and customize your listening experience within iTunes.
Continue to the next step if you want to learn how to transfer the downloaded music to other devices.
Step 8: Optional: Transfer the downloaded music to other devices
If you want to enjoy the downloaded music from iTunes on other devices, such as your smartphone, tablet, or MP3 player, you have the option to transfer the music files. This step is optional but can be useful if you want to have your music library accessible on multiple devices.
To transfer the downloaded music from iTunes to other devices, follow these steps:
- Connect the device you want to transfer the music to. This could be your smartphone, tablet, or MP3 player. Ensure that it is connected to your computer using a USB cable or through wireless methods as supported by the device.
- Once your device is connected, open iTunes and navigate to the “Music” tab within the library.
- Select the music you want to transfer by clicking on the songs, albums, or playlists.
- Once the music is selected, right-click on it and choose the option to “Add to Device” or “Sync” depending on the device you are transferring the music to.
- Follow the prompts and instructions provided by iTunes to initiate the transfer process. This may involve confirming the transfer and selecting specific sync settings.
- Allow the transfer process to complete. The duration of the transfer will depend on the size of the music files and the speed of the connection between your computer and the device.
- Once the transfer is complete, disconnect the device from your computer.
It’s important to note that the process of transferring music to other devices may vary depending on the device and its compatibility with iTunes. Some devices may require specific software or applications to facilitate the transfer, while others may have built-in compatibility with iTunes and can be easily synced.
Make sure to consult the user manual or support documentation for your specific device if you encounter any difficulties during the transfer process. Additionally, ensure that the device has enough storage capacity to accommodate the transferred music files.
By following these steps, you can transfer the downloaded music from iTunes to other devices, allowing you to enjoy your favorite songs wherever you go. Take the time to organize your music library and create playlists that suit your preferences on each device.
Congratulations! You have successfully completed the process of downloading music from iTunes to your computer and, if desired, transferring it to other devices. Now, kick back, relax, and immerse yourself in the world of music!
Conclusion
Downloading music from iTunes to your computer is a simple process that allows you to build your own music library and enjoy your favorite songs offline. Throughout this guide, we have walked you through the step-by-step process of downloading music from iTunes, from launching the application to accessing the downloaded music.
First, we covered the process of launching iTunes on your computer, ensuring that you have the necessary software installed and ready to use. Next, we explained how to connect your iOS device to your computer using a USB cable, establishing a secure connection for transferring and downloading music.
Authorization of your computer with your Apple ID was introduced as a crucial step to access your purchased content and enable seamless downloads. We then delved into selecting the music you want to download, exploring the different categories and search options within iTunes to find the perfect tracks, albums, or playlists.
Clicking on the “Download” button was the next step, initiating the download process and enabling you to enjoy your chosen music offline. We emphasized the importance of monitoring the download progress, ensuring a smooth and successful download without interruptions.
After the downloads were complete, we guided you on accessing the downloaded music on your computer within the iTunes library. Lastly, we discussed the optional step of transferring the downloaded music to other devices, broadening your music library’s reach.
By following these steps, you can gather a collection of your favorite songs, albums, and playlists from iTunes and enjoy them wherever and whenever you want. Whether you’re offline, on a long journey, or simply in the mood for a personalized music experience, downloading music from iTunes to your computer ensures that your favorite tracks are always at your fingertips.
Remember to keep your iTunes library organized, create playlists that suit your tastes, and explore the vast variety of music available on iTunes. Whether you’re a fan of classic hits, the latest pop songs, or undiscovered gems, iTunes offers something for every music enthusiast.
So, start your musical journey now and experience the joy of downloading music from iTunes to your computer. With a world of melodies at your disposal, there’s no limit to the enjoyment and inspiration that music can bring to your life.