Introduction
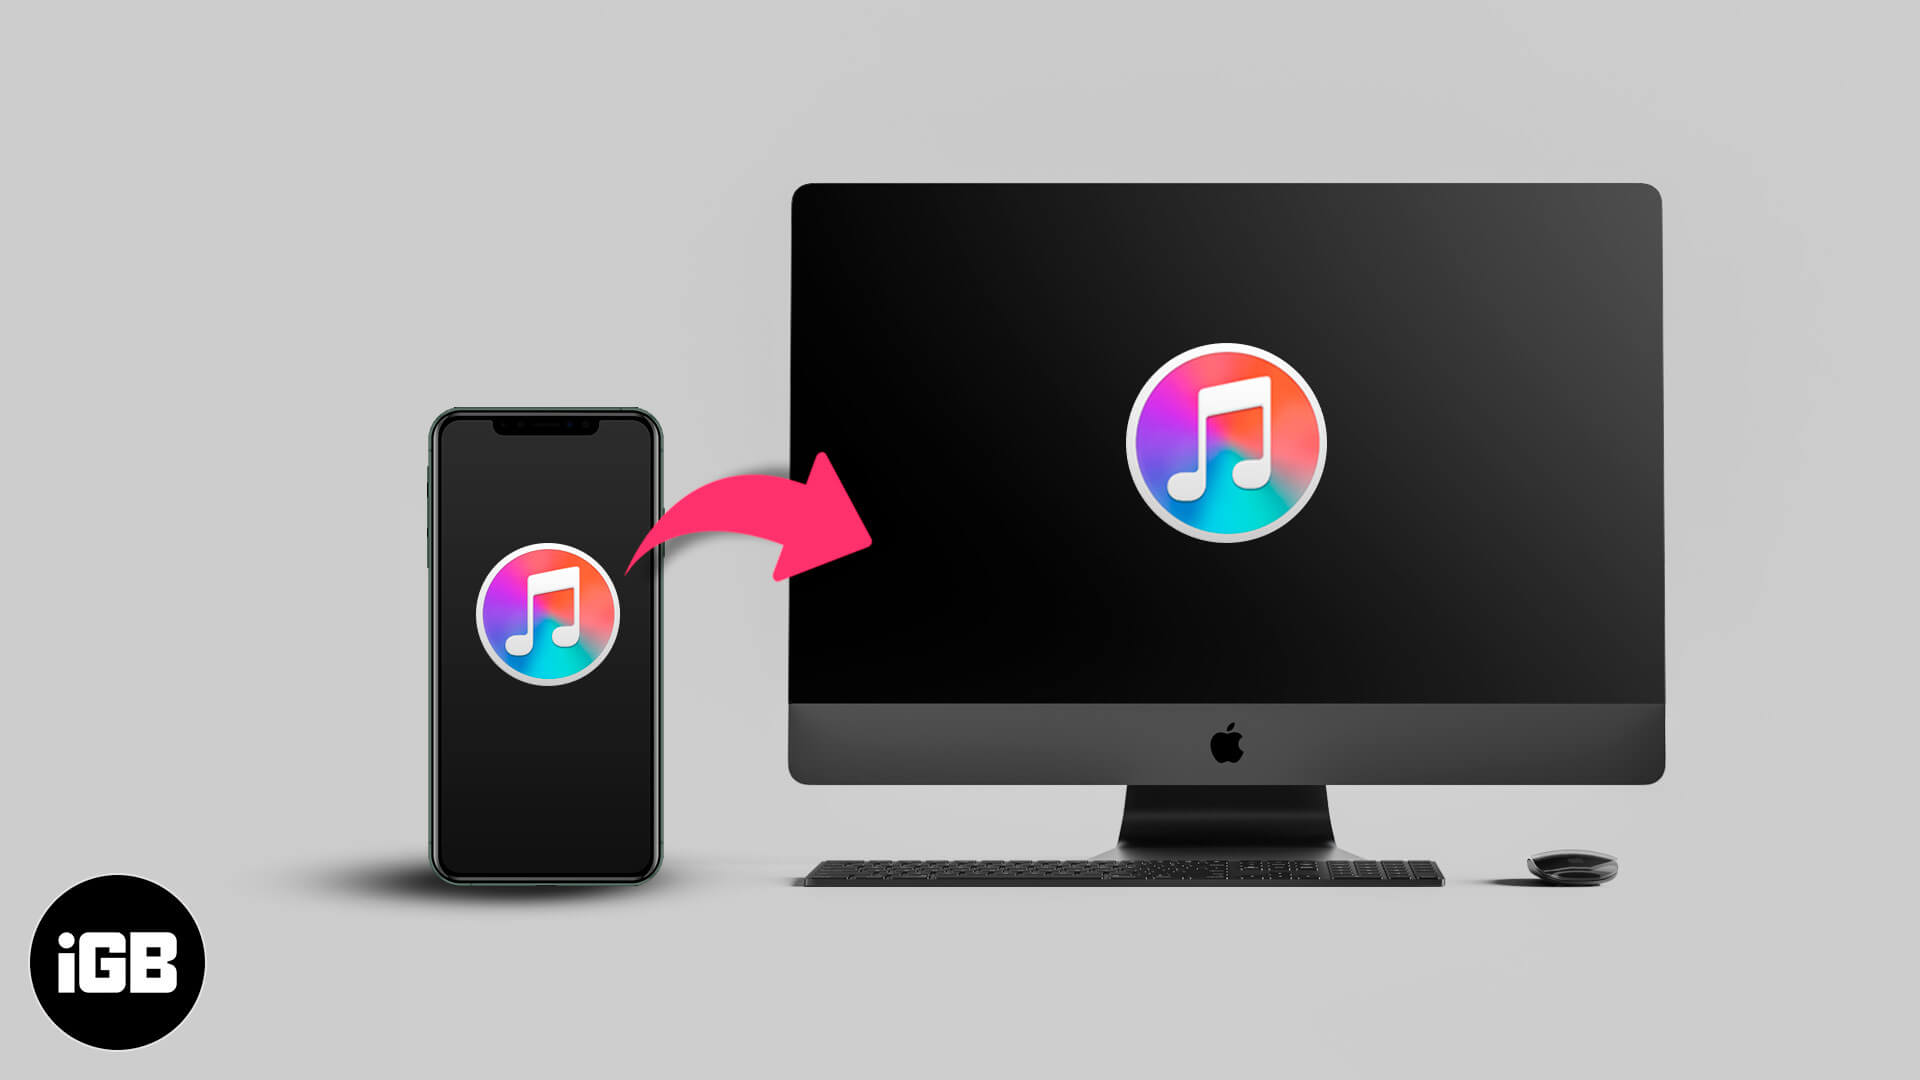
Downloading music from iTunes to your iPhone is a convenient way to enjoy your favorite tunes anytime, anywhere. Whether you’re looking to listen to the latest hits, rediscover old favorites, or explore new genres, iTunes offers an extensive library of music to cater to every taste.
With just a few simple steps, you can easily download music directly to your iPhone and listen to it without an internet connection. This means you can enjoy your favorite tracks while commuting, working out, or traveling, without worrying about using your mobile data.
In this guide, we will walk you through the process of downloading music from iTunes to your iPhone. From updating iTunes on your computer to syncing your iPhone with iTunes, we will cover everything you need to know to ensure a smooth and seamless download experience.
Before we dive into the step-by-step instructions, it’s important to note that you will need an active iTunes account to download music from the iTunes Store. If you don’t have an account yet, you can easily create one for free by visiting the iTunes website or downloading the iTunes app on your computer or smartphone.
So, whether you’re a music enthusiast looking to build your own personalized library or simply want to discover new sounds and melodies, let’s get started on how to download music from iTunes to your iPhone.
Step 1: Update iTunes on your computer
Before you can begin downloading music from iTunes to your iPhone, it’s important to ensure that you have the latest version of iTunes installed on your computer. Updating iTunes is crucial as it guarantees compatibility and provides you with the latest features and improvements.
To update iTunes, follow these simple steps:
- Open iTunes on your computer. If you don’t have iTunes installed, you can download it for free from the Apple website.
- On a Mac, click on the “iTunes” menu located at the top left corner of your screen. On a Windows PC, click on the “Help” menu at the top of the iTunes window.
- From the menu options, select “Check for Updates.” iTunes will now start searching for any available updates.
- If an update is available, a prompt will appear asking if you would like to download and install it. Click “Download iTunes” or “Update” to proceed.
- Follow the on-screen instructions to complete the installation process. This may require agreeing to terms and conditions and restarting your computer.
- Once the update is finished, relaunch iTunes to ensure that the latest version is now running on your computer.
By regularly updating iTunes, you ensure that you have the most up-to-date software to manage your music library and download content to your iPhone seamlessly. It also helps prevent any compatibility issues between iTunes and your iPhone’s operating system.
Now that you’ve updated iTunes on your computer, you’re ready to move on to the next step: connecting your iPhone to your computer.
Step 2: Connect your iPhone to your computer
In order to transfer music from iTunes to your iPhone, you’ll need to establish a connection between your iPhone and your computer. This connection allows for seamless communication and file transfer between the two devices.
To connect your iPhone to your computer, follow these steps:
- Using the cable that came with your iPhone, connect one end to the iPhone’s charging port and the other end to a USB port on your computer.
- Your computer may prompt you to trust the connection. If prompted, unlock your iPhone and follow the on-screen instructions to trust the computer.
- Once the connection is established, you should see your iPhone icon appear in the iTunes interface on your computer.
Note: If you’re using a Mac running macOS Catalina or later, you won’t find your iPhone in the iTunes app. Instead, your iPhone will appear in the Finder window under the “Locations” section.
Establishing this connection allows iTunes to recognize your iPhone and enables you to manage its content, including transferring music from your iTunes library.
Now that your iPhone is successfully connected to your computer, you’re ready to proceed to the next step: opening iTunes and selecting your iPhone.
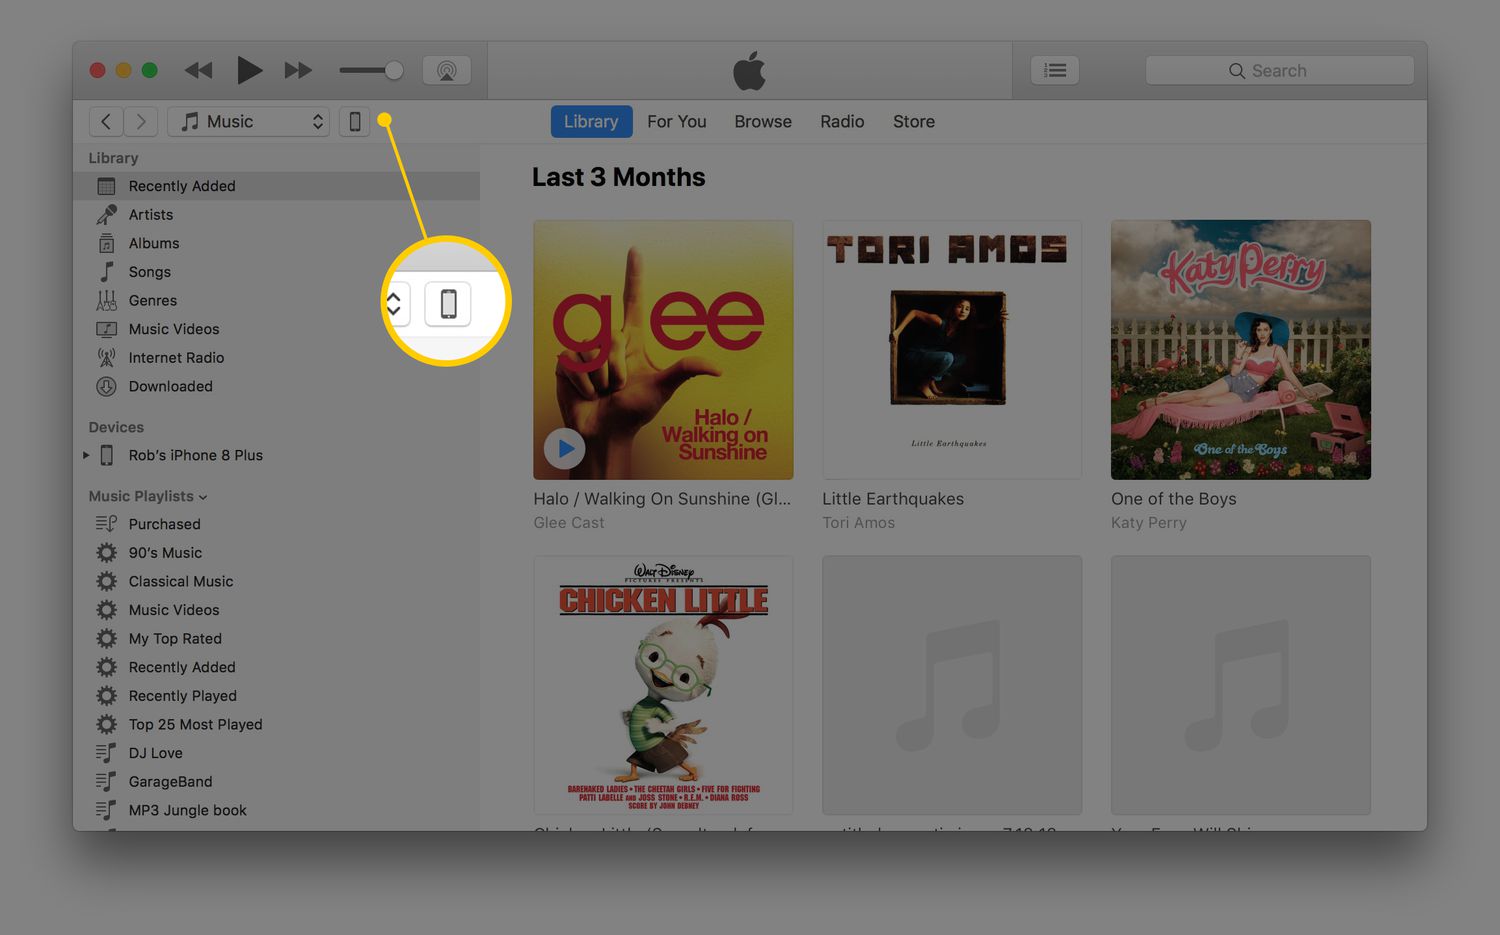
Step 3: Open iTunes and select your iPhone
Now that your iPhone is connected to your computer, it’s time to open iTunes and select your iPhone within the application. This step allows you to access your iPhone’s settings and manage its content, including downloading music from iTunes.
To open iTunes and select your iPhone, follow these simple steps:
- Launch the iTunes application on your computer. If iTunes doesn’t open automatically upon connection, you can manually open it by clicking on the iTunes icon in your computer’s application folder.
- In the iTunes interface, you should see an icon resembling an iPhone. This icon represents your connected device. Click on it to select your iPhone.
- If you’re using macOS Catalina or later, you’ll find your iPhone listed in the Finder window. Simply click on your iPhone’s name under the “Locations” section in the sidebar.
Once you’ve selected your iPhone within iTunes or Finder, you will have access to various settings and options specific to your device. This includes the ability to sync your music library, download new music purchases, and manage your existing music collection on your iPhone.
With your iPhone now selected within iTunes, you’re ready to move on to the next step: navigating to the iTunes Store.
Step 4: Go to the iTunes Store
To download music from iTunes to your iPhone, you will need to access the iTunes Store. The iTunes Store offers a vast collection of music, including the latest releases, popular tracks, and a wide range of genres to choose from.
Follow these steps to navigate to the iTunes Store:
- In the iTunes interface on your computer, you should see a menu located at the top of the screen. Click on the “Music” option to access the iTunes Store.
- If you’re using macOS Catalina or later, you can find the iTunes Store by clicking on the “Music” app in the Dock. Then, select “Store” from the menu at the top of the screen.
- Alternatively, on a Windows PC, you can locate the iTunes Store by clicking on the “iTunes Store” option on the left sidebar within the iTunes application.
Once you have successfully accessed the iTunes Store, you will have access to a vast selection of music available for download. You can browse through charts, new releases, genres, and even discover curated playlists to find the music you want to download to your iPhone.
Now that you’re in the iTunes Store, you’re one step closer to downloading the music you desire onto your iPhone. The next step is to find the specific music you wish to download. Let’s move on to the next step: finding the music you want to download.
Step 5: Find the music you want to download
Now that you’re in the iTunes Store, it’s time to find the music you want to download to your iPhone. With a vast collection of songs and albums available, you have various options to discover and explore the music that suits your taste.
Here are some ways to find the music you want to download:
- Search by artist, song, or album: Utilize the search bar located at the top right corner of the iTunes Store. Simply enter the name of the artist, song, or album you’re looking for, and relevant results will appear.
- Browse through charts and genres: Check out the “Top Charts” section to see the most popular songs and albums of the moment. You can also explore different genres by clicking on “Genres” and selecting your preferred music category.
- Discover curated music selections: iTunes offers handpicked playlists and recommendations tailored to specific moods, occasions, or musical themes. These can be found under the “Curated Playlists” or “Recommended for You” sections.
- Explore new releases and exclusives: Stay up to date with the latest music releases by navigating to the “New Music” or “Exclusive” sections. Here, you can find fresh tracks from your favorite artists or exclusive content not available elsewhere.
Once you have found the music you want to download, you can preview the songs, read reviews, and check ratings to ensure it’s the right choice for you. Take your time to browse and explore the vast collection of music available in the iTunes Store.
Now that you’ve found the music you want to download, it’s time to move on to the next step: purchasing and downloading the music onto your iPhone.
Step 6: Purchase and download the music
Once you have found the music you want to download from the iTunes Store, the next step is to purchase and download it to your iPhone. This allows you to enjoy your favorite tracks even when you’re offline or without an internet connection.
Here’s how you can purchase and download music from the iTunes Store:
- Click on the album or song you want to download. This will take you to the individual page of the selected item.
- On the item’s page, you will typically see the price of the album or song. Click on the price button or the “Buy” button to initiate the purchase.
- If prompted, enter your Apple ID and password to authorize the purchase. If you do not have an Apple ID yet, you will be prompted to create one.
- Once the purchase is completed, the status of the item will change from its price to a cloud-shaped download button. Click on this button to start the download process.
- Depending on the size of the music file and the speed of your internet connection, the download may take a few moments. You can monitor the progress of the download in the iTunes interface.
- Once the download is finished, the music will be saved in your iTunes library and automatically synced to your connected iPhone during the next sync process with iTunes.
It’s important to note that downloading music from iTunes requires a valid payment method associated with your Apple ID. You can choose to use a credit card, debit card, or gift card to make your purchases.
Now that you’ve successfully purchased and downloaded the music, you’re ready to move on to the next step: syncing your iPhone with iTunes.
Step 7: Sync your iPhone with iTunes
After purchasing and downloading the music from the iTunes Store, the next step is to sync your iPhone with iTunes. Syncing allows you to transfer the downloaded music from your iTunes library to your iPhone, ensuring that you can enjoy your favorite tracks directly from your device.
Follow these steps to sync your iPhone with iTunes:
- Ensure that your iPhone is still connected to your computer via the USB cable.
- In the iTunes interface on your computer, click on the iPhone icon to access your device’s settings.
- In the sidebar on the left-hand side of the window, click on “Music” to access your music syncing options.
- Check the box next to “Sync Music” to enable music syncing between your iTunes library and your iPhone.
- You have the option to choose whether to sync your entire music library or select specific playlists, artists, albums, or genres. Select your preferred syncing option.
- Once you have made your selections, click on the “Apply” or “Sync” button at the bottom right corner of the iTunes window to initiate the syncing process.
- Depending on the amount of music being synced and the speed of your computer, the process may take a few minutes. You can monitor the progress in the iTunes interface.
- Once the sync is complete, you can disconnect your iPhone from your computer.
Syncing your iPhone with iTunes ensures that the music you have purchased and downloaded is now available on your device. You can access your music library via the “Music” app on your iPhone and enjoy your tracks at any time.
Now that you’ve successfully synced your iPhone with iTunes, you’re ready for the final step: enjoying your downloaded music on your iPhone.
Step 8: Enjoy your downloaded music on your iPhone
Now that you have successfully downloaded and synced your music from iTunes to your iPhone, it’s time to sit back and enjoy your favorite tunes wherever you go. With your music library right at your fingertips, you can listen to your tracks at any time without an internet connection.
Here’s how you can enjoy your downloaded music on your iPhone:
- On your iPhone’s home screen, locate the “Music” app and tap on it to open it.
- You will be directed to the “Library” tab by default, where you can access all the music synced from your iTunes library.
- Browse through your music library by selecting categories like “Artists,” “Songs,” “Albums,” or “Playlists.”
- Tap on a song, album, or playlist to start playing the music. You can control playback using the on-screen controls and adjust volume using the volume buttons on the side of your iPhone.
- You can also create and manage playlists directly on your iPhone, allowing you to personalize your music listening experience.
- If you prefer to have your music shuffled randomly, tap on the “Shuffle” option at the top of the screen.
- For those who enjoy listening to music during workouts or runs, you can use the built-in “Music” app with fitness features or stream your music to compatible headphones or speakers.
With the Music app on your iPhone, you have complete control and access to your downloaded music. Whether you’re at the gym, traveling, or relaxing at home, you can immerse yourself in your favorite tunes with just a few taps.
Now that you’ve reached the final step and are ready to enjoy your downloaded music on your iPhone, you have successfully completed the process of downloading music from iTunes. Congratulations!
Conclusion
Downloading music from iTunes to your iPhone is a straightforward process that allows you to enjoy your favorite music on the go. With just a few simple steps, you can update iTunes, connect your iPhone to your computer, access the iTunes Store, find and purchase the music you desire, sync your iPhone with iTunes, and finally, enjoy your downloaded music directly on your device.
By keeping your iTunes updated, you ensure compatibility with your iPhone and gain access to the latest features and improvements. Connecting your iPhone to your computer establishes a seamless link, allowing for the transfer of music files. Navigating to the iTunes Store offers a wide selection of songs and albums, enabling you to explore and find the music that suits your taste.
After finding the music, you can purchase and download it to your iPhone. Syncing your iPhone with iTunes ensures that the downloaded music is transferred to your device, ready to enjoy even without an internet connection. Finally, you can access the Music app on your iPhone and start playing your favorite tracks, creating personalized playlists, and immersing yourself in the joy of music.
Remember to keep your iTunes library organized, regularly update your music collection, and explore new artists and genres to expand your musical horizons. The ability to download music from iTunes to your iPhone gives you the freedom to enjoy your favorite tunes wherever you are, making those long commutes, workouts, and leisure moments even more enjoyable.
So, whether you’re a music enthusiast, a casual listener, or someone looking to discover new sounds, downloading music from iTunes to your iPhone unlocks a world of limitless musical possibilities. Start exploring, downloading, and enjoying your favorite songs on your iPhone today!