Introduction
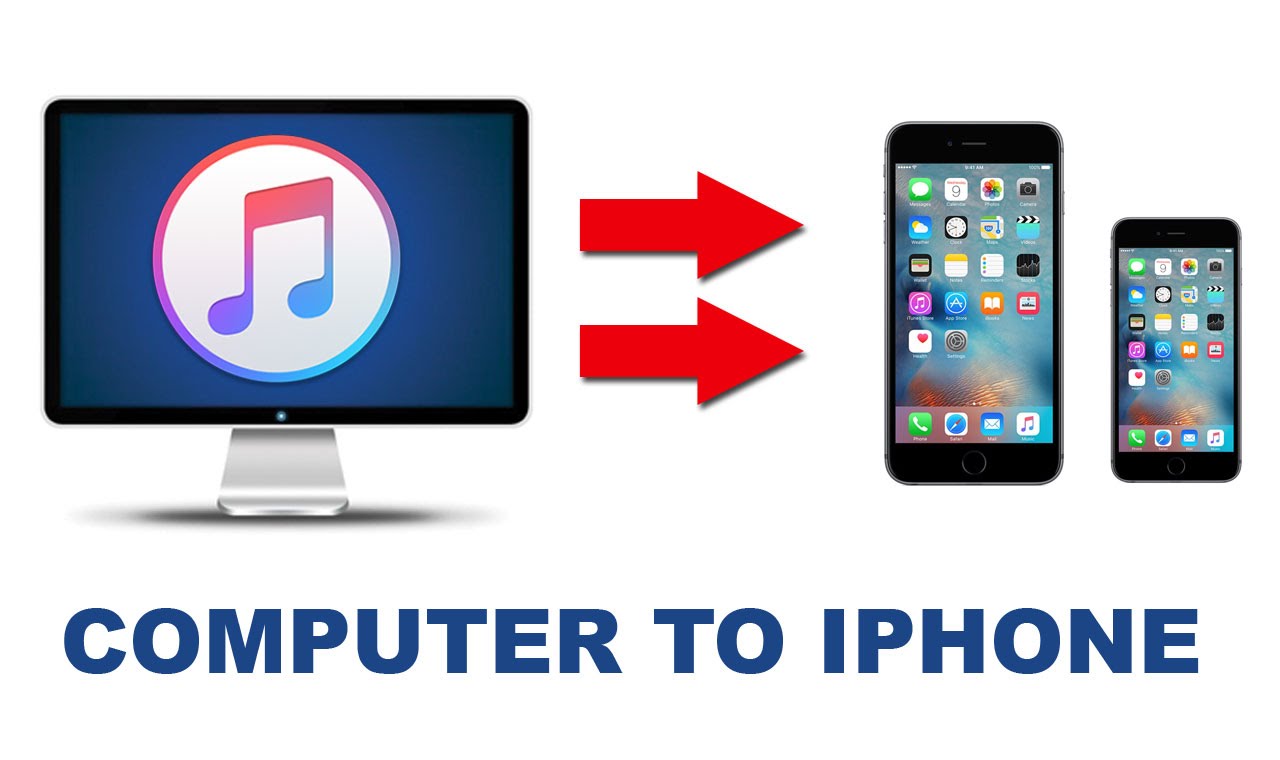
So, you have a collection of amazing music on your computer and now you want to transfer it to your iPhone to enjoy it on the go. Fortunately, with the help of iTunes, it’s a breeze to download music to your iPhone from your computer. Whether you have a vast library of songs or just a few favorites, this step-by-step guide will walk you through the process, ensuring that you can enjoy your favorite tunes anytime, anywhere.
The process may seem a bit daunting at first, but rest assured, it’s actually quite simple. All you need is your iPhone, computer, and a USB cable to connect the two. Once you have everything set up, you’ll be able to transfer music to your iPhone in no time.
In this article, we’ll go over each step involved in downloading music to your iPhone from your computer. From connecting your iPhone to your computer to selecting and transferring your favorite songs, we’ll cover it all. So let’s dive in and get started!
Note: Before you begin, ensure that you have the latest version of iTunes installed on your computer. This will guarantee compatibility and ensure a smooth transfer process.
Step 1: Connect your iPhone to your computer
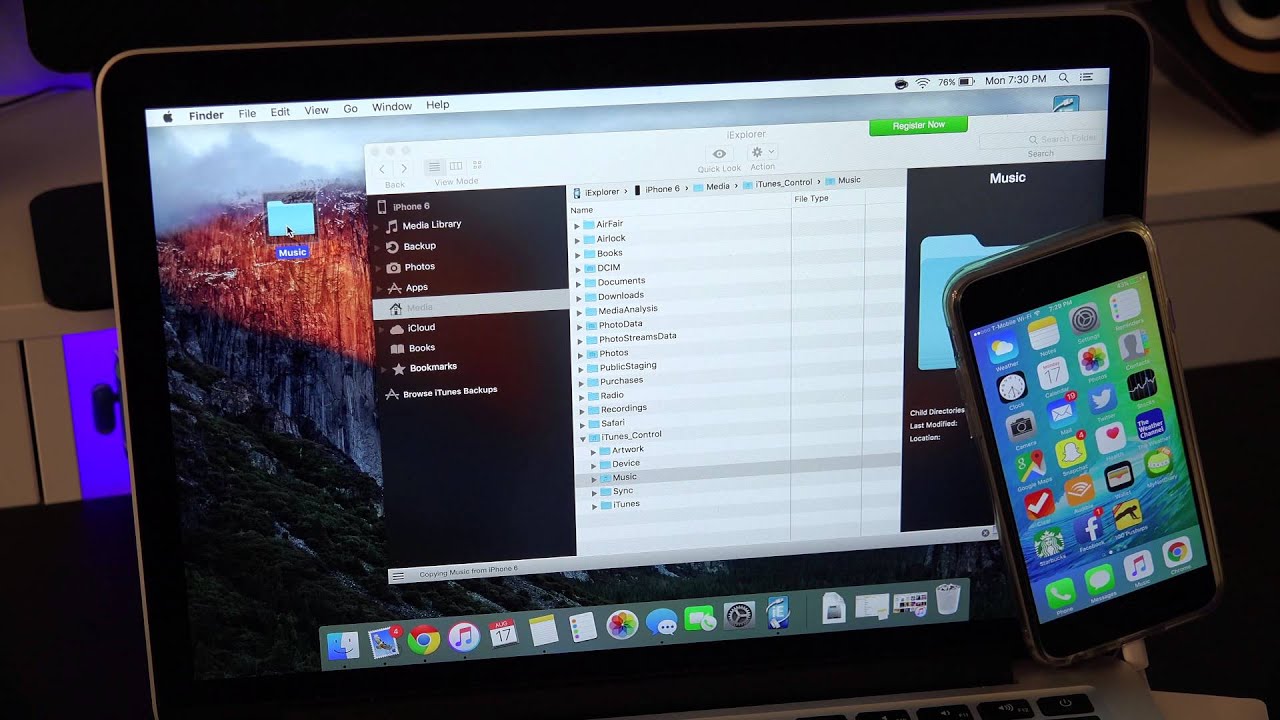
The first step in downloading music to your iPhone from your computer is to establish a connection between the two devices. To do this, you’ll need a USB cable that is compatible with your iPhone model.
Start by locating the USB port on your computer. It’s usually located on the side or back of your computer tower or on the side of your laptop. Once you’ve found the USB port, plug one end of the USB cable into it.
Next, take the other end of the USB cable and connect it to the charging port on your iPhone. This is the same port that you use to charge your device. Make sure the cable is securely plugged in to ensure a stable connection.
Once you’ve connected your iPhone to your computer, you should see a notification pop up on your iPhone screen. It will ask for your permission to trust the computer. Tap “Trust” to establish the connection between your devices.
After you’ve established the connection, your iPhone will appear in the iTunes interface on your computer. You’re now ready to proceed to the next step and start importing your music files to iTunes.
Pro tip: If you have trouble establishing a connection, try using a different USB cable or USB port on your computer. Sometimes, faulty cables or ports can hinder the connection process.
Step 2: Launch iTunes on your computer
With your iPhone successfully connected to your computer, it’s time to open iTunes, the software that will facilitate the transfer of music to your device. iTunes is available for both Windows and Mac operating systems, and you can download it for free from the Apple website.
To launch iTunes, simply search for it in your computer’s applications or programs folder and click on the icon to open it. Alternatively, you can use the search function in your computer’s menu bar or taskbar to locate and open iTunes.
Once iTunes launches, you will see the familiar interface with various tabs at the top. These tabs include Library, For You, Browse, Radio, and Store, among others. The Library tab is where you will import and organize your music files.
If this is your first time using iTunes, you may be prompted to sign in with your Apple ID. Enter your credentials to log in or create a new Apple ID if you don’t have one already. It’s important to have an Apple ID in order to download music from the iTunes Store and sync it to your iPhone.
Now that iTunes is open and you’re logged in, you’re ready to move on to the next step and start importing your music files into the iTunes library.
Pro tip: If you have a large music library on your computer, it may take a few moments for iTunes to load all of your files. Be patient during this process, especially if you have a slow computer or a particularly large collection of songs.
Step 3: Import the music files to iTunes library
Now that you have iTunes open and ready on your computer, it’s time to import your music files into the iTunes library. The iTunes library is where all your songs, albums, and playlists will be stored before you transfer them to your iPhone.
To import your music files, follow these steps:
- Click on the “File” tab in the top-left corner of the iTunes window.
- From the drop-down menu, select “Add File to Library” (or “Add Folder to Library” if your music files are organized in folders).
- Navigate to the location on your computer where your music files are stored.
- Select the files or folder you want to import into iTunes.
- Click the “Open” button to initiate the import process.
Once you’ve completed these steps, iTunes will start importing your music files into the library. Depending on the size of your music collection, this process may take a few minutes.
As the files are being imported, you’ll see a progress bar at the top of the iTunes window. You can monitor the progress and the number of files imported so far. Once the import is complete, you’ll find your music files neatly organized within the iTunes library.
Note: It’s important to ensure that your music files are in a compatible format for iTunes. iTunes supports various audio formats, including MP3, AAC, and WAV. If your files are in a different format, you may need to convert them using a separate software before importing them into iTunes.
Pro tip: To keep your iTunes library organized, consider setting up a consistent folder structure for your music files on your computer. This will make it easier to locate and import specific songs or albums when you’re adding them to iTunes.
Step 4: Sync your iPhone with iTunes
After importing your music files into the iTunes library, it’s time to sync your iPhone with iTunes. Syncing allows you to transfer the imported music files from your computer to your iPhone, making them accessible on your device.
To sync your iPhone with iTunes, follow these steps:
- Ensure that your iPhone is still connected to your computer via the USB cable.
- In the iTunes interface, click on the icon representing your iPhone. It can be found in the upper-left corner of the iTunes window.
- In the left sidebar, you’ll find various options for your iPhone. Select “Music” to access the music syncing settings.
- Check the box next to “Sync Music” to enable the syncing of music files.
- Choose whether you want to sync your entire music library or specific playlists, albums, or artists.
- Once you’ve made your selection, click the “Apply” or “Sync” button to initiate the syncing process.
During the syncing process, iTunes will transfer the selected music files from your library to your iPhone. The progress of the sync will be displayed at the top of the iTunes window.
It’s important to note that if you have previously synced your iPhone with another computer or iTunes library, syncing with a new computer will erase the existing content on your iPhone. Therefore, make sure to back up your iPhone data before proceeding with the sync.
Pro tip: If you want to customize your sync settings further, you can explore additional options in iTunes, such as only syncing checked songs, including music videos, or allowing iTunes to automatically fill free space with songs.
Once the sync is complete, your music files will be transferred to your iPhone, ready for you to enjoy on the go. You’re now one step closer to having your favorite songs in the palm of your hand!
Step 5: Select the music you want to transfer
Now that your iPhone is synced with iTunes, you have the option to choose which music you want to transfer from the iTunes library to your device. This step allows you to curate your music collection on your iPhone and ensure that only the songs you want are taking up precious storage space.
To select the music you want to transfer, follow these steps:
- Ensure that your iPhone is still connected to your computer with the USB cable.
- In the iTunes interface, click on the icon representing your iPhone, located in the upper-left corner of the iTunes window.
- In the left sidebar, navigate to the “Music” section for your iPhone.
- Here, you will see various options for managing your music.
- If you want to transfer your entire music library, make sure the “Sync Music” option is checked.
- If you prefer to transfer specific playlists, albums, or artists, select the relevant options.
- To transfer individual songs, locate them in your iTunes library and manually check the box next to each song.
As you make your selections, you’ll notice that the storage bar at the bottom of the iTunes window will update to reflect the amount of space your selected music will occupy on your iPhone.
Feel free to experiment with different combinations and selection methods until you’ve chosen the perfect mix of music for your iPhone. You can always adjust your selections later if you want to add or remove songs.
Pro tip: If you want to transfer a large number of songs or have a specialized music collection, creating playlists in iTunes can help you organize your music and simplify the selection process. Simply create a new playlist and add the desired songs to it, then select that playlist in the “Music” section for your iPhone during the syncing process.
Once you’ve made your music selections, you’re ready to move on to the next step and transfer the chosen music to your iPhone.
Step 6: Transfer the music to your iPhone
With your music selections made and your iPhone connected to your computer, it’s time to transfer the chosen music from the iTunes library to your iPhone. This step will finalize the process and ensure that you have your preferred songs readily accessible on your device.
To transfer the music to your iPhone, follow these steps:
- Ensure that your iPhone is still connected to your computer with the USB cable.
- In the iTunes interface, click on the icon representing your iPhone, located in the upper-left corner of the iTunes window.
- In the left sidebar, navigate to the “Music” section for your iPhone.
- Make sure the “Sync Music” option is selected, indicating that you want to sync music from your iTunes library to your iPhone.
- Review your music selections to confirm that the desired songs, playlists, or artists are included.
- Click the “Apply” or “Sync” button to begin the transfer process.
During the transfer, you’ll notice a progress bar at the top of the iTunes window, indicating the status of the music transfer. The time it takes to complete the transfer will depend on the size of your chosen music selection and the speed of your computer.
Once the transfer is complete, you will be able to access and play the transferred music directly from the Music app on your iPhone. You can browse through your songs, create playlists, and enjoy your favorite tunes wherever you go.
Note: If you want to make changes to your music selection in the future, simply repeat the syncing process, making any necessary adjustments or additions to your preferences.
Pro tip: If you have a large music library and limited storage space on your iPhone, you can optimize the transfer process by selecting the option to only sync checked songs. This way, you can individually choose which songs to transfer and conserve valuable storage space on your device.
Once the transfer is complete, you’re all set to enjoy your downloaded music on your iPhone. Grab your headphones, start playing your favorite songs, and experience music wherever you go!
Step 7: Enjoy your downloaded music on your iPhone
Congratulations! You’ve successfully transferred your favorite music to your iPhone, and now it’s time to sit back, relax, and enjoy your downloaded tunes wherever you go.
To access and enjoy your music on your iPhone, follow these simple steps:
- Disconnect your iPhone from your computer by safely removing the USB cable.
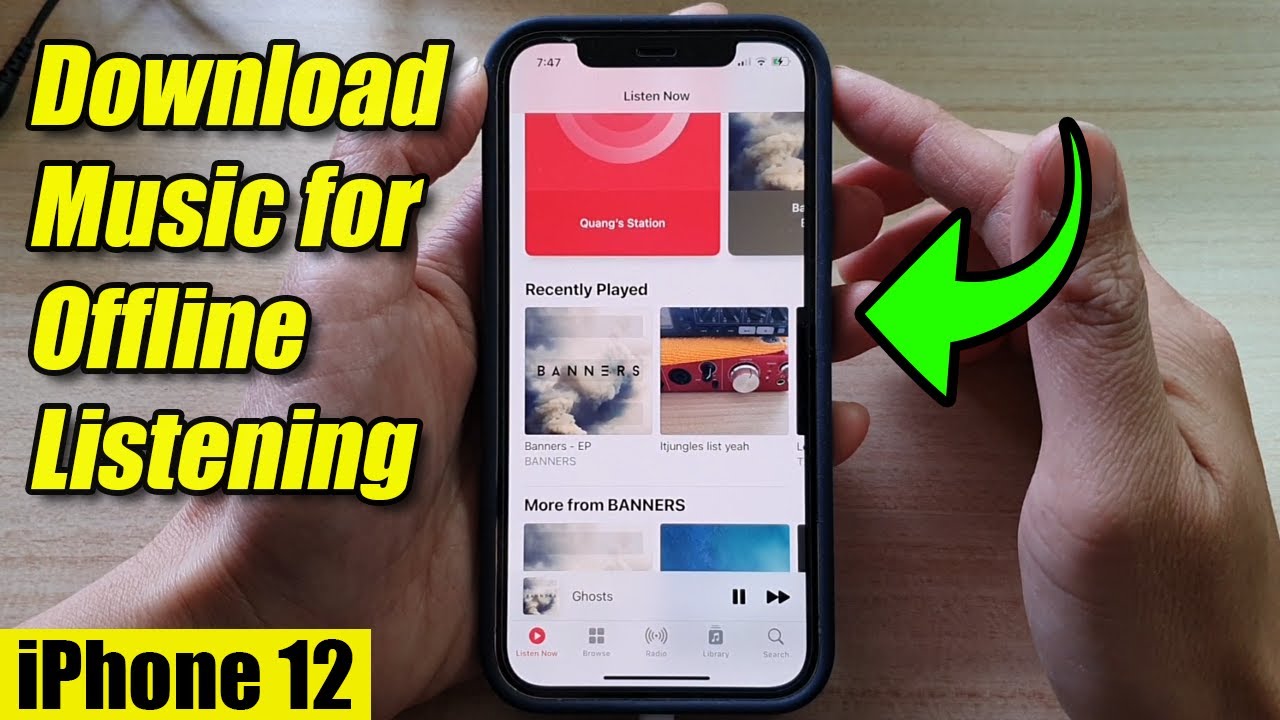
- Locate the Music app on your iPhone’s home screen and tap on it to launch the app.
- You’ll be greeted with various tabs at the bottom of the screen, such as Library, For You, Browse, and Radio.
- Tap on the Library tab to access your music library.
- Here, you’ll find all the music that you transferred from iTunes, organized by songs, artists, albums, and playlists.
- Browse through the different categories or use the search function to find specific songs or artists.
- Tap on a song or playlist to start playing your music.
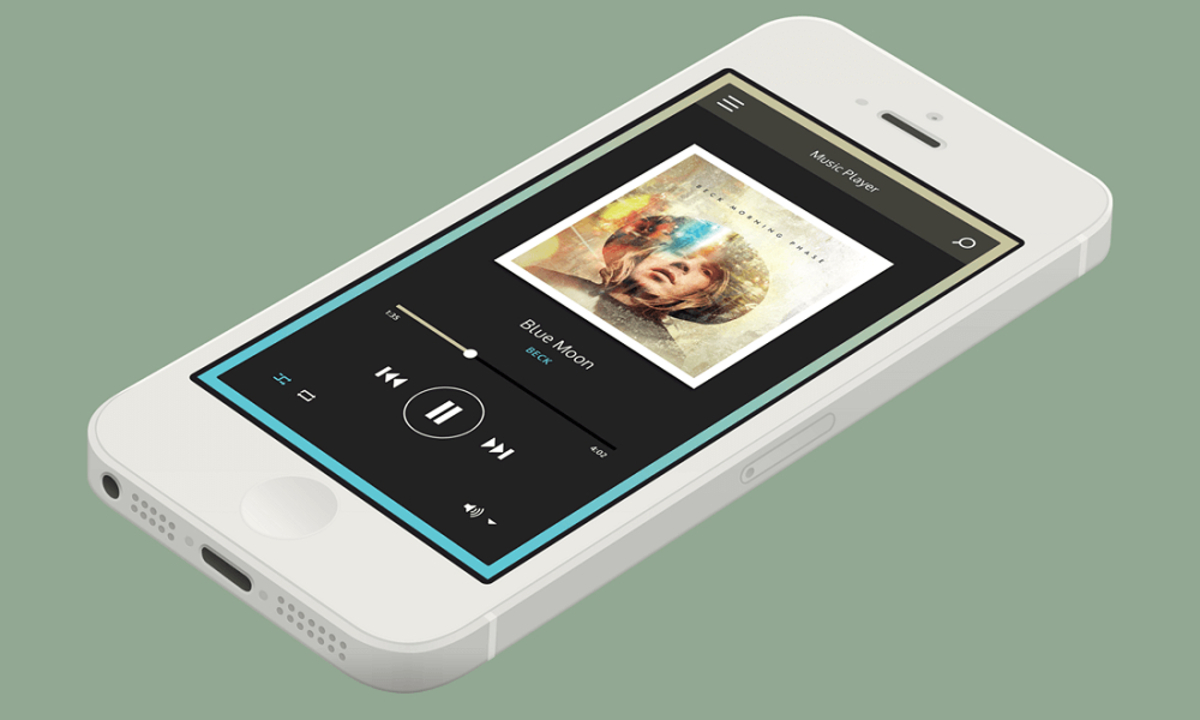
- Use the playback controls at the bottom of the screen to adjust the volume, skip songs, or pause your music.
Enjoy the freedom of having your favorite songs at your fingertips. Whether you’re commuting, working out, or simply relaxing, you now have a personalized soundtrack for every moment.
Pro tip: Take advantage of other features within the Music app, such as creating playlists, setting your preferred music preferences, and exploring personalized recommendations based on your listening habits.
Now that you’ve successfully downloaded and transferred music to your iPhone, there’s no limit to the enjoyment and entertainment you can experience. Let the music accompany you on your daily adventures and enhance every moment with the perfect soundtrack.
Conclusion
Transferring music from your computer to your iPhone may have seemed like a daunting task at first, but by following these step-by-step instructions, you’ve learned how simple it can be. With the help of iTunes, you can easily import your music files, sync your iPhone, and enjoy your favorite songs on the go.
Throughout this guide, we covered everything from connecting your iPhone to your computer and launching iTunes to importing music files, syncing your iPhone, selecting the music you want to transfer, and finally, enjoying your downloaded music on your iPhone. Each step was designed to ensure a seamless and hassle-free experience.
Remember, iTunes allows you to not only transfer music but also manage your entire music library, create playlists, and explore new artists and genres. The possibilities for customization and personalization are endless, giving you full control over your music listening experience.
So, whether you’re a music enthusiast with an extensive collection or simply someone who enjoys a few favorite tunes, the ability to download music to your iPhone from your computer opens up a world of possibilities. Take advantage of this feature to curate a personalized music library that suits your tastes and accompanies you through every moment of your life.
Now, go ahead and follow the steps outlined in this guide to download your music, sync your iPhone, and embark on a musical journey like never before. Enjoy the convenience, the freedom, and the joy of having your beloved music right at your fingertips, ready to be played at any time and in any place.
Here’s to the power of music and the seamless integration between your computer and your iPhone. Happy listening!


