Introduction
Are you a proud owner of an iPhone 5 and want to enjoy your favorite music on the go? Fortunately, you can easily download music to your iPhone 5 from your computer and have your own personal soundtrack wherever you are. In this guide, we will walk you through the step-by-step process of transferring music from your computer to your iPhone 5.
Downloading music to your iPhone 5 allows you to listen to your favorite songs, albums, and playlists without an internet connection. Whether you have a vast music collection stored on your computer or you want to download new albums, this guide will help you get your music library organized on your iPhone in no time.
Now, before we dive into the step-by-step instructions, there are a few things you need to consider. Firstly, ensure that you have the latest version of iTunes installed on your computer. iTunes is the official software developed by Apple to manage and sync media files, including music, to iOS devices like the iPhone. Secondly, make sure you have a USB cable to connect your iPhone 5 to your computer. This cable is commonly included with your iPhone, and it’s necessary to establish a connection between your devices.
Once you have these prerequisites covered, you’re ready to start downloading music to your iPhone 5. Let’s get started with step one: updating iTunes on your computer.
Step 1: Update iTunes on your computer
The first step in the process of downloading music to your iPhone 5 is ensuring that you have the latest version of iTunes installed on your computer. iTunes acts as the bridge between your computer and your iPhone, allowing you to sync and transfer media files seamlessly.
To update iTunes, follow these simple steps:
- Open iTunes on your computer. If you don’t have iTunes installed, you can download the latest version from the Apple website.
- In the menu bar at the top of the iTunes window, click on “Help”.
- From the drop-down menu, select “Check for Updates”.
- If a new version of iTunes is available, follow the prompts to download and install the update.
- Once the update is complete, restart your computer to ensure that the changes take effect.
By keeping iTunes up to date, you ensure that you have the latest features and compatibility improvements that will enhance your music downloading experience. It’s also important to regularly update iTunes as Apple frequently releases updates to fix any bugs or security vulnerabilities.
Now that you have updated iTunes on your computer, you’re ready to move on to the next step: connecting your iPhone 5 to your computer.
Step 2: Connect your iPhone to your computer
In order to transfer music from your computer to your iPhone 5, you need to establish a connection between the two devices. This is done using a USB cable, which is typically included when you purchase your iPhone. Follow these steps to connect your iPhone to your computer:
- Locate the USB cable that came with your iPhone.
- Connect one end of the USB cable to the charging port on the bottom of your iPhone 5.
- Connect the other end of the USB cable to an available USB port on your computer.
- Your computer should recognize the iPhone and prompt you with a notification or display it as a connected device.
Once your iPhone is successfully connected to your computer, you are ready to proceed to the next step: opening iTunes on your computer. It’s important to ensure a stable and secure connection between your devices throughout the music transfer process. If you encounter any issues with the connection, try using a different USB port on your computer or restarting both your iPhone and computer before attempting to connect again.
Now that your iPhone is connected to your computer, let’s move on to the next step: opening iTunes on your computer.
Step 3: Open iTunes on your computer
With your iPhone 5 connected to your computer, it’s time to open iTunes. iTunes is the official software developed by Apple that allows you to manage, organize, and sync your media files, including music, with your iPhone.
Follow these simple steps to open iTunes on your computer:
- On your computer, locate the iTunes icon, which resembles a musical note inside a white circle. It is usually found in your desktop or the “Applications” folder on a Mac, or in the Start menu on a PC.
- Double-click on the iTunes icon to open the application.
- If prompted, enter your Apple ID and password to sign in to your iTunes account. If you don’t have an Apple ID, you can create one by clicking on “Create New Apple ID”.
- Once you are signed in, the iTunes interface will appear on your computer screen, displaying your library and other navigation options.
Now that iTunes is opened on your computer, you are ready to proceed to the next step: adding music files to your iTunes library. The iTunes interface is user-friendly and provides a seamless experience for managing your music collection, creating playlists, and syncing them with your iPhone.
Before we move on, it’s worth mentioning that there are other alternative software solutions available to manage your iPhone’s music. However, for the purpose of this guide, we will focus on using iTunes since it’s the official software approved by Apple.
Step 4: Add music files to iTunes library
Now that you have iTunes open on your computer, it’s time to add your music files to the iTunes library. The iTunes library is where you store and organize all your music before syncing it to your iPhone 5. Follow these steps to add music files to your iTunes library:
- In the top menu of iTunes, click on “File”.
- From the drop-down menu, select “Add File to Library” if you want to add individual music files, or “Add Folder to Library” if you want to add an entire folder of music files.
- Navigate to the location on your computer where your music files are stored.
- Select the music files or folder you want to add to iTunes, and click “Open”.
- Wait for iTunes to complete the process of importing the music files into your iTunes library. The time it takes will depend on the number and size of the files.
Once the music files are added to your iTunes library, you can organize them into playlists, create custom album artwork, and edit the metadata such as song titles and artist names. This allows you to have a personalized music collection that reflects your preferences.
It’s important to note that iTunes supports various audio formats, including MP3, AAC, WAV, and AIFF. However, if you have music files in unsupported formats, iTunes can also convert them to the appropriate format during the importing process.
Now that you have successfully added your music files to the iTunes library, you are ready to move on to the next step: syncing your iPhone with iTunes. This will transfer the music files from your computer to your iPhone 5, allowing you to enjoy your favorite tunes anytime, anywhere.
Step 5: Sync your iPhone with iTunes
Now that you have added your music files to the iTunes library, it’s time to sync your iPhone 5 with iTunes. Syncing allows you to transfer your music files from your computer to your iPhone, ensuring that your music collection is up to date and accessible on your device. Follow these steps to sync your iPhone with iTunes:
- Make sure your iPhone 5 is still connected to your computer via the USB cable.
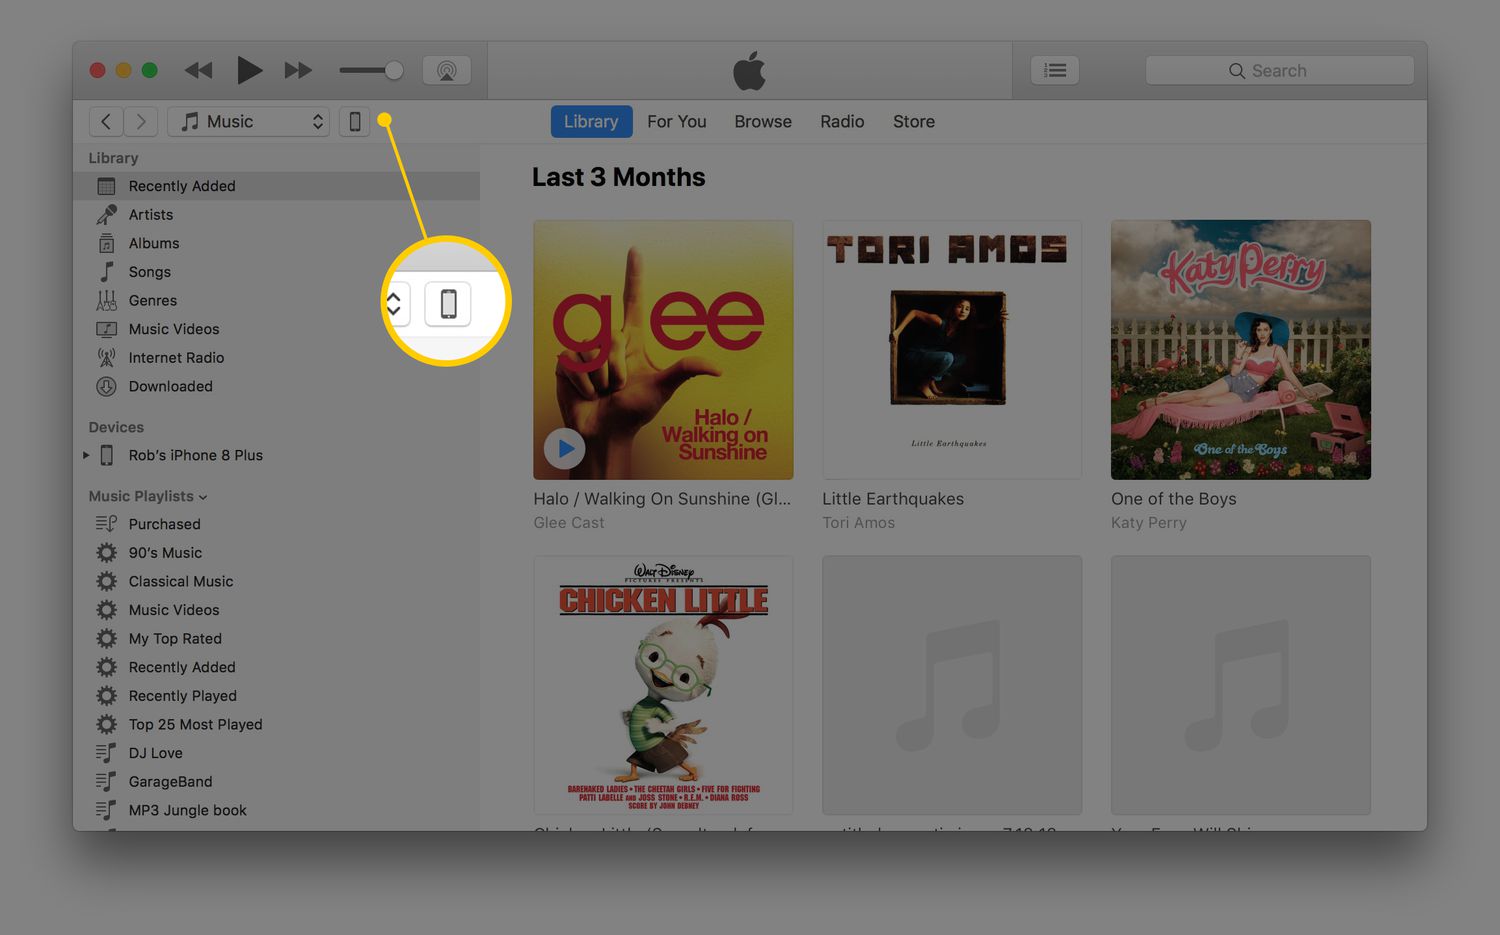
- In the iTunes interface on your computer, click on the device icon that represents your iPhone 5. It can be found in the upper-left corner of the iTunes window.
- From the sidebar menu on the left side of the iTunes window, select “Music”. This will display the music sync options for your iPhone.
- Check the box next to “Sync Music” to enable music syncing.
- You can choose to sync your entire music library by selecting the “Entire music library” option, or manually select specific albums, artists, genres, and playlists to sync to your iPhone.
- Once you have made your selection, click on the “Apply” or “Sync” button to initiate the syncing process.
- Wait for iTunes to transfer the selected music files from your computer to your iPhone. The time it takes will depend on the number and size of the files.
During the sync process, iTunes will also ensure that any changes made to your music library, such as adding or deleting songs, are reflected on your iPhone. This ensures that your music collection stays in sync across all your devices.
It’s worth noting that you can also customize other settings, such as whether to include album artwork, to optimize storage space on your iPhone. Additionally, you can sync other media files like videos, podcasts, and audiobooks using similar steps.
Now that your iPhone is successfully synced with iTunes, the music files you selected will be available on your device. You can access them through the Music app on your iPhone 5 and enjoy your favorite songs, albums, and playlists wherever you go.
Step 6: Access the downloaded music on your iPhone
After syncing your iPhone 5 with iTunes and transferring the music files, it’s time to access and enjoy your downloaded music on your device. Follow these steps to find and play your downloaded music on your iPhone:
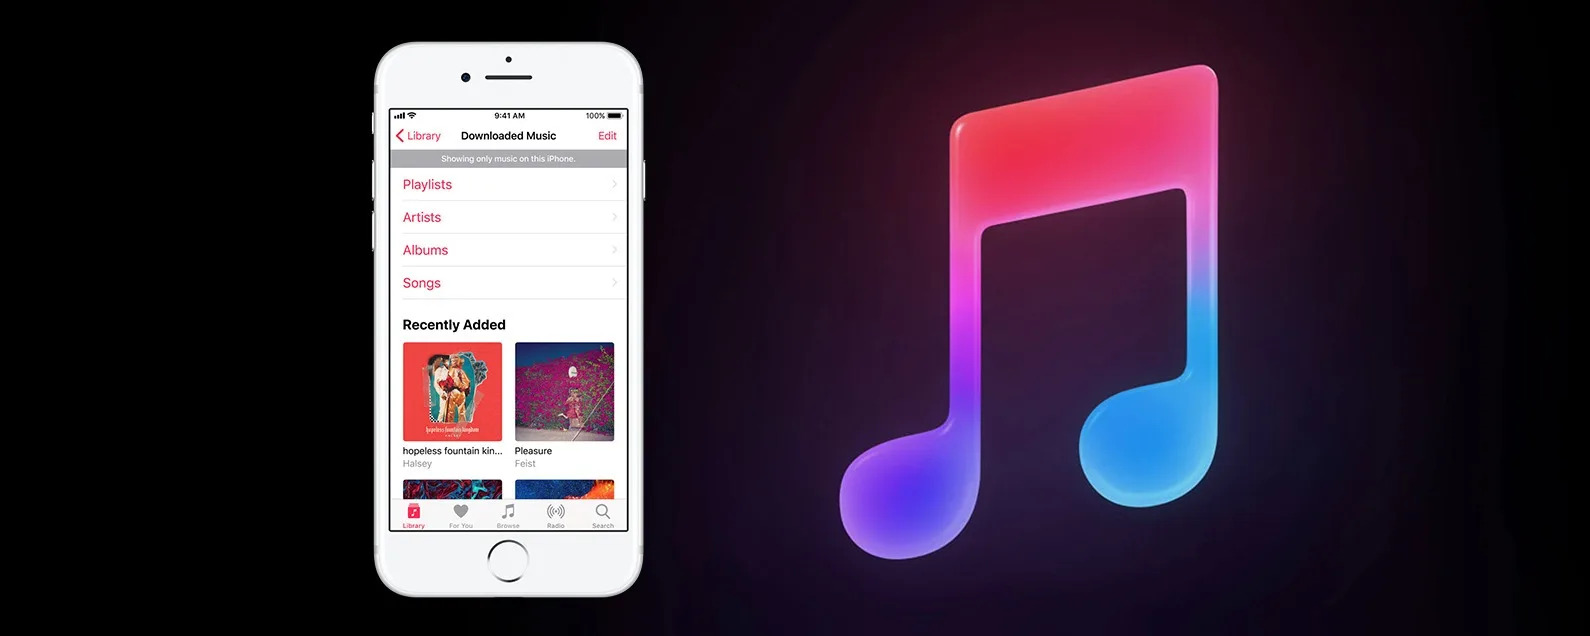
- On your iPhone 5, locate and tap on the “Music” app icon, which resembles a musical note on a white background. This app is pre-installed on your iPhone and is the default music player.
- You will be taken to the “Library” tab, where you can find your entire music collection. You can explore your music by selecting options such as “Artists”, “Albums”, “Songs”, or “Genres”.
- Tap on the desired category to browse through your music collection. You can swipe up or down to scroll through the list of songs, albums, or artists.
- Once you find the song or album you want to listen to, simply tap on it to start playing. You can use the playback controls at the bottom of the screen to pause, skip, adjust the volume, and repeat or shuffle the songs.
- If you have created playlists in iTunes, you can access them by tapping on the “Playlists” tab in the Music app. This allows you to organize your music based on themes, moods, or personal preferences.
- Furthermore, the Music app on your iPhone offers additional features such as creating custom playlists, searching for specific songs or artists, and accessing personalized recommendations through the “For You” tab.
Now that you have successfully transferred and accessed your downloaded music on your iPhone 5, you can enjoy your favorite tunes anytime, anywhere. Whether you’re going for a run, relaxing at home, or commuting, your personalized music collection is just a few taps away on your iPhone.
Remember to keep your music library in sync with iTunes on your computer. Any changes you make to your music library, such as adding new songs or playlists, can be reflected on your iPhone by re-syncing with iTunes. This ensures that your music collection stays up to date across all your devices.
With your downloaded music ready to go, you can now immerse yourself in the melodies, rhythms, and lyrics that resonate with you. Let the music accompany you on your daily adventures and enhance every aspect of your life.
Conclusion
Congratulations! You have successfully learned how to download music to your iPhone 5 from your computer. By following these steps, you can easily transfer your favorite songs, albums, and playlists to your iPhone and have your personalized music library at your fingertips.
Updating iTunes, connecting your iPhone to your computer, opening iTunes, adding music files to your iTunes library, syncing your iPhone with iTunes, and accessing the downloaded music on your iPhone are the key steps in this process. Each step is essential to ensure a smooth and seamless music transfer experience.
Remember to regularly update iTunes to take advantage of the latest features and improvements. Make sure to establish a stable and secure connection between your iPhone and computer using the USB cable provided with your device. Adding music files to your iTunes library allows you to organize and customize your music collection.
Once your music is added to iTunes, syncing your iPhone will transfer the music files and ensure that any changes to your music library are reflected on your device. Finally, accessing your downloaded music on your iPhone through the Music app allows you to enjoy your favorite tunes wherever you go.
Now that you know how to download music to your iPhone 5 from your computer, you can embark on a musical adventure and create the perfect soundtrack for every moment. Whether you’re working out, relaxing, or on the go, your iPhone 5 can be your personal DJ, providing an immersive music experience.
Have fun exploring your music collection, discovering new artists, and creating playlists that match your mood or set the tone for any occasion. Let the power of music enhance your daily life and bring you joy, inspiration, and comfort.
Enjoy your downloaded music on your iPhone 5 and make every moment more memorable with the perfect soundtrack by your side.