Introduction
Welcome to this step-by-step guide on how to download music onto iTunes. iTunes is a popular digital media player and library management software developed by Apple Inc. With iTunes, you can not only organize your music collection but also purchase and download music from the extensive iTunes Store. This guide will walk you through the process of setting up an iTunes account, searching for music in the iTunes Store, and downloading it to your library.
Whether you’re a music enthusiast looking to expand your collection or someone new to iTunes and eager to explore its vast library, this guide will provide you with the necessary steps to easily download music onto iTunes. You’ll be able to enjoy your favorite tunes on your Apple devices or even create your own playlists to suit any mood or occasion.
Downloading music onto iTunes is a simple and straightforward process. By following the steps outlined in this guide, you’ll be able to access a wide range of music genres, discover new artists, and add your favorite tracks to your iTunes library. So, let’s get started and dive into the world of music on iTunes!
Step 1: Open iTunes
To begin the process of downloading music onto iTunes, the first step is to open the iTunes application on your computer. Whether you’re using a Mac or a Windows PC, the steps to open iTunes are relatively the same.
If you’re using a Mac, simply locate the iTunes icon in your dock or use Spotlight search to find and open the application. On a Windows PC, you can access iTunes by clicking on the Start menu, searching for “iTunes,” and selecting the application from the search results.
Once you’ve located and opened iTunes, you’ll be greeted with the familiar interface of the software. The main window displays your music library, which will be populated once you start adding music to your iTunes library.
If this is your first time opening iTunes, you may be prompted to agree to the terms and conditions of using the software. Take a few moments to review and accept the terms to proceed.
With iTunes now open and ready, you’re one step closer to downloading music onto your device. In the following steps, we’ll guide you through the process of setting up an iTunes account, searching for your favorite music, and adding it to your iTunes library. So let’s move on to step two!
Step 2: Set up an iTunes Account
Before you can start downloading music from iTunes, you’ll need to set up an iTunes account. This account will allow you to purchase and download music, as well as access other features and services provided by Apple.
To set up an iTunes account, follow these steps:
- Open iTunes and click on the “Account” tab located at the top of the window. From the drop-down menu, select “Sign In.” If you don’t already have an Apple ID, click on “Create Apple ID.”
- You’ll be prompted to enter your email address, password, and other personal information. Fill in the required details accurately and ensure that your password is strong and secure.
- Read and accept the terms and conditions to proceed. These terms outline the usage policies and agreements between you and Apple regarding the use of iTunes and its services.
- In the next step, you’ll be asked to provide a payment method. You can choose to enter your credit card details or use alternative payment methods such as PayPal or gift cards. If you don’t want to associate a payment method at this time, you can select “None”.
- Complete the account setup process by verifying your email address. Apple will send a verification email to the address you provided during the registration process. Click on the verification link in the email to confirm your account.
Congratulations! You’ve successfully set up your iTunes account. With your account now active, you’ll be able to browse and purchase music from the iTunes Store. In the next steps, we’ll guide you through the process of searching for music and adding it to your iTunes library. So, let’s move on to step three!
Step 3: Search for Music in the iTunes Store
With your iTunes account set up, you’re ready to search for and explore the vast collection of music in the iTunes Store. The iTunes Store offers a diverse selection of songs, albums, and even podcasts for you to discover and enjoy.
To search for music in the iTunes Store, follow these steps:
- Open iTunes and click on the “iTunes Store” tab located at the top of the window. This will take you to the iTunes Store homepage.
- In the search bar at the top right corner of the iTunes Store, enter the name of an artist, song, or album you’re interested in. You can also browse through the featured music categories to discover new releases, top charts, or genre-specific playlists.
- As you type, the search results will begin to appear below the search bar. Choose the intended search result that matches what you’re looking for.
Once you’ve found the desired music, you can further explore the details such as the album artwork, release date, track listings, and user ratings. The iTunes Store also provides previews of the songs, allowing you to listen to a short snippet before making a purchase.
Take your time to explore various artists, genres, and recommendations provided by the iTunes Store. There is a wealth of music waiting to be discovered!
In the next step, we’ll guide you through the process of selecting and adding music to your iTunes library. So let’s move on to step four!
Step 4: Choose a Music Album or Single
Now that you’ve searched for music in the iTunes Store, it’s time to choose the music you want to add to your iTunes library. Whether you’re looking for a specific album or a single track, iTunes offers a wide range of options to suit your musical preferences.
To choose a music album or single, follow these steps:
- Review the search results and click on the desired music album or single. This will open the album/song page, where you can find more information and make a decision.
- Take a moment to read through the album description, artist information, and user reviews. This information can give you a better idea of what to expect from the music.
- If you’re interested in purchasing the entire album, click on the “Buy” button. This will add the entire album to your iTunes library. Alternatively, if you only want to purchase a single track, click on the price next to the desired song.
It’s worth noting that not all music in the iTunes Store is available for purchase. Some artists or labels may choose to make their music available only for streaming or in specific regions. If you come across music that is not available for purchase, you can add it to your iTunes library by subscribing to Apple Music or other streaming services supported by iTunes.
Once you’ve added the music to your library, it will be available for you to listen to on your computer, as well as sync to your other Apple devices. In the next step, we’ll guide you through the process of downloading the music to your iTunes library. So, let’s move on to step five!
Step 5: Click “Buy” or “Get” Button
After choosing the music album or single you want to add to your iTunes library, it’s time to complete the purchase. This step involves clicking the “Buy” or “Get” button to initiate the download process.
To click the “Buy” or “Get” button, follow these steps:
- On the album or song page, locate the button labeled “Buy” or “Get.” This button is typically located near the album cover or next to the song title.
- Click on the “Buy” or “Get” button to proceed with the purchase. Depending on your account settings, you may be required to enter your Apple ID and password before the purchase can be completed. If prompted, provide the necessary information to continue.
- Once the purchase is confirmed, the music will be added to your iTunes library. The download process will start, and you can monitor the progress in the Downloads section of iTunes.
In some cases, you may encounter music that is marked as “Free” in the iTunes Store. In such instances, instead of a “Buy” button, you’ll see a “Get” button. Clicking the “Get” button allows you to add the music to your iTunes library without any charge. This can be a great way to discover new artists or explore different genres.
Once the music is downloaded to your iTunes library, you can start enjoying it on your computer. In the next step, we’ll guide you through the process of syncing your iTunes library with your other devices. So, let’s move on to step six!
Step 6: Enter Your Apple ID and Password
To complete the purchase and download the music to your iTunes library, you will need to enter your Apple ID and password. This step ensures that the purchase is authorized and associated with your account.
To enter your Apple ID and password, follow these steps:
- When prompted, enter your Apple ID, which is the email address associated with your iTunes account, into the designated field.
- Next, provide your password in the appropriate field. Make sure to enter it accurately and securely.
- Once you have entered your Apple ID and password, click on the “Sign In” button or press Enter. This will authenticate your account and authorize the purchase of the selected music.
If you have entered your Apple ID and password correctly, the purchase will be processed, and the music will begin downloading to your iTunes library. You can monitor the download progress in the Downloads section of iTunes.
Remember to keep your Apple ID and password secure and confidential. These credentials grant access to your iTunes account and protect your personal information and purchases.
In the next step, we’ll guide you through the process of downloading the music to your iTunes library. So, let’s move on to step seven!
Step 7: Download the Music to Your Library
After entering your Apple ID and password, the music you purchased will start downloading to your iTunes library. This step finalizes the process and ensures that the music is accessible for playback on your computer and other Apple devices.
To download the music to your library, follow these steps:
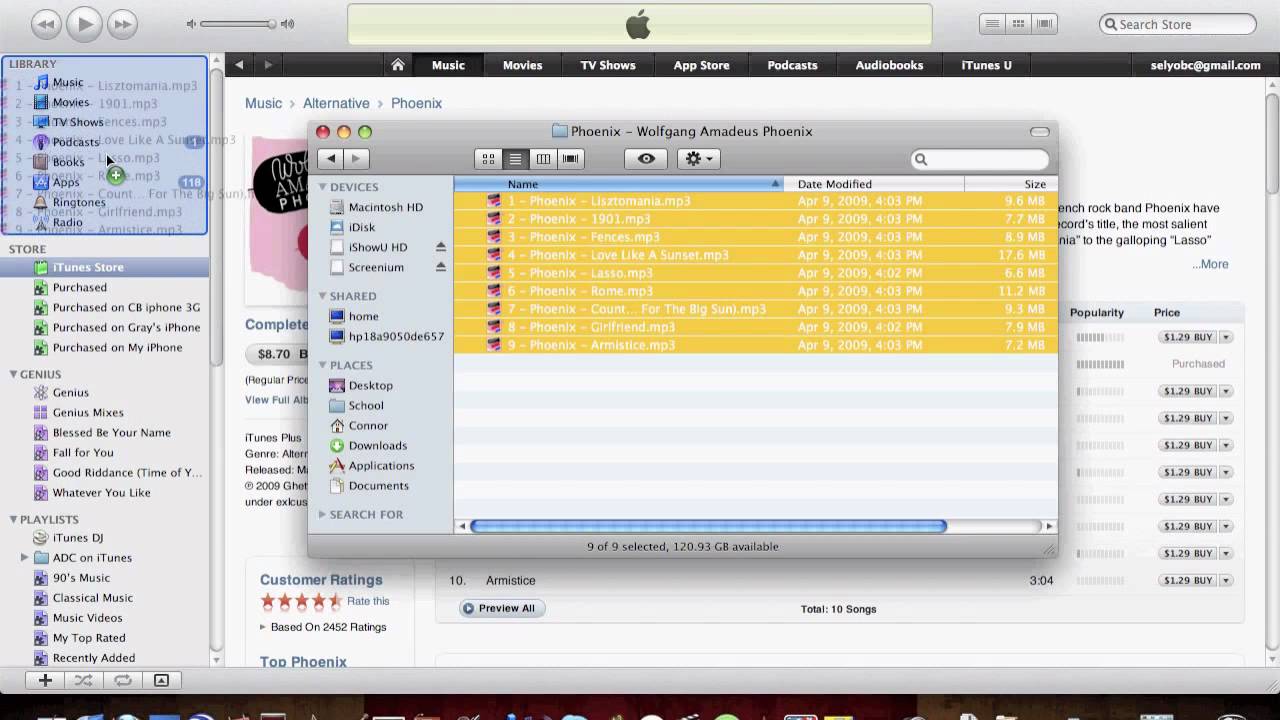
- In the Downloads or Purchased section of iTunes, you’ll see a progress bar indicating the status of the download. Wait for the download to complete before proceeding.
- Once the download is finished, the music will appear in your iTunes library. You can access the library by clicking on the “My Music” tab at the top of the iTunes window.
- In the iTunes library, you can organize the music based on your preferences. You can create playlists, sort by artist or album, and even add artwork to enhance the visual representation of your music collection.
- To start listening to the downloaded music, simply double-click on the song or album in your library. iTunes will begin playing the selected music, allowing you to enjoy your newly acquired tracks.
Congratulations! You have successfully downloaded and added the music to your iTunes library. You can now enjoy your favorite songs whenever you want.
In the next step, we’ll guide you through the process of syncing your iTunes library with your devices, so you can enjoy your music on the go. So, let’s move on to step eight!
Step 8: Sync Your iTunes Library with Your Devices
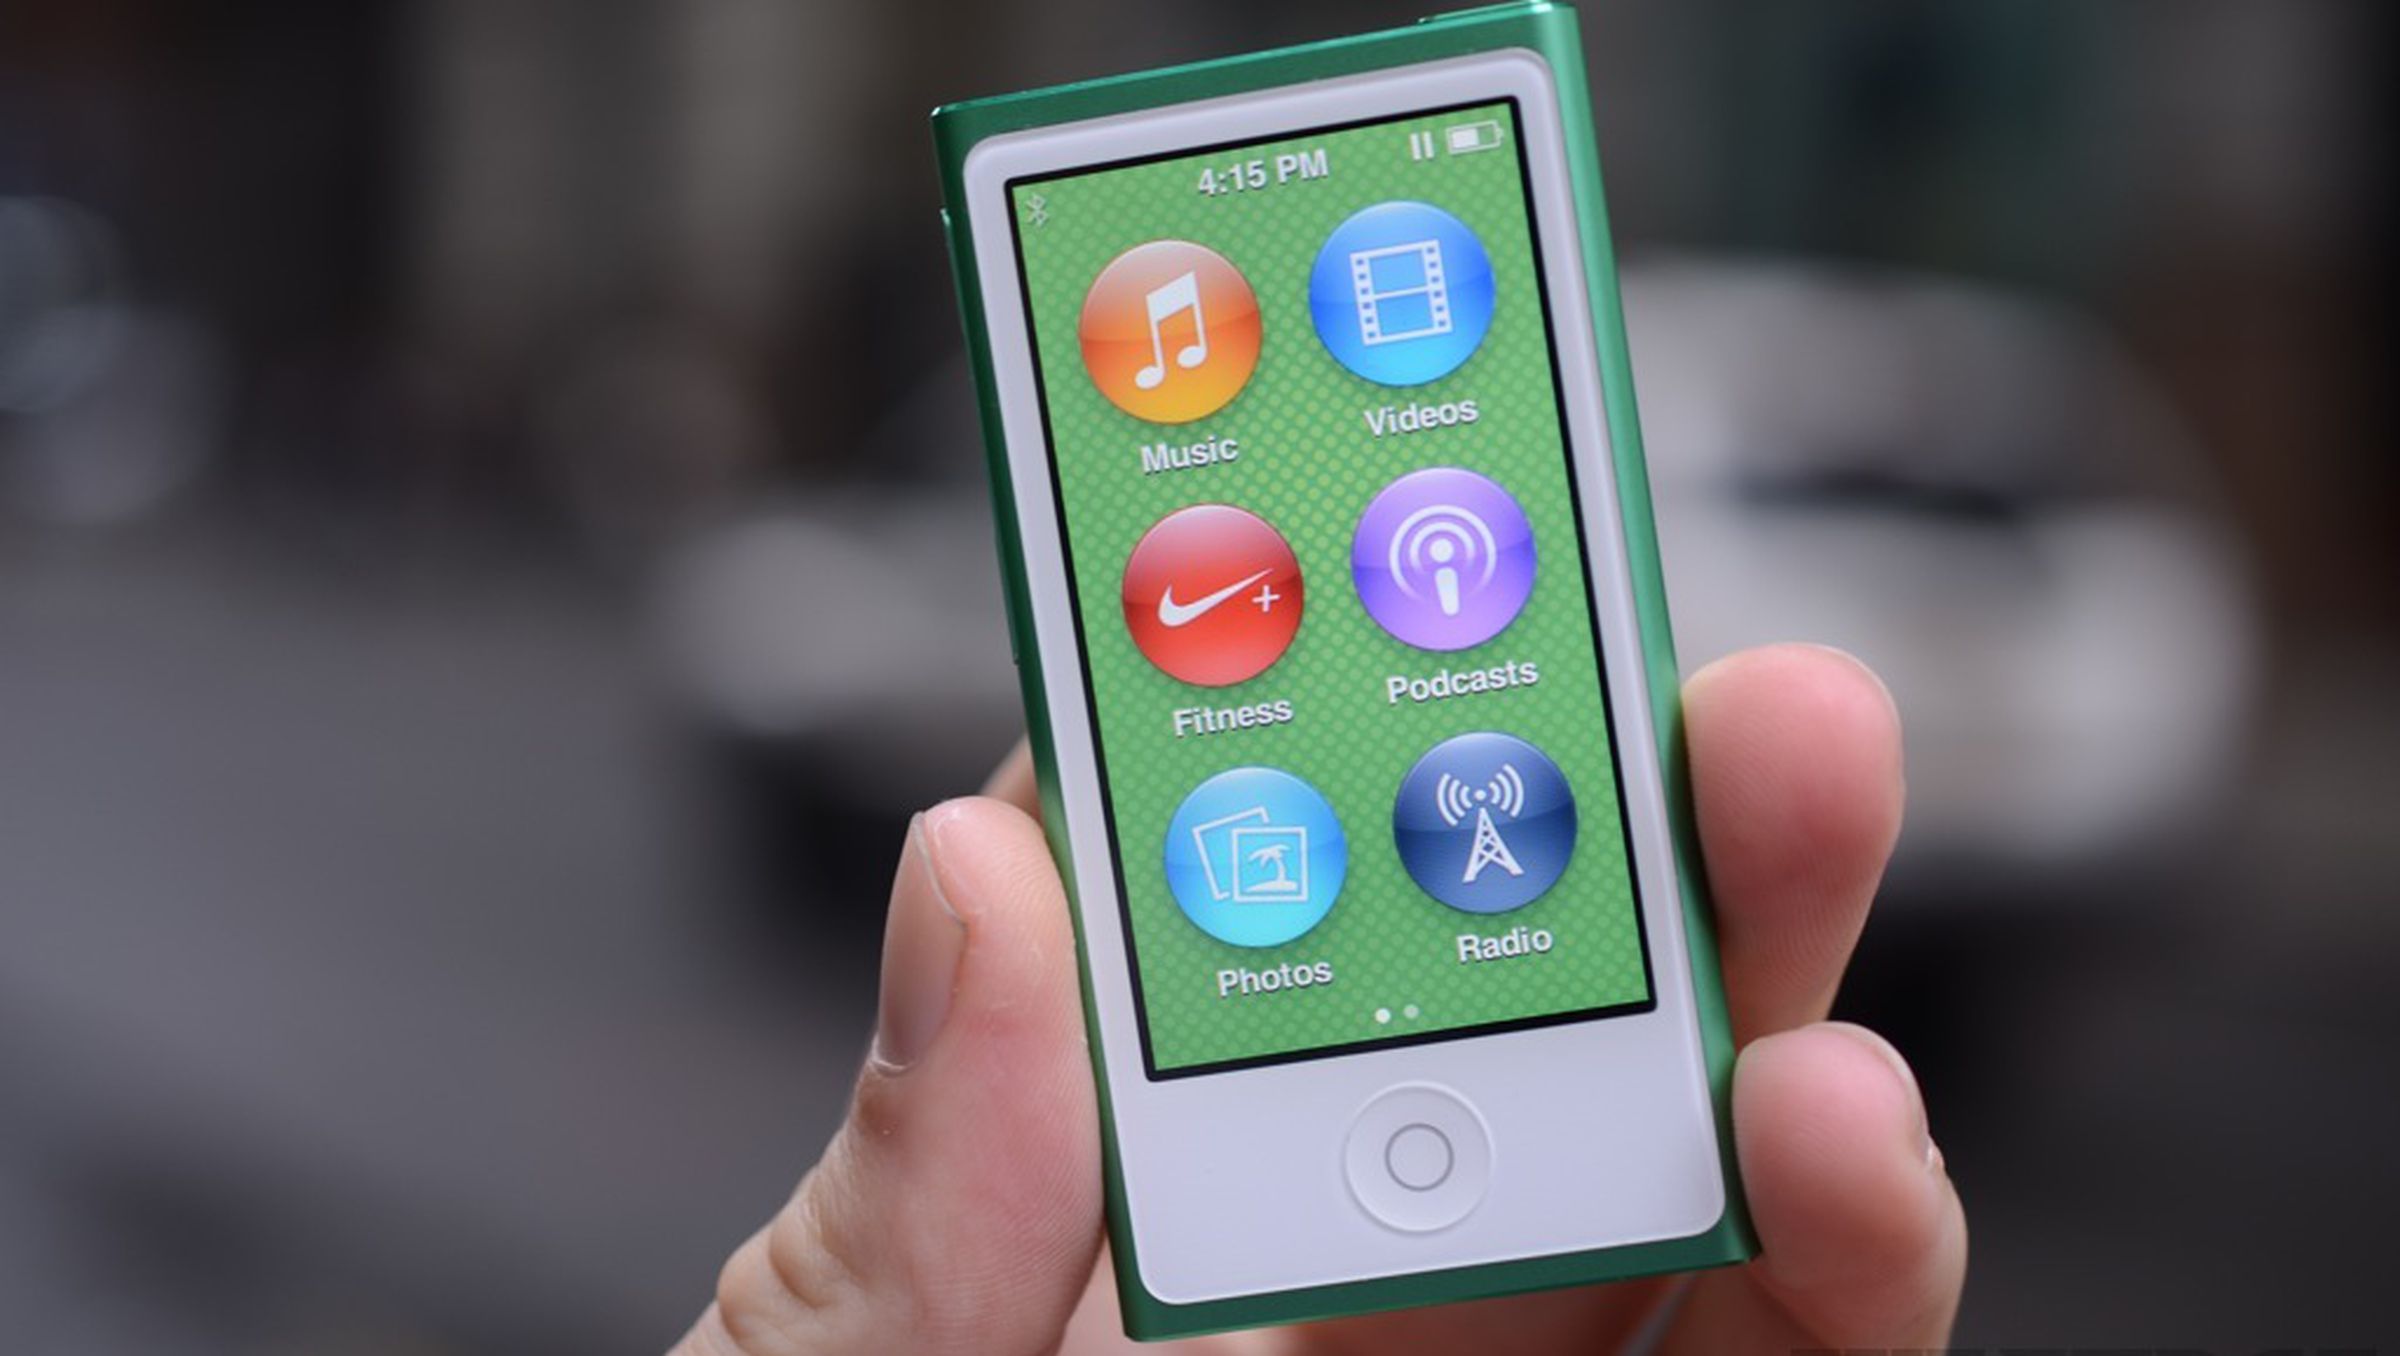
Once you have downloaded music to your iTunes library, you can sync it with your Apple devices, such as your iPhone, iPad, or iPod. Syncing allows you to enjoy your music on the go and ensures that your devices have the latest additions to your iTunes library.
To sync your iTunes library with your devices, follow these steps:
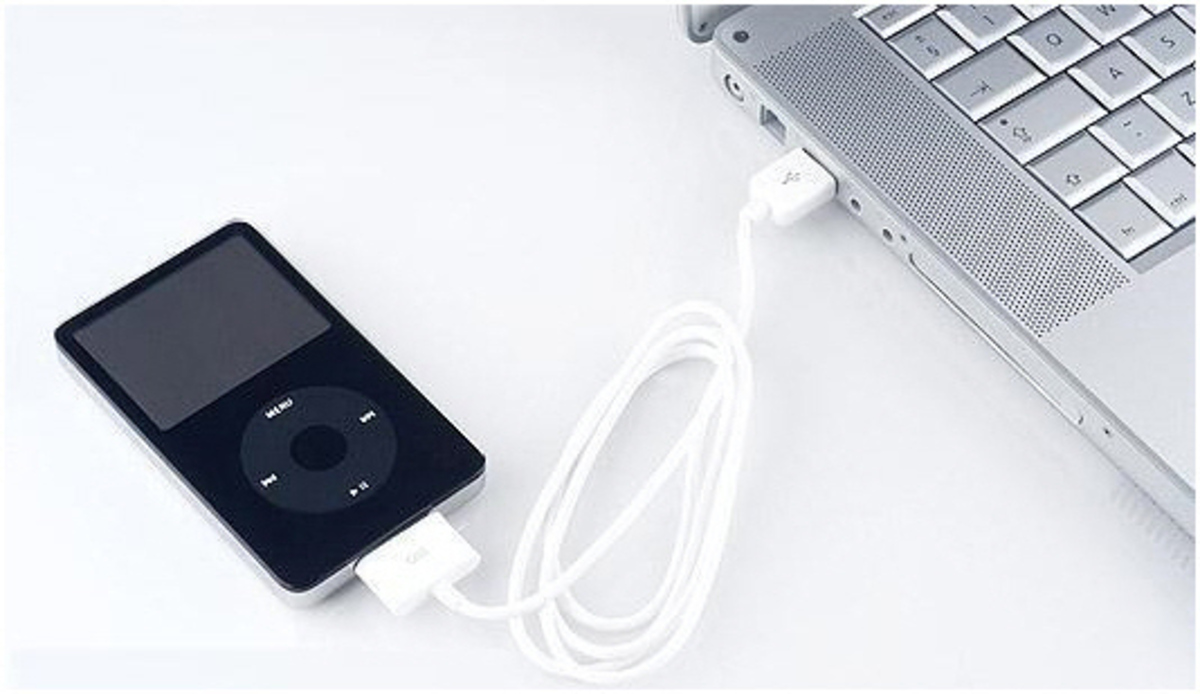
- Connect your device to your computer using the appropriate cable (Lightning cable for newer devices or 30-pin dock connector for older devices).
- Open iTunes if it does not open automatically. Your device will be displayed as an icon in the upper-left corner of the iTunes window.
- Click on the device icon, which will take you to the Summary page of your device.
- Under the “Options” section, enable the option to “Sync with this [device] over Wi-Fi” if you want to sync your device wirelessly in the future.
- In the left sidebar, select “Music” under your device. Then, check the box next to “Sync Music” to enable music syncing.
- Choose whether you want to sync your entire library or specific playlists, artists, or genres. You can further customize the syncing options based on your preferences.
- Click on the “Sync” or “Apply” button in the bottom-right corner of the window. iTunes will start syncing your selected music with your device. The sync progress will be displayed in the iTunes window.
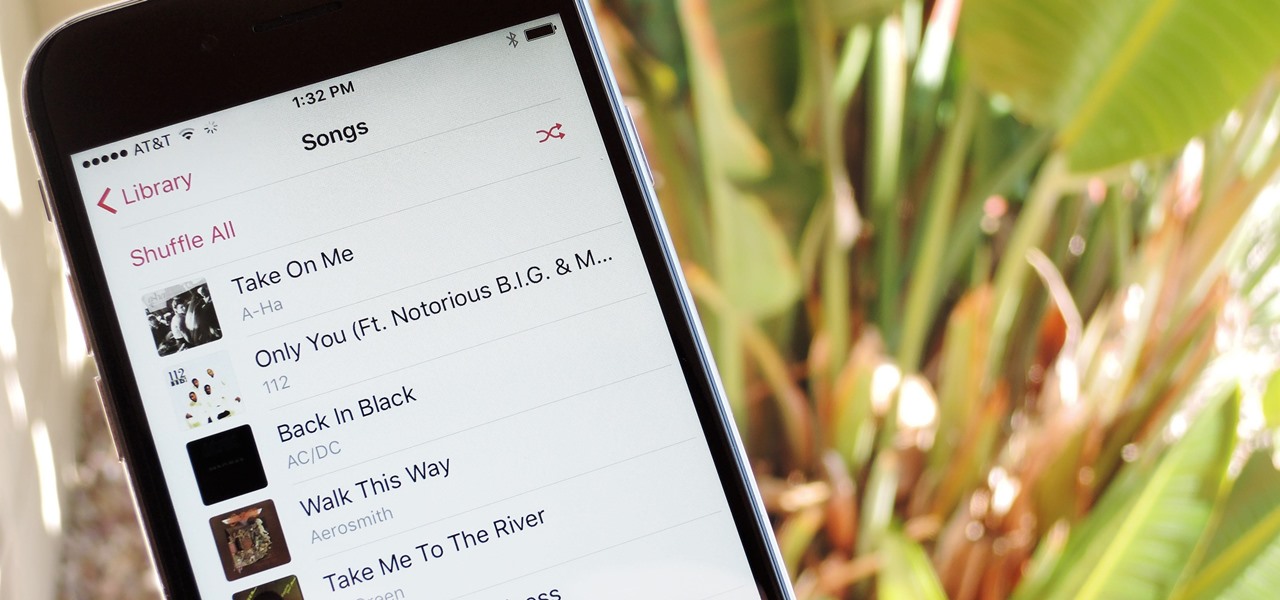
- Once the sync is complete, you can disconnect your device and enjoy your music on the go. The synced music will be available in the Music app on your iPhone, iPad, or iPod.
Syncing your iTunes library with your devices allows you to take your music wherever you go. You can listen to your favorite songs, create playlists, and enjoy a seamless music experience on your Apple devices.
With this final step, you have successfully downloaded and synced your music to your iTunes library and devices. Now, you can immerse yourself in the world of music wherever you are.
Conclusion
Congratulations! You have now learned how to download music onto iTunes and set up your iTunes library. By following the step-by-step guide in this article, you have gained the knowledge and skills to explore the vast collection of music available in the iTunes Store and add it to your personal library.
Opening iTunes is just the beginning. You learned how to set up an iTunes account, search for music in the iTunes Store, choose albums or singles to add to your library, and complete the purchase process. With your Apple ID and password, you were able to download your selected music and enjoy it within your iTunes library.
Furthermore, you discovered how to sync your iTunes library with your Apple devices, allowing you to listen to your favorite tunes on the go. Whether you’re using an iPhone, iPad, or iPod, your synced music will be accessible whenever and wherever you want to enjoy it.
iTunes offers a world of music at your fingertips. Take advantage of its features to explore new artists, discover different genres, and create personalized playlists to suit your mood. With iTunes, there is always something new to discover and enjoy.
Thank you for following this guide on how to download music onto iTunes. Now, go ahead and explore the vast iTunes Store, add your favorite music to your library, and embark on a musical journey like no other!