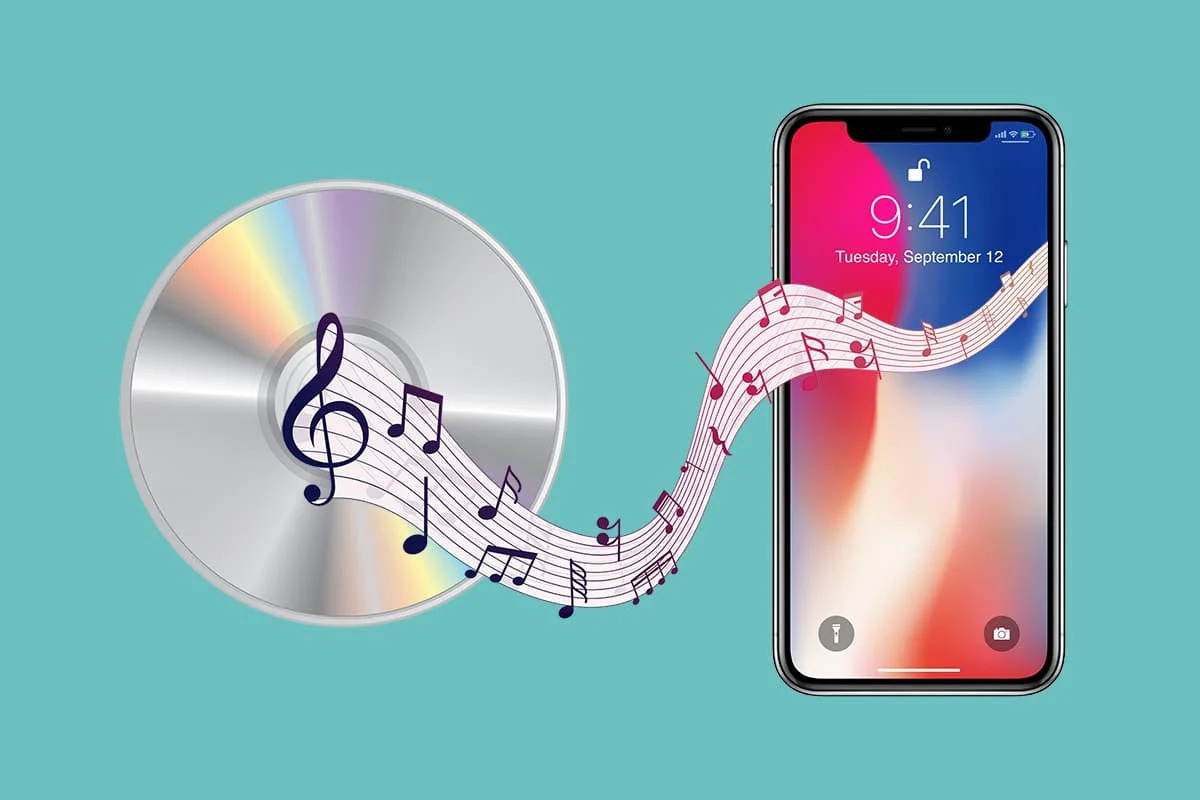
Introduction
Welcome to the world of digital music on the go! With your iPhone, you have the power to carry your favorite tunes with you wherever you roam. Whether you’re a music aficionado, a casual listener, or somewhere in between, this guide will show you how to download music onto your iPhone. So get ready to rock out to your favorite songs anytime, anywhere.
Having your music library readily available on your iPhone allows you to listen to your favorite tracks, create personalized playlists, and enjoy a personalized music experience. The process of downloading music to your iPhone may seem daunting at first, but fear not – it’s easier than you might think. So let’s dive in and explore the various methods you can use to download music and build your ultimate mobile music collection.
Keep in mind that the specific process may vary depending on the version of iOS you have on your iPhone, as well as the method you choose to download music. However, the general steps outlined in this guide should apply to most iPhone models. So, without further ado, let’s get started!
Connect Your iPhone to Your Computer
Before you can begin downloading music to your iPhone, you’ll need to connect it to your computer. This connection allows you to transfer music files from your computer to your iPhone using iTunes, the default media management software for Apple devices. Follow these steps to establish a connection:
- Use the USB cable that came with your iPhone to connect it to your computer. Plug the USB end into a USB port on your computer and the other end into the charging port on your iPhone.
- If this is your first time connecting your iPhone to your computer, you may be prompted to “Trust” or “Allow” the connection on both the iPhone and the computer. Follow the on-screen instructions to establish trust between the devices.
- Once the connection is established, your computer should recognize your iPhone and launch iTunes automatically. If iTunes doesn’t open automatically, you can manually open it by clicking on the iTunes icon on your desktop or in your applications folder.
- In iTunes, you’ll see your iPhone listed under the “Devices” section. Click on your iPhone to access the device summary page.
Now that your iPhone is successfully connected to your computer, you’re ready to start the music downloading process. In the following sections, we’ll explore different methods for downloading music to your iPhone using iTunes, as well as alternative methods for downloading music from other sources. So let’s dive in and get those tunes onto your iPhone!
Use iTunes to Sync Your Music
iTunes is the default media management software for Apple devices, and it provides a seamless way to sync your music from your computer to your iPhone. Follow these steps to use iTunes to sync your music:
- Make sure your iPhone is connected to your computer. If it isn’t, refer to the previous section for instructions on how to establish the connection.
- Open iTunes on your computer if it isn’t already open. You should see your iPhone listed under the “Devices” section.
- Click on your iPhone to access the device summary page in iTunes.
- Click on the “Music” tab located in the left sidebar.
- Check the box next to “Sync Music” to enable music syncing. You can choose to sync your entire music library or select specific playlists, artists, albums, or genres.
- If you choose to sync your entire music library, click the “Apply” or “Sync” button located at the bottom right corner of the iTunes window. If you selected specific playlists, artists, albums, or genres, make sure they are checked and then click “Apply” or “Sync.”
- iTunes will begin syncing your selected music to your iPhone. The syncing process may take some time depending on the size of your music library and the speed of your computer.
- Once the syncing process is complete, you can safely disconnect your iPhone from your computer.
Now you can enjoy your synced music library on your iPhone. Simply open the Music app on your iPhone and navigate to the Library tab to access your downloaded music. You can create playlists, shuffle songs, and enjoy your favorite tracks on the go.
Note that syncing your music with iTunes will replace any existing music on your iPhone. If you have music files stored directly on your iPhone that you want to keep, make sure to transfer them to your computer before syncing with iTunes. Alternatively, you can explore other methods for downloading music to your iPhone without using iTunes, which we will discuss in the following sections.
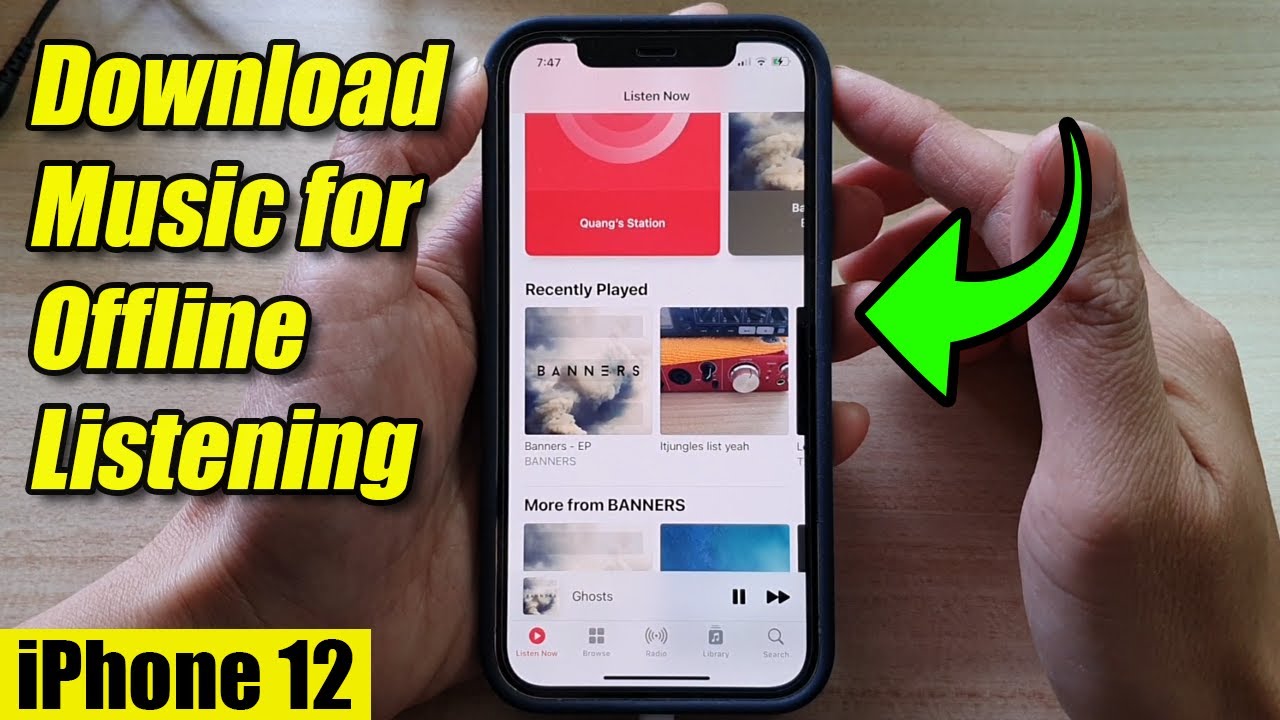
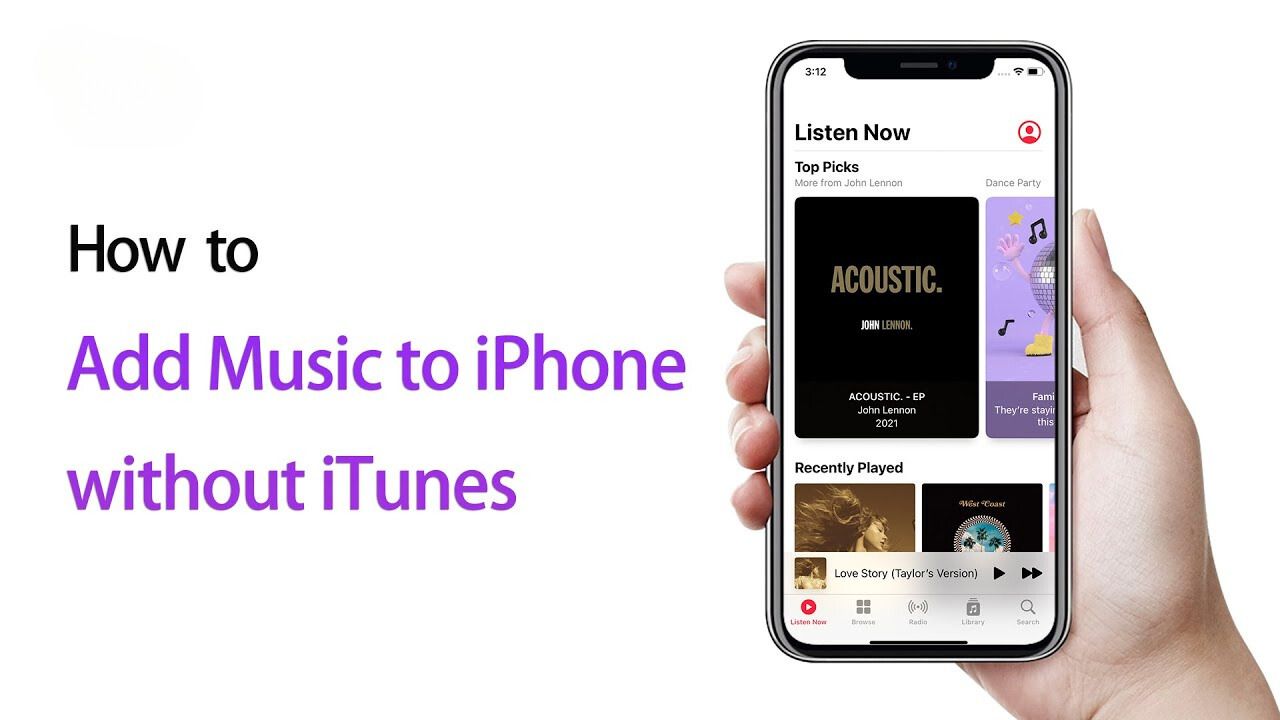
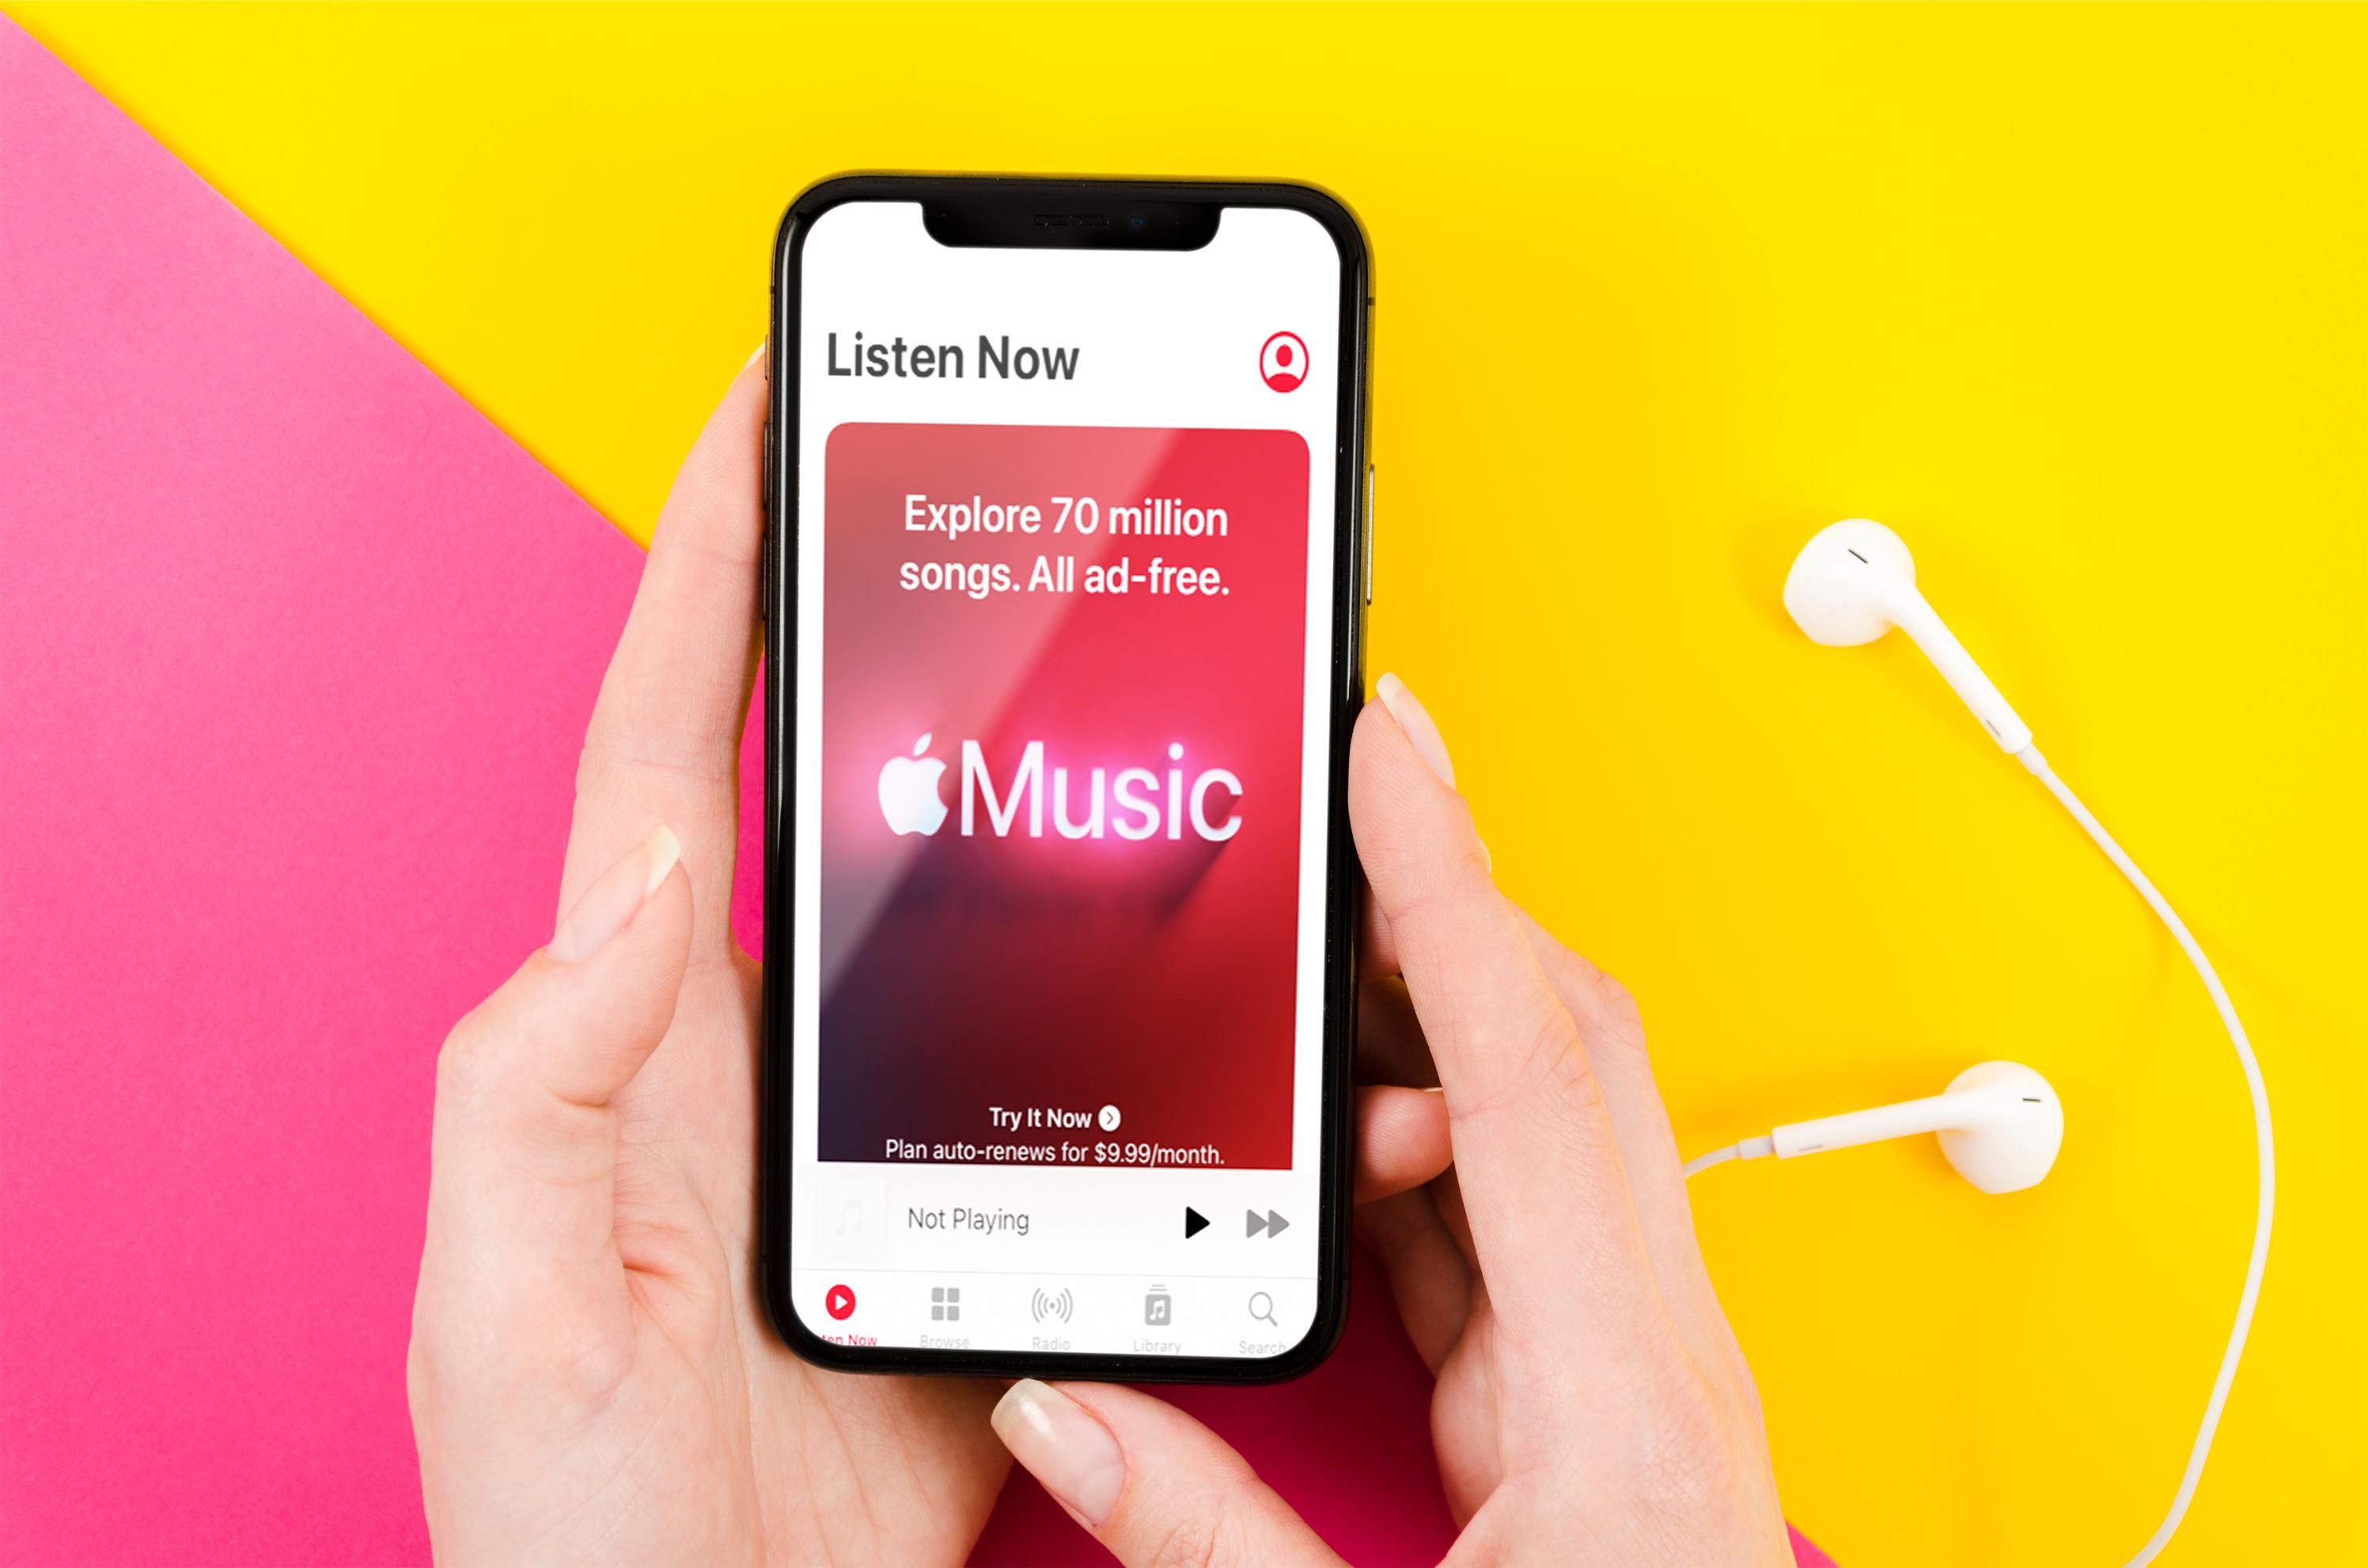
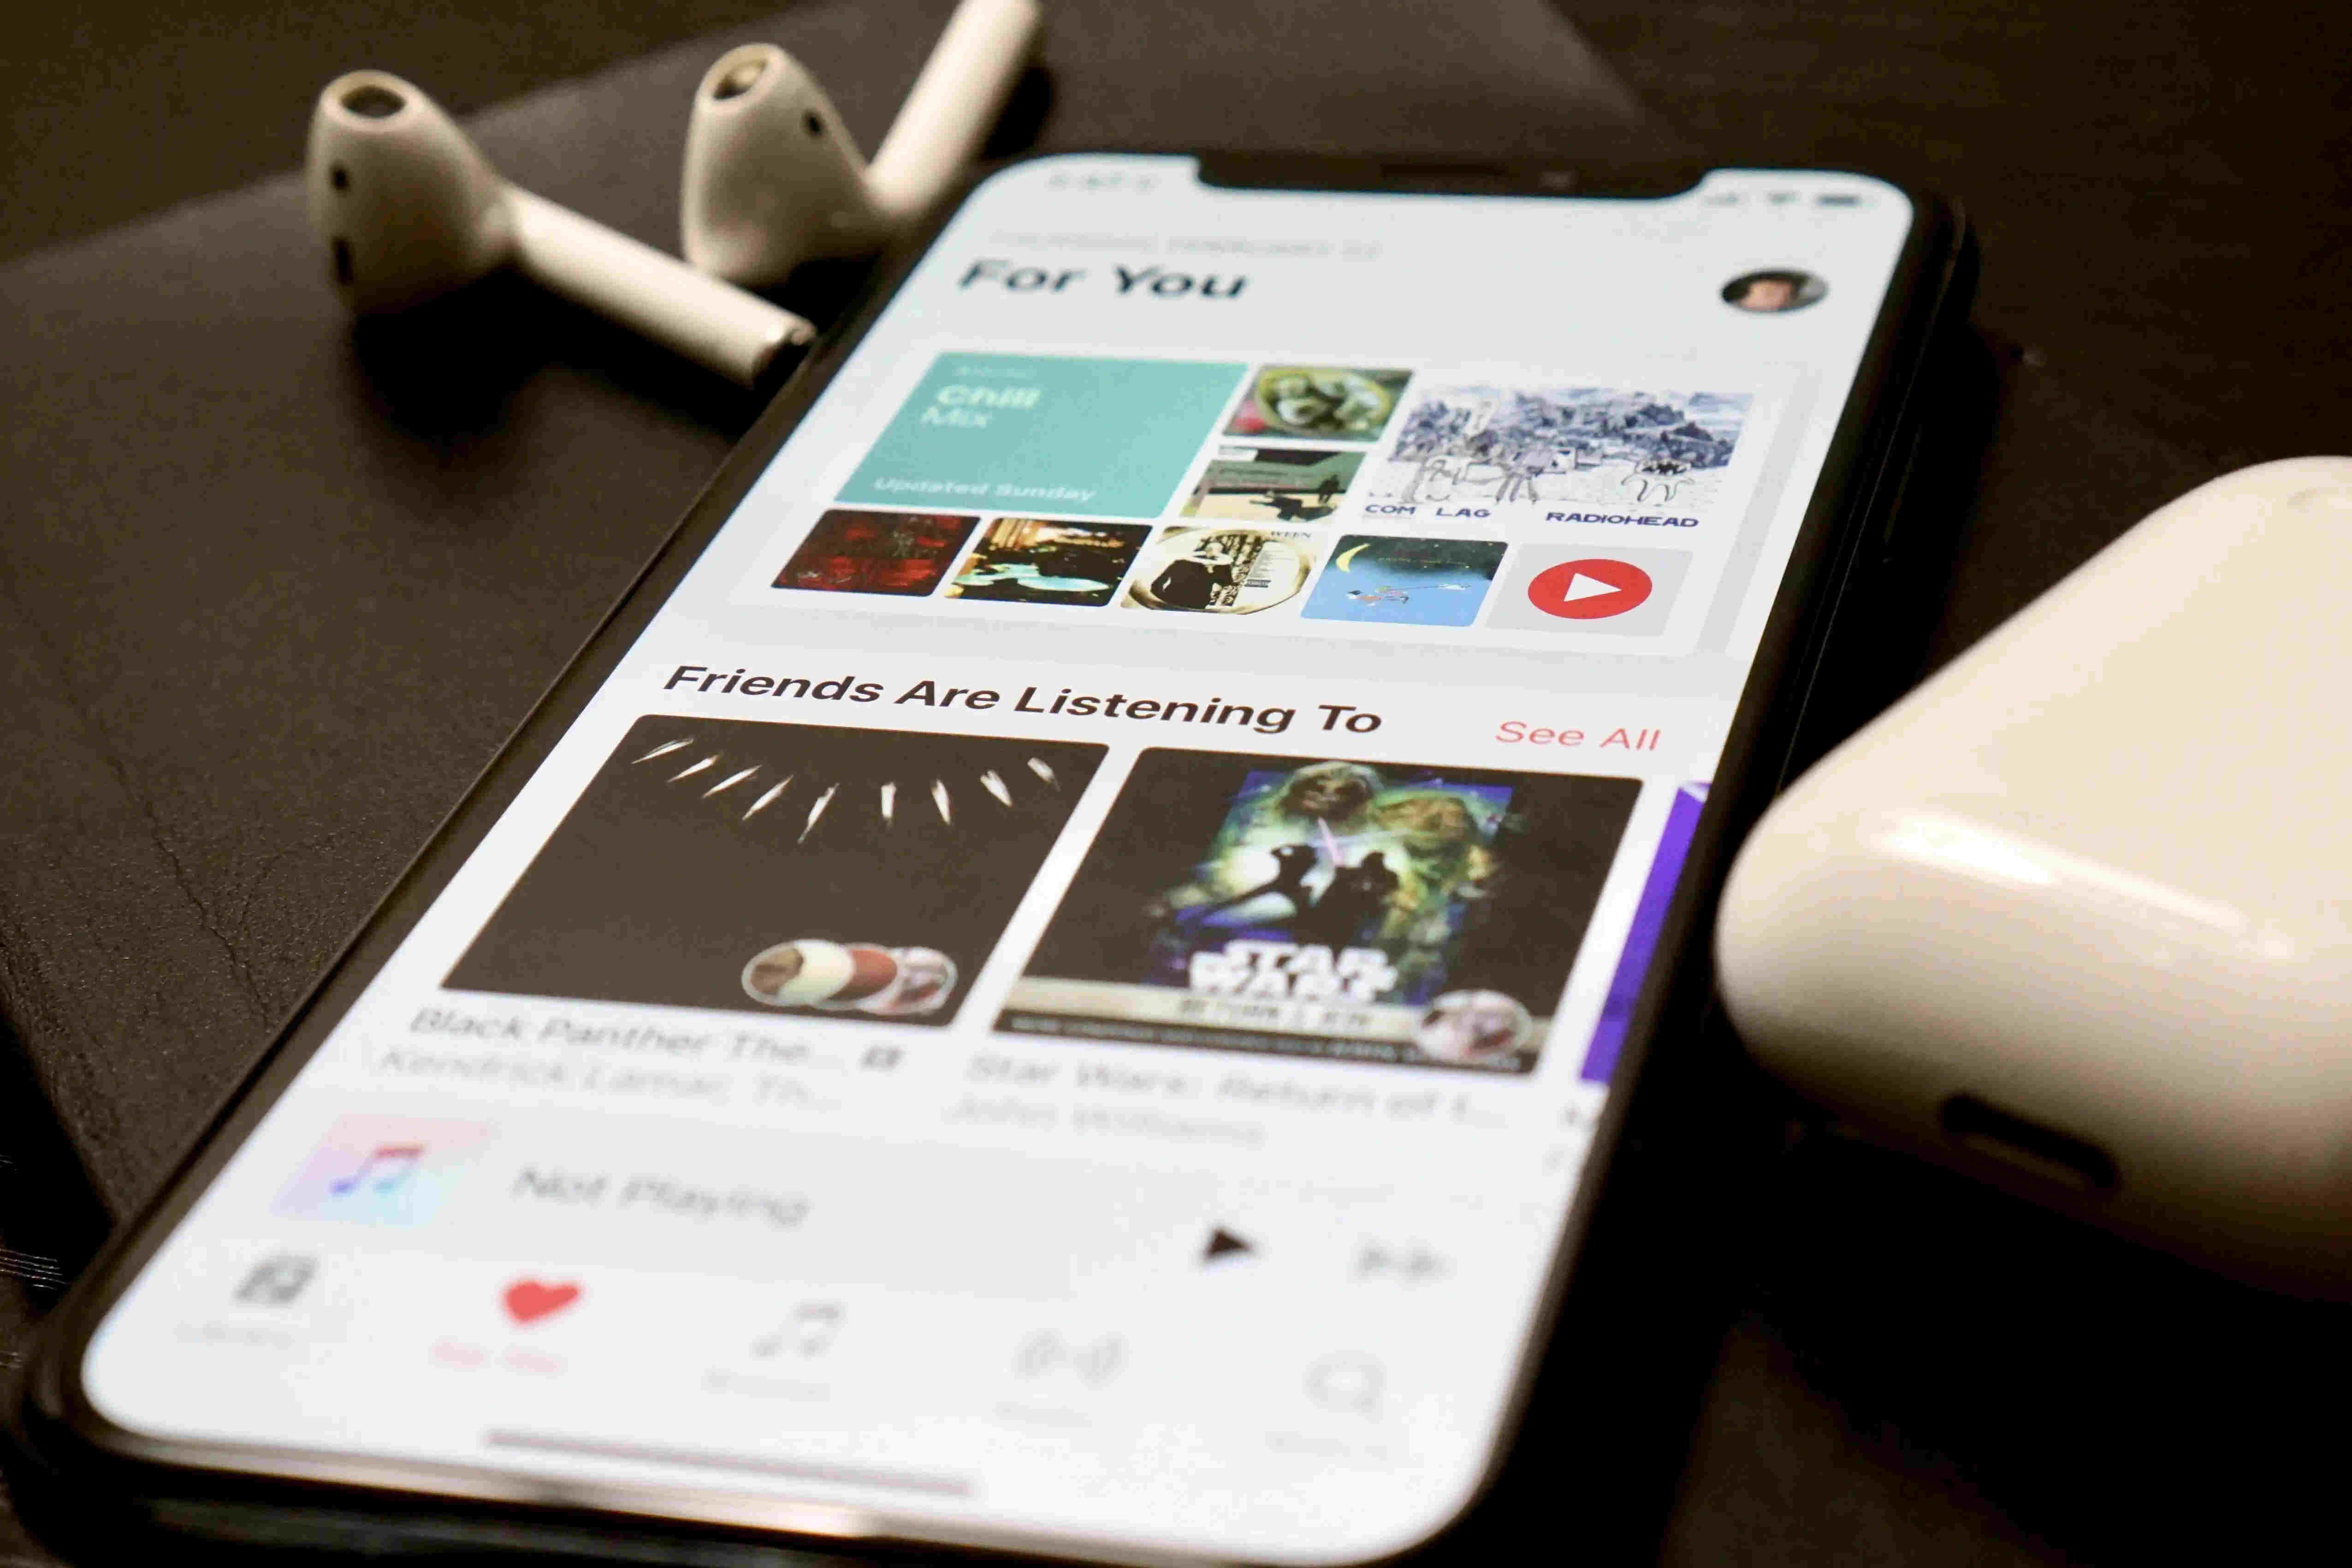
Download Music from Your Apple Music Library
If you’re an Apple Music subscriber, you have access to a vast library of music right at your fingertips. You can easily download songs and albums from Apple Music to your iPhone for offline listening. Here’s how:
- Open the Music app on your iPhone and navigate to the Library tab.
- Search for the song, album, or playlist you want to download. You can use the search bar at the top or browse through different categories, such as “For You,” “Browse,” or “Radio.”
- Once you’ve found the desired music, tap on the “+” or “Add” button to add it to your library.
- The added music will now be available in your Library tab. To download it for offline listening, simply tap the cloud icon next to the song or album.
- The song or album will start downloading to your iPhone. You will see a progress indicator until the download is complete.
- Once the music is downloaded, you can access it in the Library tab, even without an internet connection.
Downloading music from your Apple Music Library is a great way to have your favorite songs available offline, especially when you’re in areas with poor or no internet connectivity. Keep in mind that the downloaded music will take up storage space on your iPhone, so make sure you have enough available storage for your desired music collection.
With Apple Music, you also have the option to create personalized playlists, explore curated recommendations, and discover new music based on your preferences. So take advantage of the vast music library offered by Apple Music and elevate your listening experience on your iPhone.
Download Music from Your iCloud Library
If you have previously purchased music from the iTunes Store or have uploaded your own music to iCloud, you can easily download your music to your iPhone from your iCloud Library. Follow these steps to access and download your iCloud music:
- Open the Music app on your iPhone and navigate to the Library tab.
- Tap on the “Albums” or “Songs” tab to view your music collection.
- Scroll through your library or use the search bar to find the specific song or album you want to download.
- Once you’ve found the desired music, tap on the cloud icon with the arrow pointing downward to initiate the download.
- The song or album will start downloading to your iPhone, and you can monitor the progress with a progress indicator.
- After the download is complete, you can access your downloaded music in the Library tab, even without an internet connection.
Downloading music from your iCloud Library is a convenient way to access your previously purchased or uploaded music on your iPhone. It allows you to enjoy your favorite tunes directly on your device, without the need for a constant internet connection.
Remember, downloading music from your iCloud Library may require sufficient storage space on your iPhone. If you’re running low on storage, consider managing your music library by deleting songs or albums that you don’t frequently listen to, or use the optimization features available in certain music streaming apps to reduce the amount of space used.
Now you can enjoy your favorite tracks from your iCloud Library at any time, whether you’re online or offline. So go ahead and dive into your music collection, and let the rhythm move you wherever you are.
Download Music using a Third-Party App
In addition to using iTunes and built-in music services, you can also download music to your iPhone using third-party apps. These apps offer a wide variety of music sources and allow you to easily download and manage your music collection. Here’s how to download music using a third-party app:
- Open the App Store on your iPhone and search for a music downloading app. Popular options include Spotify, SoundCloud, and Tidal.
- Once you find an app that suits your needs, tap on the “Get” or “Install” button to download and install the app on your iPhone.
- Launch the downloaded app and sign in or create an account if necessary. Many of these apps offer free accounts with limited features or premium subscriptions with enhanced functionality.
- Explore the app’s interface and features to discover music. You can search for specific songs, artists, albums, or even explore curated playlists and recommendations.
- Once you find the music you want to download, look for a download or save option within the app. The specific location and method may vary depending on the app you’re using.
- Tap on the download or save option to initiate the download process. The app will start downloading the music files to your iPhone.
- Once the download is complete, you can access your downloaded music within the app itself. Some apps may also allow you to export the downloaded music to your iPhone’s native Music app.
Using third-party apps to download music gives you access to a vast and diverse music library. You can discover new tracks, explore different genres, and customize your music experience according to your preferences. These apps often offer additional features such as song recommendations, personalized playlists, and social sharing options, enhancing your overall music listening experience.
It’s worth noting that the availability of certain music may be subject to licensing agreements and regional restrictions. Also, be cautious when downloading music from third-party apps, as not all sources may be authorized, and downloading copyrighted material without proper permissions is illegal.
Now you have the power to expand your music collection beyond what’s available through built-in services. Explore the world of third-party music apps and find the perfect app that caters to your musical tastes.
Download Music from Streaming Services
Streaming services have become increasingly popular as a convenient and accessible way to listen to music. Many of these services offer the option to download music for offline listening on your iPhone. Here’s how to download music from streaming services:
- Open the streaming service app on your iPhone. Popular options include Spotify, Apple Music, Amazon Music, and Google Play Music.
- Sign in to your account or create a new account if you don’t already have one. Some services may offer free accounts with limited features, while others require a paid subscription for full access.
- Once logged in, search for the song, album, or playlist you want to download. Many streaming apps offer a search function at the top of the interface for easy access.
- Once you’ve found the desired music, look for a download or save option within the app. The specific location and method may vary depending on the streaming service you’re using.
- Tap on the download or save option to initiate the download process. The app will start downloading the selected music to your iPhone.
- After the download is complete, you can access your downloaded music within the streaming app. Look for a “Downloads” or “Offline” section where you’ll find all your downloaded songs and albums.
Downloading music from streaming services gives you the flexibility to enjoy your favorite tracks even when you’re offline or in areas with limited internet connectivity. It’s a convenient way to build a personalized music library and have your favorite songs available at your fingertips.
Keep in mind that the availability of downloading music for offline listening may depend on your subscription level. Some streaming services may limit downloads to premium subscribers, while others may offer this feature to all users.
Now you can enjoy your favorite tunes from your preferred streaming service anytime, anywhere. Explore their vast music libraries, discover new artists, and create personalized playlists that cater to your unique musical taste.
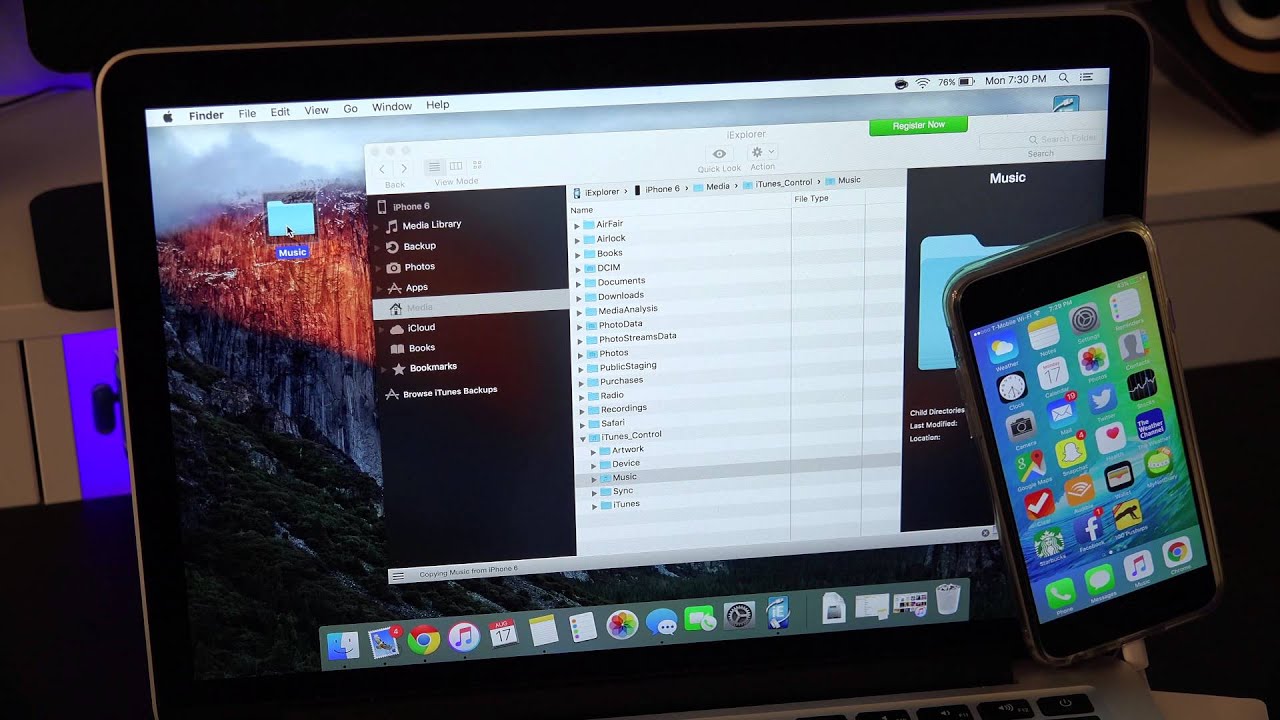
Use a USB Drive or External Hard Drive to Transfer Music
If you have a large collection of music files stored on a USB drive or an external hard drive, you can easily transfer them to your iPhone. This method allows you to have direct access to your music without the need for an internet connection. Here’s how to transfer music using a USB drive or external hard drive:
- Connect your USB drive or external hard drive to your computer using a USB cable or other appropriate connection method.
- Open your file explorer or finder on your computer and locate the music files you want to transfer to your iPhone.
- Select the desired music files or folders on your computer and copy them by right-clicking and choosing the “Copy” option or using the keyboard shortcut (Ctrl+C for Windows or Command+C for Mac).
- Disconnect your USB drive or external hard drive from your computer and connect it to your iPhone using an appropriate USB adapter, such as a Lightning to USB adapter.
- On your iPhone, open the Files app, which comes pre-installed on most iPhones. If you don’t see it on your home screen, you can search for it using the search feature.
- Navigate to the location where you want to transfer the music files in the Files app. You can choose to transfer them to your iCloud Drive, or if you have a third-party file management app, you can navigate to its folder.
- Tap on the folder or location where you want to transfer the files and paste the music files by either long-pressing and selecting the “Paste” option or using the keyboard shortcut (Ctrl+V for Windows or Command+V for Mac).
- The music files will now begin transferring from your USB drive or external hard drive to your iPhone. The transfer speed will depend on the size and number of files being transferred.
- Once the transfer is complete, you can access your transferred music files through the Files app or import them into the Music app on your iPhone for easy playback.
Using a USB drive or external hard drive to transfer music is a convenient method, especially if you have a vast collection of songs already organized on your computer. It allows you to bring your entire music library with you and access it on your iPhone whenever you want.
Remember to ensure that the music files you transfer are in a compatible format that can be played on your iPhone. Formats like MP3 and AAC are widely supported on iOS devices, while others may require conversion using appropriate software.
Now you can enjoy your favorite music files on your iPhone, even if they were originally stored on an external device. Listen to your beloved tunes and create personalized playlists to accompany you on your musical journey.
Conclusion
Downloading music to your iPhone allows you to curate a personalized music library and enjoy your favorite tracks wherever you go. Throughout this guide, we’ve explored various methods to download music onto your iPhone, including using iTunes, accessing your Apple Music and iCloud libraries, utilizing third-party apps, and transferring music from USB drives or external hard drives.
Whether you prefer syncing music through iTunes, downloading from streaming services, or exploring third-party apps, there’s a method that suits your needs. Each approach offers its own advantages, allowing you to access a vast collection of songs, discover new artists, and create customized playlists.
It’s important to consider factors such as storage space, internet connectivity, subscription plans, and file compatibility when choosing the method that works best for you. Make sure to follow the specific instructions provided by the respective music services or apps to ensure a seamless and efficient music downloading process.
Now that you know how to download music onto your iPhone, you can embark on a musical journey, immersing yourself in the melodies and rhythms that bring you joy. Whether you’re commuting, exercising, or simply relaxing, your favorite tunes are just a tap away.
Remember to respect copyright laws and ensure that you’re downloading music from legitimate sources. Enjoy exploring new genres, rediscovering old favorites, and creating the perfect soundtrack for your day-to-day activities.
So, grab your iPhone, put on your headphones, and get ready to experience the power of a personalized music collection right at your fingertips. Happy listening!