Introduction
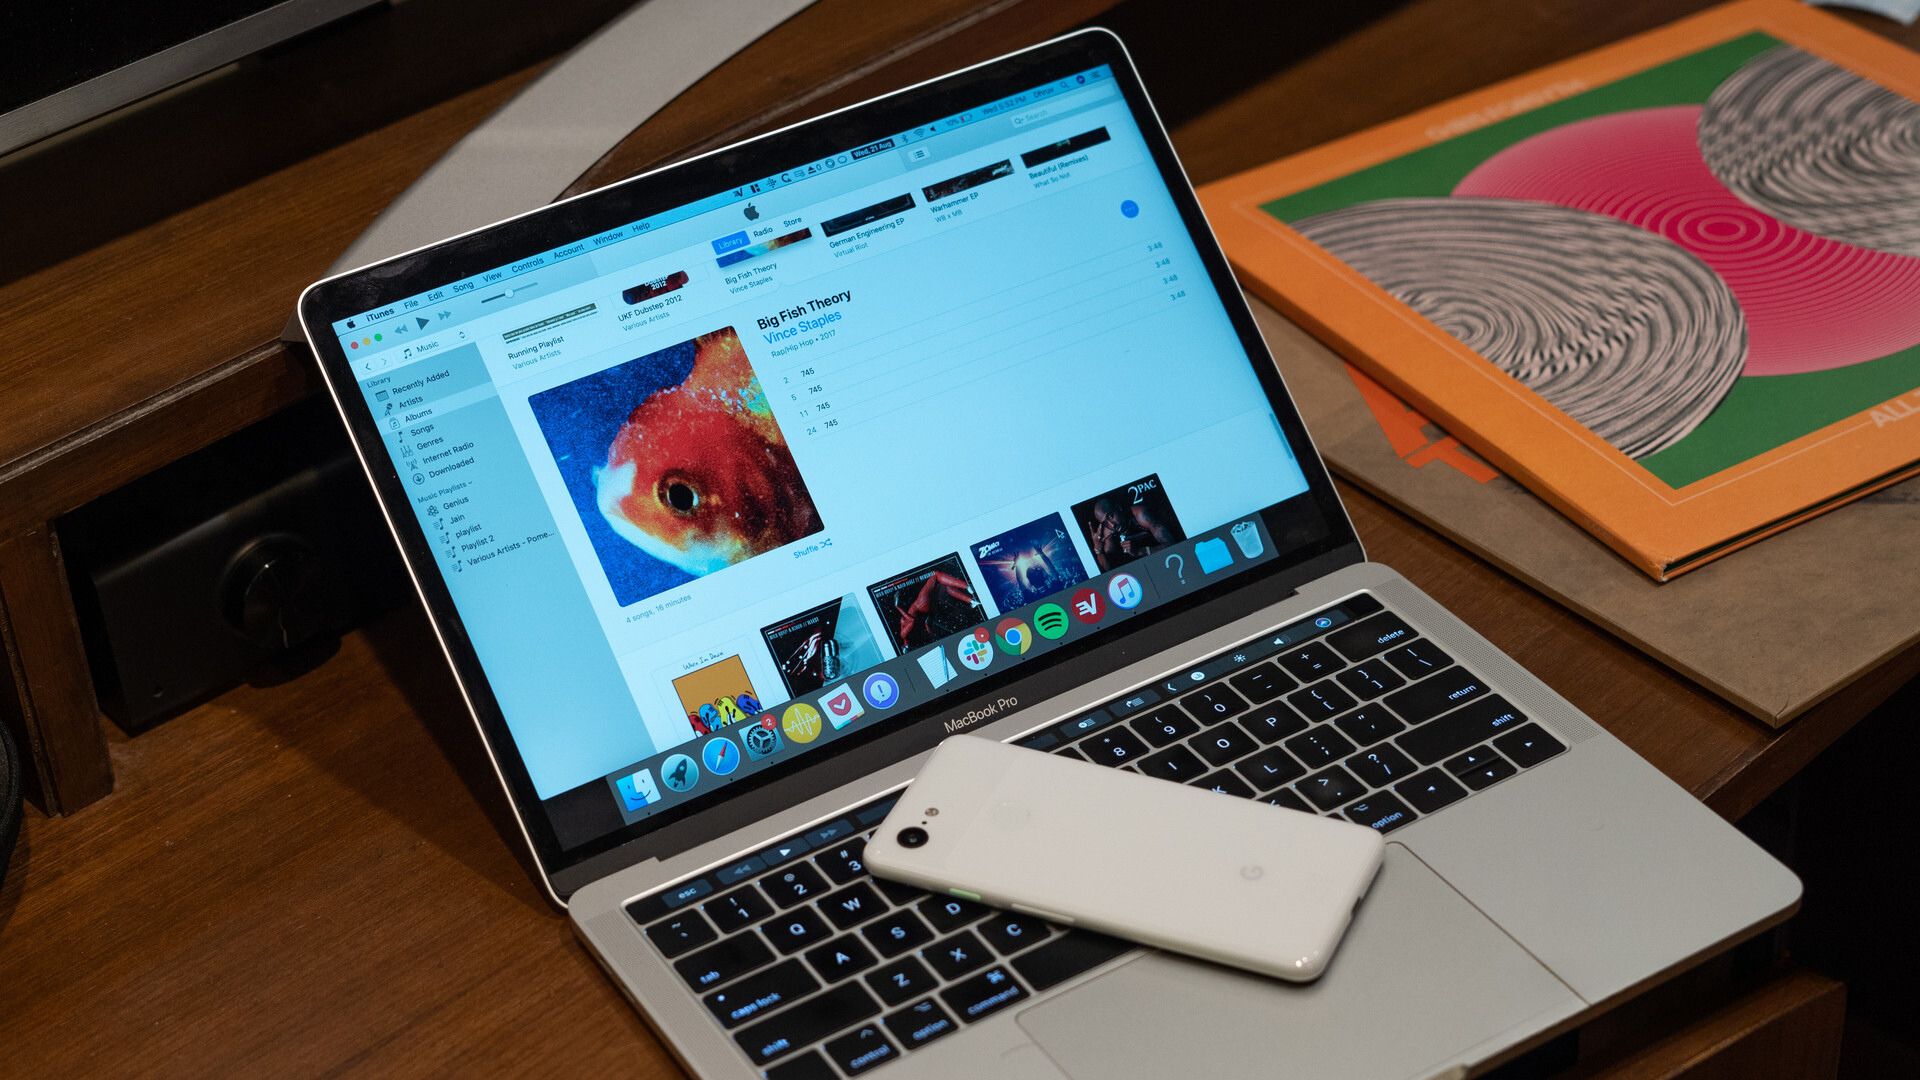
Welcome to the digital era, where music is just a few clicks away! If you’re an avid music lover and have a collection of songs in your iTunes library, you might be wondering how to transfer that music to your Android phone. Luckily, with the right tools and a few simple steps, you can easily download music from iTunes to your Android device and enjoy your favorite tracks wherever you go.
In this guide, we will walk you through the process of downloading music to your Android phone from iTunes. Whether you’ve recently made the switch from an iPhone to an Android device or simply want to access your iTunes library on both platforms, we’ve got you covered.
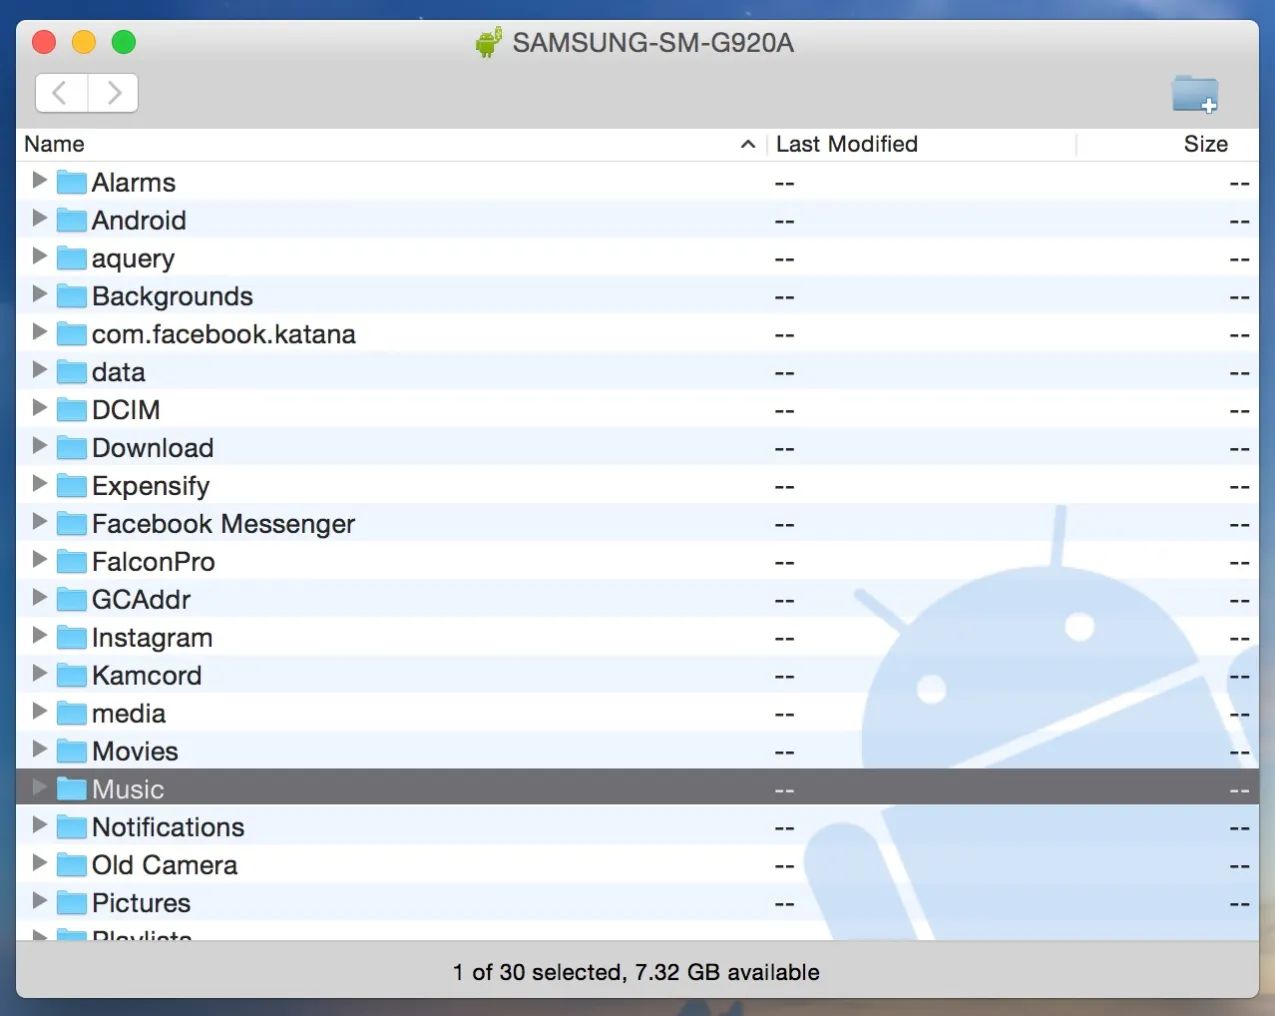
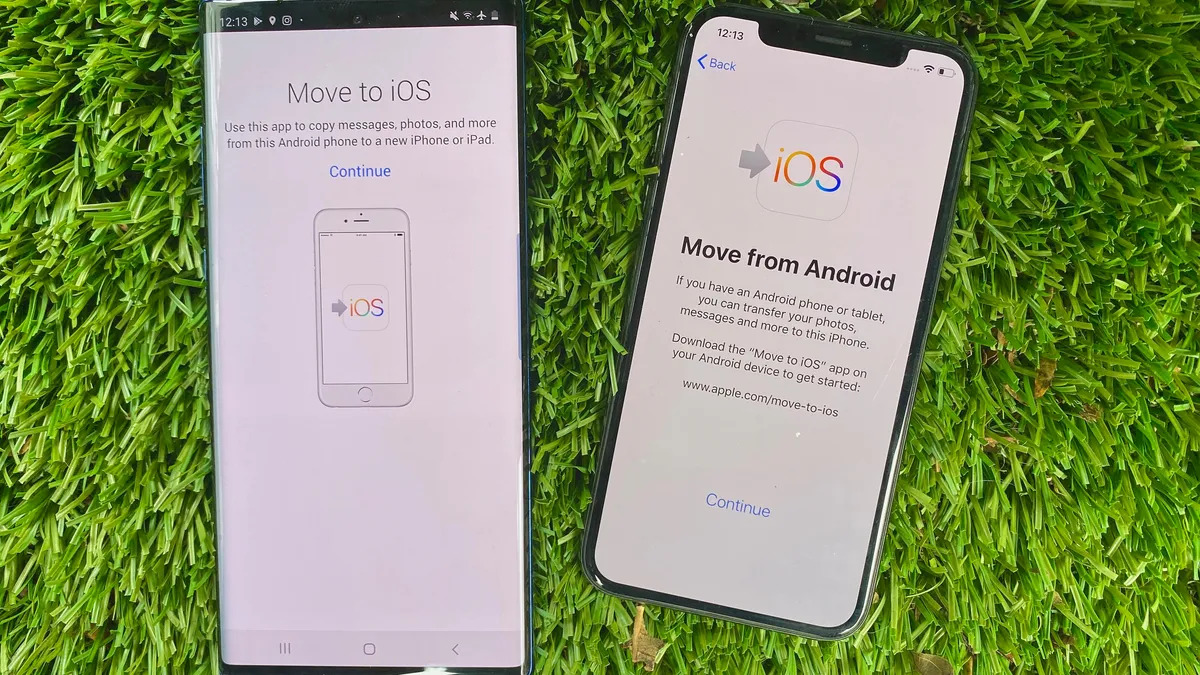
But before we dive into the steps, it’s important to note that there is no direct way to transfer music files from iTunes to Android due to the difference in their operating systems. However, with the help of the Apple Music app and some synchronization magic, you can easily bridge the gap and enjoy your iTunes music on your Android phone.
So, if you’re ready to expand your music library beyond your iTunes library and carry it in your pocket, let’s get started with the step-by-step process of downloading music to your Android phone from iTunes.
Step 1: Install the Apple Music app on your Android phone
The first step in downloading music to your Android phone from iTunes is to install the Apple Music app on your device. To do this, follow these simple steps:
- Open the Google Play Store on your Android phone.
- Search for “Apple Music” in the search bar.
- Select the Apple Music app from the search results.
- Tap the “Install” button to begin the installation process.
- Wait for the app to download and install on your device.
Once the installation is complete, you will have the Apple Music app ready to use on your Android phone. This app will serve as the bridge between your iTunes library and your Android device, allowing you to access and download your music.
It’s worth mentioning that the Apple Music app is free to download, but to access its full features and the ability to download songs, you will need an Apple Music subscription. You can choose from various subscription plans available to suit your music streaming needs.
Now that you have the Apple Music app installed on your Android phone, let’s move on to the next step where we’ll guide you through signing in to your Apple ID.
Step 2: Sign in to your Apple ID
In order to access your iTunes library and download music to your Android phone using the Apple Music app, you’ll need to sign in to your Apple ID. Follow these steps to sign in:
- Open the Apple Music app on your Android phone.
- If you already have an Apple ID, tap on “Already a Member? Sign In” at the bottom of the screen. If you don’t have an Apple ID, tap on “Not a Member? Create Your Apple ID”.
- Enter your Apple ID credentials, including your email address and password.
- Tap on the “Sign In” button to proceed.
- If you have two-factor authentication enabled for your Apple ID, you will need to verify your identity by entering the verification code sent to your trusted device or phone number.
- Once you’re signed in, you’ll have access to your Apple Music account and your iTunes library.
Signing in to your Apple ID on the Apple Music app ensures that you have permission to access your music files and utilize the full functionality of the app. It also allows you to sync your iTunes library with your Android phone, so you can seamlessly download and listen to your favorite tunes.
With your Apple ID successfully signed in, let’s move on to the next step where we’ll guide you through setting up Apple Music on your Android phone.
Step 3: Set up Apple Music on your Android phone
Now that you have signed in to your Apple ID, it’s time to set up Apple Music on your Android phone. Follow these steps to get started:
- Open the Apple Music app on your Android phone.
- You will be prompted to choose your music preferences and genres. You can either select your preferences or tap on “Skip for Now” to proceed to the main app interface.
- Once you reach the main app interface, you will see various sections such as “Library”, “For You”, “Browse”, and “Radio”. Spend some time exploring these sections to familiarize yourself with the app’s layout and features.
- At the bottom of the screen, you will find a navigation bar with options like “Library”, “For You”, “Browse”, “Radio”, and “Search”. Use these options to browse and discover new music based on your preferences.
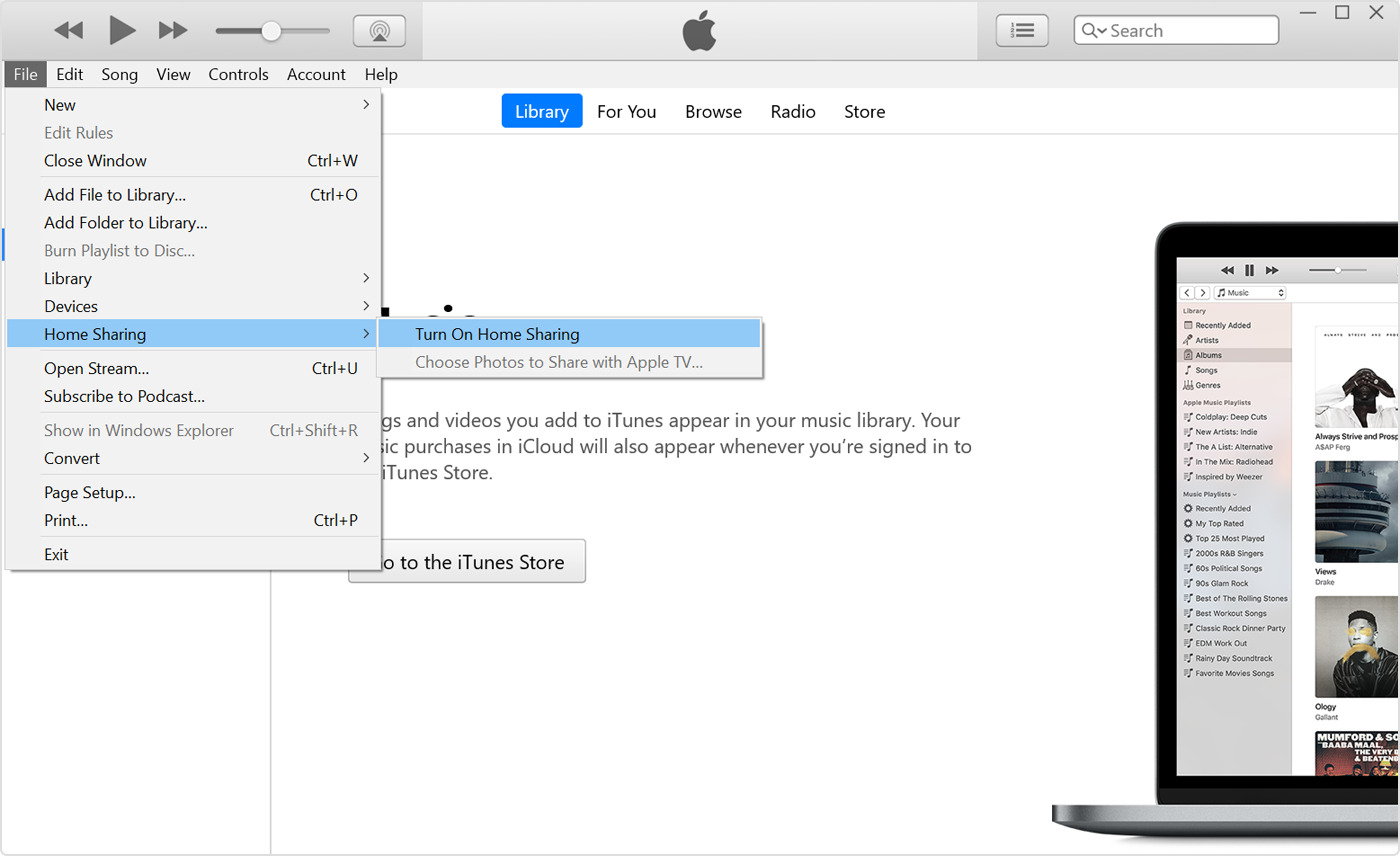
- In the “Library” section, you will find your personal iTunes library synced with the Apple Music app. This is where you will be able to access and download your iTunes music to your Android phone.
The setup process for Apple Music on Android is simple and straightforward. Once you’re familiar with the app’s interface and navigation, you’re ready to move on to the next step, where we will guide you through the process of syncing your iTunes library with Apple Music on your Android phone.
Step 4: Sync your iTunes library with Apple Music
Now that you have set up Apple Music on your Android phone, it’s time to sync your iTunes library with the app. Follow these steps to get started:
- Open the Apple Music app on your Android phone.
- Tap on the “Library” tab at the bottom of the screen to access your music library.
- Tap on the “Sync Library” option at the top of the screen.
- Wait for the app to sync your iTunes library with Apple Music. This process might take some time, depending on the size of your library.
- Once the syncing process is complete, you will see all your iTunes music available for streaming and downloading within the Apple Music app.
Syncing your iTunes library with Apple Music allows you to access all your previously purchased songs, albums, and playlists on your Android phone. This seamless integration ensures that you can enjoy your favorite music without any hassle.
It’s worth noting that while the sync process transfers the metadata and information about your iTunes library, it does not transfer the actual music files from your computer to your Android phone. Instead, the Apple Music app streams the songs from the Apple Music catalog. This means you will need an internet connection to stream or download the music to your Android device.
With your iTunes library now synced with Apple Music on your Android phone, let’s proceed to the next step where we’ll guide you through the process of downloading music from your iTunes library to your Android phone.
Step 5: Download music from your iTunes library to your Android phone
Now that you have successfully synced your iTunes library with Apple Music, you can start downloading your favorite music directly to your Android phone. Follow these steps to download music from your iTunes library:
- Open the Apple Music app on your Android phone.
- Navigate to the “Library” section within the app.
- Browse through your iTunes library or search for specific songs, albums, or playlists.
- Once you find the music you want to download, tap on the three-dot menu icon next to the song, album, or playlist.
- Select the “Download” option from the menu.
- The song, album, or playlist will start downloading to your Android phone.
- You can monitor the download progress in the “Downloads” section of the Apple Music app.
- Once the download is complete, you can access the downloaded music in the “Library” section of the app, even without an internet connection.
Downloading music from your iTunes library to your Android phone allows you to listen to your favorite tunes without relying on an internet connection. It ensures that you can enjoy your music anytime, anywhere, whether you’re commuting, working out, or simply relaxing.
Remember that the availability of certain songs, albums, or playlists for download might depend on your Apple Music subscription. Some content may be subject to regional restrictions or licensing agreements.
With your favorite iTunes music now downloaded to your Android phone, let’s proceed to the next step where we’ll guide you through creating playlists and syncing them to your Android device.
Step 6: Create playlists and sync them to your Android phone
Creating playlists is a great way to organize your music and have quick access to your favorite songs. With Apple Music on your Android phone, you can easily create playlists and sync them across your devices. Follow these steps to create playlists and sync them to your Android phone:
- Open the Apple Music app on your Android phone.
- Tap on the “Library” tab at the bottom to access your music library.
- Scroll through your library and find songs you want to add to a playlist.
- Long press on a song to bring up the context menu.
- Select the “Add to Playlist” option.
- Choose “New Playlist” to create a new playlist or select an existing playlist to add the song to.
- Give your playlist a name and customize it as desired.
- Repeat these steps to add more songs to your playlist.
- Once you’ve created your playlist, it will sync automatically across your devices, including your Android phone.
Syncing your playlists ensures that you have access to them wherever you go. Whether you’re at home, in the car, or out and about, you can enjoy your custom playlists on your Android phone without any hassle.
Furthermore, you can make changes to your playlists directly from your Android phone, such as adding or removing songs, and those changes will be reflected on all your devices.
With your playlists created and synced to your Android phone, you’re now ready to enjoy your personalized music experience on the go. Let’s move on to the final step, where we’ll guide you on how to enjoy your downloaded music on your Android phone.
Step 7: Enjoy your downloaded music on your Android phone
After following the previous steps, you now have your downloaded music from iTunes readily available on your Android phone. It’s time to sit back, relax, and enjoy your music wherever you go. Here’s how to do it:
- Open the Apple Music app on your Android phone.
- Tap on the “Library” tab at the bottom of the screen.
- Scroll through your library to find your downloaded songs, albums, or playlists.
- Tap on the desired song, album, or playlist to start playing the music.
- Control playback using the playback controls at the bottom of the screen.
- Adjust the volume, skip tracks, and pause or resume playback as needed.
- If you have downloaded playlists, you can shuffle songs within the playlist or play them in a specific order.
- Enjoy your music without needing an internet connection.
With Apple Music and your iTunes library synced to your Android phone, you have the flexibility to listen to your favorite songs anytime and anywhere. Whether you’re on a long flight, a road trip, or simply relaxing at home, your downloaded music will be with you.
Remember to keep your Apple Music subscription active to continue accessing and downloading new songs, albums, and playlists. You can explore new artists, discover recommended tracks, and create personalized music experiences on your Android device.
So, grab your headphones and start enjoying the music you love on your Android phone!
Conclusion
Congratulations! You have successfully learned how to download music from iTunes to your Android phone. By utilizing the Apple Music app and following the step-by-step process outlined in this guide, you can now access and enjoy your iTunes library on your Android device.
Through installing the Apple Music app, signing in to your Apple ID, setting up Apple Music, syncing your iTunes library, downloading music, creating playlists, and enjoying your downloaded music on your Android phone, you have unlocked a world of music possibilities.
Remember, with Apple Music, you can not only listen to your favorite songs but also explore new artists, genres, and curated playlists. The app provides a seamless music streaming experience, allowing you to access millions of songs at your fingertips.
Now, wherever you go, your music collection goes with you. Whether you’re commuting, working out, traveling, or simply relaxing, you can enjoy your favorite tunes anytime, anywhere on your Android phone.
So, go ahead and make the most of your music library, create personalized playlists, and immerse yourself in an exceptional music experience. Let the rhythm guide you and elevate your daily life with the power of music!


