Introduction
Welcome to our guide on how to download free music to iTunes! As music enthusiasts, we understand the joy of discovering new songs and expanding our music library without breaking the bank. With the availability of various online platforms, you can now easily find and download free music to enjoy on your iTunes.
In this article, we will walk you through the process of finding and downloading free music, as well as importing it to your iTunes library. Whether you’re a fan of mainstream hits, indie gems, or niche genres, there are countless resources that offer free and legal music for you to explore.
It’s important to note that downloading copyrighted music without permission is illegal and unethical. However, many artists and record labels generously share their music for free, allowing listeners to discover and support new talent. By following the guidelines in this article, you can ensure that you’re accessing music that is authorized for free distribution.
So, if you’re ready to expand your music collection without spending a dime, let’s dive into the world of free music and learn how to download it to iTunes. With just a few simple steps, you’ll be jamming to new tunes in no time!
Finding Free Music
When it comes to finding free music to download, the internet offers a plethora of options. Here are some popular methods and platforms that can help you discover and access a wide range of free music:
- Free Music Websites: There are numerous websites dedicated to offering free music downloads. Platforms like Soundcloud, Bandcamp, and Jamendo provide a treasure trove of independent music from artists around the world. You can search for specific genres, explore top charts, and even follow your favorite artists for updates on their latest releases.
- Music Blogs and Communities: Many music blogs and online communities curate and share free music from emerging artists. Websites like Stereogum, Pitchfork, and Noisetrade offer free music downloads, exclusive tracks, and mixtapes. These platforms are a great way to discover new genres and underground musicians.
- Creative Commons Licensed Music: Creative Commons licenses allow artists to share their work for free while still retaining some rights. Websites like Free Music Archive and ccMixter provide access to thousands of songs that are available for free download and use, as long as you adhere to the terms of the license.
- Podcasts and Radio Shows: Many podcasters and radio hosts feature music from independent artists in their shows. By subscribing to music-focused podcasts and exploring radio shows that cater to your taste in music, you can discover new artists and download the songs they showcase.
- Artist Websites and Social Media: Artists often offer free downloads of their music on their official websites or social media accounts. By following your favorite artists or exploring their websites, you might come across exclusive tracks or limited-time promotional offers.
It’s important to mention that while downloading music from these platforms is generally legal, always check the licensing terms and respect the artists’ rights. Some songs may be available for personal use only and may not be used for commercial purposes without permission.
Now that you have a variety of avenues to explore, let’s move on to the next section and learn how to download free music from these sources to your computer.
Downloading Free Music
Once you’ve found a song or album that you want to download, the next step is to actually save it to your computer. Here’s a step-by-step guide on how to download free music:
- Click on the Download Button: Most websites or platforms that offer free music downloads will have a download button or link associated with each track. Simply click on the download button to initiate the download process.
- Select the Download Format: Some platforms may give you the option to choose the format of the downloaded file. Usually, you’ll have the choice between different audio formats such as MP3 or WAV. Choose the format that is compatible with your device and preferences.
- Wait for the Download to Complete: The download process may take a few seconds or minutes, depending on your internet connection speed and the size of the file. Be patient and let the download finish before proceeding.
- Save the File to Your Computer: Once the download is complete, you’ll be prompted to choose a location on your computer to save the file. Select a folder or directory where you want to store your downloaded music for easy access.
- Repeat for Additional Songs: If you want to download multiple songs or albums, simply repeat the steps above for each item you wish to download. Make sure to organize your files properly to keep your music library organized.
Remember to always keep track of the source of the music you download to ensure that it is legal and authorized for free distribution. By downloading music from reputable sources and respecting the artists’ rights, you can enjoy a vast collection of free music without any legal complications.
With your free music files safely stored on your computer, it’s time to import them into your iTunes library. The next section will guide you through the process of adding your downloaded music to iTunes.
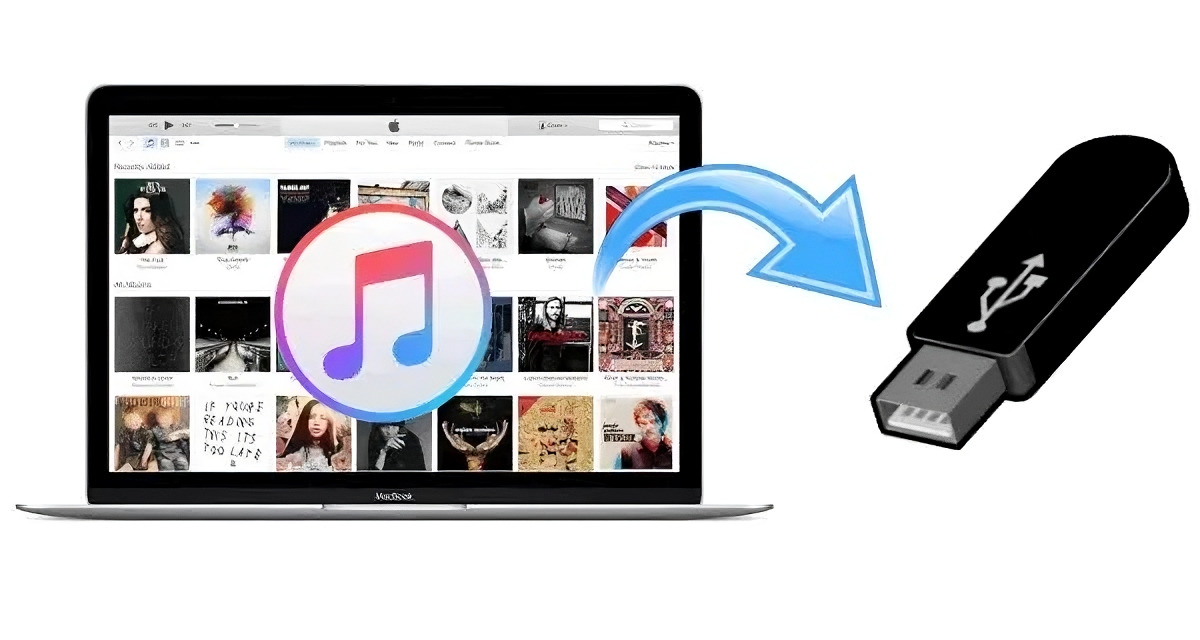
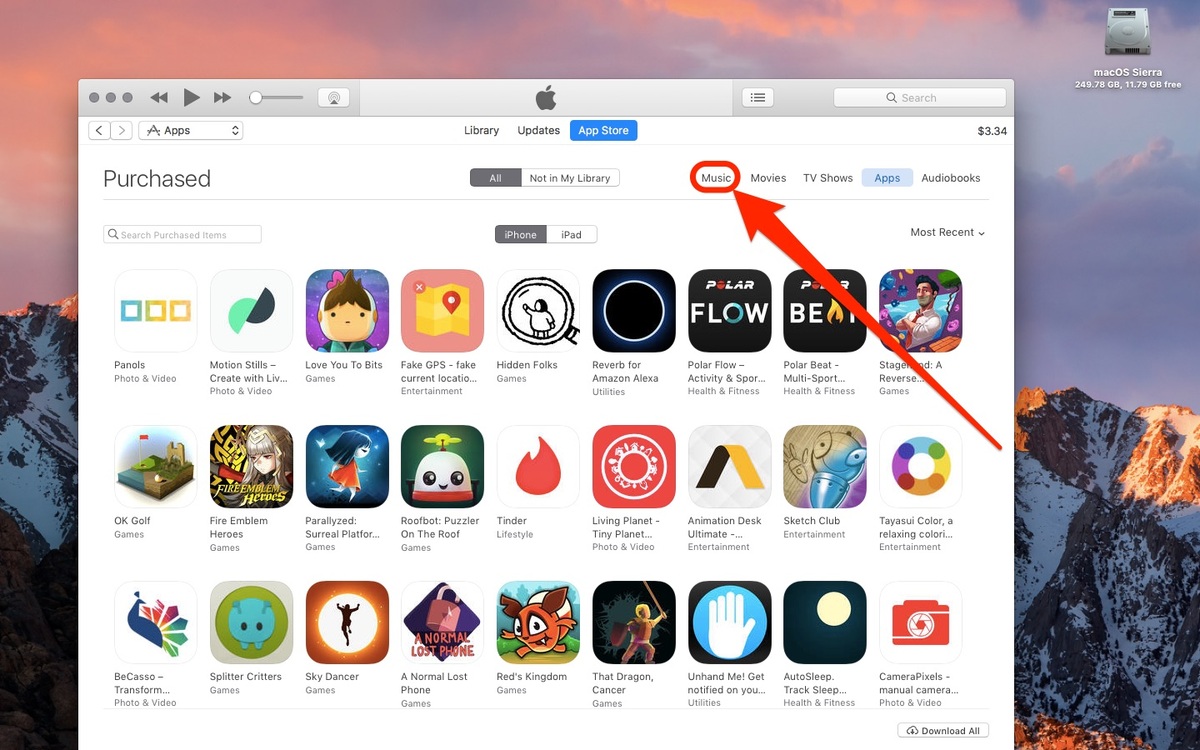
Importing Music to iTunes
Now that you have downloaded your favorite free music files, it’s time to add them to your iTunes library. Follow these simple steps to import your downloaded music into iTunes:
- Open iTunes: Launch the iTunes application on your computer. If you don’t have iTunes installed, you can download it from the official Apple website.
- Navigate to the File Menu: In the top-left corner of the iTunes window, click on the “File” tab to open the drop-down menu.
- Select “Add File to Library” or “Add Folder to Library”: Depending on whether you downloaded individual songs or entire folders, choose the appropriate option from the drop-down menu. If you downloaded a single song, select “Add File to Library.” If you downloaded a folder containing multiple songs, choose “Add Folder to Library.”
- Browse for the Music Files: A file browser window will open up. Navigate to the location where you saved your downloaded music files. Select the individual songs or entire folders that you want to import into iTunes.
- Click “Open” or “Choose”: After selecting the music files or folder, click the “Open” or “Choose” button to initiate the import process.
- Wait for the Import to Finish: iTunes will now begin importing your selected music files. The time it takes to import will depend on the number and size of the files being imported. Once the import is complete, you will see the newly added tracks in your iTunes library.
It’s worth noting that iTunes will automatically organize your music files by artist, album, and song title, making it easier for you to locate and play your favorite tracks. Additionally, you can edit the metadata, including song titles, artists, and album names, to ensure your library is well-organized and easy to navigate.
Congratulations! You have successfully downloaded free music and imported it into your iTunes library. Now you can enjoy your favorite tunes anytime, anywhere, without spending a dime.
Remember to regularly check the platforms and websites mentioned in the ‘Finding Free Music’ section for new releases and updated tracks. With the ever-changing landscape of free music, you’ll always have an opportunity to discover new artists and expand your music collection.