Introduction
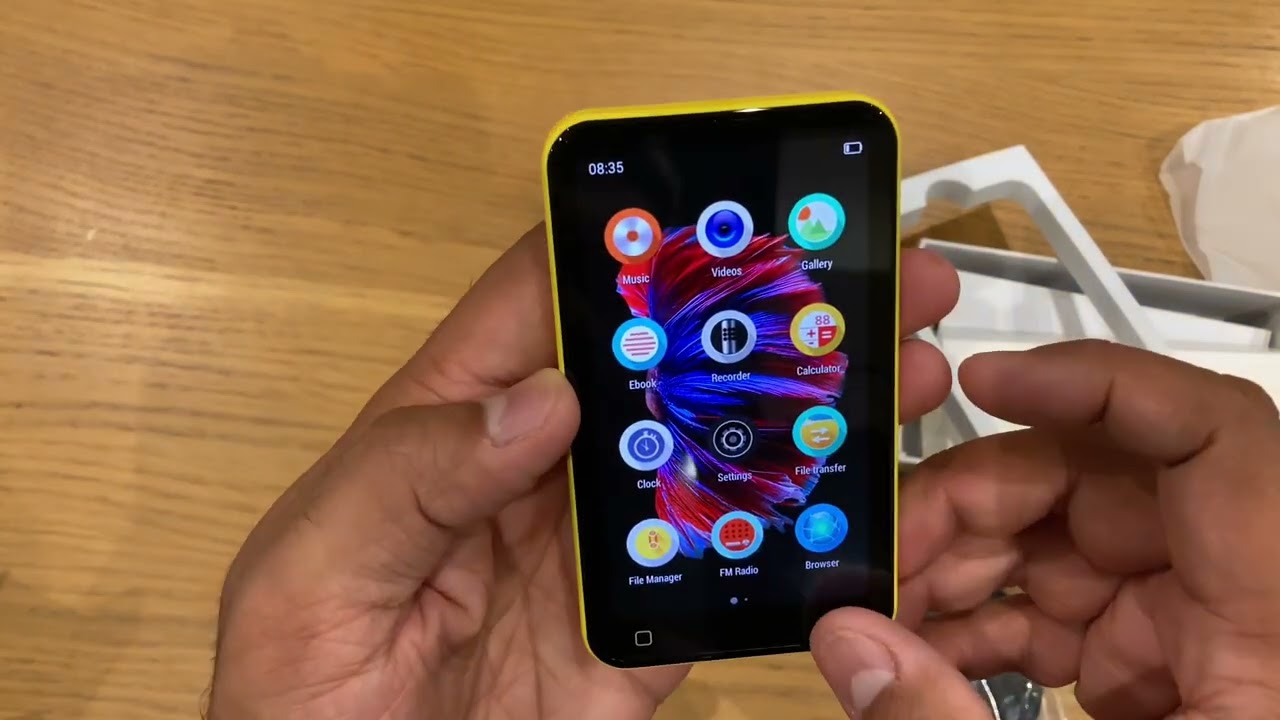
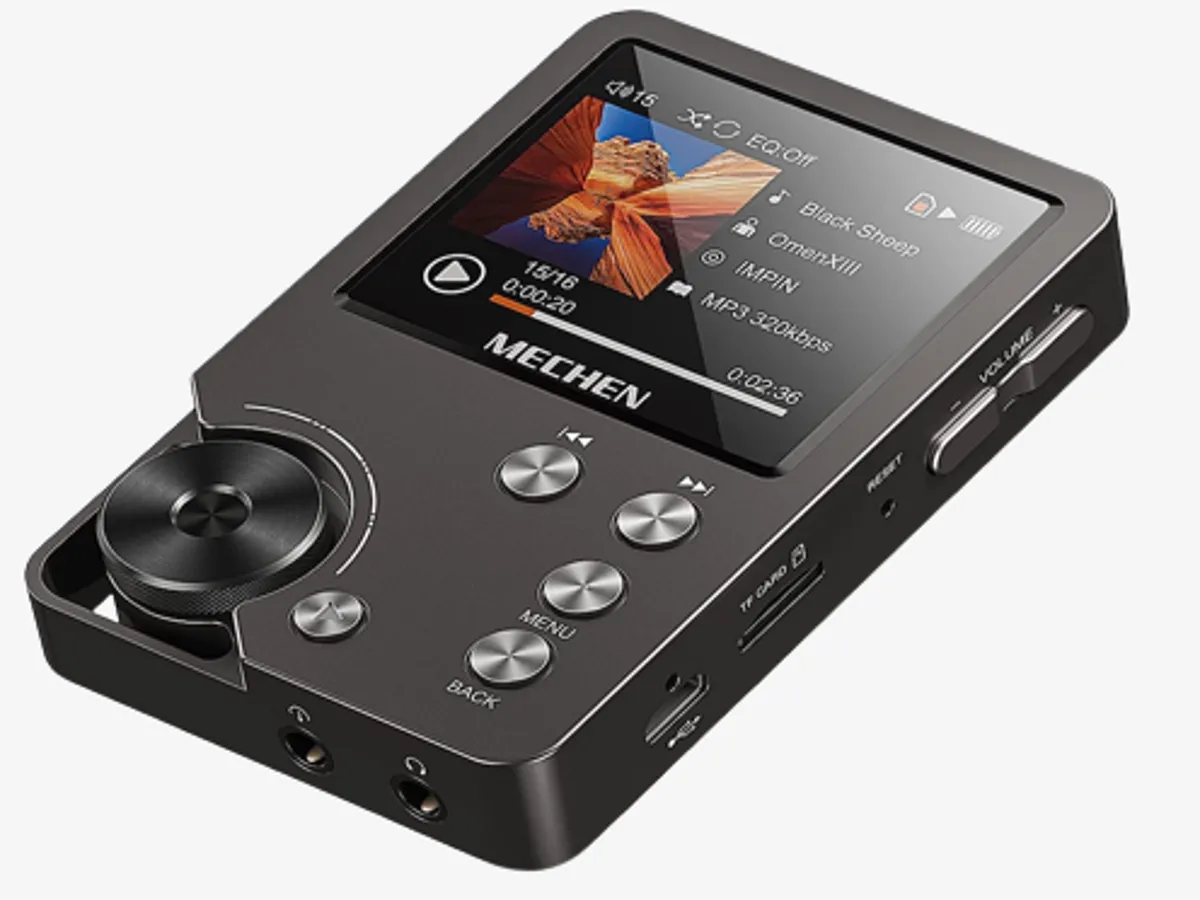
Welcome to the world of portable music with the Timmkoo MP3 Player. With its compact design and user-friendly features, the Timmkoo MP3 Player allows you to carry your favorite music with you wherever you go. Whether you’re commuting, working out, or simply relaxing, this sleek device is a perfect companion for your musical journey.
In this article, we will guide you through the process of downloading music to your Timmkoo MP3 Player. With just a few simple steps, you can enjoy your favorite tunes on the go, without the need for an Internet connection. So let’s dive in and discover how easy it is to fill your Timmkoo MP3 Player with the music you love.
Before we get started, ensure that you have your Timmkoo MP3 Player and a USB cable handy. Additionally, make sure you have already downloaded your desired music files on your computer, as we will be transferring them to the MP3 Player.
Now, let’s embark on this musical adventure and unlock the full potential of your Timmkoo MP3 Player!
Step 1: Connect the Timmkoo MP3 Player to your computer
The first step to download music to your Timmkoo MP3 Player is to establish a connection between the device and your computer. This allows for seamless data transfer and ensures that your music files are successfully transferred.
Follow these simple steps to connect your Timmkoo MP3 Player to your computer:
- Locate the USB cable that came with your Timmkoo MP3 Player.
- Connect one end of the USB cable to the USB port on your computer and the other end to the USB port on your Timmkoo MP3 Player.
- Once the devices are connected, your computer should recognize the Timmkoo MP3 Player as a removable storage device.
If your computer does not automatically recognize the MP3 Player, try restarting your computer or using a different USB port. It is also recommended to ensure that the MP3 Player is powered on.
Now that your Timmkoo MP3 Player is successfully connected to your computer, you’re ready to move on to the next step of transferring music files.
Step 2: Transfer music from your computer to the Timmkoo MP3 Player
With your Timmkoo MP3 Player successfully connected to your computer, it’s time to transfer your favorite music files onto the device. Follow these steps to get your music collection onto your Timmkoo MP3 Player:
- Open the file explorer on your computer (such as Windows Explorer or Finder on a Mac).
- Navigate to the location where your music files are stored on your computer.
- Select the desired music files or folders that you want to transfer to your Timmkoo MP3 Player.
- Right-click on the selected files or folders and choose the “Copy” option. Alternatively, you can use the keyboard shortcut Ctrl+C (Command+C on a Mac).
- Go back to the file explorer window and locate the Timmkoo MP3 Player. It should be listed as a removable storage device.
- Double-click on the Timmkoo MP3 Player to open its storage folder.
- Paste the copied music files or folders into the Timmkoo MP3 Player’s storage folder by right-clicking and choosing the “Paste” option. You can also use the keyboard shortcut Ctrl+V (Command+V on a Mac).
Wait for the transfer process to complete, as it may take some time depending on the size of the music files you are transferring. Once the transfer is finished, you can disconnect your Timmkoo MP3 Player from your computer.
Now your Timmkoo MP3 Player is filled with your favorite music, ready to be enjoyed anywhere and anytime.
Step 3: Organize your music files on the Timmkoo MP3 Player
Now that you have transferred your music files onto your Timmkoo MP3 Player, it’s time to organize them so that you can easily navigate and find your favorite songs. Follow these steps to organize your music files:
- Disconnect your Timmkoo MP3 Player from your computer if you haven’t done so already.
- Power on your Timmkoo MP3 Player and navigate to the music section or folder.
- Depending on the capabilities of your Timmkoo MP3 Player, you may be able to organize your music by creating folders or playlists. Check the user manual or device settings to determine the available options.
- If your Timmkoo MP3 Player supports folders, you can create folders based on artists, albums, genres, or any other categorization that suits your preferences. This will make it easier to locate specific songs or albums.
- If your Timmkoo MP3 Player supports playlists, you can create custom playlists by selecting the desired songs from your music collection. This allows you to create personalized mixes or themed playlists.
- Once you have organized your music files, you can use the navigation buttons or touchscreen on your Timmkoo MP3 Player to browse through the folders or playlists.
- Enjoy the convenience of having your music neatly organized on your Timmkoo MP3 Player, making it effortless to find and listen to your favorite tracks.
Remember to regularly update and maintain your music organization on the Timmkoo MP3 Player to keep it organized and clutter-free. This will ensure a seamless and enjoyable music playback experience.
Step 4: Safely disconnect the Timmkoo MP3 Player from your computer
After you have finished transferring and organizing your music files on your Timmkoo MP3 Player, it’s essential to safely disconnect the device from your computer to avoid any data corruption or loss. Follow these steps to safely disconnect your Timmkoo MP3 Player:
- Make sure that all file transfers or music management tasks are complete on your Timmkoo MP3 Player.
- On your computer, locate the “Safely Remove Hardware” icon in the system tray or taskbar. The icon may appear as a USB symbol or as a small icon with a green checkmark.
- Click on the “Safely Remove Hardware” icon to open the corresponding menu.
- A list of connected devices will be displayed. Find and select the Timmkoo MP3 Player from the list.
- Wait for your computer to complete the process of safely disconnecting the Timmkoo MP3 Player. You may see a notification indicating that it is safe to disconnect the device.
- Once you receive confirmation that it is safe, you can unplug the USB cable from both your computer and the Timmkoo MP3 Player.
By following these steps, you ensure that all pending write operations are completed and that the file system on your Timmkoo MP3 Player is safely synchronized before disconnecting. This minimizes the risk of data corruption and ensures the longevity of your music files.
Now you can confidently disconnect your Timmkoo MP3 Player from your computer and enjoy your music on the go!
Step 5: Enjoy your music on the Timmkoo MP3 Player
Now that you have successfully downloaded your favorite music onto your Timmkoo MP3 Player, it’s time to sit back, relax, and enjoy the music. Let’s explore how you can make the most of your musical journey with the Timmkoo MP3 Player:
- Turn on your Timmkoo MP3 Player by using the power button or switch. You may need to hold the button for a few seconds until the device powers on.
- Navigate through the menus or folders on your Timmkoo MP3 Player to find your desired music.
- Use the playback controls, such as play, pause, skip, and volume adjustment, to customize your listening experience.
- If your Timmkoo MP3 Player has additional features such as an equalizer or sound enhancement settings, explore these options to enhance the audio quality according to your preferences.
- Take advantage of any additional features on your Timmkoo MP3 Player, such as radio functionality, voice recording, or the ability to view photos or videos.
- Experiment with different playlist arrangements or shuffle options to create a unique listening experience every time.
- Consider investing in a quality pair of headphones or earphones to enhance your music enjoyment.
- Take your Timmkoo MP3 Player with you wherever you go, whether it’s on your daily commute, during workouts, or when relaxing at home.
With your Timmkoo MP3 Player, you have the freedom to immerse yourself in your favorite music anytime, anywhere. Let the melodies uplift your mood, inspire your creativity, or simply help you unwind.
Remember to regularly charge your Timmkoo MP3 Player to ensure uninterrupted music playback. You can connect it to your computer or use a compatible charger to keep your device powered up and ready to go.
Now, it’s time to lose yourself in the rhythm and enjoy the blissful soundscapes on your Timmkoo MP3 Player. Let the music be your companion and escape into a world of melodies and emotions.
Conclusion
Congratulations! You have successfully learned how to download music to your Timmkoo MP3 Player. By following the simple steps we’ve outlined, you can now enjoy your favorite music on the go, without relying on an internet connection.
The Timmkoo MP3 Player provides you with the freedom to carry your entire music collection in a compact and portable device. Whether you’re commuting, working out, or simply unwinding, your Timmkoo MP3 Player will be your loyal companion.
Remember to connect your Timmkoo MP3 Player to your computer to transfer and organize your music files. Safely disconnect the device to ensure data integrity and longevity. And when it’s time to enjoy your music, unleash the power of your Timmkoo MP3 Player by navigating through your organized folders or playlists, adjusting the settings to your liking, and immersing yourself in the melodies that move you.
As you continue your musical journey with the Timmkoo MP3 Player, keep exploring its features and expanding your music collection. Stay up-to-date with the latest tracks, albums, and artists that resonate with you, and let your Timmkoo MP3 Player be your gateway to endless musical possibilities.
Now, get ready to embark on an extraordinary auditory experience with your Timmkoo MP3 Player. Music has the power to uplift, inspire, and transport us to another realm. So, go ahead and press play, let the music fill your soul, and enjoy every beat and rhythm that accompanies you on your life’s journey.


