Introduction
Are you eager to listen to your favorite music on your PSP? Look no further! In this guide, we will walk you through the simple steps to download music onto your PSP. The PlayStation Portable (PSP) is not only a fantastic gaming console, but it also allows you to enjoy your favorite tunes on the go.
With its sleek design and impressive audio playback capabilities, the PSP is a versatile device that enables you to create a customized music library. Whether you want to rock out to your favorite songs during a commute or relax with some calming melodies, having music on your PSP adds another dimension of entertainment.
Downloading music on your PSP is a straightforward process that requires a computer and a USB cable. Once you have the necessary tools, you’ll be able to transfer your favorite tunes onto your PSP in no time.
Before we dive into the steps, it’s important to mention that downloading copyrighted music without the necessary permissions is illegal. Ensure that you have the rights to the music or use legal sources that offer music for free or a fee.
Now that we’ve covered the essentials, let’s jump right into the step-by-step guide to downloading music on your PSP. Get ready to enjoy your favorite tracks wherever you go!
Step 1: Prepare Your PSP
Before downloading music onto your PSP, it’s crucial to ensure that your PSP is set up and ready to connect to your computer. Follow these steps to prepare your PSP:
- Power on your PSP: Press and hold the power button on the top of your PSP until the device turns on.
- Check the battery level: Make sure your PSP has enough battery power to complete the download process. If the battery is low, connect your PSP to a power source using the AC adapter.
- Connect your headphones (optional): If you prefer to listen to music privately, you can plug in a pair of headphones into the headphone jack located at the bottom of the PSP.
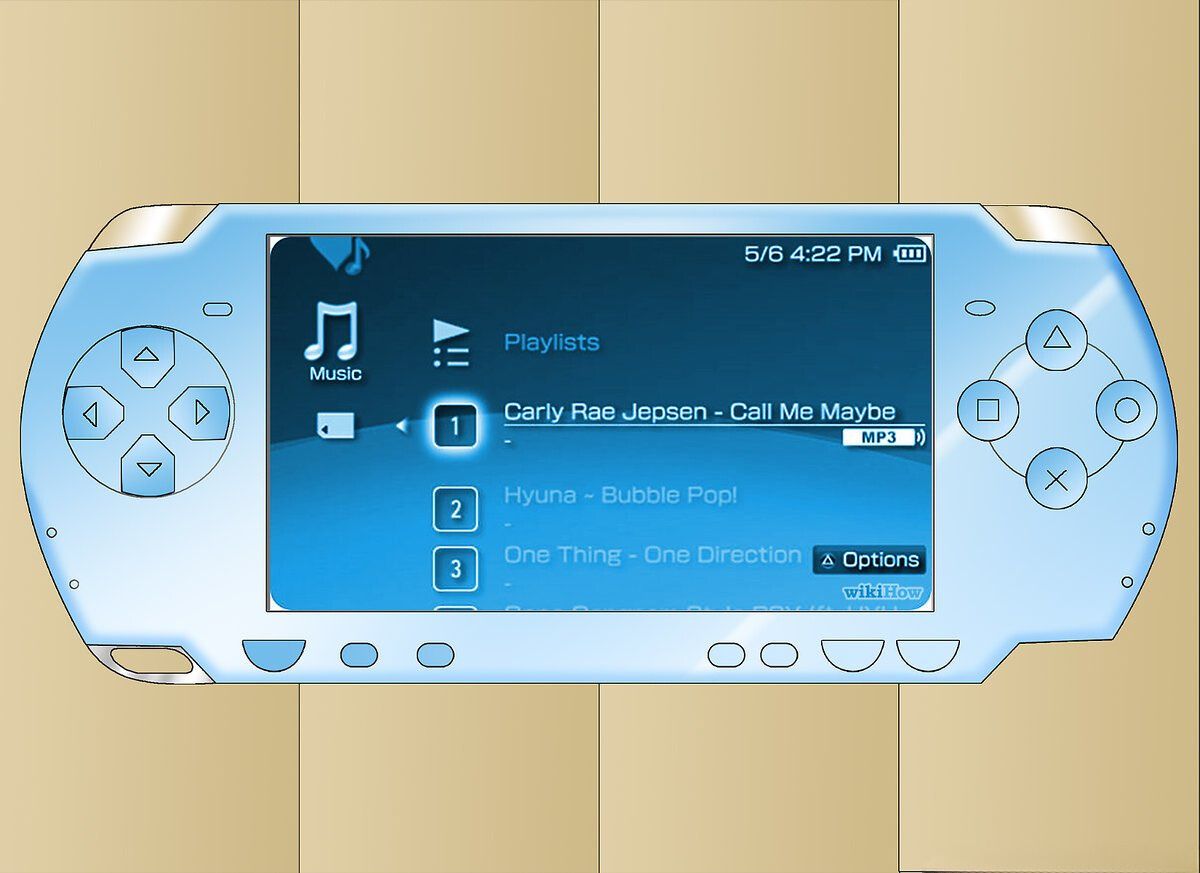
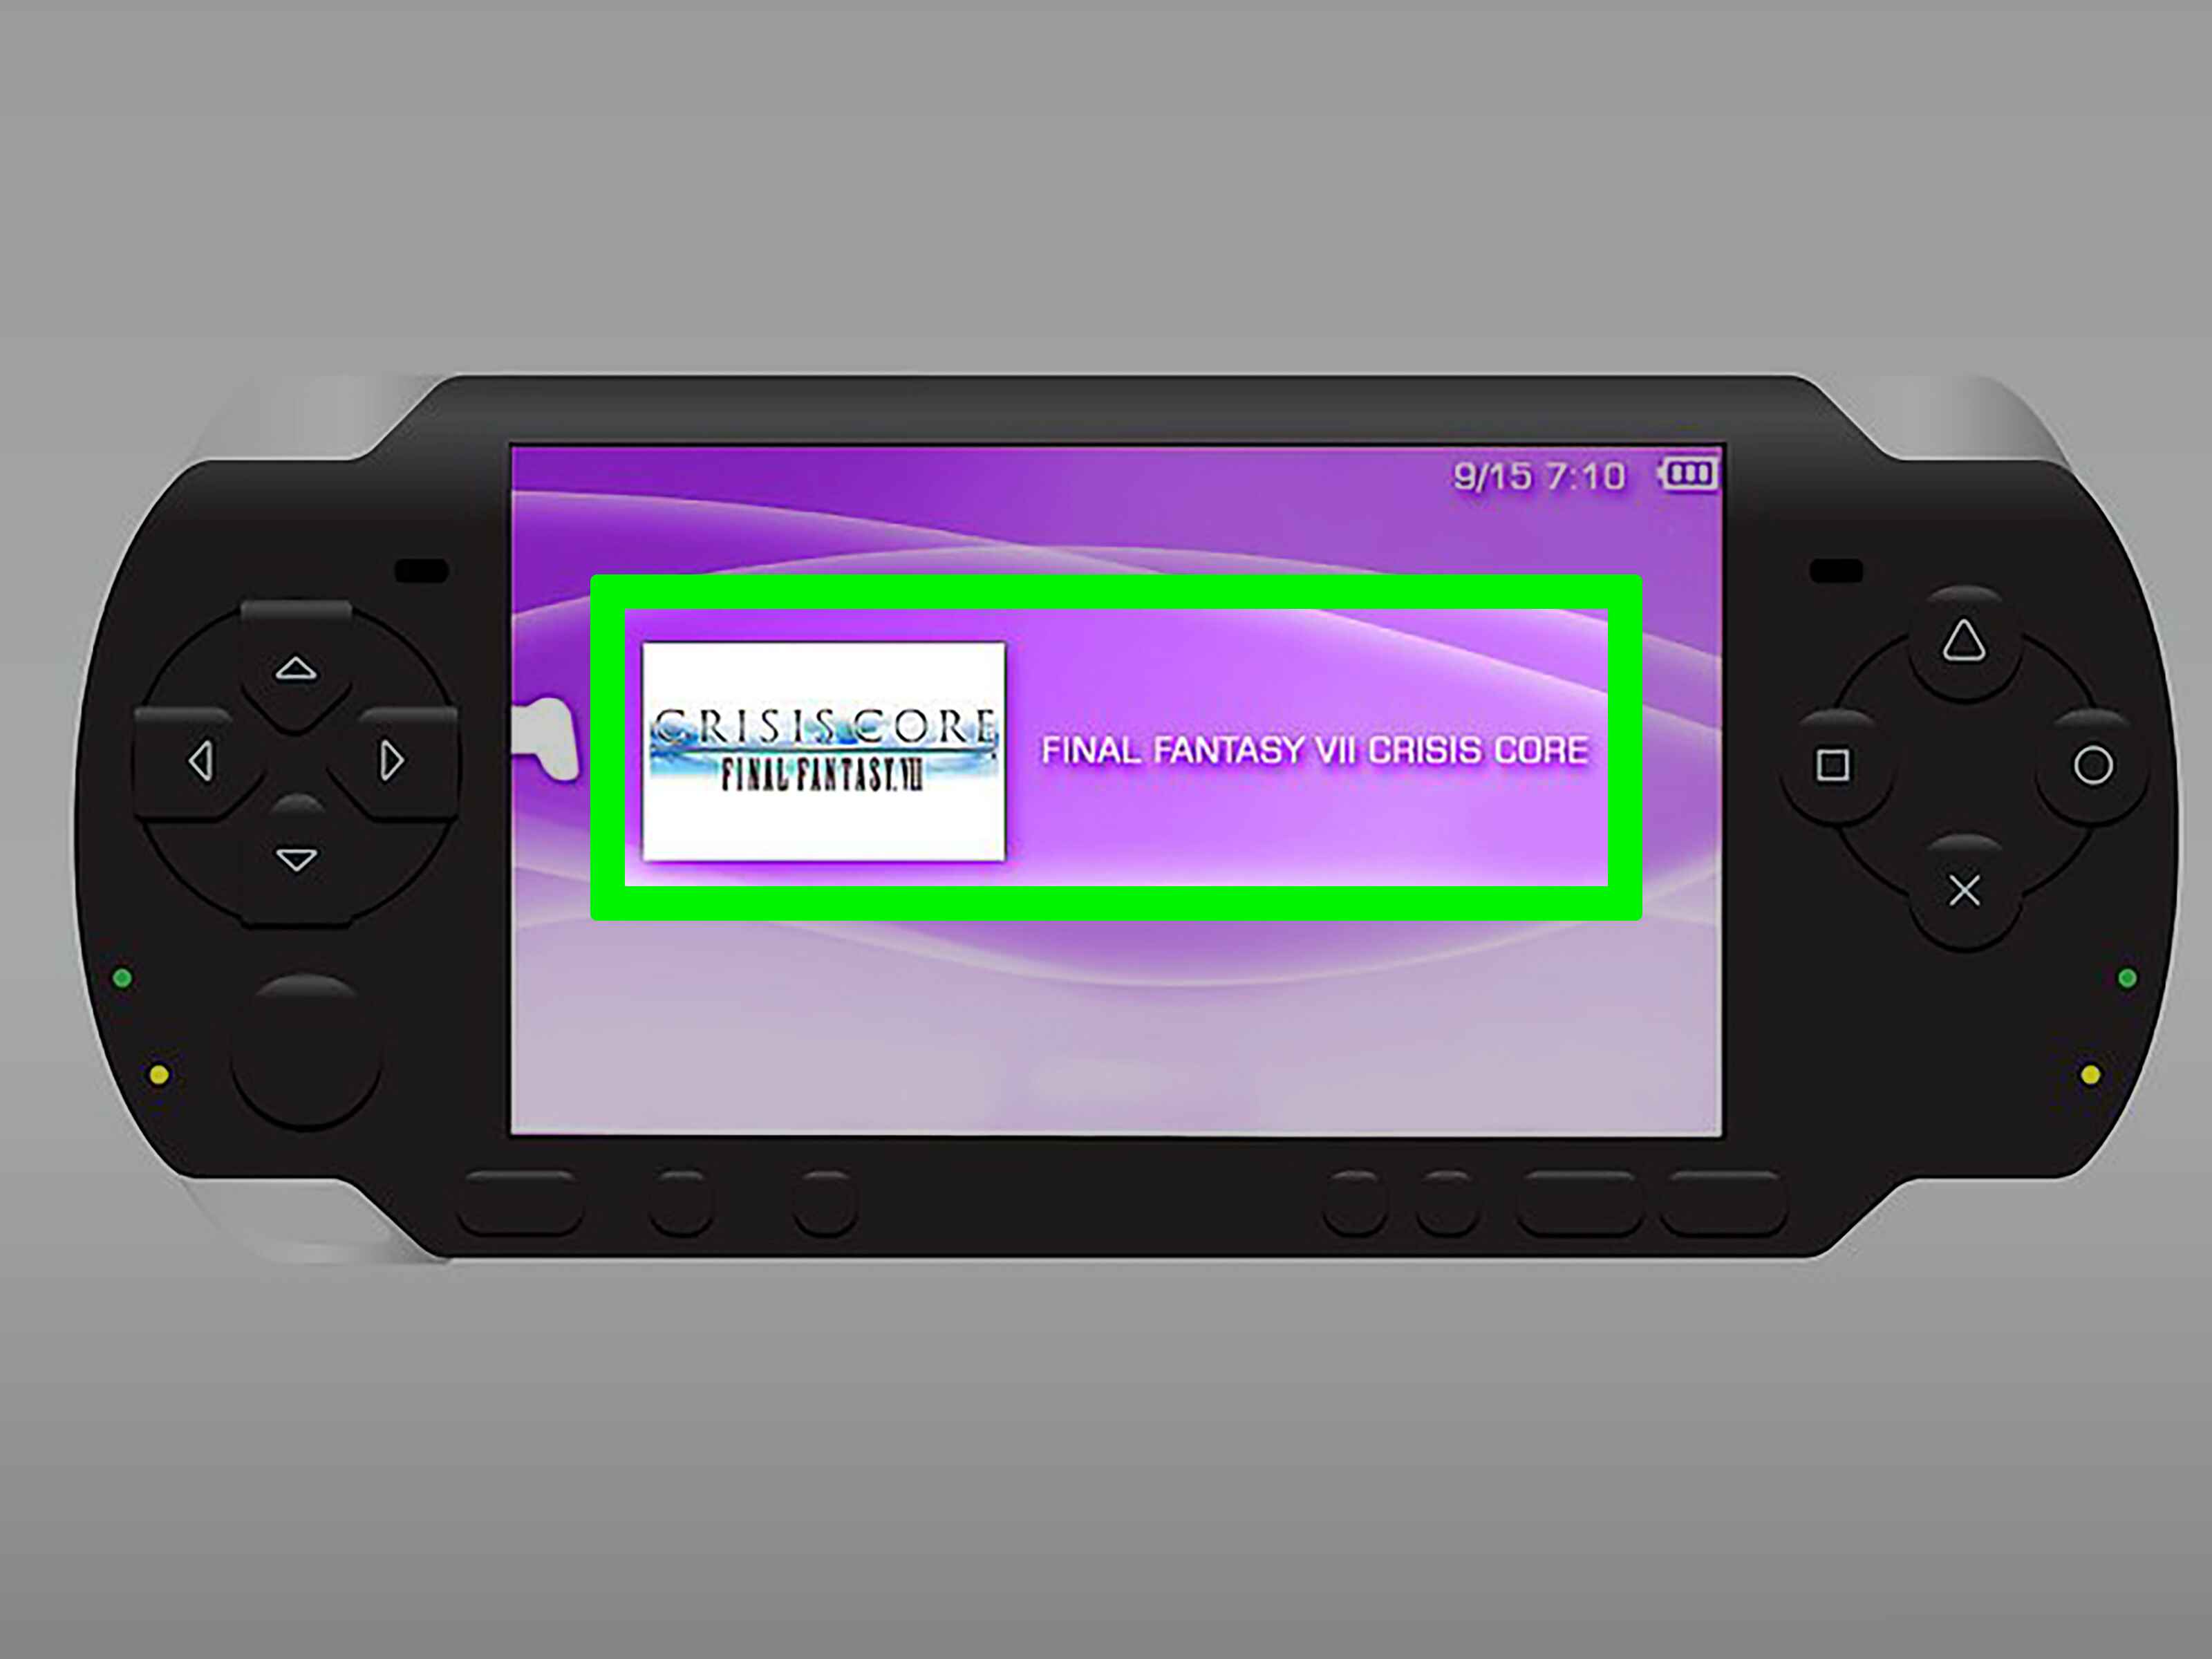
- Access the Music menu: From the PSP home screen, scroll to the Music category and press the X button. This will take you to the Music menu, where you can access your music library once the downloading process is complete.
- Ensure sufficient storage space: Check how much free space is available on your PSP’s memory stick. You will need enough space to store the music files you plan to download. If necessary, delete any unnecessary files or consider upgrading to a larger memory stick.
By completing these steps, you will have a fully prepared PSP that is ready to be connected to your computer. Next, we will guide you through the process of connecting your PSP to your computer to begin downloading music files. Let’s move on to Step 2!
Step 2: Connect Your PSP to Your Computer
Now that your PSP is prepared, it’s time to connect it to your computer. Follow these steps to establish a connection:
- Locate the USB port: On your PSP, locate the USB port, which is located at the top of the device. It is covered by a small plastic flap.
- Open the USB port: Gently lift the plastic flap to expose the USB port. Be careful not to apply too much force to avoid damaging the cover.
- Connect the USB cable: Take the USB cable that came with your PSP and plug one end into the USB port on your PSP. Then, take the other end of the cable and plug it into an available USB port on your computer.
- Enable USB mode: On your PSP, navigate to the settings menu. Scroll to the “USB Connection” option and press the X button. This will enable USB mode on your PSP, allowing it to communicate with your computer.
- Computer recognition: Once USB mode is enabled, your computer should recognize the connected PSP. You may see a notification or a new device pop up on your computer screen.
- Confirm the connection: On your PSP, you will see a USB connection icon at the top-right corner of the screen, indicating a successful connection to your computer.
With your PSP connected to your computer, you are now ready to move on to the next step: downloading music files. In the following section, we will guide you through the process of finding and downloading music onto your computer. Let’s move on to Step 3!
Step 3: Download Music Files
Now that your PSP is connected to your computer, you can begin downloading music files. Follow these steps to acquire your favorite tunes:
- Open your preferred web browser: Launch your web browser and navigate to a trusted website that offers downloadable music files. There are various legal sources available, such as music stores or artist websites.
- Search for music: Use the search function or browse through the website’s music catalog to find the songs you want to download. Make sure to select the appropriate format compatible with your PSP (e.g., MP3 or AAC).
- Select and download the music: Once you’ve found a song you want to download, click on the download button or link provided. Choose a location on your computer to save the file and start the download process.
- Repeat for additional songs: If you want to download multiple songs, repeat the previous steps for each song until you have all the music files you desire.
During the download process, make sure to keep track of where you are saving the music files on your computer. Having them in an easily accessible location will simplify the next step of transferring them to your PSP.
Remember to download music from legal sources to respect copyright laws and support the artists. Now that you have downloaded your desired music files, it’s time to proceed to the next step: transferring the music to your PSP. Let’s move on to Step 4!
Step 4: Transfer Music to Your PSP
With your music files downloaded onto your computer, it’s time to transfer them to your PSP. Follow these steps to complete the transfer:
- Access your PSP’s memory stick: On your computer, open the file explorer or file manager and locate the PSP folder. Within the PSP folder, you will find a subfolder named “Music.” Open this folder.
- Copy the music files: In a separate file explorer or file manager window, navigate to the location where you saved the downloaded music files on your computer. Select the files you wish to transfer and copy them (Ctrl+C or right-click and choose “Copy”).
- Paste the music files to your PSP: Return to the PSP’s “Music” folder and paste the copied music files into it (Ctrl+V or right-click and choose “Paste”). The files will begin to transfer from your computer to your PSP.
- Wait for the transfer to complete: Depending on the size of the music files and the transfer speed, it may take a few moments for the transfer to finish. Ensure that all the selected music files are successfully copied to your PSP.
- Safely disconnect your PSP: Once the transfer is complete, safely disconnect your PSP from your computer. This will ensure that the data transfer is finished and avoid any potential data corruption.
With the music files safely transferred to your PSP, you can now access them from the Music menu on your device. Your favorite tunes are ready to be enjoyed wherever you go!
Now that you have successfully transferred music to your PSP, it’s time to move on to the next step: disconnecting your PSP from your computer. Let’s proceed to Step 5!
Step 5: Disconnect Your PSP
After transferring your music files to your PSP, it’s essential to safely disconnect your PSP from your computer. Follow these steps to ensure a proper disconnection:
- Close any open files or folders: Make sure that you have closed any open files or folders related to your PSP on your computer. This includes the PSP folder and any music files that you were accessing during the transfer.
- Eject the USB connection: On your computer, locate the system tray or taskbar and look for the “Safely Remove Hardware” icon. Click on the icon to display the list of connected devices.
- Select your PSP: From the list of devices, locate your PSP and select it. This will prompt the system to safely eject your PSP device.
- Wait for confirmation: Once you have selected your PSP for ejection, wait for the system to confirm that it is safe to remove your device. This confirmation message will typically appear on your computer screen.
- Disconnect the USB cable: Once you receive confirmation that it is safe, gently unplug the USB cable from your PSP and then from your computer. Ensure that you do not pull on the cable forcefully to avoid any damage.
By properly disconnecting your PSP from your computer, you minimize the risk of data corruption and ensure that the transfer process is completed successfully. Now, you can enjoy your music on your PSP wherever you go!
With Step 5 completed, you have safely disconnected your PSP from your computer. Now, we can move on to the final step: enjoying your music on your PSP. Let’s proceed to Step 6!
Step 6: Enjoy Your Music on Your PSP
Congratulations! You have successfully downloaded and transferred music files onto your PSP. Now, it’s time to sit back, relax, and enjoy your favorite tunes on your PSP. Here’s how you can access and play your music:
- Power on your PSP: Press and hold the power button on the top of your PSP until the device turns on.
- Access the Music menu: From the PSP home screen, scroll to the Music category and press the X button. This will take you to the Music menu.
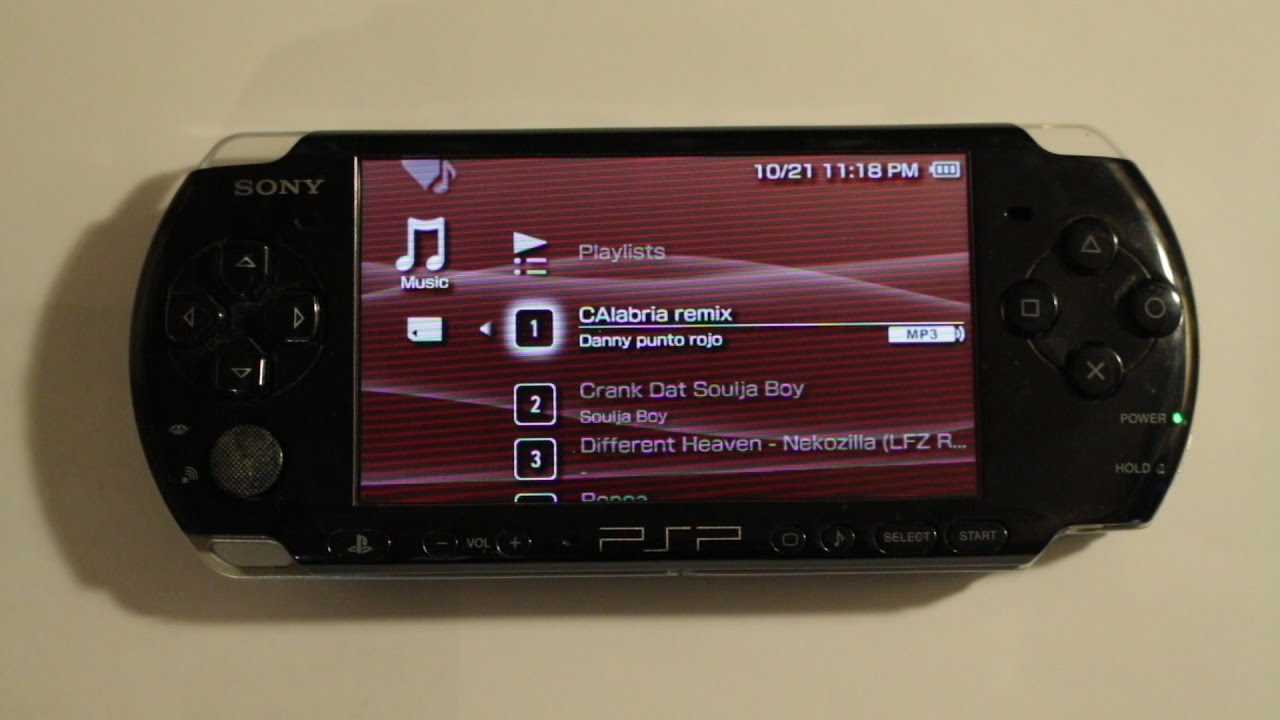
- Select your music library: Within the Music menu, you will find different options, such as “All Songs,” “Artists,” “Albums,” or “Playlists.” Choose the option that suits your preference.
- Browse and play your music: Once you have accessed your music library, you can browse through the available songs and select the one you want to listen to. Use the directional buttons and the X button to navigate and play your music files.
- Adjust playback settings: The Music menu also allows you to adjust various settings, such as shuffle mode, repeat mode, and volume control. Explore these settings to customize your music listening experience.
With your music files organized and accessible on your PSP, you can create playlists, shuffle your songs, or listen to specific albums or artists. The PSP’s audio capabilities ensure a high-quality music experience while you’re on the go.
Now that you know how to access and play your music on your PSP, you can enjoy your favorite songs anytime and anywhere. Let the music transport you to a world of entertainment as you immerse yourself in the melodies.
With Step 6 completed, you have reached the final stage of the process. You are now ready to fully enjoy your music on your PSP. Happy listening!