Introduction
Connecting your PSP (PlayStation Portable) to your wireless router is essential if you want to take full advantage of the device’s online capabilities. With a wireless connection, you can access the PlayStation Store, browse the internet, and play multiplayer games online. However, if you’re not familiar with the process, it can seem a bit daunting at first.
In this article, we will guide you through the steps required to connect your PSP to your wireless router. Whether you’re a gaming enthusiast or simply looking to explore the online features of your PSP, by the end of this guide, you’ll have a clear understanding of how to establish a wireless connection.
Before we dive into the technical details, it’s important to note that the exact steps may vary slightly depending on the model of your PSP. However, the general process remains the same. Additionally, make sure you have a wireless router that is compatible with your PSP and is already set up and functioning properly.
In the following sections, we will walk you through each step, from preparing your PSP to testing the connection. By following these instructions, you’ll be able to connect your PSP to your wireless router in no time and begin enjoying all the online features and benefits it has to offer.
So, without further ado, let’s get started on the journey to getting your PSP connected to your wireless router!
Step 1: Prepare Your PSP
Before you can connect your PSP to your wireless router, it’s important to ensure that your PSP is ready for the process. Here are the steps you need to take to prepare your PSP:
- Make sure your PSP is updated: To ensure compatibility with the latest wireless protocols, it’s essential to have the latest firmware installed on your PSP. To check for updates, go to the Settings menu on your PSP, select System Update, and follow the on-screen instructions to download and install any available updates.
- Charge your PSP: It’s crucial to have a fully charged PSP before attempting to connect it to a wireless network. Connecting to a network requires power, and if your battery is low, the connection may be unreliable or fail altogether. Plug your PSP into the charger and let it charge until the battery is full.
- Enable the WLAN switch: Locate the WLAN switch on your PSP. It’s usually located on the left-hand side of the device. Slide the switch upward to enable the PSP’s Wi-Fi functionality.
- Confirm that Wi-Fi is enabled: Go to the PSP’s XMB (Cross Media Bar) menu by pressing the home button. Scroll to the left and select the “Settings” option. From there, navigate to “Network Settings” and choose “Infrastructure Mode.” Ensure that the “Wireless” option is selected and that Wi-Fi is enabled. If it’s not, select the “Enabled” option.
By following these steps, you will have prepared your PSP for the process of connecting it to your wireless router. Now that you have ensured that your device is up to date, fully charged, and Wi-Fi enabled, you are ready to move on to the next step: turning on your wireless router.
Step 2: Turn On Your Wireless Router
Now that your PSP is prepared, it’s time to turn on your wireless router. Follow these steps:
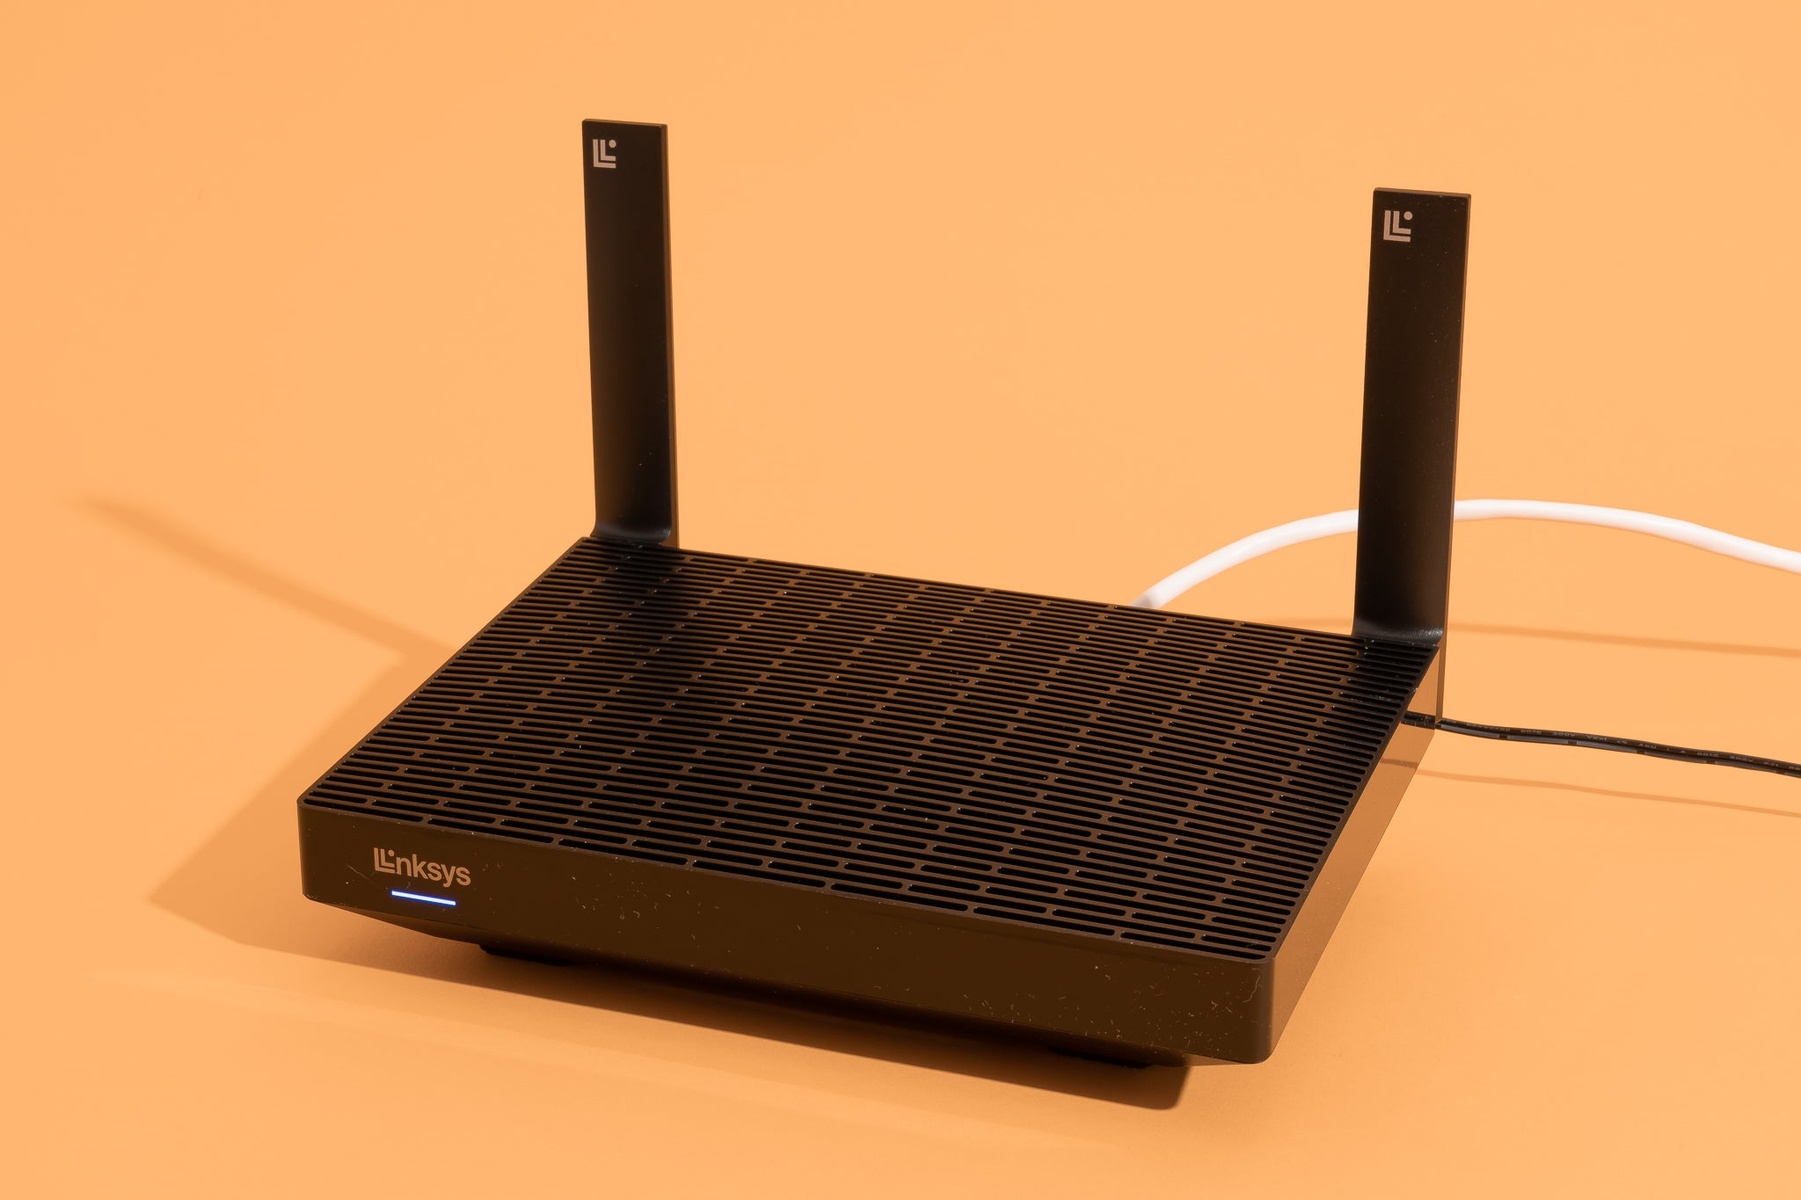
- Locate your wireless router: Depending on your network setup, your wireless router may be located in various places. It’s commonly found near your computer desk, in a central location in your home, or wherever your internet modem is installed.
- Connect the power supply: Plug the power cable into the back of your wireless router and connect it to a power outlet. Ensure that the power source is reliable and switched on.
- Wait for the router to boot up: After connecting the power, give your router a few moments to boot up. The lights on your router will start blinking and settle into a stable pattern, indicating that the device is ready.
- Check for internet connectivity: Once the router has finished booting up, check if you have an internet connection. Connect a device, such as a laptop or smartphone, to the router’s Wi-Fi network and see if you can access the internet. If you’re able to browse the web, it means your router is functioning correctly.
Turning on your wireless router is an essential step in setting up your PSP’s wireless connection. By ensuring that the router is powered on and functioning properly, you’re paving the way for a seamless connection in the next steps.
Now that your wireless router is up and running, it’s time to move on to the next step: enabling Wi-Fi on your PSP.
Step 3: Enable Wi-Fi on Your PSP
In order to connect your PSP to your wireless router, you need to enable Wi-Fi on your device. Follow these steps to do so:
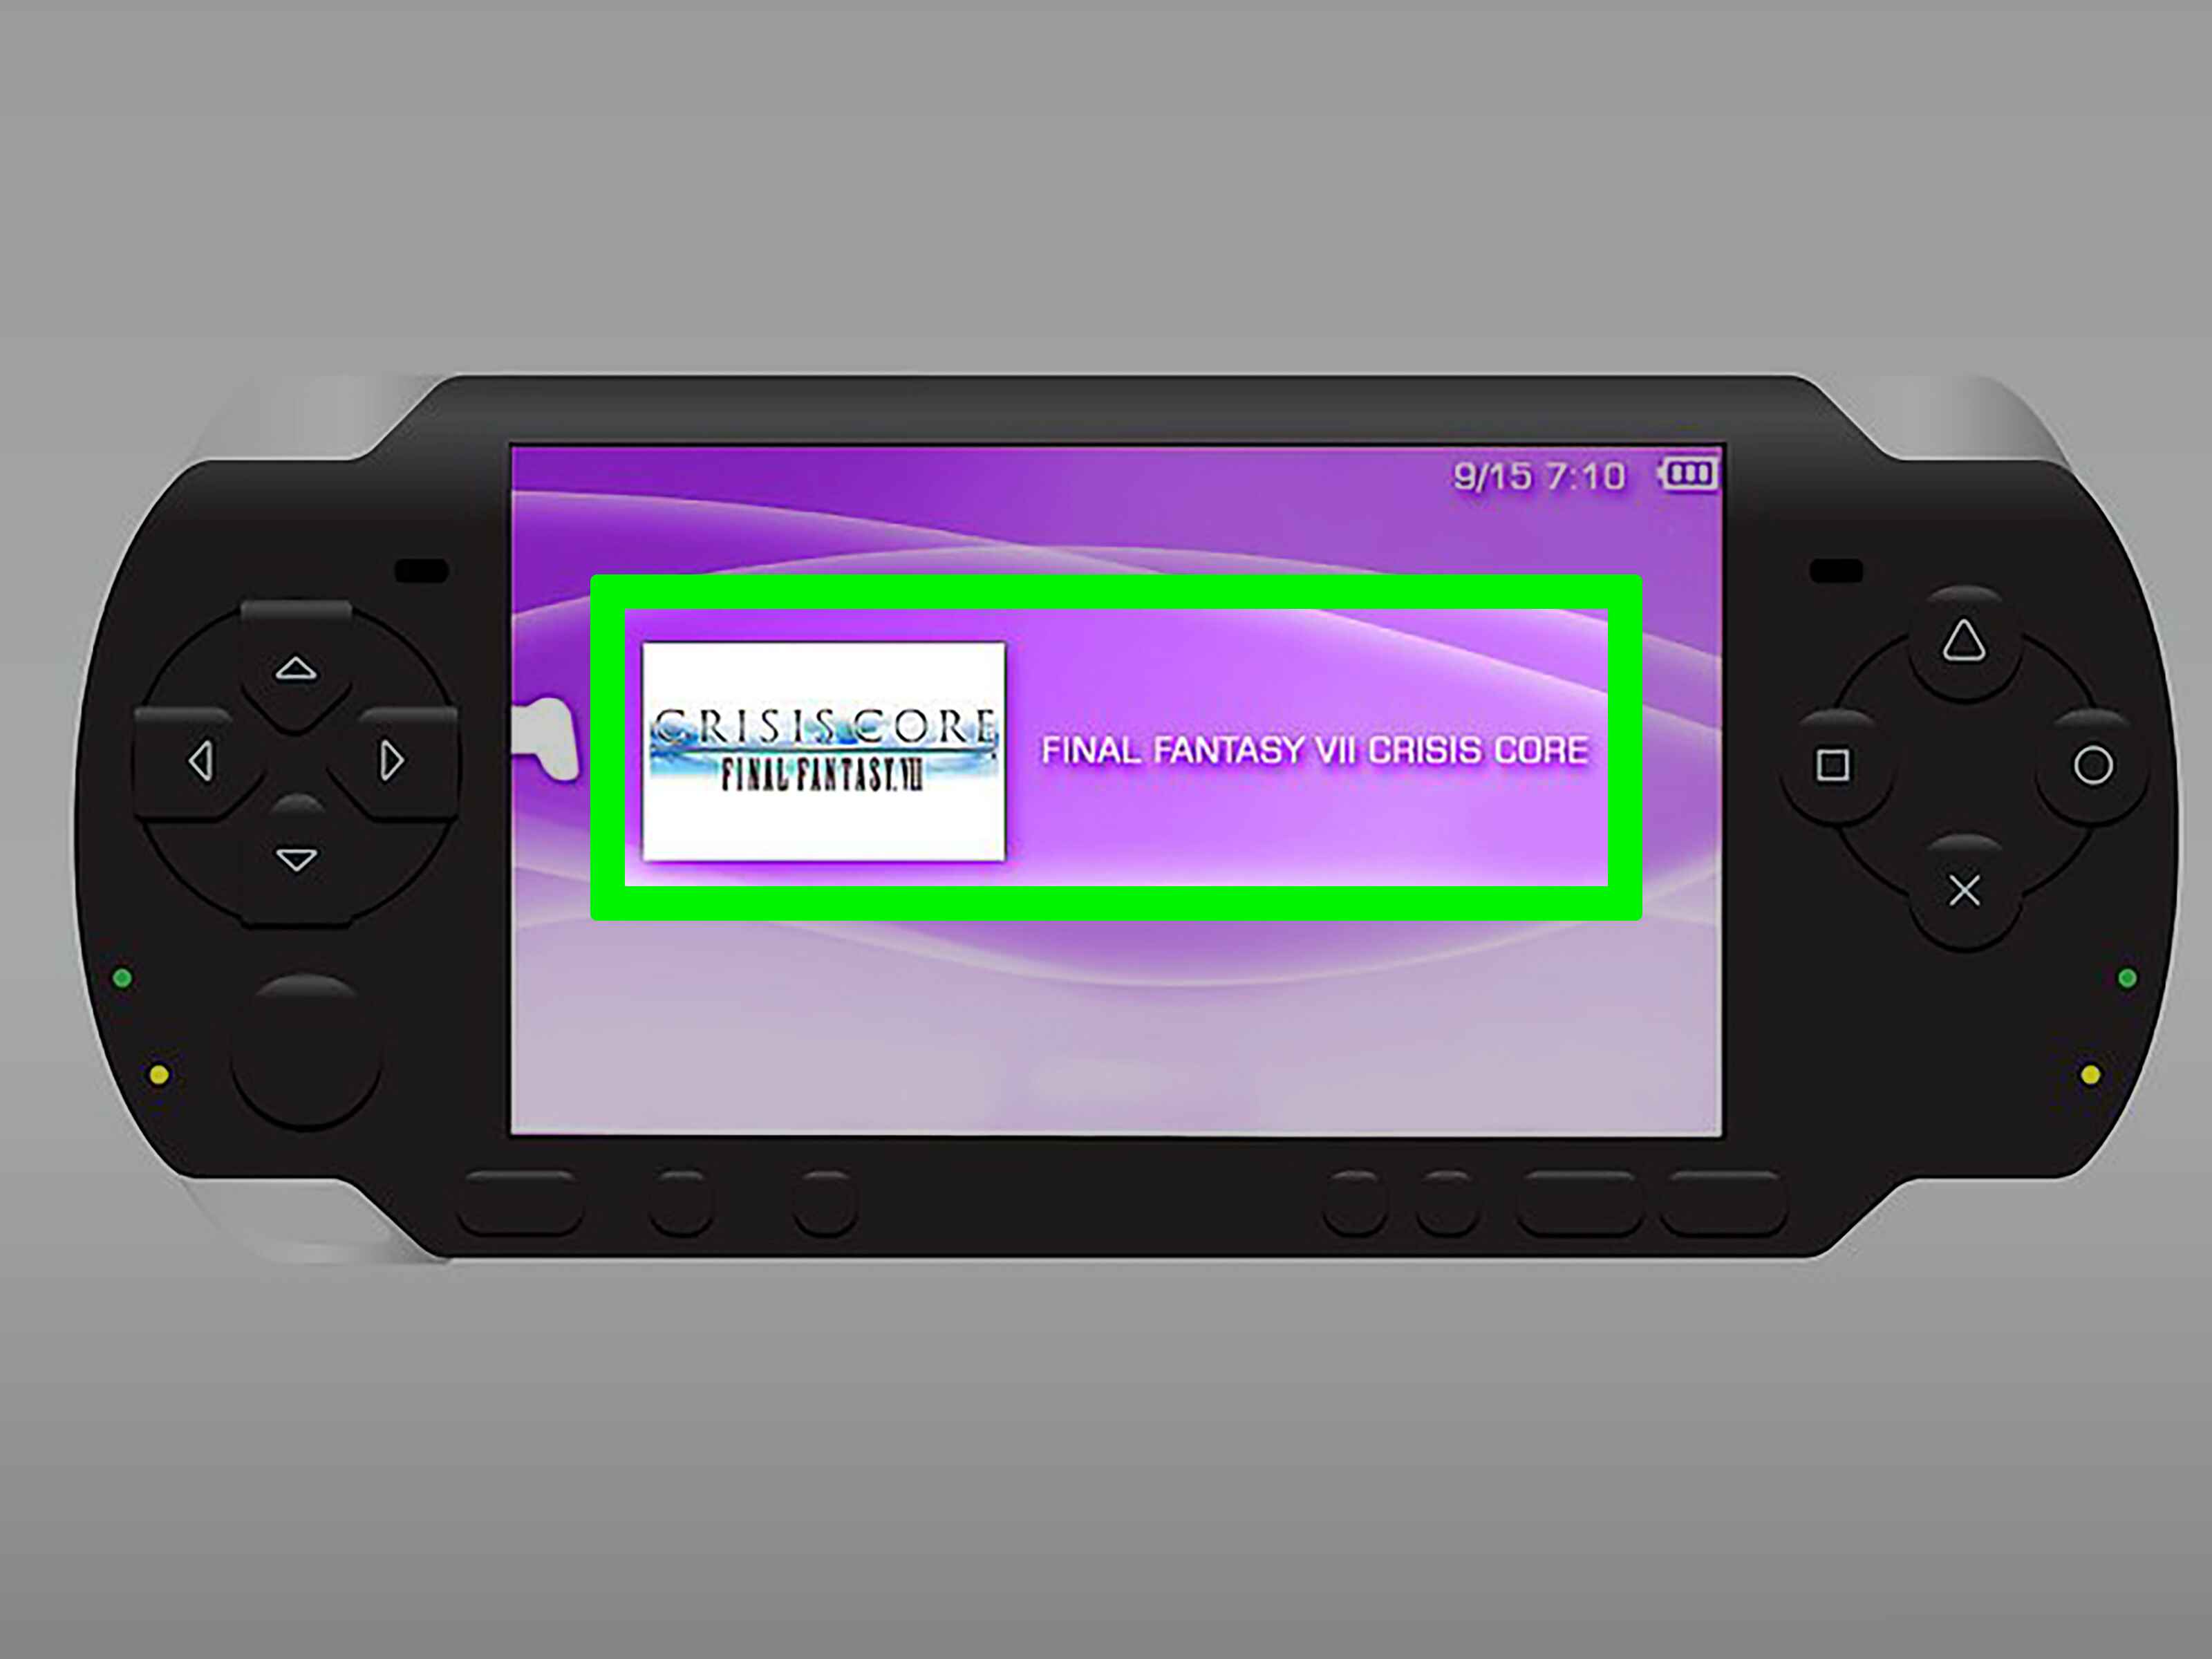
- Go to the PSP’s XMB (Cross Media Bar) menu: Press the home button on your PSP to access the XMB menu.
- Scroll to the left and select “Settings”: Use the directional buttons to navigate to the left side of the XMB menu. Scroll down and select the “Settings” option.
- Navigate to “Network Settings”: Within the “Settings” menu, scroll down and choose “Network Settings.”
- Select “Infrastructure Mode”: In the “Network Settings” menu, choose “Infrastructure Mode” to set up a connection to a wireless router.
- Select “New Connection”: From the available options, choose “New Connection” to start the setup process.
- Choose a connection name: You will be prompted to give your connection a name. You can enter any name you prefer for easy identification.
- Scan for an available network: Select “Scan” to search for available wireless networks in your vicinity. Wait for a moment as your PSP scans for networks.
- Select your wireless network: Once the scan is complete, you will see a list of available networks. Use the directional buttons to highlight your desired network and press the “X” button to select it.
- Configure your network settings: Depending on your network, you may need to enter additional information, such as SSID (Network Name) and security settings (WEP or WPA key) to connect. Follow the on-screen prompts to input the necessary information.
By enabling Wi-Fi on your PSP, you have taken a crucial step towards establishing a wireless connection. In the next step, we will guide you through scanning for available networks on your PSP.
Step 4: Scan for Available Networks
Scanning for available networks on your PSP is an important step to find and select your wireless network. Follow these steps to scan for networks:
- Go to the PSP’s XMB (Cross Media Bar) menu: Press the home button to access the main menu.
- Scroll to the left and select “Settings”: Navigate to the left side of the menu and select the “Settings” option.
- Navigate to “Network Settings”: Within the “Settings” menu, find and select “Network Settings.”
- Select “Infrastructure Mode”: Choose “Infrastructure Mode” to set up a connection to a wireless router.
- Select your existing connection: If you have already set up a connection, select it from the list. Otherwise, choose “New Connection” to create a new one.
- Choose “Scan”: In the following menu, select “Scan” to search for available wireless networks.
- Wait for the scan to complete: Your PSP will search for networks in range. Allow a moment for the scan to finish.
- Select your wireless network: Once the scan is complete, you will see a list of available networks. Use the directional buttons to highlight your desired network and press the “X” button to select it.
Scanning for available networks allows your PSP to detect and display the wireless networks within range. By choosing the appropriate network, you’re one step closer to establishing a connection. In the next step, we will guide you through the process of connecting to your wireless network.
Step 5: Connect to Your Wireless Network
After scanning for available networks, it’s time to connect your PSP to your wireless network. Follow these steps to establish a connection:
- Select your wireless network: Once the scan for available networks is complete, use the directional buttons to highlight your desired network from the list that appears on your PSP.
- Press the “X” button to select your network: After highlighting your desired network, press the “X” button on your PSP to choose it as the network you want to connect to.
- Confirm the connection: A list of network settings will be displayed. Look over these settings to ensure they are accurate. If everything looks correct, select the “Connect” option to proceed.
- Wait for the connection to be established: Your PSP will attempt to establish a connection to your wireless network. This process may take a few moments, so be patient and wait for the connection to be established.
- Verify the connection: Once the connection is established, you will see a confirmation message on your PSP. This indicates that your PSP is now connected to your wireless network.
By connecting your PSP to your wireless network, you have successfully established a link between your device and the router. This step is crucial for accessing online features and services on your PSP. In the next step, we will guide you through the process of entering your network password for added security.
Step 6: Enter Your Network Password
Once you have selected your wireless network, the next step is to enter your network password. Follow these steps to securely connect to your wireless network:
- After selecting your network, a window will appear asking for the network password or passphrase. Use the PSP’s on-screen keyboard to enter your password.
- Use the directional buttons to navigate through the on-screen keyboard and select the appropriate letters or numbers for your password.
- Press the “X” button to confirm each character of your password. Ensure that you enter the password correctly to avoid any issues with connection later on.
- Once you have entered your password, select the “OK” or “Connect” button to proceed. Your PSP will attempt to connect to your wireless network using the provided password.
- Wait for the connection to be established. It may take a few moments for your PSP to verify the password and connect to the network.
- If the password is correct and the connection is successfully established, you will see a confirmation message on your PSP. This indicates that your PSP is now connected to your wireless network.
Entering your network password ensures the security of your wireless network and prevents unauthorized access to your network and internet connection. By correctly entering your password, you can enjoy a safe and secure connection on your PSP. In the next step, we will guide you through testing the connection to ensure it is functioning properly.
Step 7: Test the Connection
After successfully connecting your PSP to your wireless network and entering the network password, it’s important to test the connection to ensure everything is functioning properly. Follow these steps to test your connection:
- Go to the PSP’s XMB (Cross Media Bar) menu: Press the home button to access the main menu.
- Scroll to the left and select “Settings”: Navigate to the left side of the menu and select the “Settings” option.
- Navigate to “Network Settings”: Within the “Settings” menu, find and select “Network Settings.”
- Select “Infrastructure Mode”: Choose “Infrastructure Mode” to set up a connection to a wireless router.
- Select your existing connection: If you have previously set up a connection, choose it from the list. Otherwise, select “New Connection” and follow the on-screen prompts to create a new one.
- Select “Test Connection”: Within the connection settings, you will see the option to “Test Connection.” Choose this option to initiate the testing process.
- Wait for the connection test to complete: Your PSP will now test the connection to your wireless network. This process may take a few moments.
- Check the test results: Once the test is complete, your PSP will display the results. Ensure that the test shows a successful connection, indicating that your PSP is connected to the internet through your wireless network.
By testing the connection, you can verify that your PSP is successfully connected to the internet through your wireless network. This step ensures that you can enjoy online features, download updates, and play multiplayer games without any issues.
Congratulations! You have successfully connected your PSP to your wireless router and tested the connection. Now you can fully enjoy the online capabilities of your PSP. If you encounter any difficulties during the process, double-check your network settings and password or consult the PSP’s user manual for troubleshooting tips.
Conclusion
Congratulations! You have now successfully connected your PSP to your wireless router, allowing you to take advantage of the device’s online features and services. By following the step-by-step guide in this article, you have learned how to prepare your PSP, turn on your wireless router, enable Wi-Fi on your device, scan for available networks, connect to your wireless network, enter your network password, and test the connection.
Establishing a wireless connection opens up a world of possibilities for your PSP. You can now access the PlayStation Store to download games, demos, and other content. Browse the internet, watch videos, listen to music, and stay connected with friends through online multiplayer gaming. With a stable and secure wireless connection, you can fully immerse yourself in the online world of gaming and entertainment.
Remember, the specific steps may vary slightly depending on the model of your PSP. However, the general process remains the same. Take the time to familiarize yourself with your device’s settings and interface to make the most out of your wireless connection.
If you encounter any issues or connection problems, double-check your network settings, ensure your wireless router is properly set up, and verify that your network password is correct. You can also consult the user manual of your PSP for troubleshooting tips or seek assistance from the manufacturer’s support team.
Now that you’re connected, go ahead and explore all that the online world has to offer for your PSP. Whether it’s downloading new games, connecting with friends, or discovering new content, your wireless connection opens up a whole new realm of possibilities for your gaming and entertainment experience.
Enjoy your connected PSP and have fun exploring the online features!