Introduction
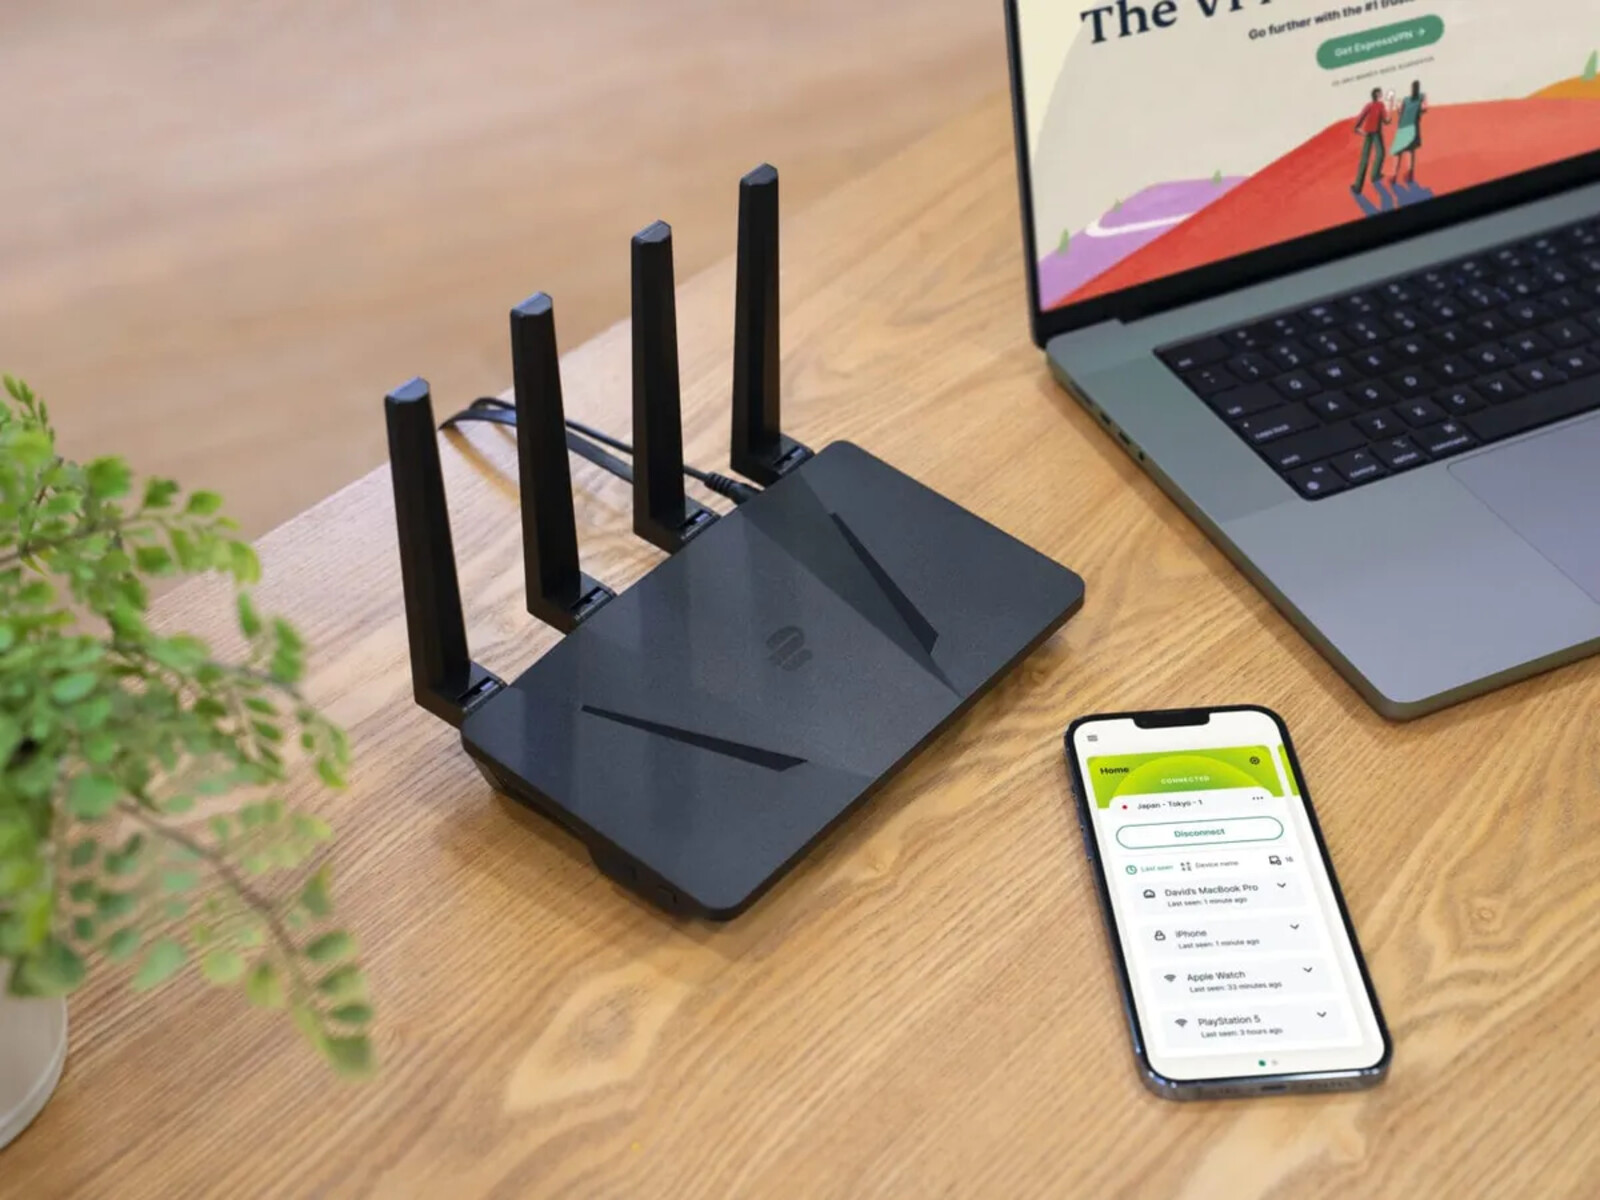
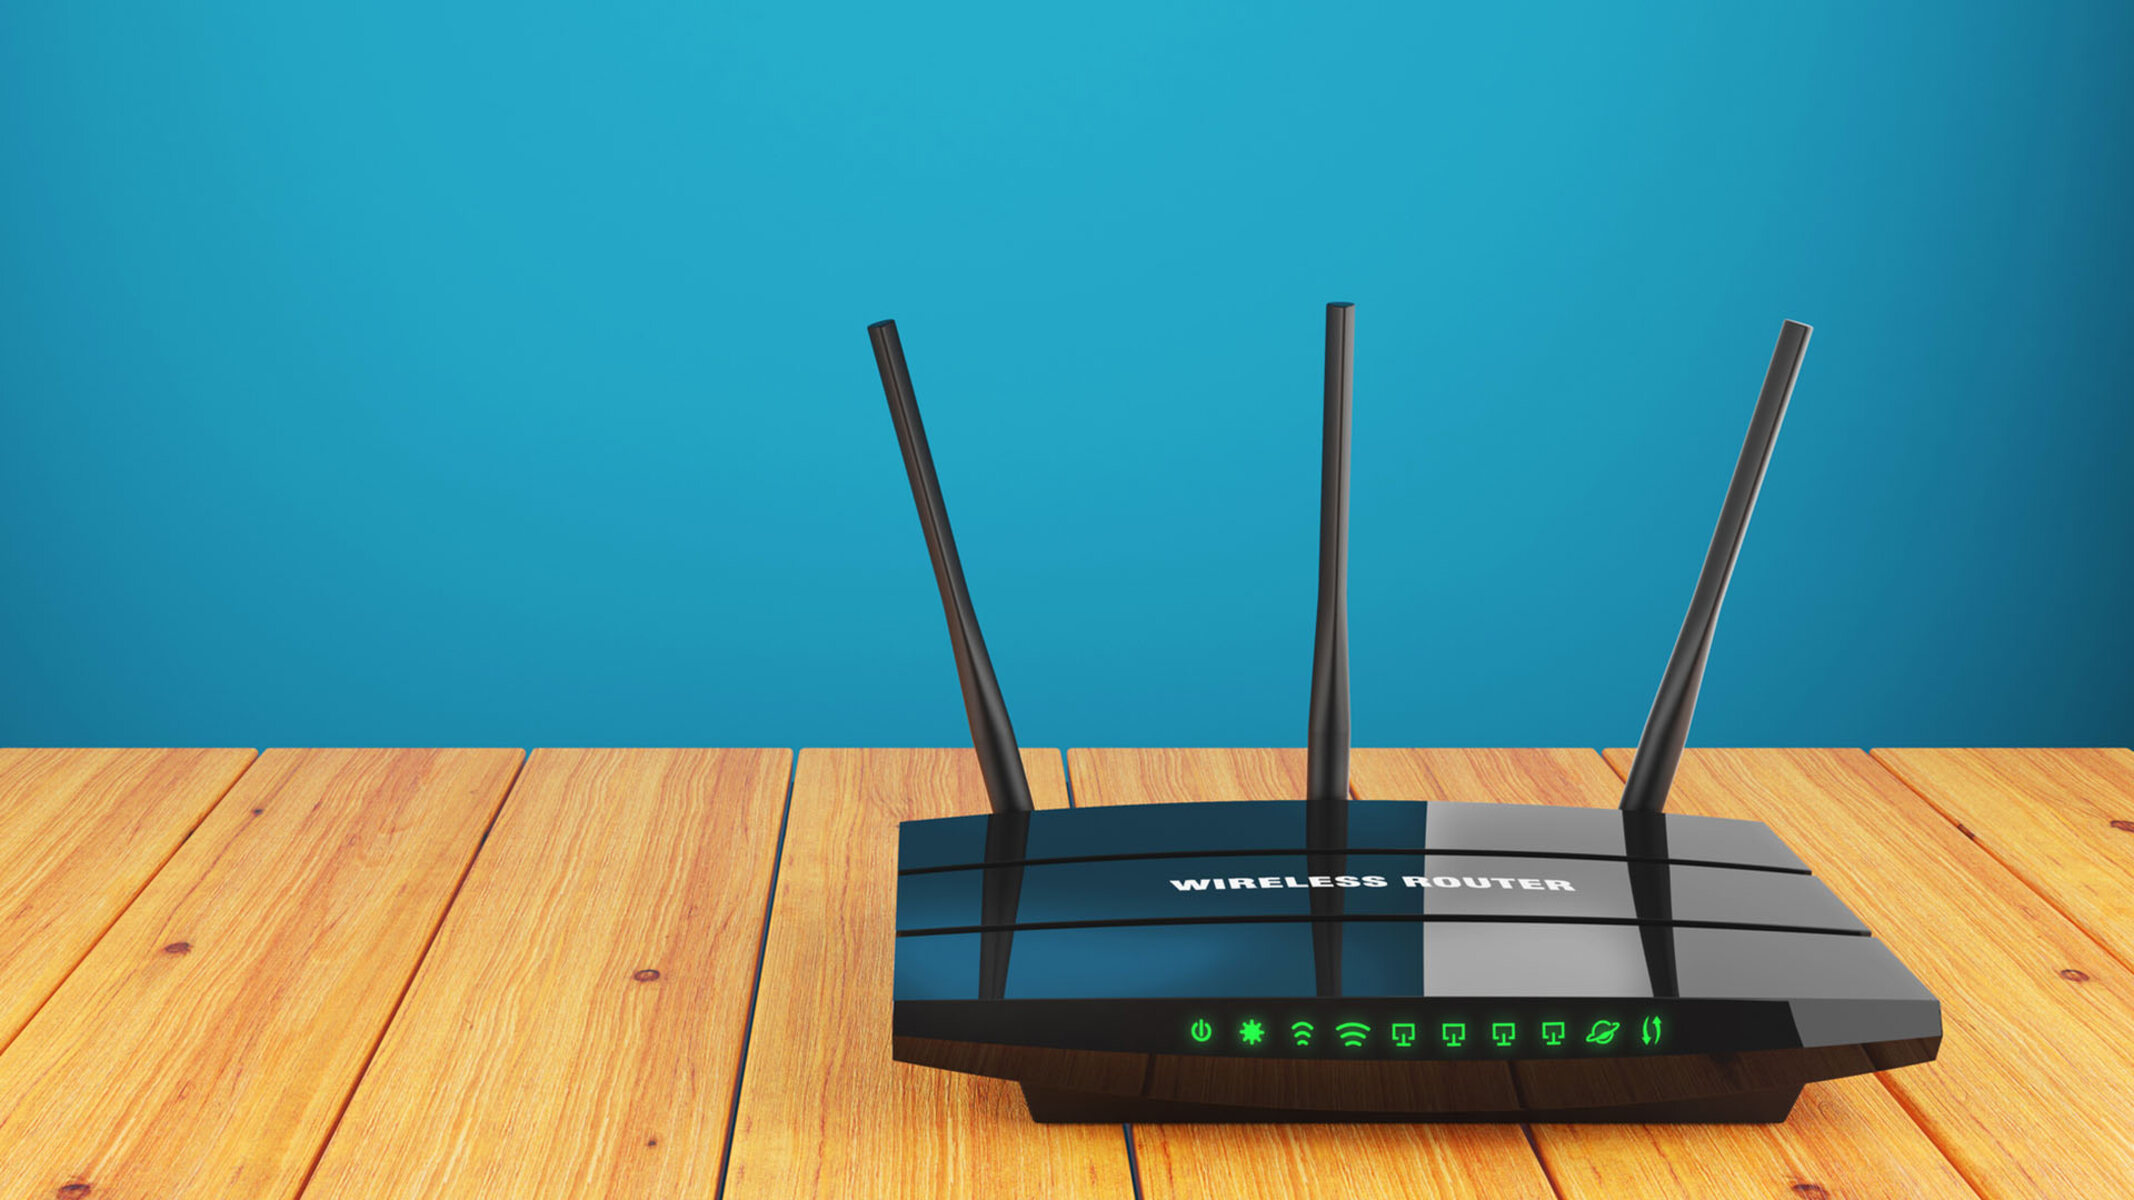
Connecting a Virtual Private Network (VPN) to a wireless router can provide you with numerous benefits and enhance your online security. By doing so, all the devices connected to the router will automatically be protected by the VPN, ensuring that your internet traffic is encrypted and your identity is safeguarded.
A VPN creates a secure and private connection between your device and the internet by routing your traffic through a server located in a different location. This not only helps in bypassing geo-restrictions and accessing region-locked content but also adds an extra layer of protection against hackers, ISPs, and other potential online threats.
In this guide, we will walk you through the step-by-step process of connecting a VPN to your wireless router. By following these instructions, you can ensure that all your devices, including smartphones, laptops, gaming consoles, and smart home devices, are protected by the VPN.
Before we proceed with the setup, it’s important to choose a reliable VPN provider that meets your needs. Look for a provider that offers strong security protocols, a wide range of server locations, and good customer support. Once you have selected a suitable VPN provider, you can proceed to set up your wireless router and connect it to the VPN.
By connecting your wireless router to a VPN, you can enjoy benefits like:
- Enhanced Security: All your internet traffic is encrypted, making it secure and protecting your sensitive data from prying eyes.
- Anonymity: With a VPN, your IP address is masked, providing you with online anonymity and preventing your activities from being traced back to you.
- Bypassing Restrictions: Access region-locked content and bypass internet censorship by connecting to servers in different countries.
- Protection on All Devices: Once the router is connected to the VPN, all devices connected to the router will automatically be protected, ensuring a secure online experience for everyone in your household.
Now that you understand the benefits, let’s dive into the steps required to connect a VPN to your wireless router.
Benefits of Connecting VPN to Wireless Router
Connecting a VPN to your wireless router offers a range of benefits that can greatly enhance your online experience and protect your privacy. Here are some key advantages:
1. Enhanced Security: By connecting your wireless router to a VPN, all your internet traffic is encrypted. This encryption protects your sensitive data, such as login credentials, financial information, and personal details, from being intercepted by hackers or malicious entities.
2. Privacy and Anonymity: When you connect to a VPN through your wireless router, your IP address is masked and replaced with the IP address of the VPN server. This ensures that your online activities are anonymous, making it difficult for anyone to track or monitor your internet usage.
3. Access to Geo-Restricted Content: Many streaming services, websites, and online platforms have restrictions based on your geographic location. By connecting to a VPN server in a different country, you can bypass these restrictions and access content that is not available in your region.
4. Protection on All Devices: Once your wireless router is connected to a VPN, all devices connected to the router, such as laptops, smartphones, gaming consoles, and smart home devices, automatically benefit from the VPN’s security and privacy features. This means that you don’t need to individually set up the VPN on each device.
5. Bypassing Internet Censorship: In some countries or regions, governments impose strict censorship, limiting access to certain websites and online services. By connecting your wireless router to a VPN, you can bypass these censorship measures and enjoy unrestricted access to the internet.
6. Protection from ISP Surveillance: Internet Service Providers (ISPs) have the ability to monitor and track your online activities. By connecting to a VPN through your wireless router, you prevent your ISP from collecting data about your internet usage, ensuring your privacy online.
7. Secure Public Wi-Fi: When you connect to public Wi-Fi networks, such as those in coffee shops, airports, or hotels, your data is vulnerable to interception by hackers. By connecting to a VPN through your wireless router, you can secure all devices connected to the router when using public Wi-Fi networks.
8. Cost-Effective Solution: Connecting a VPN to your wireless router allows you to protect multiple devices simultaneously without the need to purchase separate subscriptions for each device. This provides a cost-effective solution to ensure the privacy and security of your entire household or office.
By taking advantage of these benefits, you can enjoy a secure and private online experience while having the flexibility to access content from around the world.
Step 1: Choose a VPN Provider
The first step in connecting a VPN to your wireless router is to choose a reliable VPN provider that meets your requirements. Here are some factors to consider when selecting a VPN provider:
1. Security: Look for a VPN provider that offers strong security protocols such as OpenVPN or IKEv2. These protocols ensure that your internet traffic is encrypted and protected from unauthorized access.
2. Server Locations: Consider the number and distribution of the VPN provider’s servers. Having a wide range of server locations allows you to bypass geographic restrictions and access content from different countries.
3. Speed and Performance: Check user reviews and research the VPN provider’s reputation for speed and performance. A reliable VPN provider should offer fast and stable connections to ensure smooth browsing and streaming experiences.
4. Compatibility: Ensure that the VPN provider is compatible with your wireless router’s firmware. Most modern routers support VPN connections, but it’s important to check if your router model is compatible with the VPN provider you choose.
5. Simultaneous Connections: Consider the number of simultaneous connections allowed by the VPN provider. This is particularly important if you have multiple devices that need to be connected to the VPN simultaneously.
6. Customer Support: Look for a VPN provider that offers reliable customer support in case you encounter any issues during the setup process or while using the VPN.
7. Pricing: Compare the pricing plans of different VPN providers to ensure that you find one that fits within your budget. Keep in mind that some VPN providers offer discounts for longer subscription durations.
Once you have considered these factors, take the time to research and read reviews about various VPN providers. This will help you make an informed decision and select a reliable and trustworthy provider that suits your needs.
Remember that the VPN you choose will play a crucial role in ensuring the security, privacy, and performance of your internet connection. Therefore, it’s important to choose wisely and select a VPN provider with a solid reputation in the industry.
Now that you have chosen a VPN provider, the next step is to set up your wireless router to establish a connection with the VPN.
Step 2: Set up the Wireless Router
Setting up your wireless router correctly is an essential step in connecting it to a VPN. Here are the steps to set up your wireless router:
1. Check Router Compatibility: Ensure that your wireless router supports VPN connections. Not all routers have this capability, so it’s important to check the manufacturer’s specifications or consult the router’s user manual.
2. Access Router Settings: Connect your computer or laptop to the wireless router either through Wi-Fi or using an Ethernet cable. Open a web browser and enter the router’s default IP address (e.g., 192.168.1.1 or 192.168.0.1) in the address bar. This will take you to the router’s login page.
3. Login to Router Interface: Enter the username and password to access your router’s settings. If you haven’t changed the default login credentials, consult the router’s user manual or check the manufacturer’s website for the default username and password.
4. Update Router Firmware: It’s important to keep your router’s firmware up to date to ensure optimal performance and security. Check the manufacturer’s website for any updates and follow the instructions to update your router’s firmware if necessary.
5. Enable VPN Support: Look for the VPN or Network settings in your router’s interface. The location of these settings may vary depending on the router model. Locate the VPN configuration options and enable VPN support if it’s not already enabled.
6. Choose VPN Protocol: Select the VPN protocol that is supported by your router and preferred by your VPN provider. Common protocols include OpenVPN, L2TP/IPsec, and PPTP. Follow your router’s documentation to configure the specific protocol.
7. Enter VPN Server Details: Enter the server information provided by your VPN provider. This includes the server address, username, password, and any other necessary details. Save the settings once you have entered the information correctly.
8. Test Connectivity: After saving the VPN settings, test the connection by navigating to a website or using an online tool to check your IP address. If the VPN is properly set up, your IP address should reflect the VPN server location and not your actual location.
9. Reboot the Router: Once the setup is complete, reboot your router to ensure that all the changes take effect. This can usually be done through the router’s interface or by disconnecting and reconnecting the power source.
By following these steps, you can successfully set up your wireless router to support VPN connections. The next step is to connect the wireless router to the VPN and configure the VPN settings on your devices.
Step 3: Connect the Wireless Router to the VPN
Now that you have set up your wireless router, the next step is to connect it to the VPN. Follow these steps to establish a connection between the router and the VPN:
1. Access Router Settings: Open a web browser and enter the router’s IP address in the address bar. This will take you to the router’s login page. Enter the login credentials to access the router’s settings.
2. Locate VPN Configuration: Look for the VPN configuration settings in your router’s interface. This may be under the “Network” or “VPN” section, depending on your router make and model.
3. Choose VPN Connection Type: Select the type of VPN connection you want to use. Common options include IPsec, OpenVPN, or PPTP. Choose the type that is supported by your VPN provider.
4. Enter VPN Server Information: Enter the server details provided by your VPN provider. This typically includes the server address or hostname, authentication details, and encryption settings. Save the settings once you have entered all the required information.
5. Test VPN Connection: After saving the VPN settings, test the connection by clicking on the “Connect” or “Test Connection” button in the router’s interface. This will establish a connection between the router and the VPN server.
6. Verify Connection Status: Once the connection is established, check the status to ensure that the router is connected to the VPN successfully. Some routers may display a connected status or provide logs indicating a successful connection.
7. Reboot the Router: It’s a good practice to reboot the router after making any configuration changes. Rebooting helps apply the settings properly and ensures smooth functioning of the VPN connection.
8. Confirm VPN Connection: To confirm that the router is connected to the VPN, you can check the router’s IP address. If the connection is successful, the IP address should reflect the VPN server location instead of your actual location.
9. Connect Devices to the Router: Now that the router is connected to the VPN, you can connect your devices (such as smartphones, computers, or smart TVs) to the router. All the devices connected to the router will automatically be protected by the VPN.
By following these steps, you can establish a connection between your wireless router and the VPN. This ensures that all the devices connected to the router, both wired and wireless, are protected by the VPN’s security and privacy features.
The next step is to configure the VPN settings on your individual devices to establish a secure and private connection.
Step 4: Configuration of VPN Settings on Devices
After connecting your wireless router to the VPN, you need to configure the VPN settings on your individual devices to ensure that they connect to the VPN. Follow these steps to configure the VPN settings on your devices:
1. Laptop or Desktop:
- Open the network settings on your laptop or desktop.
- Locate the VPN settings or network connections section.
- Add a new VPN connection or select the existing connection.
- Enter the VPN server details provided by your VPN service provider.
- Save the settings and connect to the VPN.
2. Smartphone or Tablet:
- Go to the settings menu on your smartphone or tablet.
- Find the VPN or network connections section.
- Add a new VPN connection or select the existing connection.
- Enter the VPN server details provided by your VPN service provider.
- Save the settings and enable the VPN connection.
3. Gaming Consoles or Smart TVs:
- Access the network settings on your gaming console or smart TV.
- Locate the VPN settings or network connections section.
- Add a new VPN connection or select the existing connection.
- Enter the VPN server details provided by your VPN service provider.
- Save the settings and establish the VPN connection.
4. Other Internet-Enabled Devices:
- For other devices like smart home devices or IoT devices, refer to the manufacturer’s instructions or documentation.
- Look for network settings or connections options to configure VPN settings.
- Enter the VPN server details provided by your VPN service provider.
- Save the settings and ensure that the VPN connection is established.
Remember to use the same VPN server details that you entered in the router’s settings for consistency.
After configuring the VPN settings on your devices, test the VPN connection by accessing a website or using an online tool to check your IP address. The IP address should reflect the VPN server’s location, indicating that you are connected to the VPN successfully.
By configuring the VPN settings on your devices, you ensure that each device connects to the VPN and enjoys the benefits of a secure and private connection. Now we can move on to the final step: testing the VPN connection.
Step 5: Testing the VPN Connection
After completing the configuration of the VPN settings on your devices, the next step is to test the VPN connection to ensure that it is working properly. This step will help verify that your devices are securely connected to the VPN and that your internet traffic is being routed through the VPN server. Follow these steps to test your VPN connection:
1. IP Address Check:
- Open a web browser on any device connected to the router.
- Visit a website that provides IP address information or use an online IP address checking tool.
- Note down the IP address displayed on the website or tool.
- If the IP address matches the server location of your VPN provider, it indicates that your connection is successfully routed through the VPN server.
2. Internet Access:
- Verify that you can access websites and online services without any issues.
- If you encounter any difficulties accessing websites, try accessing websites that are geo-restricted or blocked in your region. If you can access them, it indicates that your VPN is successfully bypassing any restrictions or censorship.
3. Streaming Services:
- If you use streaming services like Netflix, Hulu, or BBC iPlayer, test whether you can access content from different regions.
- Connect to different VPN server locations and try accessing region-specific content on these streaming platforms.
- If you can successfully access content that is not available in your region, it confirms that your VPN connection is properly functioning.
4. Security and Privacy:
- To confirm the security and privacy of your VPN connection, use various online tools to check if your IP address and location are masked by the VPN server.
- Ensure that your internet traffic is encrypted and protected from prying eyes.
- Perform a DNS leak test to verify that your DNS requests are not leaking outside the VPN tunnel.
By following these steps, you can ensure that your VPN connection is working properly and providing the intended security, privacy, and access benefits. If any issues arise during testing, double-check the VPN settings on your devices and the router’s configuration, making sure that you entered the correct information provided by your VPN service provider.
If problems persist, reach out to the customer support team of your VPN provider for assistance. They will be able to guide you in resolving any issues or troubleshooting connectivity problems with your VPN connection.
Once you have successfully tested the VPN connection, you can now enjoy a secure and private online experience on all of your devices!
Conclusion
Connecting a VPN to your wireless router is a powerful way to enhance your online security, protect your privacy, and bypass restrictions. By following the steps outlined in this guide, you can set up and configure your wireless router to establish a secure connection with a VPN server. This ensures that all devices connected to your router, including laptops, smartphones, and smart home devices, benefit from the protection and privacy features of the VPN.
Choosing a reliable VPN provider is crucial to ensure that your connection is secure and reliable. Consider factors such as security protocols, server locations, compatibility with your router, and customer support before selecting a VPN provider that suits your needs.
Once you have chosen a VPN provider, setting up your wireless router involves accessing the router settings, enabling VPN support, and entering the server details provided by your VPN provider. After connecting the router to the VPN, remember to configure the VPN settings on your individual devices to establish a secure connection.
Testing the VPN connection is an important step to ensure its functionality. Verify that your IP address is masked, test internet access, try accessing region-restricted content, and check for DNS leaks. If any issues arise, review your VPN and device settings or reach out to your VPN provider’s customer support for assistance.
By connecting a VPN to your wireless router, you can enjoy enhanced security, privacy, and access to region-restricted content on all your devices. This provides peace of mind knowing that your online activities are protected from prying eyes and that you can browse the internet freely and safely, regardless of your location.
Take advantage of the benefits of a VPN connection through your wireless router and enjoy a secure, private, and unrestricted online experience.


