Introduction
Welcome to our guide on how to connect an Ethernet cable to your MacBook. While Wi-Fi connections may be convenient, there are instances where a wired connection is preferred. Whether you need a faster and more stable internet connection for work, online gaming, or streaming high-definition content, using an Ethernet cable can provide a reliable solution. In this step-by-step article, we will walk you through the process of connecting an Ethernet cable to your MacBook.
Connecting your MacBook to the internet via an Ethernet cable can offer several advantages. Not only does it provide a more stable and faster connection, but it also eliminates the potential interference and signal loss that can occur with a wireless connection. This is particularly beneficial in scenarios where you have multiple devices connected to your network or if you are in an environment with a weak Wi-Fi signal.
Before we begin, it’s important to note that not all MacBook models have an Ethernet port built-in. Some newer models, like the MacBook Air and newer MacBook Pro models, require an adapter to connect an Ethernet cable. If you’re unsure whether your MacBook has an Ethernet port or require an adapter, consult the user manual or visit the Apple support website for more information on your specific model.
Now, let’s dive into the steps necessary to connect an Ethernet cable to your MacBook and enjoy the benefits of a wired internet connection.
Step 1: Gather the necessary equipment
Before you begin connecting an Ethernet cable to your MacBook, make sure you have all the necessary equipment on hand. Here’s what you’ll need:
- MacBook: Ensure that you have your MacBook ready for the connection process.
- Ethernet Cable: Obtain a suitable Ethernet cable that matches the type of port on your MacBook. Most modern MacBooks use an Ethernet cable with an RJ-45 connector. If you’re unsure about the type of cable you need, consult the user manual or your MacBook’s specifications.
- Router or Modem: Make sure you have a functioning router or modem that is connected to the internet. Without a router or modem, you won’t be able to establish an internet connection through the Ethernet cable.
Once you have gathered all the necessary equipment, you’re ready to move on to the next step. It’s always a good idea to double-check and ensure that all the equipment is in working condition before proceeding.
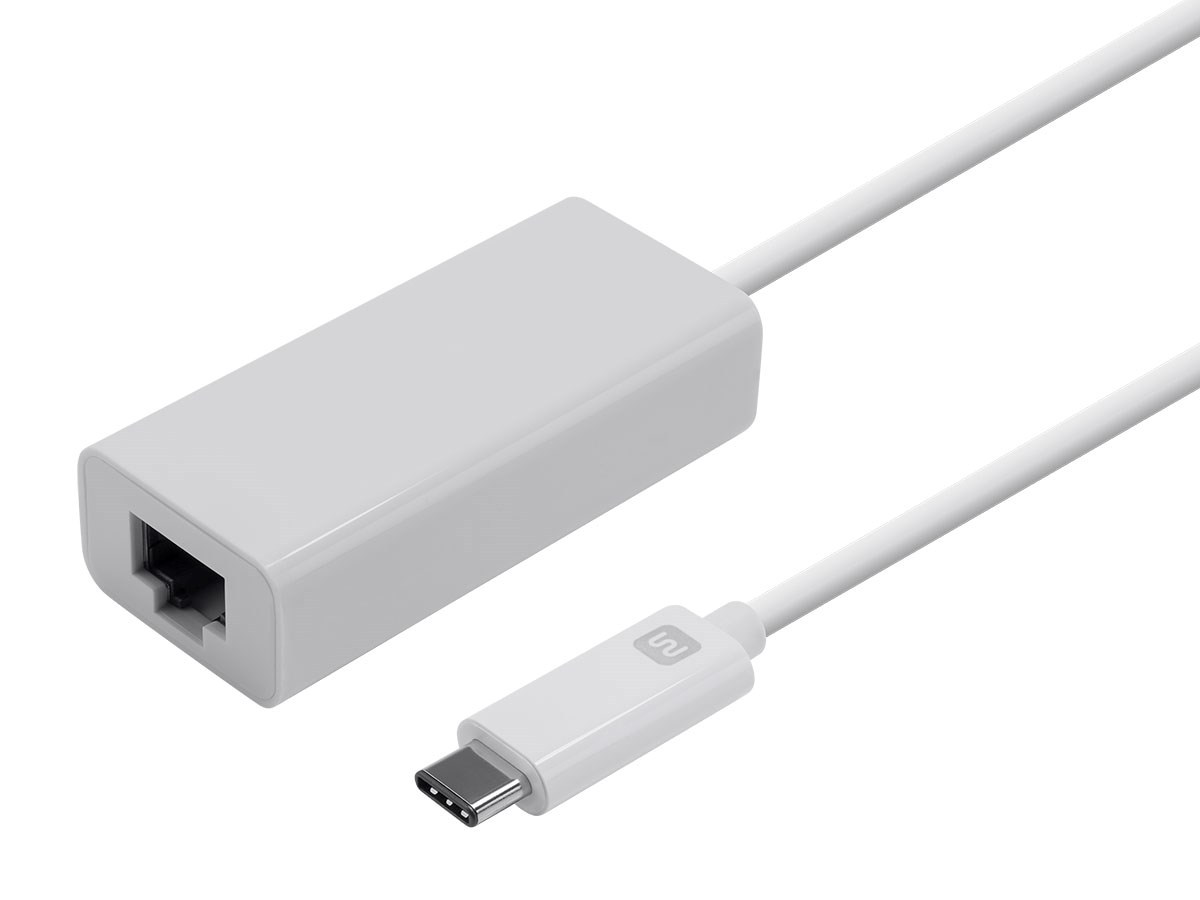
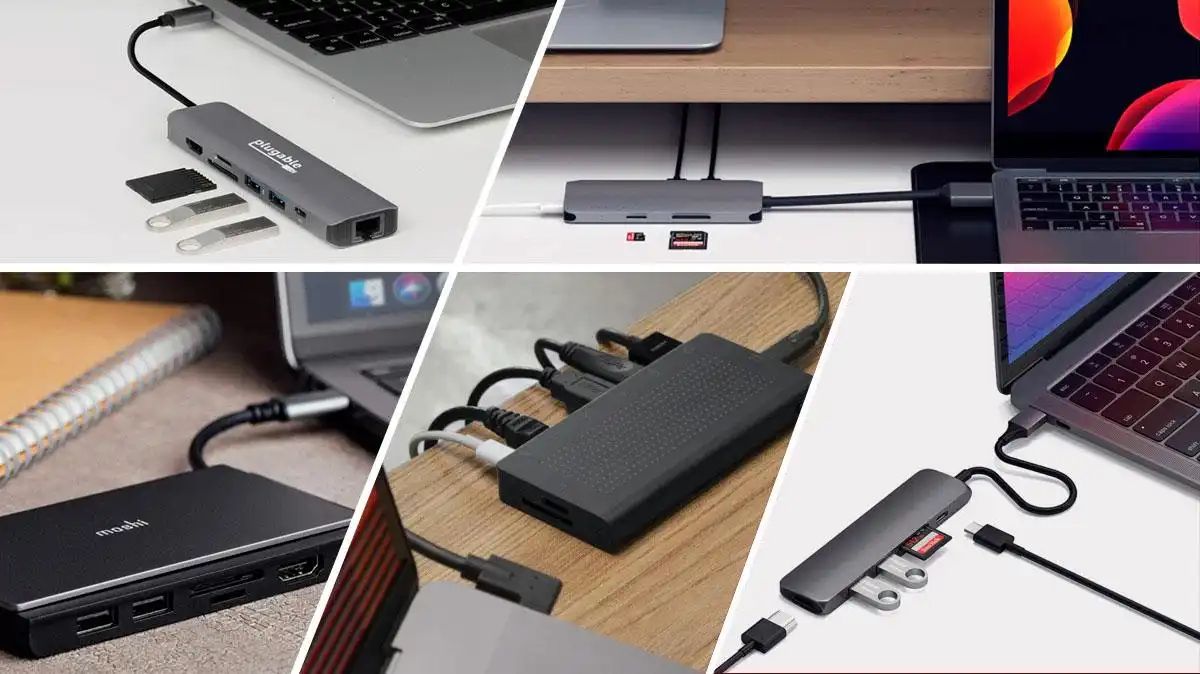
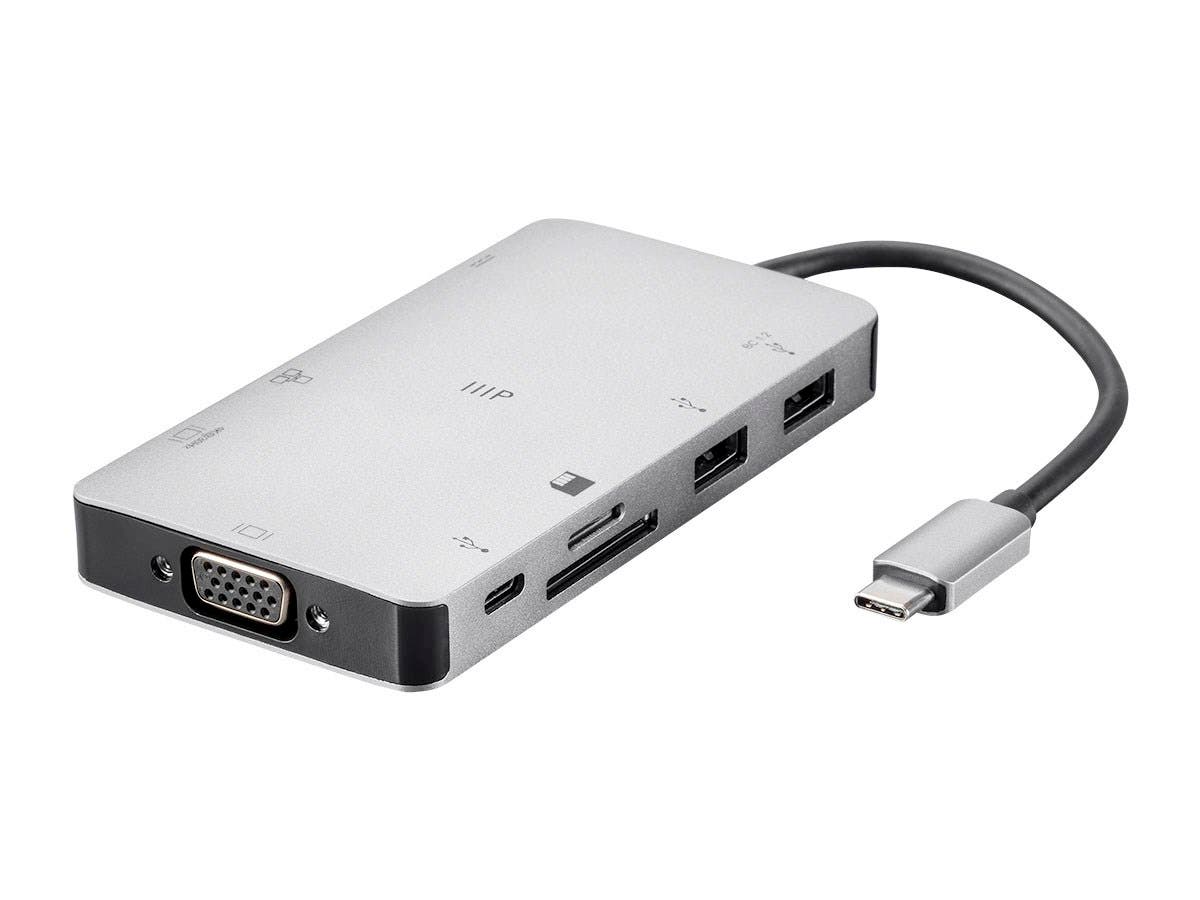
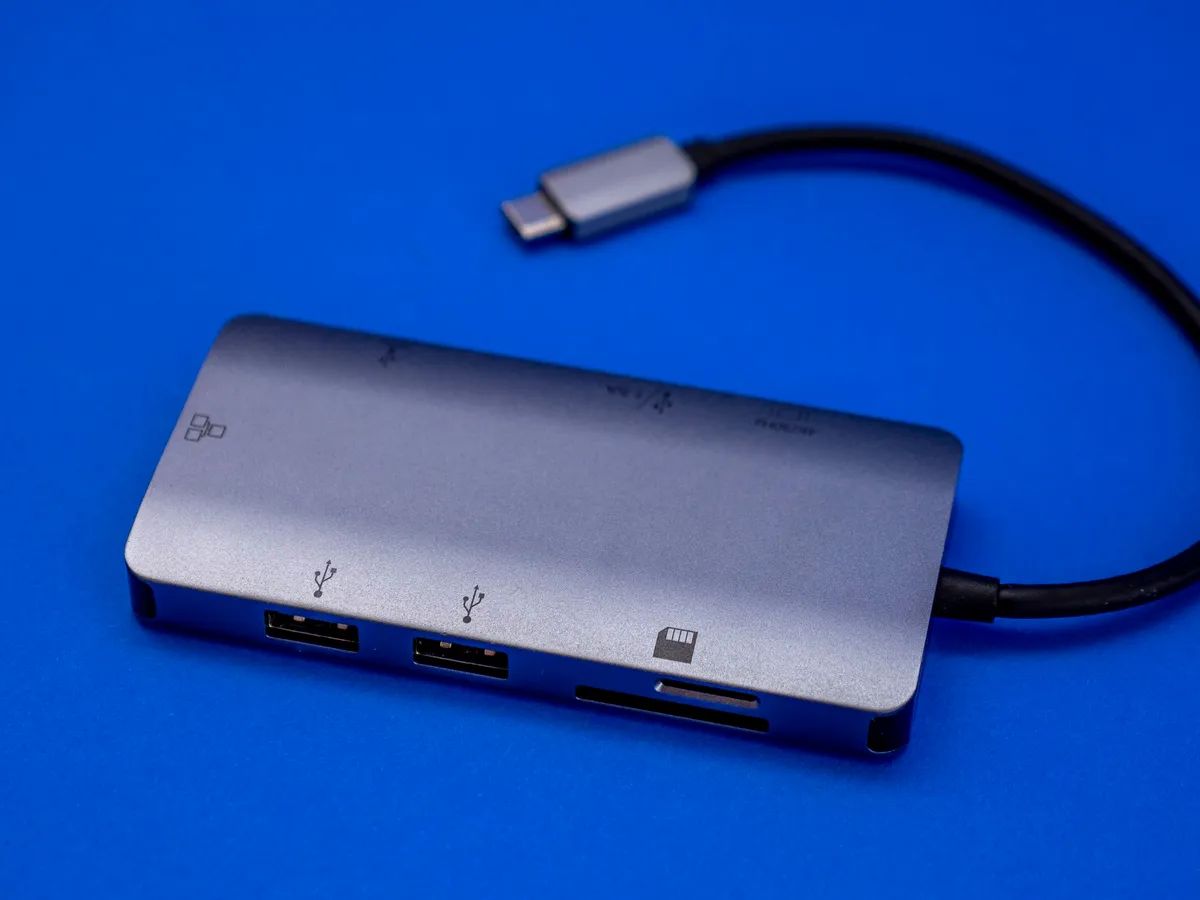
Keep in mind that if your MacBook does not have a built-in Ethernet port, you will need a compatible Ethernet adapter. These adapters are widely available and can be purchased from online retailers or Apple stores.
Now that you have everything you need, let’s proceed to the next step and locate the Ethernet port on your MacBook.
Step 2: Locate the Ethernet port on your MacBook
Before you can connect an Ethernet cable to your MacBook, you need to locate the Ethernet port. The location of the Ethernet port may vary depending on the model of your MacBook, so here are a few common places where it can be found:
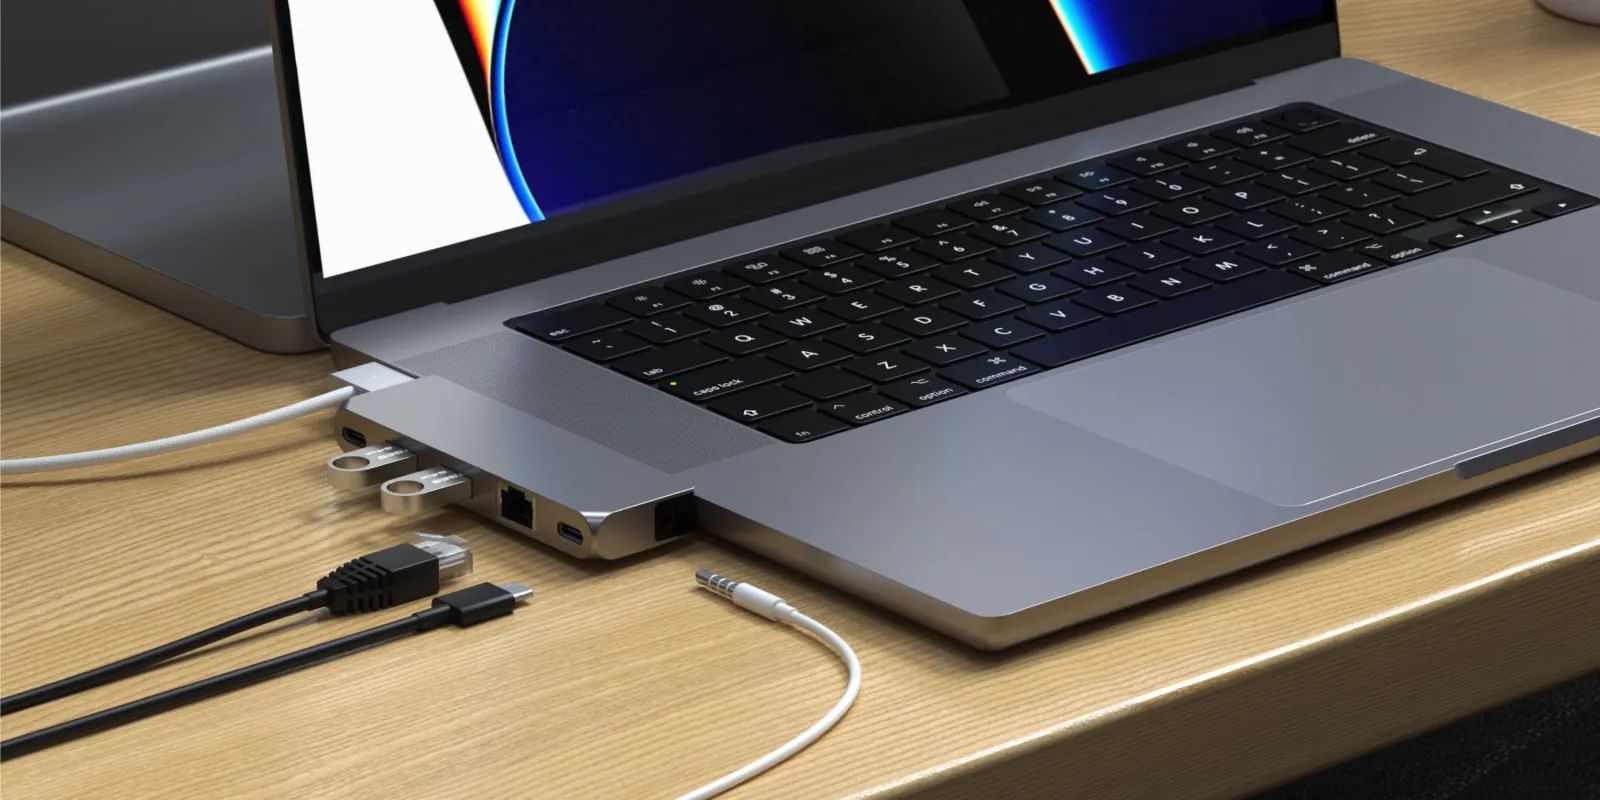
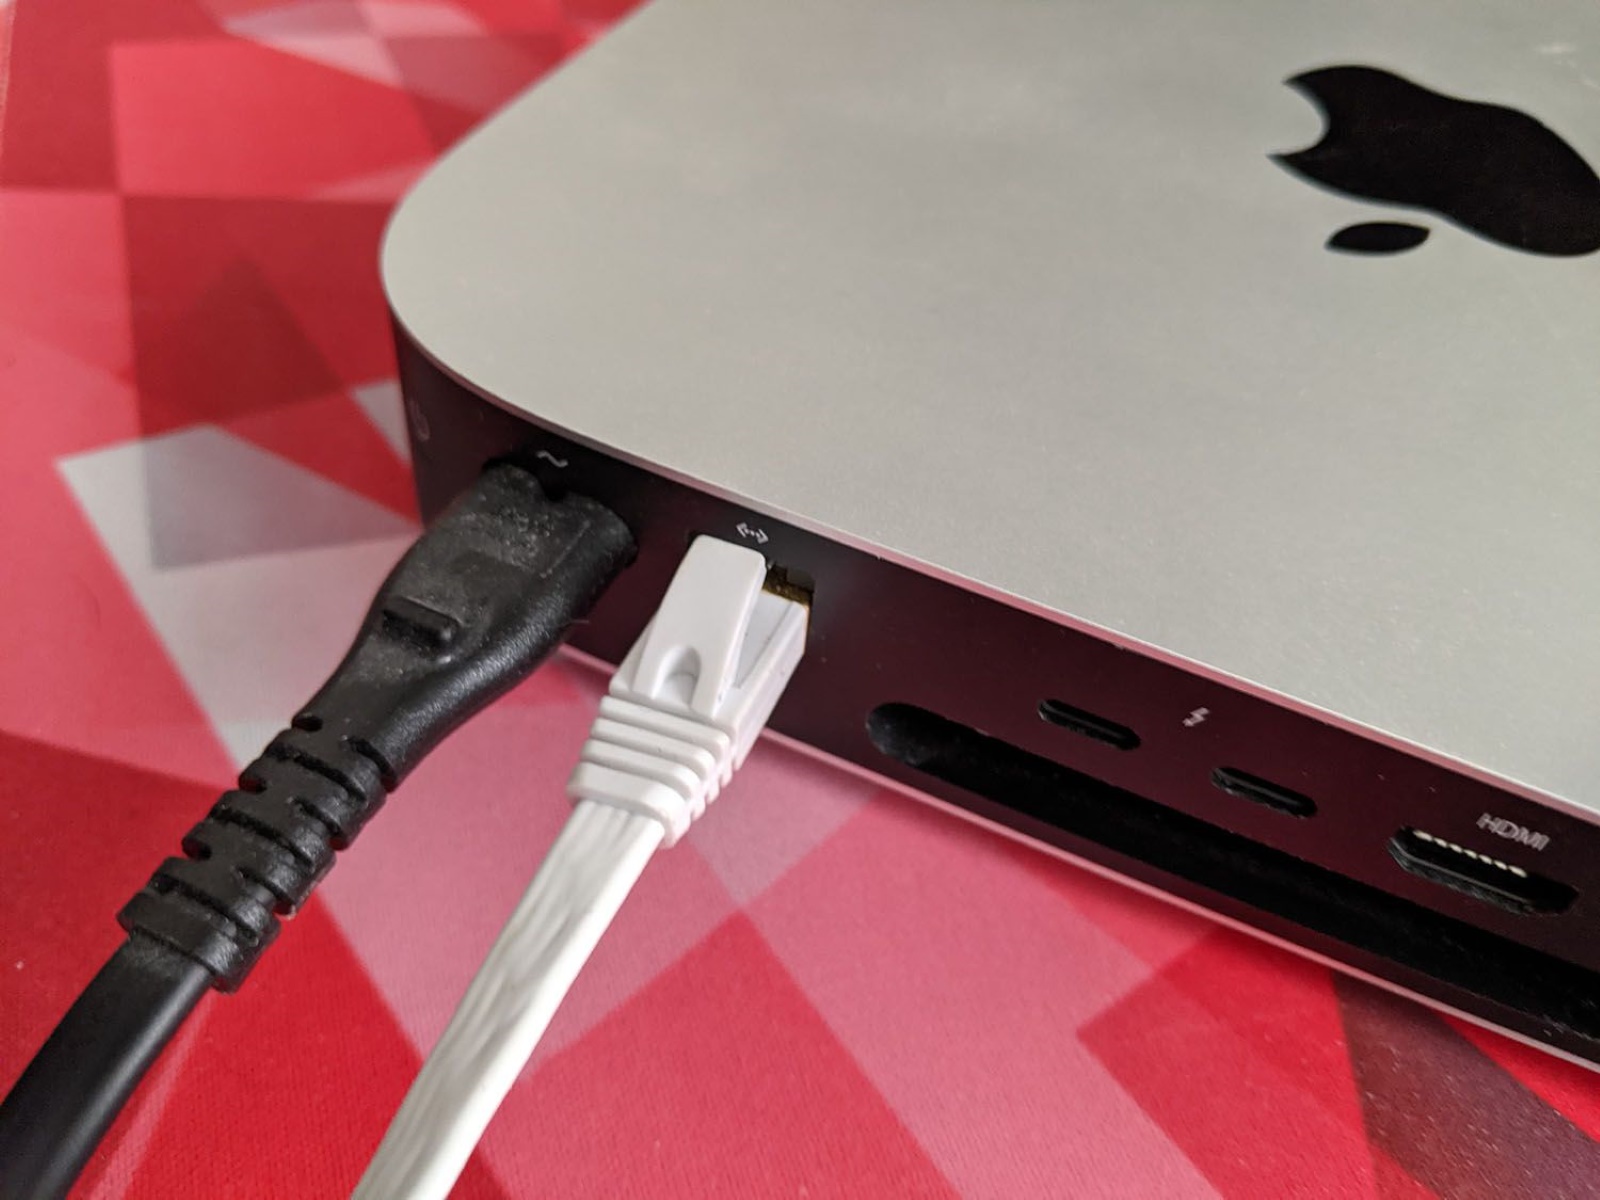
- MacBook Pro: On most MacBook Pro models, you can find the Ethernet port on the left side of the device, near the Thunderbolt or USB-C ports. It is usually labeled with the symbol of three connected lines or the word “Ethernet”.
- MacBook Air: MacBook Air models have been designed to be ultra-thin and lightweight, which means they do not have a built-in Ethernet port. To connect an Ethernet cable to a MacBook Air, you will need to use a Thunderbolt to Ethernet adapter or a USB-C to Ethernet adapter.
- MacBook: In older MacBook models, the Ethernet port is often found on the right side of the device, next to the USB or FireWire ports. It may be labeled with the word “Ethernet” or with the symbol of three connected lines.
Take a moment to locate the Ethernet port on your MacBook before proceeding to the next step. If you are unable to locate the Ethernet port or if your MacBook does not have one built-in, refer to the user manual or visit the Apple support website to determine the appropriate adapter you’ll need for your specific model.
Once you have located the Ethernet port or determined the adapter you require, you can move on to the next step and connect the Ethernet cable to your MacBook.
Step 3: Connect one end of the Ethernet cable to your MacBook
Once you have located the Ethernet port on your MacBook, it’s time to connect one end of the Ethernet cable to your device. Follow these steps:
- Ensure that your MacBook is turned on and ready for the connection process.
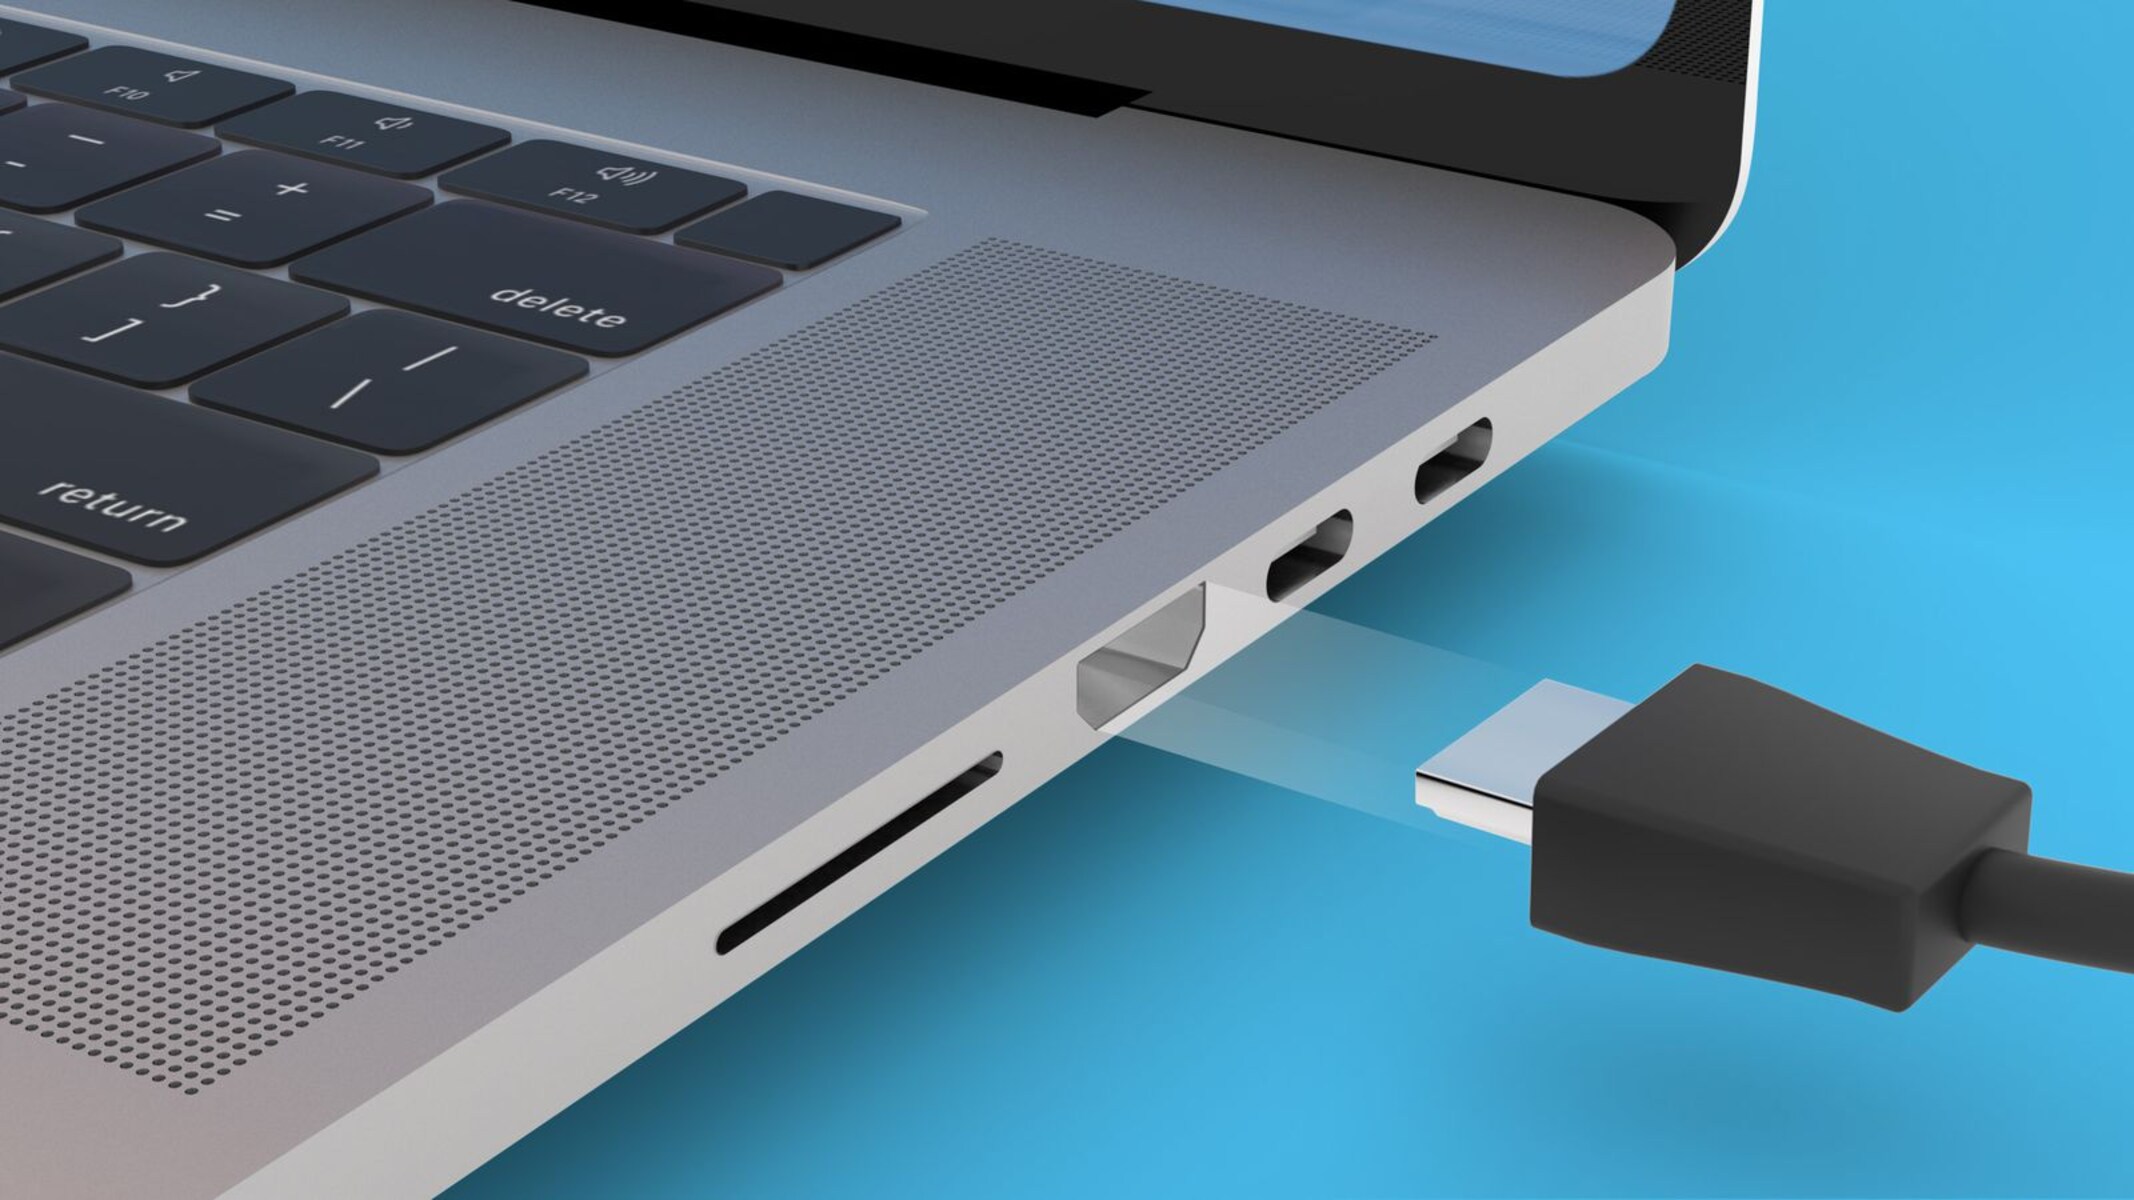
- Take one end of the Ethernet cable and gently insert it into the Ethernet port on your MacBook. Make sure the connector is aligned properly and fully inserted. You may need to apply gentle pressure to ensure a secure connection.
- Once the Ethernet cable is connected to your MacBook, you should feel a slight click or resistance indicating that it is properly attached.
If you’re using an Ethernet adapter, connect one end of the Ethernet cable to the adapter instead of directly to your MacBook.
It’s important to note that some MacBook models may require a specific type of Ethernet adapter, such as a Thunderbolt to Ethernet adapter or a USB-C to Ethernet adapter. Ensure that you have the appropriate adapter for your MacBook if needed.
Now that you have successfully connected one end of the Ethernet cable to your MacBook, you’re ready to move on to the next step and connect the other end of the cable to your router or modem.
Step 4: Connect the other end of the Ethernet cable to your router or modem
With one end of the Ethernet cable securely connected to your MacBook, it’s time to connect the other end to your router or modem. This step will establish the connection between your MacBook and the internet. Here’s how you can do it:
- Locate the Ethernet port on your router or modem. It is usually labeled with the word “Ethernet” or with the symbol of three connected lines.
- Take the other end of the Ethernet cable and insert it firmly into the Ethernet port on your router or modem. Ensure that the connector is aligned properly and fully inserted.
- You should feel a slight click or resistance, indicating that the cable is securely connected.
If you have multiple Ethernet ports on your router or modem, it doesn’t matter which one you choose. Simply select an available port, as they are typically interchangeable.
Once you have connected the other end of the Ethernet cable to your router or modem, the physical connection is complete. The next step is to configure your network settings to enable the wired connection. Let’s proceed to the next step for further instructions.
Step 5: Configure your network settings
After connecting the Ethernet cable to your MacBook and router or modem, you’ll need to configure your network settings to enable the wired connection. Follow these steps to properly configure your network settings:
- Open the System Preferences on your MacBook. You can find it by clicking on the Apple menu in the top-left corner of the screen and selecting “System Preferences”.
- In the System Preferences window, click on the “Network” icon. This will open the Network settings.
- In the Network settings, you should see a list of available network interfaces on the left-hand side. Look for “Ethernet” or “USB Ethernet” in the list and select it.
- Once you have selected the Ethernet interface, click on the “Advanced” button in the lower-right corner of the Network settings window.
- A new window will appear with different tabs. Click on the “TCP/IP” tab.
- Under the TCP/IP tab, make sure the “Configure IPv4” option is set to “Using DHCP”. This will automatically assign an IP address to your MacBook.
- If you need to manually enter the IP address, subnet mask, or router address, you can do so by selecting the “Manually” option and entering the details provided by your network administrator or internet service provider.
- Once you have configured the network settings, click on the “Apply” button to save the changes.
With your network settings properly configured, your MacBook should now be connected to the internet through the Ethernet cable. You can close the Network settings window and proceed to the final step of testing the connection.
Step 6: Test the connection
Now that you have connected your MacBook to the internet using an Ethernet cable and configured the network settings, it’s time to test the connection. Here’s how you can do it:
- Open a web browser on your MacBook and try to load a website. If the connection is working correctly, the web page should load without any issues.
- Try visiting multiple websites to ensure that the connection is stable and that you can access different online resources.
- If you’re using any internet-dependent applications or services, such as video conferencing or online gaming, test those as well to ensure they are functioning properly.
- If you encounter any issues or the connection is not working as expected, double-check the Ethernet cable connections to ensure they are securely plugged in. Additionally, verify that your router or modem is functioning correctly and that your network settings are configured appropriately.
If you’re unable to establish a connection or are experiencing connection issues, consider restarting your MacBook and your router or modem. Sometimes a simple restart can resolve temporary network glitches.
If the problems persist, consult the user manual for your MacBook or visit the Apple support website for troubleshooting assistance. You can also reach out to your internet service provider (ISP) for further guidance.
Once you have confirmed that the connection is stable and working properly, congratulations! You have successfully connected your MacBook to the internet using an Ethernet cable.
Remember that you can always switch back to a Wi-Fi connection by disconnecting the Ethernet cable and connecting to your Wi-Fi network if desired.
Conclusion
In this guide, we have covered the step-by-step process of connecting an Ethernet cable to your MacBook to enjoy a stable and faster internet connection. By following the instructions outlined in this article, you can leverage the benefits of a wired connection for various activities such as work, gaming, or streaming high-definition content.
We began by emphasizing the advantages of using an Ethernet cable, including increased stability and speed compared to a wireless connection. We also mentioned that not all MacBook models have a built-in Ethernet port and may require an adapter for connectivity.
We then proceeded with the step-by-step guide, starting with the gathering of necessary equipment, including a compatible Ethernet cable and a functioning router or modem. We discussed the importance of locating the Ethernet port on your MacBook and provided guidance for finding it on different MacBook models.
Next, we explained how to connect one end of the Ethernet cable to your MacBook or Ethernet adapter. We highlighted the need for a secure and aligned connection to ensure optimal performance.
Afterward, we covered the process of connecting the other end of the Ethernet cable to your router or modem. We emphasized the importance of a proper connection between your MacBook and the network device.
Furthermore, we delved into configuring network settings on your MacBook to enable the wired connection. We provided step-by-step instructions for accessing the Network settings and making the necessary changes.
Lastly, we discussed the final step of testing the connection. We recommended loading websites, accessing internet-dependent applications, and troubleshooting any issues that may arise.
By following these steps, you should now have a successfully established and working Ethernet connection on your MacBook. Enjoy the benefits of a stable and faster internet connection for your various needs.