Introduction
Do you have a Mac and want to connect to Ethernet for faster and more stable internet access? Connecting your Mac to Ethernet can provide a reliable and high-speed connection, especially if you’re dealing with slow Wi-Fi or unreliable wireless signals. In this guide, we will walk you through the steps to connect your Mac to Ethernet and make the most out of your internet connection.
With an Ethernet connection, you can enjoy faster download and upload speeds, reduced latency, and improved online gaming and streaming experiences. It’s also an excellent solution for remote workers or those who require a stable and high-bandwidth connection for video conferencing or file sharing.
Before we begin, it’s important to ensure that your Mac is equipped with an Ethernet port. Most Mac models come with built-in Ethernet ports, but some newer models may use a Thunderbolt or USB-C adapter for Ethernet connectivity. If you’re unsure whether your Mac has an Ethernet port, you can check the specifications on the Apple website or consult your Mac’s user manual.
Once you’ve confirmed the presence of an Ethernet port or adapter, you’re ready to connect your Mac to Ethernet. This straightforward process only takes a few minutes, and we’ll guide you through each step. By the end of this guide, you’ll have successfully connected your Mac to Ethernet and will be enjoying a fast and reliable internet connection.
Let’s get started with the first step: checking for an Ethernet port on your Mac.
Step 1: Check for Ethernet Port
The first step to connecting your Mac to Ethernet is to locate the Ethernet port or adapter on your device. While most Mac models come with built-in Ethernet ports, some newer models may require the use of a Thunderbolt or USB-C adapter for Ethernet connectivity.
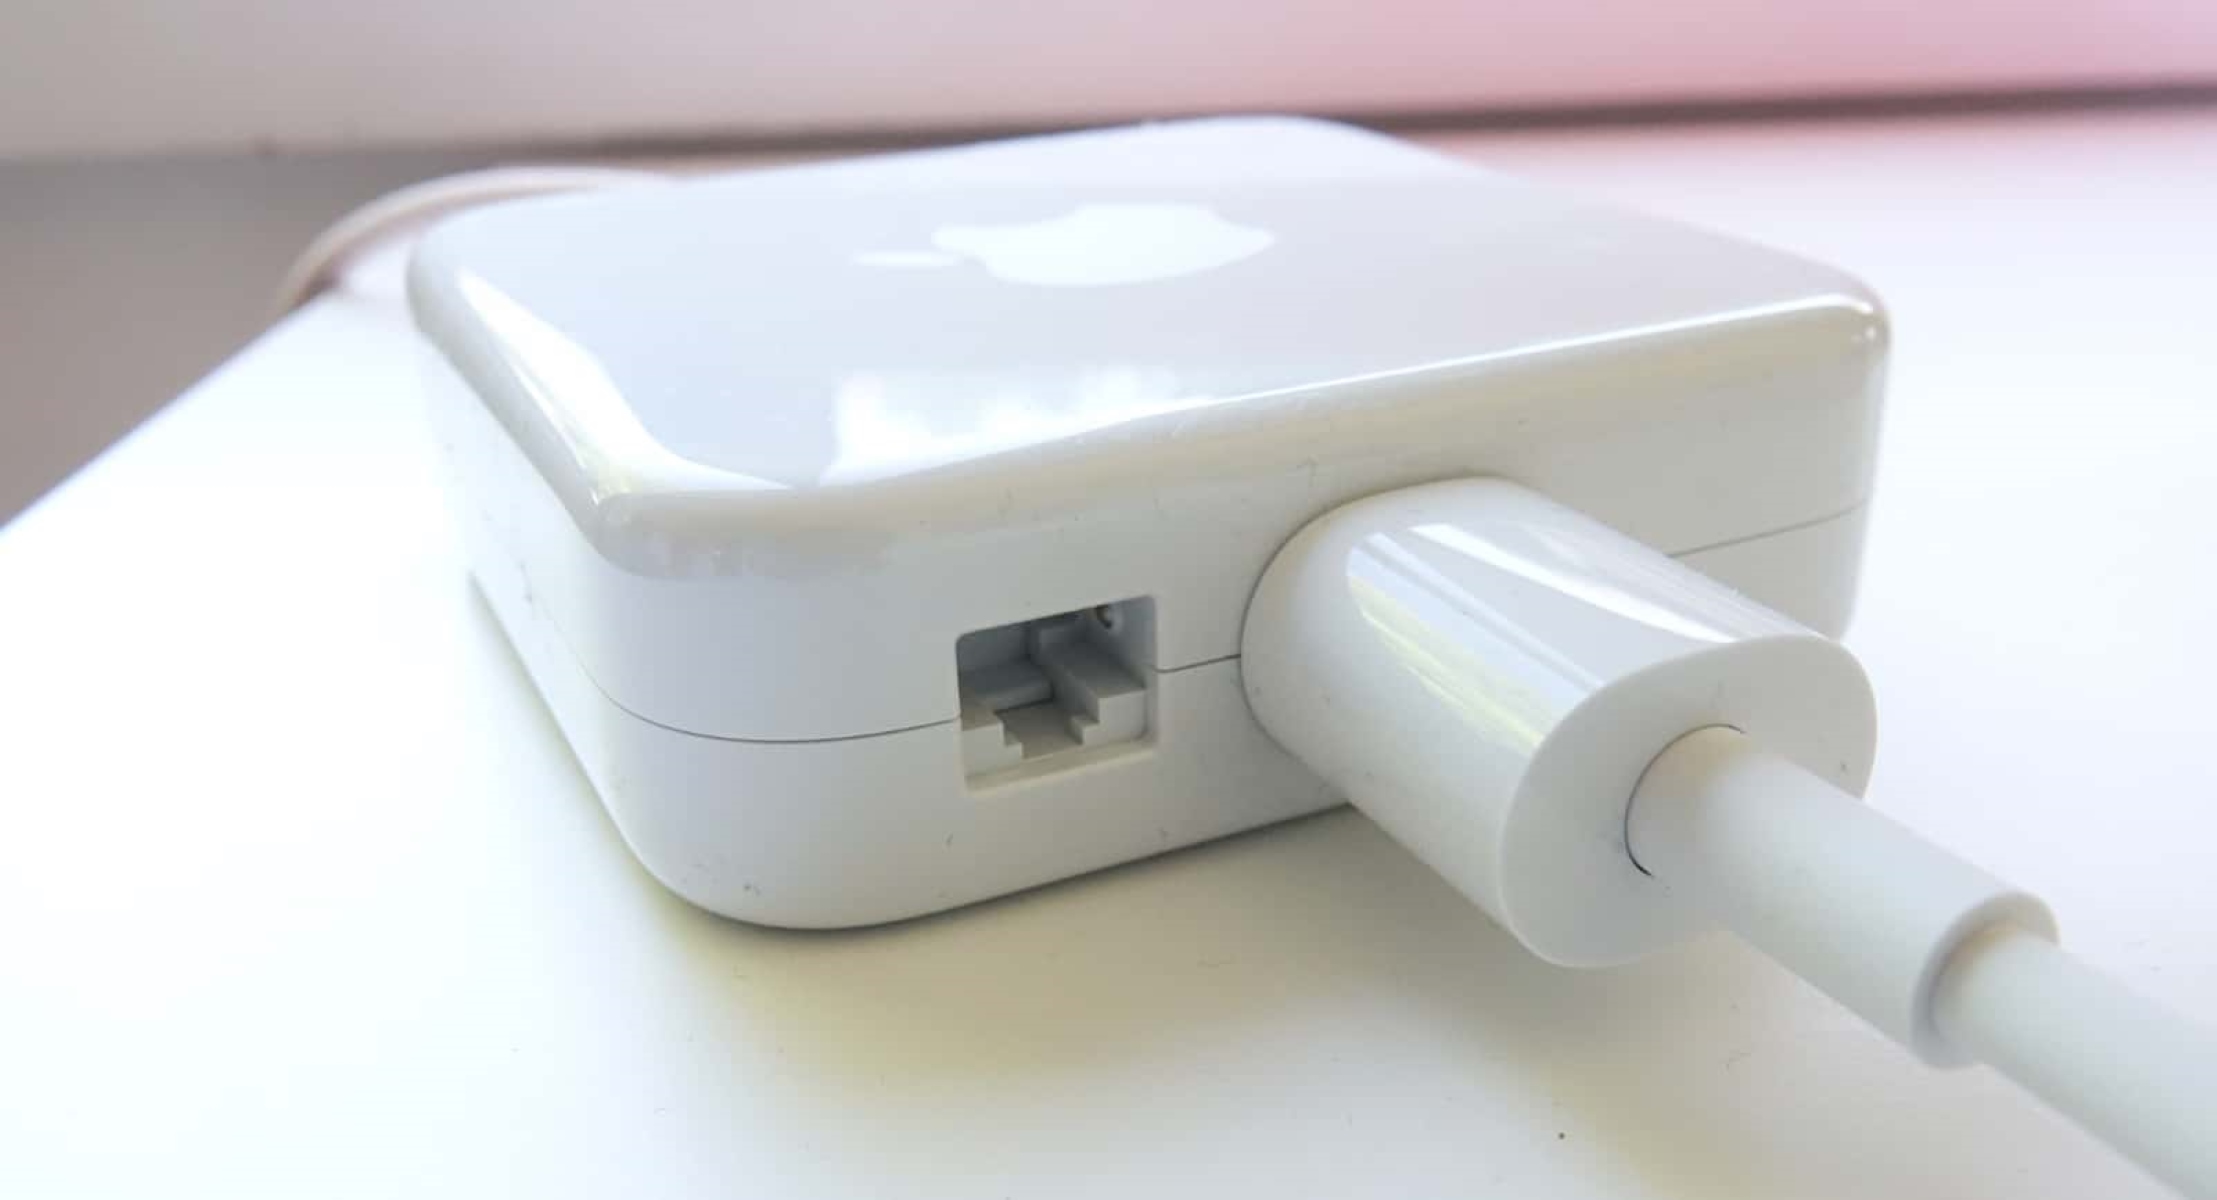
If your Mac has a built-in Ethernet port, you can usually find it on the back or side of the device. It is typically labeled with the word “Ethernet” or represented by the Ethernet symbol. Take a moment to visually inspect your Mac and locate this port.
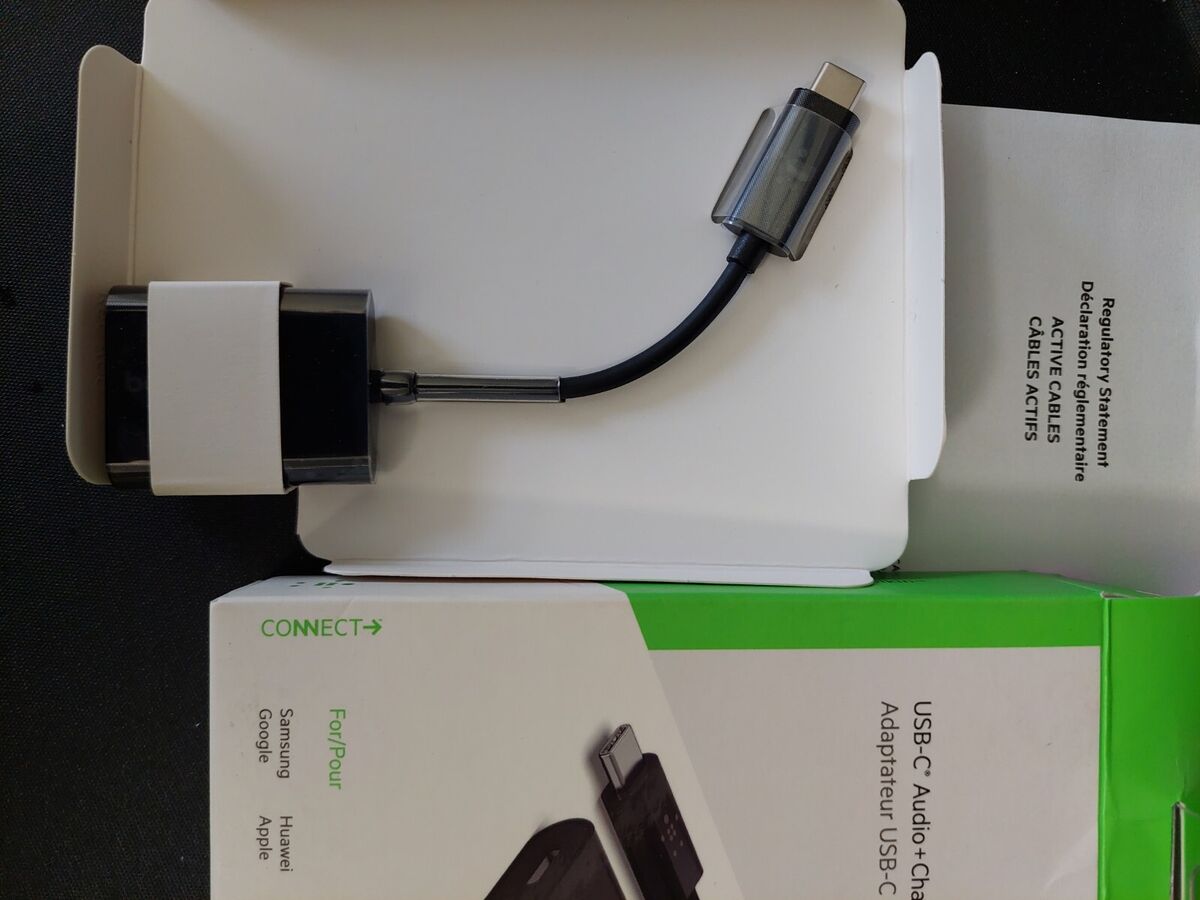
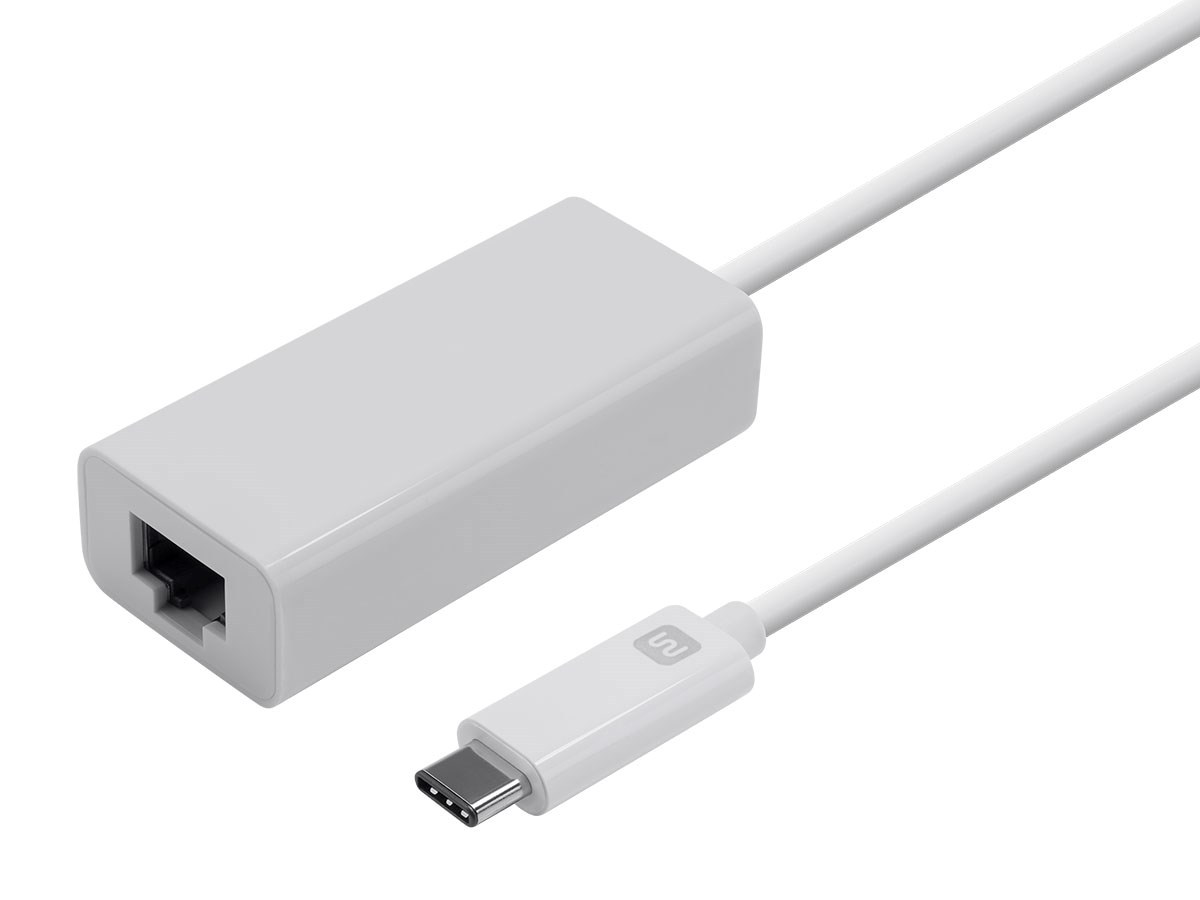
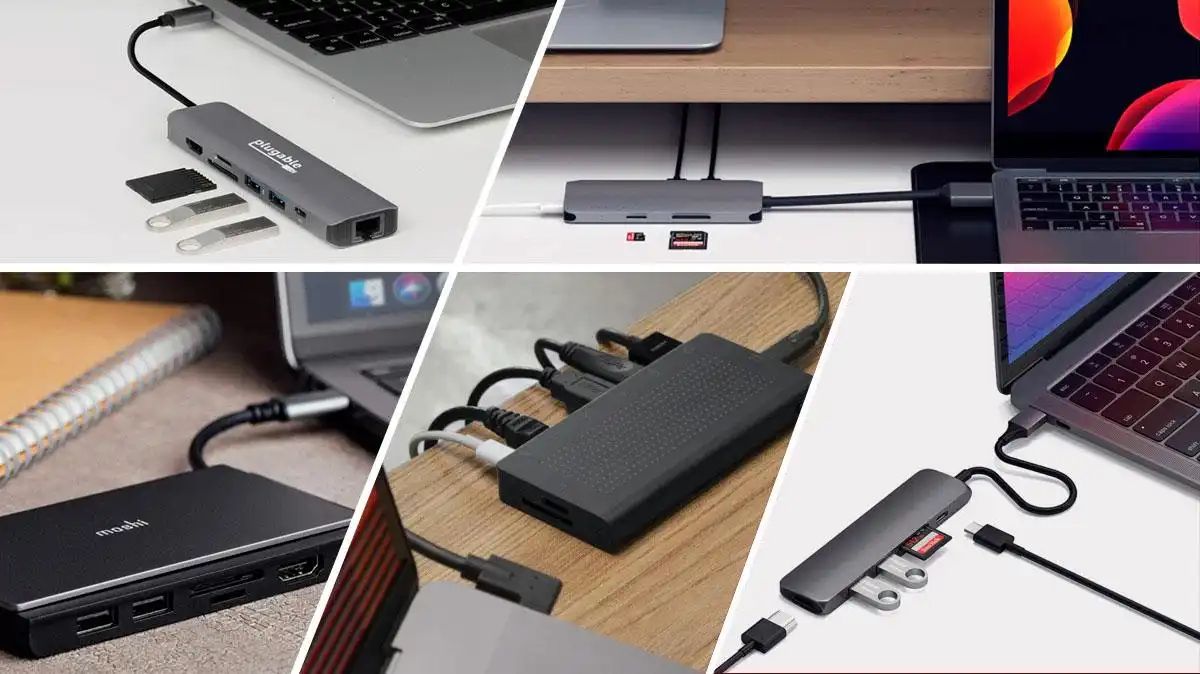
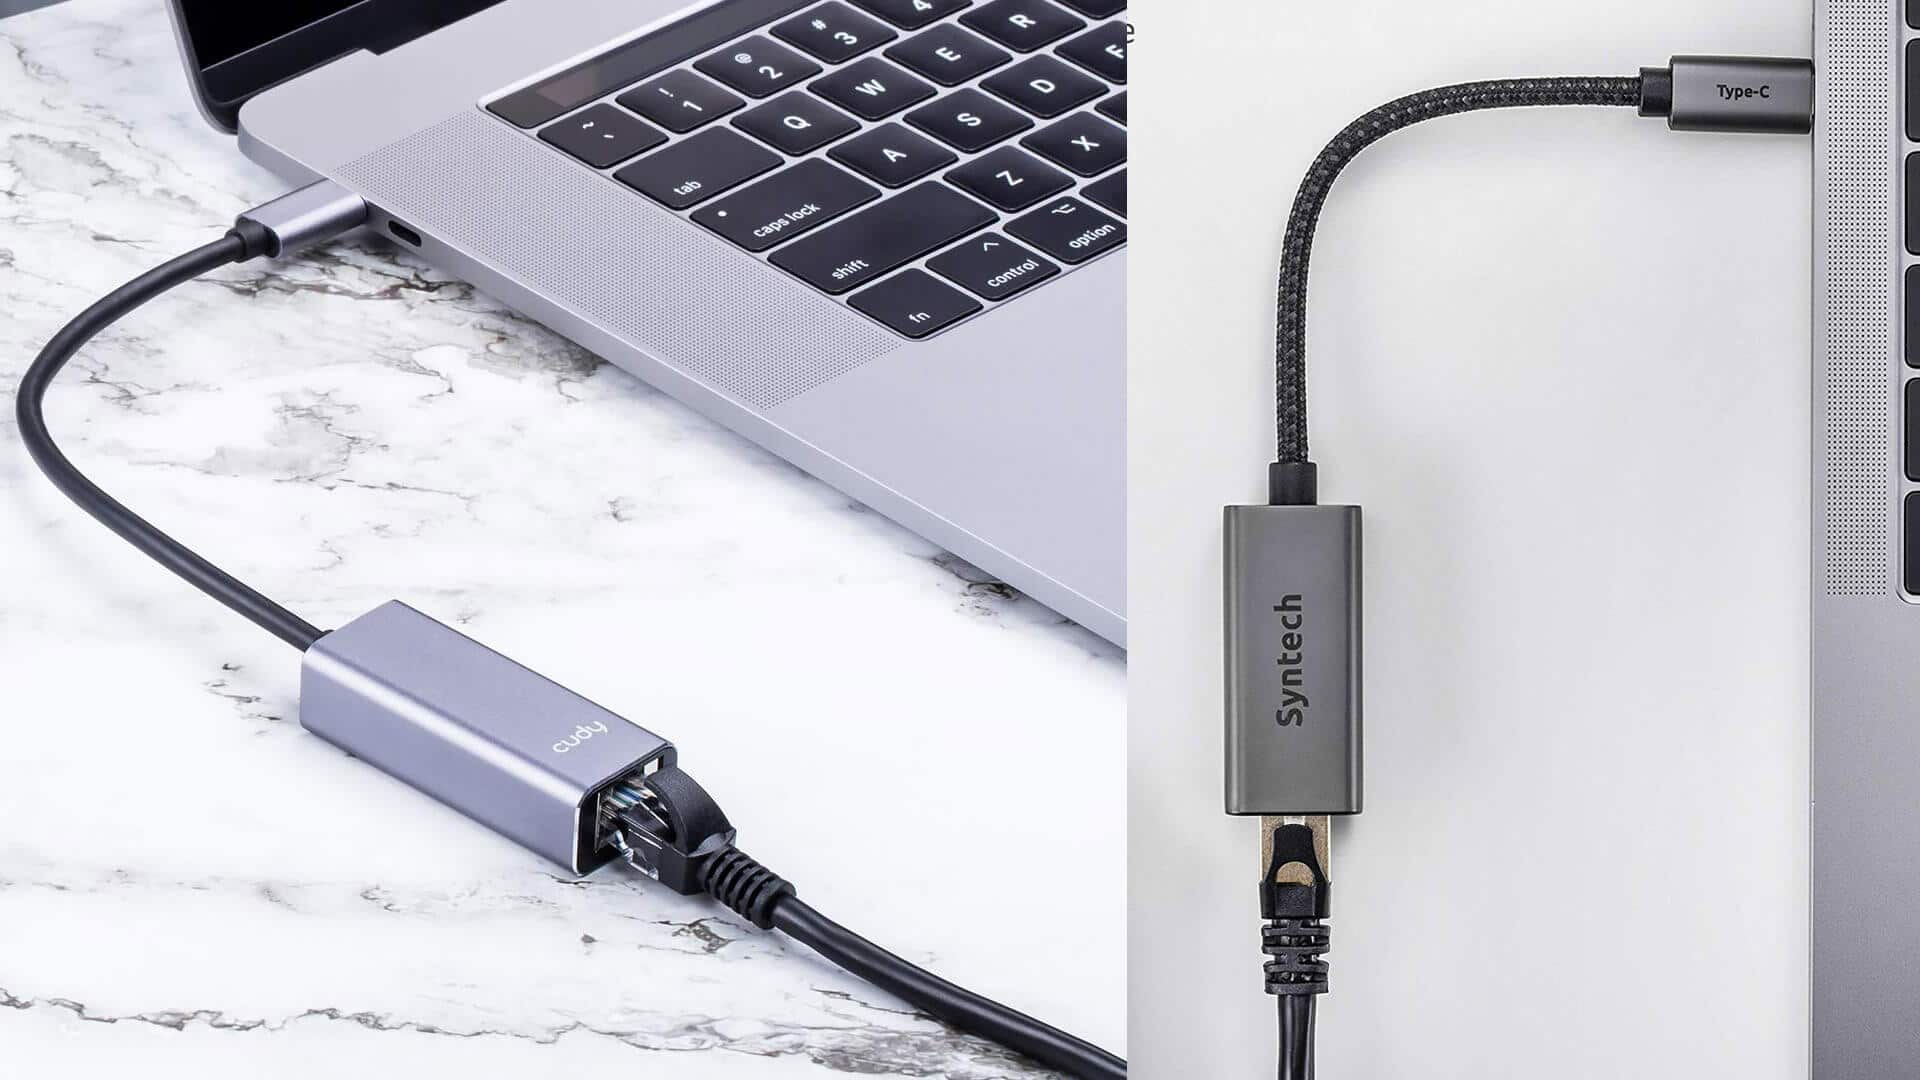
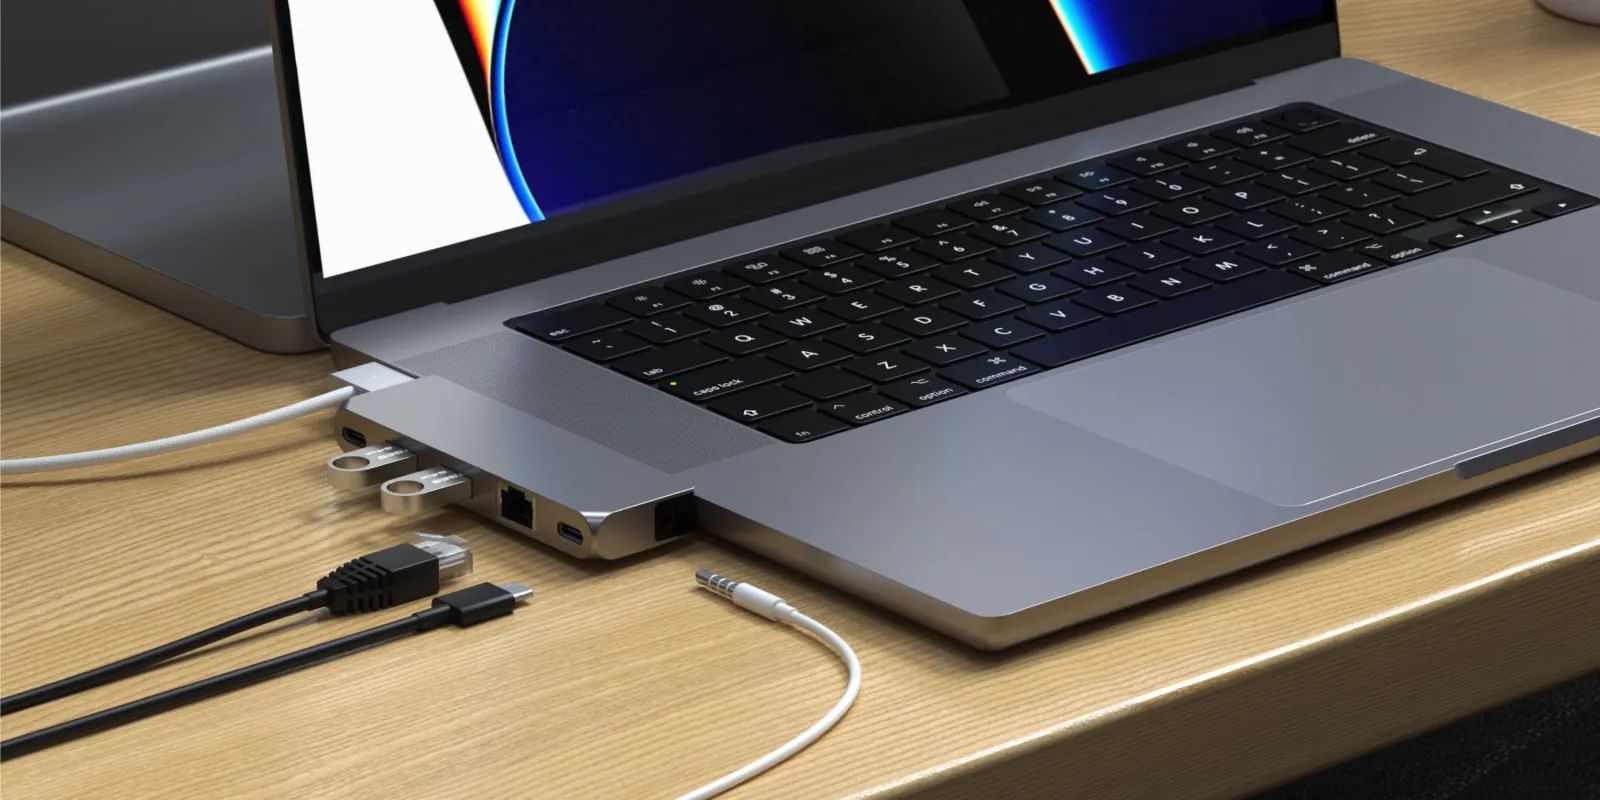
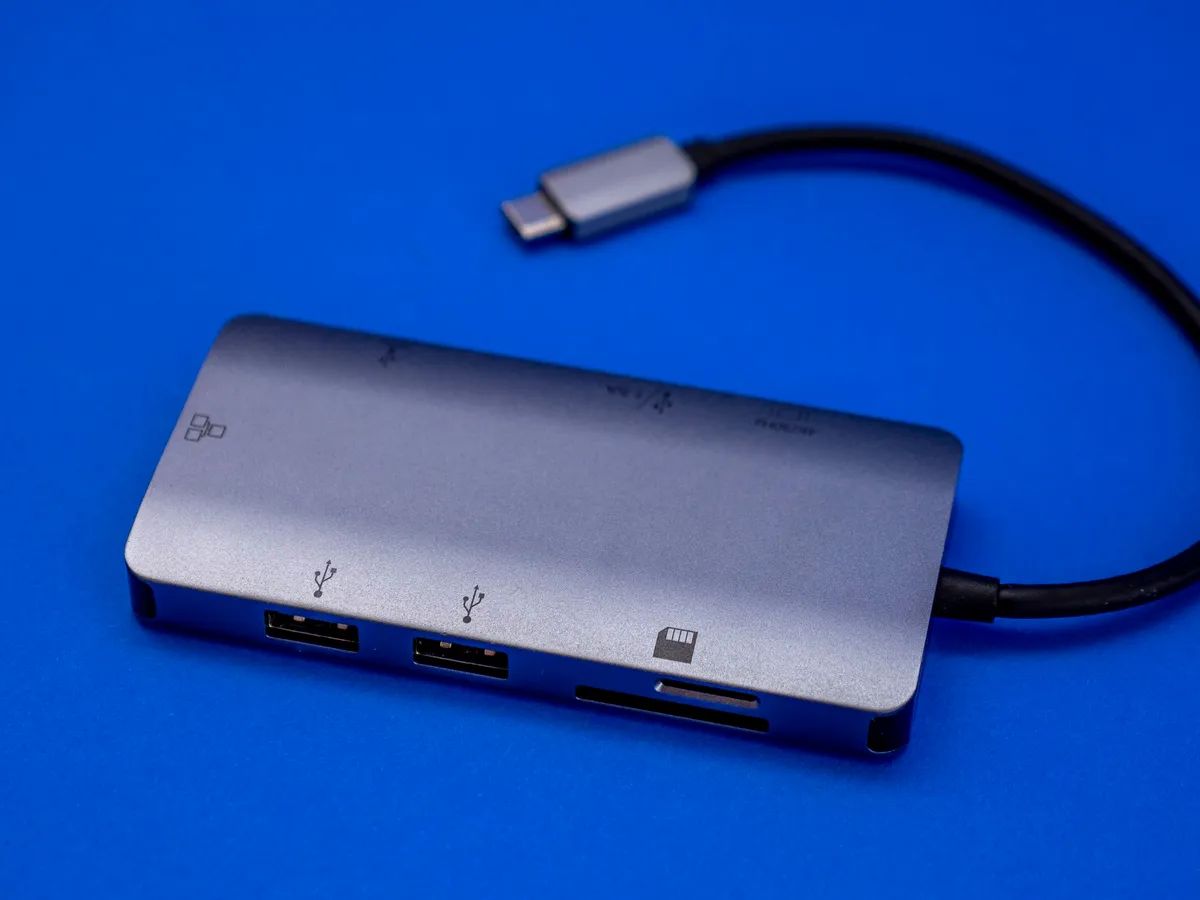
If your Mac model requires the use of an adapter for Ethernet connectivity, you will need to purchase the appropriate adapter from Apple or a trusted third-party retailer. The adapter will typically connect to one of the available Thunderbolt or USB-C ports on your Mac.
Once you have identified the Ethernet port or adapter, you are ready to proceed to the next step. Make sure your Ethernet cable is readily available, as we will be connecting it to your Mac in the following step.
Now that you have confirmed the presence of an Ethernet port or adapter on your Mac, let’s move on to connecting the Ethernet cable.
Step 2: Connect the Ethernet Cable
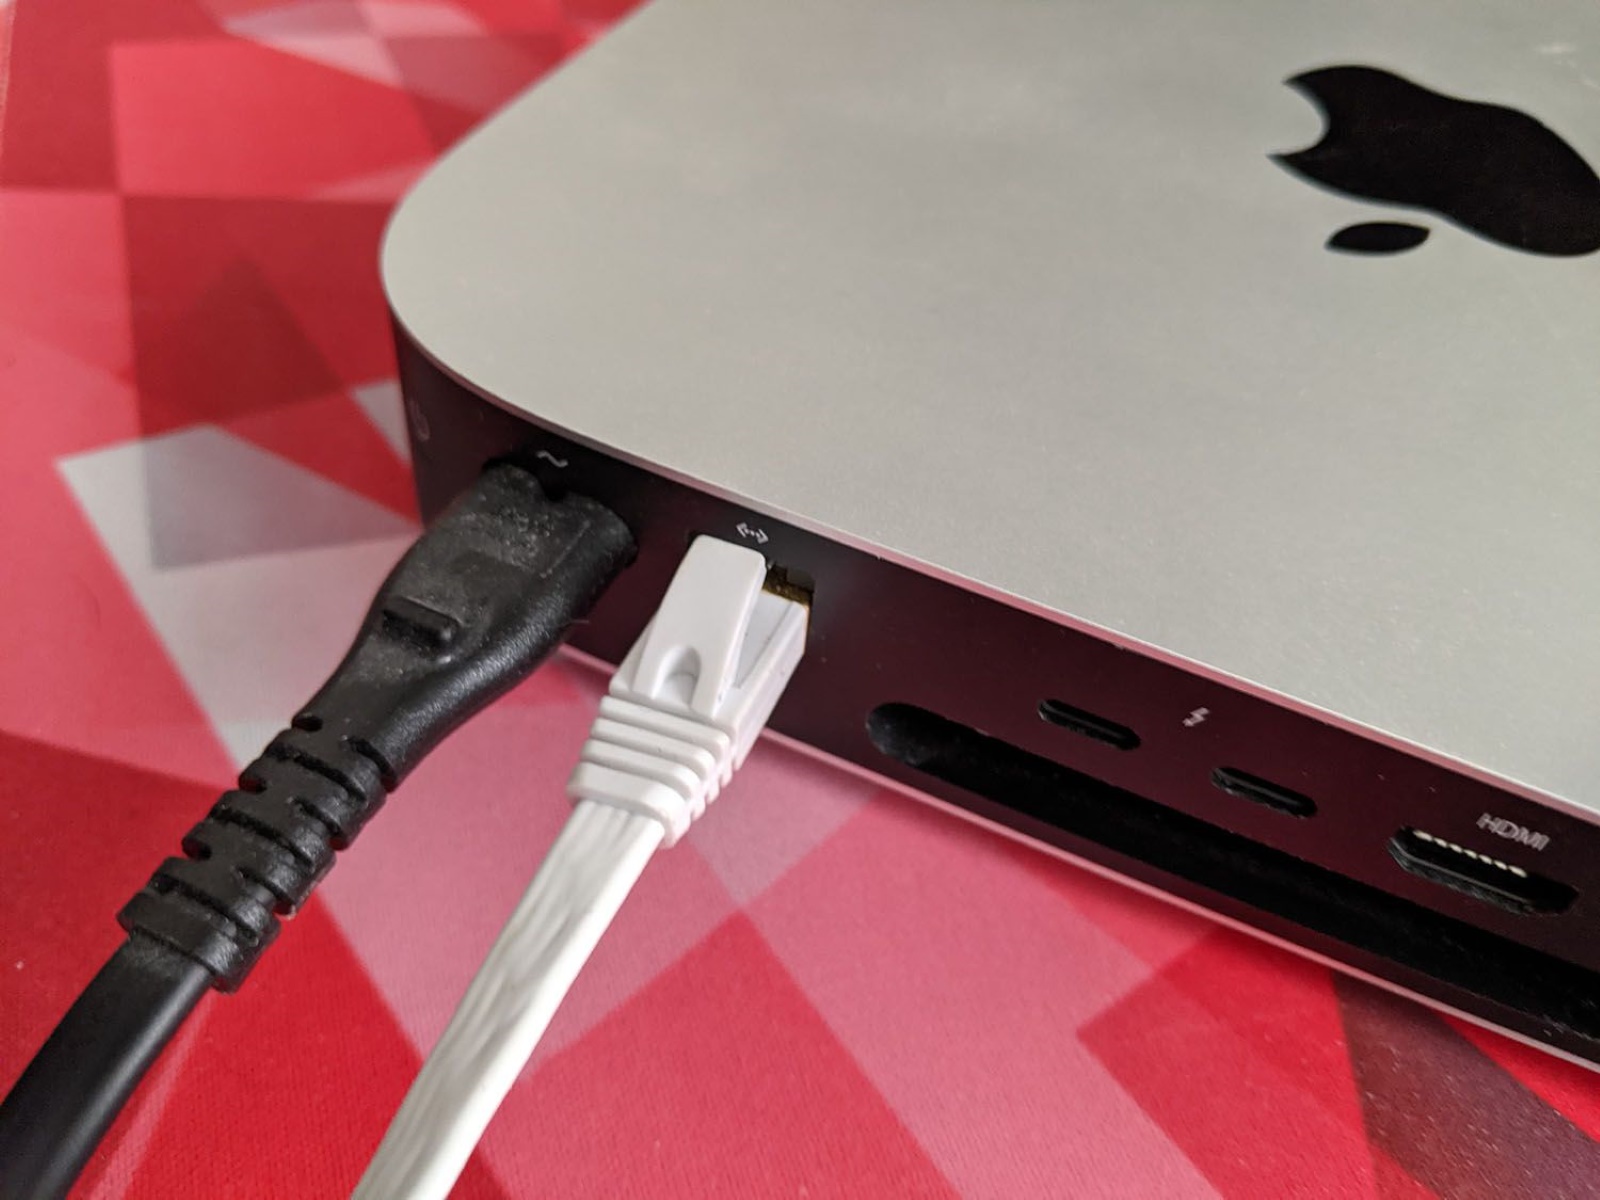
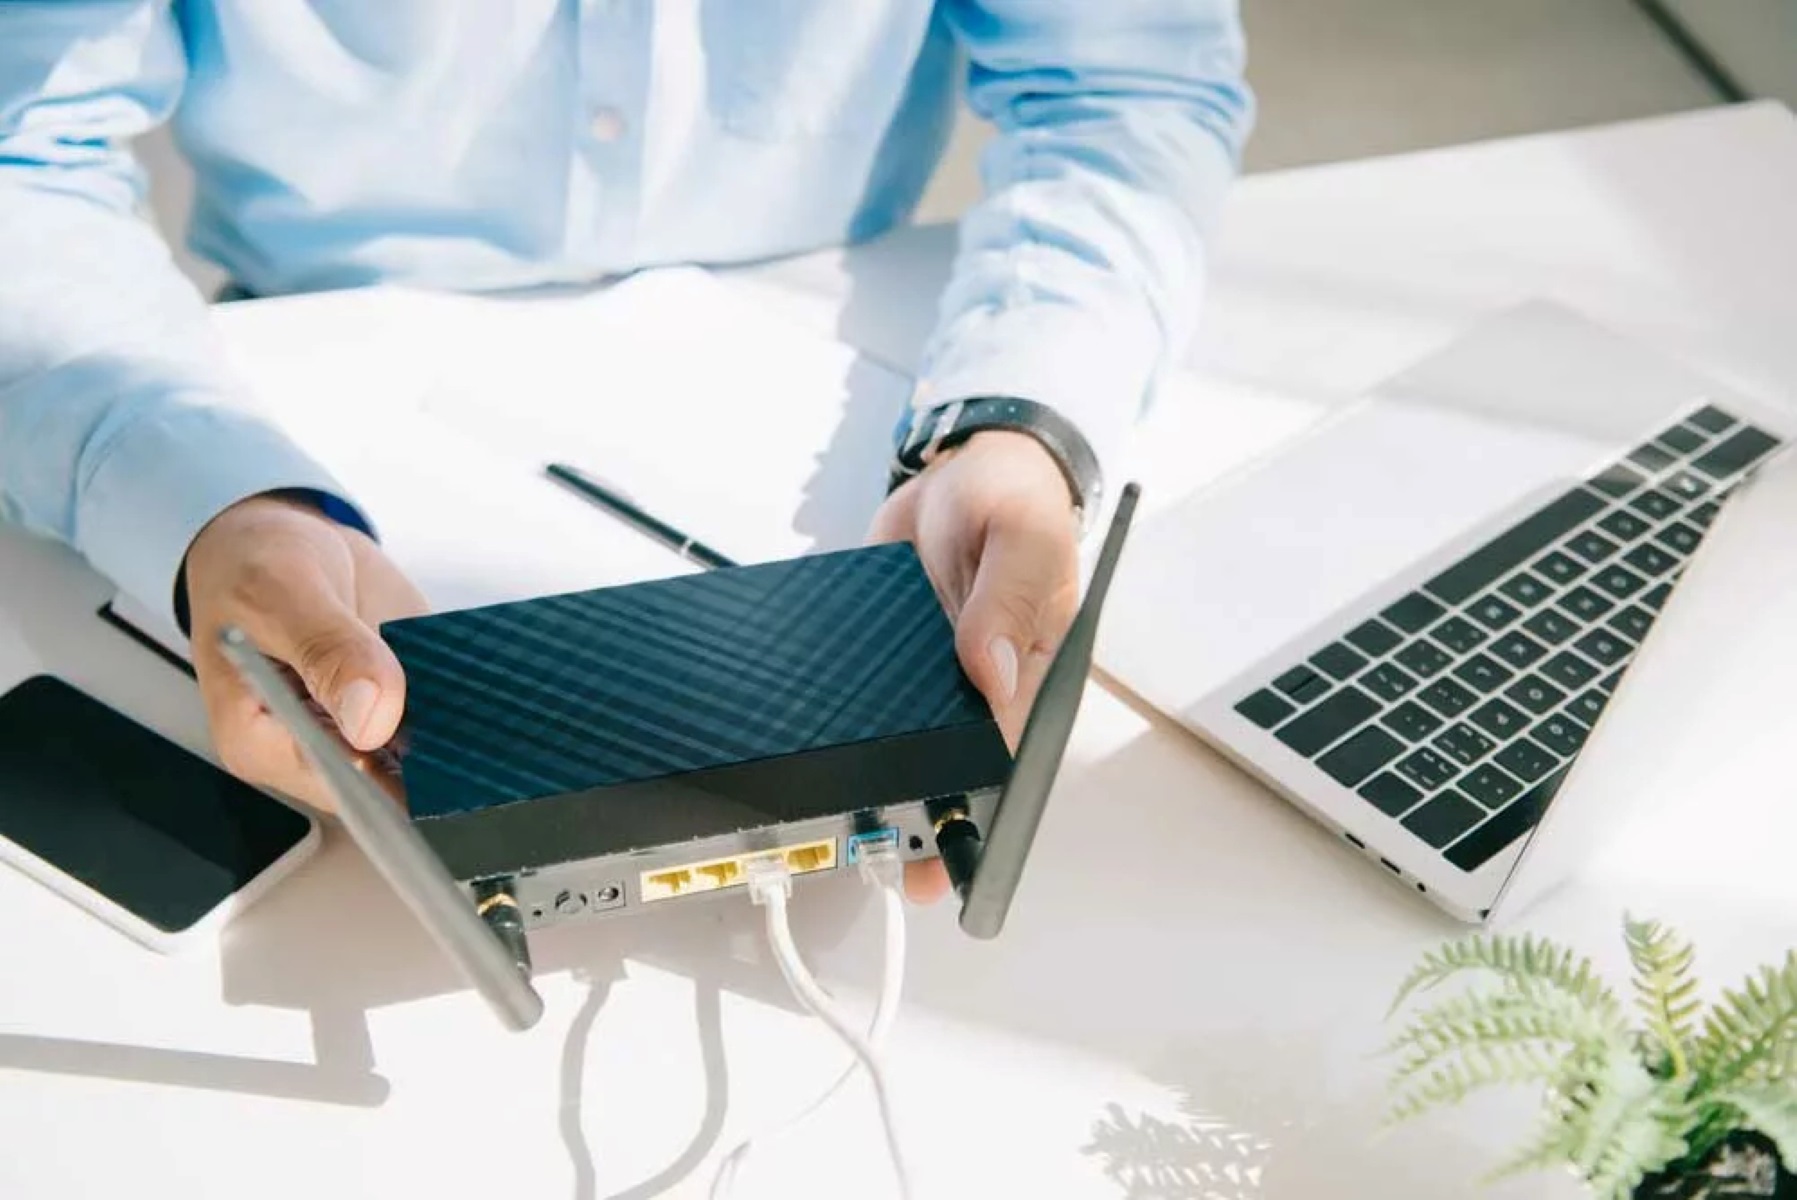
Now that you have identified the Ethernet port or adapter on your Mac, it’s time to connect the Ethernet cable. The Ethernet cable is a standard networking cable that carries the internet signal between your Mac and the modem or router.
Start by locating the Ethernet cable. It is a thick, round cable with RJ45 connectors on both ends. One end of the cable needs to be plugged into the Ethernet port on your Mac, and the other end should be connected to the modem or router.
Insert one end of the Ethernet cable into the Ethernet port on your Mac. It should fit securely and snap into place. Ensure that the connector is completely inserted into the port to establish a proper connection.
Next, take the other end of the Ethernet cable and connect it to the modem or router. Look for the Ethernet port on the back or side of the device and insert the cable securely. Make sure it is firmly connected to avoid intermittent or weak signals.
Once the cable is connected to both your Mac and the modem or router, you have successfully completed the physical connection. Your Mac is now ready to use the Ethernet connection for faster and more stable internet access.
With the Ethernet cable securely connected, you can now proceed to the next step, which involves configuring the Ethernet settings on your Mac.
Step 3: Configure Ethernet Settings
After connecting the Ethernet cable to your Mac, it’s time to configure the Ethernet settings to ensure the proper functioning of the connection. By configuring these settings, you can optimize your Ethernet connection for better performance and ensure that your Mac prioritizes Ethernet over other network connections.
To configure the Ethernet settings on your Mac, follow these steps:
- Navigate to the Apple menu located at the top-left corner of your screen and click on “System Preferences”.
- In the System Preferences window, click on “Network”. This will open the Network settings.
- In the Network settings, you will see a list of available network connections. Locate and select “Ethernet” from the list.
- In the Ethernet settings, click on the “Advanced” button located at the bottom right corner of the window.
- A new window will appear, showing advanced Ethernet settings. Here, you can configure various options such as the speed and duplex settings. In most cases, it is recommended to leave these settings at their default values unless you have specific requirements or troubleshooting needs.
- Ensure that the “Configure IPv4” and “Configure IPv6” options are set to “Using DHCP” or “Using DHCP with Manual Address” if you have a static IP address provided by your ISP.
- Once you have configured the desired settings, click on the “OK” button to save the changes.
By configuring the Ethernet settings, you have ensured that your Mac is ready to utilize the Ethernet connection for fast and stable internet access. If you encounter any issues or need further optimization, you can consult the user manual or the Apple Support website for more information.
Now that the Ethernet settings are configured, you can move on to the final step, which involves troubleshooting common issues that may arise when connecting your Mac to Ethernet.
Step 4: Troubleshooting Common Issues
While connecting your Mac to Ethernet is generally a straightforward process, you may encounter some common issues along the way. In this step, we will discuss troubleshooting tips to help you resolve these issues and ensure a seamless Ethernet connection.
Here are some common issues you may encounter and their possible solutions:
- No Ethernet Connection: If your Mac does not detect the Ethernet connection, ensure that the Ethernet cable is securely plugged into both your Mac and the modem or router. Additionally, make sure that the Ethernet port on your Mac is functioning properly and that the cable is not damaged.
- Slow or Unstable Connection: If you are experiencing slow or unstable internet speeds, try restarting your modem or router. You can also reset your network settings on your Mac by going to “System Preferences” > “Network” > “Ethernet” > “Advanced” > “TCP/IP” > “Renew DHCP Lease” or “Renew DHCP Lease.
- IP Address Conflict: If you encounter an IP address conflict, where multiple devices on the network share the same IP address, try restarting your modem or router. If the issue persists, contact your Internet Service Provider (ISP) for assistance.
- Outdated Network Drivers: If you are using a Thunderbolt or USB-C adapter for Ethernet, ensure that you have the latest drivers installed. Visit the manufacturer’s website or the Apple Support website to download and install the updated drivers.
- Firewall or Security Software: Your firewall or security software may sometimes interfere with the Ethernet connection. Temporarily disable any firewall or security software to see if it resolves the issue. Remember to re-enable them once troubleshooting is complete.
If you have tried the troubleshooting tips above and are still experiencing problems with your Ethernet connection, it is recommended to contact your Internet Service Provider (ISP) or consult an IT professional for further assistance.
With these troubleshooting tips in mind, you are well-prepared to overcome any common issues that may arise when connecting your Mac to Ethernet. Enjoy your fast and stable internet connection!