The Basics of Ethernet Cable
Ethernet cables are essential for establishing a wired connection between devices in a local area network (LAN). They provide a reliable and speedy means of transmitting data packets, making them a fundamental component of network infrastructure.
There are several important aspects to understand about Ethernet cables:
- Function: Ethernet cables facilitate the transfer of data between devices, such as computers, routers, modems, and gaming consoles, within a network.
- Data Transmission: These cables utilize twisted pair copper wires to transmit data using electrical signals. The cables are designed to minimize interference and ensure a stable connection, resulting in high-speed and reliable data transfer.
- Different Categories: Ethernet cables are categorized based on their capabilities and performance. The common categories include Cat5, Cat5e, Cat6, and Cat6a, with each subsequent category offering improved bandwidth and data transfer speeds.
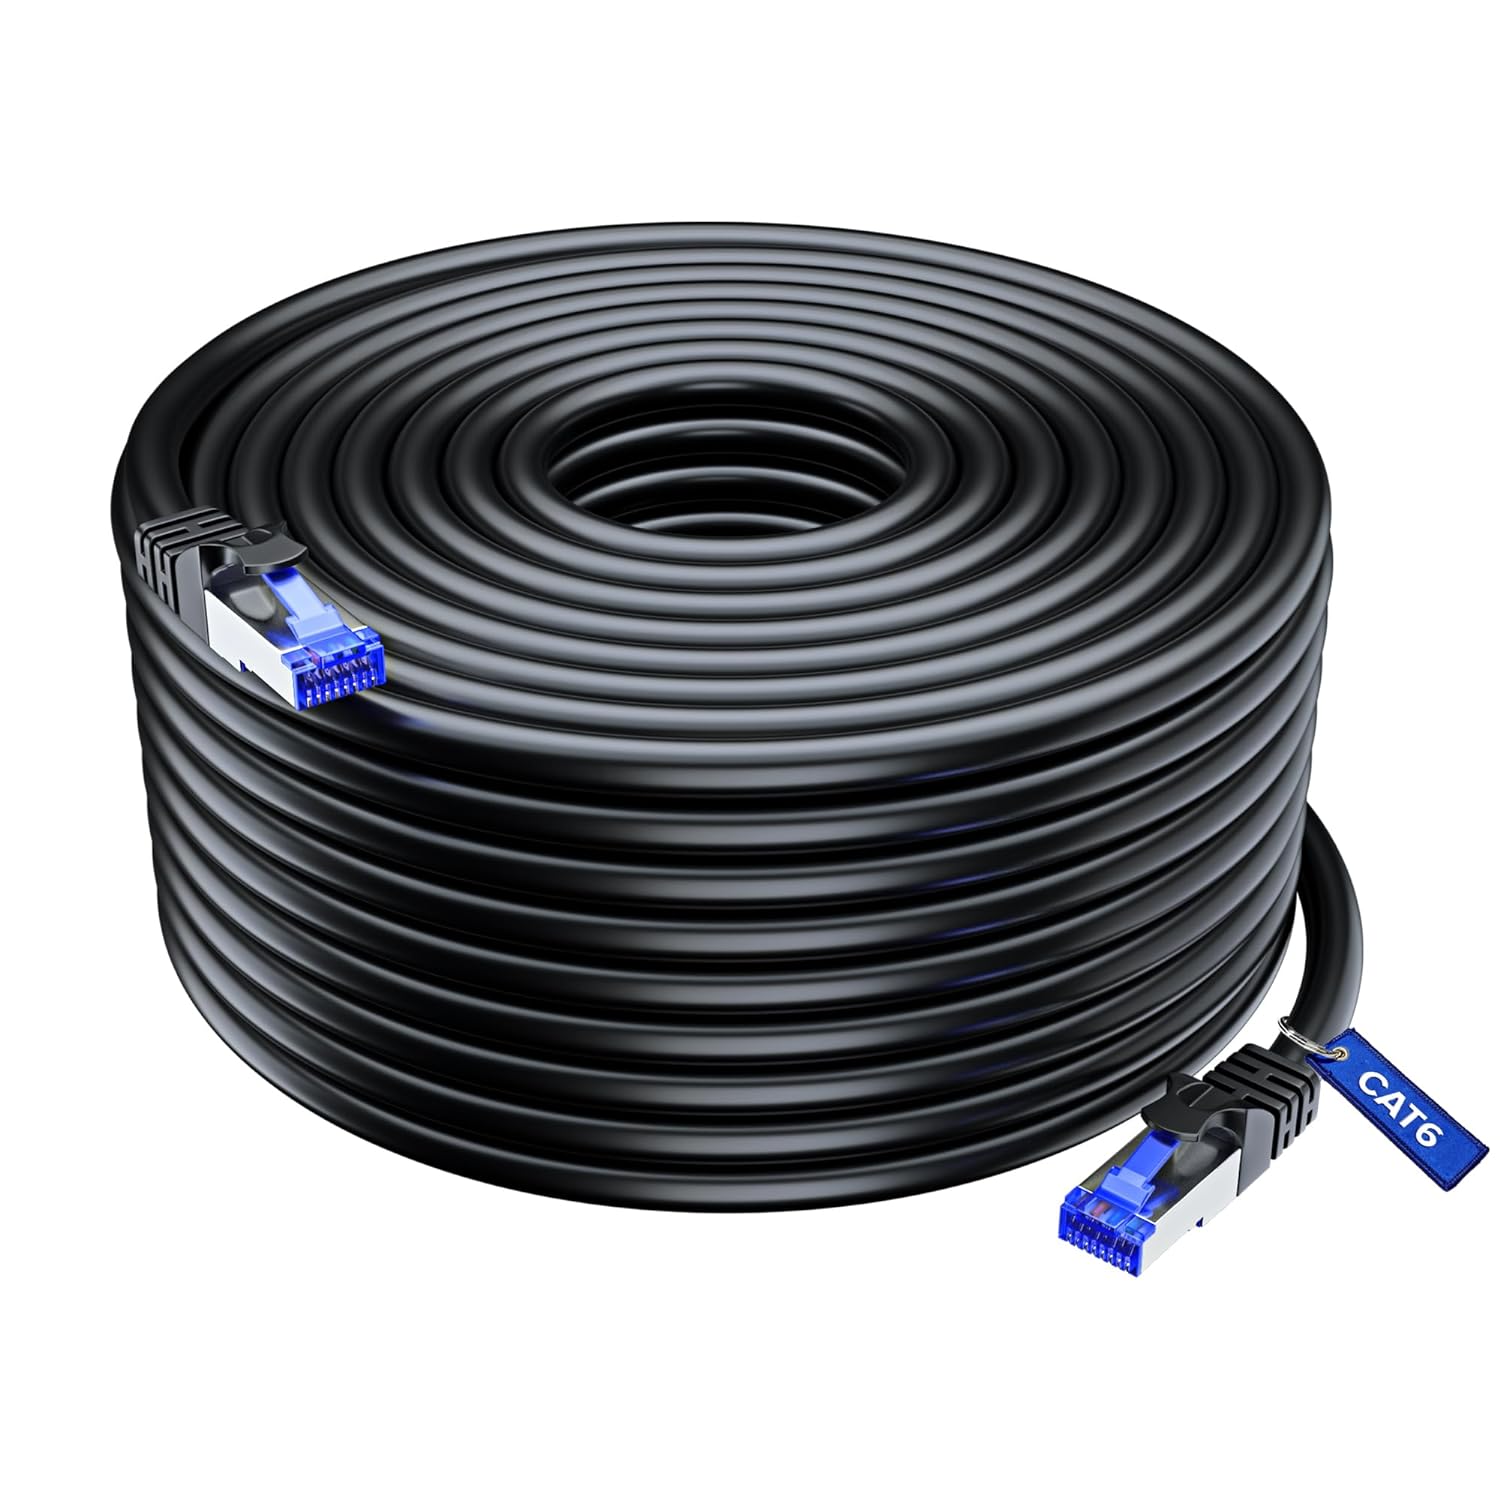
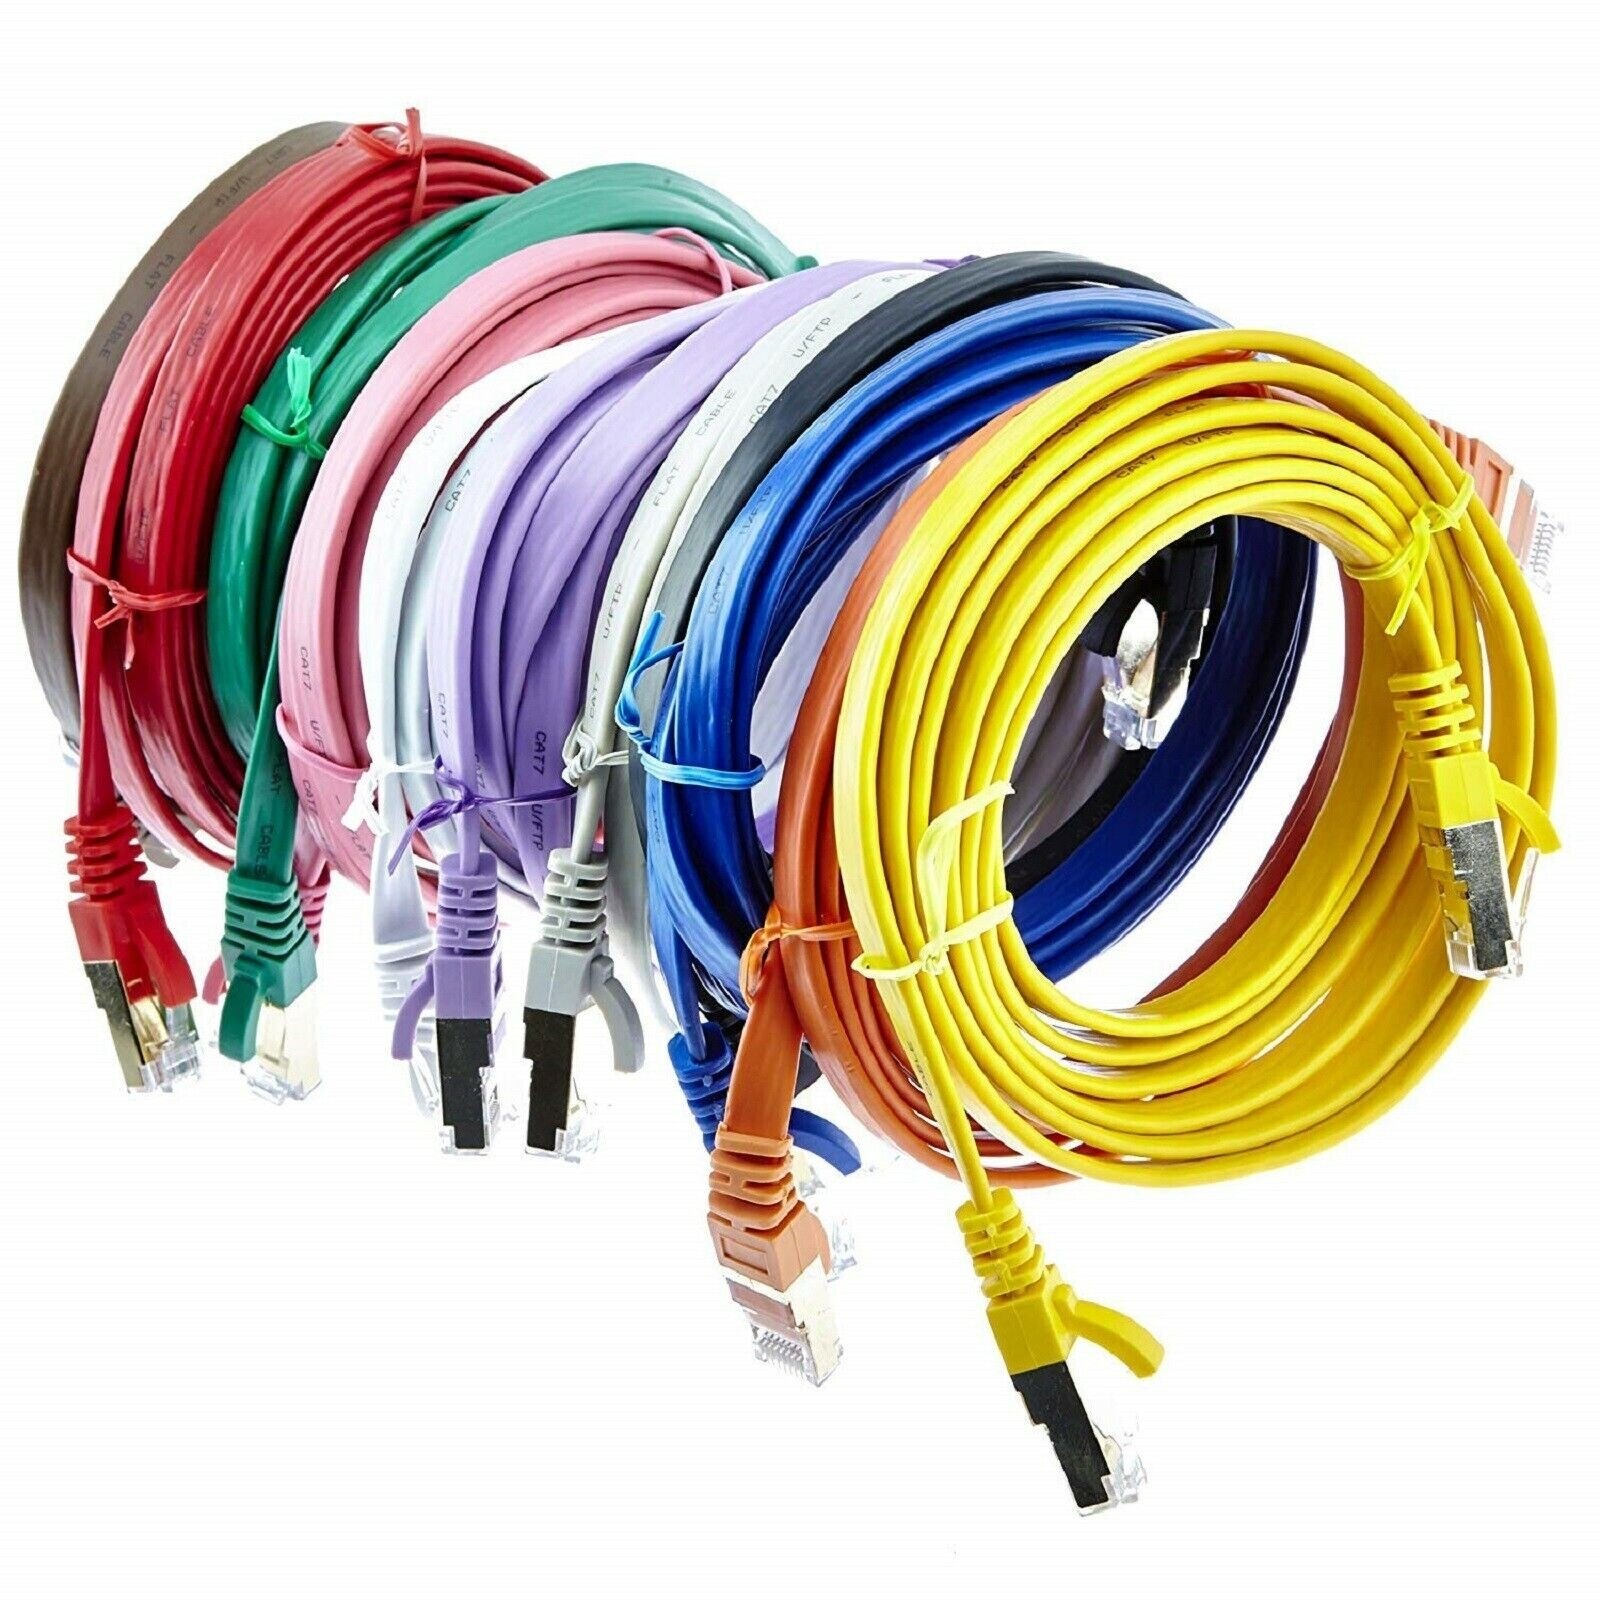
- Length and Flexibility: Ethernet cables are available in various lengths, ranging from a few feet to hundreds of feet, allowing for flexible network setups and customization. It’s crucial to choose the appropriate cable length for your specific networking needs.
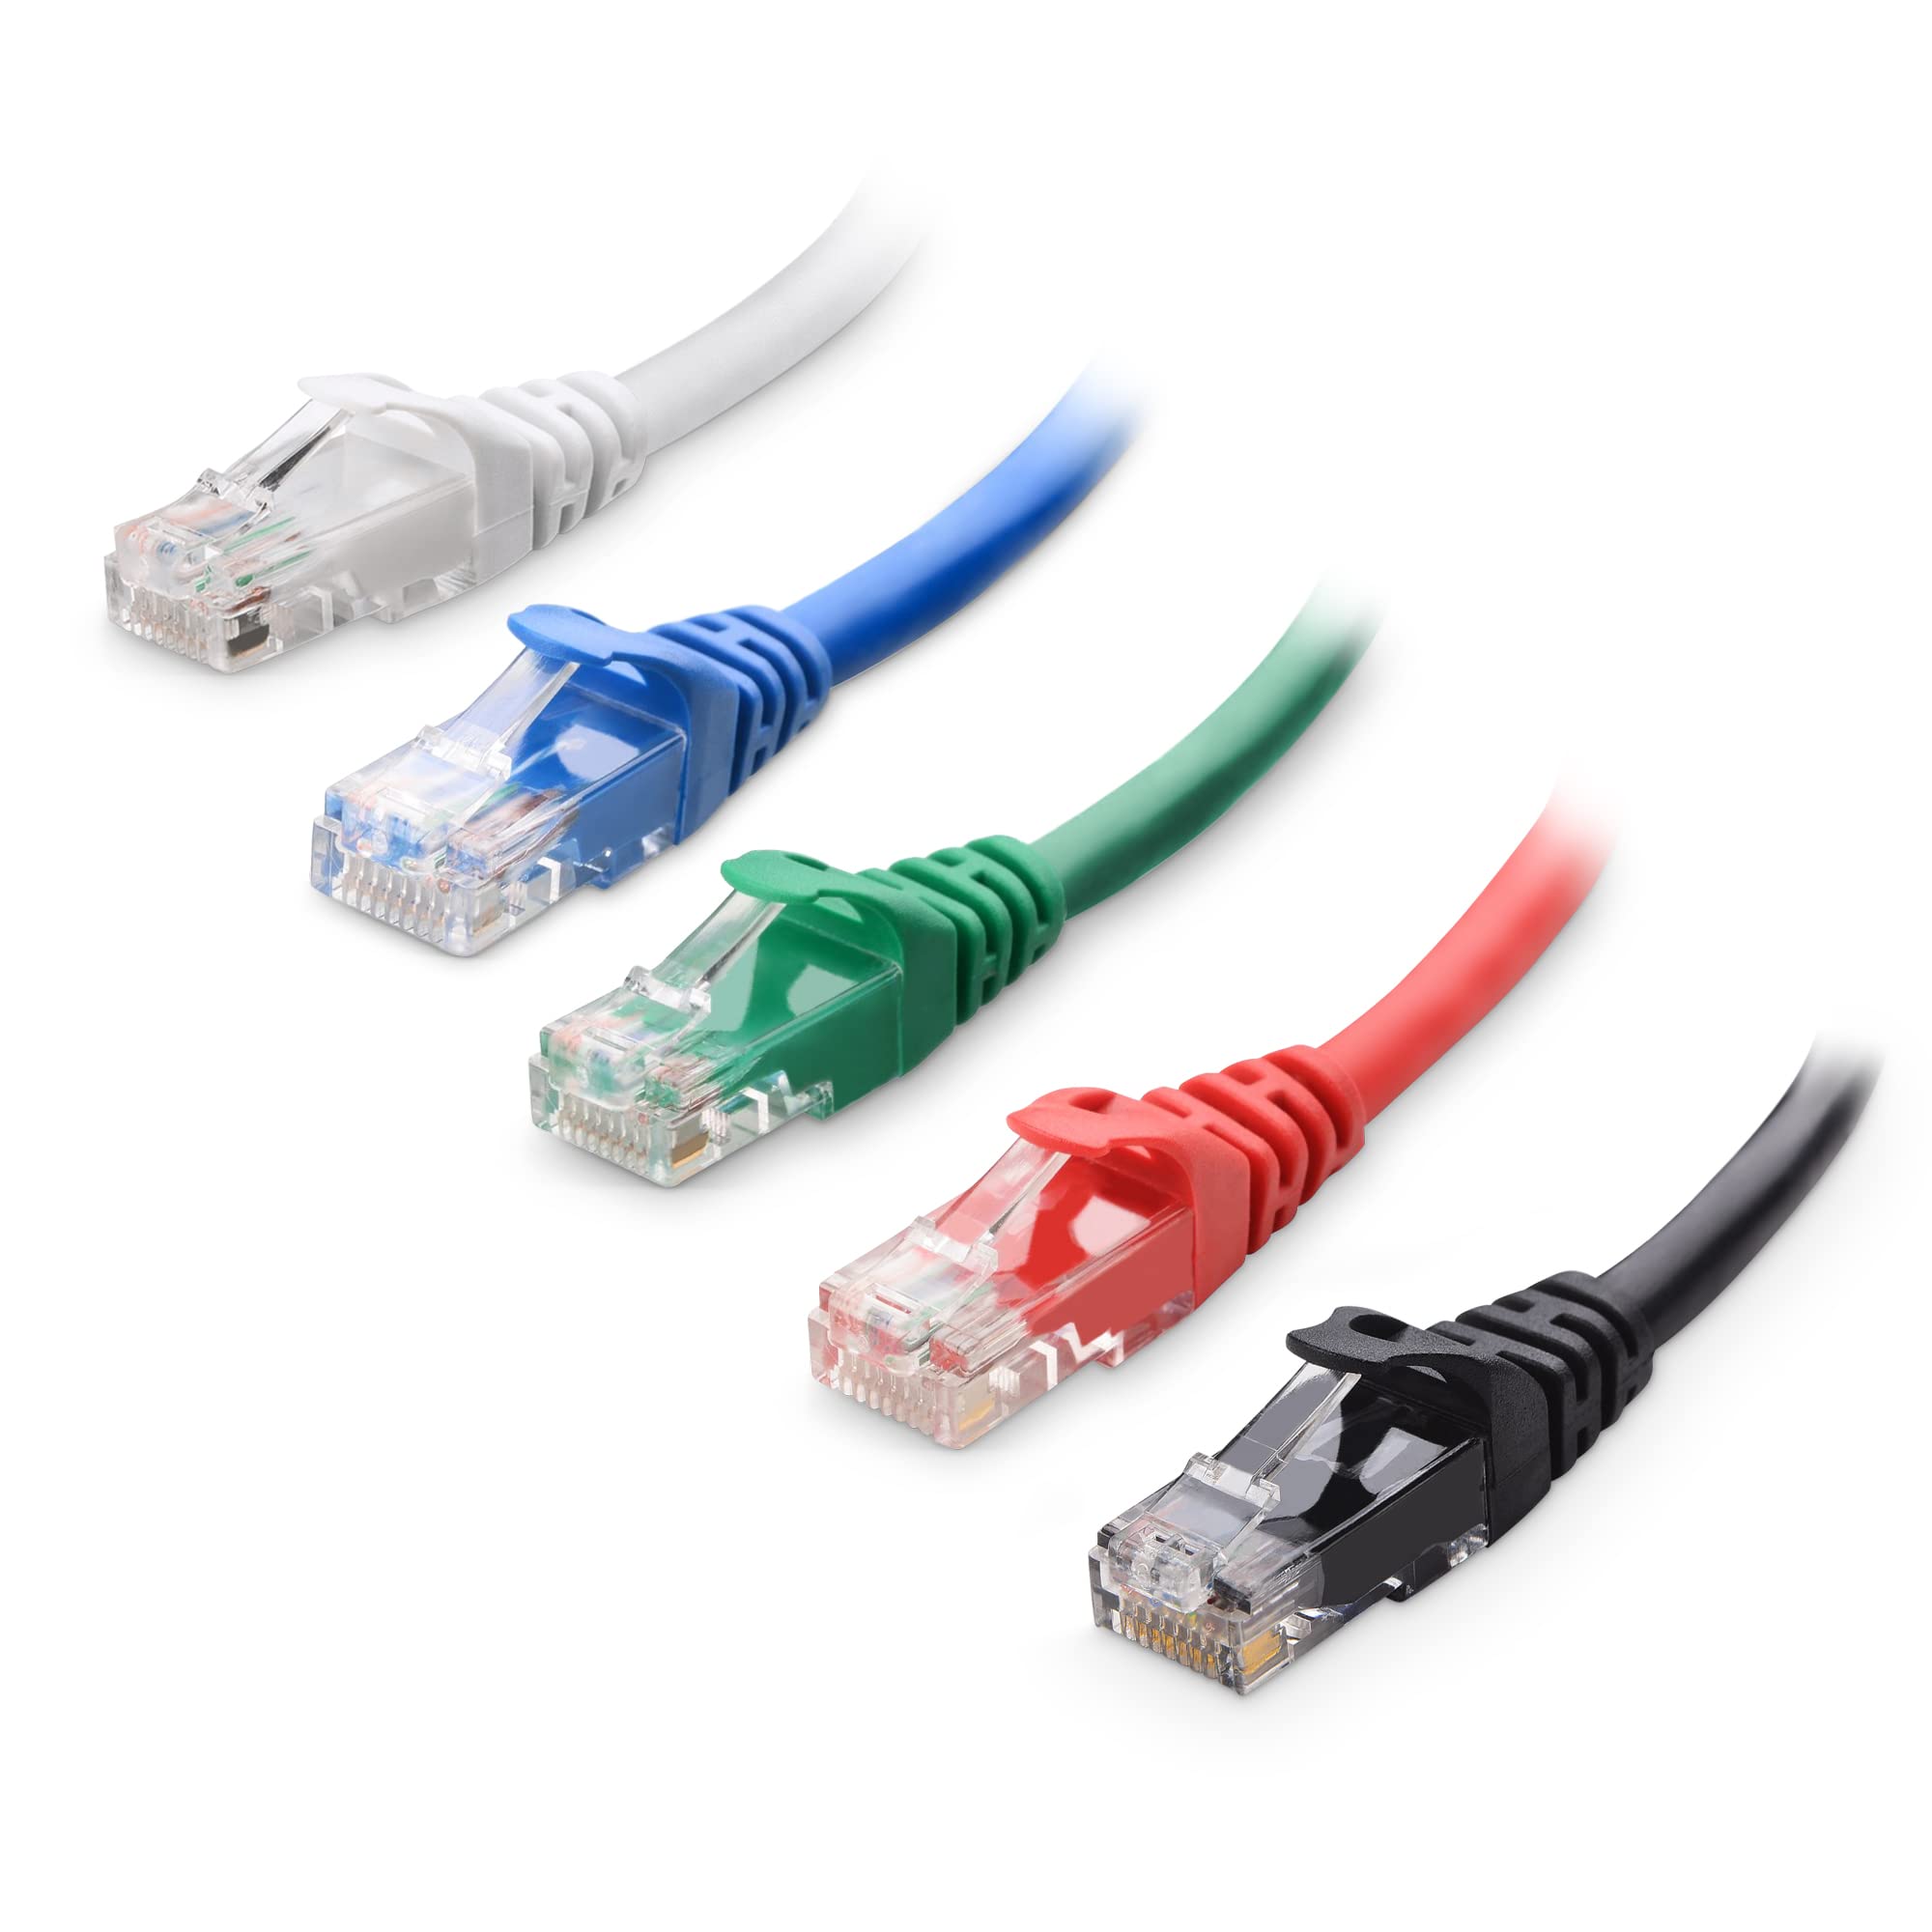
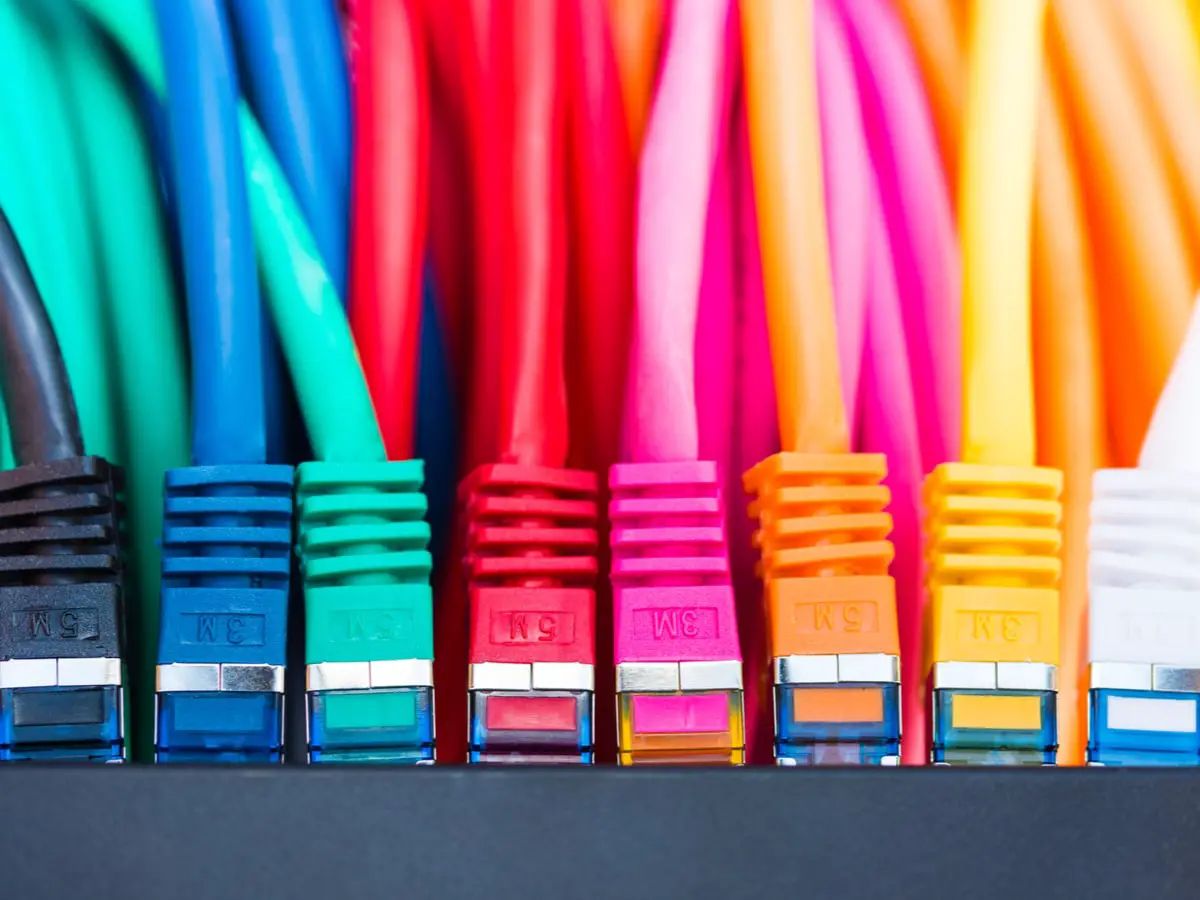
- Color Coding: Ethernet cables often utilize color coding schemes to differentiate their purposes. For example, a standard Ethernet cable is typically gray, while crossover cables, used for directly connecting similar devices, may feature different colors for easy identification.
Understanding the basics of Ethernet cables is vital for effectively establishing and maintaining networks. These cables serve as the backbone of wired connections, ensuring seamless data transfer and communication between devices within a LAN.
Types of Ethernet Cable
Ethernet cables come in various types, each offering different capabilities and speeds. Understanding the different types can help you choose the right cable for your specific network requirements. Here are some commonly used types:
- Cat5: Cat5 cables are the most basic type of Ethernet cable. They support data transfer speeds of up to 100 Mbps and are suitable for basic home and office networks.
- Cat5e: Cat5e cables offer improved performance compared to Cat5. They can handle data transfer speeds of up to 1 Gbps and are backward compatible with Cat5 cables. Cat5e cables are the standard choice for most networks.
- Cat6: Cat6 cables provide even higher performance and faster data transfer speeds than Cat5e. They can handle speeds of up to 10 Gbps over shorter distances. Cat6 cables are ideal for demanding network applications requiring high bandwidth.
- Cat6a: Cat6a cables are an enhanced version of Cat6. They offer improved performance, reduced crosstalk, and can support data transfer speeds of up to 10 Gbps over longer distances. Cat6a cables are commonly used in professional networking setups.
- Fiber Optic Cables: Fiber optic cables use light signals to transmit data instead of electrical signals. They offer much higher speeds and longer transmission distances. Fiber optic cables are typically used in specialized networking environments where high bandwidth and long-range connectivity are necessary.
When choosing an Ethernet cable, it’s important to consider the specific requirements of your network. If you have a basic home or small office network, Cat5e cables are usually sufficient. However, if you require higher speeds for video streaming, online gaming, or large file transfers, Cat6 or Cat6a cables are recommended. Fiber optic cables are preferred for enterprise-level networks or situations where long-range connectivity is needed.
By understanding the different types of Ethernet cables available, you can make an informed decision and ensure optimal network performance for your specific needs.
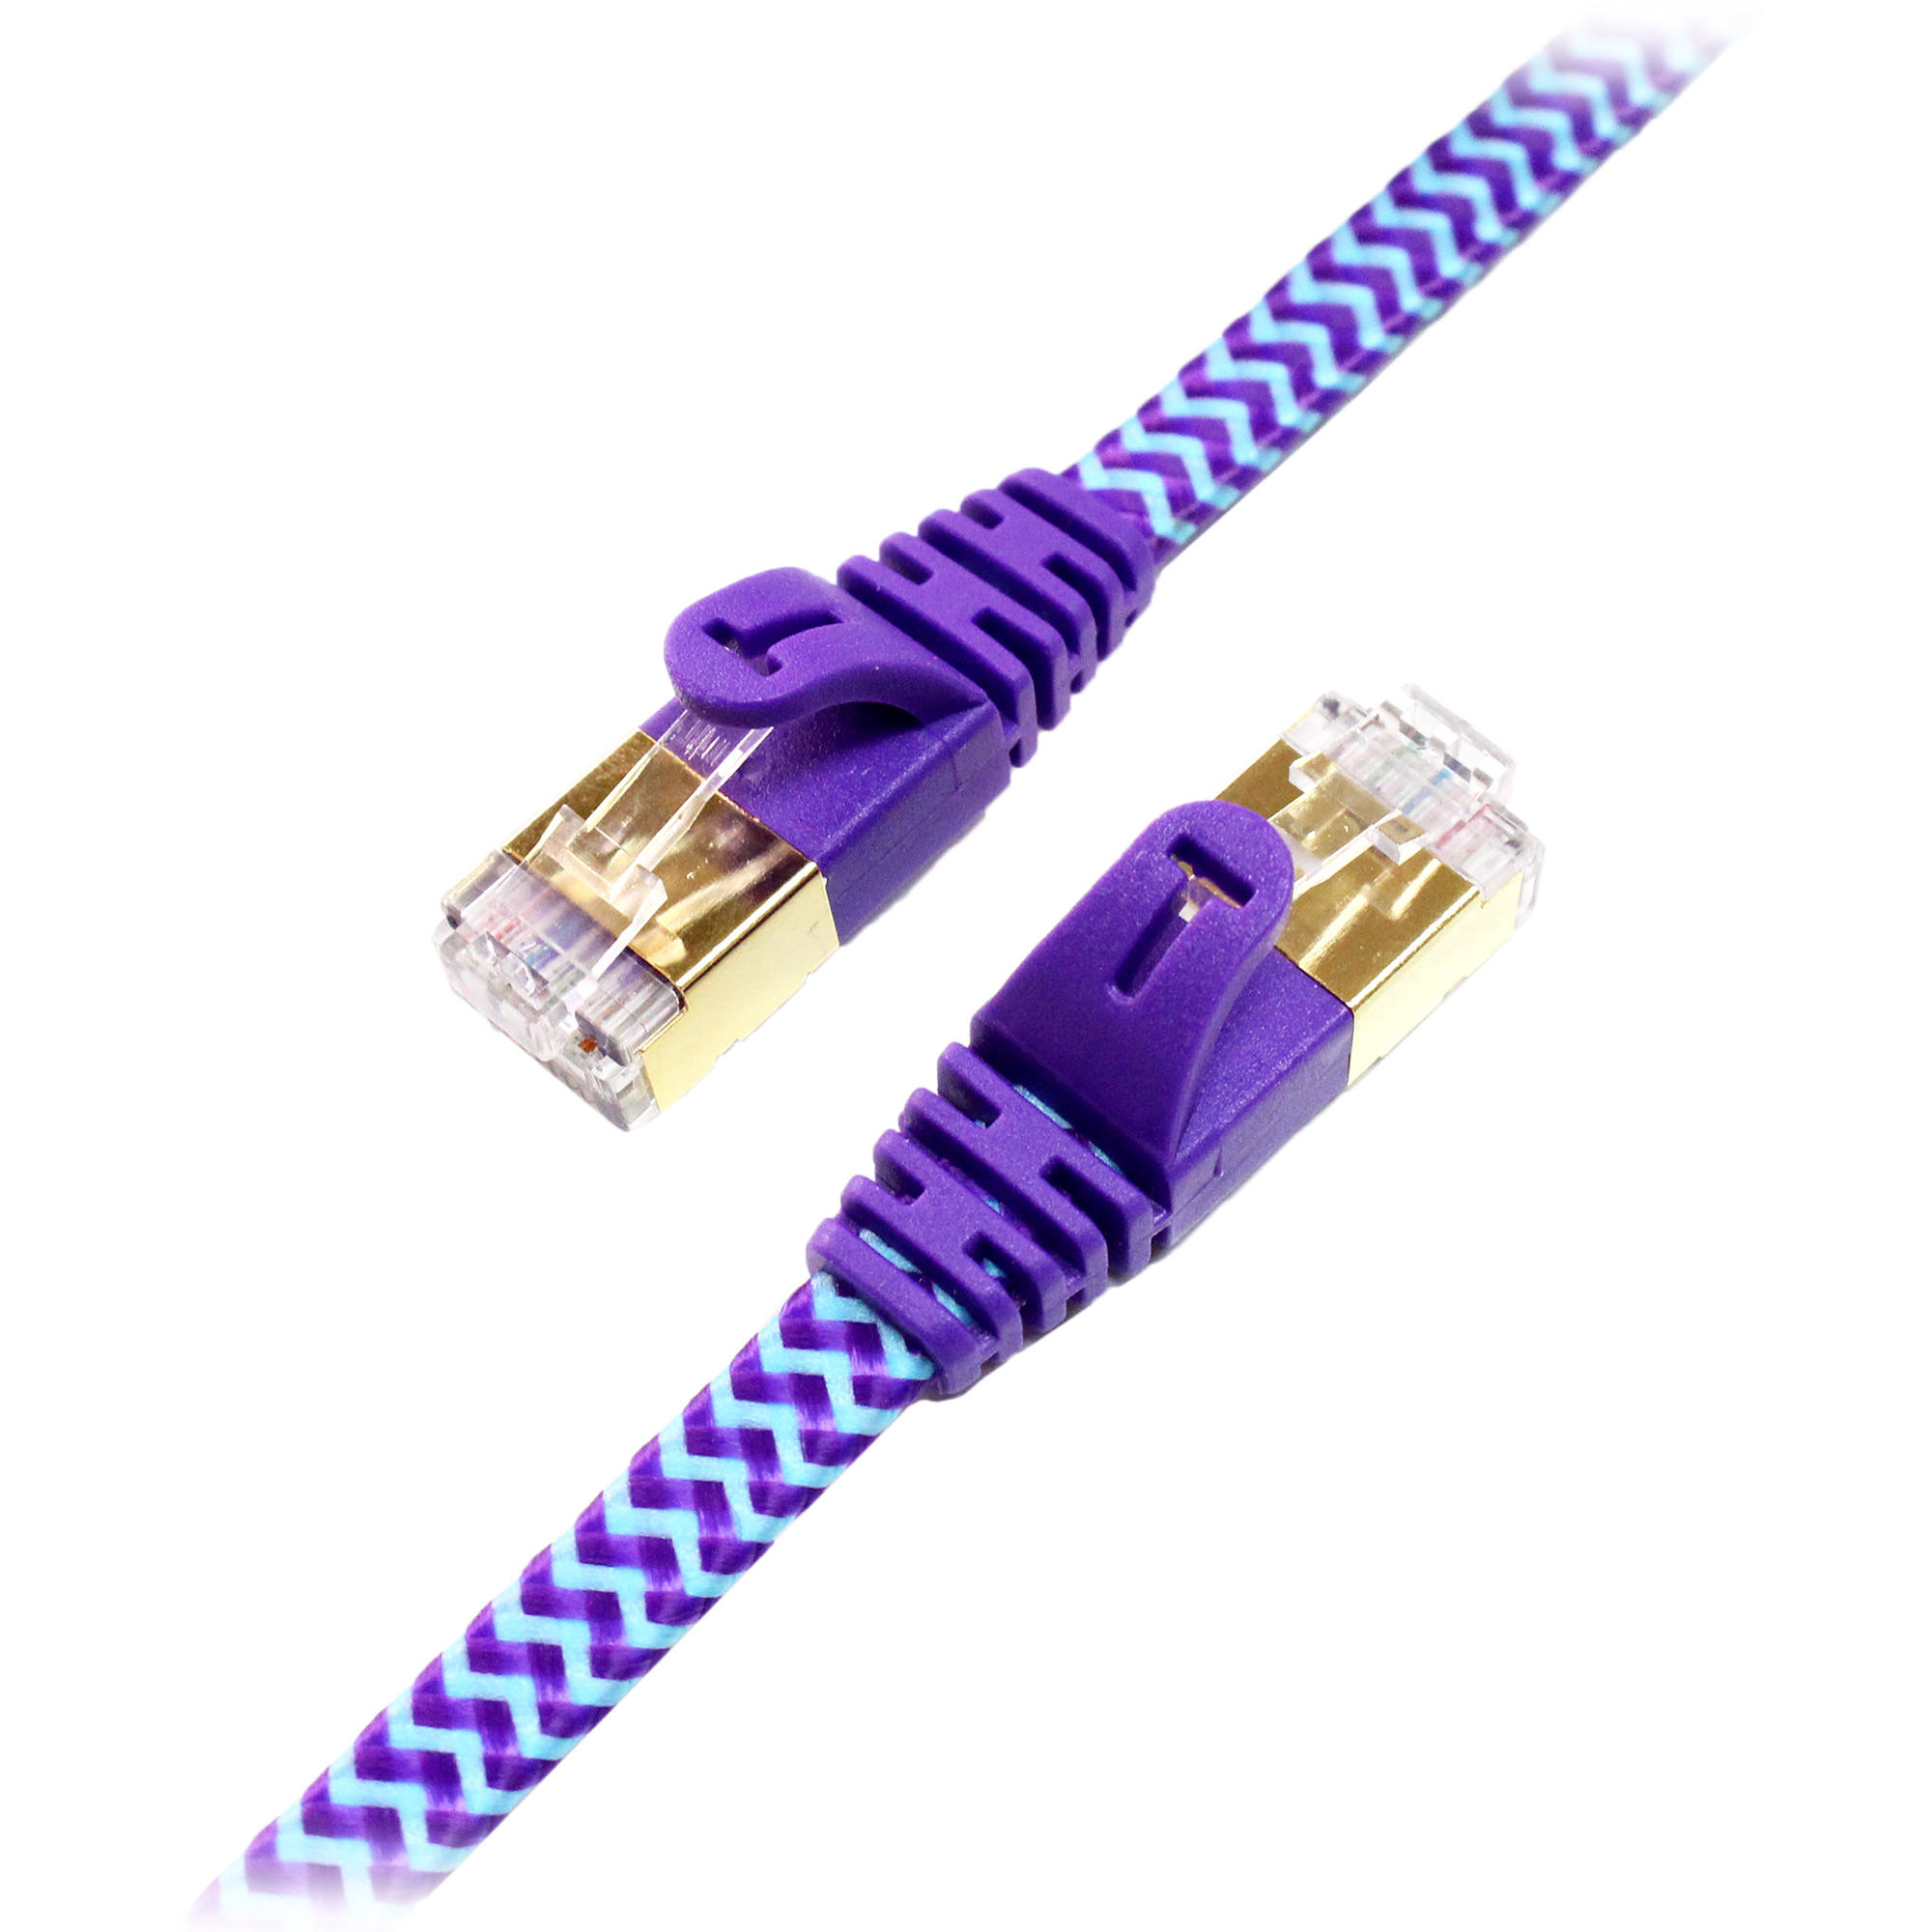
Ethernet Cable Connectors
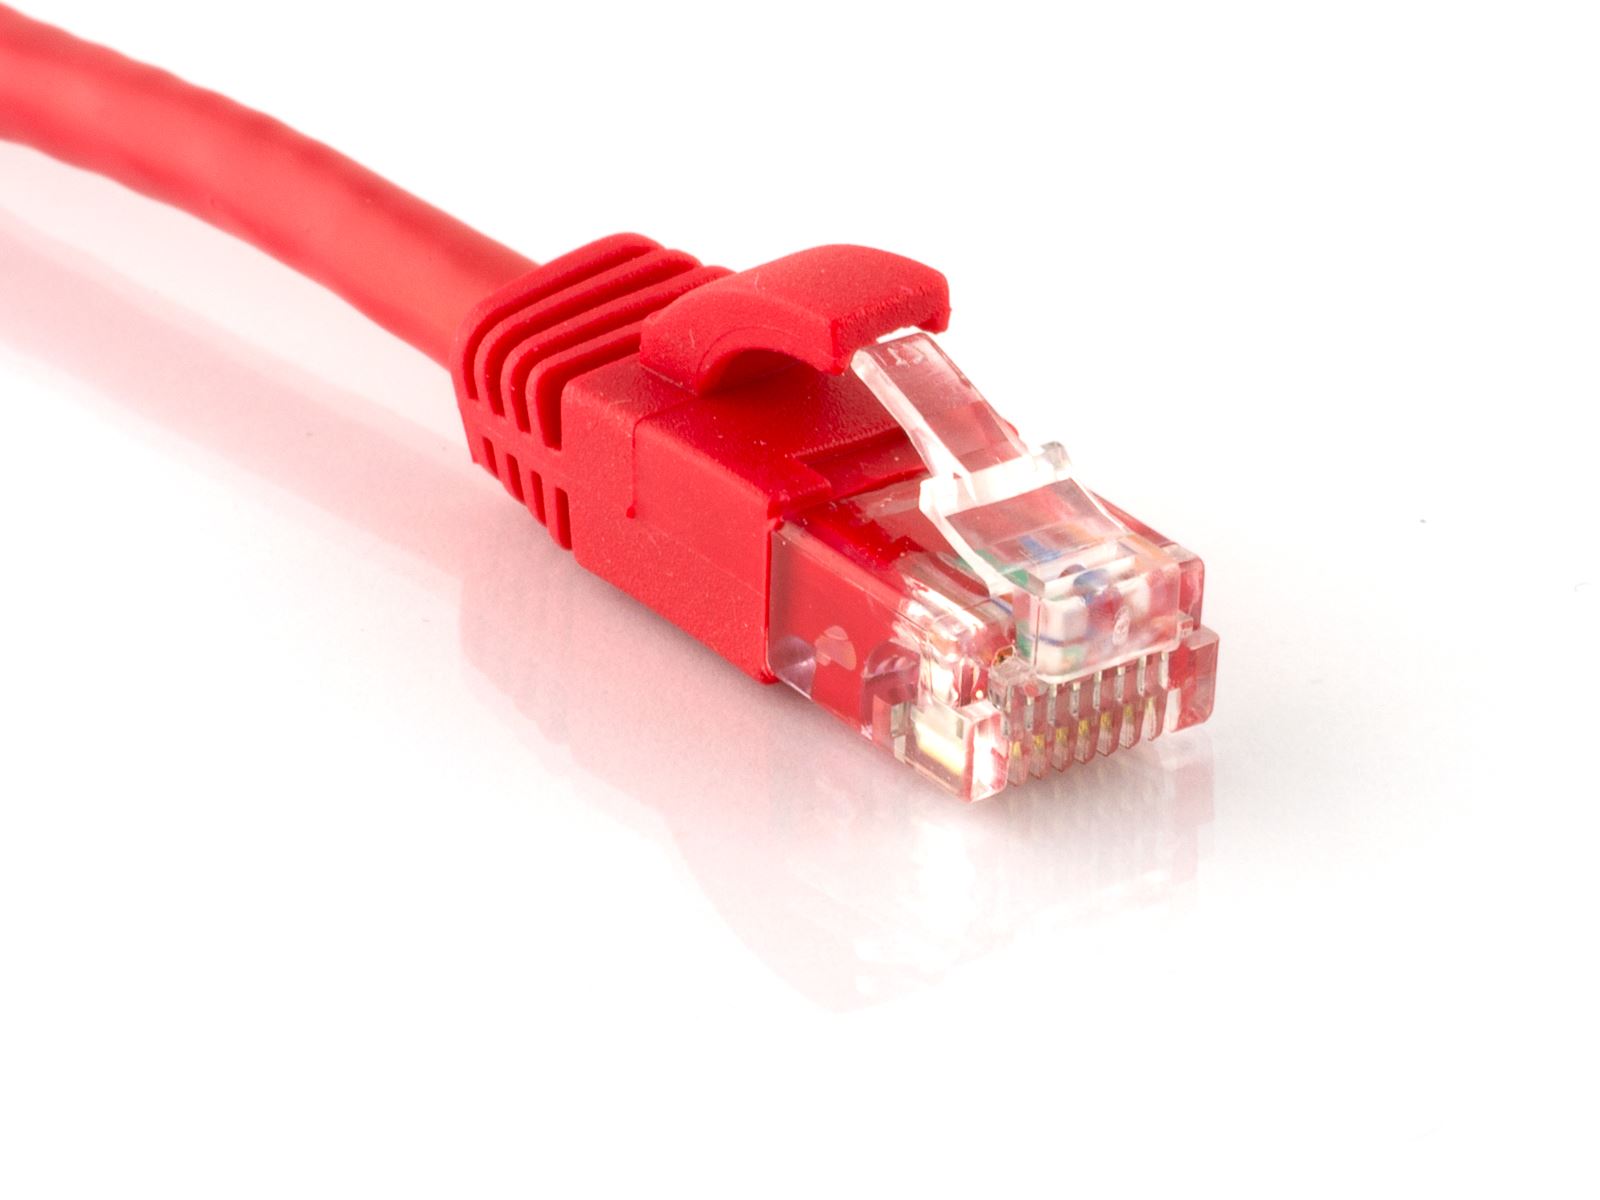
Ethernet cables are equipped with different types of connectors at each end, which allow them to be easily connected to various devices. The choice of connector depends on the type of cable and the device it will be connecting to. Here are some commonly used Ethernet cable connectors:
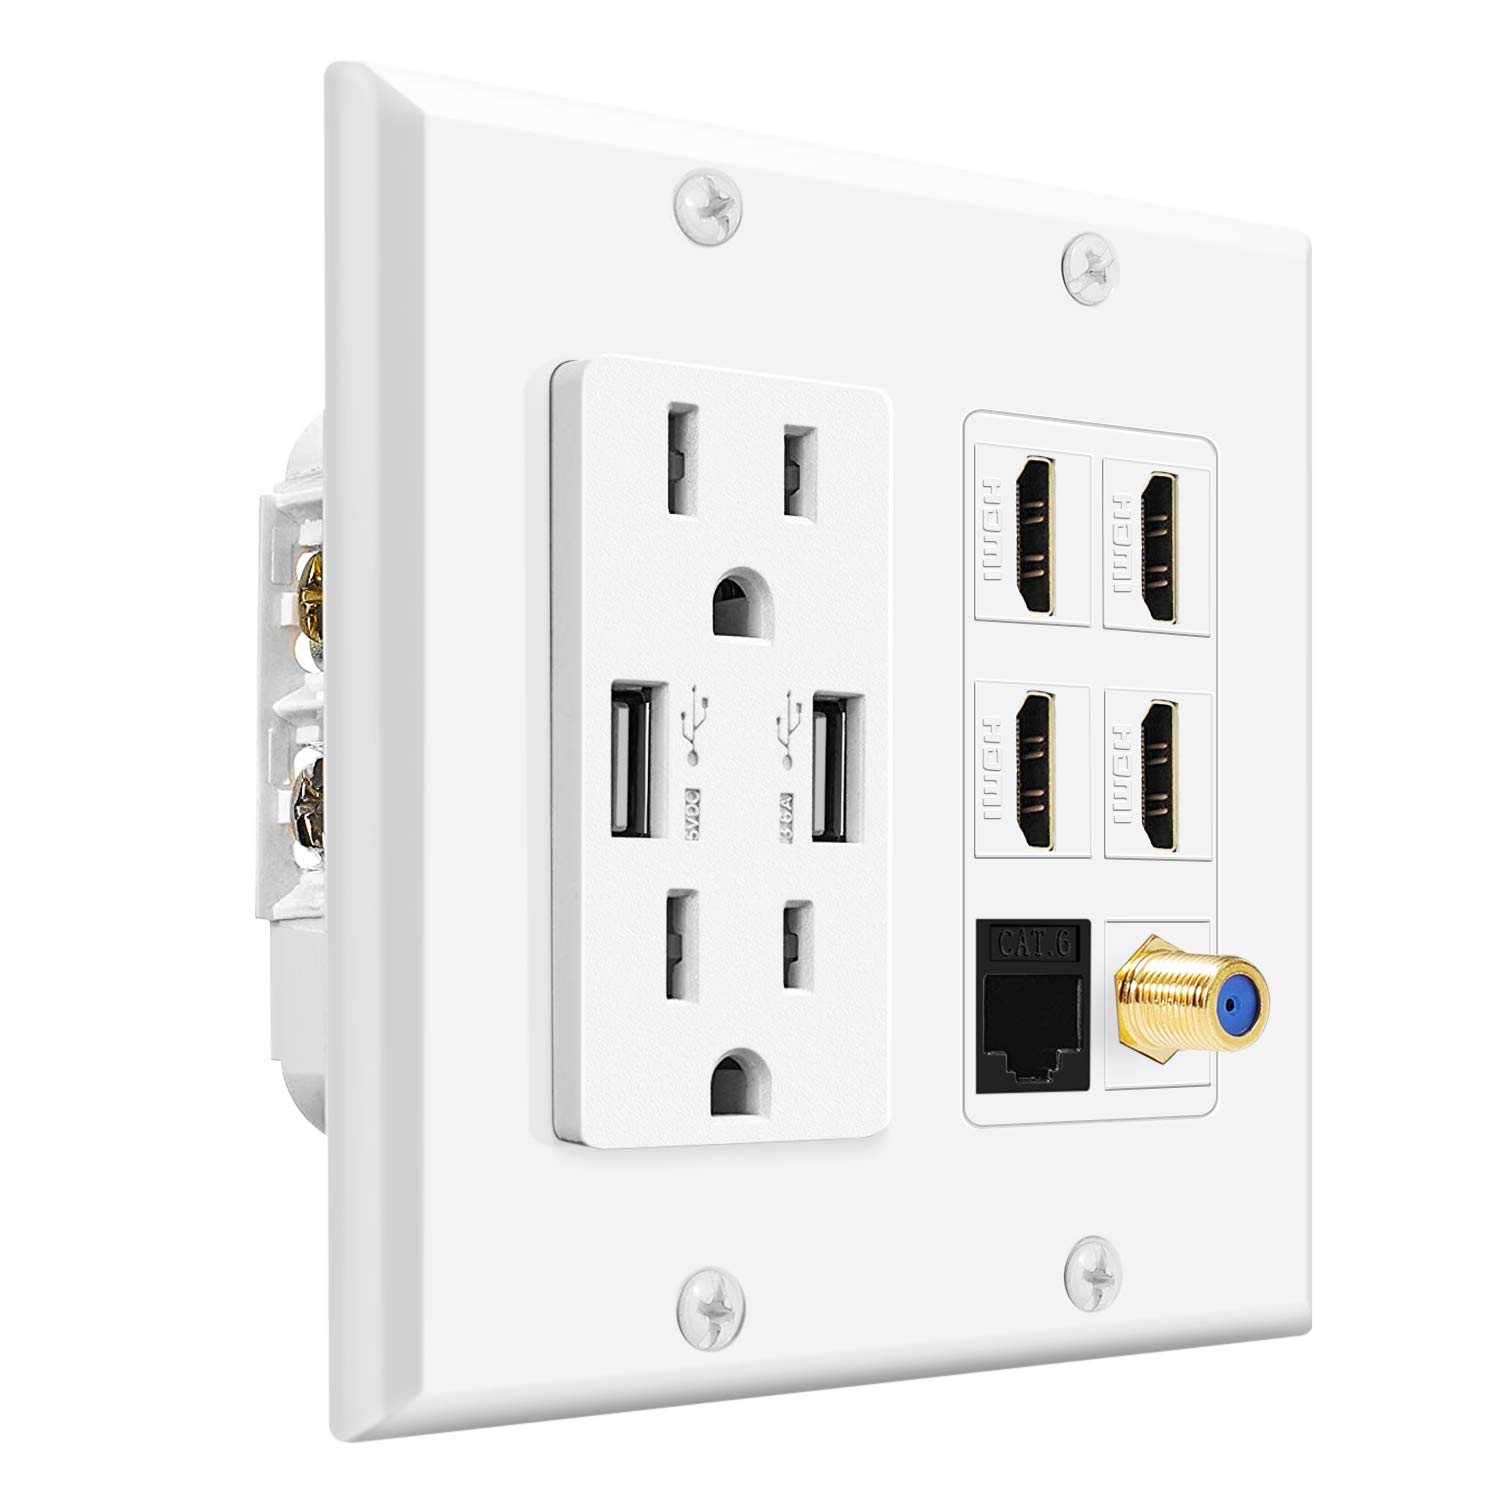
- RJ-45: The RJ-45 connector is the most widely used connector for Ethernet cables. It has eight pins and looks similar to a telephone connector. RJ-45 connectors are used with Cat5, Cat5e, Cat6, and Cat6a cables. They are used to connect computers, routers, switches, and modems.
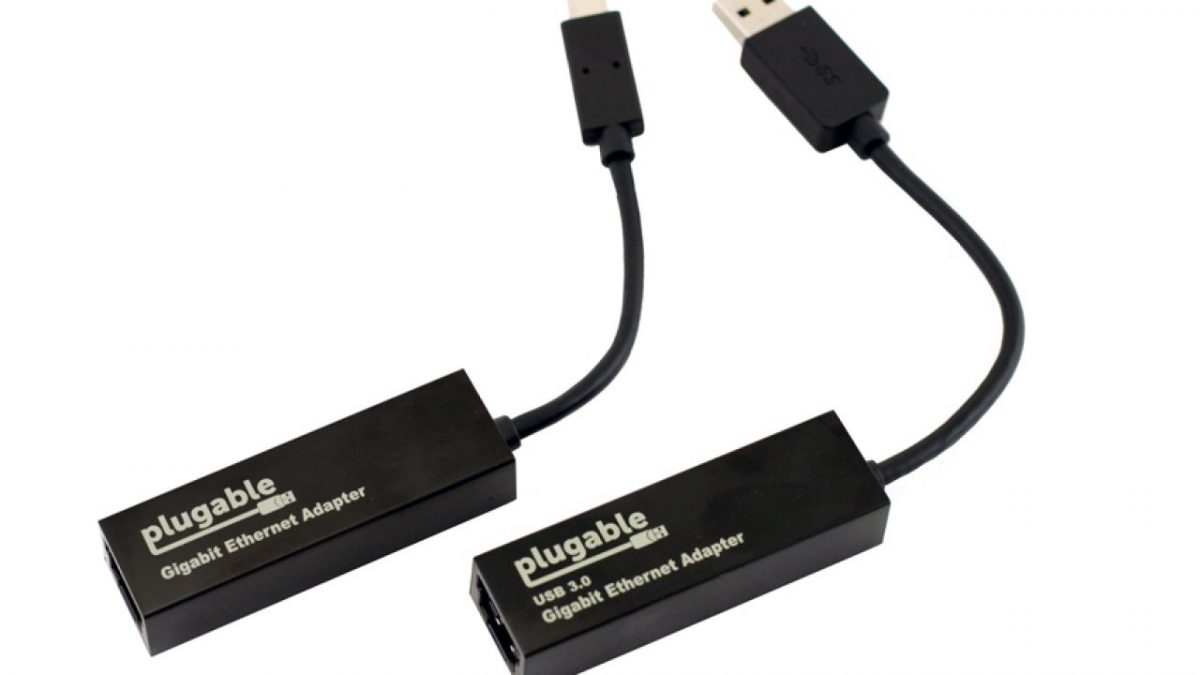
- USB to Ethernet: Some devices, such as laptops and gaming consoles, may have a USB port instead of an Ethernet port. In such cases, a USB to Ethernet adapter is used to connect the device to an Ethernet network.
- Fiber Optic Connectors: Fiber optic cables use different types of connectors depending on the fiber optic cable standard being used. Common connectors include SC, LC, ST, and FC connectors, which are designed for different types of fiber optic cables.
- BNC Connectors: BNC (Bayonet Neill-Concelman) connectors are used with coaxial Ethernet cables. They are typically found in older network setups or specialized applications.
When connecting Ethernet cables, it is important to align the connectors properly and ensure a secure and snug fit. This ensures a reliable connection and prevents data loss or disruption. Additionally, it is essential to use compatible connectors that are designed for the specific type of Ethernet cable being used.
Understanding Ethernet cable connectors is crucial when setting up a network or troubleshooting connectivity issues. It allows you to select the appropriate cables and connectors for your devices, ensuring seamless communication and data transfer within your network environment.
Common Devices Ethernet Cables Connect To
Ethernet cables are used to establish a wired connection between various devices within a network. They serve as a crucial link that enables seamless data transfer and communication between these devices. Here are some common devices that Ethernet cables connect to:
- Computers and Laptops: Ethernet cables connect desktop computers and laptops to the network, allowing them to access the internet, share files, and communicate with other devices within the network.
- Routers: Ethernet cables connect computers and other devices to routers, providing internet connectivity to the entire network. Routers serve as the central hub that distributes network traffic and manages the flow of data between devices.
- Modems: Modems connect to the internet service provider (ISP) and provide a network connection to the router. Ethernet cables connect the modem to the router, allowing the router to communicate with the ISP and provide internet access to the network.
- Switches: Switches are devices that connect multiple computers, printers, and other devices within a network. Ethernet cables are used to connect devices to switches, enabling them to communicate with one another and share network resources.
- Printers and Network Attached Storage (NAS) Devices: Ethernet cables connect printers and NAS devices to the network, allowing them to be shared and accessed by multiple devices within the network. This enables efficient file sharing and printing capabilities.
- Gaming Consoles: Gaming consoles, such as Xbox and PlayStation, often use Ethernet cables to connect to the network for online gaming and accessing digital content. This provides a stable and reliable connection, reducing lag and ensuring an optimal gaming experience.
- IP Cameras: Ethernet cables connect IP cameras to the network, enabling real-time video monitoring and remote access. This allows for effective surveillance and security in both residential and commercial settings.
These are just a few examples of devices that Ethernet cables commonly connect to. Ethernet cables offer a reliable and fast means of communication and data transfer, making them an essential component of any wired network infrastructure.
Connecting Ethernet Cables to Computers
Connecting an Ethernet cable to a computer is a straightforward process and allows for a wired network connection. Here’s a step-by-step guide on how to connect an Ethernet cable to a computer:
- Locate the Ethernet port on your computer. Most modern computers have an Ethernet port located on the back or side of the device.
- Take one end of the Ethernet cable and align the connector with the Ethernet port on the computer.
- Gently insert the connector into the Ethernet port, making sure it is firmly seated. The connector should easily slide into the port without the need for excessive force.
- Repeat the same process for the other end of the Ethernet cable, connecting it to the Ethernet port on the router, modem, or switch, depending on your network setup.
- Once the cable is securely connected at both ends, the computer should detect the network connection automatically.
- Configure the network settings if required, such as entering the IP address, subnet mask, and gateway information. In most cases, the computer will obtain these settings automatically through Dynamic Host Configuration Protocol (DHCP).
- Test the network connection by opening a web browser or using other network-dependent applications. If the connection is successful, you should be able to browse the internet or access resources on the local network.
It’s important to ensure that the Ethernet cable is in good condition and free from any damage or frayed wires. A faulty cable can cause connection issues and affect network performance. Additionally, it is recommended to use Ethernet cables of appropriate length to avoid excessive tangling or strain on the cable.
By following these simple steps, you can easily connect an Ethernet cable to a computer and enjoy the benefits of a stable and fast wired network connection.
Connecting Ethernet Cables to Routers
Connecting an Ethernet cable to a router is a crucial step in establishing a wired network connection. Here’s a step-by-step guide on how to connect an Ethernet cable to a router:
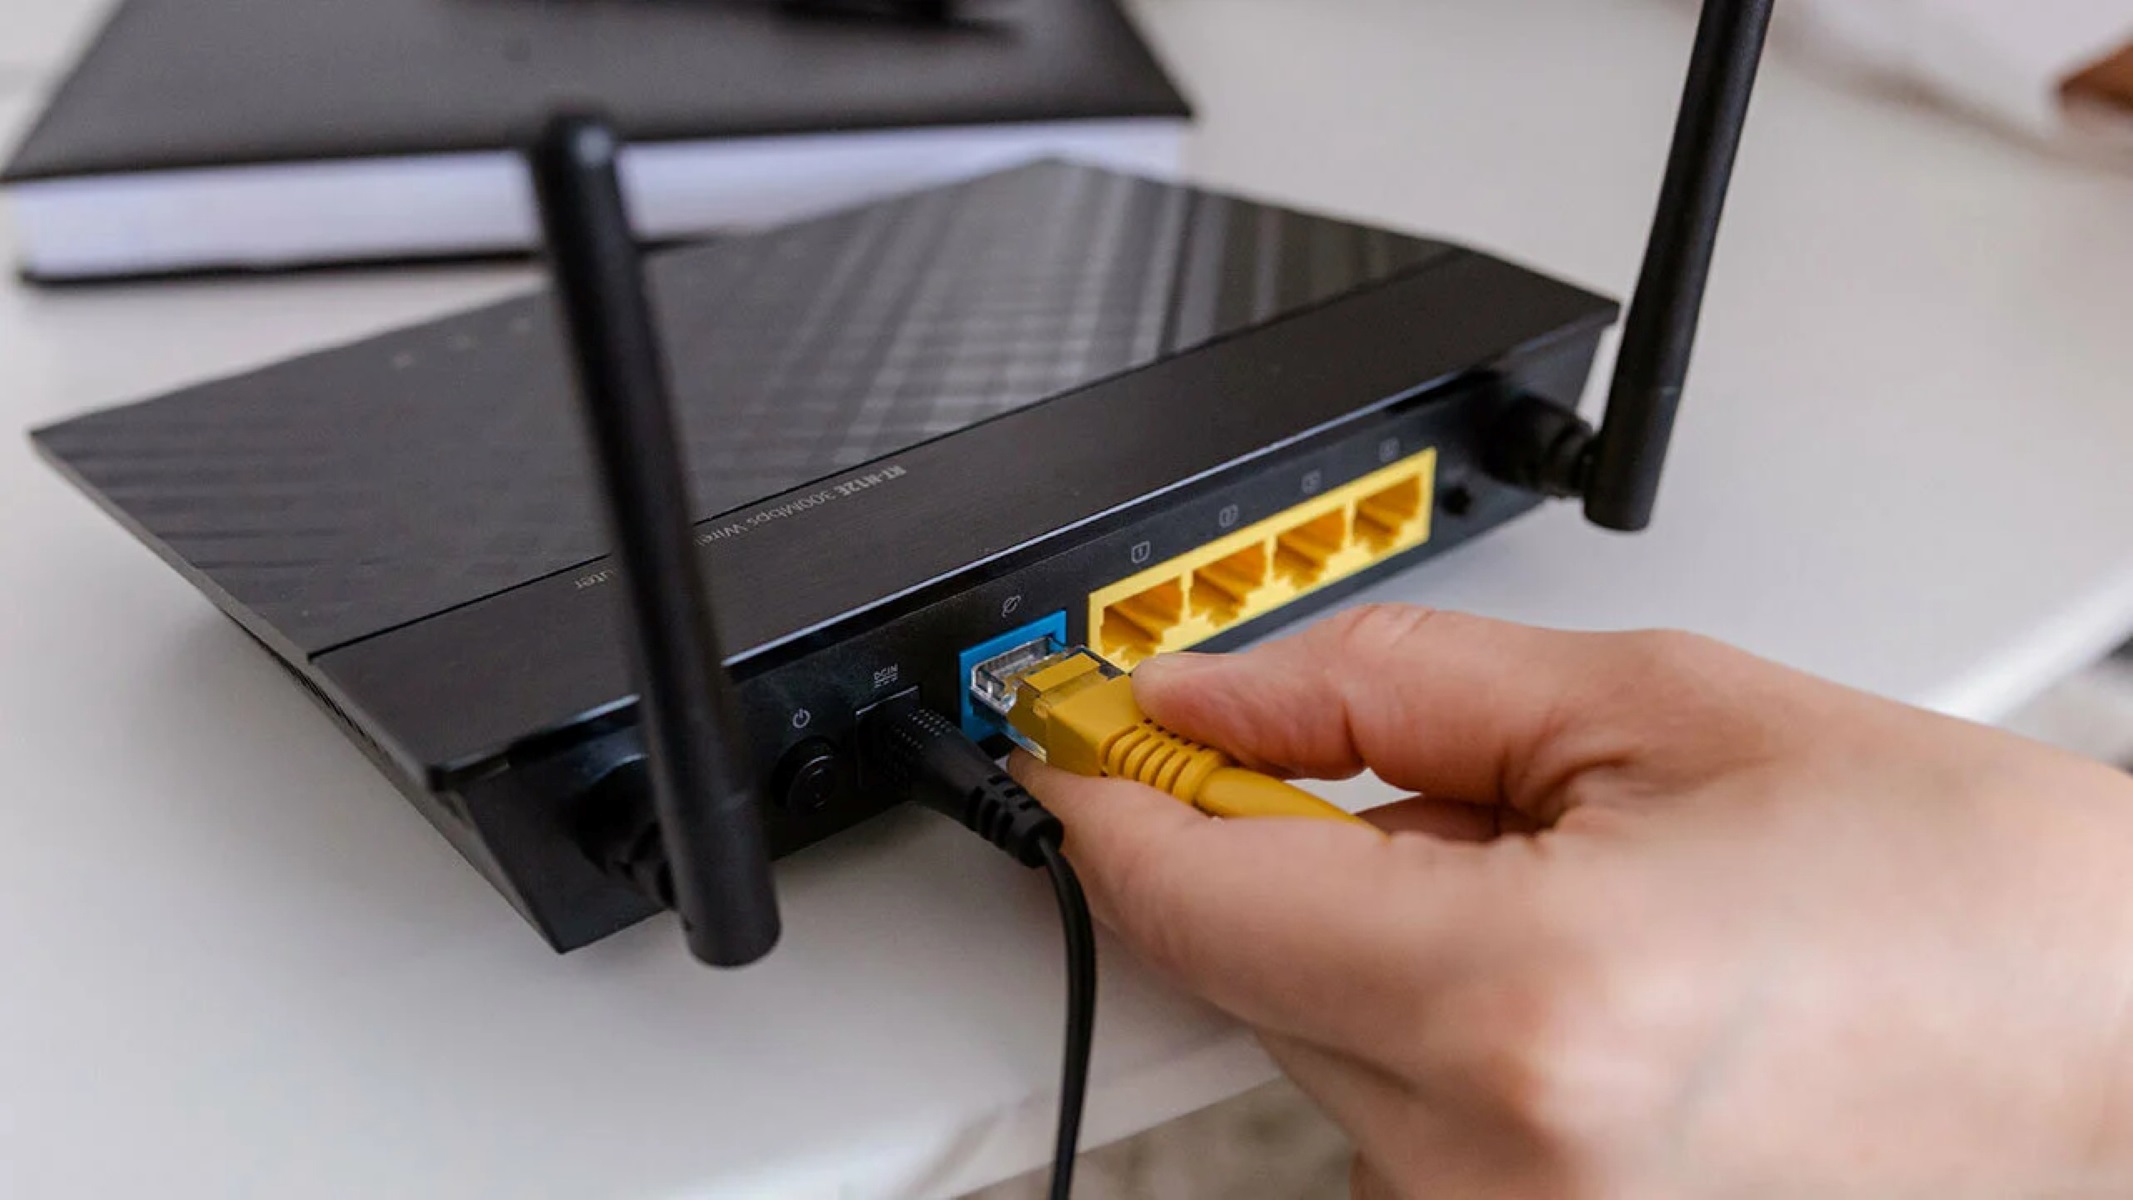
- Locate the Ethernet port on the back or side of the router. Routers typically have multiple Ethernet ports, labeled as LAN (Local Area Network) or numbered accordingly.
- Take one end of the Ethernet cable and align the connector with one of the LAN ports on the router.
- Gently insert the connector into the LAN port, ensuring it is securely seated. The connector should fit smoothly into the port without the need for excessive force.
- Repeat the same process for the other end of the Ethernet cable, connecting it to the Ethernet port on the computer or device you want to connect to the network.
- If you have access to the router’s configuration settings, log in to the router’s interface using the provided web address and credentials. This step may vary depending on the router brand and model.
- Once logged in to the router’s interface, you can configure the network settings if needed, such as setting up network security features, changing the Wi-Fi network name (SSID), or assigning IP addresses to connected devices.
- Once the cable is securely connected at both ends and the appropriate network settings have been configured, the router will distribute the network connection to the connected devices. The devices should automatically detect the network and connect to it.
- Test the network connection by opening a web browser or using network-dependent applications. If the connection is successful, you should be able to access the internet and communicate with other devices on the network.
It’s important to ensure that the Ethernet cable is in good condition and free from any damage or frayed wires. A faulty cable can cause connection issues and affect network performance. Additionally, make sure to choose a LAN port on the router and not the WAN (Wide Area Network) port, which is typically used for internet connections from the modem.
By following these steps, you can easily connect an Ethernet cable to a router and enjoy a stable and reliable wired network connection for your devices.
Connecting Ethernet Cables to Modems
Connecting an Ethernet cable to a modem is a crucial step in establishing an internet connection for your network. Here’s a step-by-step guide on how to connect an Ethernet cable to a modem:
- Locate the Ethernet port on the back or side of the modem. The Ethernet port is usually labeled as “LAN” or “Ethernet”.
- Take one end of the Ethernet cable and align the connector with the Ethernet port on the modem.
- Gently insert the connector into the Ethernet port, making sure it is firmly seated. The connector should easily slide into the port without excessive force.
- Connect the other end of the Ethernet cable to the Ethernet port on the router. This allows the modem to communicate with the router and share the internet connection.
- Ensure that the Ethernet cables are securely connected at both ends.
- Power on the modem and wait for it to establish a connection with your internet service provider (ISP). This may take a few minutes.
- Once the modem has established a connection, power on the router and wait for it to initialize.
- Test the internet connection by connecting a device to the router via Wi-Fi or through another Ethernet cable. If the connection is successful, you should be able to access the internet and browse webpages, stream videos, or use other online services.
It’s important to ensure that the Ethernet cable is in good condition and free from any damage or frayed wires. A faulty cable can cause connection issues and affect network performance. Additionally, make sure to connect the Ethernet cable to the LAN port on the router and not the WAN port, which is typically used for the internet connection from the modem.
By following these steps, you can easily connect an Ethernet cable to a modem and establish an internet connection for your network.
Connecting Ethernet Cables to Switches
Connecting Ethernet cables to switches is an essential step in creating a local area network (LAN) and enabling communication between multiple devices. Follow this step-by-step guide to connect Ethernet cables to switches:
- Identify the Ethernet ports on the switch. Switches typically have multiple Ethernet ports, numbered or labeled as “LAN,” “Ethernet,” or “Switch Ports.”
- Take one end of the Ethernet cable and align the connector with one of the available Ethernet ports on the switch.
- Gently insert the connector into the Ethernet port, ensuring it is securely seated. The connector should fit smoothly into the port without applying excessive force.
- Repeat the same process for the other end of the Ethernet cable, connecting it to the Ethernet port on the device you want to connect to the network, such as a computer, printer, or another networking device.
- Ensure that the Ethernet cables are securely connected at both ends.
- Repeat the process for any additional devices you want to connect to the switch, using the available Ethernet ports.
- Once all the devices are connected, the switch will automatically detect the connections and establish communication between them.
- Test the network connectivity by accessing shared files, printing documents, or performing any network-dependent tasks. If the connection is successful, the devices should be able to communicate with each other and share resources within the network.
It is important to note that switches do not provide internet connectivity on their own. To connect your network to the internet, you will need to connect the switch to a router or modem using an Ethernet cable.
By following these steps, you can easily connect Ethernet cables to switches and build a wired network infrastructure that facilitates seamless communication and data transfer among devices within your network.
Connecting Ethernet Cables to Gaming Consoles
Connecting gaming consoles to the internet via Ethernet cable can provide a more stable and reliable network connection, minimizing lag and improving the gaming experience. Here’s a step-by-step guide on how to connect Ethernet cables to gaming consoles:
- Locate the Ethernet port on the back of your gaming console. The Ethernet port is usually labeled as “LAN” or “Ethernet”.
- Take one end of the Ethernet cable and align the connector with the Ethernet port on the gaming console.
- Gently insert the connector into the Ethernet port, ensuring it is securely seated. The connector should fit smoothly into the port without excessive force.
- Connect the other end of the Ethernet cable to the Ethernet port on the router or modem.
- Ensure that the Ethernet cables are securely connected at both ends.
- Power on your gaming console and navigate to the network settings menu.
- Select the option to connect to the internet via a wired connection.
- Follow the on-screen prompts to complete the network setup, which may involve selecting the appropriate network SSID (name) and entering any required credentials.
- Once the setup is complete, the gaming console will establish a network connection using the Ethernet cable.
- Test the internet connection by accessing online services, such as multiplayer gaming, digital storefronts, or streaming apps. If the connection is successful, you should be able to enjoy a stable online gaming experience.
Connecting gaming consoles to the internet via Ethernet cable is recommended for online gaming, as it provides a more stable and reliable connection compared to Wi-Fi. It can help reduce latency and prevent interruptions during gameplay.
By following these steps, you can easily connect Ethernet cables to gaming consoles and maximize your gaming experience by ensuring a stable and robust network connection.
Conclusion
Ethernet cables play a vital role in establishing reliable and high-speed wired connections within a network. By understanding the basics of Ethernet cables, the various types available, and how to connect them to different devices, you can create a robust network infrastructure.
From connecting to computers and routers to modems, switches, and gaming consoles, Ethernet cables provide a stable and efficient means of communication and data transfer. They offer advantages such as faster speeds, reduced latency, and improved network reliability.
When connecting Ethernet cables, it is important to ensure that the connectors are securely seated and that the cables are in good condition. This helps maintain optimal signal integrity and prevent any potential connectivity issues.
Whether you are setting up a home network, office network, or gaming network, Ethernet cables are a key component that allows devices to communicate and share resources smoothly. By following the proper steps to connect Ethernet cables to different devices, you can enjoy a seamless and reliable network experience.
In today’s increasingly connected world, Ethernet cables continue to be a dependable choice for network connectivity. Understanding how to use and connect Ethernet cables opens up a world of possibilities for efficient data transfer, seamless communication, and enhanced network performance.
So, whether you’re setting up a network infrastructure, optimizing your gaming experience, or simply seeking a more reliable connection, Ethernet cables are your go-to solution for high-speed, wired networking.