Introduction
Welcome to the world of high-speed internet connections! In today’s digital age, having a reliable and fast internet connection is crucial. While Wi-Fi has become prevalent in many households and public spaces, sometimes a wired connection is still necessary for optimal speed and stability. This is where Ethernet comes into play.
Ethernet, often referred to as a wired connection, allows you to connect your laptop directly to your network router or modem using an Ethernet cable. It offers a more stable and secure internet connection compared to wireless options. Whether you’re working from home, gaming, or simply need faster internet speeds, connecting Ethernet to your laptop can greatly enhance your online experience.
In this article, we’ll guide you through the steps of connecting Ethernet to your laptop. We’ll explain the different types of Ethernet ports, how to check if your laptop is Ethernet-compatible, and provide a step-by-step guide to help you set up a wired connection effortlessly. Additionally, we’ll address some common troubleshooting issues that you may encounter along the way.
Before we dive into the details, it’s important to note that not all laptops have built-in Ethernet ports. In recent years, as laptops have become thinner and more lightweight, many manufacturers have opted to exclude Ethernet ports in favor of wireless connectivity. However, don’t worry if your laptop doesn’t have an Ethernet port, as we’ll also explore alternative solutions for connecting Ethernet to your laptop.
So, if you’re ready to boost your internet connection to new heights, let’s get started on the exciting journey of connecting Ethernet to your laptop!
Understanding Ethernet
Ethernet is a networking technology that allows devices to communicate with each other over a local area network (LAN). It is a wired connection that uses Ethernet cables to transmit data packets between devices. In simple terms, Ethernet is the foundation of how devices connect and share data over a wired network.
One of the key advantages of Ethernet is its speed and reliability. It offers faster and more stable internet connections compared to wireless options. This is particularly important for activities that require a high bandwidth, such as online gaming or streaming high-definition videos.
Another benefit of Ethernet is its lower latency. Latency refers to the time it takes for data to travel from one device to another. With Ethernet, the latency is typically lower compared to wireless connections, resulting in a more responsive and seamless experience when browsing the internet or using real-time applications.
Ethernet also provides a more secure connection than Wi-Fi. Since Ethernet requires a physical cable connection, it is more difficult for unauthorized users to access your network. This can be especially important for businesses and individuals who handle sensitive data and require a higher level of security.
Over the years, Ethernet technology has evolved to support faster speeds. The most common types of Ethernet cables used today are Cat5e, Cat6, and Cat6a. These cables have different capabilities in terms of data transmission speed and maximum cable length.
Understanding the different types of Ethernet cables and their respective speeds is important when setting up your Ethernet connection. It ensures that your cables are capable of handling the desired data speeds and distances, allowing you to maximize the performance of your network.
Now that we have a clear understanding of what Ethernet is and its benefits, let’s move on to the next section, where we’ll explore the various types of Ethernet ports that you may encounter on your laptop.
Types of Ethernet Ports
When it comes to Ethernet ports on laptops, there are a few different options you may encounter. Understanding the types of Ethernet ports will help you determine the compatibility and connectivity options available to you. Here are the most common types:
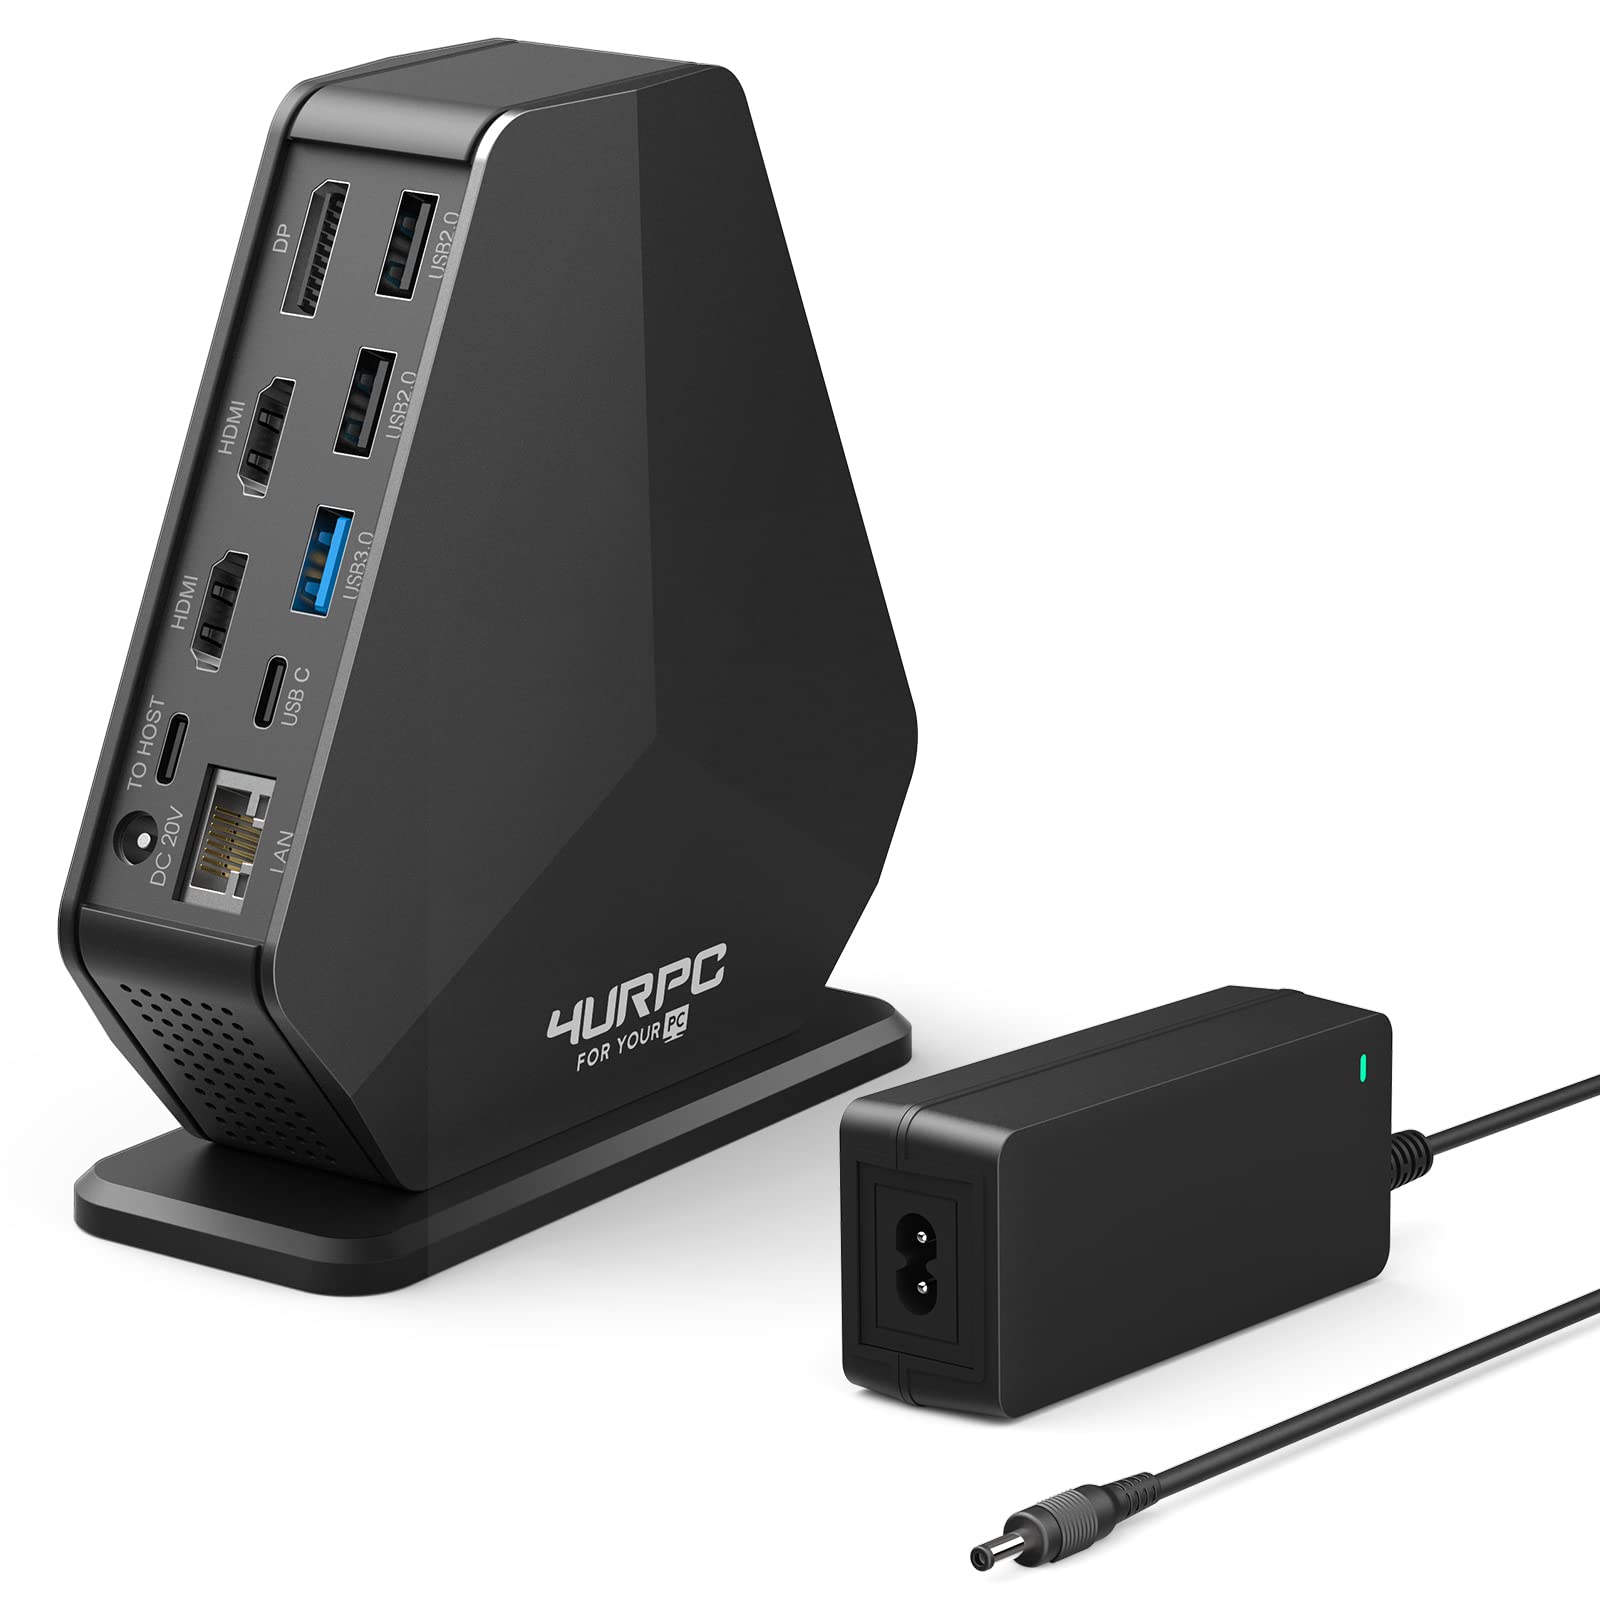
- RJ-45 Ethernet Port: This is the standard Ethernet port found on most laptops, also known as an RJ-45 port. It has a rectangular shape with a clip on one side to secure the Ethernet cable in place. The RJ-45 port supports a wide range of Ethernet cables, including Cat5e, Cat6, and Cat6a.
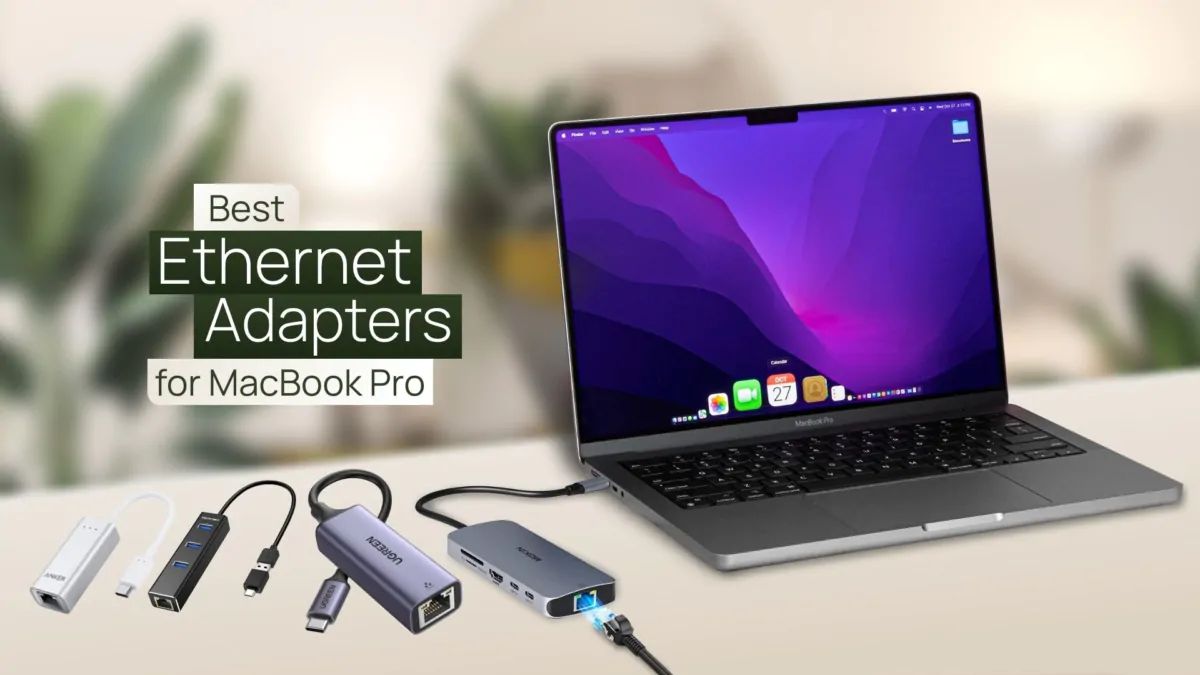
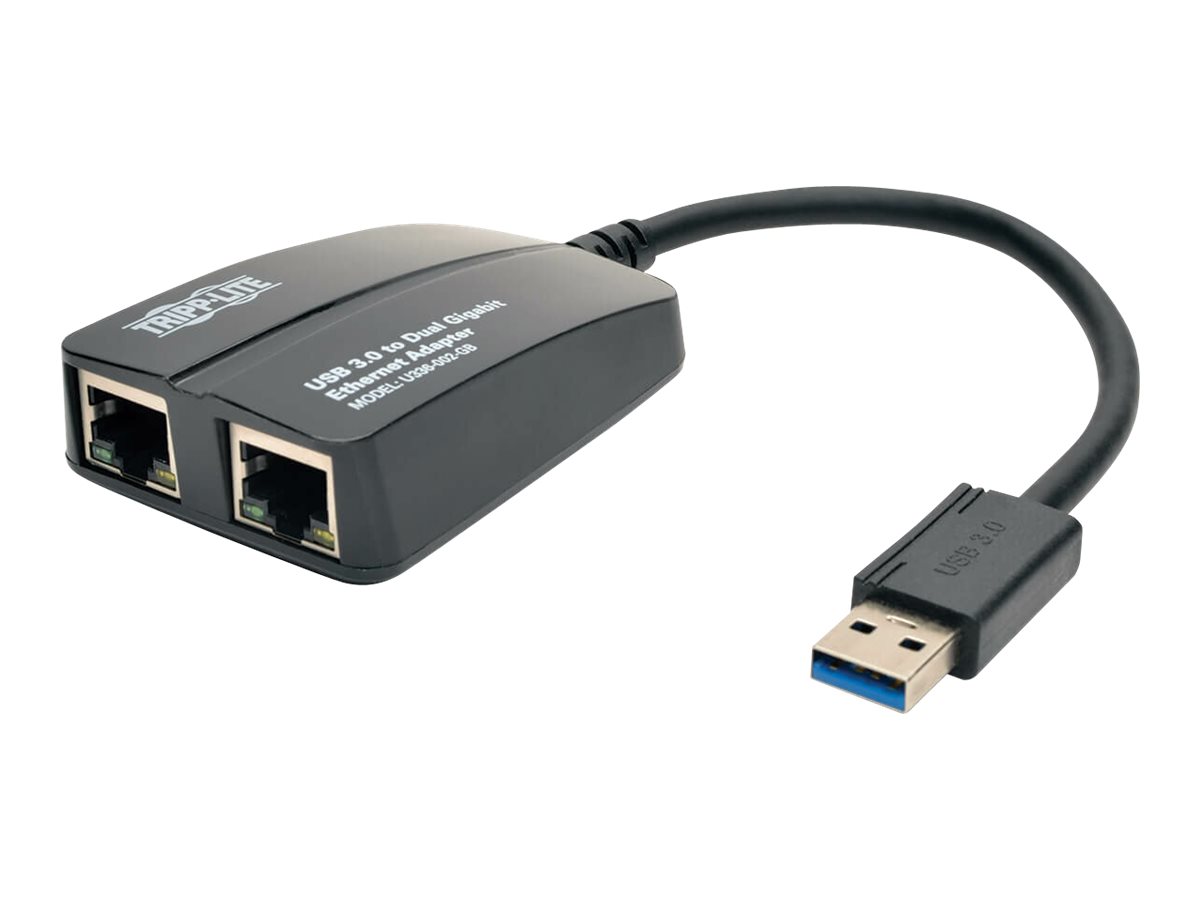
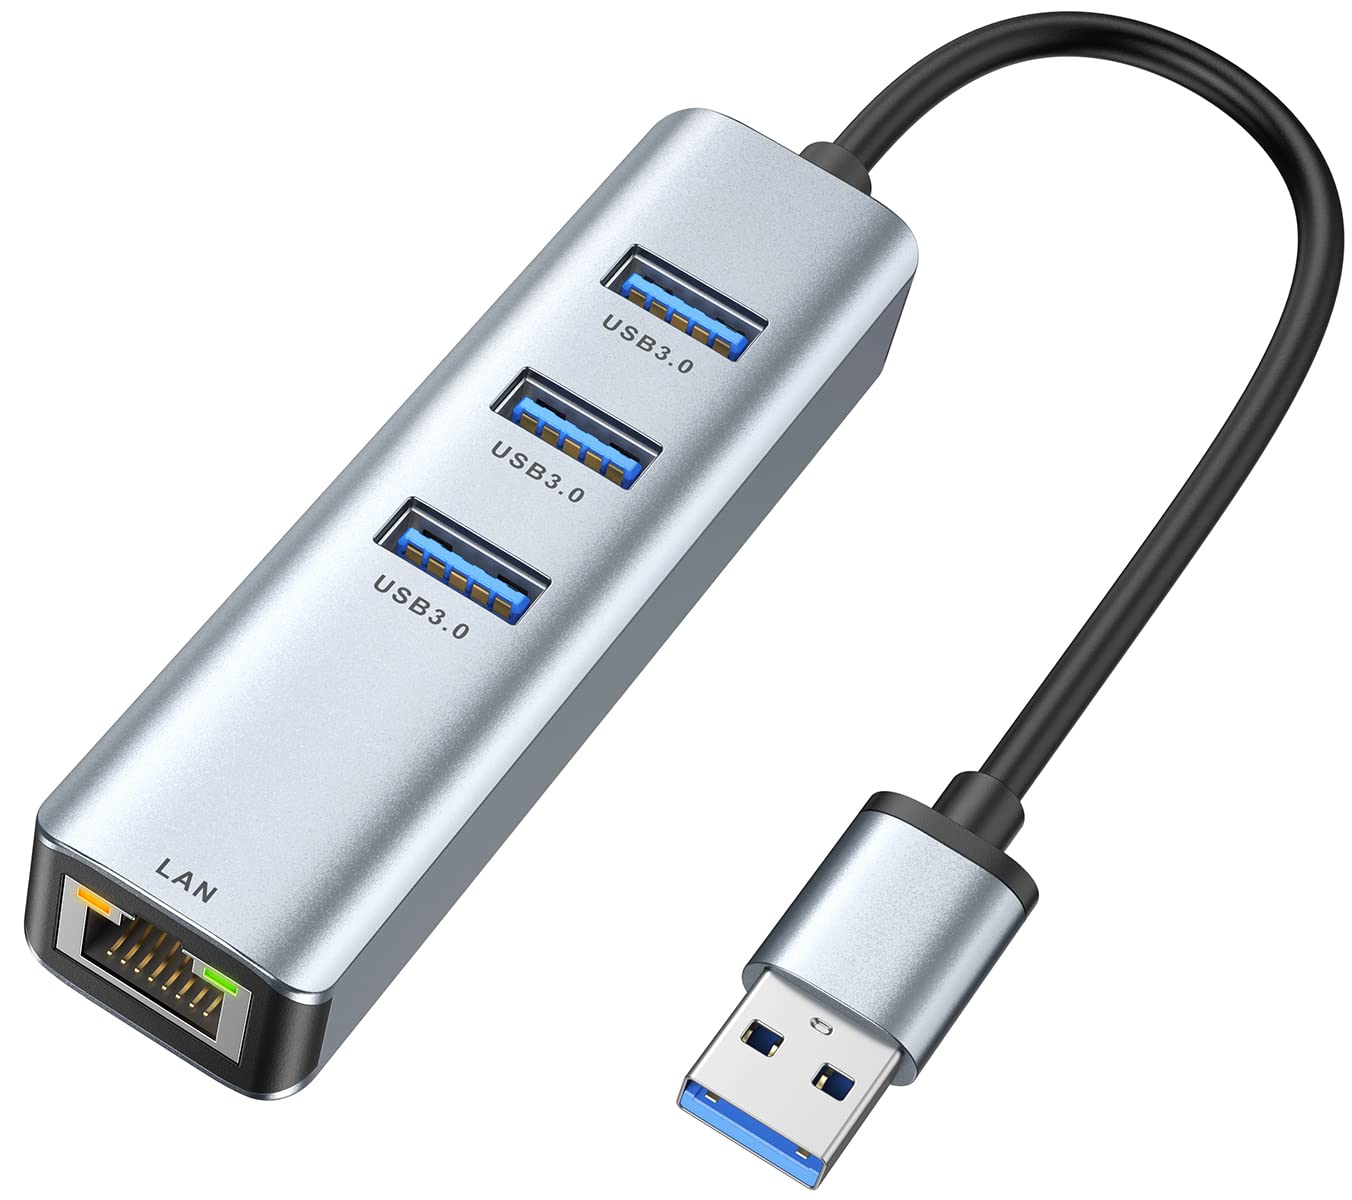
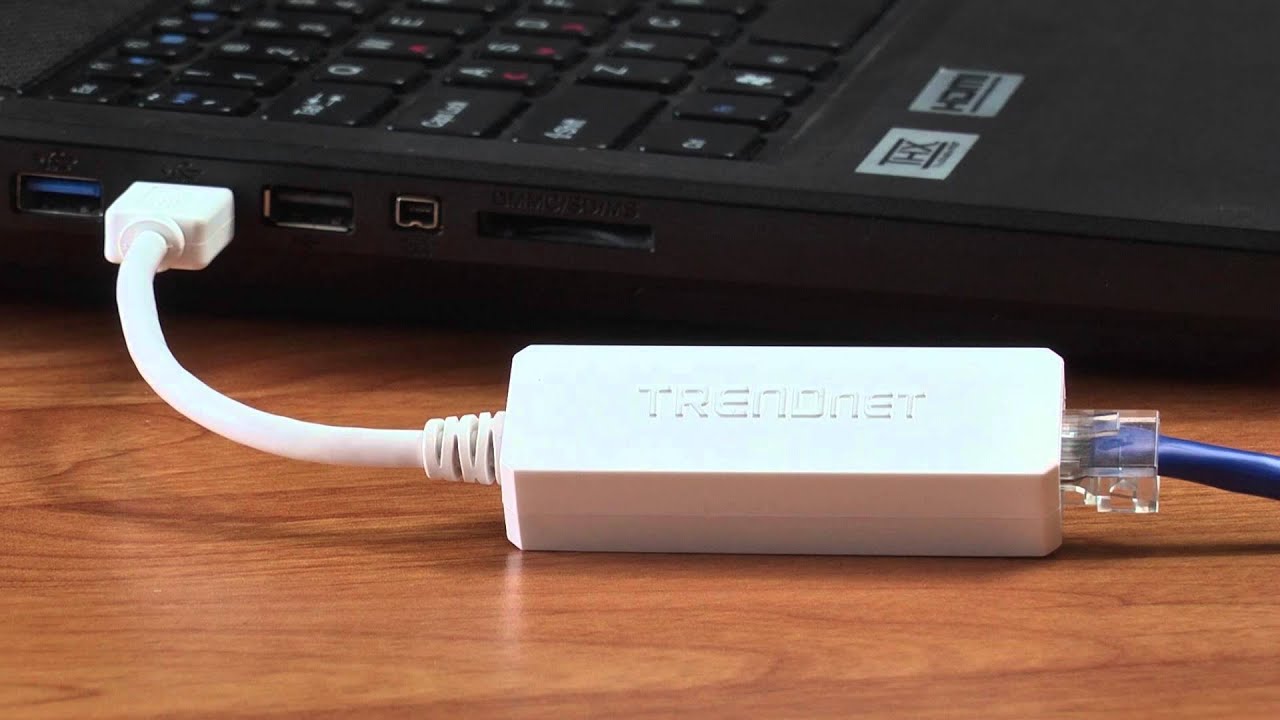
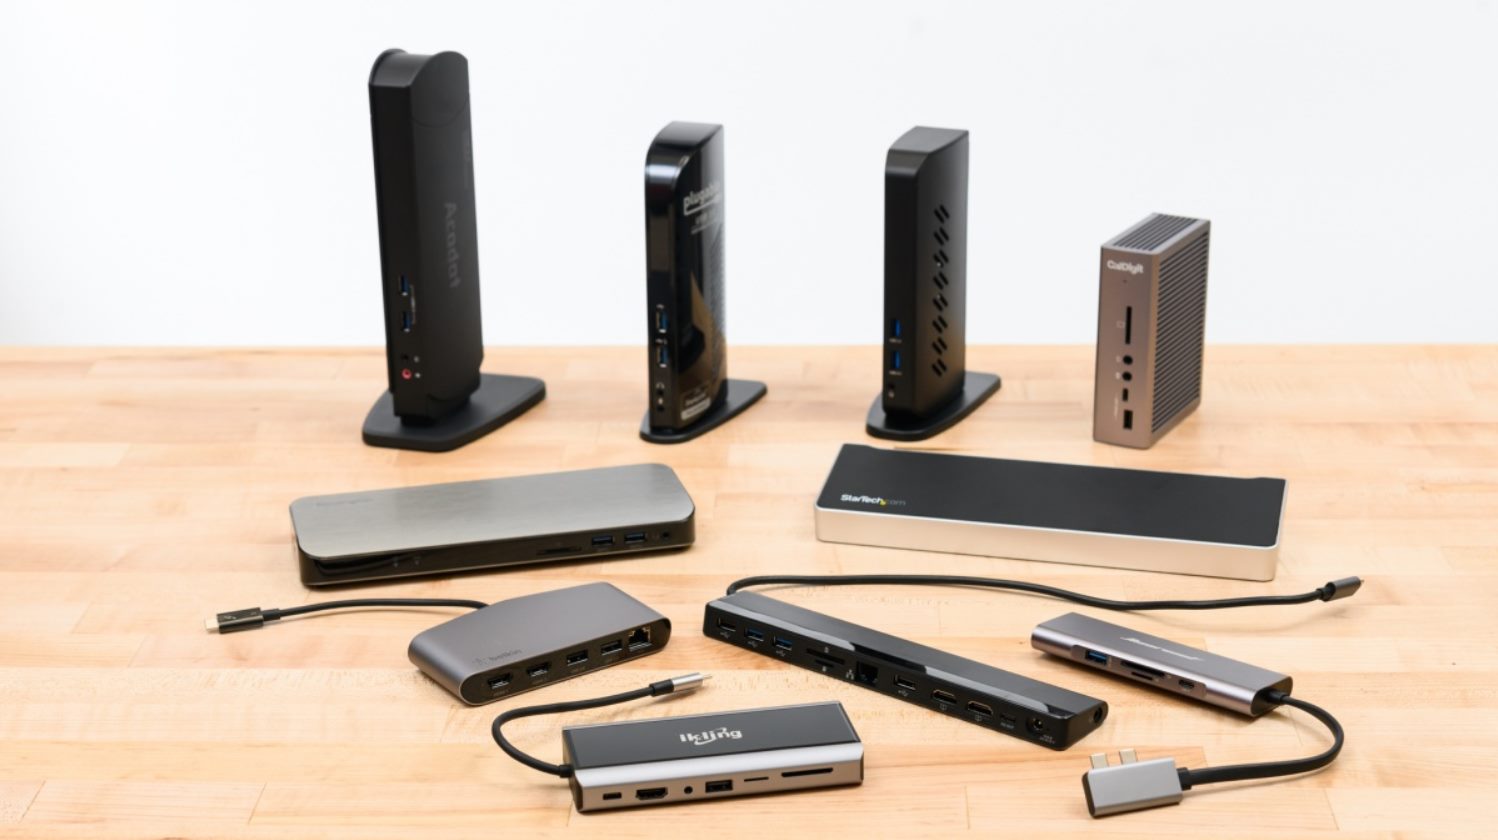
- USB to Ethernet Adapter: Some laptops, especially ultrabooks and newer models, may not have a built-in Ethernet port. In such cases, you can use a USB to Ethernet adapter to connect your laptop to an Ethernet cable. These adapters provide an RJ-45 Ethernet port on one end and a USB port on the other. Simply plug the adapter into your laptop’s USB port and connect the Ethernet cable to the adapter’s Ethernet port.
- USB-C to Ethernet Adapter: With the growing popularity of USB-C ports, you may also find laptops equipped with USB-C to Ethernet adapters. These adapters allow you to connect an Ethernet cable to your laptop using the USB-C port. Just like USB to Ethernet adapters, they provide an RJ-45 Ethernet port on one end and a USB-C connector on the other.
It’s essential to check the available ports on your laptop to determine the type of Ethernet connection you can establish. If your laptop has a built-in RJ-45 Ethernet port, you can directly connect an Ethernet cable to establish a wired connection. However, if your laptop lacks an Ethernet port, using a USB to Ethernet adapter or USB-C to Ethernet adapter is a viable solution.
Keep in mind that the USB to Ethernet adapters and USB-C to Ethernet adapters may require drivers to be installed on your laptop. These drivers enable your laptop to recognize the adapter and establish the Ethernet connection properly. In most cases, the adapters come with a CD or link to download the necessary drivers.
Now that we have covered the types of Ethernet ports on laptops, let’s move on to the next section, where we’ll explore how to check if your laptop is Ethernet-compatible.
Checking Ethernet Compatibility on Your Laptop
Before connecting Ethernet to your laptop, it’s essential to ensure that your laptop is Ethernet-compatible. Here are a few steps to help you determine if your laptop supports a wired Ethernet connection:
- Physical Inspection: Start by looking for a rectangular Ethernet port on your laptop. It is usually located on the side or back of the laptop and has a symbol representing a network jack or three overlapping lines.
- Check the User Manual: If you’re unsure whether your laptop has an Ethernet port, refer to the user manual or specifications of your laptop model. The manual should indicate whether the laptop is equipped with an Ethernet port or if you need to use an adapter for wired connections.
- Device Manager: Another way to check Ethernet compatibility is by accessing the Device Manager on your laptop. Right-click on the “My Computer” or “This PC” icon on your desktop and select “Properties.” In the System window, click on “Device Manager.” Look for “Network Adapters” in the list and expand it. If you see an Ethernet or LAN adapter listed, it means your laptop is Ethernet-compatible.
- Network Settings: You can also check the network settings on your laptop. Go to the Control Panel or Settings and navigate to Network and Internet > Network and Sharing Center. Look for the “Change adapter settings” option. If you see an Ethernet connection listed, it indicates that your laptop has Ethernet capability.
If you couldn’t find an Ethernet port or any indication of Ethernet compatibility on your laptop, it likely means that your laptop doesn’t have a built-in Ethernet port. However, don’t despair! You can still connect Ethernet to your laptop by using a USB to Ethernet adapter or a USB-C to Ethernet adapter, as mentioned in the previous section.
It’s important to note that if your laptop does have an Ethernet port, there may be situations where it is disabled. To enable the Ethernet port, you can check the BIOS or UEFI settings of your laptop. Instructions for accessing these settings may vary depending on your laptop’s manufacturer, so refer to your laptop’s manual or online support resources for specific instructions.
Now that you know how to check Ethernet compatibility on your laptop, let’s move on to the exciting part – connecting Ethernet to your laptop!
Step-by-Step Guide to Connect Ethernet to Your Laptop
Now that you have determined that your laptop is Ethernet-compatible and have the necessary equipment, it’s time to connect Ethernet to your laptop. Follow these step-by-step instructions to set up a wired connection:
- Step 1: Gather the Required Equipment: Make sure you have an Ethernet cable and, if needed, a USB to Ethernet adapter or a USB-C to Ethernet adapter. Ensure that the adapter’s drivers, if applicable, are installed on your laptop.
- Step 2: Power Off Your Laptop: Before connecting any cables, it’s a good practice to power off your laptop. This prevents any accidental data loss or damage when making the connection.
- Step 3: Locate the Ethernet Port: If your laptop has a built-in Ethernet port, locate it on the side or back of your laptop. If not, connect the USB to Ethernet adapter or the USB-C to Ethernet adapter to an available USB port on your laptop.
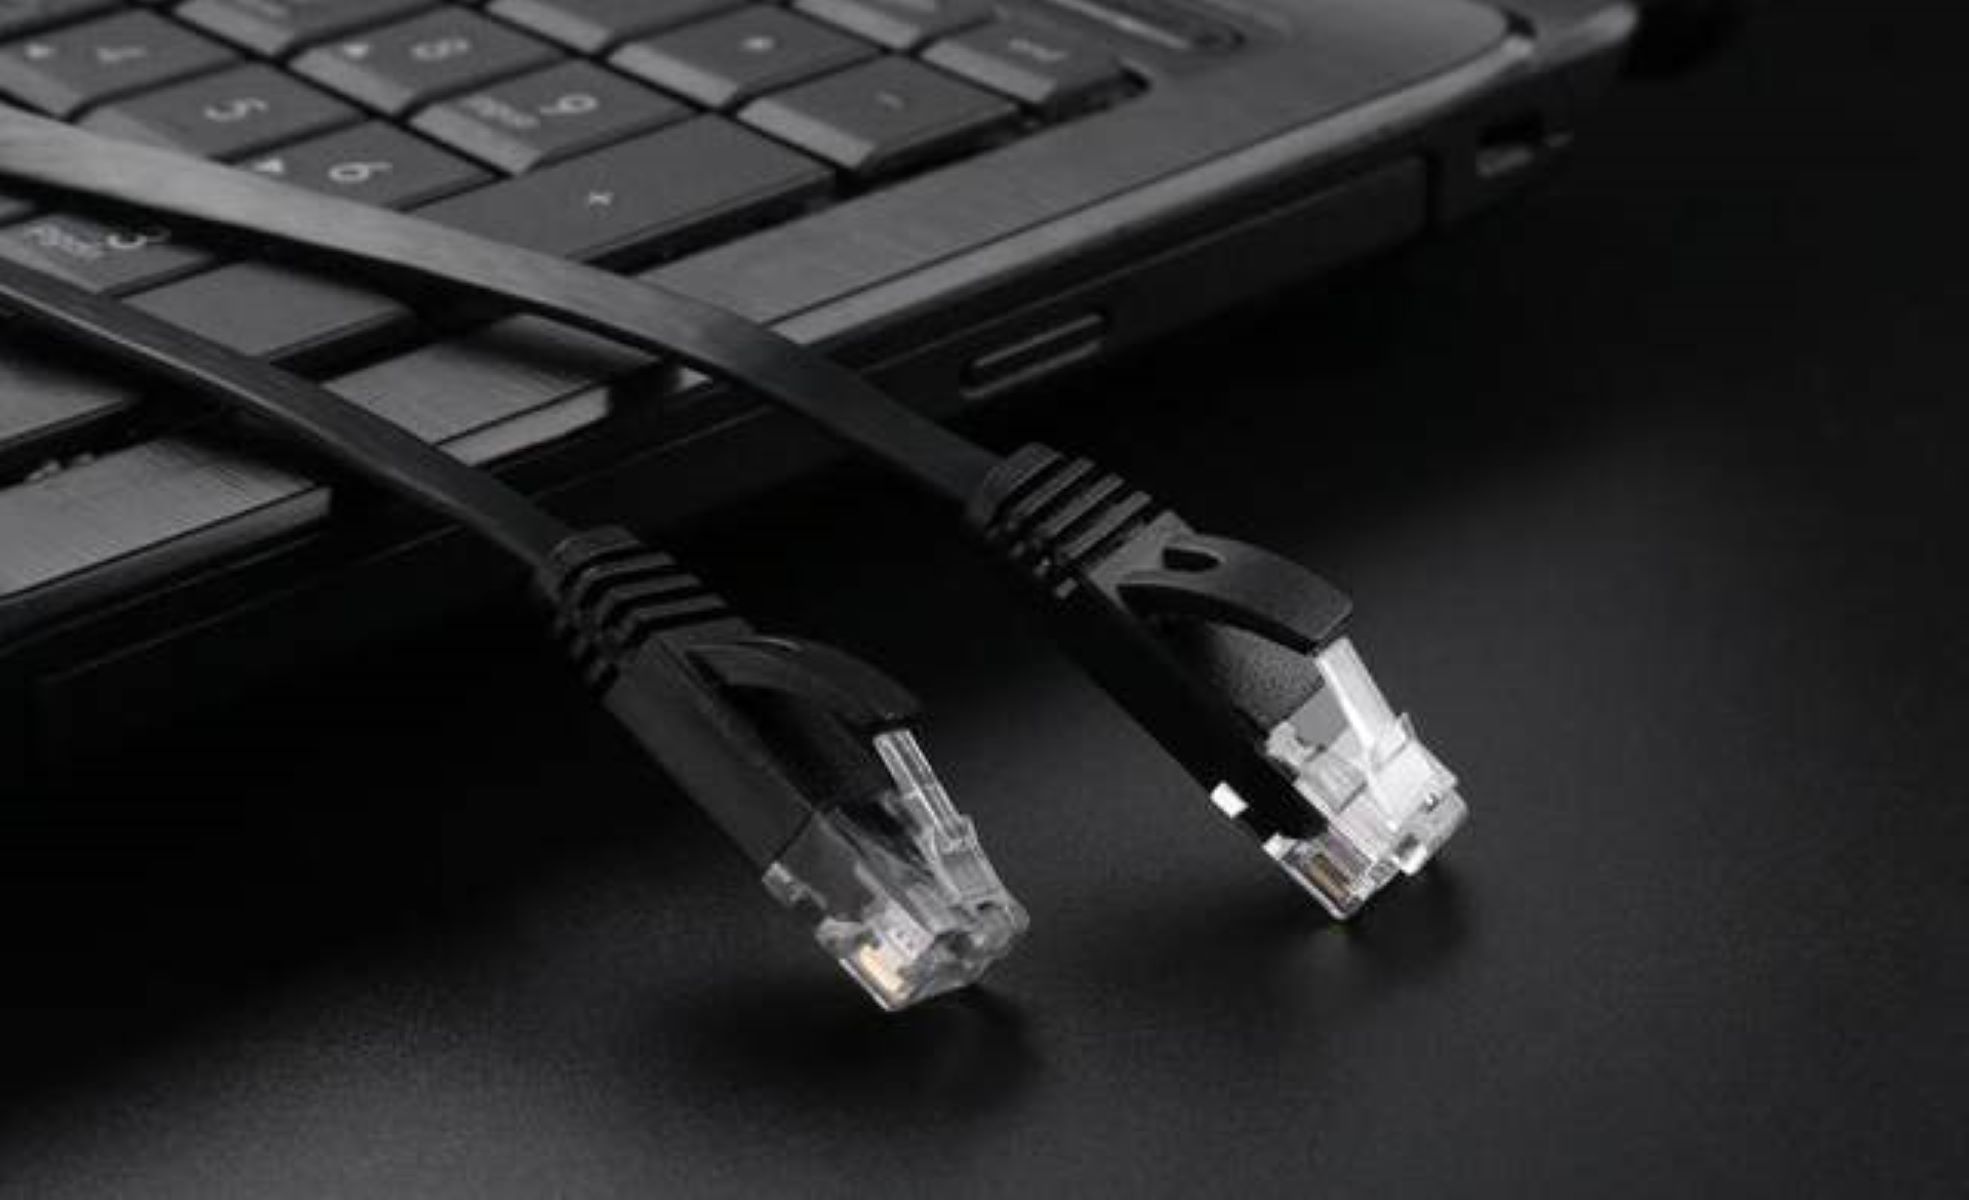
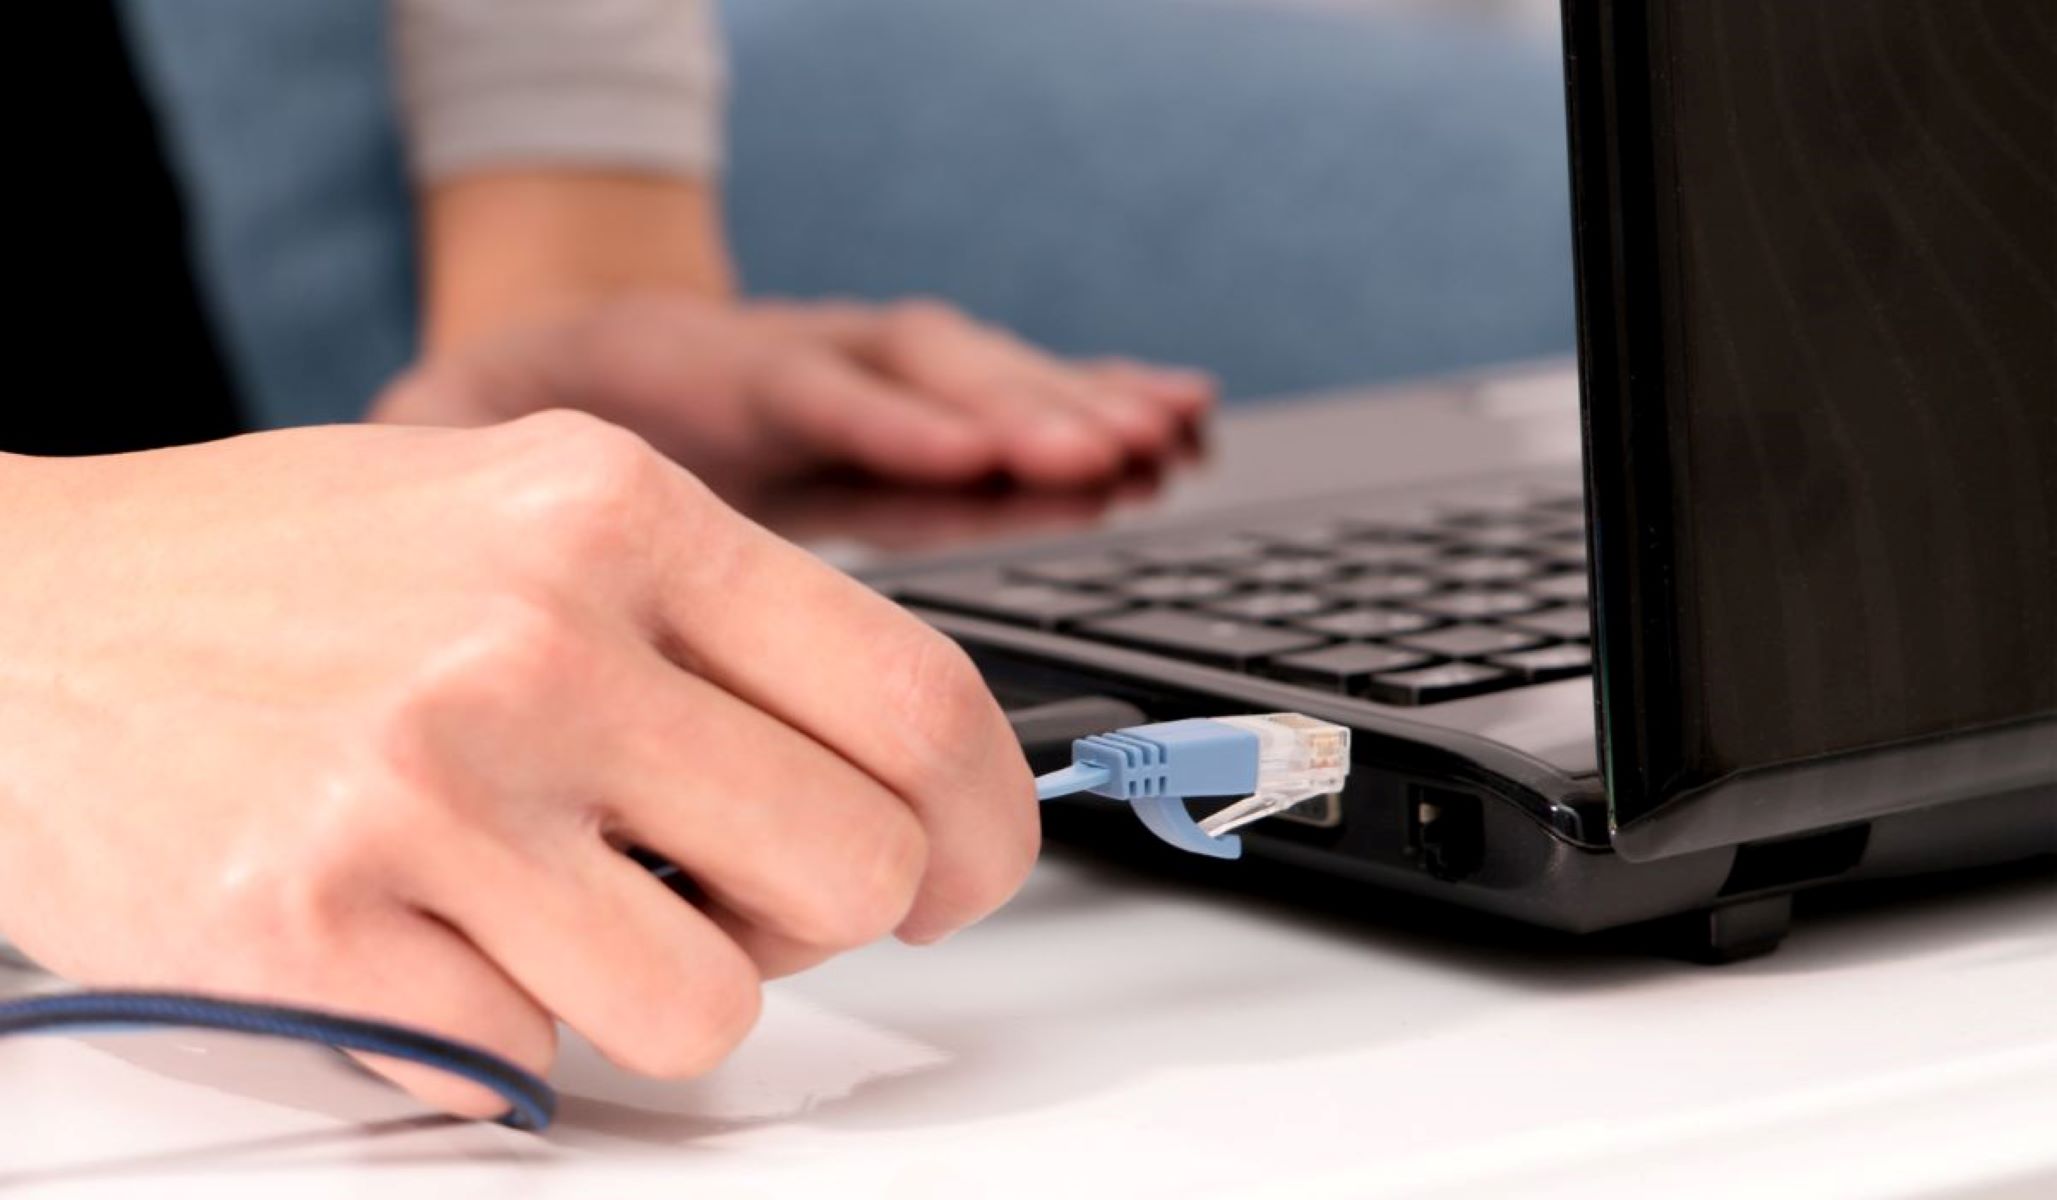
- Step 4: Connect the Ethernet Cable: Take one end of the Ethernet cable and plug it into the Ethernet port on your laptop or the Ethernet port on the adapter. Ensure a firm connection by pushing the connector gently until you hear a click or feel it lock in place.
- Step 5: Connect the Other End of the Ethernet Cable: Take the other end of the Ethernet cable and connect it to your network router or modem. Plug it into one of the available Ethernet ports on the device. Again, ensure a secure connection.
- Step 6: Power On Your Laptop: Once the cable is securely connected to both your laptop and the router/modem, power on your laptop. It should automatically detect the Ethernet connection and establish a wired network connection.
- Step 7: Configure Network Settings (if needed): In most cases, your laptop should configure the network settings automatically. However, if you encounter any issues or need to manually configure the connection, you can access the network settings in the Control Panel or Settings of your laptop. Look for the Ethernet connection and ensure that it is set to “Obtain IP address automatically” and “Obtain DNS server address automatically.”
Once you have completed these steps, your laptop should be connected to the network via the Ethernet cable, providing a stable and speedy internet connection. You can now enjoy faster downloads, lower latency, and increased security compared to wireless connections.
Remember to disconnect the Ethernet cable and power off your laptop before unplugging any cables when you no longer need the wired connection.
That’s it! You have successfully connected Ethernet to your laptop. In the next section, we’ll discuss some common troubleshooting issues and how to resolve them.
Troubleshooting Common Ethernet Connection Issues
While connecting Ethernet to your laptop is usually a straightforward process, you may encounter some common issues along the way. Here are a few troubleshooting steps to help you resolve these problems:
- No Internet Connection: If you have connected the Ethernet cable correctly but still have no internet connection, first ensure that your router or modem is functioning properly. Power cycle both the router/modem and your laptop by unplugging them from the power source, waiting for a few seconds, and then plugging them back in. If the issue persists, try using a different Ethernet cable or connecting to a different Ethernet port on your router or modem.
- Slow or Intermittent Connection: If you experience slow or intermittent connection speeds, there may be interference or network congestion. Make sure your laptop’s Ethernet port or the adapter’s USB connection is secure. Additionally, check if there are any other devices or appliances near the Ethernet cables or router that could be causing interference. You may also want to try a different Ethernet cable or contact your internet service provider if the issue persists.
- Driver Issues: If you are using a USB to Ethernet adapter or a USB-C to Ethernet adapter, ensure that the appropriate drivers are installed on your laptop. Check the manufacturer’s website for the latest drivers and install any necessary updates. In some cases, you may need to uninstall and reinstall the drivers to resolve compatibility issues.
- Incompatible Network Settings: If your laptop is not obtaining an IP address or DNS server address automatically, you may need to manually configure the network settings. Access the network settings on your laptop and ensure that the settings are correctly set to obtain the necessary information automatically. Alternatively, you can contact your internet service provider for assistance with the correct network settings.
- Ethernet Port Disabled: If your laptop’s Ethernet port is disabled, you can access the BIOS or UEFI settings to enable it. Restart your laptop and enter the BIOS or UEFI settings by pressing the specific key indicated during the boot-up process. Look for the network or Ethernet settings and ensure that the Ethernet port is enabled. Save any changes before exiting the settings.
If you have tried these troubleshooting steps and still encounter issues with your Ethernet connection, it’s advisable to contact technical support or your internet service provider for further assistance. They can provide additional guidance and help diagnose and resolve any underlying network or hardware problems.
Remember, Ethernet connections are generally more reliable and stable compared to wireless connections, but occasional issues can still occur. By following these troubleshooting steps, you can effectively troubleshoot and resolve common Ethernet connection issues, ensuring a smooth and seamless online experience.
Now that you’re equipped with troubleshooting knowledge, let’s summarize what we’ve covered in this article.
Conclusion
Connecting Ethernet to your laptop can greatly enhance your internet experience with faster speeds, lower latency, and increased security. In this article, we explored the world of Ethernet, understanding its benefits and the different types of Ethernet ports you may encounter.
We discussed how to check if your laptop is Ethernet-compatible, whether through a built-in Ethernet port or by using a USB to Ethernet adapter or a USB-C to Ethernet adapter. Additionally, we provided a step-by-step guide to help you connect Ethernet to your laptop, ensuring a stable and reliable wired connection.
We also addressed common troubleshooting issues that you may encounter, such as no internet connection, slow or intermittent connection, driver issues, incompatible network settings, and disabled Ethernet ports. By following the troubleshooting steps provided, you can overcome these issues and enjoy a seamless Ethernet connection.
Remember to power off your laptop before making any connections, ensure secure cable connections, and configure network settings appropriately. In case of continued difficulties, reach out to technical support or your internet service provider for further assistance.
Now that you have the knowledge and steps to connect Ethernet to your laptop, you can enjoy faster speeds, enhanced stability, and improved internet performance. Whether you’re streaming your favorite shows, gaming online, or working from home, a wired Ethernet connection ensures a reliable and efficient internet experience.
So, go ahead, connect Ethernet to your laptop, and unlock the full potential of your internet connection! Embrace the world of high-speed and reliable connectivity, and enjoy a smoother online journey.