Introduction
Connecting your Dell laptop to the internet using an Ethernet cable is a straightforward and reliable way to establish a high-speed wired connection. Whether you’re experiencing slow Wi-Fi speeds or need a more stable connection for online gaming or video streaming, using an Ethernet cable can provide a faster and more reliable internet experience.
Unlike wireless connections, which can be affected by distance, interference, or network congestion, a wired Ethernet connection typically offers higher speed and more consistent performance. So, if you have an Ethernet port on your Dell laptop and access to a router or modem with an available Ethernet port, you can easily connect to the internet with an Ethernet cable.
In this step-by-step guide, we will walk you through the process of connecting your Dell laptop to the internet using an Ethernet cable. You’ll learn how to check the available ports on your laptop, find the Ethernet port, connect the cable, configure network settings in Windows, and test the connection. By following these steps, you’ll be online in no time.
Before we begin, make sure you have an Ethernet cable and access to a working router or modem with an available Ethernet port. Also, ensure that your Dell laptop is powered on and ready to be connected to the internet. Now, let’s get started with the first step: checking the available ports on your Dell laptop.
Step 1: Check the available ports on your Dell laptop
Before connecting your Dell laptop to the internet with an Ethernet cable, it’s essential to determine the available ports on your device. This step will help you identify the correct port to connect the cable. Follow these simple steps to check the ports:
- Start by examining the sides and back of your Dell laptop. Look for small rectangular-shaped ports that resemble the shape of an Ethernet port.
- Most Dell laptops come equipped with an Ethernet port, which is usually labeled with the word “Ethernet” or represented by an icon of three connected horizontal lines.
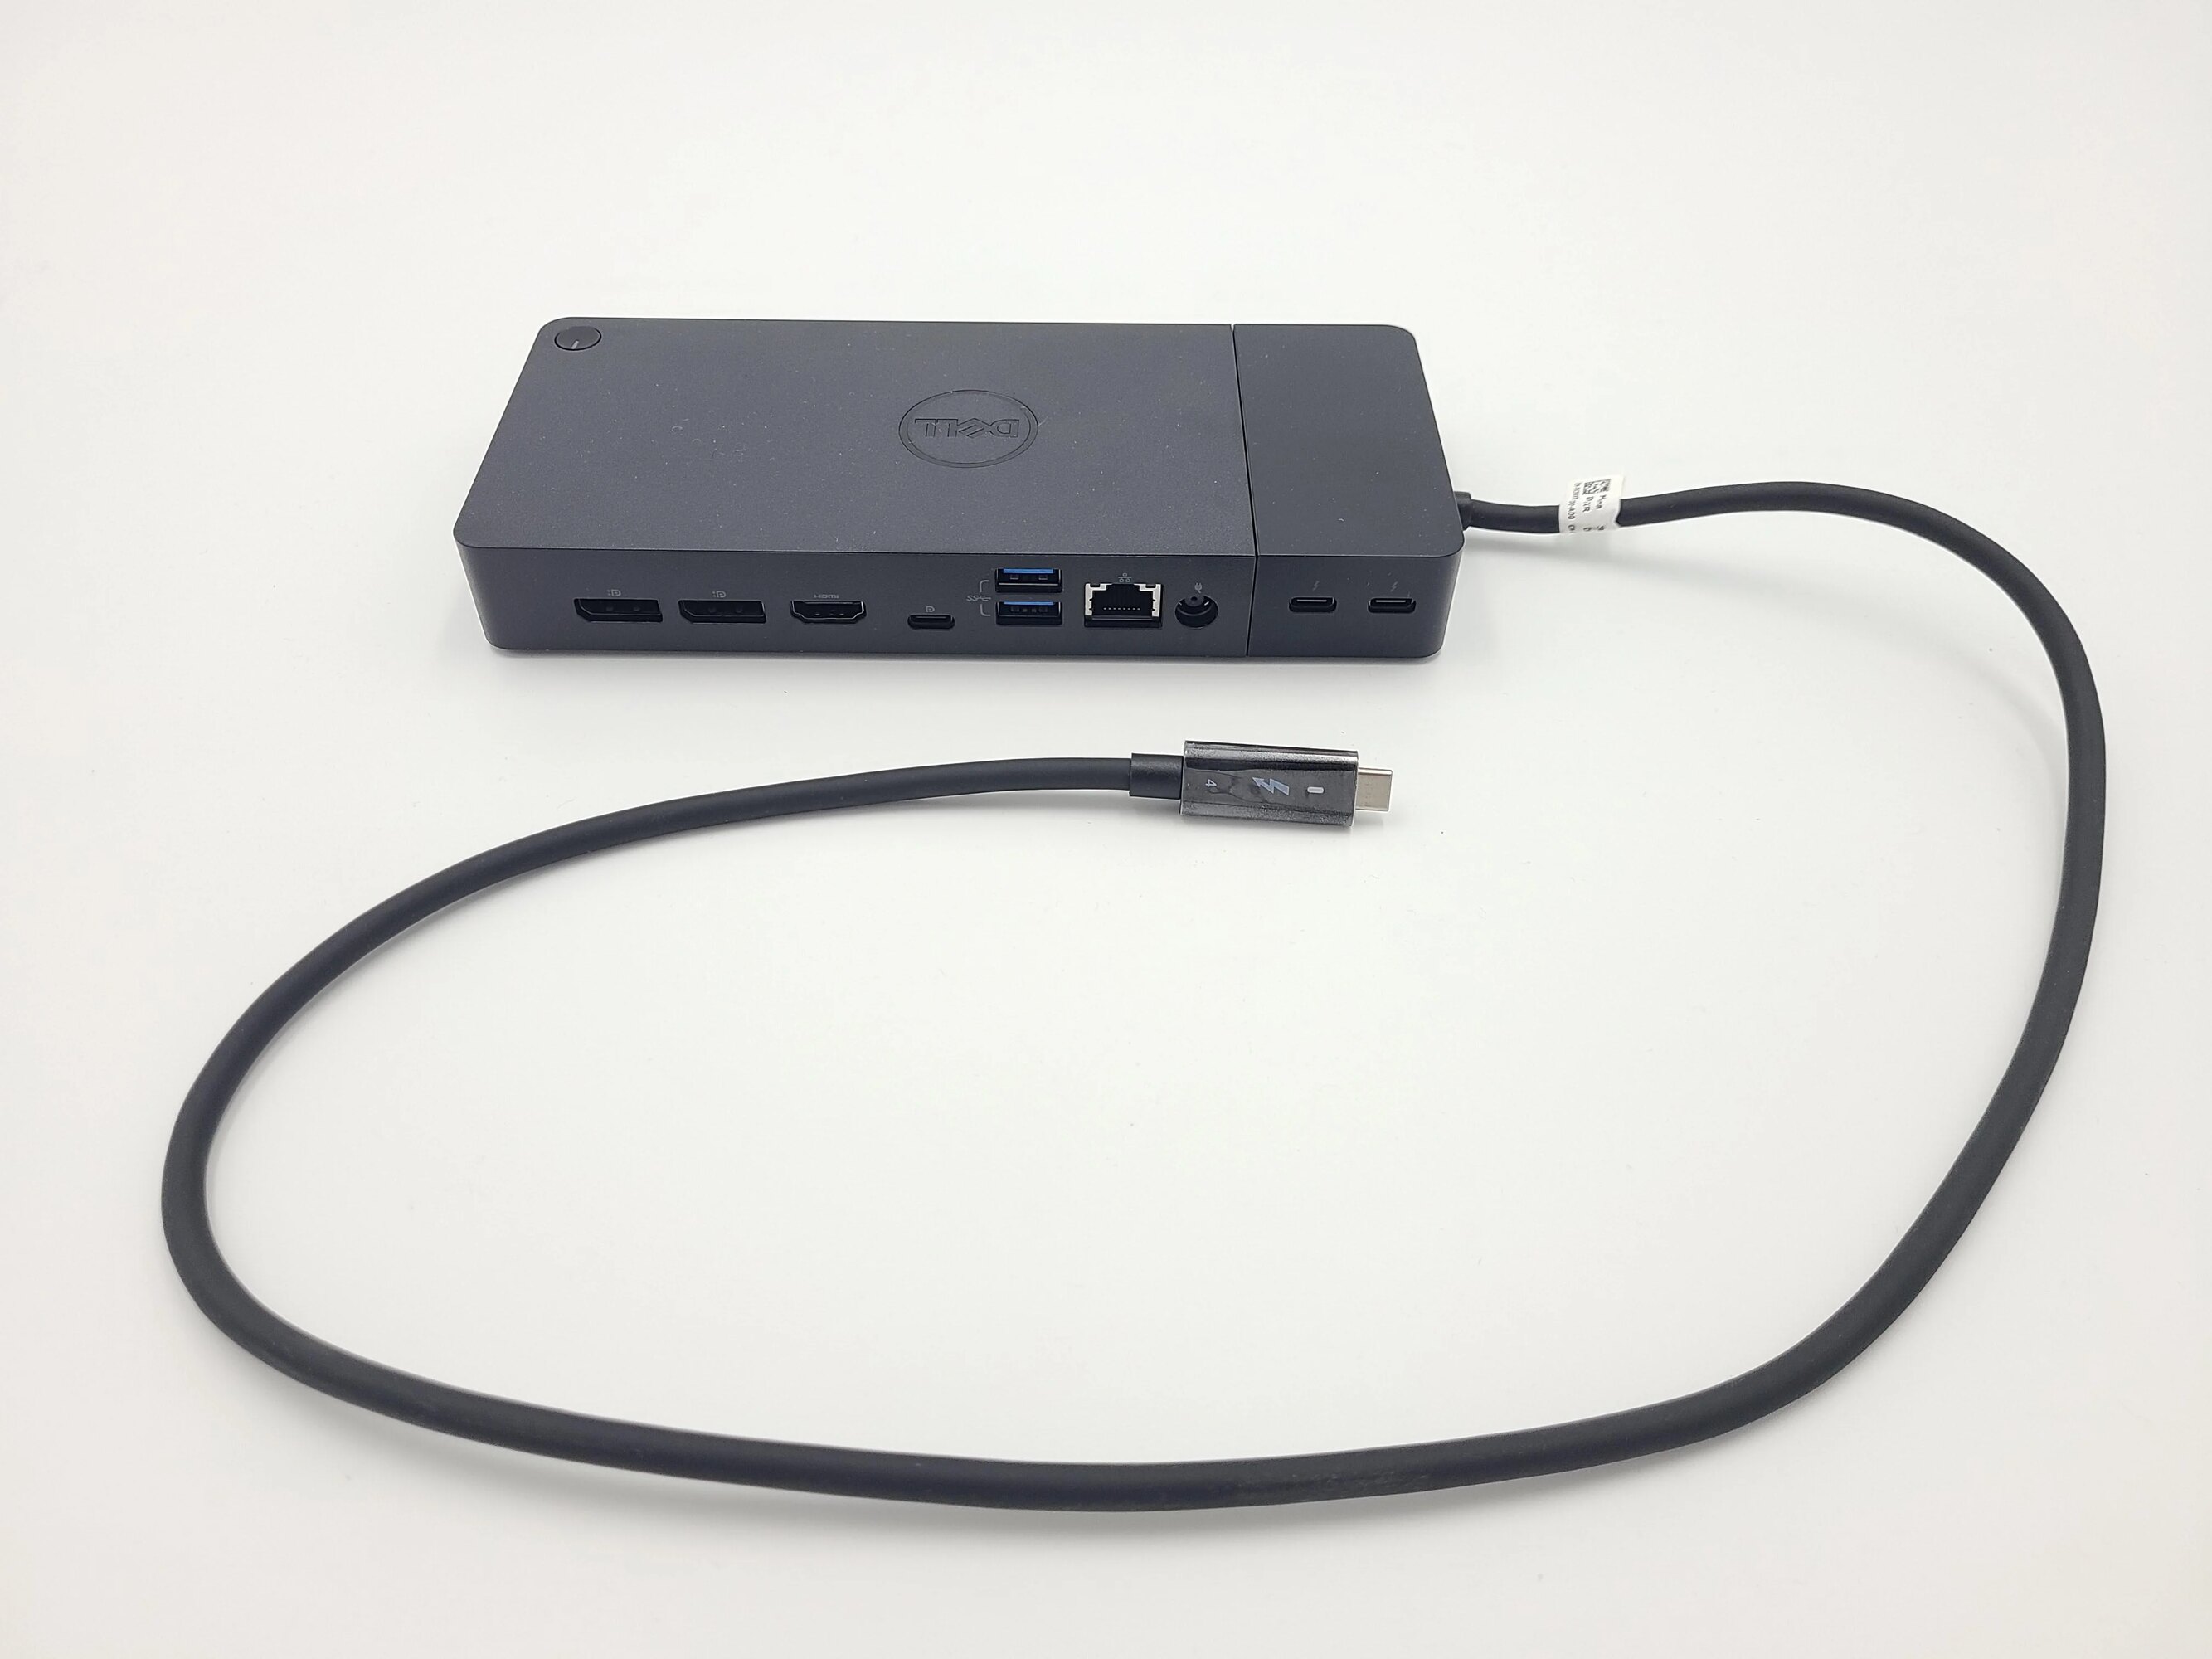
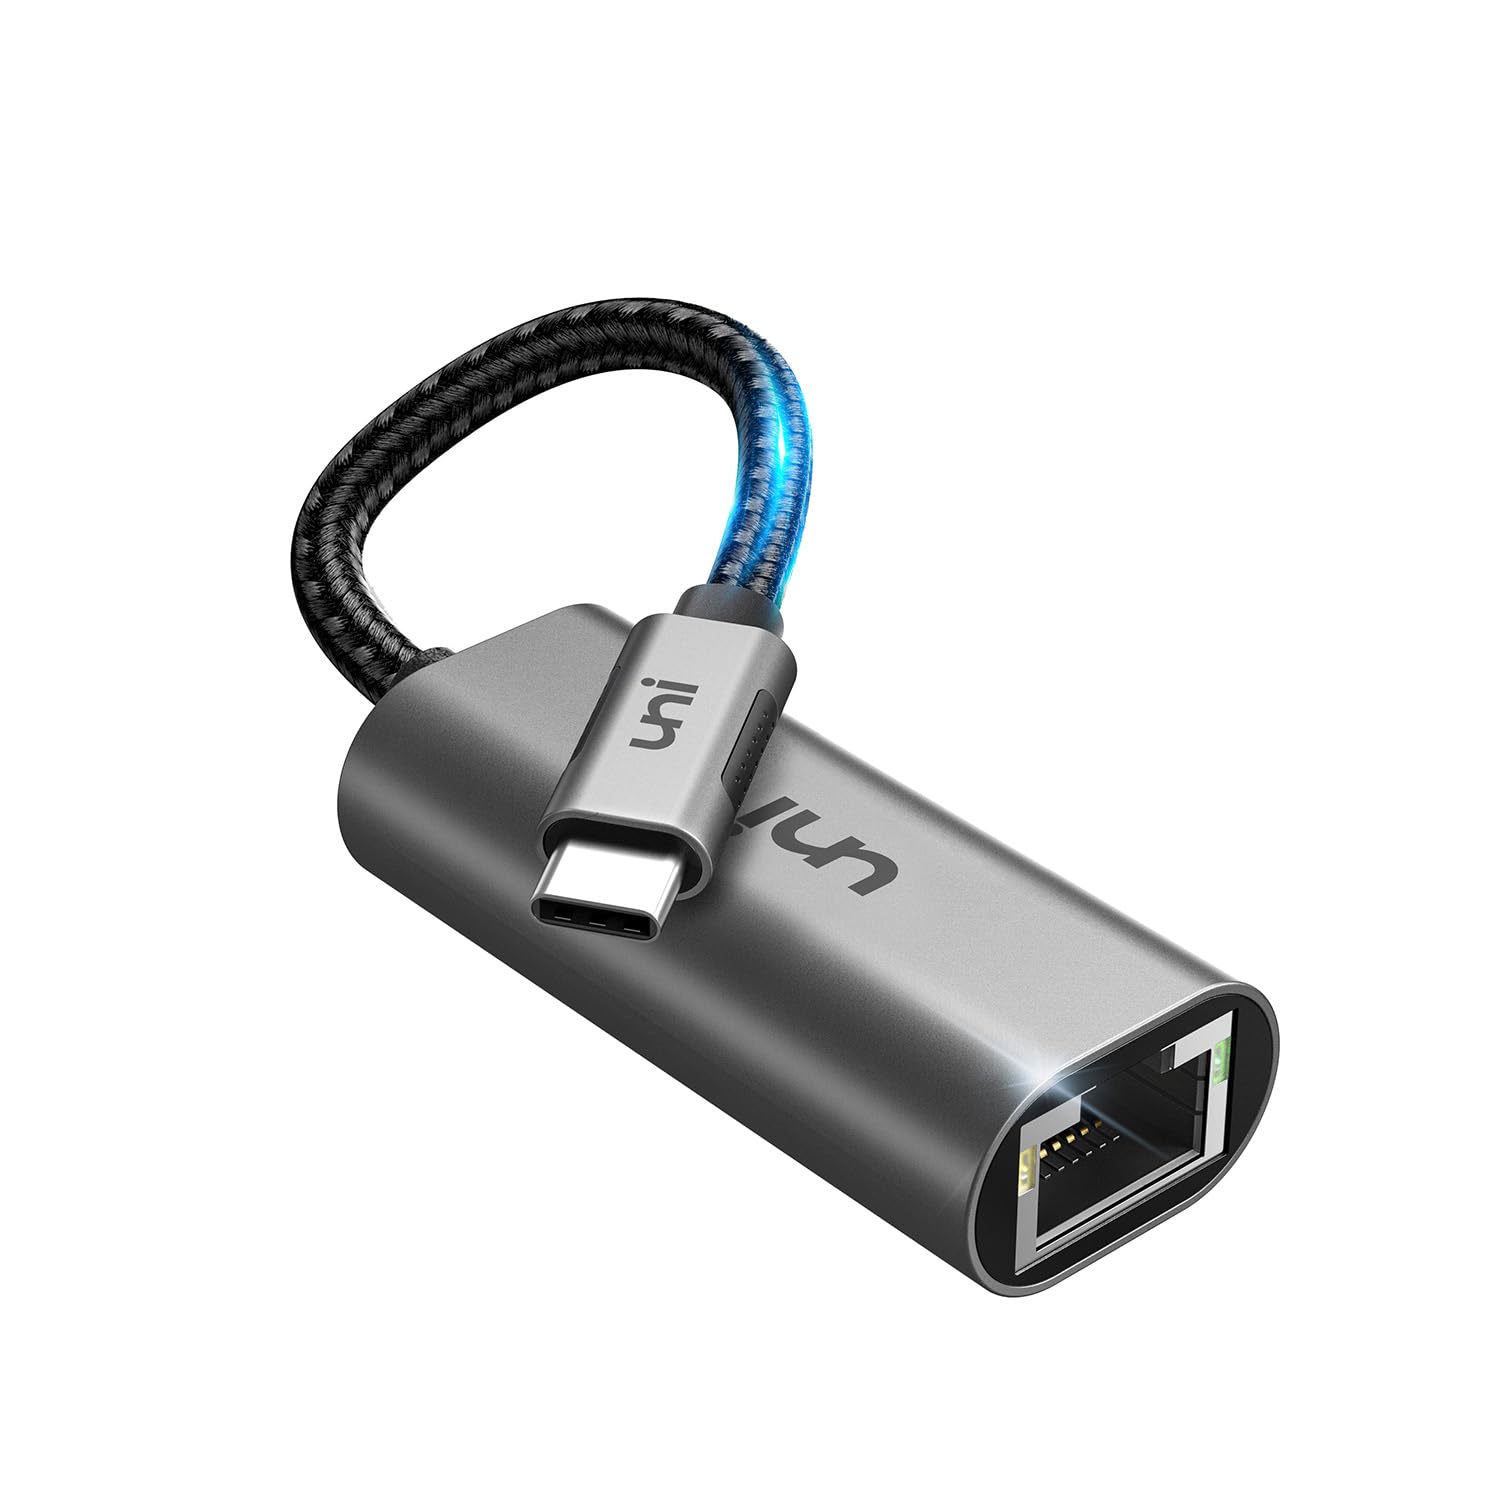
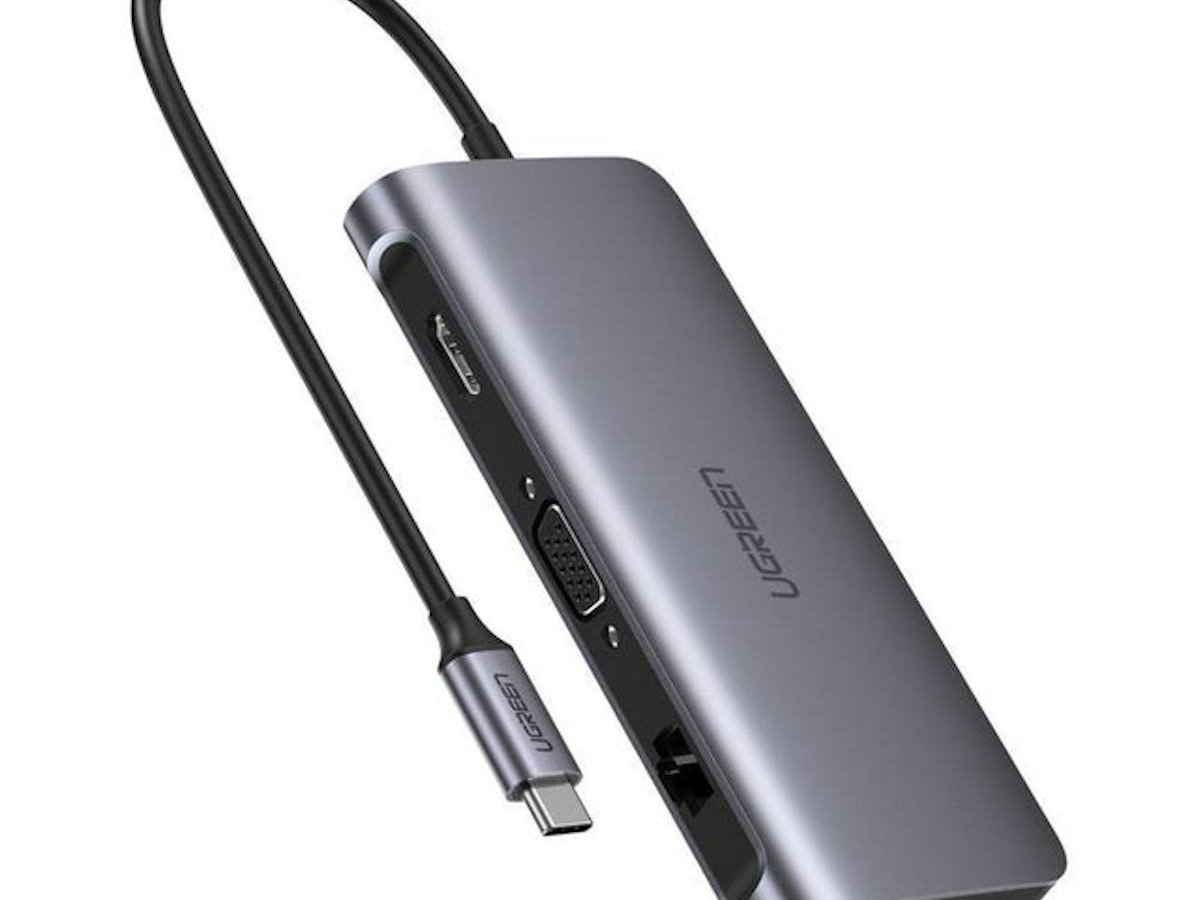
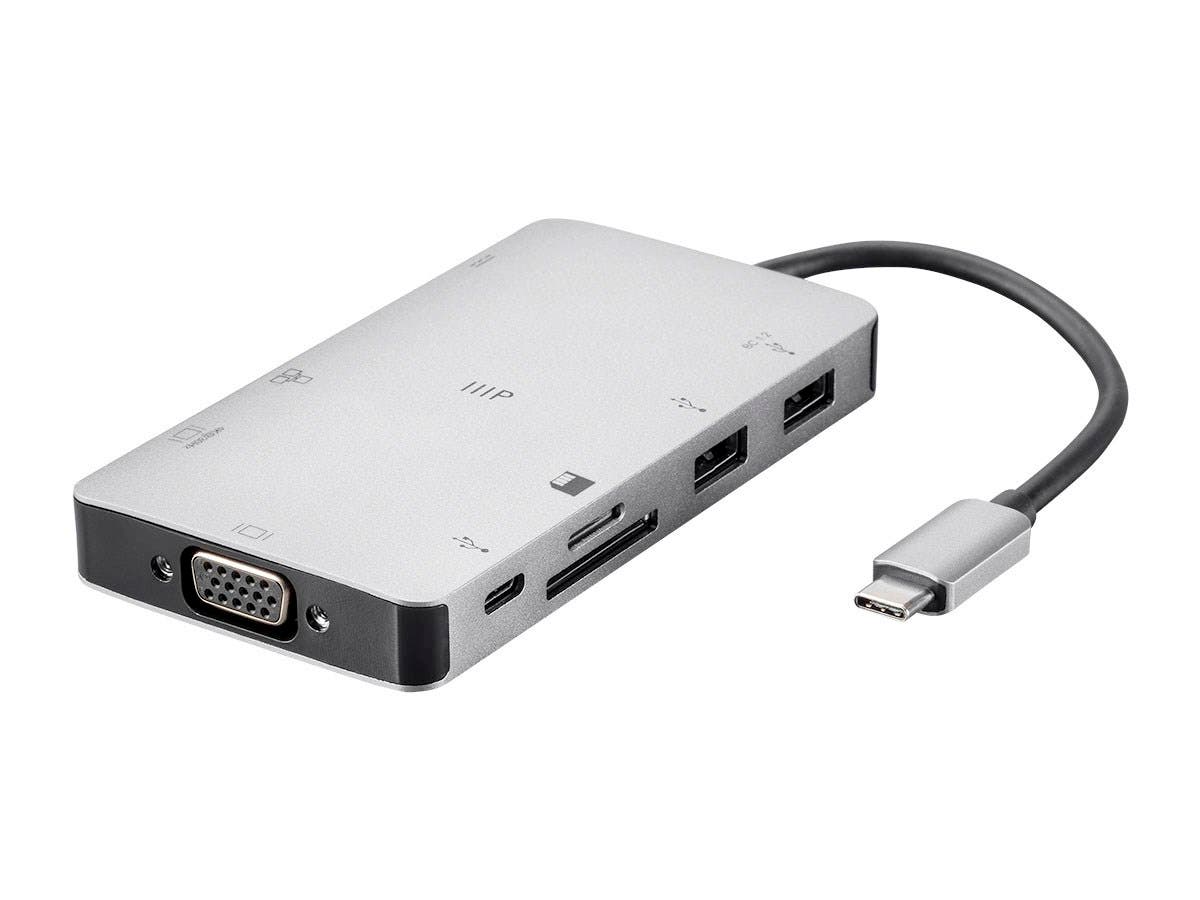
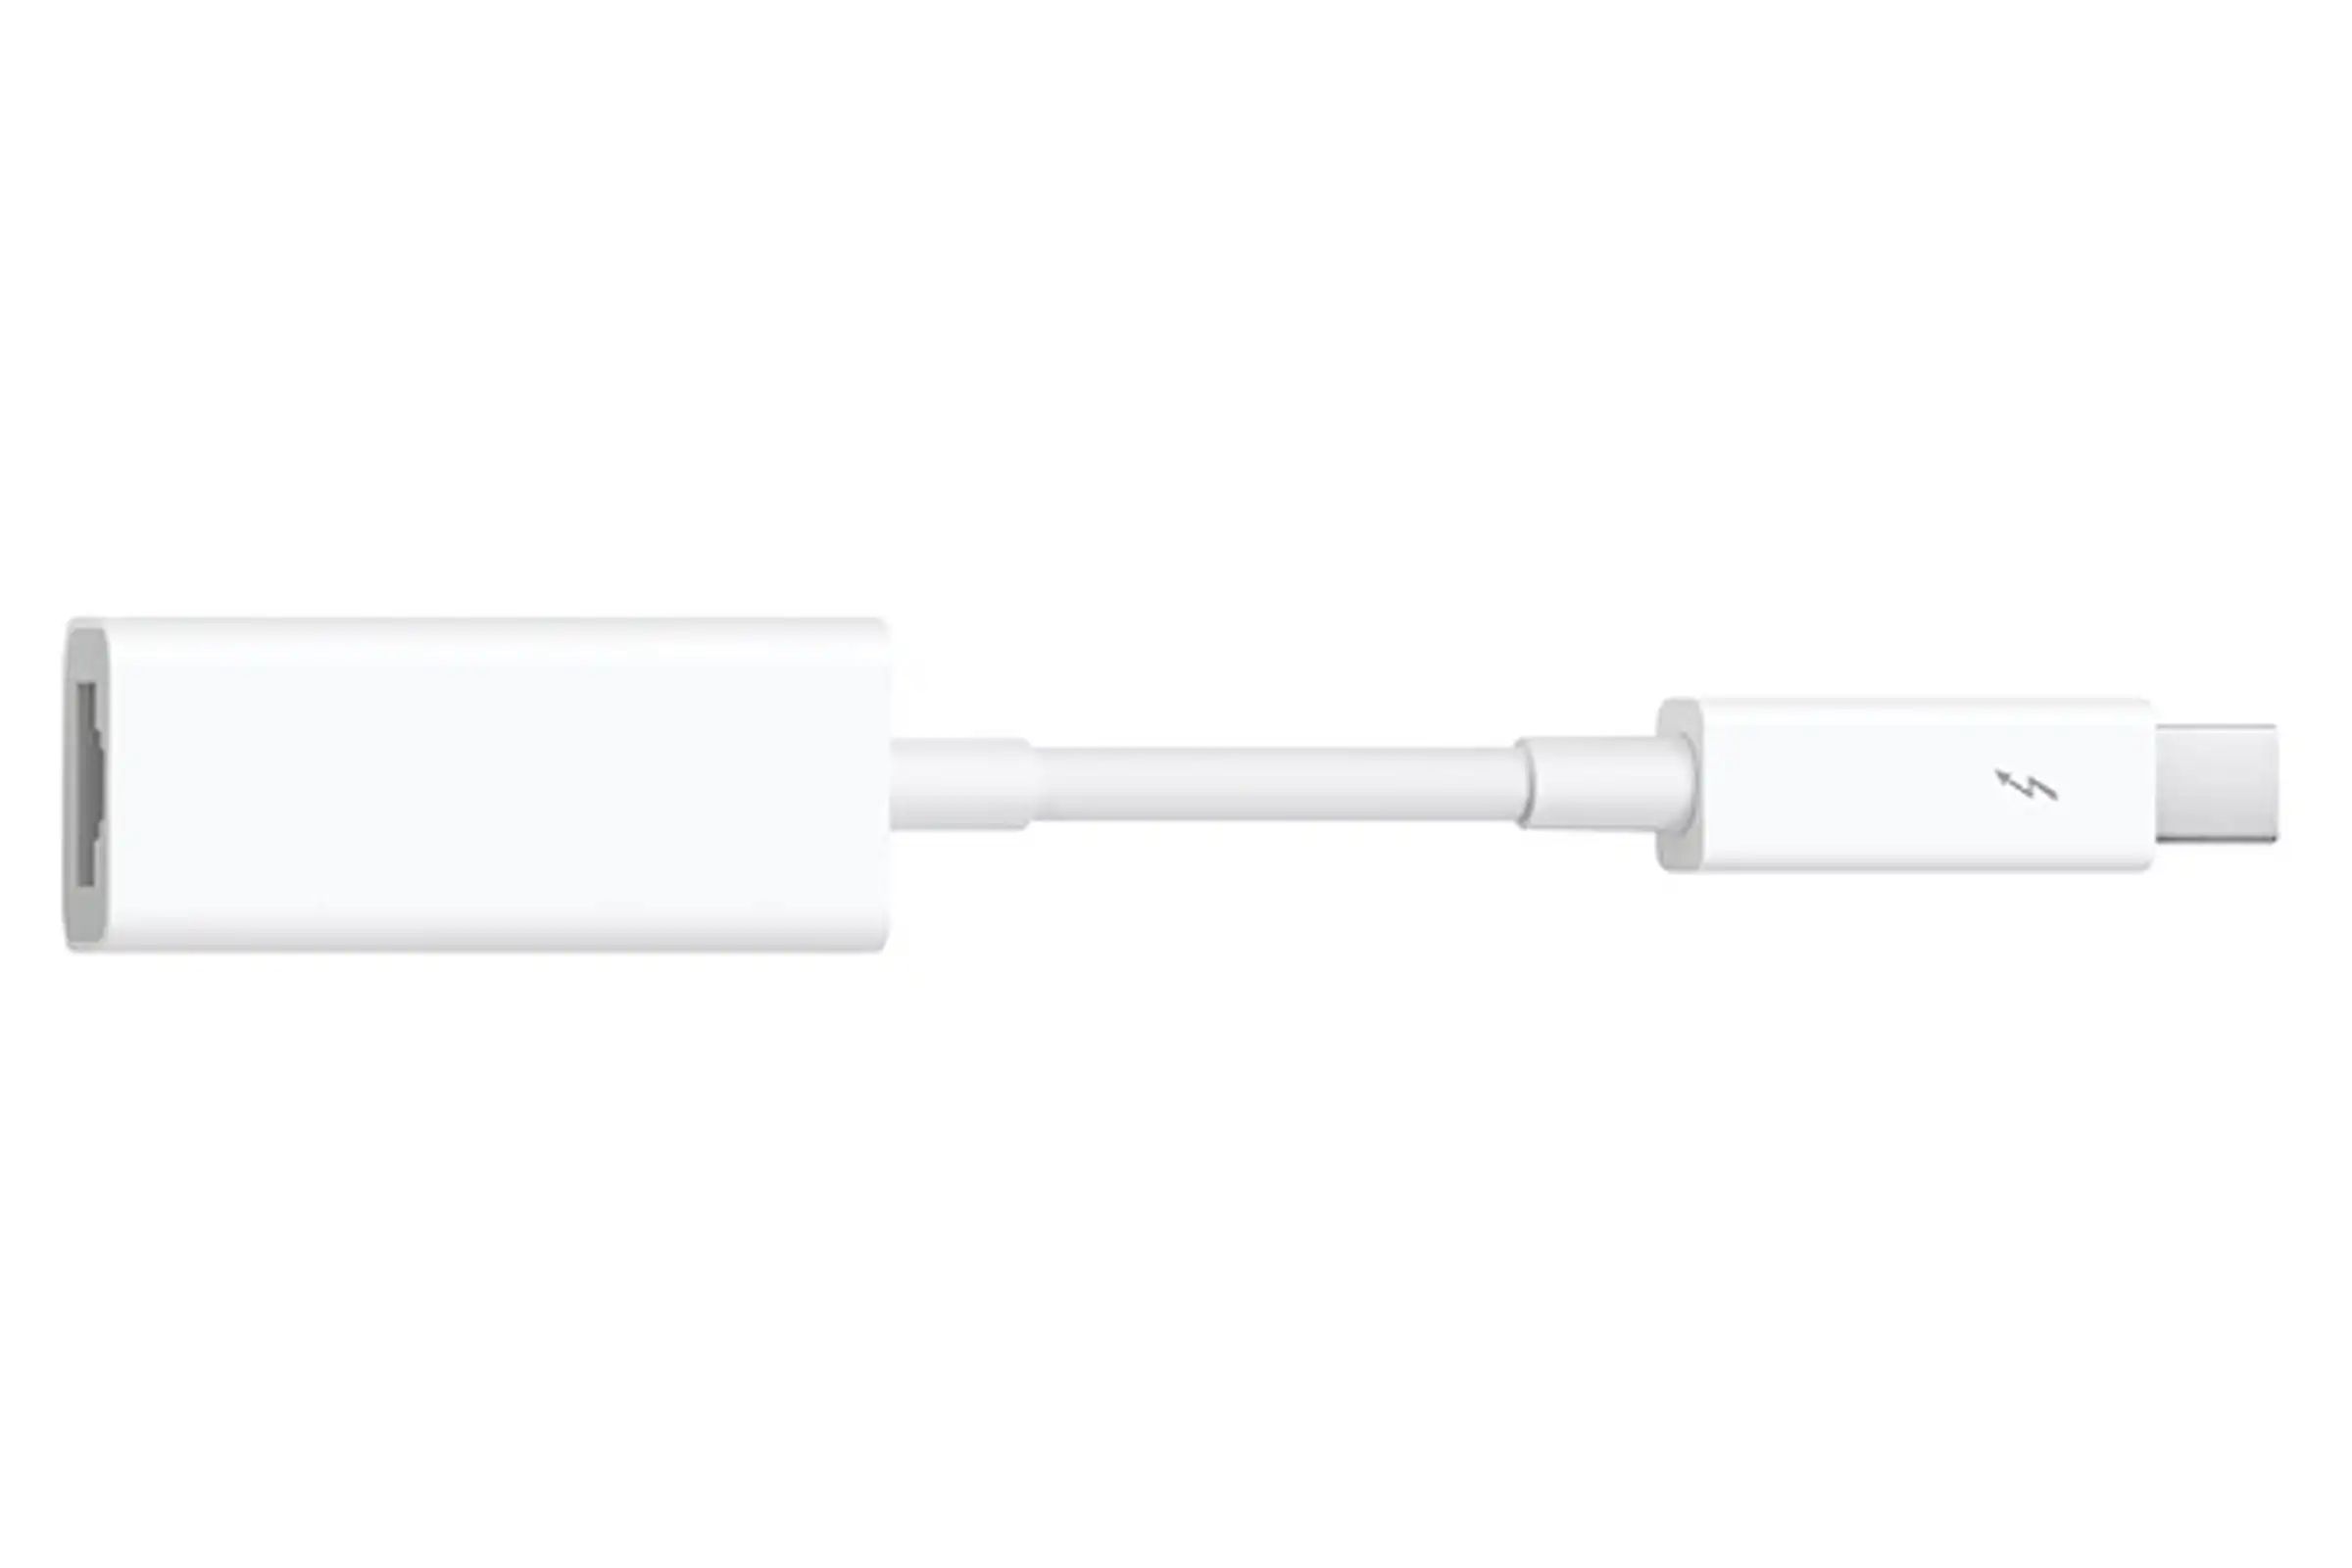
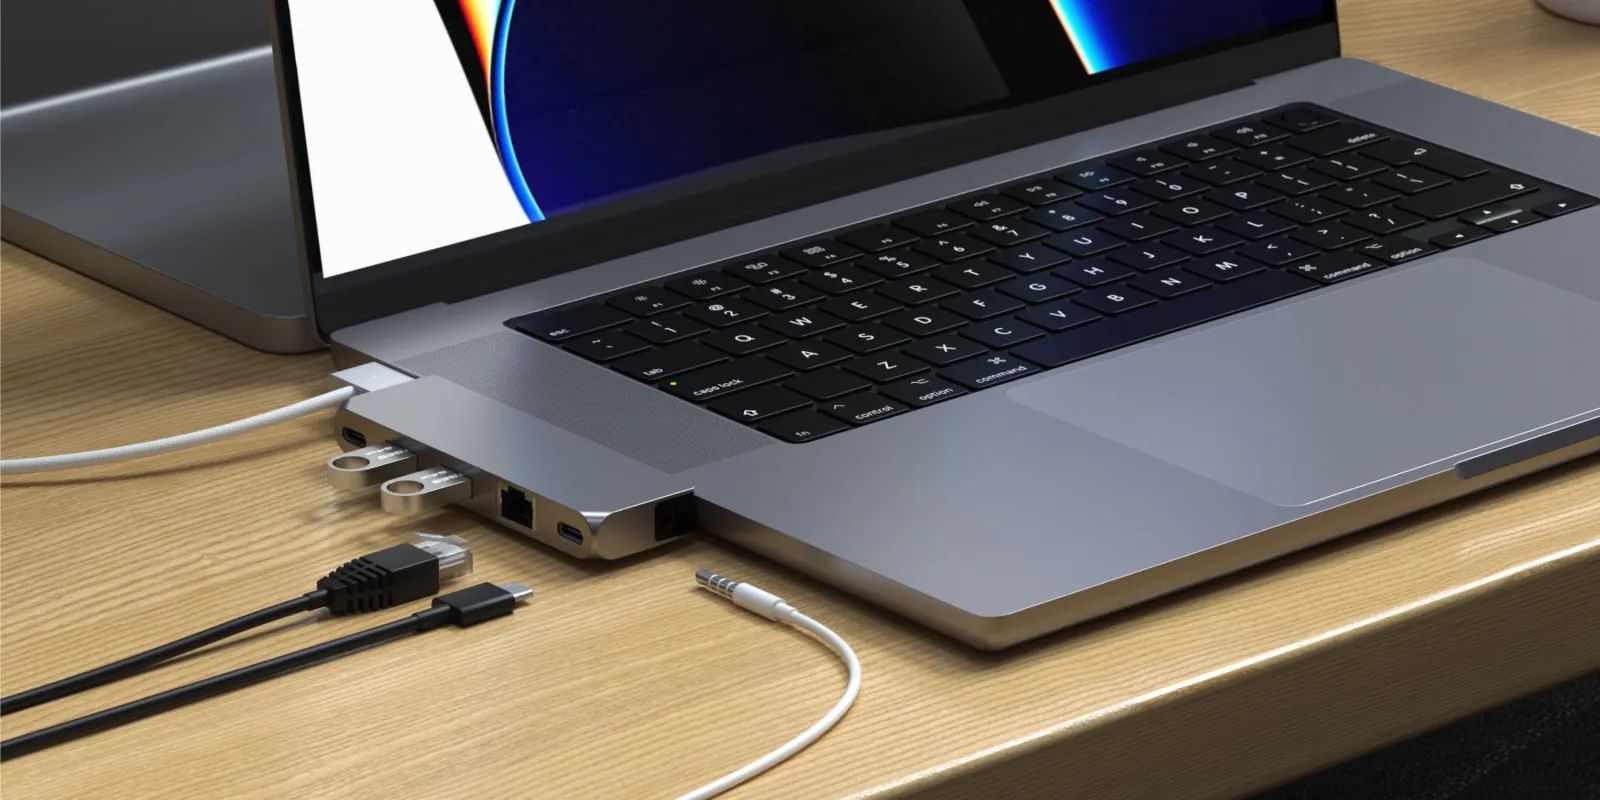
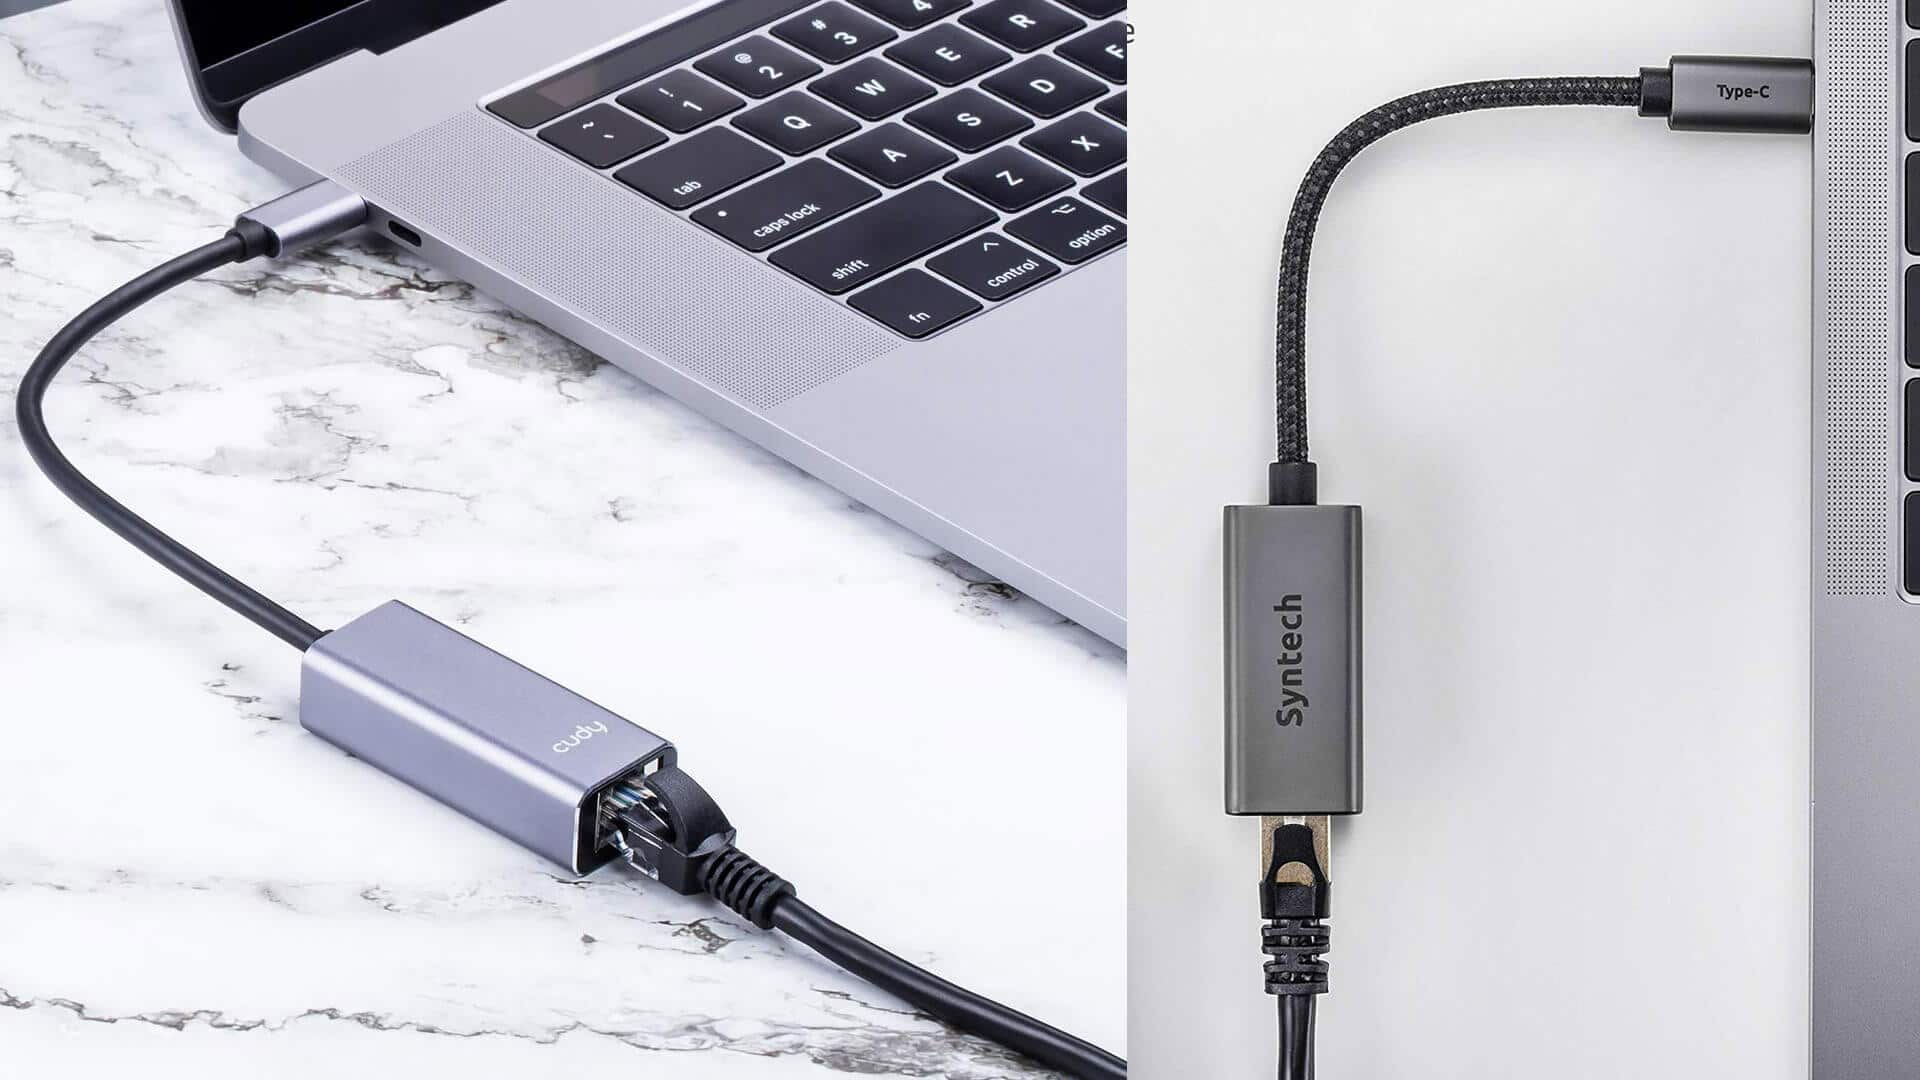
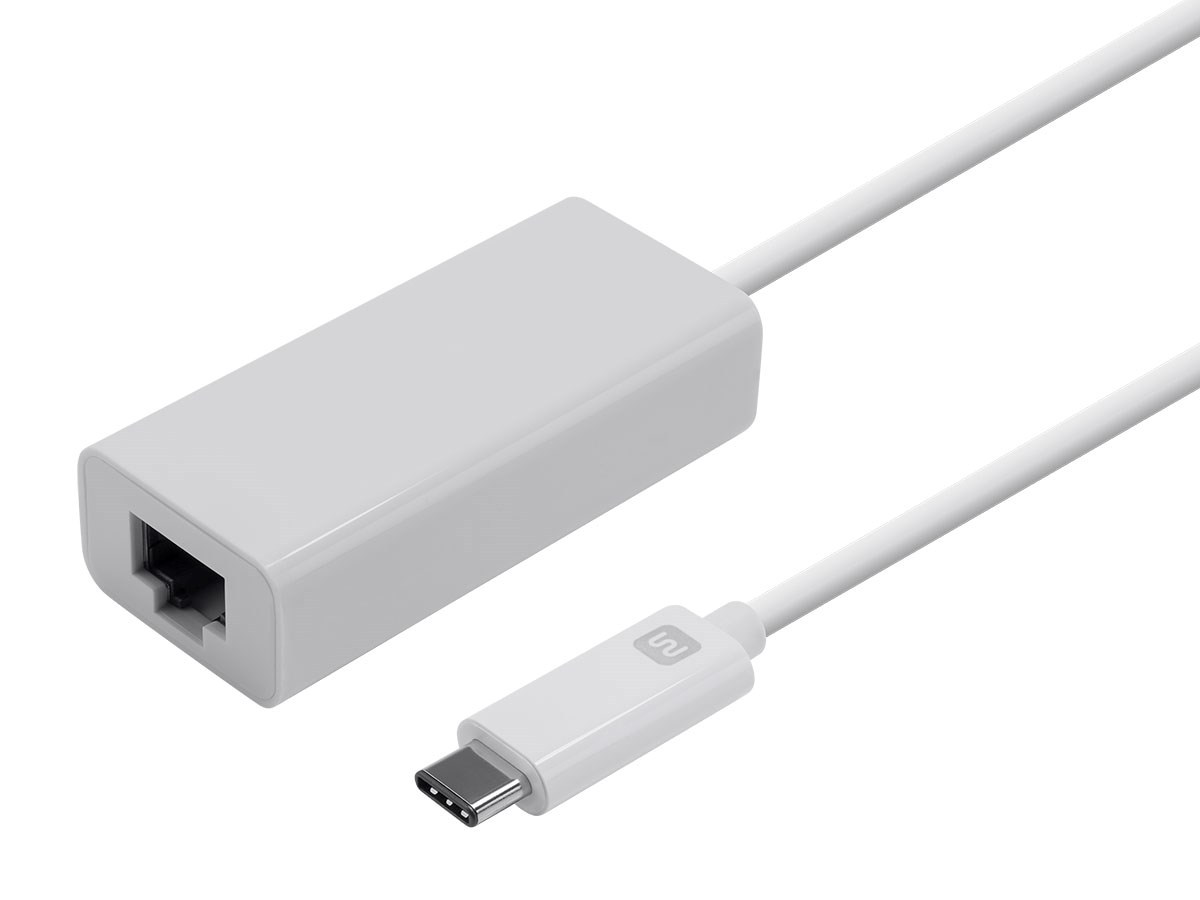
- If you can’t find an Ethernet port, your laptop may have a USB-C or Thunderbolt 3 port that requires an adapter to connect an Ethernet cable. In such cases, you can purchase a compatible Ethernet adapter for your Dell laptop.
- Once you have located the Ethernet port or the appropriate adapter, you are ready to proceed to the next step of connecting the Ethernet cable.
By following these steps, you can ensure that your Dell laptop has the necessary port to establish a wired internet connection. If you cannot find an Ethernet port and need to connect via a USB-C or Thunderbolt 3 port, be sure to have the correct adapter on hand. Now that you have confirmed the availability of the port, let’s move on to the next step: locating the Ethernet port on your Dell laptop.
Step 2: Locate the Ethernet port on your Dell laptop
Once you have confirmed that your Dell laptop has an Ethernet port, the next step is to locate its exact position. Follow these instructions to find the Ethernet port on your Dell laptop:
- Examine the sides and back of your Dell laptop for the rectangular-shaped port labeled “Ethernet”.
- Typically, the Ethernet port is located on the back or left side of the laptop, near other ports such as USB or HDMI.
- If you are having trouble locating the Ethernet port, consult your laptop’s user manual or visit the Dell support website for specific instructions based on your laptop model.
It is essential to locate the Ethernet port accurately to ensure a proper connection. Once you have located the port, you can move on to the next step: connecting one end of the Ethernet cable to your laptop.
Remember, each Dell laptop model may have slight variations in port placement. If you are unable to find the Ethernet port based on the above instructions, refer to the documentation provided with your laptop or seek assistance from Dell’s customer support. Now that you have successfully located the Ethernet port, let’s proceed to the next step: connecting the Ethernet cable to your Dell laptop.
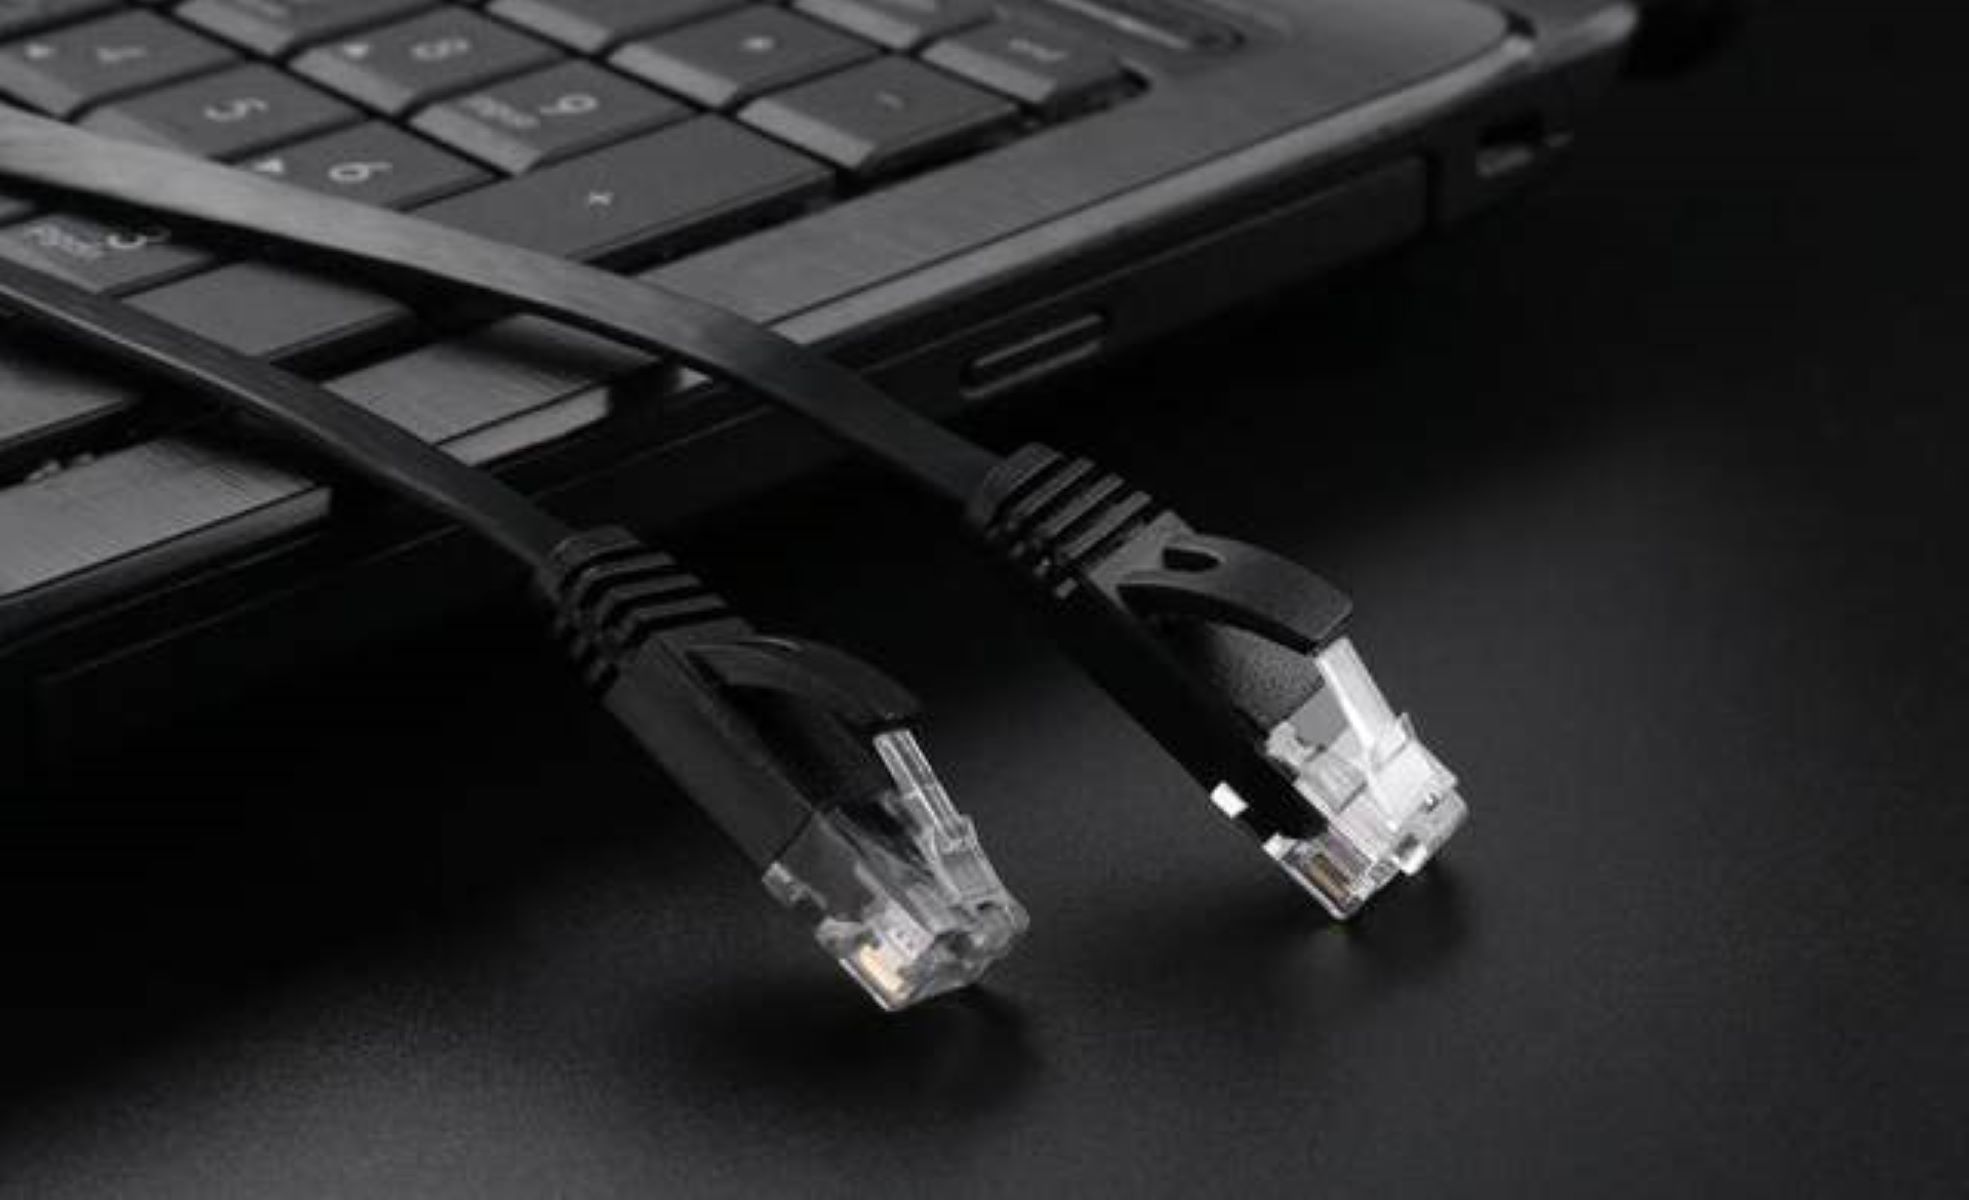
Step 3: Connect one end of the Ethernet cable to your laptop
Now that you have located the Ethernet port on your Dell laptop, it’s time to connect one end of the Ethernet cable to your laptop. Follow these simple steps:
- Take one end of the Ethernet cable and hold it firmly.
- Align the connector with the Ethernet port on your Dell laptop.
- Gently insert the connector into the port until it is firmly seated.
- Ensure that the connector is fully inserted and securely connected.
When connecting the Ethernet cable, make sure to handle the cable and connector with care to avoid any damage or bending. It’s important to ensure a snug and secure connection to establish a reliable internet connection.
By following these steps, you have successfully connected one end of the Ethernet cable to your Dell laptop. Now, let’s move on to the next step: connecting the other end of the Ethernet cable to the router or modem.
Step 4: Connect the other end of the Ethernet cable to the router or modem
With one end of the Ethernet cable securely connected to your Dell laptop, it’s time to connect the other end to the router or modem. Follow these steps to establish the connection:
- Locate the Ethernet port on your router or modem. It is usually labeled as “LAN” or “Internet”.
- Take the other end of the Ethernet cable and align the connector with the Ethernet port on the router or modem.
- Gently insert the connector into the port and make sure it is firmly seated.
- Confirm that the cable is securely connected to both your Dell laptop and the router or modem.
It’s important to ensure a stable connection on both ends of the Ethernet cable to establish a successful connection to the internet. Check that the connectors are fully inserted into their respective ports and that the cable is not loose.
Once the other end of the Ethernet cable is connected to the router or modem, you have completed this step. Now you are ready to proceed to the next step: turning on your Dell laptop.
Step 5: Turn on your Dell laptop
With the Ethernet cable connected to both your Dell laptop and the router or modem, it’s time to power on your laptop. Follow these steps to turn on your Dell laptop:
- Ensure that your Dell laptop is connected to a power source or has sufficient battery charge.
- Locate the power button on your Dell laptop. It is typically located on the top left or right corner of the keyboard, or on the side of the laptop.
- Press and hold the power button for a few seconds until you see the Dell logo or the startup screen.
- Release the power button and allow your Dell laptop to boot up completely.
Once your Dell laptop is powered on, it will start the operating system and prepare for the next steps. Depending on your laptop’s settings, you may be prompted to enter your login credentials before accessing the desktop.
It’s important to ensure that your Dell laptop is powered on and ready to establish a connection to the internet with the Ethernet cable. Make sure that you have a stable power source or sufficient battery charge to avoid any disruptions during the connection process.
With your Dell laptop turned on, you are now ready to proceed to the next step: configuring network settings in Windows.
Step 6: Configure network settings in Windows
Now that your Dell laptop is powered on, it’s time to configure the network settings in Windows to establish a successful Ethernet connection. Follow these steps to configure the network settings:
- On your Dell laptop, navigate to the Start Menu and click on the “Settings” gear icon to open the Windows Settings.
- In the Settings menu, click on “Network & Internet” to access the network settings.
- Under the “Status” section, click on “Ethernet” to view the Ethernet connection status.
- Ensure that the toggle switch for the Ethernet connection is turned on.
- If the Ethernet connection is not detected automatically, click on “Change adapter options” to open the Network Connections window.
- Right-click on the Ethernet connection and select “Properties”.
- In the Properties window, make sure that “Internet Protocol Version 4 (TCP/IPv4)” is selected and click on “Properties” to configure the IP settings.
- Select the option “Obtain an IP address automatically” and “Obtain DNS server address automatically”.
- Click “OK” to save the settings.
By configuring the network settings in Windows, you ensure that your Dell laptop will obtain the necessary IP address and DNS server information automatically, allowing it to connect to the internet via Ethernet. This process may vary slightly depending on the version of Windows you are using.
After configuring the network settings, your Dell laptop is now ready to establish a stable and reliable internet connection. In the next step, we will test the Ethernet connection to ensure it is functioning correctly.
Step 7: Test the Ethernet connection
Now that you have configured the network settings in Windows, it’s time to test the Ethernet connection on your Dell laptop. Follow these steps to ensure that the connection is working correctly:
- Open your preferred web browser on your Dell laptop.
- Type in a website address or perform a search to test the internet connection.
- Wait for the webpage to load or the search results to appear.
- If the webpage loads successfully or you see the search results, it indicates that your Dell laptop is successfully connected to the internet via Ethernet.
- If you encounter any issues with the connection, ensure that the Ethernet cable is properly connected on both ends and that the network settings are configured correctly.
- If there are still connectivity issues, try restarting your Dell laptop and the router or modem, as this can sometimes resolve any connection glitches.
Testing the Ethernet connection ensures that your Dell laptop can access the internet and provides a stable and high-speed connection for your online activities. If you encounter any difficulties with the connection, double-check the cable connection and network settings, and consider troubleshooting with Dell customer support or your internet service provider.
Congratulations! You have successfully connected your Dell laptop to the internet using an Ethernet cable. Enjoy the benefits of a fast and reliable wired connection without the interference often experienced with wireless connections.
By following these step-by-step instructions, you can easily set up and establish an Ethernet connection on your Dell laptop. Whether you need a more stable internet connection for work, streaming, gaming, or any other online activities, an Ethernet connection ensures a seamless and uninterrupted experience.
Conclusion
Connecting your Dell laptop to the internet using an Ethernet cable is a reliable and convenient way to establish a fast and stable wired connection. By following the step-by-step guide provided in this article, you can easily connect your Dell laptop to the internet and enjoy a seamless online experience.
We began by checking the available ports on your Dell laptop to ensure you have the necessary Ethernet port or adapter. Next, we located the Ethernet port on your laptop, making it easier to connect the cable. We then connected one end of the Ethernet cable to your laptop and the other end to the router or modem, ensuring a secure connection.
After turning on your Dell laptop, we proceeded to configure the network settings in Windows, enabling your laptop to obtain the required IP address and DNS server information automatically. Finally, we tested the Ethernet connection by trying to access a webpage or perform a search to ensure the internet connection is working correctly.
With the Ethernet connection successfully established, you can now enjoy the benefits of a faster and more reliable internet connection. Whether you need it for work, streaming, online gaming, or any other online activities, the Ethernet connection provides stability and consistent performance, free from the limitations of wireless connectivity.
Remember, if you encounter any issues during the setup process or with your Ethernet connection, be sure to double-check the cable connections, network settings, and consult the necessary resources or support. With a properly configured Ethernet connection, you can optimize your online experience with faster speeds and minimal interruptions.
Now that you have successfully connected your Dell laptop to the internet via Ethernet, you can make the most out of your online endeavors. Enjoy the benefits of a reliable and high-speed internet connection, allowing you to work, stream, and browse the web with ease.