Introduction
Welcome to the guide on how to turn on a Dell laptop. Whether you are a new Dell laptop owner or just need a refresher, this article will walk you through the steps to power up your laptop and get it ready for use.
Starting your Dell laptop is a straightforward process that can be done in a few simple steps. By following these instructions, you’ll be able to turn on your laptop and begin using it for work, entertainment, or any other purpose you have in mind.
Before we get started, please ensure that your Dell laptop is properly connected to a power source. It’s important to note that laptops have different power management settings, so the exact steps may slightly vary based on your Dell model and operating system. However, this general guide will work for most Dell laptops across various versions and models.
So, without further ado, let’s dive into the process of turning on your Dell laptop and get you up and running in no time.
Step 1: Plug in the power adapter
The first step to turning on your Dell laptop is to ensure it has a power source. To do this, locate the power adapter that came with your laptop. It is a rectangular-shaped device with a cord attached to it.
Once you have located the power adapter, find an electrical outlet near where you plan to use your laptop. Ensure that the outlet is easily accessible and not blocked by any objects.
Take the power adapter and plug it into the electrical outlet. Ensure that the plug is inserted fully and securely. You may hear a click or see a light indicator on the adapter to indicate that it is connected to the power source.
Next, locate the port on your Dell laptop where the power adapter connects. The port is generally located on the side or back of the laptop. It is a small round hole that matches the shape of the power adapter plug.
Take the other end of the power adapter cord and plug it into the corresponding port on your laptop. Again, ensure that the plug is inserted fully and securely into the port. You may feel a slight resistance as the plug connects.
Once the power adapter is connected to both the electrical outlet and your Dell laptop, you are ready to proceed to the next step. Ensure that the power adapter cord is not stretched or twisted to avoid any damage.
By following this step, you have successfully plugged in the power adapter and established a power source for your Dell laptop. Now, let’s move on to the next step to turn on your laptop.
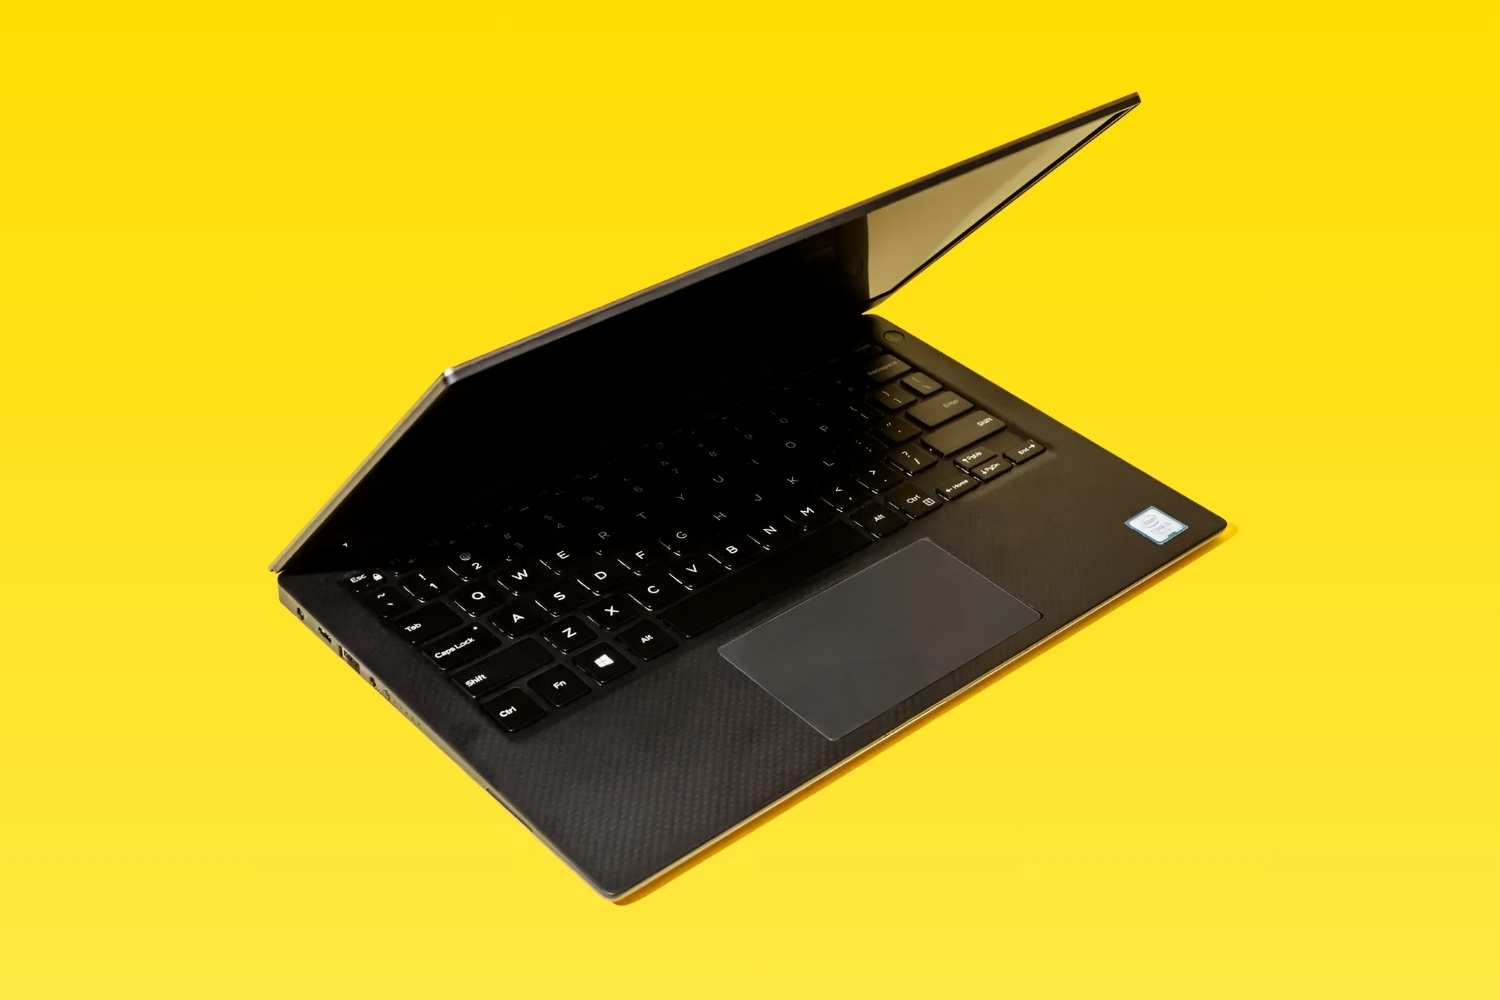
Step 2: Open the laptop lid
Now that you have connected the power adapter to your Dell laptop, the next step is to open the laptop lid. This will expose the keyboard and display, allowing you to interact with your laptop.
To open the laptop lid, locate the latch or button that secures the lid closed. On most Dell laptops, this latch is located near the front edge of the laptop, in the center or slightly to one side. It may be a small switch, a button, or a slider.
Once you have located the latch, use your thumb or finger to press or slide it. This will release the latch and allow the laptop lid to be lifted open. You may feel a slight resistance as the latch is released.
Gently lift the laptop lid upward, using both hands to support it. Be careful not to apply excessive force or bend the lid too far back, as this can cause damage to the hinges or the display.
As you open the laptop lid, you will see the screen come to life, displaying the Dell logo or your desktop background, depending on your laptop’s settings. The keyboard will also be exposed, ready for you to start typing.
Once the lid is fully open, position it at a comfortable angle for your viewing and typing preferences. Some laptops have hinges that allow the lid to be adjusted to different angles, while others have a fixed position.
Now that the laptop lid is open, you are one step closer to using your Dell laptop. In the next step, we will learn how to power on the laptop and boot it up.
Step 3: Press the power button
With the laptop lid open, the next step is to locate and press the power button. The power button is a small button or switch typically located near the keyboard, either above the function keys or on the side of the laptop. Look for a symbol that resembles a circle with a line through it, or a power icon.
Once you have located the power button, gently press it with your finger or thumb. As you press the power button, you may feel a slight click or hear a soft sound. This signifies that the button has been activated, and the laptop is starting to power on.
After pressing the power button, you will notice the laptop’s indicator lights turn on, indicating that the device is receiving power. Additionally, the laptop’s screen will begin to display the Dell logo or startup screen.
Depending on your laptop’s settings, you may also hear a brief chime or beep sound as the laptop powers on. This is a normal part of the startup process and confirms that the system is initializing.
It’s important to note that the time it takes for the laptop to fully power on can vary depending on the model and hardware specifications. Generally, it should take just a few seconds for the Dell logo or startup screen to appear.
Once you have pressed the power button, do not press it again immediately. Give the laptop a moment to initialize and complete the startup process. Avoid pressing the power button multiple times in quick succession, as this can cause the laptop to enter a sleep or hibernation mode.
By following this step and pressing the power button, your Dell laptop will begin to boot up and prepare for use. In the next step, we will explore how to log in to your user account.
Step 4: Wait for the laptop to boot up
After pressing the power button, it’s time to be patient and allow your Dell laptop to complete the startup process. During this step, the laptop’s operating system will load, and all the necessary hardware components will initialize.
As the laptop boots up, you will see the Dell logo or startup screen. This screen may display for a few moments, and then the display may go blank or show a loading icon. This is a normal part of the process as the laptop prepares to launch the operating system.
Depending on the performance of your laptop and the complexity of your system setup, the boot-up time can vary. It typically takes anywhere from a few seconds to a couple of minutes for the laptop to fully boot up and be ready to use.
While waiting for the laptop to boot up, avoid pressing any buttons or keys on the keyboard. Allow the operating system to load without interruption. You may notice the hard drive indicator light blinking or hear the sound of the fan as the laptop works in the background.
During this time, you can take the opportunity to get comfortable, organize your workspace, or gather any necessary documents or files you’ll need for your work or entertainment purposes.
Once the laptop has finished booting up, you will see the login screen or the desktop, depending on your user account settings. At this point, your Dell laptop has successfully completed the boot-up process, and you are ready to move on to the next step of logging in to your user account.
By patiently waiting for the laptop to boot up, you ensure that all essential software and hardware components are properly initialized, providing a stable and efficient environment for you to use your Dell laptop.
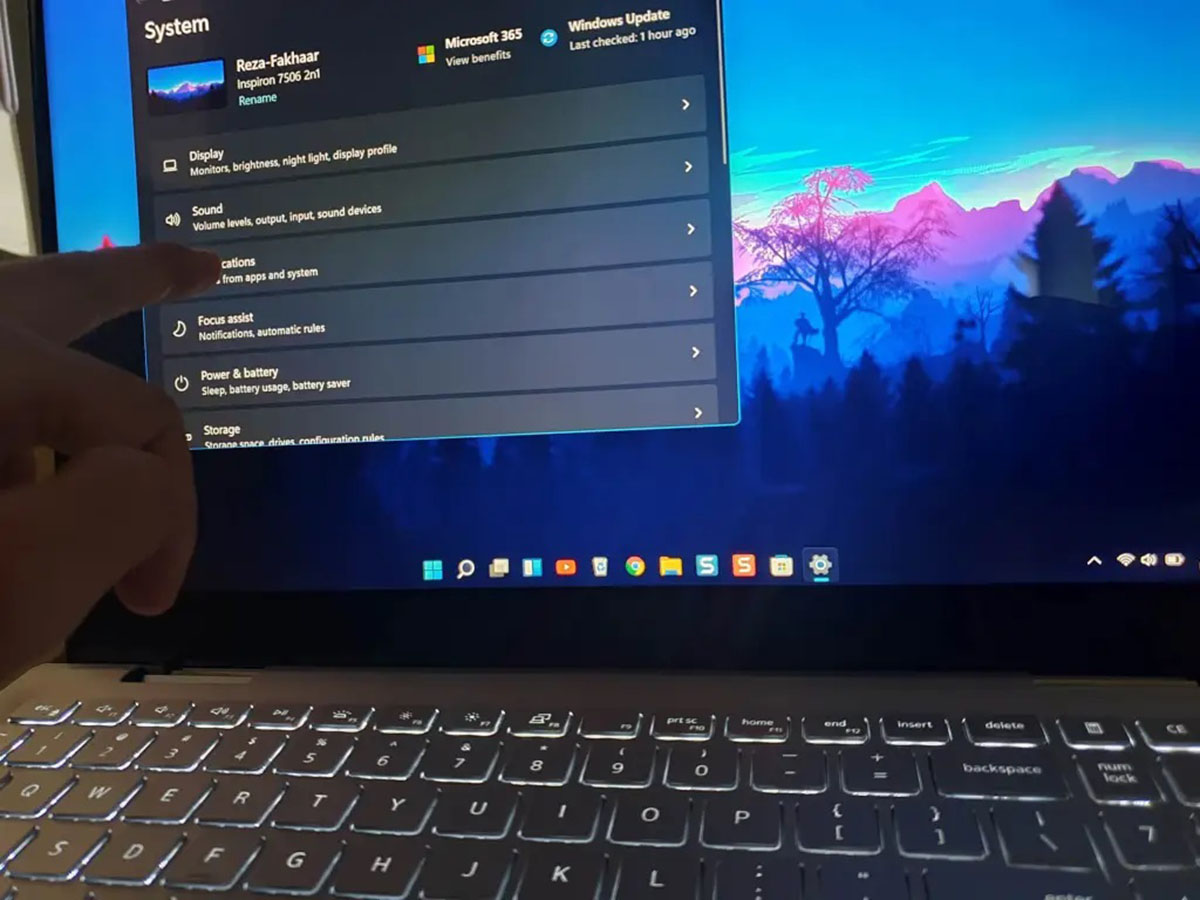
Step 5: Log in to your user account
Now that your Dell laptop has finished booting up, it’s time to log in to your user account. By logging in, you gain access to your personalized settings, files, and applications.
On the login screen, you will typically see your username or account name displayed. Click or tap on your username to activate the login field. You may also see an avatar or profile picture associated with your account.
Next, enter your password using the keyboard. Pay attention to the case sensitivity of the characters in your password. Ensure that the Caps Lock key is toggled appropriately to match the capitalization of your password.
Once you have entered your password, click the “Enter” or “Sign in” button, or press the “Enter” key on the keyboard. The login process may take a few seconds as the system verifies your credentials and prepares your user environment.
If you have set up your Dell laptop with a password, it is essential to remember it to gain access to your user account. In case you have forgotten your password, you can follow the appropriate steps to reset it or seek assistance from the Dell support team.
After successfully logging in, your desktop will appear, showcasing the familiar layout and any customized settings you have applied. From here, you can start using your Dell laptop to browse the internet, check emails, create documents, or perform any other tasks you need.
If you are using a shared or public computer, be sure to log out of your user account when you’re finished to ensure the privacy and security of your personal information. You can do this by clicking on the “Start” menu, selecting the logout option, or pressing “Ctrl” + “Alt” + “Delete” and choosing “Sign out” from the options.
By successfully logging in to your user account, you’ve completed the essential steps to turning on and accessing your Dell laptop. Now, you’re all set to enjoy the full functionality and capabilities of your device.
Step 6: Troubleshooting common startup issues
While turning on your Dell laptop is usually a smooth process, there may be instances where you encounter startup issues. Here are some common problems that can occur and possible solutions to troubleshoot them:
1. No power: If your laptop doesn’t turn on at all, ensure that the power adapter is securely connected to both the laptop and the electrical outlet. Try using a different outlet or a different power adapter if available. Additionally, check if there are any indicators or lights on the laptop that may indicate a power issue.
2. Black screen: If your laptop turns on, but the screen remains black, it could be a problem with the display settings or a faulty graphics driver. Try connecting an external monitor to see if a display appears. If so, adjust the display settings or update the graphics driver accordingly.
3. Startup errors: Sometimes, you may encounter error messages or system crashes during startup. These issues can indicate problems with the operating system or hardware. Try booting into safe mode or using system repair tools to identify and fix any software-related issues. If the problem persists, seeking professional help may be necessary.
4. Slow boot-up: If your laptop takes an unusually long time to boot up, it could be due to too many startup programs or a fragmented hard drive. Disable unnecessary startup programs and perform regular maintenance tasks like disk cleanup and defragmentation to optimize system performance.
5. Blue screen of death (BSOD): If you encounter a blue screen with error messages during startup, it indicates a severe system issue. Note down the error code and search online for possible solutions. It could be caused by faulty hardware, incompatible drivers, or system file corruption. Updating drivers and performing system repairs may be necessary.
If you are unable to resolve the startup issues on your own, don’t hesitate to reach out to Dell support for further assistance. Their technical experts can provide you with specific troubleshooting steps based on your laptop model and the nature of the problem.
By understanding common startup issues and possible troubleshooting steps, you can overcome obstacles and ensure a smooth and efficient startup process for your Dell laptop.
Conclusion
Congratulations! You have successfully learned how to turn on a Dell laptop. By following the steps outlined in this guide, you can power up your laptop and be ready to use it for work, entertainment, or any other purpose you have in mind.
Remember, the process of turning on a Dell laptop involves plugging in the power adapter, opening the laptop lid, pressing the power button, waiting for the laptop to boot up, logging in to your user account, and troubleshooting common startup issues, if they arise.
Additionally, it is essential to follow best practices such as properly connecting the power adapter, handling the laptop lid with care, and being patient during the boot-up process. These actions will help ensure the longevity and optimal performance of your Dell laptop.
If you encounter any difficulties during the startup process or face recurring issues, don’t hesitate to seek assistance from Dell’s support team or consult the documentation that came with your laptop. They can provide further guidance specific to your Dell model and help you troubleshoot and resolve any problems you may encounter.
Now that you have mastered the art of turning on your Dell laptop, feel free to explore its vast capabilities and unleash your productivity, creativity, and entertainment potential. Whether you use your laptop for work, studies, or personal use, having the knowledge and confidence to power it on is the first step to a fulfilling computing experience.
Happy computing with your Dell laptop!