Introduction
Removing a hard drive from your Dell desktop computer may seem like a daunting task, especially if you have never done it before. However, with the right steps and a little preparation, you can safely remove the hard drive in no time.
Whether you need to replace a faulty hard drive, upgrade to a larger storage capacity, or simply retrieve your data, removing the hard drive from your Dell desktop is a straightforward process that anyone can accomplish with a few basic tools and a bit of patience.
In this guide, we will walk you through the step-by-step process of removing a hard drive from a Dell desktop. We will provide detailed instructions and helpful tips to ensure that you can successfully complete the task without any issues.
It is important to note that the specific steps can vary slightly depending on the model of your Dell desktop. Therefore, always refer to the user manual or support resources provided by Dell for your particular computer model to ensure accurate instructions.
Before proceeding with the hard drive removal, it is crucial to back up your data and make sure you have all the necessary equipment and tools. This will help protect your valuable files and ensure you have everything you need for a smooth removal process.
Now, let’s dive into the step-by-step instructions for removing a hard drive from your Dell desktop computer.
Step 1: Prepare for the Removal
Before you begin removing the hard drive from your Dell desktop, it is essential to make sure you have the necessary tools and materials ready. Here is a list of items you will need:
- Screwdriver (typically a Phillips head or Torx screwdriver)
- Anti-static wrist strap or a grounding mat
- Clean, lint-free cloth
- Blanket or soft surface to protect the desktop casing
- Backup drive or storage device to save your data (optional but highly recommended)
Once you have gathered all the required tools and materials, it is crucial to take a few precautionary measures before proceeding with the hard drive removal.
First, back up your data. Transferring your important files to an external storage device or cloud-based service ensures that your data will not be lost during the removal process. This step is especially critical if you are planning to replace the hard drive or if you have valuable information stored on it.
Second, shut down your Dell desktop properly. Save any open files and close all applications before powering off your computer. It is also recommended to unplug any connected devices, such as printers or external drives, from the desktop for safety.
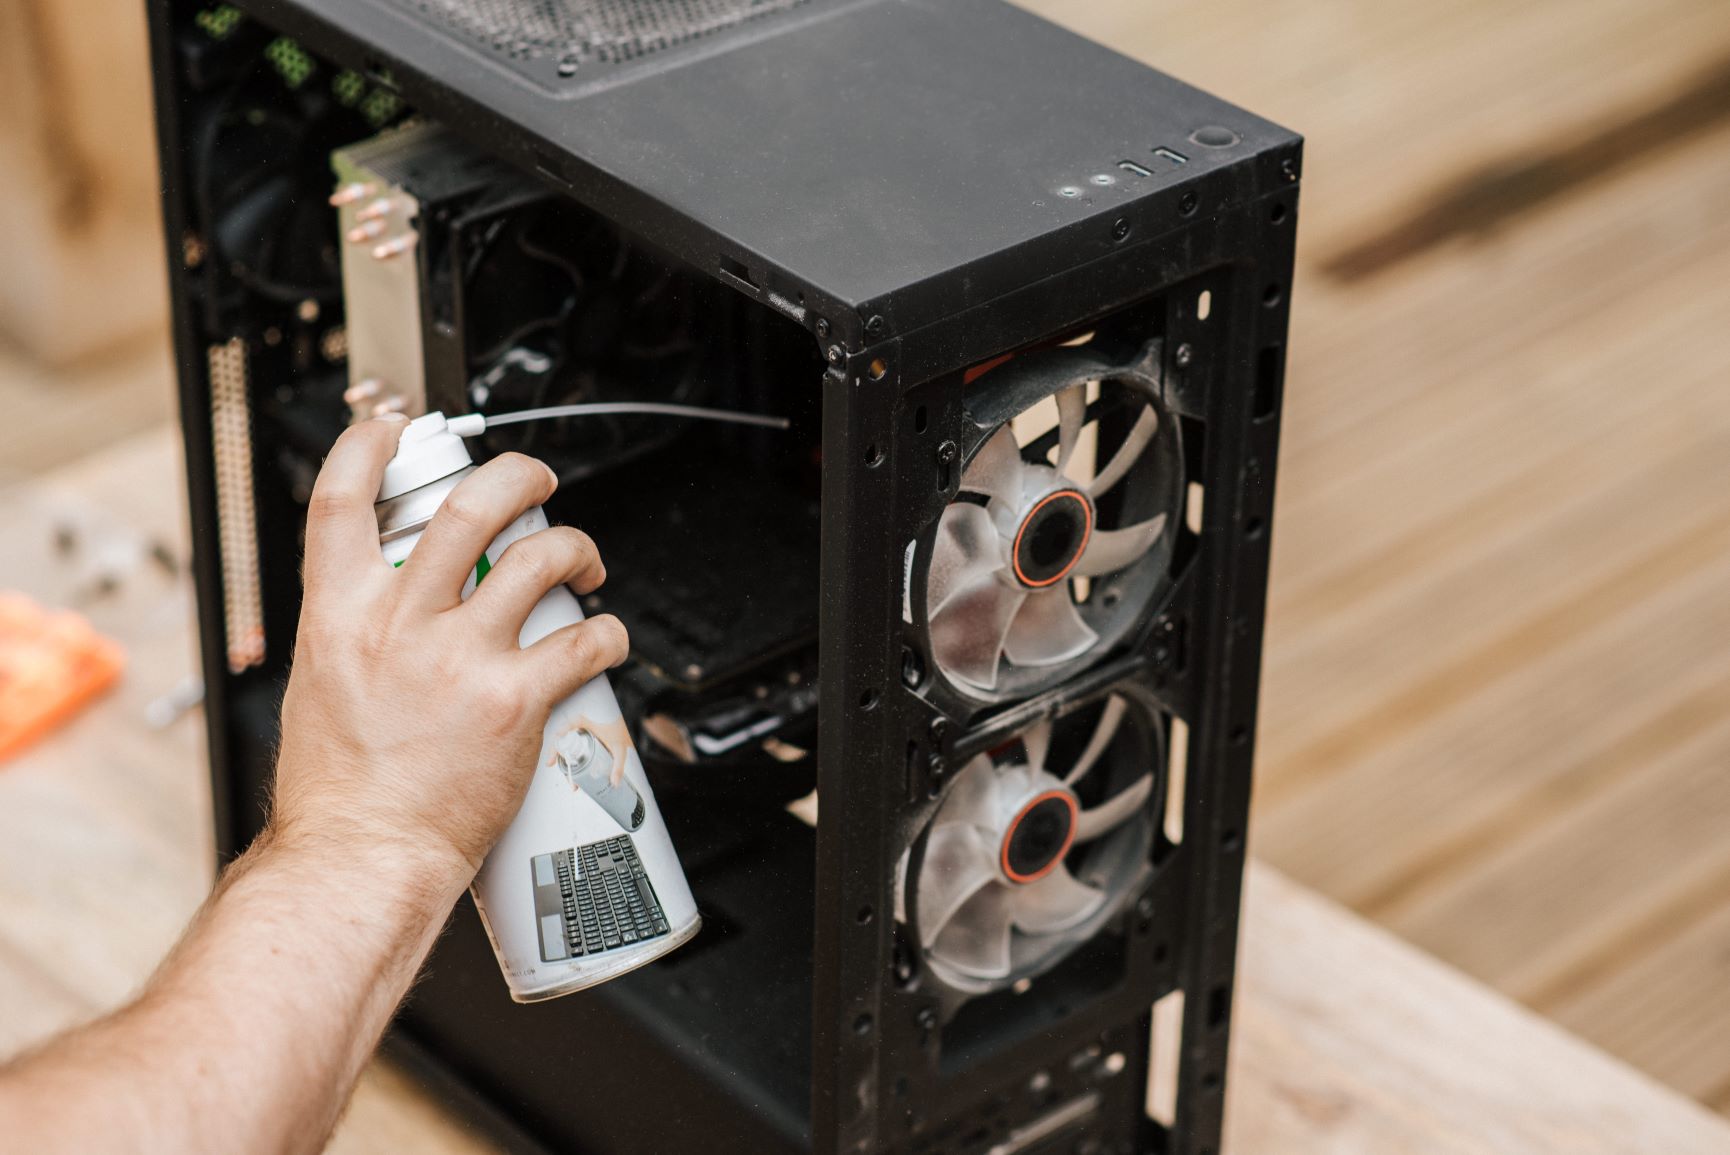
Finally, take grounding precautions. Static electricity can potentially damage computer components, so it is advised to use an anti-static wrist strap or work on a grounded mat. This helps to discharge any static electricity from your body and prevents it from harming the delicate internal components of your Dell desktop.
Once you have completed these preparation steps, you are now ready to move on to the next step: shutting down and unplugging the Dell desktop.
Step 2: Shut Down and Unplug the Dell Desktop
Before starting the process of removing the hard drive from your Dell desktop, it is important to shut down the computer properly and disconnect it from the power source. This will help ensure the safety of both you and the computer during the removal process.
To begin, save any open files and close all running applications. It is essential to properly shut down your computer to avoid any data loss or potential damage to the system.
Once you have closed all applications, navigate to the Start menu in the bottom left corner of the screen. Click on the “Power” button and select “Shut down” from the drop-down menu. Wait for the desktop to completely power off before proceeding.
After the computer has shut down, locate the power cord on the back of the Dell desktop. Gently pull out the power cord from the electrical outlet, completely disconnecting it from the power source. This step is crucial to prevent any electrical accidents or damage while handling the internal components.
Keep in mind that some Dell desktop models may have an external power supply. In this case, disconnect the power supply from both the electrical outlet and the desktop unit itself.
Once the computer is shut down and unplugged, allow it to sit for a few minutes to discharge any residual power. This will help ensure that there is no remaining electrical current in the system before proceeding with the hard drive removal.
Now that you have completed the process of shutting down and disconnecting the Dell desktop from the power source, you are ready to move on to the next step: removing the side panel cover to access the internal components.
Step 3: Remove the Side Panel Cover
Now that the Dell desktop is shut down and unplugged, it’s time to remove the side panel cover to gain access to the internal components, including the hard drive. Removing the side panel cover may vary slightly depending on the model of your Dell desktop, but the general process is as follows:
1. Lay the computer on a soft surface or blanket to protect the casing from any scratches or damage.
2. Locate the screws holding the side panel cover in place. These screws are typically located on the back of the desktop, near the edges of the panel. Depending on your model, there may be one or two screws.
3. Using a Phillips head or a Torx screwdriver, carefully unscrew the screws holding the side panel cover. Set the screws aside in a safe place so that you don’t lose them.
4. Once the screws are removed, the side panel cover should slide off easily. Gently pull on the cover from the back, keeping a firm grip on it, and slowly slide it towards the back of the desktop until it is completely detached.
5. Set the side panel cover aside in a safe place, away from any potential damage or clutter. You may want to keep the cover in a secure spot to ensure it doesn’t get misplaced during the rest of the removal process.
It is important to note that some Dell desktop models may come with a latch or release mechanism instead of screws. In such cases, locate the latch or release switch and follow the manufacturer’s instructions for removing the side panel cover.
With the side panel cover now removed, you have successfully gained access to the internal components of your Dell desktop. The next step is to locate the hard drive itself, which we will cover in the next step.
Step 4: Locate the Hard Drive
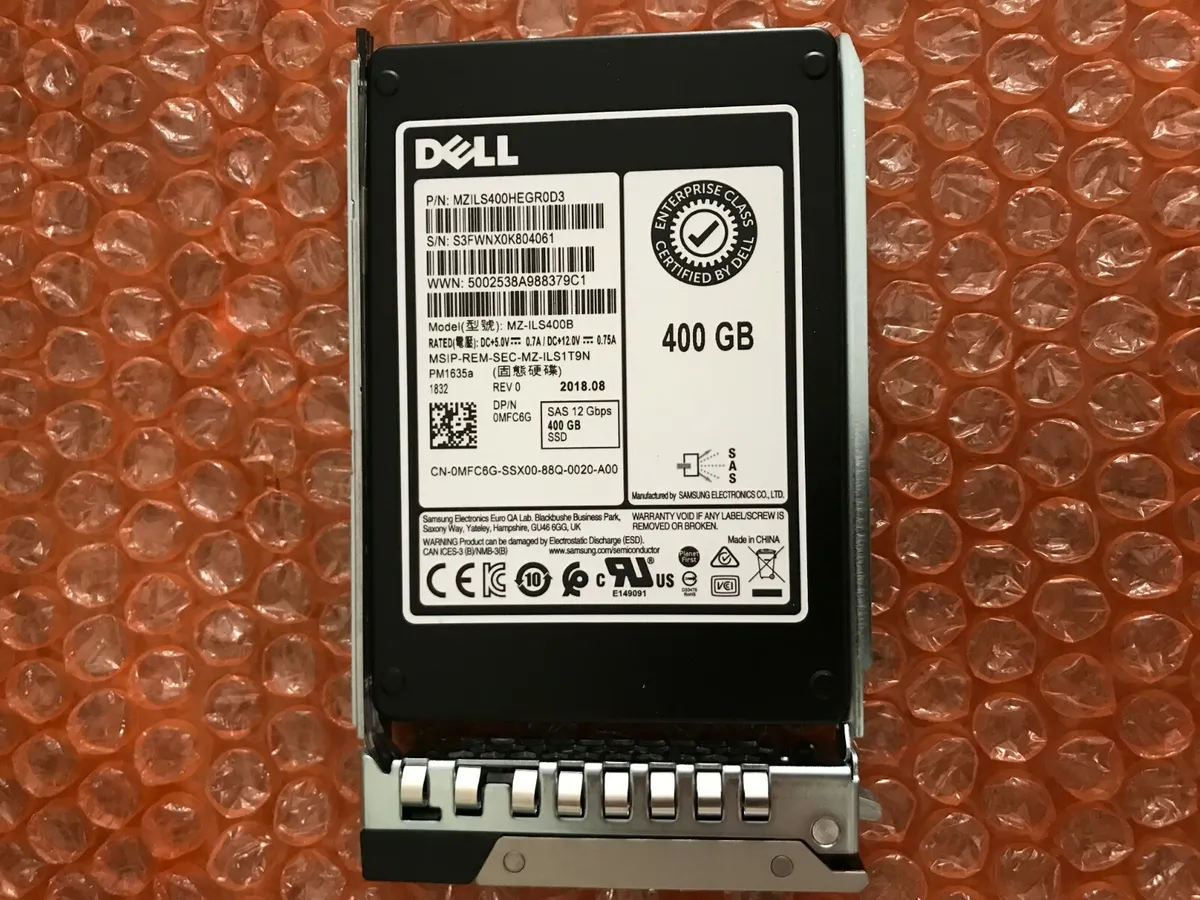
With the side panel cover of your Dell desktop removed, you can now locate the hard drive. The hard drive is a small rectangular device typically mounted inside the computer case. Follow these steps to find the hard drive:
1. Look for a metal or plastic rectangular box inside the computer case. This is the hard drive enclosure where the actual hard drive is installed.
2. The hard drive is usually connected to the motherboard with two cables: a power cable and a data cable. These cables are connected to the back of the hard drive and protrude from the enclosure.
3. Some Dell desktop models may have multiple hard drives installed. In this case, you will see multiple hard drive enclosures. Identify the specific enclosure that corresponds to the hard drive you want to remove.
4. Take a moment to familiarize yourself with the layout and configuration of the interior of your Dell desktop. This will help you locate the hard drive and ensure that you identify it correctly before proceeding with the removal process.
If you are unsure about the location of the hard drive or need further clarification, consult the user manual or online resources specific to your Dell desktop model. These resources often provide diagrams or images that can help you pinpoint the exact location of the hard drive.
Once you have successfully located the hard drive, you are ready to move on to the next step: disconnecting the power and data cables from the hard drive.
Step 5: Disconnect Power and Data Cables
Now that you have located the hard drive in your Dell desktop, the next step is to disconnect the power and data cables attached to it. Here’s how you can do it:
1. Identify the power cable connected to the hard drive. It is typically a wide, flat cable with multiple colored wires. Grip the plastic connector firmly and gently pull it away from the back of the hard drive. Be cautious not to tug on the wires themselves.
2. Next, locate the data cable connected to the hard drive. The data cable is usually a narrower cable with a smaller connector. Again, hold the connector and carefully detach it from the back of the hard drive. Take note of the orientation of the connector, as you will need to reconnect it later.
3. As you disconnect the cables, you may need to remove any securing clips or fasteners that are holding them in place. These clips are designed to ensure a secure connection, but they can vary in design depending on the Dell desktop model.
4. Once both power and data cables are disconnected, inspect them for any signs of damage or wear. If you notice any issues, such as frayed wires or loose connectors, it is recommended to replace the cables before reinstalling or replacing the hard drive.
5. Set the disconnected cables aside in a safe place, ensuring they do not get tangled or misplaced. This will make it easier to reconnect them later when you install a new hard drive or reattach the existing one.
By following these steps, you have successfully disconnected the power and data cables from the hard drive in your Dell desktop. Now, you are ready to move on to the next step: removing the mounting screws that secure the hard drive in place.
Step 6: Remove Mounting Screws
With the power and data cables disconnected from the hard drive, the next step in removing the hard drive from your Dell desktop is to remove the mounting screws. These screws secure the hard drive in place inside the computer case. Here’s how you do it:
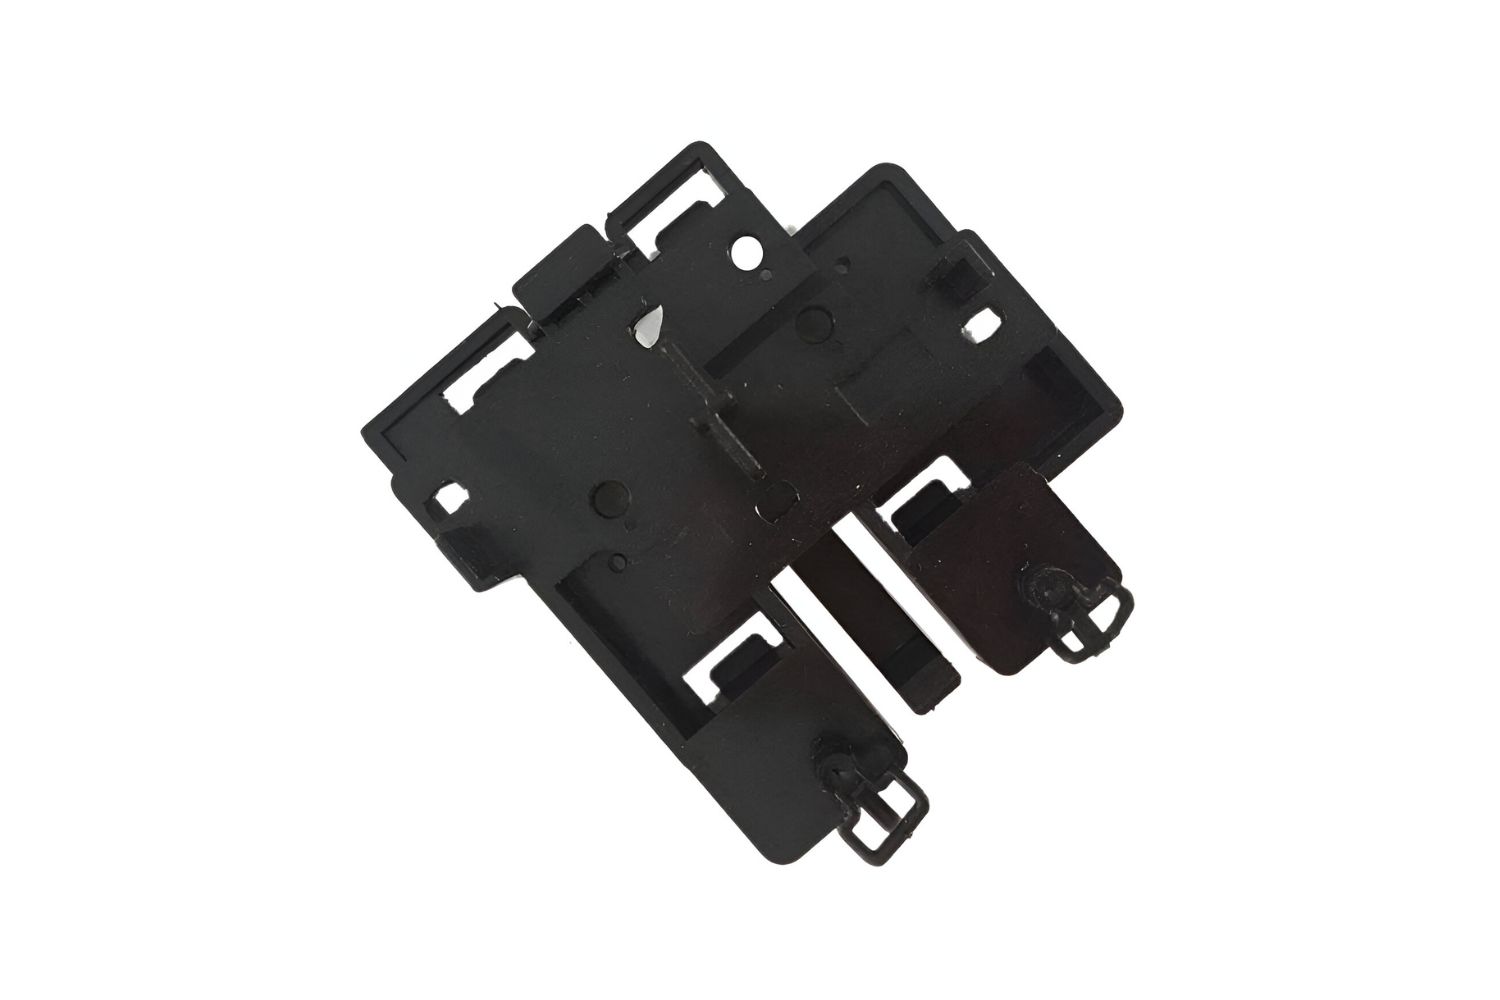
1. Locate the mounting screws that hold the hard drive in its enclosure. These screws are usually located on the sides or bottom of the hard drive enclosure. Depending on your Dell desktop model, there may be two or four screws.
2. Using a Phillips head screwdriver or the appropriate tool for your Dell desktop, carefully remove the screws one by one. Turn the screws counterclockwise until they are fully unscrewed from the hard drive enclosure. Keep the screws in a safe place, as you will need them when reassembling or replacing the hard drive.
3. As you remove the screws, be gentle and avoid excessive force, as this could damage the hard drive or the enclosure. If the screws are tight, consider using a bit more force, but always exercise caution to prevent any accidental damage.
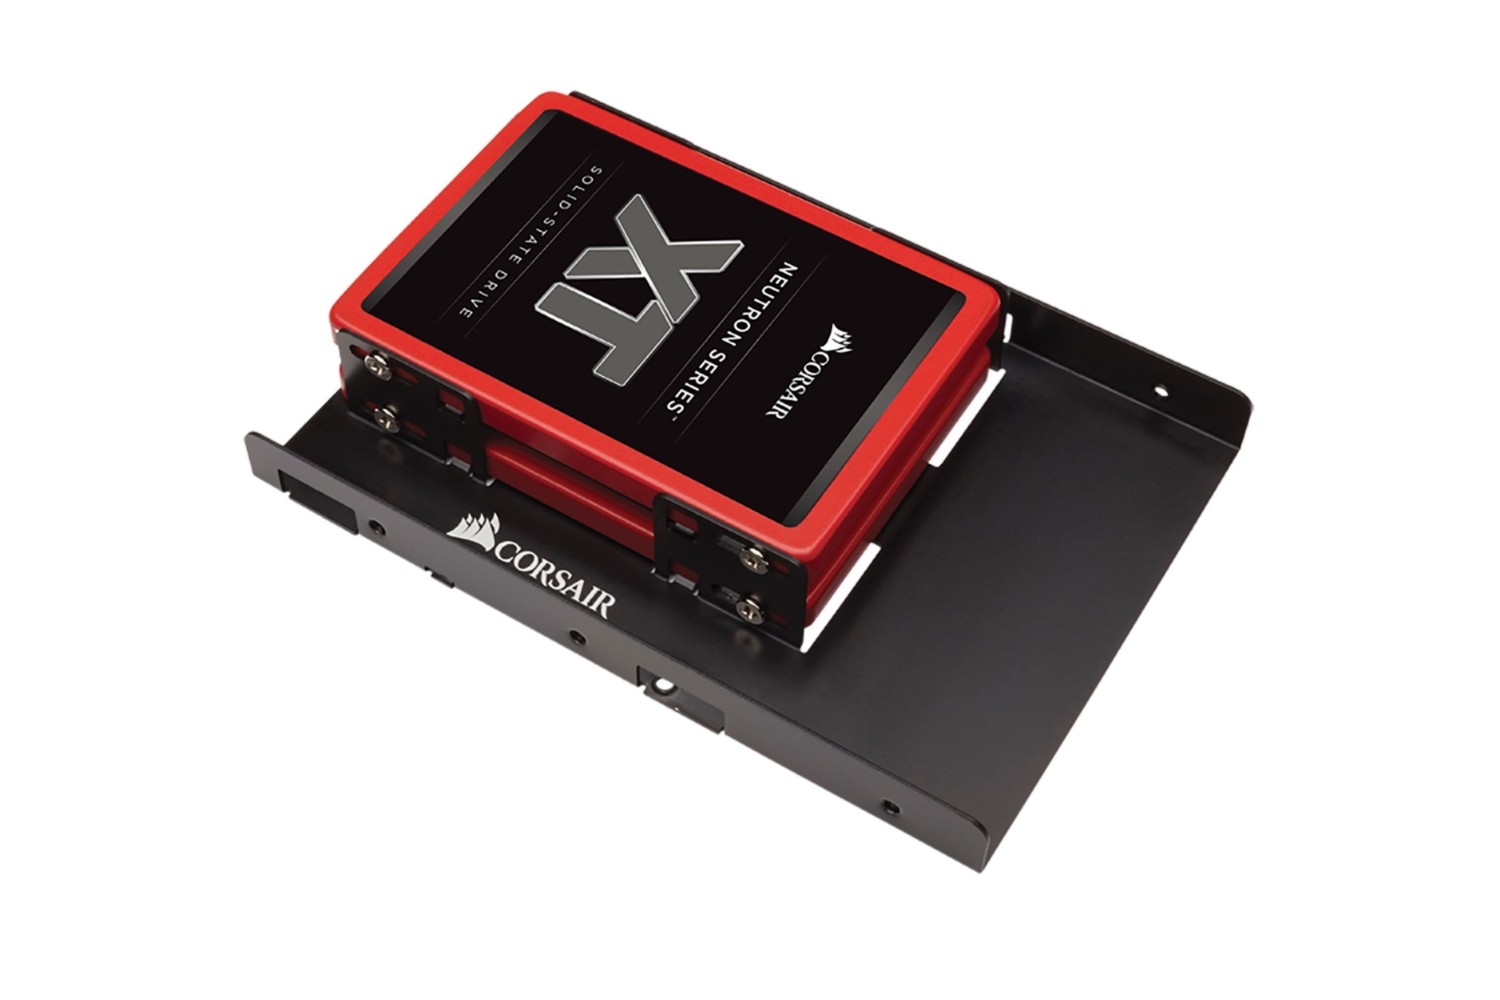
4. Once all the mounting screws have been removed, carefully slide out the hard drive from its enclosure. Be mindful of any other components or cables that may be attached in the vicinity of the hard drive. If necessary, gently disconnect any additional connectors before fully removing the hard drive.
5. Set the removed screws aside in a secure location and keep them together, ensuring that they don’t get mixed up or lost. Properly organize your screws to make the reassembly process easier when you install the new hard drive or reattach the existing one.
Now that the mounting screws have been removed, and the hard drive is free from its enclosure, you are ready to proceed to the final step: sliding out the hard drive from your Dell desktop computer.
Step 7: Slide Out the Hard Drive
With the mounting screws removed, it’s time to slide out the hard drive from your Dell desktop computer. Follow these steps to safely remove the hard drive:
1. Carefully hold the sides of the hard drive and gently pull it towards you. It should slide out smoothly from its enclosure. If you encounter any resistance, double-check if any cables or connectors are still attached and disconnect them if necessary.
2. Take note of the orientation of the hard drive as you slide it out. This will help ensure that you insert the replacement hard drive or reattach the existing one correctly.
3. Place the removed hard drive on an anti-static mat or a grounded surface. This will help protect it from any electrostatic discharge that could potentially damage the sensitive internal components.
4. Inspect the removed hard drive for any signs of damage or wear. If you intend to replace the hard drive, transfer any files or data from the old hard drive to the new one using a suitable data transfer method.
5. If you plan to reinstall the same hard drive, carefully store it in an anti-static bag or container to prevent any potential damage while you work on your Dell desktop.
Congratulations! You have successfully removed the hard drive from your Dell desktop. Whether you are replacing it with a new one or simply removing it for maintenance purposes, you can now proceed with the next steps of the installation or seek professional assistance if needed.
Remember to handle the hard drive with care to avoid any physical damage or data loss. With the hard drive removed, you can now proceed to install a new hard drive or reattach the existing one following the reverse order of the steps outlined in this guide.
Please refer to the user manual or online resources specific to your Dell desktop model for further guidance on installing or replacing the hard drive.
Conclusion
Removing a hard drive from a Dell desktop can seem daunting, but with the right tools and step-by-step instructions, it can be a feasible task. By following the outlined steps in this guide, you can safely remove the hard drive from your Dell desktop and proceed with any necessary maintenance or upgrades.
Remember to always back up your data before starting the removal process. This ensures that you have a copy of your important files in case of any unforeseen issues during the removal or replacement of the hard drive.
Throughout the process, take care to handle the components with caution and follow proper grounding procedures to avoid any electrostatic discharge that could be harmful to both you and the computer. Taking these precautions helps protect the internal components of your Dell desktop and prevents potential damage.
It is important to note that these instructions may vary slightly depending on your specific Dell desktop model. Always consult the user manual or refer to online resources relevant to your specific model for accurate and detailed instructions tailored to your device.
Whether you are replacing a faulty hard drive, upgrading to a larger storage capacity, or simply retrieving data, removing a hard drive from a Dell desktop is a manageable task that can be accomplished by following the steps provided in this guide.
If you are uncertain or uncomfortable with performing the hard drive removal yourself, it is always advisable to seek professional assistance or consult Dell’s technical support for guidance.
By following the outlined steps and taking necessary precautions, you can successfully remove the hard drive from your Dell desktop and proceed with your desired maintenance or upgrade tasks, ensuring optimal performance and storage capabilities for your computer.