Introduction
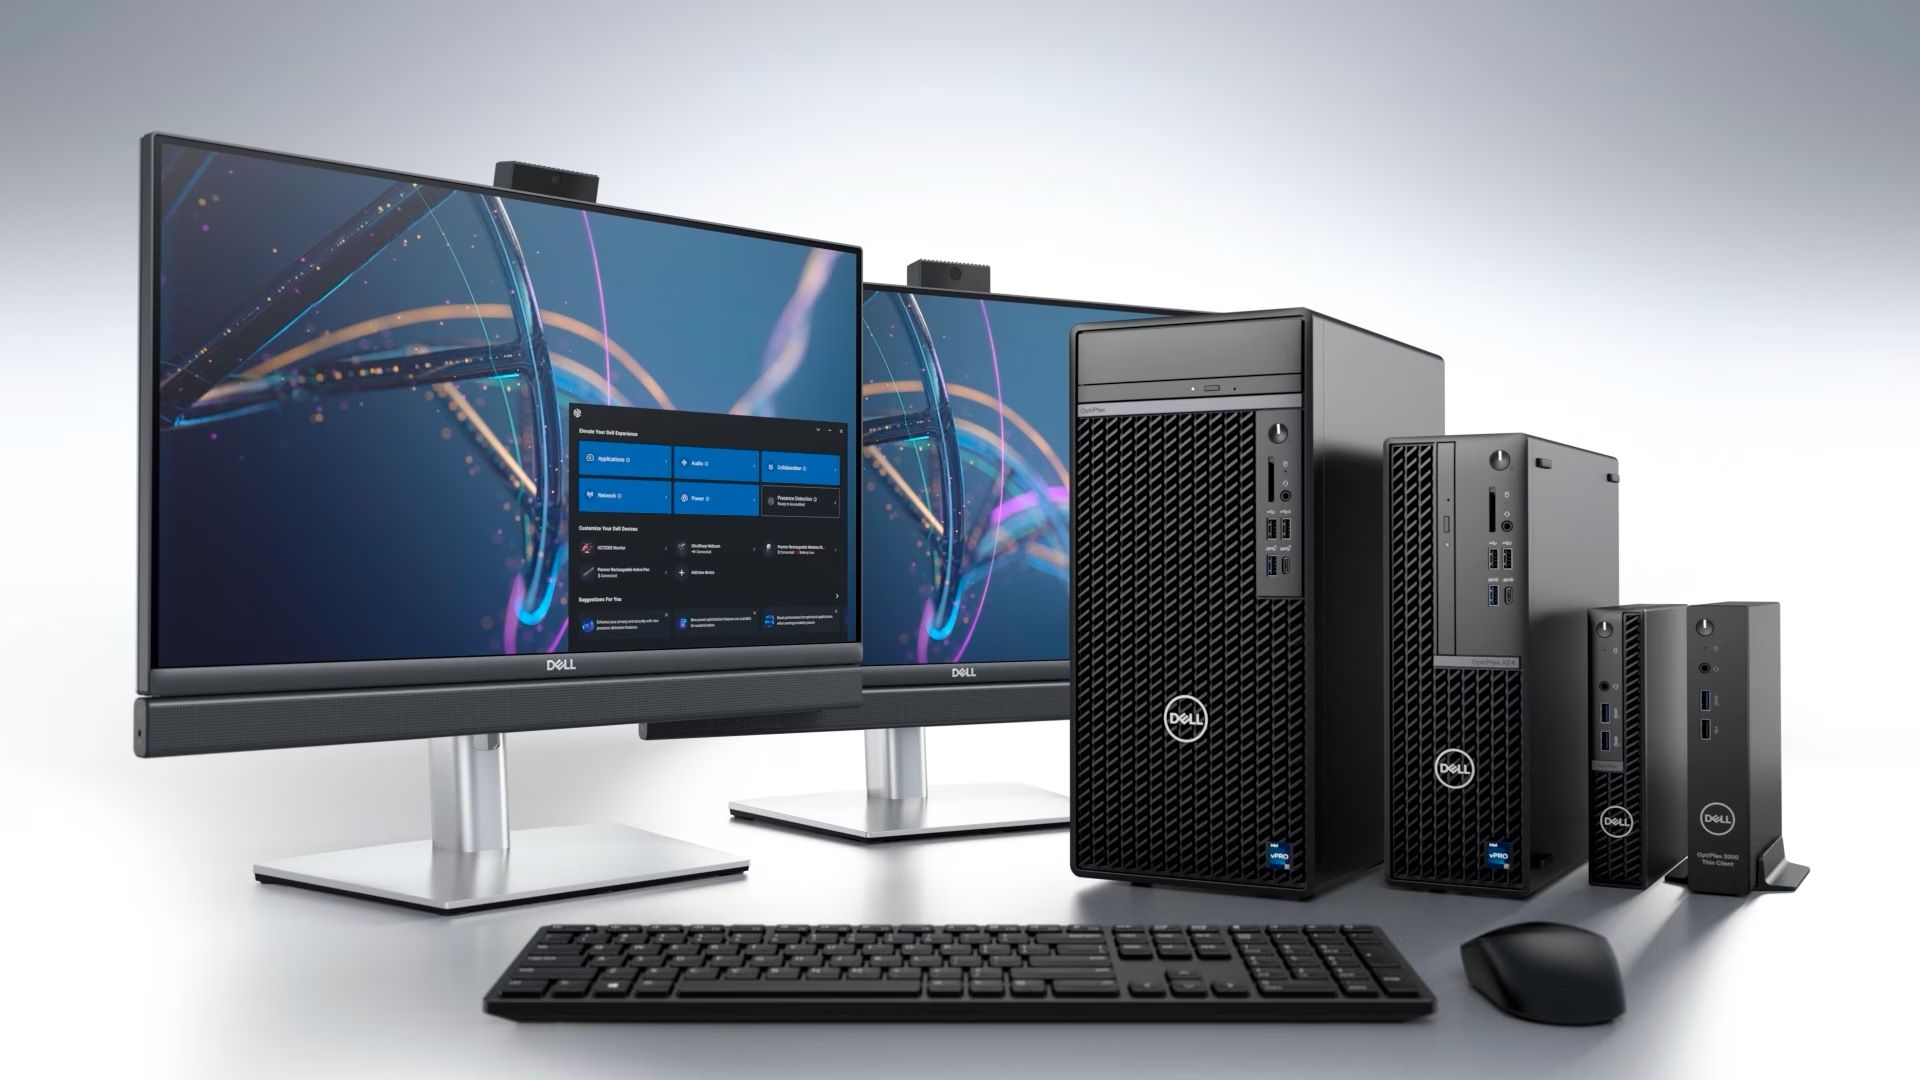
Welcome to our guide on how to open the Dell XPS 8700 Desktop PC case for cleaning. Your computer case is a sanctuary for dust, debris, and pet hair, which can accumulate over time and affect the performance and lifespan of your PC. Regular cleaning of your computer’s case is essential to ensure proper airflow, prevent overheating, and maintain optimal functionality. Opening the case may seem intimidating, but with the right steps and precautions, it can be a straightforward and rewarding experience.
In this guide, we will walk you through each step of the process, ensuring you understand how to safely open the Dell XPS 8700 Desktop PC case for cleaning. We will also provide additional optional steps for removing expansion cards, storage drives, and the power supply unit, should you wish to clean those components individually. By following our instructions and using proper tools and techniques, you can keep your computer running smoothly and extend its lifespan.
Before we dive into the steps, it’s important to note that opening your computer case may void your warranty. If your PC is still under warranty or if you are unsure about performing any of the steps yourself, we recommend consulting with a professional or contacting Dell support for assistance.
Now that you’re ready to give your Dell XPS 8700 Desktop PC some much-needed TLC, let’s begin by shutting down and unplugging the computer.
Before You Begin
Before you start opening the Dell XPS 8700 Desktop PC case, there are a few things you should consider:
Backup your data: Backing up your important files and data is always a good practice before performing any hardware maintenance. This ensures that your data is safe in case anything goes wrong during the cleaning process.
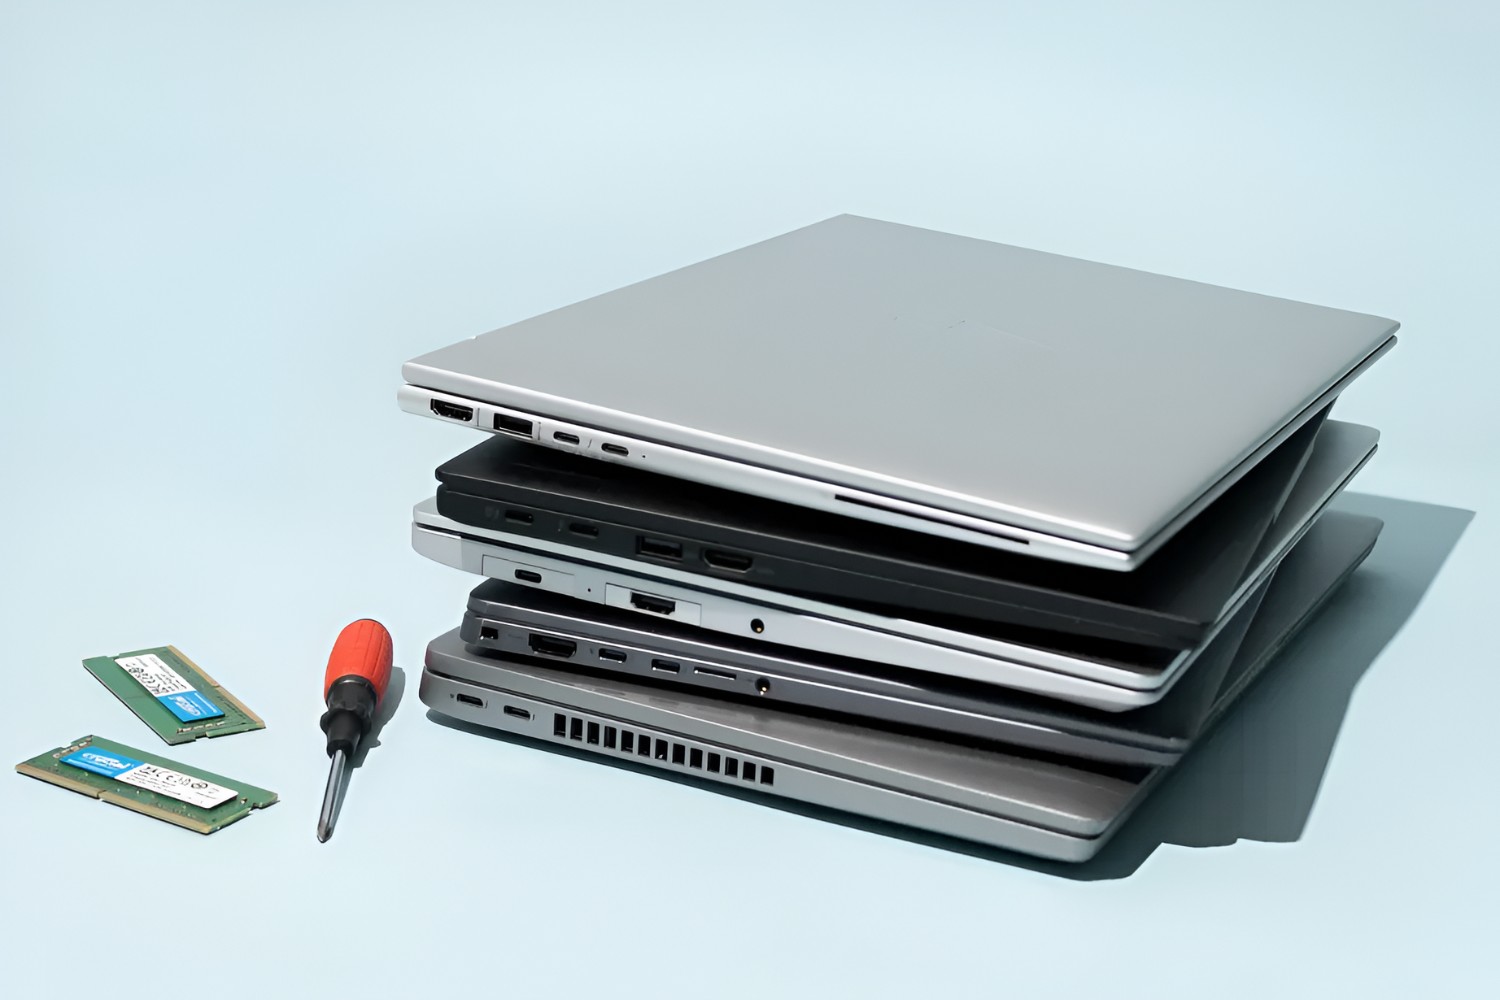
Gather the necessary tools: To open the case and clean the components, you’ll need a few basic tools. These include a Phillips screwdriver, compressed air can or an air compressor, lint-free cloth, and a small brush or a soft paintbrush.
Create a clean workspace: Find a clean and well-lit area where you can safely work on your computer. Remove any static-inducing materials such as carpets or rugs, as they can cause damage to sensitive electronic components.
Ground yourself: Before touching any internal components, it’s essential to discharge any static electricity from your body. You can do this by touching a grounded metal surface, such as a metal table leg or a radiator.
Read the manual: It’s always helpful to refer to the Dell XPS 8700 Desktop PC manual or documentation provided by Dell. This will give you a better understanding of the specific procedures and precautions for your particular model.
Take pictures: As you disassemble your PC, consider taking pictures of the cables and connections. This will help ensure that you can reconnect everything correctly when the time comes to reassemble the computer.
Be patient and cautious: Opening your computer case requires patience and caution. Take your time and be gentle when handling internal components. Avoid using excessive force or pulling on cables to prevent any damage.
By following these essential pre-cleaning guidelines, you’ll be better prepared to open your Dell XPS 8700 Desktop PC case safely and effectively.
Step 1: Shut Down and Unplug the Computer
The first step before opening the Dell XPS 8700 Desktop PC case is to shut down the computer properly and disconnect the power source. Follow these steps:
- Save your work and close all applications: Make sure to save any open files or documents and close all running applications before shutting down your computer. This will prevent data loss or potential damage to your files.
- Shut down your computer: Click on the Start menu, select “Shut Down,” and wait for the operating system to completely shut down. Alternatively, you can press and hold the power button until the computer turns off.
- Unplug all cables: Once the computer is shut down, unplug all cables connected to the Dell XPS 8700, including the power cord, monitor cable, keyboard, mouse, speakers, and any other peripheral devices. This will ensure that there is no power flowing to the computer and minimize the risk of electric shock.
- Press the power button: After unplugging the cables, press and hold the power button for a few seconds to discharge any residual power. This step helps protect the internal components from any static electricity that may be present.
Following these steps will ensure that your computer is properly shut down and disconnected from the power source. This is crucial for your safety and for the proper disassembly and cleaning of the Dell XPS 8700 Desktop PC.
Step 2: Remove the Side Panel
Now that your Dell XPS 8700 Desktop PC is shut down and unplugged, it’s time to remove the side panel. Follow these steps:
- Locate the side panel screws: Look for the screws that secure the side panel to the computer case. In most cases, there are two screws located at the back of the case. These screws may be Phillips head screws or thumb screws.
- Loosen or remove the screws: Use a Phillips screwdriver or your fingers to loosen or completely remove the screws. Place them in a safe location to avoid losing them.
- Slide or swing open the side panel: Once the screws are removed, gently slide or swing open the side panel. Some cases may have a latch or a release mechanism that needs to be pressed or pushed. Consult your Dell XPS 8700 manual for specific instructions.
- Set aside the side panel: Carefully set aside the side panel in a safe place where it won’t get damaged. You may want to place it on a clean surface or cover it with a cloth to protect it from scratches or dust.
Removing the side panel gives you access to the internal components of your Dell XPS 8700 Desktop PC. It’s important to handle the panel with care to avoid any accidental damage. With the side panel removed, you can now proceed to the next step of identifying and disconnecting cables.
Step 3: Identify and Disconnect Cables
With the side panel removed, you can now proceed to identify and disconnect the cables inside your Dell XPS 8700 Desktop PC. Follow these steps:
- Observe the cables: Take a moment to observe the cables and connections inside the computer. Identify the various types of cables, such as power cables, data cables, and audio cables. Note their locations and any labels or markings that may help you reconnect them correctly later.
- Document the connections (optional): It’s a good practice to take pictures or make a sketch of the cable connections before disconnecting them. This will serve as a visual reference when you reassemble your computer later.
- Disconnect the cables: Carefully unplug each cable by gripping the connector, not the cable itself. Gently wiggle and pull the connector to detach it from the corresponding port. Take your time to ensure a proper disconnection without using excessive force.
- Organize the cables: As you disconnect the cables, you can use twist ties or cable management solutions to keep them organized. Bundling and labeling the cables will help prevent tangling and confusion when it’s time to reconnect them.
It’s crucial to handle the cables with care to avoid damaging the connectors or the ports on the motherboard. Take your time and be patient throughout this step. Once all the cables are disconnected, you can move on to the optional steps of removing expansion cards, storage drives, and the power supply unit, or proceed directly to cleaning the case and components.
Step 4: Remove Expansion Cards (Optional)
In this step, we will guide you through removing expansion cards from your Dell XPS 8700 Desktop PC. This is an optional step but can be beneficial if you wish to clean or replace these cards. Follow these steps:
- Identify the expansion cards: Look inside your computer case and locate the expansion cards. These cards are usually installed in the PCI or PCIe slots on the motherboard and can include graphics cards, sound cards, or network cards.
- Unplug any cables connected to the cards: Check if there are any cables connected to the expansion cards. Carefully unplug and detach these cables from the respective card connectors. Remember to take note of their positions or take pictures for reference if needed.
- Unscrew the retaining screws: Most expansion cards are secured in place with one or two screws. Use a Phillips screwdriver to unscrew and remove these screws. Set the screws aside in a safe place to avoid misplacing them.
- Remove the expansion cards: Once the screws are removed, gently and evenly pull the expansion card straight out of the slot. Avoid twisting or bending the card to prevent damage to the connectors or the card itself.
When handling expansion cards, it’s important to be gentle and cautious. Take note of the orientation and position of the cards as you remove them, as this will help you reinstall them correctly later. If you’re not comfortable removing the expansion cards or are unsure about the process, it’s best to seek assistance from a professional.
Removing expansion cards can provide easier access to other components for cleaning or replacement. If you choose not to remove the expansion cards, you can move on to the next step of removing storage drives or skip directly to cleaning the computer case and components.
Step 5: Remove Storage Drives (Optional)
In this step, we will guide you through removing storage drives from your Dell XPS 8700 Desktop PC. This is an optional step but can be beneficial if you want to clean the drives or replace them with new ones. Follow these steps:
- Identify the storage drives: Look inside your computer case and locate the storage drives. The Dell XPS 8700 Desktop PC typically comes with a few drive bays that house the hard drives and solid-state drives (SSDs).
- Disconnect the cables: Check the cables connected to the storage drives. Gently unplug these cables from the drive connectors. Make sure to remember the positions or take pictures for reference if needed.
- Remove the drive mounting screws (if applicable): Some storage drives may be secured in drive bays with screws. Use a Phillips screwdriver to unscrew and remove these screws. Keep the screws in a safe place.
- Slide or remove the storage drives: Depending on the drive bay design, you may need to slide the drives out of the bays or carefully lift them out. Be cautious and avoid exerting excessive force to prevent damage to the drives or the connectors.
When removing storage drives, handle them with care and avoid touching the electronics or delicate components. Keep track of the orientation and position of the drives to ensure proper reinstallation later. If you’re unsure about removing or replacing the storage drives, it’s best to consult with a professional or refer to the Dell XPS 8700 manual for specific instructions.
Removing storage drives allows you to clean them individually or replace them as needed. If you choose not to remove the storage drives, you can move on to the next step of removing the power supply unit (PSU) or proceed directly to cleaning the computer case and components.
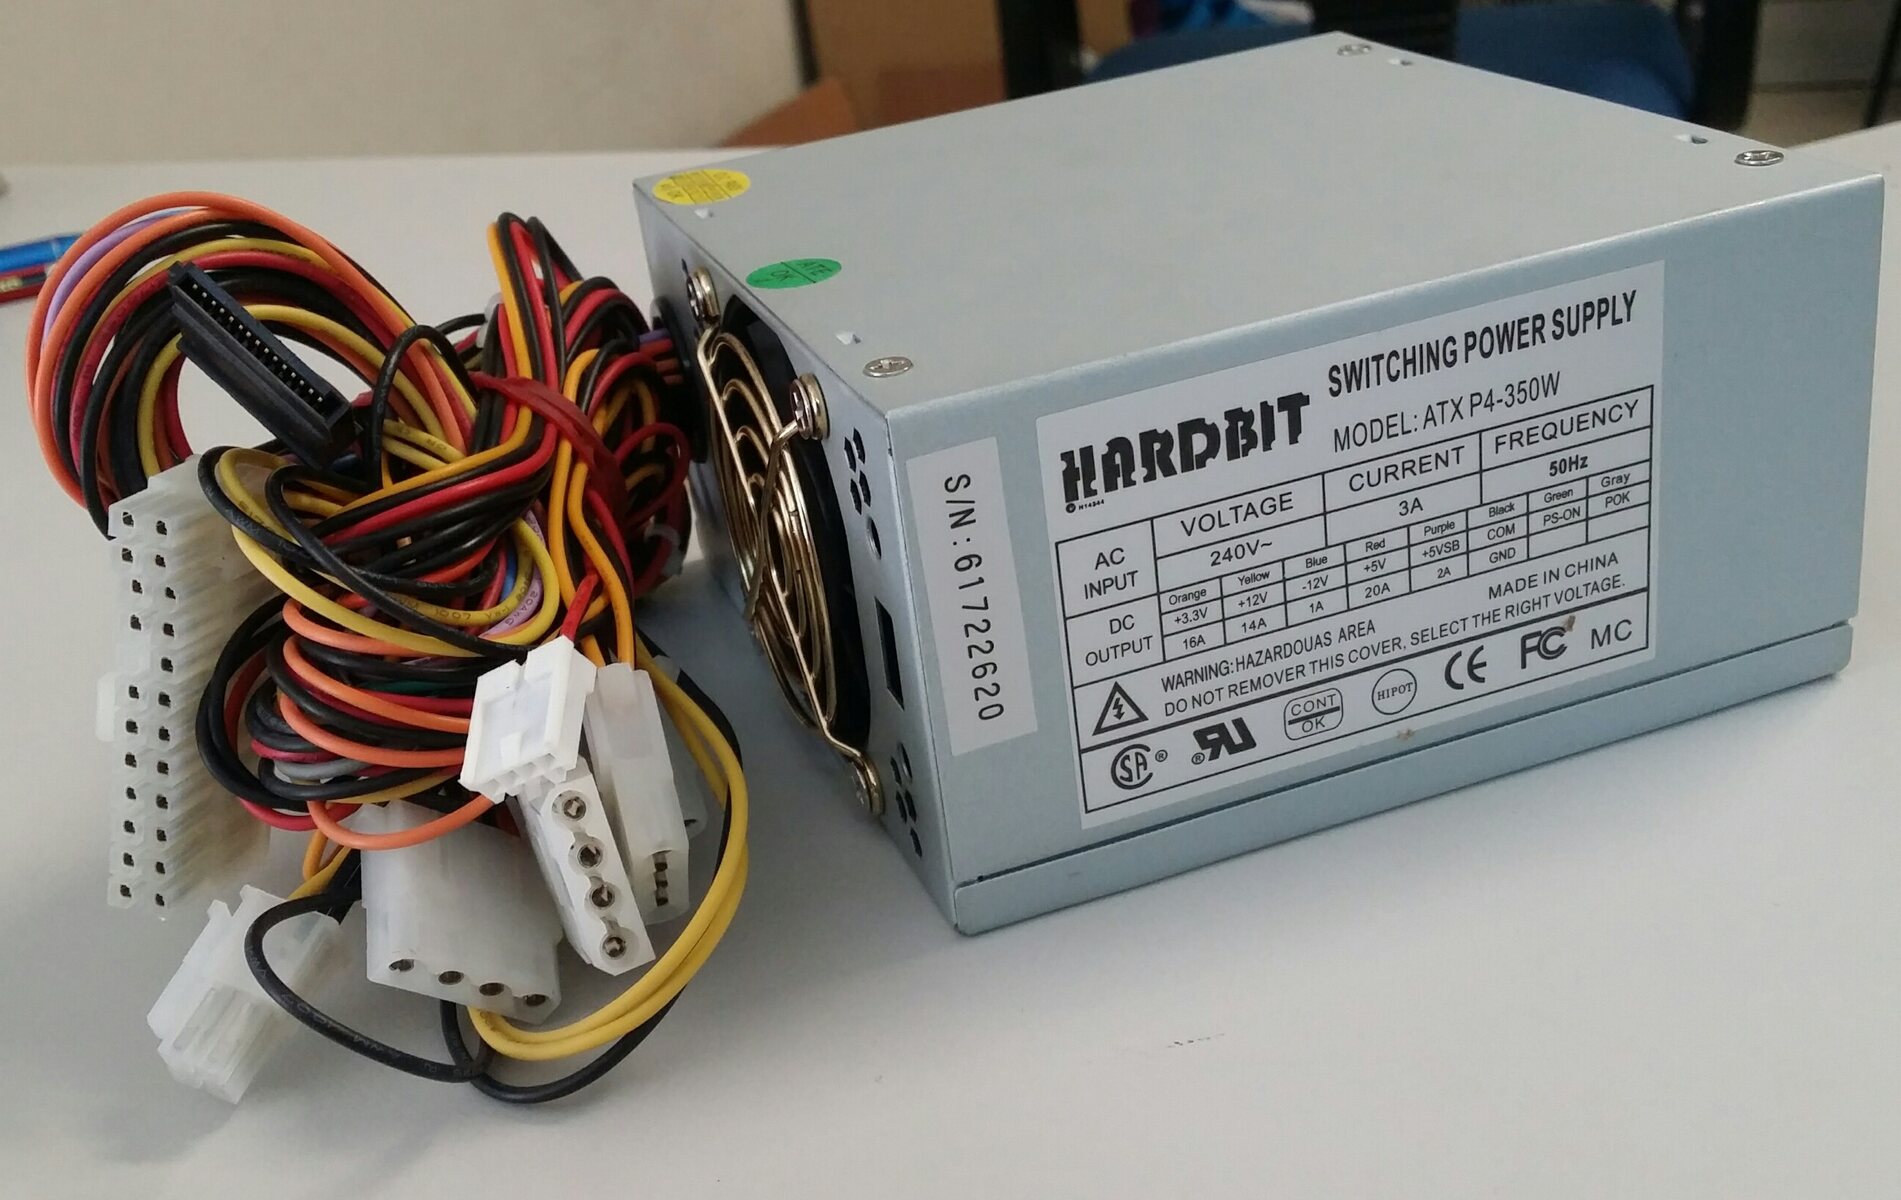
Step 6: Remove the Power Supply Unit (Optional)
In this step, we will guide you through removing the power supply unit (PSU) from your Dell XPS 8700 Desktop PC. This is an optional step but can be beneficial if you want to clean the PSU or replace it with a new one. Follow these steps:
- Locate the power supply unit: Look for the power supply unit inside your computer case. It is typically positioned at the top or bottom rear of the case and connected to the AC power cord.
- Unplug the AC power cord: Before you proceed, make sure to unplug the AC power cord from the power supply unit. This ensures your safety and prevents any electrical mishaps.
- Disconnect the cables: Identify the cables attached to the power supply unit. Carefully unplug each cable from the connectors. Take note of their positions or take pictures for reference if needed.
- Remove the power supply unit screws: In most cases, the power supply unit is secured to the case with screws. Use a Phillips screwdriver to unscrew and remove these screws. Keep the screws in a safe place.
- Slide or lift out the power supply unit: Once the screws are removed, gently slide or lift out the power supply unit from the case. Be cautious and avoid exerting force to prevent damage to the unit or other components.
It’s important to handle the power supply unit with care due to its electrical components. Avoid touching any exposed metal parts and refrain from opening the unit unless you are experienced in PSU repair or replacement.
If you’re unsure about removing or replacing the power supply unit, it’s recommended to consult with a professional or refer to the Dell XPS 8700 manual for specific instructions.
Removing the power supply unit allows for easier access to other components for cleaning or replacement. If you choose not to remove the PSU, you can proceed to the next step of cleaning the computer case and components.
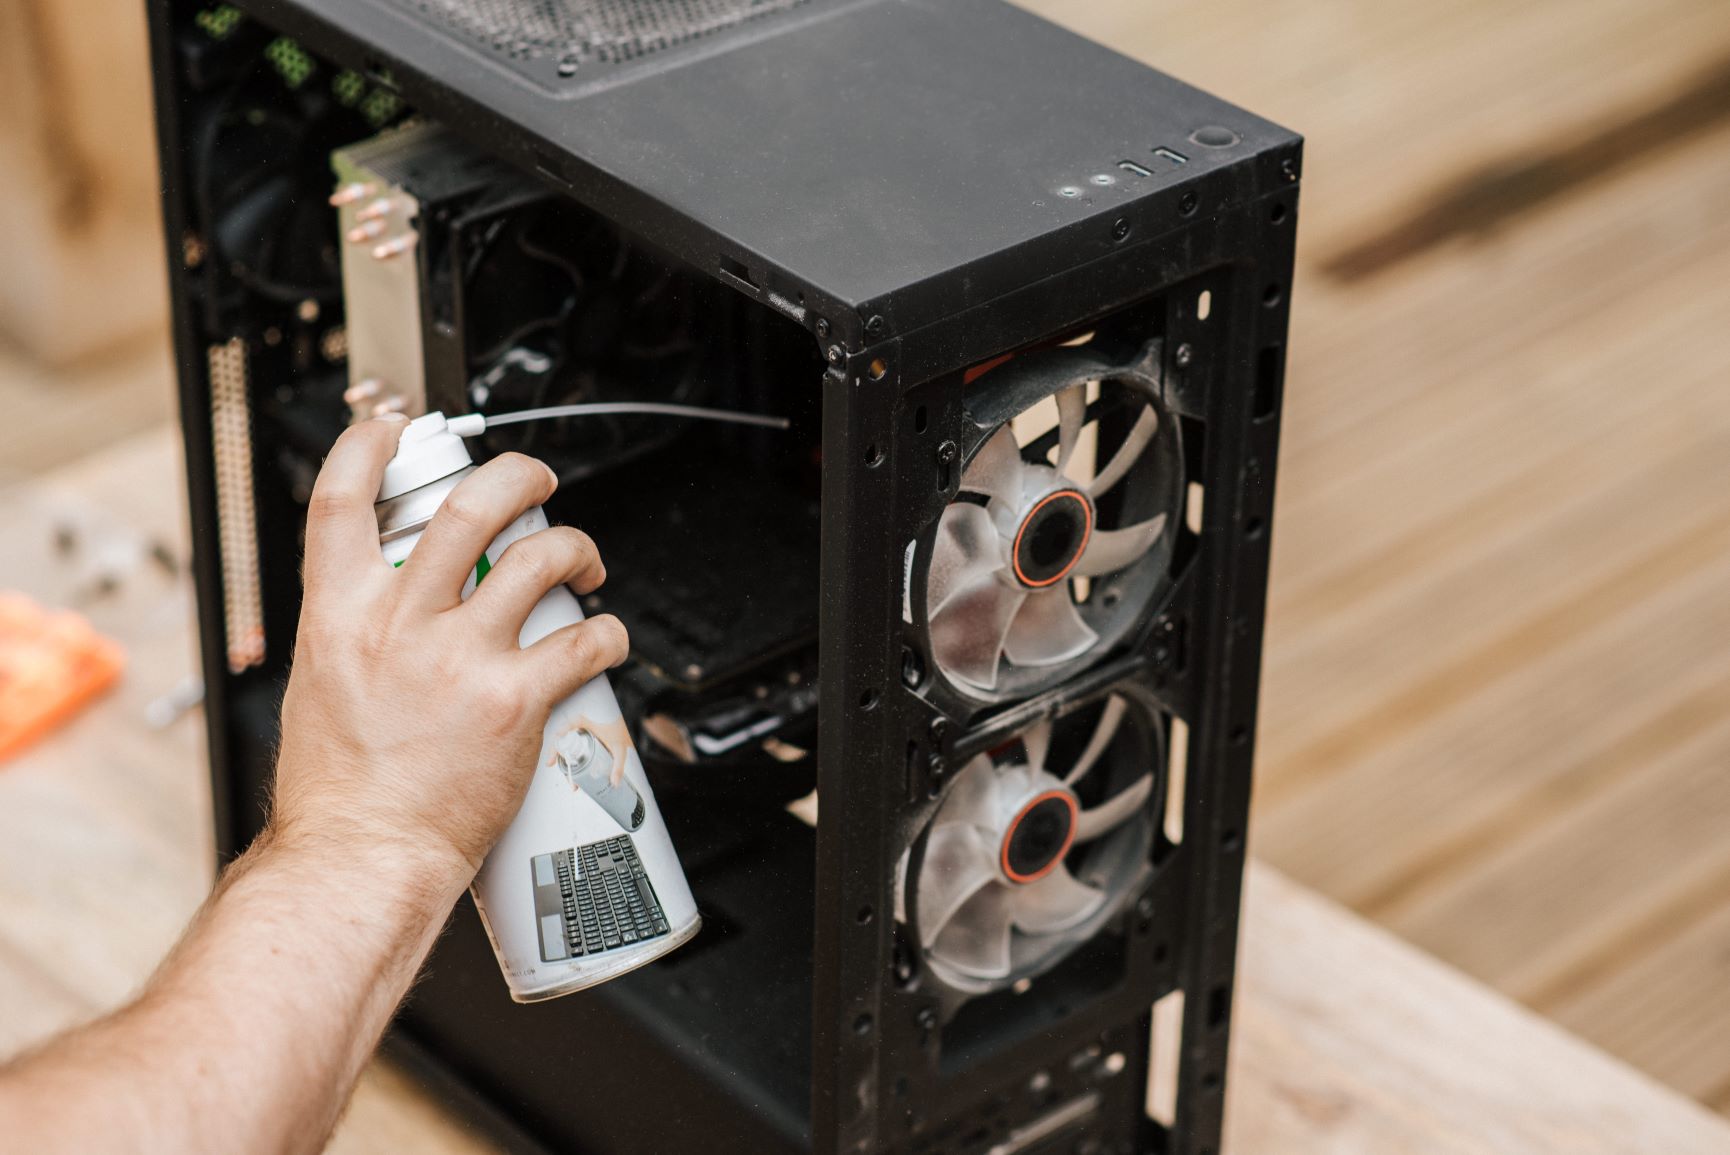
Step 7: Clean the Case and Components
Now that you have opened your Dell XPS 8700 Desktop PC case and optionally removed expansion cards, storage drives, and the power supply unit, it’s time to clean the case and its components. Follow these steps:
- Use compressed air to remove dust: Start by using a can of compressed air or an air compressor to blow away any accumulated dust and debris from the case, motherboard, expansion slots, and other components. Pay particular attention to cooling fans, heatsinks, and the power supply unit.
- Wipe surfaces with a lint-free cloth: Use a lint-free cloth slightly dampened with a small amount of isopropyl alcohol or a specialized computer cleaning solution to gently wipe down the surfaces of the case, including the exterior and interior. Be careful to avoid dripping any liquid onto the components.
- Clean the ventilation filters (if present): If your Dell XPS 8700 Desktop PC has removable ventilation filters, take them out and clean them separately using a combination of compressed air and a soft brush. Rinse with water if necessary and allow them to dry completely before reinstalling.
- Reconnect cables and reinstall components: Once the cleaning is complete, reconnect any cables you disconnected earlier, making sure to plug them into the correct ports. If you removed expansion cards, storage drives, or the power supply unit, reinstall them carefully, ensuring they are properly aligned and secured.
Remember to avoid using excess force when reconnecting cables or reinstalling components to prevent damage. Take your time and be mindful of proper alignment and positioning.
Cleaning the case and components of your Dell XPS 8700 Desktop PC on a regular basis helps maintain optimal performance and prolong the lifespan of your computer. It also aids in minimizing the risk of overheating due to dust buildup. Repeat this cleaning process periodically to keep your PC running smoothly.
Step 8: Reassemble the Computer
After cleaning the case and components of your Dell XPS 8700 Desktop PC, it’s time to reassemble the computer. Follow these steps:
- Place the side panel back: Position the side panel back onto the case, aligning it with the edges and any latch or release mechanism. Ensure a proper fit and gently slide or swing it into place.
- Tighten the side panel screws: Secure the side panel by tightening the screws that were previously removed. Use a Phillips screwdriver to carefully tighten them, but avoid over-tightening, as it may damage the case or the screws.
- Reconnect all cables: Reconnect the cables to their respective ports, ensuring proper alignment and secure connections. Refer to any documentation or pictures you took earlier to help you connect them correctly.
- Insert expansion cards (if removed): If you removed any expansion cards, carefully insert them back into the appropriate slots on the motherboard. Make sure they are properly aligned and securely seated. Use the retaining screws to secure them in place if necessary.
- Reinstall storage drives (if removed): If you removed any storage drives, slide or place them back into their respective drive bays. Ensure proper alignment and connection to the data and power cables. Use the drive mounting screws to secure them in place if needed.
- Reinstall the power supply unit (if removed): If you removed the power supply unit, carefully insert it back into the case, aligning it with the designated mounting holes. Use the screws removed earlier to secure it in place.
Take your time during the reassembly process to ensure everything is correctly positioned and secured. Double-check all cable connections and make sure they are snug and properly aligned with their respective ports.
Once the computer is fully reassembled, you can plug in the power cord, reconnect any peripheral devices, and turn on your Dell XPS 8700 Desktop PC. Enjoy a clean and rejuvenated computer that is ready to deliver optimal performance.
Conclusion
Congratulations! You have successfully learned how to open the Dell XPS 8700 Desktop PC case for cleaning. Taking the time to clean your computer’s case and components is an essential maintenance task that helps maintain optimal performance and prolongs the life of your PC.
Throughout this guide, we have provided you with step-by-step instructions on safely opening the case, identifying and disconnecting cables, optional steps for removing expansion cards, storage drives, and the power supply unit (PSU), as well as cleaning the case and components. By following these steps and using proper tools and techniques, you can ensure that your Dell XPS 8700 Desktop PC operates smoothly and efficiently.
Remember to exercise caution and patience throughout the process. Consult the Dell XPS 8700 manual or seek professional assistance if you are unsure about any steps or if your PC is still under warranty.
Regularly cleaning your computer case is a proactive measure to prevent dust buildup, maintain proper airflow, and minimize the risk of overheating and component failure. Aim to clean your Dell XPS 8700 Desktop PC every few months or as needed, depending on your environmental conditions.
Thank you for following this guide. We hope that it has provided you with valuable knowledge and insights in properly maintaining and cleaning your Dell XPS 8700 Desktop PC. By implementing these practices, you can ensure the longevity and optimal performance of your computer for years to come.