Introduction
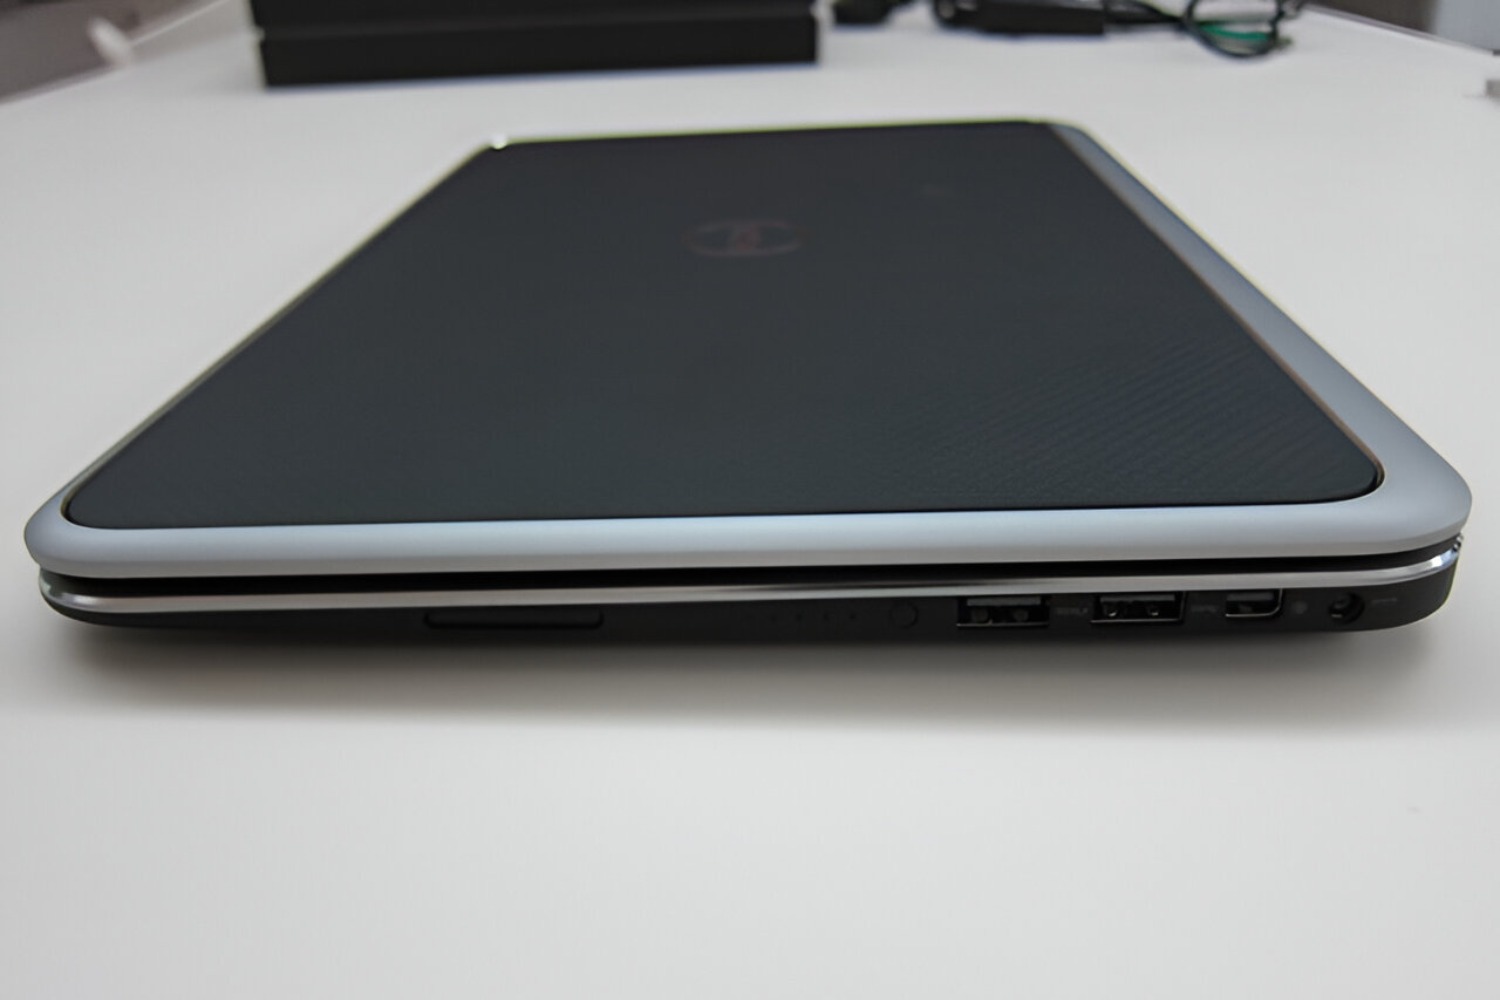
Factory resetting your Dell XPS 13 Ultrabook can be a necessary step in troubleshooting various issues or preparing your device for resale. Whether you’ve forgotten your passcodes or just want to start fresh, a factory reset will restore your laptop to its original state, erasing all the data and settings on the device.
It’s important to note that a factory reset should be approached with caution, as it permanently deletes everything on your device. Be sure to back up any important files or data before proceeding with the reset.
In this guide, we will walk you through the process of factory resetting your Dell XPS 13 Ultrabook without passcodes or installation disks. We’ll take you step by step from starting the reset process to setting up your laptop again after the reset.
Before proceeding with the reset, it’s crucial to understand that this process will wipe out all the data on your laptop. Make sure to back up any files or documents that you don’t want to lose. Additionally, ensure that your laptop is connected to a power source to avoid any interruptions during the reset process.
Now, let’s dive into the steps required to factory reset your Dell XPS 13 Ultrabook and get your laptop back to its out-of-the-box state.
Step 1: Backup Your Data
Before initiating the factory reset process on your Dell XPS 13 Ultrabook, it’s essential to back up your data to prevent any loss of important files. This step ensures that you have all your files, documents, photos, and other data stored safely before proceeding with the reset.
To backup your data, you have a few options:
- Cloud Storage: Consider utilizing cloud storage services such as Google Drive, Dropbox, or OneDrive. Upload your files to these platforms, ensuring that they’re securely stored in the cloud.
- External Hard Drive/USB: Connect an external hard drive or USB device to your Dell XPS 13 Ultrabook and copy all the necessary files and folders onto the external storage device.
- Network Sharing: If you have multiple devices connected on a local network, you can transfer your files to another device on the network for safekeeping.
Make sure to double-check that all your important files and data have been successfully backed up. This step guarantees that you can restore your personal files and documents after the factory reset process is complete.
Once you have completed the backup process and ensured the safety of your data, you’re now ready to proceed to the next step: powering off and restarting your Dell XPS 13 Ultrabook.
Step 2: Power Off and Restart
The next step in the factory reset process for your Dell XPS 13 Ultrabook is to power off and restart your device. This step will allow you to access the necessary boot options for initiating the reset.
To power off your Dell XPS 13 Ultrabook, follow these simple steps:
- Save any open files or documents and close all applications running on your laptop.
- Click on the “Start” button (Windows logo) on the bottom-left corner of your screen.
- In the Start menu, click on the power icon. This will open a sub-menu.
- From the sub-menu, select the “Shutdown” option.
Your Dell XPS 13 Ultrabook will now power off. Once it has completely shut down, wait a few moments, and then press the power button to turn it back on.
As the laptop restarts, pay close attention to the screen. You might need to press a specific key or combination of keys to access the advanced boot option menu. The key or combination of keys can vary depending on the model of your laptop, but commonly used keys include F2, F12, or the Delete key.
Refer to your laptop’s user manual or visit the Dell support website for specific instructions on accessing the boot options for your Dell XPS 13 Ultrabook. Once you’ve successfully accessed the advanced boot option menu, you can proceed to the next step in the factory reset process.
Step 3: Access the Advanced Boot Option Menu
In order to initiate the factory reset on your Dell XPS 13 Ultrabook, you need to access the Advanced Boot Option menu. This menu provides you with various troubleshooting and recovery options, including the option to reset your laptop.
Here’s how you can access the Advanced Boot Option menu:
- Power on your Dell XPS 13 Ultrabook.
- While the laptop is starting up, repeatedly press the specific key or combination of keys that is required to access the boot options. Commonly used keys include F2, F12, or the Delete key. Refer to your laptop’s user manual or visit the Dell support website for the specific key(s) applicable to your device.
- Once you’ve successfully pressed the correct key or combination, the Advanced Boot Option menu should appear on your screen.
The appearance and layout of the Advanced Boot Option menu may differ depending on the model of your Dell XPS 13 Ultrabook. However, you should be able to navigate through the menu using the arrow keys on your keyboard.
At this point, you’re one step closer to performing the factory reset on your Dell XPS 13 Ultrabook. In the next step, we’ll guide you through selecting the “Troubleshoot” option from the Advanced Boot Option menu to continue the reset process.
Step 4: Select “Troubleshoot” Option
After accessing the Advanced Boot Option menu on your Dell XPS 13 Ultrabook, the next step in the factory reset process is to select the “Troubleshoot” option. This will open up a range of advanced troubleshooting options, including the option to reset your laptop.
Follow these steps to select the “Troubleshoot” option:
- Using the arrow keys on your keyboard, navigate through the Advanced Boot Option menu to highlight the “Troubleshoot” option.
- Once the “Troubleshoot” option is selected, press the Enter key on your keyboard to proceed.
By choosing the “Troubleshoot” option, you’re giving yourself access to additional advanced options for resolving various issues with your Dell XPS 13 Ultrabook. This includes the option to reset your laptop, which we’ll explore in the following steps.
It’s worth noting that the Troubleshoot menu may offer additional options such as system restore or startup repair. These options can be helpful if you’re experiencing specific issues, but for the purpose of a factory reset, we’ll focus on the reset functionality.
Now that you’ve successfully selected the “Troubleshoot” option, let’s move on to the next step and choose the “Reset this PC” option to initiate the factory reset process on your Dell XPS 13 Ultrabook.
Step 5: Choose “Reset this PC” Option
Once you have entered the Troubleshoot menu on your Dell XPS 13 Ultrabook, it’s time to select the “Reset this PC” option. This step will allow you to initiate the factory reset process, which will restore your laptop to its original settings.
Follow these steps to choose the “Reset this PC” option:
- In the Troubleshoot menu, look for and select the “Reset this PC” option. This option may be named slightly differently depending on your laptop’s manufacturer.
- If prompted, you may need to select an account with administrative privileges before proceeding.
- After selecting the “Reset this PC” option, you will be presented with two choices: “Keep my Files” and “Remove Everything”.
At this stage, it’s essential to consider which option aligns with your preferences and needs.
If you choose the “Keep my Files” option, your personal files and documents will be preserved during the reset process. However, all installed applications and settings will be removed, requiring you to reinstall and reconfigure them after the reset.
If you select the “Remove Everything” option, all files, apps, and personal settings will be permanently deleted, essentially returning your Dell XPS 13 Ultrabook to its original factory state.
Choose the option that best suits your requirements and proceed to the next step to initiate the factory reset process.
With the selection made, you’re now ready to move on to the next step and start the actual reset process on your Dell XPS 13 Ultrabook.
Step 6: Select “Keep my Files” or “Remove Everything” Option
After choosing the “Reset this PC” option in the Troubleshoot menu on your Dell XPS 13 Ultrabook, you will be presented with two choices: “Keep my Files” or “Remove Everything”. Selecting the appropriate option will determine the level of data deletion during the factory reset process.
Consider the following explanations to help you decide between the two options:
“Keep my Files” Option: Choosing this option will preserve your personal files and documents while removing all installed applications and settings. This option is suitable if you want to retain your important files and folders but prefer a fresh start with your apps and settings.
“Remove Everything” Option: This option will delete all files, apps, and personal settings, effectively restoring your Dell XPS 13 Ultrabook to its original factory state. This choice is ideal if you want a complete wipe of your system and a clean slate without any remnants of previous data.
Take into consideration your specific needs and the importance of your data before making a selection. It’s essential to ensure you have backed up any critical files to an external storage device or cloud service before proceeding.
Use the arrow keys on your keyboard to highlight your desired option and press Enter to proceed. Depending on the selected option and the size of your data, the reset process may take some time to complete.
By choosing either the “Keep my Files” or “Remove Everything” option, you are one step closer to restoring your Dell XPS 13 Ultrabook to its original state. Now, let’s move on to the next step and initiate the actual reset process.
Step 7: Start the Reset Process
Once you have chosen between the “Keep my Files” or “Remove Everything” option in the factory reset settings of your Dell XPS 13 Ultrabook, it’s time to start the actual reset process. This step will initiate the restoration of your device to its original factory settings.
To start the reset process, follow these steps:
- Confirm your selection by clicking on the “Reset” or “Next” button. This will prompt a warning message informing you that all data on your laptop will be permanently removed.
- Read the warning message carefully, ensuring you have backed up any necessary files or data.
- If you are ready to proceed, click on the “Reset” or “Start” button to initiate the reset process.
After confirming the reset, your Dell XPS 13 Ultrabook will begin the process of restoring itself to its original factory settings. This may take some time, depending on the size of your data and the speed of your device.
During the reset process, it’s important not to interrupt the power supply or forcefully shut down your laptop. Doing so can cause errors or incomplete restoration, potentially leading to further complications.
It is recommended to keep your laptop connected to a power source and allow the reset process to run its course without any interruptions. You may observe the laptop restarting multiple times as it progresses through the restoration.
Now that you have started the reset process, you need to patiently wait for it to complete. Once the reset is finished, your Dell XPS 13 Ultrabook will be restored to its original factory settings.
Step 8: Wait for the Reset to Complete
After initiating the reset process on your Dell XPS 13 Ultrabook, it’s important to exercise patience and allow the reset to complete. The duration of the reset process can vary depending on the size of your data and the speed of your device.
During the reset, you may notice your laptop restarting multiple times, which is a normal part of the process. The system is configuring and reinstalling necessary files to restore your Dell XPS 13 Ultrabook to its original factory state.
It’s crucial not to interrupt the reset process by forcibly shutting down the laptop or disconnecting the power supply. Doing so can lead to incomplete restoration or system errors.
To ensure a successful reset, follow these guidelines:
- Keep your laptop connected to a power source throughout the entire reset process.
- Avoid running any unnecessary applications or engaging in resource-intensive tasks during the reset.
- Be patient and allow the system ample time to complete the restoration.
The length of the reset process can vary from several minutes to an hour or more, depending on the complexity of your system configuration and the amount of data being processed.
Monitor the progress of the reset by observing the on-screen prompts, which may provide an estimated time remaining or progress bar to indicate the completion level. It’s important to exercise patience and refrain from interrupting the process until it has fully completed.
Once the reset process has finished, your Dell XPS 13 Ultrabook will be restored to its original factory settings. You can then proceed to the final step and begin setting up Windows again on your device.
Step 9: Set Up Windows Again
After the factory reset process is complete and your Dell XPS 13 Ultrabook has been restored to its original factory settings, it’s time to set up Windows again. This step involves configuring your device with a fresh installation of Windows and personalizing it to your preferences.
Follow these steps to set up Windows on your Dell XPS 13 Ultrabook:
- Once the reset process is finished, your laptop will automatically restart.
- You will be prompted to select your region and language preferences. Choose the appropriate options and click “Next” to proceed.
- Review and accept the license terms and agreements for Windows.
- On the “Sign in with Microsoft” page, you can either sign in with your Microsoft account or create a new account. This step is optional, and you can choose to set up a local account if you prefer.
- Follow the on-screen instructions to complete the setup process, including personalizing your device settings, configuring privacy options, and setting up a password.
- You will also have the option to adjust system settings, such as enabling automatic updates, choosing a computer name, and customizing the desktop background.
- After completing the setup process, you will be taken to the Windows desktop, where you can start using your Dell XPS 13 Ultrabook with its fresh installation of Windows.
At this point, you have successfully completed the factory reset process and set up Windows again on your Dell XPS 13 Ultrabook. Take the time to reinstall any necessary applications, restore your personal files from the backup, and configure additional settings according to your preferences.
Remember to regularly back up your important files and data to avoid potential data loss in the future. By keeping your device up-to-date and practicing good data management habits, you can ensure a smooth and efficient computing experience on your Dell XPS 13 Ultrabook.
Conclusion
Factory resetting your Dell XPS 13 Ultrabook can be a useful solution to address various issues or prepare your device for resale. By following the step-by-step process outlined in this guide, you can perform a factory reset without passcodes or installation disks.
Remember to back up your important data before initiating the reset process, as it permanently deletes all files and settings on your laptop. Take the time to choose between the “Keep my Files” and “Remove Everything” options based on your requirements and preferences.
Accessing the Advanced Boot Option menu, selecting the “Troubleshoot” option, and subsequently choosing “Reset this PC” will guide you through the necessary steps to start the reset process. It’s crucial to allow the reset to complete without interruption, keeping your laptop connected to a power source.
After the reset, you will need to set up Windows again, which involves configuring language preferences, signing in with a Microsoft account (or creating a new account), and personalizing your device settings.
By following these steps, you can effectively restore your Dell XPS 13 Ultrabook to its original factory settings and enjoy a fresh start with a reconfigured device.
If you encounter any difficulties during the factory reset process or have specific concerns about your device, it’s recommended to consult the Dell support resources or reach out to their customer service for further assistance.
Remember to practice regular data backup, maintain proper software updates, and establish good computing habits to keep your Dell XPS 13 Ultrabook running smoothly and efficiently in the long run.


