Introduction
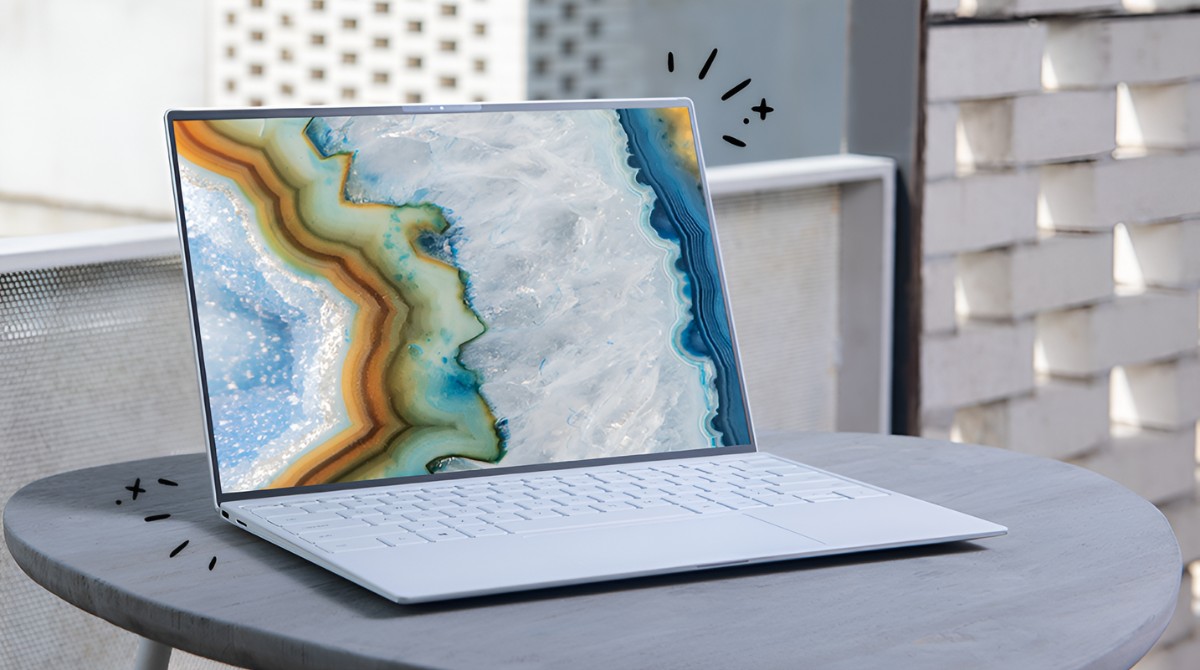
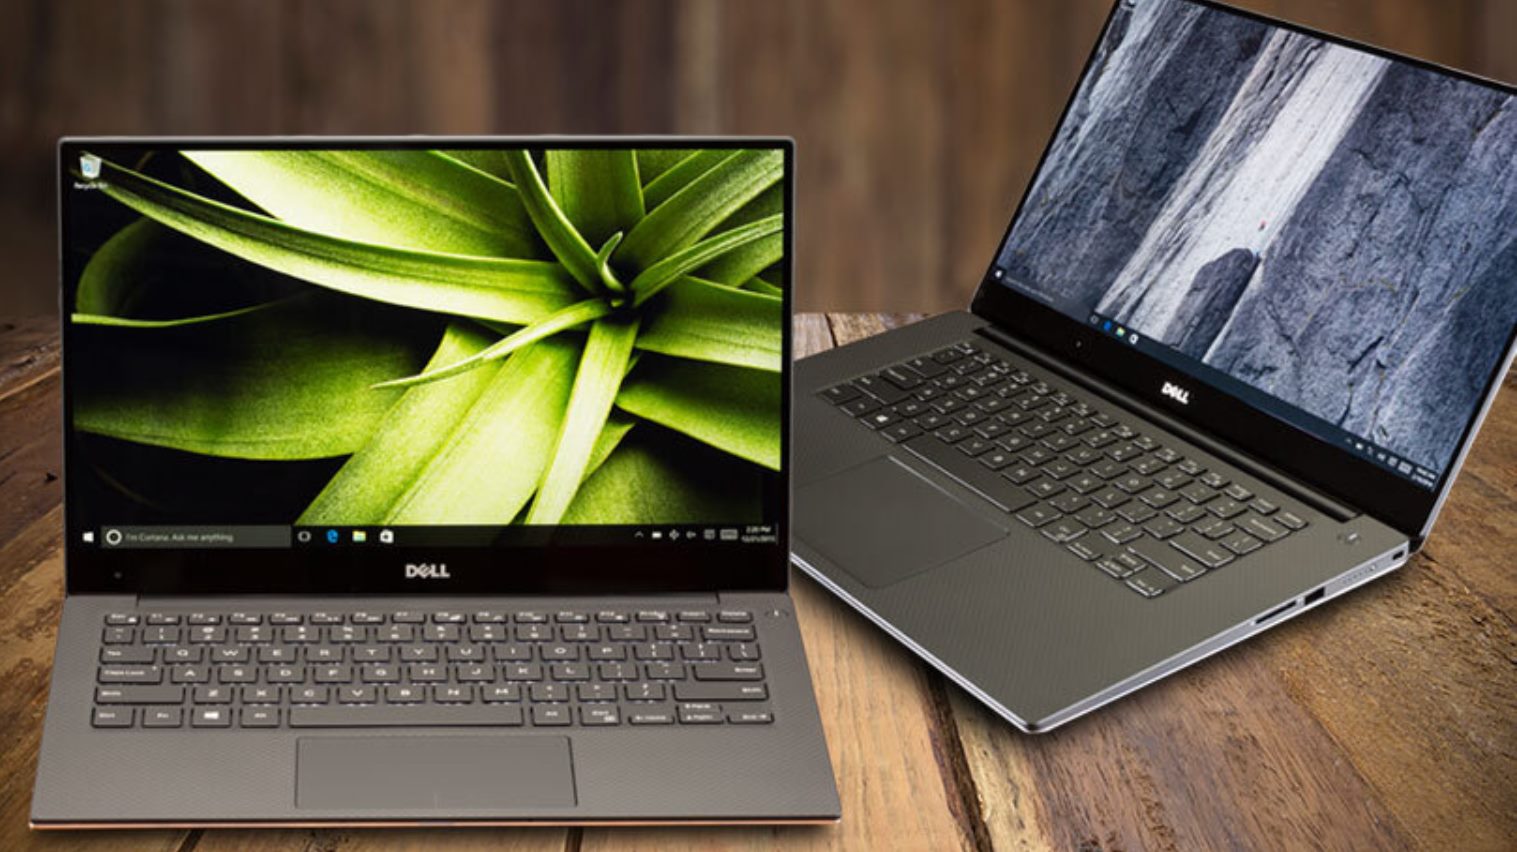
Welcome to this guide on how to factory reset your Dell XPS Ultrabook 13 L3Ssx. If you’re experiencing performance issues, software glitches, or just want to start fresh, a factory reset can be an effective solution. This process will restore your laptop to its original factory settings, erasing all data and giving you a clean slate.
Before we begin, it’s important to note that a factory reset should be considered a last resort. It’s recommended to try other troubleshooting steps first, such as updating your drivers, running malware scans, or performing disk cleanup. However, if those methods haven’t resolved your issues, a factory reset can give your Ultrabook a fresh start.
It’s worth mentioning that a factory reset will erase all your personal files, programs, and settings, so it’s crucial to back up your data before proceeding. Make sure to save any important documents, photos, music, and other files to an external storage device or cloud storage service.
In this guide, we’ll walk you through the step-by-step process of performing a factory reset on your Dell XPS Ultrabook 13 L3Ssx. We’ll also provide some troubleshooting tips in case you encounter any issues during the reset process.
Keep in mind that the steps may slightly vary depending on the specific model and operating system version of your Ultrabook. It’s always a good idea to refer to the user manual or Dell support website for specific instructions related to your device.
Now, let’s get started with backing up your data to ensure that nothing important is lost during the factory reset process.
Step 1: Back up your data
Before you proceed with the factory reset, it’s crucial to back up your data to avoid losing any important files or documents. There are several methods you can use to back up your data, depending on your preference and the amount of data you need to save.
One of the easiest ways to back up your data is by using an external storage device, such as a USB flash drive or an external hard drive. Simply connect the device to your Dell XPS Ultrabook, and then copy and paste your important files and folders onto the external drive. Make sure to create a organized folder structure to easily locate your files after the reset.
If you prefer a more automated approach, you can use cloud storage services such as Google Drive, Dropbox, or OneDrive. These services allow you to upload your files to secure online storage, accessible from any device with an internet connection. Simply sign up for an account, install the corresponding desktop app or utilize the web interface, and then upload your files to the cloud. Ensure that all your important files are synced properly before proceeding with the reset.
Additionally, if you have a small amount of data or only specific files to back up, you can use email or file-sharing services. Attach the files to an email and send them to yourself or use file-sharing services like WeTransfer or SendAnywhere to transfer the files to another device temporarily.
Remember to take note of any software license keys or activation codes for programs you’ll want to reinstall after the reset. It’s best to store this information in a secure location, such as a password manager or a physical notebook.
Once you’ve successfully backed up your data, double-check to make sure that all important files have been safely stored elsewhere. With your data backed up, you’re now ready to proceed to the next step: preparing your Ultrabook for the factory reset process.
Step 2: Prepare the laptop
Now that you have backed up your data, it’s time to prepare your Dell XPS Ultrabook for the factory reset process. There are a few important steps you need to follow to ensure a smooth and successful reset.
The first step is to ensure that your laptop is connected to a power source. Performing a factory reset requires a significant amount of power, and you don’t want your laptop to run out of battery during the process. Connect your Ultrabook to a power outlet using the AC adapter and make sure it’s charging properly.
Next, it’s advisable to disconnect any peripherals or external devices connected to your laptop. This includes USB drives, external hard drives, printers, scanners, and any other devices that are not necessary for the factory reset. Having fewer devices connected reduces the risk of encountering any compatibility issues during the reset process.
Before proceeding further, it’s also a good idea to make a note of your Wi-Fi network name and password, as you’ll need this information to connect your Ultrabook to the internet after the reset. This ensures that you can download the necessary updates and reinstall any required software during the setup process.
Lastly, ensure that you have administrative access to your laptop. Factory reset operations often require administrator rights to perform certain tasks. If you’re unsure if you have administrative privileges, you can check by going to the Control Panel, selecting User Accounts, and reviewing the account type associated with your username. If necessary, switch to an account with administrative privileges or contact the system administrator for assistance.
With these preparations complete, your Dell XPS Ultrabook is now ready for the factory reset process. In the next step, we’ll guide you through accessing the recovery options to initiate the reset.
Step 3: Access the recovery options
To perform a factory reset on your Dell XPS Ultrabook, you’ll need to access the recovery options. These options allow you to restore your laptop to its original factory settings. Here’s how you can access the recovery options:
1. Start by turning off your Ultrabook completely. Make sure it’s not in sleep or hibernation mode.
2. Once your laptop is off, press the power button to turn it on. As the Dell logo appears on the screen, quickly press the designated key to enter the BIOS or UEFI settings. This key may vary depending on your model, but commonly used keys include F2, F8, F12, or the Delete key. Refer to your user manual or Dell’s support website for the specific key to enter the recovery options on your Ultrabook.
3. In the BIOS or UEFI settings, navigate to the “Boot” or “Boot Options” section using the arrow keys. Look for an option related to “Recovery” or “Factory Reset.”
4. Once you have selected the appropriate recovery option, press Enter to start the recovery process. Depending on your laptop’s configuration, you may be prompted to confirm your selection or enter your administrative password.
5. Your Dell XPS Ultrabook will now begin the factory reset process. This may take some time, so be patient and avoid interrupting the process.
Note that some Dell models may have a dedicated recovery partition or a dedicated recovery key that you can use to access the recovery options. Again, refer to your user manual or Dell’s support website for specific instructions related to your device.
It’s worth mentioning that accessing the recovery options may differ between different versions of Windows or if you have previously created a recovery drive or system image. If you have any difficulties accessing the recovery options, consult Dell’s support resources or contact their customer support for assistance.
In the next step, we’ll guide you through the actual factory reset process. Make sure to follow the on-screen instructions carefully to complete the reset successfully.
Step 4: Start the factory reset process
Now that you have accessed the recovery options, it’s time to start the factory reset process on your Dell XPS Ultrabook. Follow these steps to initiate the reset:
1. Once you are in the recovery options menu, look for the option that says “Reset this PC” or “Restore factory settings.” Select this option using the arrow keys on your keyboard and press Enter.
2. Depending on your laptop’s configuration, you may be presented with two options: “Keep my files” or “Remove everything.” Choose the option that aligns with your preferences. If you want to erase all personal files and settings, select “Remove everything.” If you want to retain your personal files, select “Keep my files.”
3. If you chose to keep your files, you may be prompted to select the user account for which you want to keep the files. Choose the appropriate account using the arrow keys and press Enter. If you want to reset the entire system and remove all user accounts, skip this step.
4. Next, you may be asked to confirm your selection and you may see a warning message stating that all your personal files will be removed. Review the message and ensure that you have backed up all the necessary data. Once you are ready, confirm your selection to proceed with the factory reset.
5. Now, the factory reset process will begin. Your Dell XPS Ultrabook will erase all files, programs, and settings and restore it to its original factory state. This process may take some time to complete, so be patient and avoid interrupting the process.
6. Once the reset process is finished, your laptop will either restart automatically or prompt you to restart it manually. Follow the on-screen instructions to restart your Ultrabook.
It’s important to note that during the factory reset process, your laptop may display various messages or progress indicators on the screen. These messages are normal and indicate that the reset is in progress.
Finally, as your Dell XPS Ultrabook restarts, it will be in the same state as when you first purchased it. In the next step, we’ll guide you through the initial setup process to configure your Ultrabook and get it up and running again.
Step 5: Follow the on-screen instructions
After the factory reset process is complete and your Dell XPS Ultrabook has restarted, you will need to follow the on-screen instructions to configure your laptop and get it up and running again. Here’s what you need to do:
1. The first time you boot up your Ultrabook after the reset, you will be greeted with the Windows or Dell setup wizard. This wizard will guide you through the initial setup process.
2. Select your region and language preferences, and click “Next” to proceed.
3. In the next step, you will be prompted to connect your Ultrabook to a Wi-Fi network. Choose your network from the available options and enter the password if required.
4. Once your laptop is connected to the internet, it may start downloading and installing any necessary updates. This is important to ensure your system is up to date with the latest security patches and drivers. Let the updates complete.
5. After the updates are installed, you may be prompted to sign in with a Microsoft account or create a new account. You can choose to sign in with an existing account or create a new one. If you prefer not to use a Microsoft account, there is usually an option to create a local account instead.
6. Follow the prompts to customize your privacy settings, such as location services and diagnostic data sharing. Choose the settings that align with your preferences and click “Next” to continue.
7. Depending on your laptop model, you may be presented with additional setup options, such as setting up a PIN or fingerprint for login, enabling Cortana, or creating a security backup. Configure these options as desired.
8. Finally, review the summary of your settings and click “Finish” or “Continue” to complete the setup process.
Once you have completed these steps, your Dell XPS Ultrabook will be ready to use. You can now start reinstalling your software, transferring your backed-up files, and customizing your laptop to your liking.
If at any point during the on-screen instructions you encounter any issues or need further assistance, you can refer to your user manual or Dell’s support website for troubleshooting tips and resources.
In the next section, we’ll provide some troubleshooting tips in case you run into common issues during the factory reset process.
Step 6: Complete the reset and set up your Ultrabook
Now that you have followed the on-screen instructions to configure your Dell XPS Ultrabook, it’s time to complete the reset process and set up your laptop according to your preferences. Here’s what you need to do:
1. Once you have finished the initial setup steps, take a moment to ensure that your Ultrabook is running smoothly. Check for any pending updates and install them if necessary. You can do this by going to the Windows Update settings or using the Dell Update utility.
2. With the updates installed, it’s time to reinstall any software programs or apps that you need. Start with your essential applications and proceed with other software as required. Refer to your backup or digital licenses to retrieve any necessary activation codes or license keys.
3. Next, it’s time to transfer your backed-up files and folders to your Ultrabook. If you used an external storage device, connect it to your laptop and copy the files back to their original locations. If you used a cloud storage service, simply download the files and folders from the cloud to your Ultrabook.
4. As you restore your files, be sure to organize them into appropriate folders for easy access and locate any missing files that may not have been included in your backup.
5. Once your files and software are in place, take some time to customize your Ultrabook’s settings to fit your preferences. This may include adjusting display settings, configuring power options, setting up your email accounts, and personalizing the desktop background and theme.
6. Consider installing any necessary security software, such as antivirus or anti-malware programs, to protect your Ultrabook from potential threats. Ensure that these programs are up to date and run regular scans to keep your system secure.
7. Lastly, don’t forget to create regular backups of your data to prevent loss in case of hardware failure or other unforeseen circumstances. You can use external storage devices or cloud backup services to automate and simplify the backup process.
With these steps completed, you have successfully completed the factory reset and set up your Dell XPS Ultrabook. Your laptop is now ready for use, and you can enjoy the benefits of a clean and optimized system.
Remember, if you encounter any issues or have any further questions, Dell’s support resources are available to help you with troubleshooting and resolving any concerns you may have.
Congratulations on successfully performing a factory reset on your Dell XPS Ultrabook! Enjoy your refreshed laptop experience!
Troubleshooting common issues during the factory reset process
While performing a factory reset on your Dell XPS Ultrabook, you may encounter a few common issues. Here, we’ll provide some troubleshooting tips to help you resolve these issues:
1. Stuck on a black screen: If your laptop gets stuck on a black screen during the factory reset, try pressing the power button to force a restart. If that doesn’t work, disconnect the power source and remove the battery (if removable) to completely power off the laptop. Wait for a few minutes, then reconnect the power source and battery, and turn on the laptop again to resume the reset process.
2. Error messages: If you come across error messages during the reset process, take note of the exact error codes or messages displayed. Use this information to search for specific troubleshooting steps on Dell’s support website or online forums. Alternatively, try restarting the laptop and initiating the reset process again. If the error persists, contact Dell’s customer support for further assistance.
3. System freezes or crashes: If your laptop freezes or crashes during the reset process, try performing a hard reset by pressing and holding the power button until the laptop turns off. Then, restart your Ultrabook and initiate the factory reset process once more. If the problem persists, it may indicate a hardware issue, and you should contact Dell’s customer support for further guidance.
4. Insufficient disk space: If you encounter an error indicating insufficient disk space during the factory reset, it means there isn’t enough space on the drive to complete the reset process. You may need to free up some disk space by deleting unnecessary files or programs. Alternatively, consider upgrading to a larger storage drive to ensure enough space for future reset operations.
5. Internet connection issues: If you face difficulties connecting your Ultrabook to the internet after the reset, check your Wi-Fi settings and ensure that you have entered the correct network password. If you’re using an Ethernet connection, ensure that the cable is securely plugged in. You can also try restarting your router or modem to resolve any network connectivity issues.
If none of these troubleshooting steps resolve the issue, or if you encounter a different problem during the factory reset process, it’s recommended to contact Dell’s customer support or consult their support resources for further assistance. They will be able to provide you with specific solutions based on your Ultrabook model and the nature of the problem.
By being aware of these common issues and troubleshooting steps, you can overcome challenges during the factory reset process and successfully restore your Dell XPS Ultrabook to its original factory settings.
Conclusion
Performing a factory reset on your Dell XPS Ultrabook can be a powerful solution to address software issues, improve performance, and start fresh with a clean system. By following the steps outlined in this guide, you can confidently navigate the reset process and ensure a successful outcome.
Remember to start by backing up your data to avoid any loss of important files. Take advantage of external storage devices, cloud storage services, or email/file-sharing options to securely store your files before proceeding with the reset.
Prepare your laptop by connecting it to a power source, disconnecting unnecessary peripherals, and ensuring administrative access. With these preparations in place, access the recovery options by following the instructions specific to your laptop model.
Once you’ve accessed the recovery options, choose the reset option that aligns with your needs. Follow the on-screen instructions carefully, making decisions about file retention, confirming choices, and allowing the reset process to complete uninterrupted.
After the reset, set up your Ultrabook by following the on-screen instructions, connecting to a Wi-Fi network, installing updates, re-installing software programs, and transferring backed-up files. Customize your laptop’s settings according to your preferences and take steps to protect it with security software and regular backups.
If you encounter common issues during the reset process, try troubleshooting steps such as restarting the laptop, performing a hard reset, freeing up disk space, or double-checking your network connections. If problems persist or you encounter different issues, don’t hesitate to seek assistance from Dell’s support resources or customer support.
By successfully completing the factory reset process on your Dell XPS Ultrabook, you can enjoy a refreshed and optimized laptop experience. Use this opportunity to start with a clean slate, utilize the latest software updates, organize your files, and customize your settings to suit your needs. Embrace the benefits of a like-new system and make the most of your Dell XPS Ultrabook.