Introduction
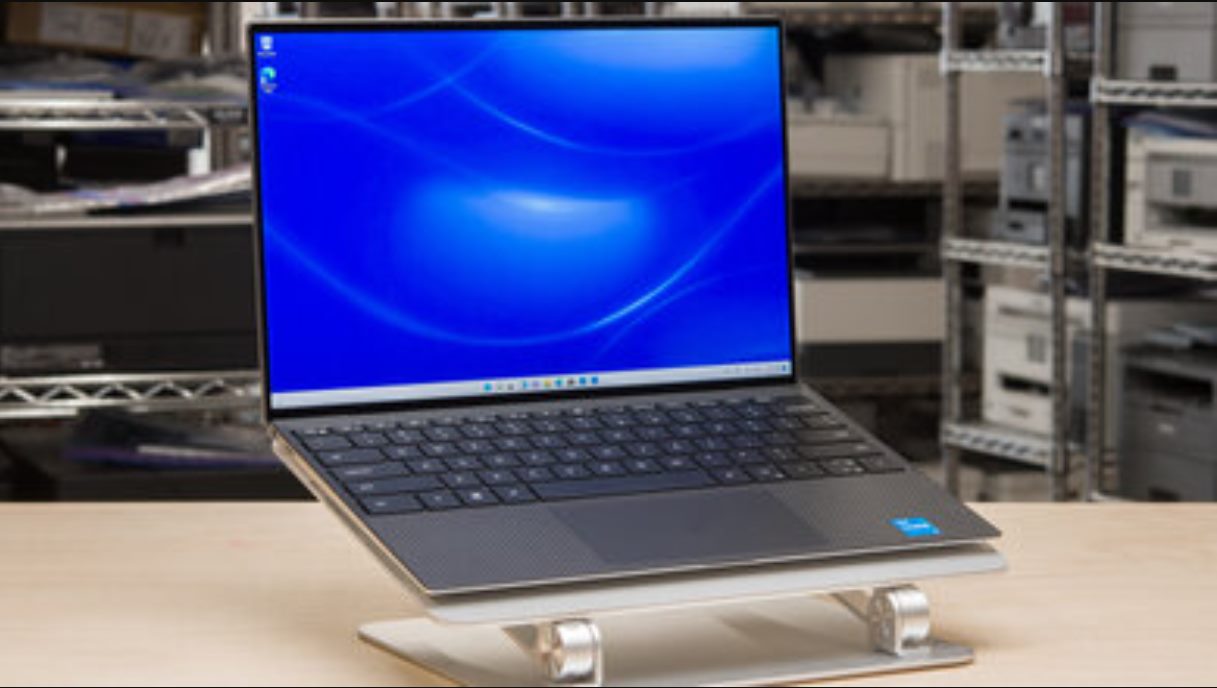
Welcome to the world of the Dell Ultrabook XPS 12! This sleek and powerful device is equipped with a USB port that allows you to connect various peripherals and expand the functionality of your Ultrabook. Whether you want to transfer files, connect a printer, or use a USB drive, this guide will walk you through the process of setting up USB connectivity on your Dell Ultrabook XPS 12.
USB, short for Universal Serial Bus, has become the standard for connecting and communicating between devices. It offers fast data transfer speeds, compatibility with a wide range of peripherals, and the convenience of plug-and-play functionality. With a USB port on your Dell Ultrabook XPS 12, you have the flexibility to connect external devices and make the most out of your computing experience.
In this guide, we will cover the step-by-step process of setting up USB on your Dell Ultrabook XPS 12. We will also address any potential issues you may encounter and provide troubleshooting tips to ensure a smooth and seamless USB connection.
Whether you are a tech-savvy user or new to the world of Ultrabooks, this guide is designed to assist you in harnessing the power of USB connectivity on your Dell Ultrabook XPS 12. So, let’s dive in and get started on setting up USB on your device!
Step 1: Check the USB Ports
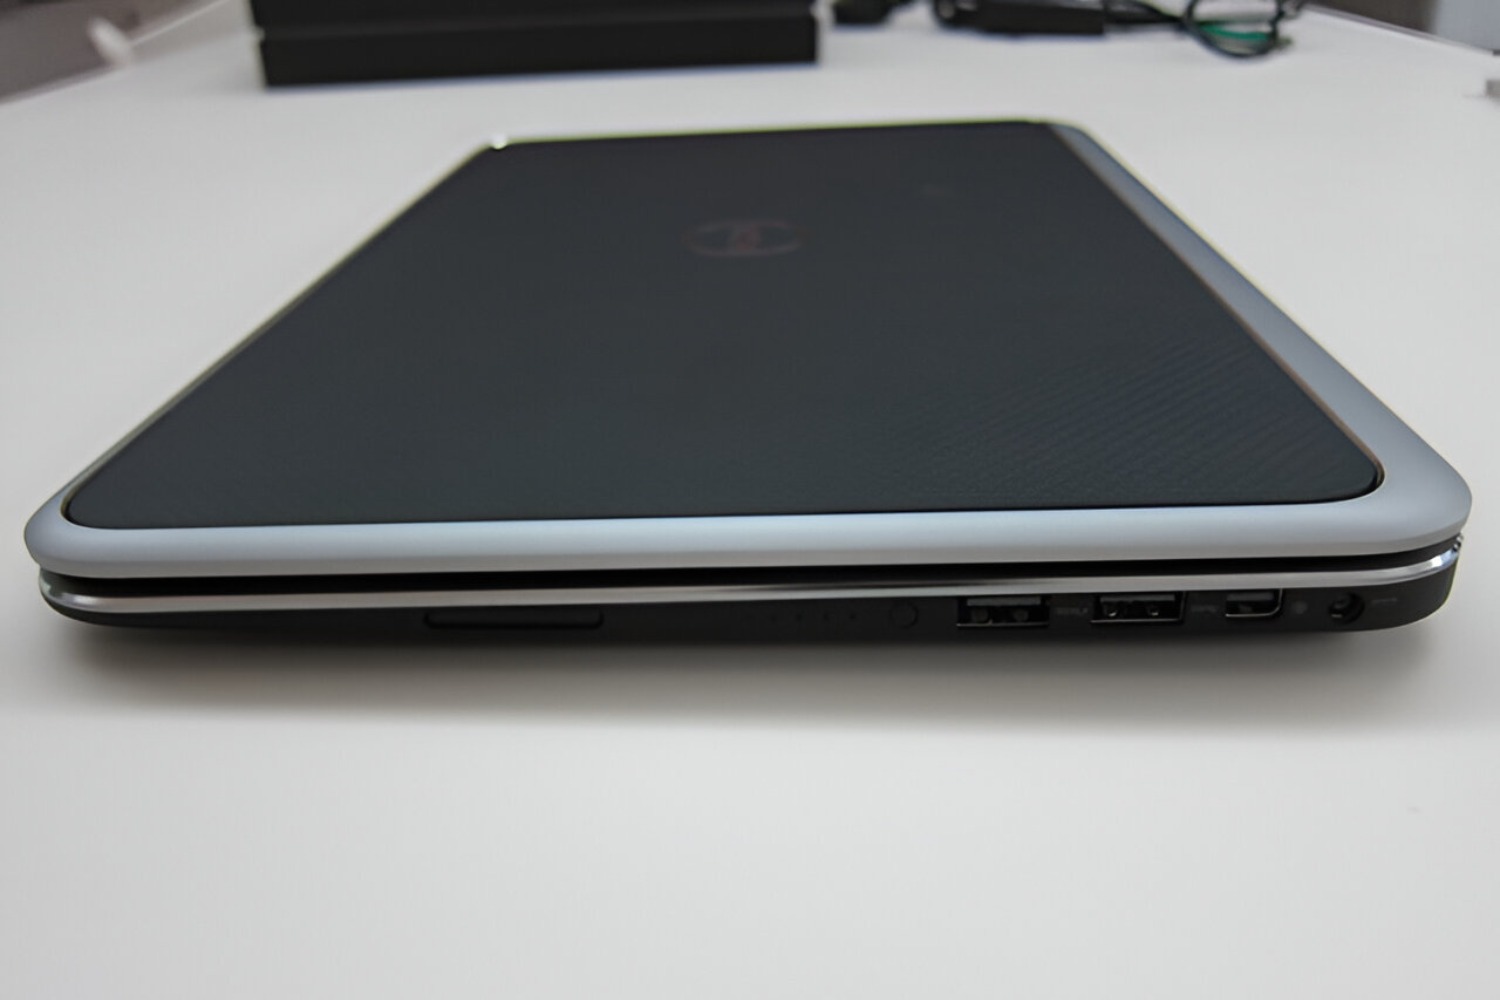
The first step in setting up USB on your Dell Ultrabook XPS 12 is to check the USB ports available on your device. The Dell Ultrabook XPS 12 usually comes with one or more USB ports, located on either side of the device.
Start by visually inspecting the sides of your Ultrabook to locate the USB ports. They are typically rectangular in shape and may be marked with the USB symbol, which consists of three horizontal lines connected by a vertical line.
Once you have identified the USB ports, it is important to ensure they are free from any debris or obstructions. Sometimes, dust or dirt can accumulate in the ports, hindering proper connectivity. Use a soft, dry cloth or compressed air to gently clean the ports and remove any debris.
In addition to physically inspecting the USB ports, you can also check their functionality by connecting a known working USB device. Plug in a USB drive, mouse, or any other USB peripheral into one of the ports and see if the device is recognized by your Dell Ultrabook XPS 12.
If the USB device is detected and functions properly, it indicates that the USB port is working correctly. However, if the device is not recognized, you may need to troubleshoot the USB connection or consider seeking technical support.
By ensuring that the USB ports are clean and functional, you can lay the foundation for a successful USB setup on your Dell Ultrabook XPS 12. Once you have confirmed that the USB ports are in good condition, you can proceed to the next step.
Step 2: Connect the USB Cable
After verifying the condition of the USB ports, the next step in setting up USB on your Dell Ultrabook XPS 12 is to connect the USB cable. This cable allows for the transfer of data and power between your Ultrabook and the connected peripheral device.
Start by identifying the USB cable that corresponds to the peripheral you want to connect. USB cables have different types of connectors at each end, so ensure you have the appropriate cable for your device. The most common type of USB connector is Type-A, which has a rectangular shape with a flat end. On the other end of the cable, the connector may vary depending on the peripheral device.
Once you have the correct USB cable, locate the USB port on your Dell Ultrabook XPS 12. It’s important to align the connectors properly – the Type-A end should be inserted into the USB port on your Dell Ultrabook XPS 12, while the other end goes into the corresponding port on the peripheral device.
Gently insert the USB cable connectors into their respective ports, making sure they fit snugly. Be careful not to force the connectors, as this could cause damage to the ports or cable. When properly inserted, you may feel a slight click or resistance.
Once the USB cable is securely connected, give it a gentle tug to check if it is firmly in place. A loose connection can result in intermittent or unreliable data transfer.
By following these steps, you have successfully connected the USB cable between your Dell Ultrabook XPS 12 and the peripheral device. In the next step, we will address the installation of USB drivers, if required, to ensure proper functionality.
Step 3: Install USB Driver if Required
Once you have connected the USB cable between your Dell Ultrabook XPS 12 and the peripheral device, it’s time to check if your device requires any USB drivers to be installed. USB drivers are software programs that allow your operating system to communicate with and recognize the connected USB device properly.
In most cases, modern operating systems like Windows and macOS automatically install the necessary USB drivers when you connect a new USB device. However, there may be instances where the driver installation process needs to be performed manually.
To check if your Dell Ultrabook XPS 12 requires a USB driver installation, access the Device Manager on your operating system. In Windows, you can do this by right-clicking on the Start button and selecting “Device Manager” from the context menu. On a Mac, you can open the “Applications” folder, then go to “Utilities” and launch “System Information.” Look for the “USB” section in the Device Manager or System Information to check for any driver-related issues or notifications.
If you find that a USB device is not recognized or has an exclamation mark or question mark icon next to it, it indicates that the driver is missing or needs to be updated.
In such cases, you’ll need to visit the manufacturer’s website of the USB device and locate the appropriate driver for your operating system. Download the driver and follow the provided instructions for installation. It’s important to ensure that you download the driver from a reputable source to avoid any potential security risks.
Once the USB driver is installed, restart your Dell Ultrabook XPS 12 for the changes to take effect. After the restart, the USB device should be recognized by your operating system, and you can proceed to use it as intended.
By installing the necessary USB drivers, you ensure that your Dell Ultrabook XPS 12 can establish proper communication and functionality with the connected USB device. Now that the driver installation process is complete, it’s time to move on to the next step of testing the USB connection.
Step 4: Test the USB Connection
After setting up the USB cable and installing any necessary USB drivers, it’s crucial to test the USB connection on your Dell Ultrabook XPS 12. Testing the connection ensures that the USB device is recognized and functioning correctly, allowing you to perform tasks smoothly.
Begin by connecting the USB device that you want to test, such as a USB drive or a printer, to one of the USB ports on your Dell Ultrabook XPS 12. Make sure the device is securely plugged in and properly aligned with the port.
Once the USB device is connected, wait a few seconds for your operating system to detect and recognize it. You should receive a notification or see the device listed in the File Explorer or Finder, depending on your operating system. Access the device and verify that you can browse its contents or perform the desired actions.
If the USB device is recognized and functions as expected, congratulations! Your USB connection is successfully set up, and you can continue using the device for your intended purposes.
However, if the USB device is not recognized or you encounter any issues, there are a few troubleshooting steps you can follow:
- Disconnect and reconnect the USB device: Sometimes, a simple reconnection can fix minor connection issues.
- Try a different USB port: In case the current port is faulty, attempting a connection in another USB port can help determine if the problem lies with the port.
- Update USB drivers: Ensure that you have the latest USB drivers installed for your Dell Ultrabook XPS 12. Visit the manufacturer’s website to check for any available updates.
- Restart your Ultrabook: A system restart can refresh the USB connections and potentially resolve any temporary glitches.
- Seek technical support: If the issue persists, it may be wise to contact Dell support or the manufacturer of the USB device for further assistance.
By testing the USB connection and troubleshooting any issues, you can ensure a reliable and hassle-free experience while using USB devices on your Dell Ultrabook XPS 12. If the USB connection is working smoothly, you are ready to make the most of your Ultrabook’s USB capabilities!
Step 5: Troubleshooting USB Connectivity Issues
Despite taking all the necessary steps to set up USB on your Dell Ultrabook XPS 12, you may still encounter connectivity issues with your USB devices. In this step, we will explore some common troubleshooting techniques to help resolve USB connectivity problems.
Here are a few solutions to consider if you are experiencing USB connectivity issues:
- Check USB device compatibility: Ensure that the USB device you are trying to connect is compatible with your Dell Ultrabook XPS 12. Some devices may require specific drivers or have compatibility limitations.
- Update USB drivers: Visit the Dell support website and check for any available updates for your Ultrabook’s USB drivers. Installing the latest drivers can often resolve compatibility and performance issues.
- Inspect the USB cable: The USB cable itself can sometimes be the culprit behind connectivity problems. Inspect the cable for any visible damage or frayed wires. If necessary, try using a different USB cable to rule out any potential issues.
- Reset the USB ports: Resetting the USB ports can help resolve minor issues. To do this, shut down your Dell Ultrabook XPS 12, unplug the power adapter, and remove the battery (if applicable). After a few minutes, reconnect the battery and power adapter, then power on your device and try connecting the USB device again.
- Disable USB selective suspend: USB selective suspend is a power-saving feature that can sometimes interfere with stable USB connectivity. To disable this feature, go to the Power Options in the Control Panel on your Windows operating system and adjust the USB selective suspend settings.
- Perform a system update: Make sure your operating system is up to date with the latest patches and updates. System updates often include bug fixes and improvements that can resolve USB connectivity issues.
- Scan for malware or viruses: Malware or viruses can cause disruptions to USB connectivity. Run a thorough scan using reliable antivirus software to detect and remove any potential threats.
- Restore system to a previous point: If the USB connectivity issues started occurring after a recent software installation or system change, consider restoring your Dell Ultrabook XPS 12 to a previous restore point when USB connectivity was working fine.
If none of these troubleshooting steps resolve your USB connectivity issues, it may be advisable to reach out to Dell support or consult with a professional technician for further assistance.
By following these troubleshooting techniques, you increase the chances of resolving USB connectivity problems on your Dell Ultrabook XPS 12. Remember, persistence and patience are key when troubleshooting technology-related issues!
Conclusion
Setting up USB on your Dell Ultrabook XPS 12 is a straightforward process that allows you to connect and utilize various external devices. By following the steps outlined in this guide, you can ensure a smooth USB setup experience and enjoy the benefits of expanded functionality.
We started by checking the USB ports on your Dell Ultrabook XPS 12 and ensuring they were clean and free from obstructions. Then, we proceeded to connect the USB cable, making sure it was securely inserted into the USB ports on both your Ultrabook and the peripheral device.
If required, we discussed the importance of installing USB drivers and provided guidance on how to locate and install the necessary drivers for proper functionality. After installing the drivers, it was crucial to test the USB connection to verify that the peripheral device was recognized and operational.
In the event of any USB connectivity issues, we explored troubleshooting techniques such as checking device compatibility, updating drivers, inspecting the USB cable, resetting USB ports, disabling USB selective suspend, performing system updates, scanning for malware or viruses, and restoring the system to a previous state.
Remember, if you encounter persistent USB connectivity problems despite attempting these troubleshooting steps, it is recommended to seek further assistance from Dell support or professional technicians.
Now, armed with the knowledge and steps outlined in this guide, you can confidently set up USB on your Dell Ultrabook XPS 12 and connect a wide range of devices to enhance your productivity and enjoyment while using your Ultrabook.
So go ahead, start connecting your USB peripherals, and explore the endless possibilities that await you on your Dell Ultrabook XPS 12!