Introduction
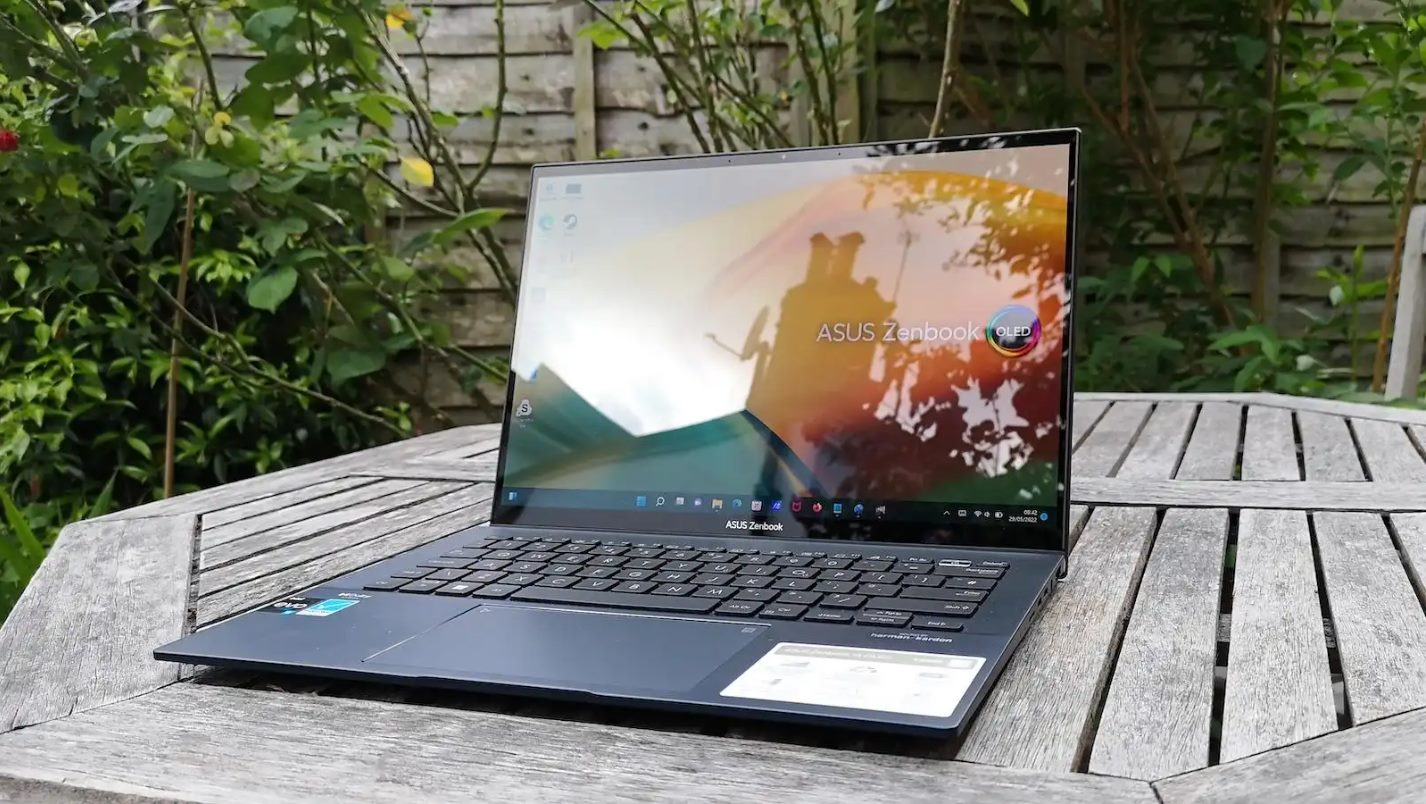
Welcome to our guide on how to boot from a USB drive on your ASUS Ultrabook. Being able to boot from a USB drive can be incredibly useful, whether you’re looking to install a new operating system, troubleshoot your computer, or run diagnostic tools. Fortunately, ASUS Ultrabooks provide a simple and straightforward process to boot from a USB drive.
Before we dive into the steps, let’s discuss why you might need to boot from a USB drive. One common scenario is when you want to perform a clean installation of an operating system. By booting from a USB drive, you can bypass the existing operating system and start fresh. This can help resolve issues caused by system corruption, viruses, or performance problems.
Another reason to boot from a USB drive is when you need to run diagnostic tools or recover data from a malfunctioning computer. USB drives come in handy as they can contain a variety of tools, such as antivirus scanners, disk repair utilities, and data recovery software. By booting from a USB drive with these tools, you can efficiently troubleshoot and fix issues without the need for an operating system.
Now that you understand the importance of booting from a USB drive let’s proceed with the necessary steps. But before we do that, it’s important to mention that the process of booting from a USB drive may vary slightly depending on the model and BIOS version of your ASUS Ultrabook. Therefore, it’s always a good idea to double-check the specific instructions provided by ASUS in your Ultrabook’s user manual or on their website.
With that said, let’s move on to the next section, in which we’ll check the BIOS version of your ASUS Ultrabook to ensure it supports booting from a USB drive.
Checking the BIOS Version
Before you can proceed with booting from a USB drive on your ASUS Ultrabook, it’s essential to ensure that your BIOS version supports this feature. The BIOS (Basic Input/Output System) is a firmware that initializes the hardware components of your computer and provides the basic instructions for the operating system to load.
To check the BIOS version of your ASUS Ultrabook, follow the steps below:
- Start by turning on your ASUS Ultrabook. If it’s already powered on, make sure to save any ongoing work and restart the system to ensure you have a fresh start.
- As soon as the system boots up, press the designated key to access the BIOS setup. The key may vary depending on your ASUS Ultrabook model, but commonly used keys are F2, Delete, or Esc. If you’re unsure about the correct key, refer to your Ultrabook’s user manual or the ASUS website for specific instructions.
- Once you’re inside the BIOS setup utility, navigate to the System Information or Main tab. Here, you should find information about your Ultrabook’s BIOS version.
- Take note of the BIOS version number for reference. This information will help you determine if the BIOS supports booting from a USB drive.
If you find that your BIOS version is outdated and doesn’t support booting from a USB drive, you may need to update it. ASUS provides BIOS updates on their website, specific to each Ultrabook model. However, updating the BIOS carries some risks, so it’s crucial to follow the instructions carefully and ensure that your laptop is connected to a stable power source during the update process.
With the knowledge of your ASUS Ultrabook’s BIOS version, it’s time to move on to the next section, where we’ll discuss how to prepare your USB drive for booting.
Preparing the USB Drive
Now that you’ve confirmed that your ASUS Ultrabook’s BIOS version supports booting from a USB drive, it’s time to prepare the USB drive itself. Here are the steps to follow:
- First, you’ll need a USB drive with enough storage capacity to hold the operating system or diagnostic tools you want to install or run. It’s recommended to use a high-quality USB drive to ensure reliability.
- Next, insert the USB drive into an available USB port on your ASUS Ultrabook. It’s important to ensure a secure connection to avoid any interruptions during the booting process.
- Before continuing, make sure to copy any important files stored on the USB drive to a safe location. The preparation process will format the USB drive, erasing all existing data.
- Now, navigate to the ASUS support website or the manufacturer’s website of the operating system or diagnostic tool you plan to boot from the USB drive.
- Look for the appropriate download page and locate the necessary files or ISO image for creating a bootable USB drive. Follow the provided instructions to download and save the files on your computer.
- Once the download is complete, you’ll need to use a reliable tool to create a bootable USB drive. There are several software options available, such as Rufus, UNetbootin, or the official utility provided by the operating system manufacturer. Download and install the tool of your choice.
- Open the bootable USB drive creation tool and follow the instructions provided. Typically, you’ll need to select the downloaded ISO image or the extracted files and choose the USB drive as the destination disk.
- Start the process and wait for it to complete. This may take some time depending on the size of the files and the speed of your USB drive.
- Once the bootable USB drive has been created, safely eject it from your computer. It is now ready to be used for booting on your ASUS Ultrabook.
With the USB drive prepared, we’re ready for the next section, where we’ll guide you through accessing the boot menu on your ASUS Ultrabook.
Accessing the Boot Menu
Now that you have a bootable USB drive prepared, the next step is to access the boot menu on your ASUS Ultrabook. The boot menu allows you to choose from different boot options, including booting from a USB drive. Here’s how you can access the boot menu:
- Start by turning on or restarting your ASUS Ultrabook.
- As the system boots up, look for the key or combination of keys that should be pressed to access the boot menu. The key(s) may vary depending on your ASUS Ultrabook model, but commonly used keys are F8, F10, F12, or Esc. If you’re unsure, refer to your Ultrabook’s user manual or the ASUS website for specific instructions.
- Once you’ve identified the correct key(s), start pressing it repeatedly until the boot menu appears on the screen. Timing is crucial, so make sure to press the key(s) at the right moment during the boot process.
- In the boot menu, you should see a list of available boot options. Use the arrow keys to navigate through the options.
- Look for the option that corresponds to your USB drive. The name may vary, but it’s likely to include the brand or model of your USB drive.
- Select the USB drive option and press Enter to confirm your selection.
After selecting the USB drive as the boot device, your ASUS Ultrabook will begin the booting process from the USB drive. Depending on the operating system or diagnostic tools on the USB drive, you may be presented with further installation or setup options.
If you’re encountering any issues accessing the boot menu or not seeing the USB drive as an available option, double-check the BIOS settings to ensure that the USB drive is set as a bootable device. Also, verify that the USB drive is properly recognized by the computer and is in good working condition.
With the boot menu accessed and the USB drive selected as the boot device, we can now proceed to the next section, where we’ll discuss the process of installing or running from the USB drive.
Selecting the USB Drive as the Boot Device
Once you have accessed the boot menu on your ASUS Ultrabook, the next step is to select the USB drive as the boot device. This will ensure that your computer boots from the USB drive rather than the internal storage or any other connected devices. Here’s how to select the USB drive as the boot device:
- Using the arrow keys on your keyboard, navigate through the boot menu options until you find the entry for your USB drive. The name may vary depending on your Ultrabook model and the USB drive you have connected.
- Once you have highlighted the USB drive option, press the Enter key to select it as the boot device.
- After selecting the USB drive, your ASUS Ultrabook will start booting from the USB drive. You may see a loading screen or a message indicating that the system is preparing to boot from the USB drive.
- Depending on the contents of the USB drive, you may be prompted to choose the desired language, accept terms and conditions, or select other installation options. Follow the on-screen instructions to proceed.
- Once you have completed the necessary steps, the operating system installation or the diagnostic tools will begin to load from the USB drive. The process may take some time, so be patient.
If you encounter any issues during the booting process, ensure that the USB drive is properly connected and functioning correctly. Additionally, double-check that the USB drive is prepared correctly with the necessary files, such as the operating system or the diagnostic tools.
Remember that booting from a USB drive provides you with various options, such as installing a new operating system, running diagnostic tools, or troubleshooting your computer. Make sure to choose the appropriate option based on your needs.
With the USB drive selected as the boot device, the installation or running process will commence. In the next section, we will address common troubleshooting steps for boot issues that you may encounter.
Installing or Running from the USB Drive
Now that you have successfully selected the USB drive as the boot device on your ASUS Ultrabook, you are ready to proceed with the installation or running of the operating system or tools from the USB drive. Depending on your specific needs, here’s what you can expect:
If you are installing a new operating system:
- Follow the on-screen prompts to select the language, region, and other installation preferences.
- Choose the installation location and partition the disk if necessary.
- Follow the installation wizard’s instructions for configuring additional settings, such as creating user accounts and setting up network connections.
- Allow the installation process to complete, which may take some time depending on the operating system and your Ultrabook’s specifications.
- Once the installation is finished, your ASUS Ultrabook will reboot, and you can proceed with the setup and customization of the newly installed operating system.
If you are running diagnostic tools or performing troubleshooting tasks:
- Follow the instructions provided by the diagnostic tool or troubleshooting utility you have booted from the USB drive.
- Depending on the specific tool, you may be prompted to run system scans, perform hardware tests, or access recovery options to fix issues with your computer.
- Follow the tool’s instructions to diagnose and resolve any identified problems with your ASUS Ultrabook.
- Once you have completed the necessary tasks, you can restart your computer and resume normal operation.
Remember to save any important data or settings before proceeding with the installation or running process. It’s always a good idea to back up your files to avoid any data loss during the installation or diagnostic procedures.
Once you have finished installing the operating system or running the tools from the USB drive, you can safely remove the USB drive from your ASUS Ultrabook. Restart the system, and it will boot back into the primary operating system installed on the internal storage.
In case you encounter any issues during the installation or running process, refer to the documentation or support resources provided by the operating system or tool you are using. They may have troubleshooting guides or forums where you can find assistance.
With the installation or running process completed, we can now move on to the next section, where we will address common troubleshooting steps for boot issues that you may encounter.
Troubleshooting Boot Issues
While booting from a USB drive on your ASUS Ultrabook is generally a straightforward process, there can be instances where you encounter boot issues. These issues can range from the USB drive not being recognized to errors during the installation or running process. Here are some troubleshooting steps you can follow:
1. Verify the USB drive:
– Double-check that the USB drive is securely connected to your Ultrabook.
– Ensure that the USB drive is in good working condition and has been properly prepared with the necessary files.
– Try using a different USB port on your Ultrabook to rule out any port-related issues.
2. Check the BIOS settings:
– Enter the BIOS setup and verify that the USB drive is recognized as a bootable device.
– Ensure that the boot priority is set correctly, with the USB drive as the first boot option.
– If necessary, update the BIOS to the latest version provided by ASUS.
3. Use a different bootable USB drive:
– If you have access to another bootable USB drive, try using it to see if the issue persists. This can help determine if the problem lies with the USB drive itself.
4. Check for compatibility issues:
– Ensure that the operating system or diagnostic tools you are trying to boot from the USB drive are compatible with your ASUS Ultrabook model.
5. Confirm the integrity of the USB drive files:
– Run a file system check on the USB drive to ensure its integrity.
– Use a checksum utility to verify the integrity of the downloaded ISO image or files.
6. Disable Secure Boot or UEFI mode:
– If your ASUS Ultrabook has Secure Boot or UEFI mode enabled, try disabling it temporarily as it may affect the booting process. Consult your user manual or ASUS support for guidance on changing these settings.
7. Seek assistance:
– If you have tried the above steps and still encounter boot issues, consider reaching out to ASUS support or visiting their online community for further assistance.
Remember that troubleshooting boot issues can be a process of trial and error. It’s important to be patient and thorough in your troubleshooting efforts. Not all solutions may apply to every situation, so adapt the steps accordingly based on the specific issue you are facing.
With these troubleshooting steps in mind, you should be able to identify and resolve most boot issues when booting from a USB drive on your ASUS Ultrabook.
Conclusion
Booting from a USB drive on your ASUS Ultrabook opens up a world of possibilities, whether you want to install a new operating system, run diagnostic tools, or troubleshoot your computer. In this guide, we have explored the step-by-step process of booting from a USB drive and provided troubleshooting tips for common boot issues.
We began by discussing the importance of being able to boot from a USB drive and its various uses, such as clean installations, data recovery, and system troubleshooting. We then delved into checking the BIOS version of your ASUS Ultrabook to ensure compatibility with booting from a USB drive.
Next, we covered the process of preparing the USB drive itself, including selecting the appropriate tool, creating a bootable USB drive, and ensuring a secure and functioning connection to your Ultrabook.
We then explained how to access the boot menu on your ASUS Ultrabook and select the USB drive as the boot device. This step is crucial in initiating the booting process from the USB drive.
With the USB drive selected as the boot device, we discussed the process of installing a new operating system or running diagnostic tools from the USB drive. Whether you’re setting up a new OS or troubleshooting your computer, following the on-screen prompts and instructions will lead you through the necessary steps.
Lastly, we provided troubleshooting tips for common boot issues that you may encounter. From verifying the USB drive and checking BIOS settings to addressing compatibility issues and seeking assistance, these troubleshooting steps will help you overcome obstacles and successfully boot from the USB drive.
By following the guidance provided in this guide, you can confidently boot from a USB drive on your ASUS Ultrabook and take advantage of the benefits it offers. Whether you’re embarking on a new operating system installation or running diagnostic tools, the flexibility and convenience of booting from a USB drive add a valuable dimension to your computing experience.