Introduction
Welcome to our guide on how to turn on wireless capability on your Dell laptop. Whether you’re traveling, working remotely, or simply wanting to connect to the internet without any wires, enabling the wireless capability on your Dell laptop is essential. By following the steps outlined in this article, you’ll be able to easily activate your laptop’s wireless function and stay connected wherever you go.
Having a wireless connection on your laptop allows you to browse the internet, access online content, send and receive emails, and connect to other devices wirelessly. However, different Dell laptop models may have different methods to enable wireless capability. In this guide, we will explore various ways to turn on the wireless feature, ensuring you have the necessary tools to connect to Wi-Fi networks hassle-free.
Please note that while the specific instructions may vary slightly depending on the model and operating system of your Dell laptop, the general steps outlined in this article should be applicable to most Dell laptops. So, whether you own a Dell Inspiron, XPS, Latitude, or any other Dell laptop model, continue reading to learn how to activate the wireless capability.
Before we delve into the steps, it’s essential to ensure that your laptop has a built-in Wi-Fi adapter or a wireless network card. Most modern Dell laptops come equipped with this feature. To confirm if your laptop has wireless capability, look for the Wi-Fi symbol on the F1-F12 keys or a wireless icon on the laptop’s chassis. Once you’ve confirmed that your laptop has wireless capability, you can proceed with the steps in this guide.
Now that we have covered the basics, let’s explore the different methods to turn on wireless capability on your Dell laptop. Whether you prefer using the system tray, keyboard shortcuts, Windows settings, or the Dell Quickset application, we have you covered. Follow the steps in each section to enable Wi-Fi functionality on your Dell laptop effortlessly.
Step 1: Locating the wireless switch or key
The first step in enabling wireless capability on your Dell laptop is to locate the wireless switch or key. Depending on the model and design of your laptop, this switch or key may be located in different places. Here are a few common locations where you can find the wireless switch:
- On the side or front edge of the laptop: Some Dell laptops have a physical wireless switch or slider that can be found on the side or front edge of the laptop. Look for a small switch or slider that can be moved to the “On” position to enable Wi-Fi.
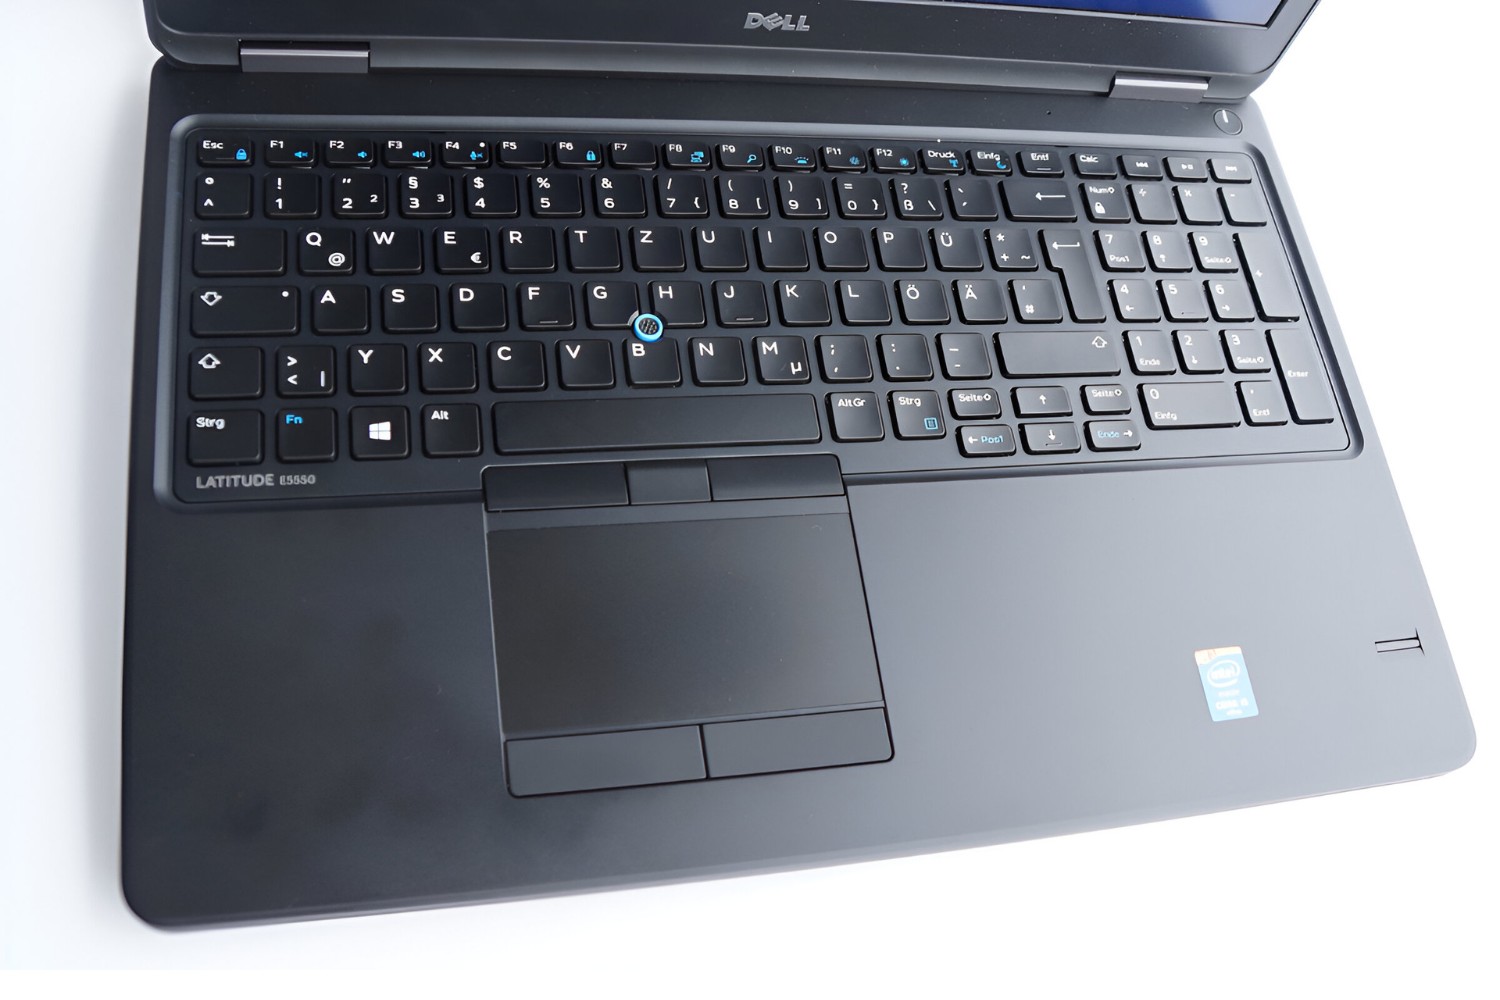
- On the function keys: Many Dell laptops have a dedicated wireless function key that can be found on the top row of the keyboard. Look for a key that has the wireless icon (usually looks like an antenna or signal waves). Pressing the Fn key along with the wireless function key should enable or disable the wireless capability.
- In the system tray: Some Dell laptops have a software-based switch that can be accessed from the system tray, which is located in the bottom right corner of the desktop screen. Look for the wireless icon, which looks like a series of vertical bars or a computer monitor with waves, and click on it to toggle the wireless capability.
- In the Dell Quickset application: Certain Dell laptop models come with the Dell Quickset application pre-installed. This application provides easy access to various laptop settings, including Wi-Fi. You can usually find the Dell Quickset application by searching for it in the Start menu or by looking for the icon in the notification area of the system tray.
Once you have located the wireless switch or key, make sure it is in the “On” position to enable the wireless capability on your Dell laptop. In some cases, you may need to press and hold the switch or key for a few seconds to activate it.
Now that you know how to locate the wireless switch or key, you are ready to proceed to the next step and learn how to enable wireless capability from the system tray.
Step 2: Enabling wireless capability from the system tray
If your Dell laptop has a software-based switch, you can easily enable wireless capability from the system tray. The system tray is located in the bottom right corner of the desktop screen and contains several icons, including the wireless icon. Follow these steps to enable Wi-Fi from the system tray:
- Locate the wireless icon in the system tray. It typically looks like a series of vertical bars or a computer monitor with waves.
- Right-click on the wireless icon to open a context menu.
- In the context menu, you should see an option to enable or disable the Wi-Fi. It may be labeled differently depending on your system, such as “Enable Wi-Fi,” “Turn on wireless capability,” or “Connect to a network.”
- Click on the option to enable the wireless capability. The wireless icon should change to indicate that Wi-Fi is now enabled.
Once you have completed these steps, you have successfully enabled wireless capability on your Dell laptop using the system tray. You can now connect to a Wi-Fi network and enjoy the benefits of wireless internet access.
If you are unable to find the wireless icon in the system tray or do not have the option to enable Wi-Fi from the context menu, don’t worry. There are alternative methods you can try to turn on the wireless capability on your Dell laptop. In the next step, we will explore how to use keyboard shortcuts to enable Wi-Fi.
Step 3: Using keyboard shortcuts to turn on wireless capability
If your Dell laptop has a dedicated function key for wireless functionality, you can easily enable Wi-Fi using keyboard shortcuts. This method is quick and convenient. Follow these steps to turn on wireless capability using keyboard shortcuts:
- Locate the wireless function key on your keyboard. It is usually labeled with an icon that represents wireless connectivity, such as an antenna or signal waves.
- Press and hold the “Fn” key, usually located in the bottom left corner of the keyboard, and simultaneously press the wireless function key.
- Release both keys. The wireless capability on your Dell laptop should now be enabled.
After following these steps, you’ll have successfully turned on wireless capability using keyboard shortcuts. The wireless function key should usually have an LED indicator that lights up to indicate the wireless feature is active.
It’s worth noting that on some Dell laptops, the wireless function key may also have additional functions assigned to it, such as Bluetooth control or screen brightness adjustment. In such cases, you may need to use different combinations of the “Fn” key along with other function keys to enable Wi-Fi specifically. Refer to your laptop’s user manual for more information on the specific key combinations.
If your Dell laptop doesn’t have a dedicated wireless function key, or if the keyboard shortcut method doesn’t work for some reason, don’t worry. There are alternative methods we will explore in the following steps to enable Wi-Fi on your Dell laptop.
Next, we will look at how to enable Wi-Fi through Windows settings.
Step 4: Enabling Wi-Fi through Windows settings
If you’re unable to enable wireless capability on your Dell laptop using the physical switches or keyboard shortcuts, you can try enabling Wi-Fi through the Windows settings. Here’s how:
- Click on the “Start” button in the bottom-left corner of your desktop, and select the gear icon to open the Windows Settings.
- In the Settings window, click on the “Network & Internet” option.
- On the left-hand side, click on “Wi-Fi” to access the wireless network settings.
- Make sure the “Wi-Fi” toggle switch is turned on. If it is off, click on the switch to enable Wi-Fi.
- Your Dell laptop will now scan for available Wi-Fi networks. Once it finds the network you want to connect to, click on its name to select it.
- If the network is secured, you’ll be prompted to enter the password. Enter the correct password, and click “Connect” to connect to the Wi-Fi network.
- Your Dell laptop is now connected to the Wi-Fi network, and the wireless capability is enabled.
By following these steps, you can successfully enable Wi-Fi on your Dell laptop through the Windows settings. This method allows you to manage and connect to Wi-Fi networks directly within the operating system.
If you still encounter any issues or are unable to enable Wi-Fi using the Windows settings, there is one more method to try – using the Dell Quickset application. Let’s explore this option in the next step.
Step 5: Enabling Wi-Fi using the Dell Quickset application
If your Dell laptop comes with the Dell Quickset application installed, you can use it to enable Wi-Fi easily. The Dell Quickset application provides a convenient way to access various laptop settings, including wireless connectivity. Follow these steps to enable Wi-Fi using the Dell Quickset application:
- Click on the “Start” button in the bottom-left corner of your desktop.
- Type “Dell Quickset” in the search bar, and select the application from the search results.
- Once the Dell Quickset application opens, look for a Wi-Fi or wireless connectivity option.
- Click on the Wi-Fi option to enable or disable the Wi-Fi functionality on your Dell laptop.
- If prompted, confirm your selection, and the Wi-Fi capability will be enabled.
By following these steps, you can activate the wireless capability on your Dell laptop using the Dell Quickset application. This method provides an alternative way to manage your Wi-Fi settings if other methods haven’t been successful.
It’s important to note that the availability of the Dell Quickset application may vary depending on the model and configuration of your Dell laptop. If you don’t have the application installed, or if it doesn’t offer Wi-Fi control, explore the other methods mentioned in the previous steps to enable wireless capability.
Congratulations! You have now learned various methods to turn on wireless capability on your Dell laptop. Whether it’s through physical switches, keyboard shortcuts, Windows settings, or the Dell Quickset application, you have the tools and knowledge to stay connected to Wi-Fi networks effortlessly.
Remember to keep your laptop’s drivers and operating system up to date, as these updates often include enhancements and bug fixes related to wireless connectivity. Enjoy the freedom of wireless internet access on your Dell laptop!
Conclusion
Congratulations! You have reached the end of our guide on how to turn on wireless capability on your Dell laptop. We have explored various methods to enable Wi-Fi, including locating physical switches or keys, using the system tray, utilizing keyboard shortcuts, accessing Windows settings, and utilizing the Dell Quickset application.
Whether you’re on the go, working remotely, or simply want to enjoy the convenience of wireless connectivity, having the ability to turn on Wi-Fi on your Dell laptop is essential. With the steps provided in this guide, you now have the knowledge and tools to easily enable wireless capability on your Dell laptop, regardless of the model or operating system.
Remember to double-check your laptop’s user manual or manufacturer’s website for specific instructions related to your Dell laptop model, as the steps may vary slightly. It’s also important to keep your laptop’s drivers and operating system updated to ensure optimal performance and compatibility with wireless networks.
Thank you for choosing our guide as your resource for turning on wireless capability on your Dell laptop. We hope the information provided has been helpful in enabling you to connect to Wi-Fi networks effortlessly.
Now, go ahead and enjoy the convenience and freedom that wireless connectivity brings to your Dell laptop!