Introduction
Technology has made our lives more convenient and wireless earbuds have become increasingly popular. AirPods, developed by Apple, are sleek and provide a seamless listening experience. If you’re a proud owner of AirPods and wondering how to connect them to your Dell laptop, you’ve come to the right place.
Pairing AirPods with a Dell laptop may seem daunting if you’re unfamiliar with the process, but it’s actually quite straightforward and can be done in just a few simple steps. In this guide, we’ll walk you through the process and help you enjoy your favorite music, podcasts, and calls wirelessly from your Dell laptop.
Before we dive into the steps, it’s important to ensure the compatibility of your Dell laptop with AirPods. While AirPods are designed primarily for use with Apple devices, they can also be connected to non-Apple devices, including Windows laptops. Dell laptops are compatible with Bluetooth-enabled devices, which means you can connect your AirPods to your Dell laptop effortlessly.
In the following sections, we’ll provide you with a step-by-step guide on how to connect your AirPods to your Dell laptop. We’ll cover troubleshooting tips as well to help you overcome any potential connection issues. So, grab your AirPods and let’s get started!
Step 1: Check the compatibility of your Dell laptop with AirPods
Before you begin the pairing process, it’s important to ensure that your Dell laptop is compatible with AirPods. Although AirPods are primarily designed for Apple devices, they can be connected to non-Apple devices such as Windows laptops, including Dell laptops.
To check the compatibility, follow these steps:
- Make sure that your Dell laptop has Bluetooth capabilities. Most modern Dell laptops come equipped with Bluetooth functionality, but it’s always good to double-check if your specific model has it.
- Locate the Bluetooth icon on your Dell laptop. It is usually represented by the Bluetooth symbol, which consists of a stylized “B” in the shape of a pointy letter “B”. The icon can often be found in the system tray located at the bottom-right corner of your screen.
- Right-click on the Bluetooth icon and select “Open Settings” or a similar option. This will open the Bluetooth settings panel on your Dell laptop.
- Check if Bluetooth is enabled. The settings panel should show a toggle switch or a checkbox to enable or disable Bluetooth. If it’s currently disabled, click on the switch or checkbox to turn it on.
- Once Bluetooth is enabled, check if your Dell laptop is discoverable. This allows other Bluetooth devices, including your AirPods, to detect and connect to your laptop. In the same Bluetooth settings panel, there should be an option to make your laptop discoverable. Ensure that it is turned on.
If all the steps above check out, congratulations! Your Dell laptop is compatible with AirPods, and you’re now ready to move on to the next step of pairing your AirPods with your laptop.
If your Dell laptop doesn’t have Bluetooth capabilities, don’t worry. There are still ways to connect your AirPods to your laptop. You can use a Bluetooth dongle or adapter that plugs into a USB port on your laptop to enable Bluetooth functionality. These dongles are widely available and can be found at electronic stores or online retailers.
Now that you’ve verified the compatibility of your Dell laptop with AirPods, let’s proceed to the next step of putting your AirPods in pairing mode.
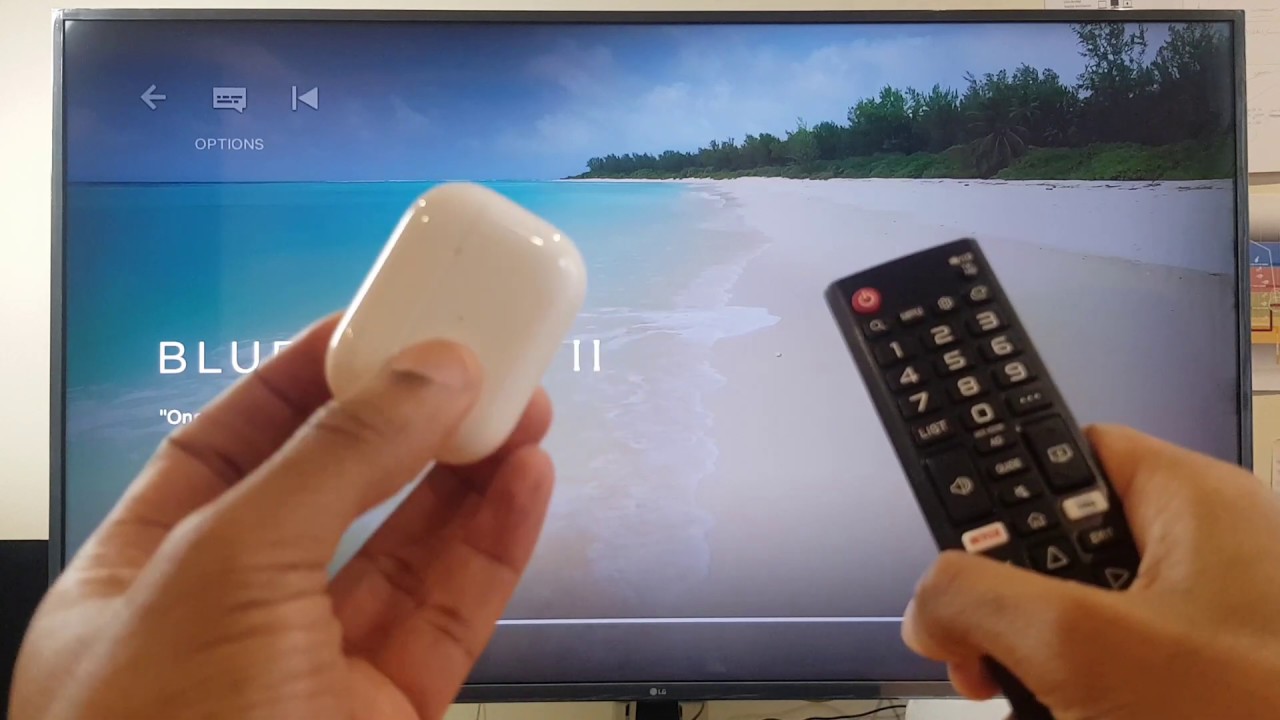
Step 2: Put your AirPods in pairing mode
Before you can connect your AirPods to your Dell laptop, you need to put them in pairing mode. This mode allows your AirPods to be discoverable by other devices, including your laptop.
Here’s how you can put your AirPods in pairing mode:
- Open the lid of your AirPods case. Ensure that your AirPods are inside the case.
- Press and hold the button located on the back of the case. The button is usually small and located towards the bottom.
- Continue holding the button until the LED light on the front of the case starts flashing white. This indicates that your AirPods are now in pairing mode.
It’s important to note that your AirPods will only remain in pairing mode for a short period of time, typically around one minute. If you’re unable to connect your AirPods within that time frame, you may need to repeat the steps mentioned above to put them back in pairing mode.
Pairing mode allows your AirPods to be detected by other devices, such as your Dell laptop, so that they can establish a wireless connection. With your AirPods in pairing mode, you’re now ready to move on to the next step of enabling Bluetooth on your Dell laptop.
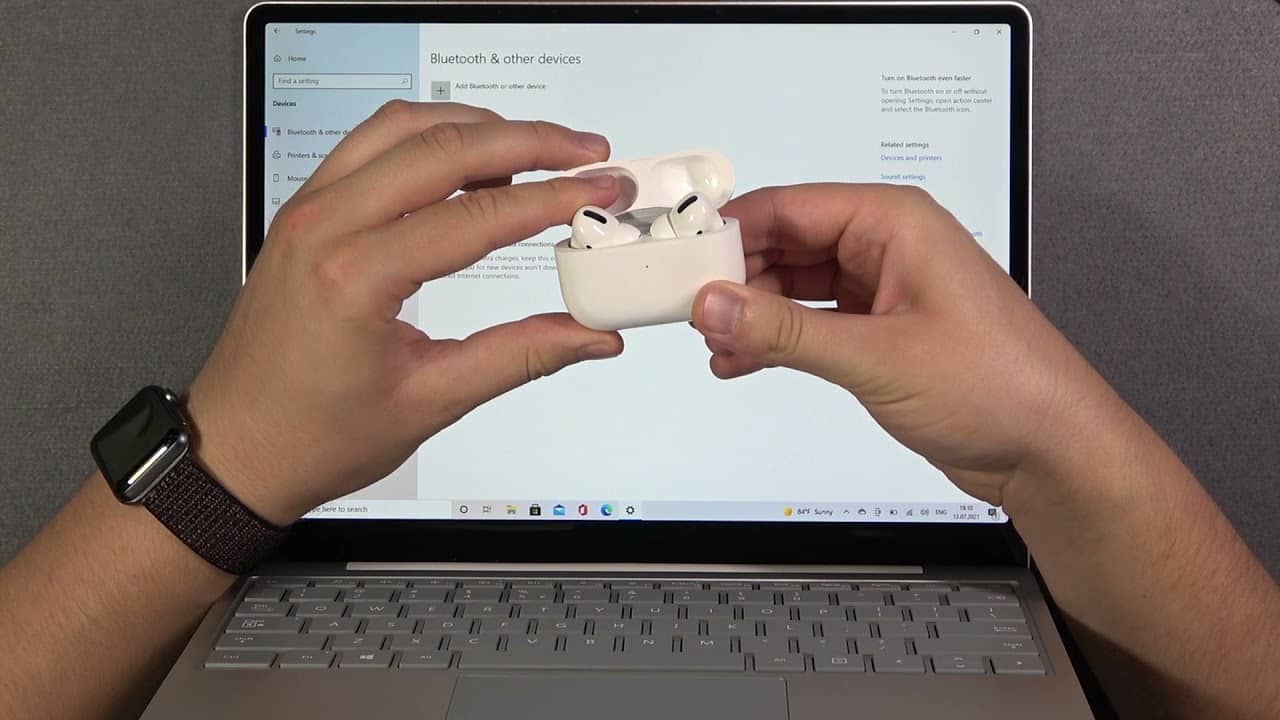
Step 3: Enable Bluetooth on your Dell laptop
Now that your AirPods are in pairing mode, it’s time to enable Bluetooth on your Dell laptop. This will allow your laptop to detect and connect to your AirPods.
Follow these steps to enable Bluetooth on your Dell laptop:
- Click on the Start button on your Windows taskbar, typically located at the bottom-left corner of your screen.
- In the search bar, type “Bluetooth” and select the Bluetooth & other devices settings option from the search results.
- In the Bluetooth settings window, ensure that the Bluetooth toggle switch is set to On. This will enable Bluetooth functionality on your Dell laptop.
Once you’ve enabled Bluetooth on your Dell laptop, it will start scanning for nearby Bluetooth devices, including your AirPods.
In some cases, you may need to install or update Bluetooth drivers for your Dell laptop to ensure compatibility. To do this, you can visit the official Dell website and download the latest driver for your specific laptop model. Follow the instructions provided by Dell to install the driver.
Now that Bluetooth is enabled on your Dell laptop, you’re one step closer to connecting your AirPods. The next step will guide you through the process of pairing your AirPods with your Dell laptop.
Step 4: Pair your AirPods with your Dell laptop
Now that Bluetooth is enabled on your Dell laptop, you can proceed with pairing your AirPods to establish a wireless connection. Follow these steps to pair your AirPods with your Dell laptop:
- On your Dell laptop, click on the Start button and navigate to the Bluetooth & other devices settings option, as mentioned in the previous step.
- In the Bluetooth settings window, click on the Add Bluetooth or other device button. This will initiate the pairing process.
- From the list of available devices, select Bluetooth.
- Your Dell laptop will start scanning for nearby Bluetooth devices. After a few seconds, your AirPods should appear in the list of available devices.
- Click on your AirPods from the list. If prompted, confirm the pairing request on both your laptop and your AirPods.
- Once successfully paired, your Dell laptop will display a message confirming the connection. You should also notice that the LED light on your AirPods case turns solid white.
Congratulations! You have successfully paired your AirPods with your Dell laptop. This means you can now enjoy your favorite music, podcasts, and call audio wirelessly through your AirPods without the hassle of tangled cables.
If for some reason your AirPods fail to appear in the list of available devices, make sure they are still in pairing mode and try again. You may also want to double-check that Bluetooth is enabled on both your Dell laptop and your AirPods.
In the next step, we’ll guide you on how to test the connection between your AirPods and your Dell laptop to ensure everything is working correctly.
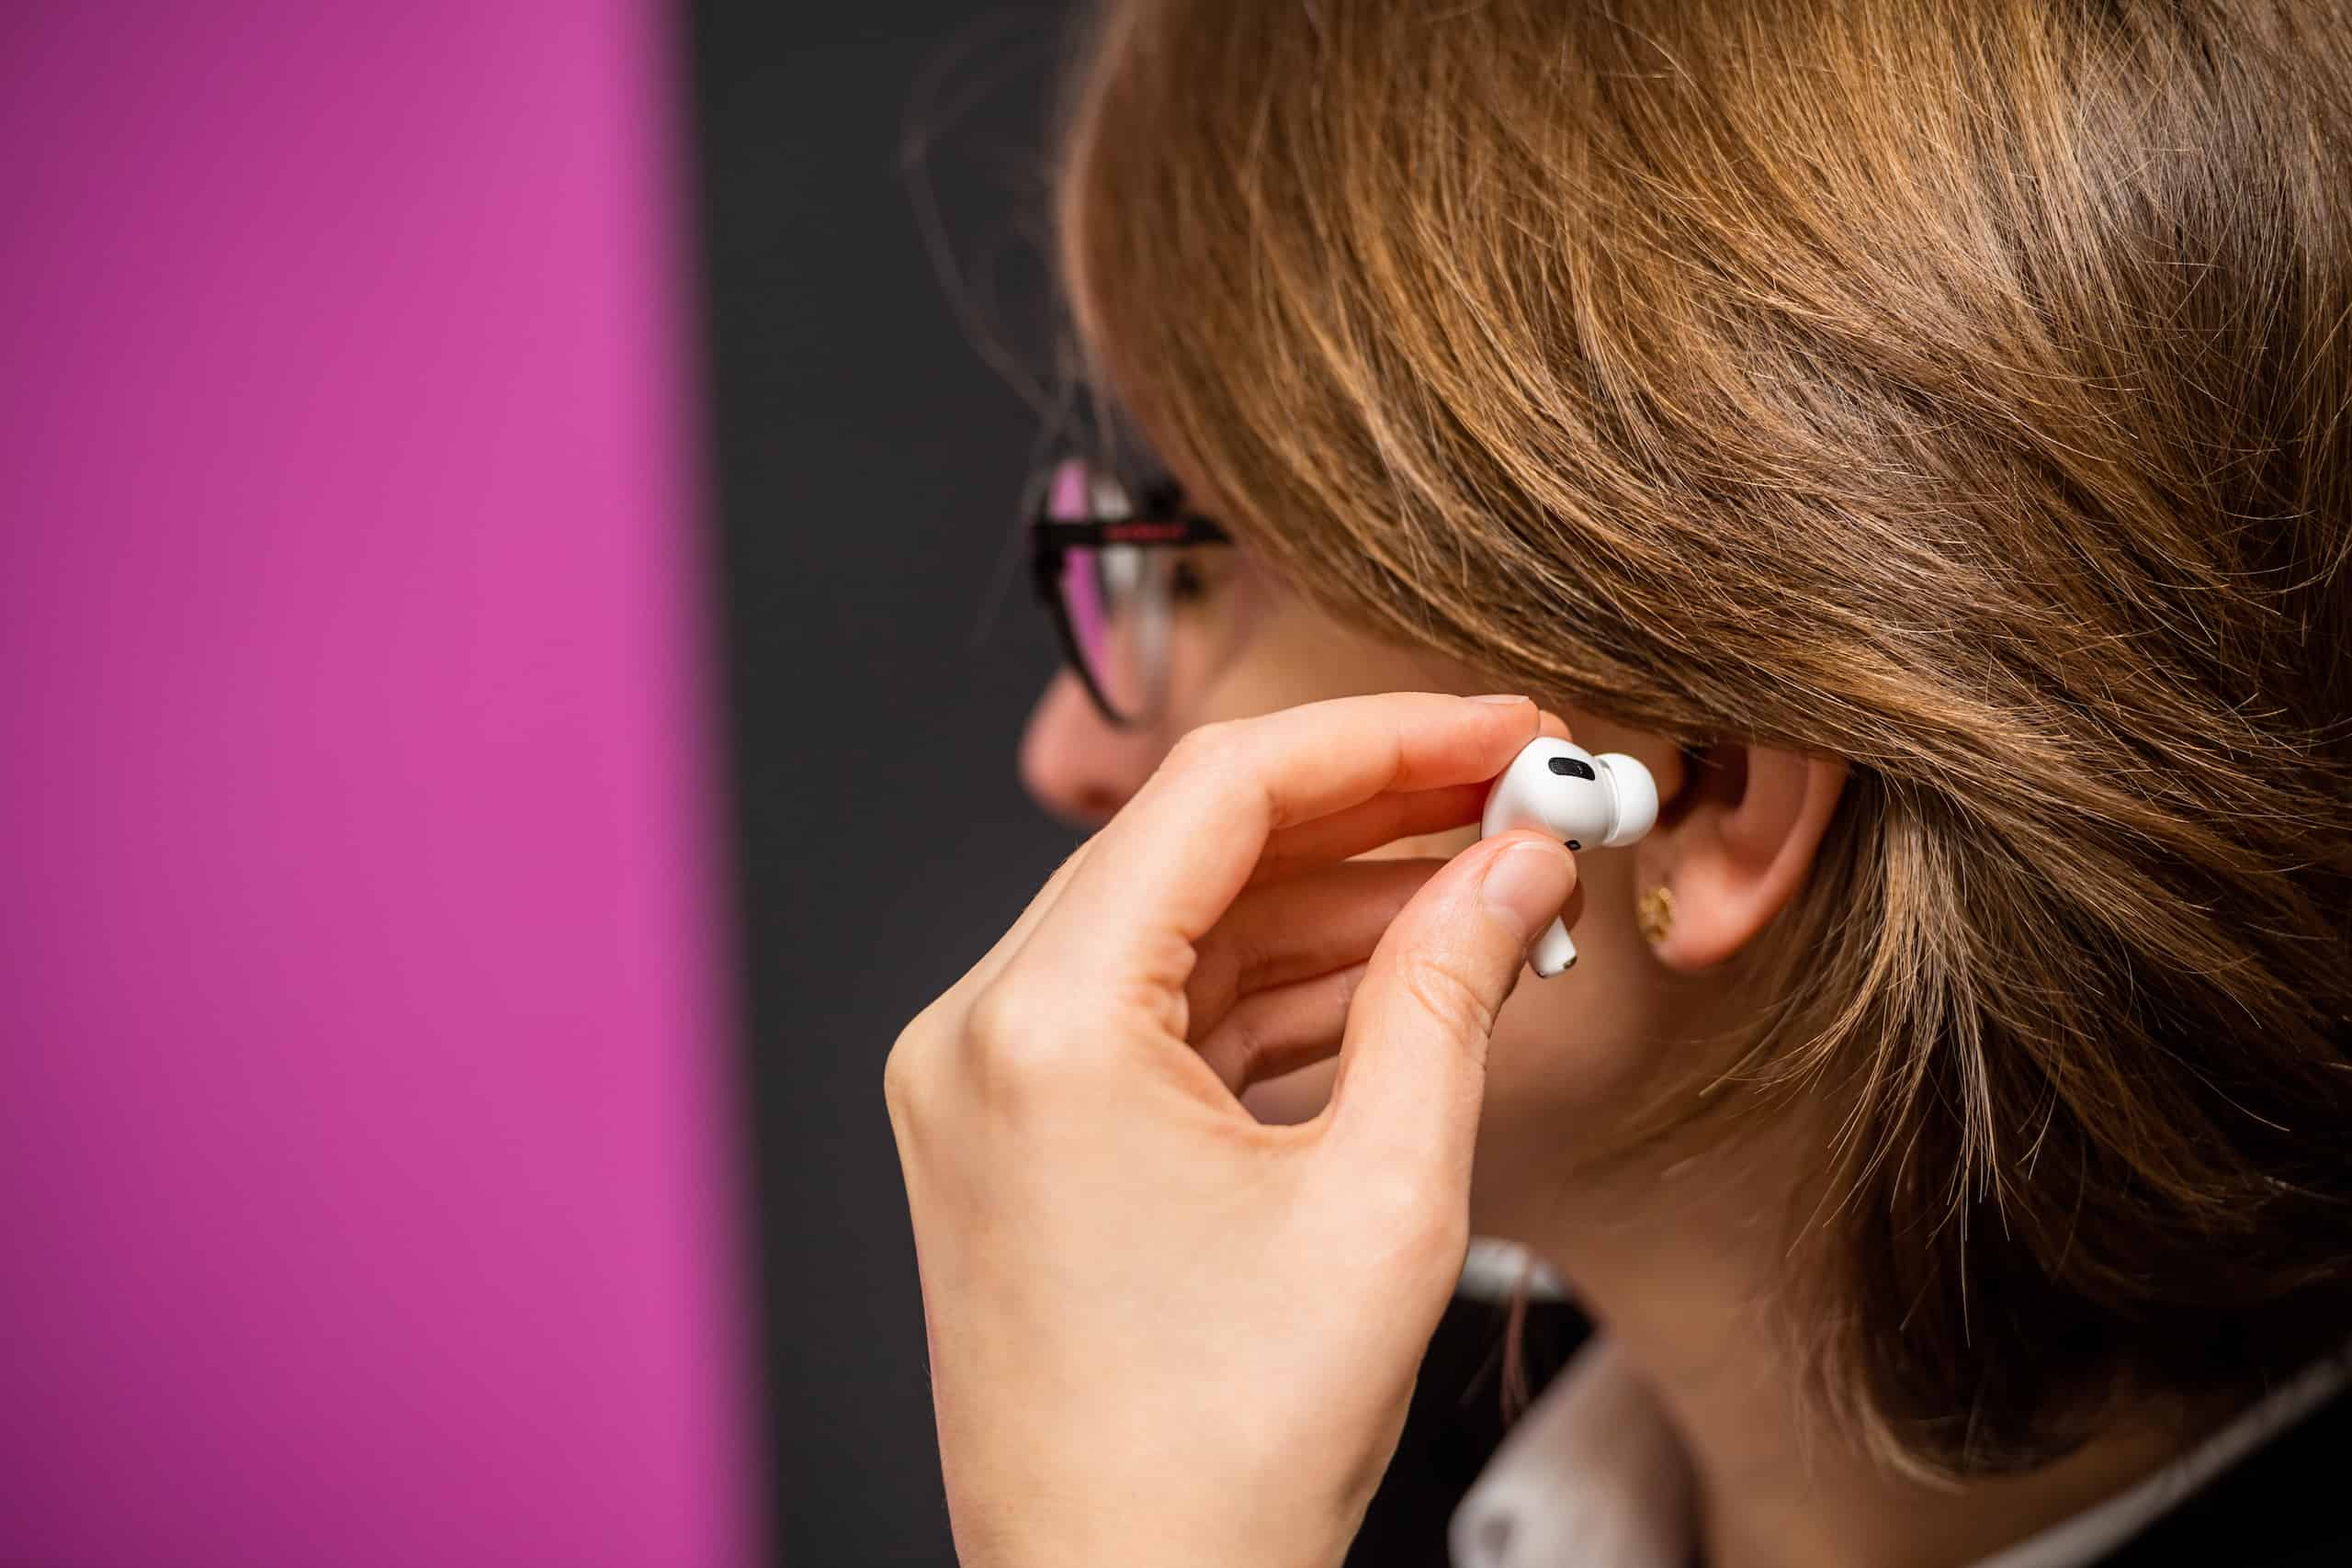
Step 5: Test the connection
After successfully pairing your AirPods with your Dell laptop, it’s important to test the connection to ensure everything is working smoothly. Testing the connection will help you confirm that audio is being transmitted from your laptop to your AirPods without any issues.
Follow these steps to test the connection between your AirPods and your Dell laptop:
- Play some audio on your Dell laptop, such as a song or a video.
- Once the audio is playing, ensure that your AirPods are properly inserted in your ears.
- Listen for the audio coming through your AirPods. You should hear the sound coming from both AirPods.
- If the audio is not coming through the AirPods, double-check that they are properly connected and paired with your Dell laptop.
- Adjust the volume on your Dell laptop and make sure it is audible through your AirPods.
- If everything is working correctly, congratulations! Your AirPods are successfully connected to your Dell laptop, and you can enjoy a wireless audio experience.
If you encounter any issues with the connection or the audio quality, there are a few troubleshooting steps you can try:
- Ensure that your AirPods are charged. Low battery can affect the connectivity and audio quality.
- Remove any physical obstructions that may be blocking the wireless signal between your AirPods and your Dell laptop.
- Restart both your Dell laptop and your AirPods to refresh the connection.
- Update the firmware on your AirPods to the latest version, if available.
- Check for any updates for your Dell laptop’s operating system and install them.
By following these troubleshooting steps, you should be able to resolve most connectivity issues and enjoy a seamless audio experience with your AirPods and Dell laptop.
Now that you’ve tested the connection and everything is working as expected, you can sit back, relax, and enjoy the freedom and convenience of using your AirPods with your Dell laptop.
Conclusion
Connecting your AirPods to your Dell laptop is a straightforward process that allows you to enjoy the convenience of wireless audio. By following the step-by-step guide outlined above, you can seamlessly pair your AirPods with your Dell laptop and enjoy a hassle-free audio experience.
Remember to start by checking the compatibility of your Dell laptop with AirPods and ensure that Bluetooth is enabled. Putting your AirPods in pairing mode and then pairing them with your laptop is the next step. Finally, don’t forget to test the connection to make sure everything is working as expected.
If you encounter any issues along the way, such as connectivity problems or poor audio quality, don’t worry. The troubleshooting steps provided can help you overcome these challenges and ensure a smooth connection between your AirPods and Dell laptop.
Now that you have successfully connected your AirPods to your Dell laptop, you can enjoy the freedom of wirelessly listening to your favorite music, podcasts, and calls. Say goodbye to tangled cables and hello to a seamless audio experience.
We hope this guide has been helpful in assisting you with connecting your AirPods to your Dell laptop. If you have any further questions or need additional support, check the official Dell support website or reach out to Apple customer support for more assistance.
Enjoy your wireless audio experience and make the most out of your AirPods and Dell laptop!