Introduction
Welcome to our guide on how to set up a Dell docking station! If you’re looking to improve your productivity and streamline your workspace, a docking station is an essential accessory for your Dell computer. By connecting your laptop or desktop to a docking station, you can easily expand your connectivity options and transform your computer into a versatile workstation.
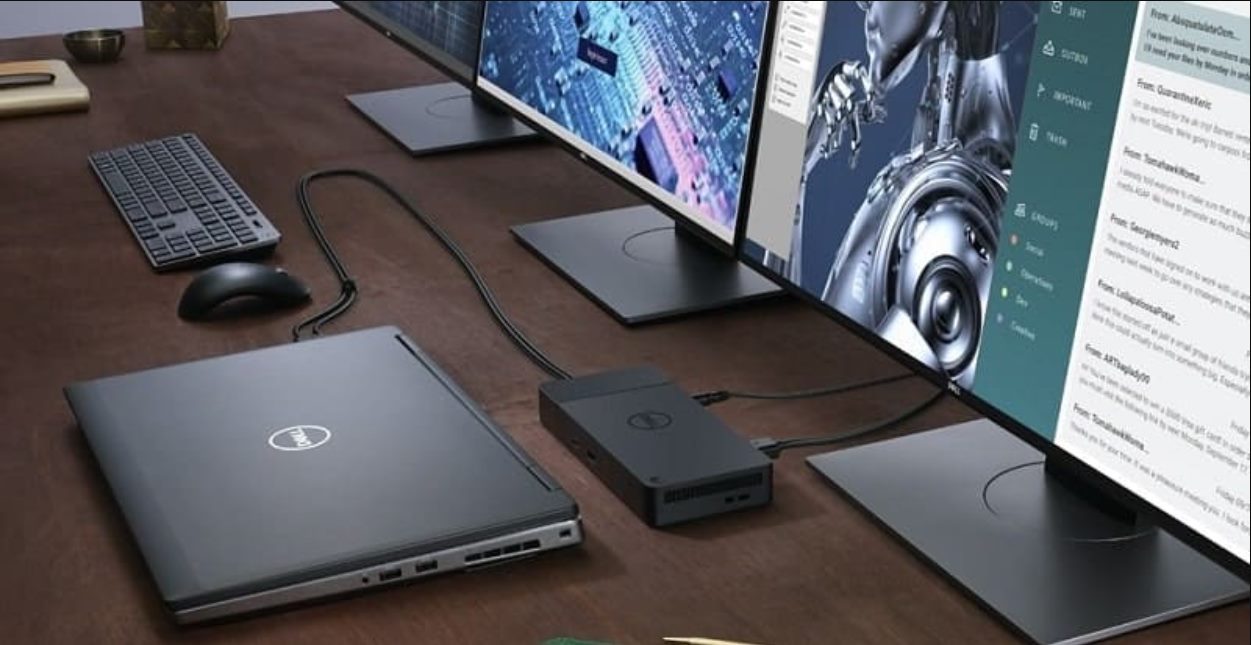
Whether you’re a professional working from home or a student needing a more comfortable and efficient setup, setting up a Dell docking station can make a world of difference. It allows you to connect multiple peripherals, such as monitors, keyboards, mice, printers, and external storage devices, all with a single connection to your computer.
In this guide, we’ll take you through each step of setting up a Dell docking station, ensuring that you have everything you need to get started. We’ll cover unboxing the docking station, connecting it to your computer, connecting additional devices, installing any necessary drivers or software, and even configuring the docking station’s settings if applicable. By following this guide closely, you’ll have your Dell docking station up and running in no time.
Before we dive into the setup process, it’s important to note that the specific steps may vary slightly depending on the model of your Dell docking station and computer. Consult your device’s user manual or Dell’s official documentation for any model-specific instructions and troubleshooting tips. Now, let’s get started with unboxing your Dell docking station!
Requirements
Before you begin setting up your Dell docking station, ensure that you have the following requirements:
- A Dell docking station that is compatible with your computer model. Check the official Dell website or consult your device’s user manual to find the recommended docking station for your specific computer.
- A compatible Dell computer that supports docking stations. Make sure your computer has the necessary ports and connectivity options to connect to the docking station.
- The necessary cables and adapters. Depending on your docking station and computer, you may need HDMI, DisplayPort, USB-C, or Thunderbolt cables to connect the docking station to your computer.
- The peripherals and devices you want to connect to the docking station. This may include monitors, keyboards, mice, printers, external storage devices, and any other devices you frequently use with your computer.
- An active internet connection. Some docking stations require an internet connection for software installation or firmware updates.
- The latest drivers and software. Check the Dell support website for any available driver updates or software downloads for your docking station and computer.
It’s important to ensure that all the requirements are met before proceeding with the setup process. This will help to ensure a smooth and hassle-free experience when setting up your Dell docking station.
Step 1: Unbox the docking station
Before you can start using your Dell docking station, you need to unbox it and familiarize yourself with its contents. Follow these steps to unbox your docking station:
- Locate the box containing your Dell docking station. Carefully remove the packaging materials to reveal the docking station and its accessories.
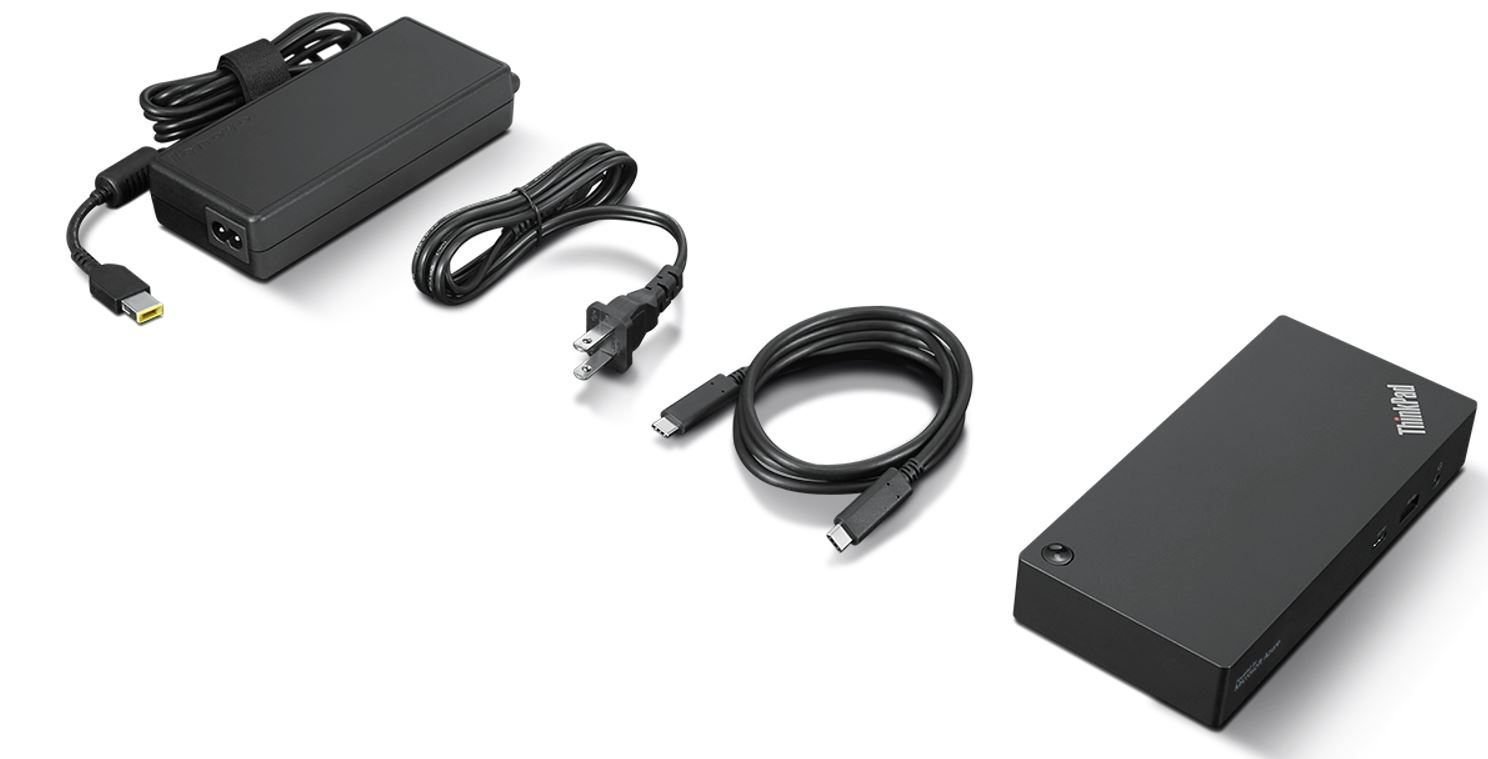
- Inspect the contents of the box. Typically, a Dell docking station will come with the docking station unit, a power adapter, and any necessary cables or adapters.
- Set aside the power adapter and the cables. You will need them later in the setup process.
- Examine the docking station for any visible damage. If you notice any dents, scratches, or other physical defects, contact Dell’s customer support for assistance before proceeding.
- Read the user manual or any included documentation to familiarize yourself with the docking station’s features and functionality. Make sure you understand the basics of connecting the docking station to your computer and the necessary ports available.
- Keep the packaging and documentation in a safe place. You may need them for future reference or in case you need to return or exchange the docking station.
By properly unboxing your Dell docking station and reviewing the documentation, you’ll have a better understanding of how to proceed with the setup process. Next, we’ll move on to the crucial step of connecting the docking station to your computer.
Step 2: Connect the docking station to your computer
Now that you’ve unboxed your Dell docking station, it’s time to connect it to your computer. Follow these steps to ensure a successful connection:
- Ensure that your computer is turned off or in sleep mode before connecting the docking station.
- Locate the appropriate ports on your computer for connecting the docking station. Depending on your computer model, these may include USB-C, Thunderbolt, HDMI, DisplayPort, or other ports.
- Connect one end of the cable (e.g., USB-C, Thunderbolt, HDMI, or DisplayPort) to the corresponding port on your computer.
- Connect the other end of the cable to the corresponding port on the docking station. Make sure the connection is secure.
- If your docking station requires a power source, plug in the power adapter to the docking station and then connect it to a power outlet. Ensure that the docking station is receiving power.
- Once all connections are made, power on your computer.
- Your computer should now detect the docking station and configure the necessary drivers and settings.
- Wait for your computer to finish the setup process. This may take a few moments. Avoid disconnecting or moving the docking station during this time.
- Once the setup is complete, you may need to restart your computer for the changes to take effect.
By following these steps, you should have successfully connected the docking station to your Dell computer. In the next step, we’ll explore how to connect additional devices to the docking station and expand your workstation.
Step 3: Connect additional devices to the docking station
Now that your Dell docking station is connected to your computer, it’s time to start expanding your workstation by connecting additional devices. Follow these steps to connect your peripherals and devices to the docking station:
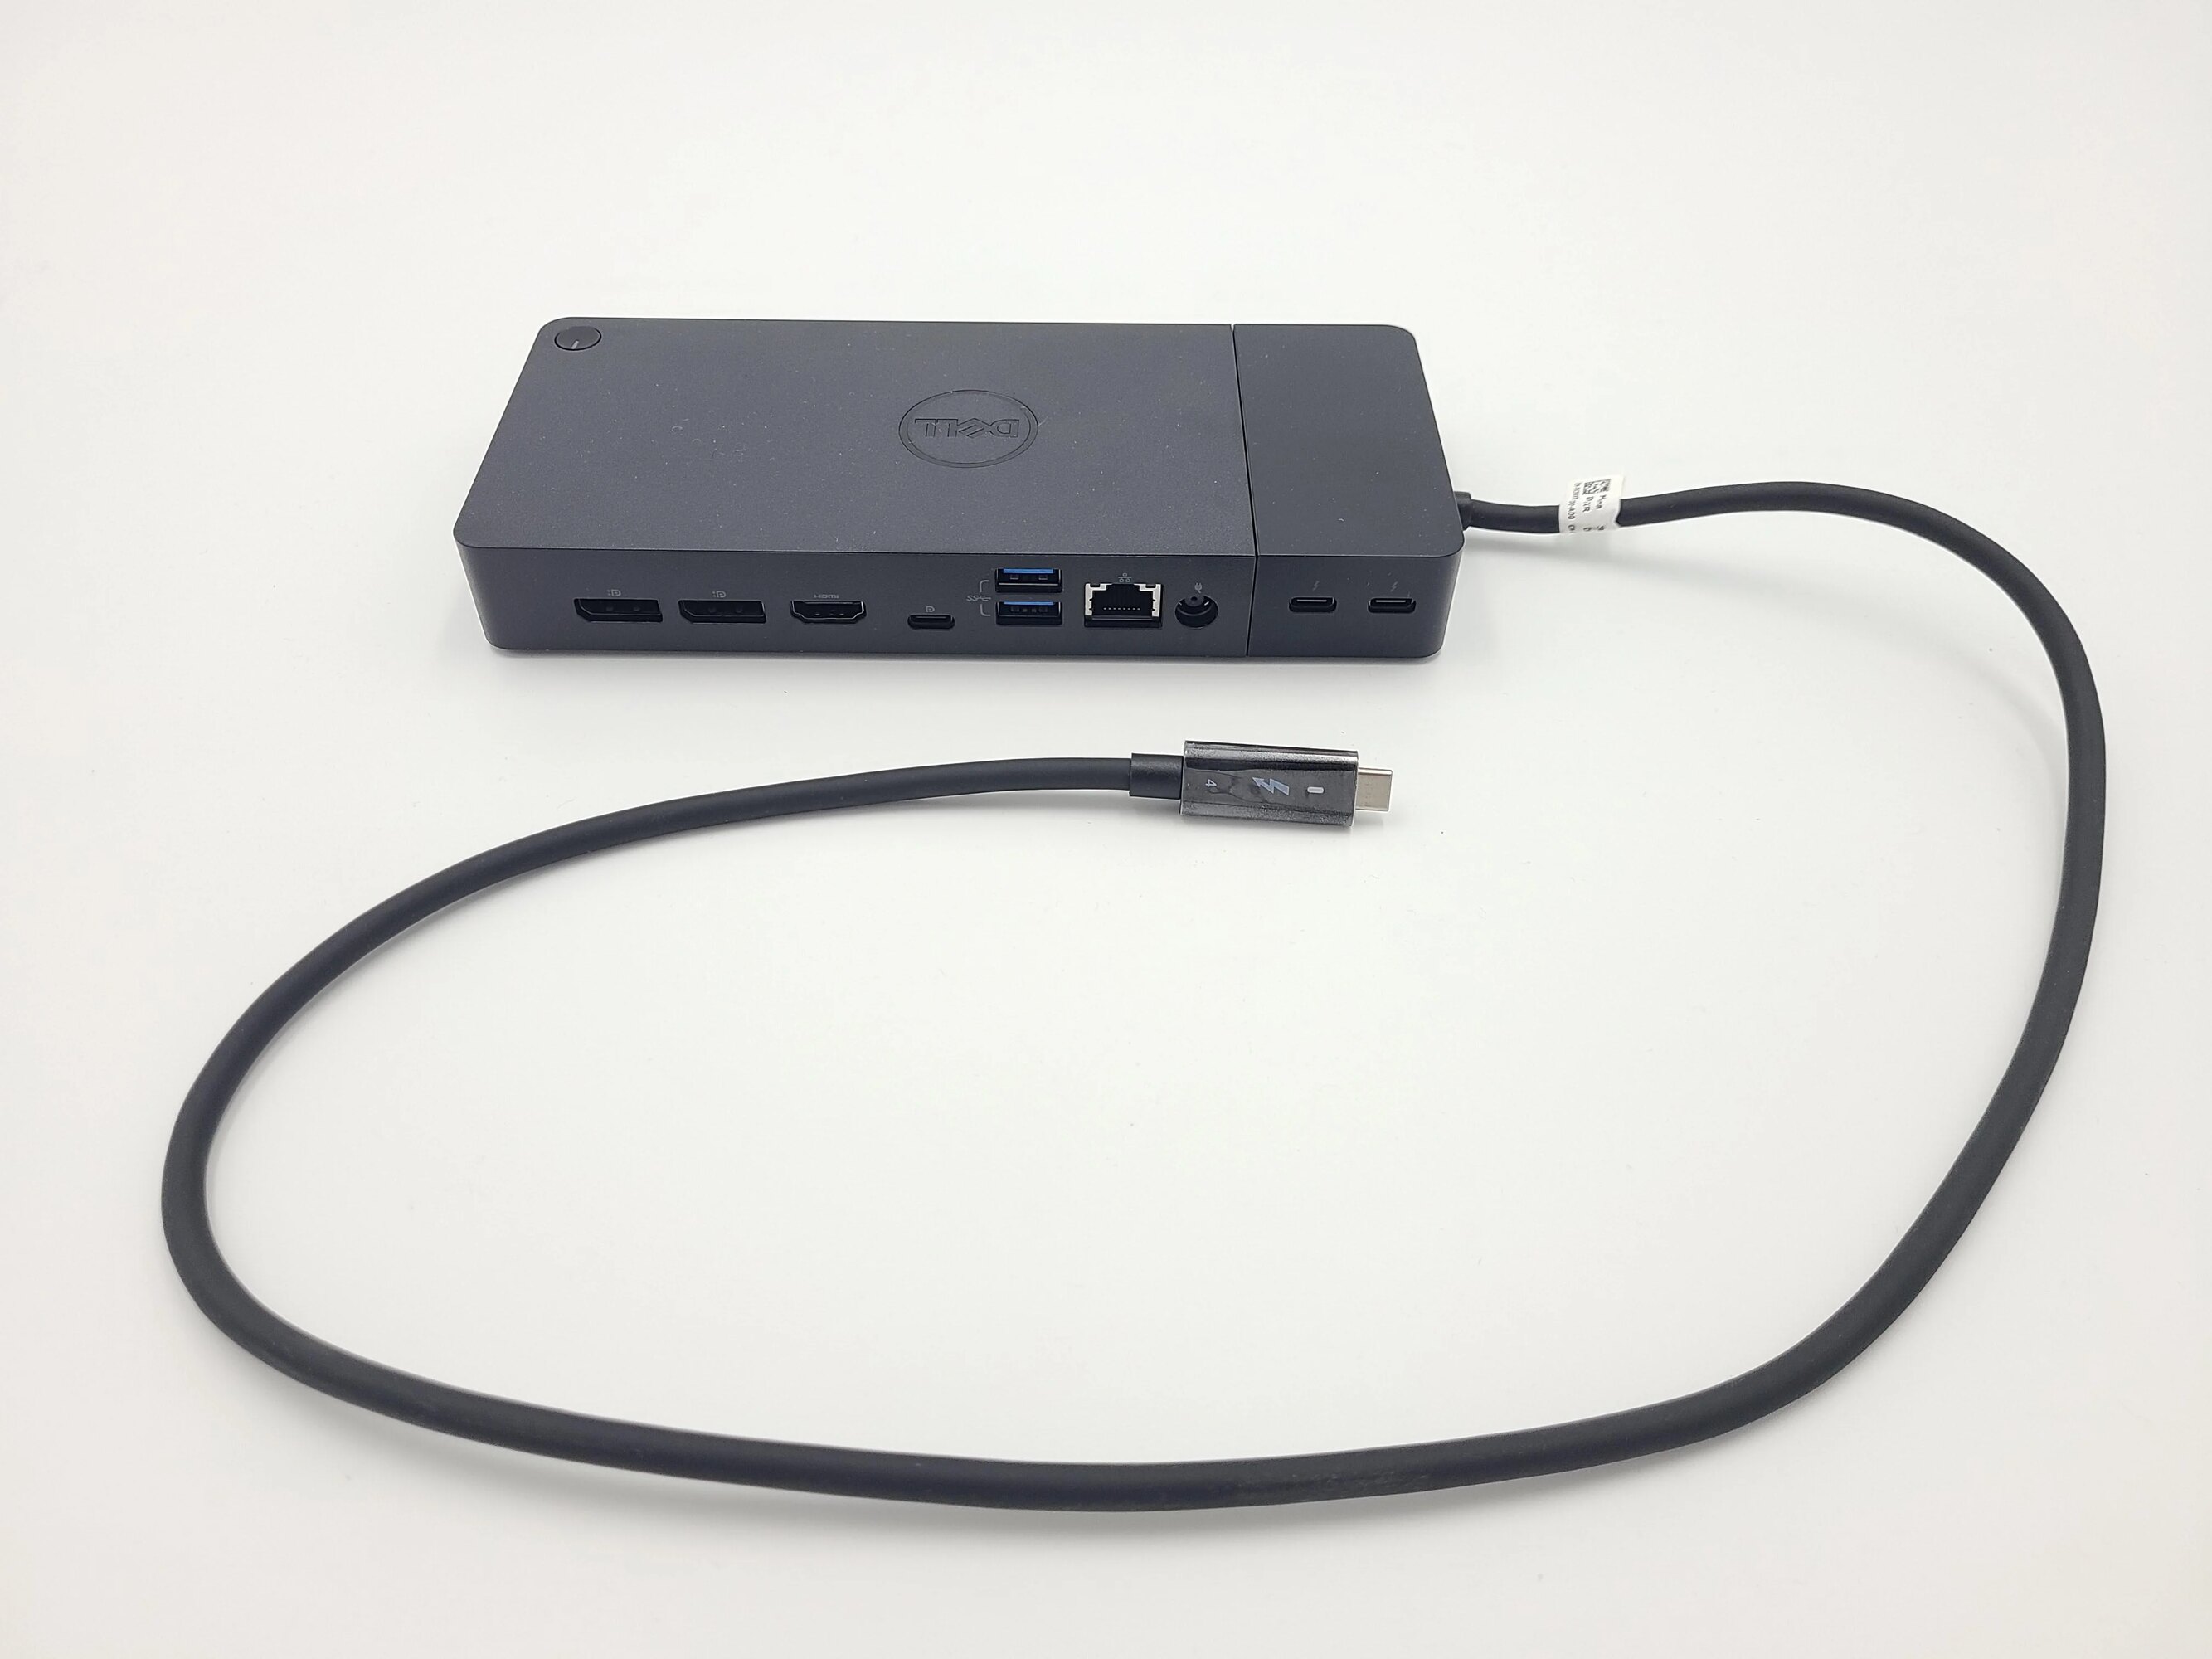
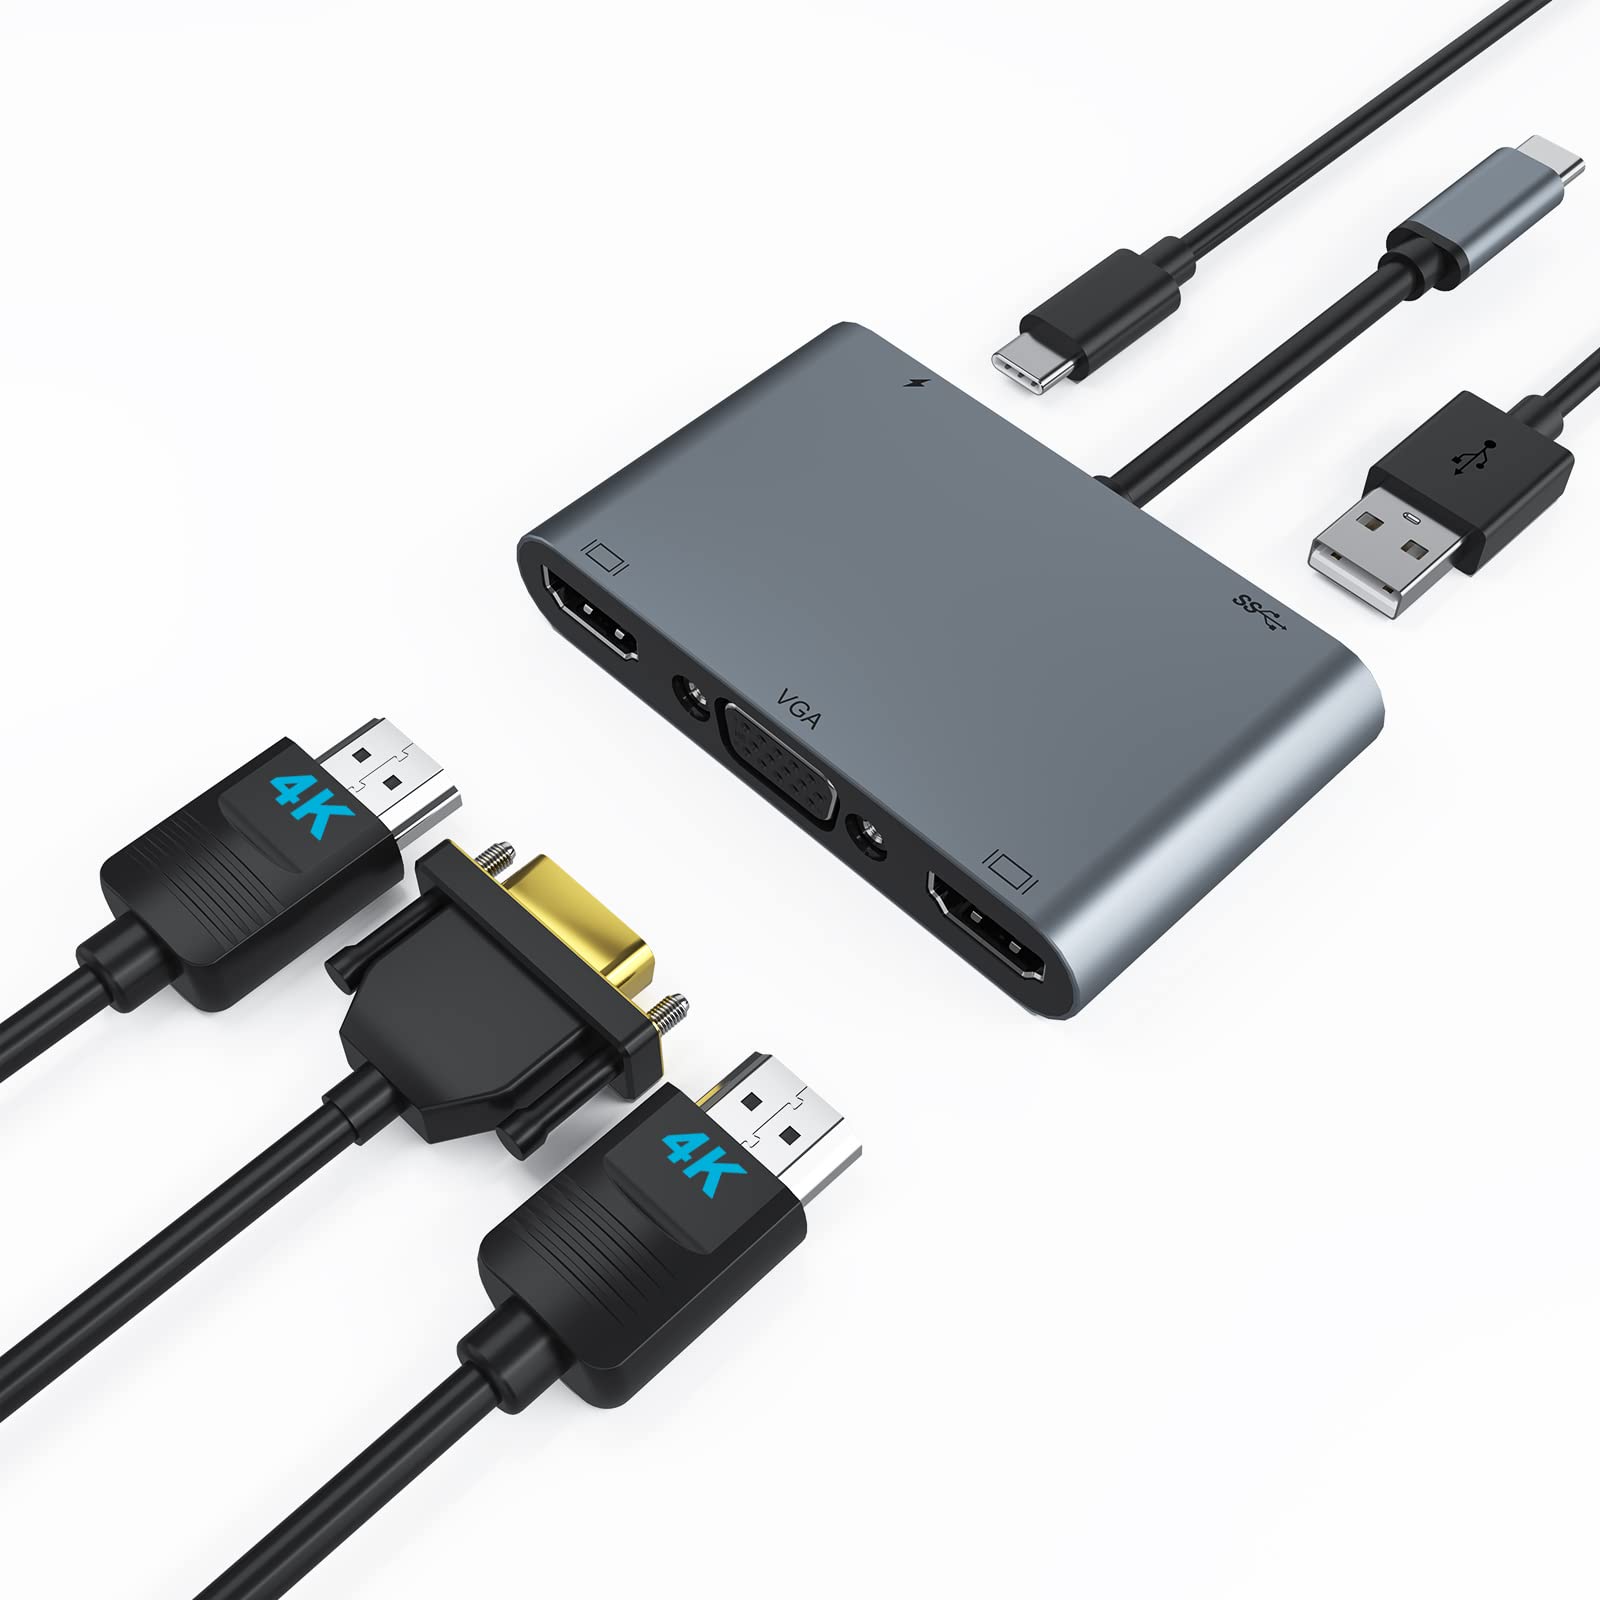
- Identify the available ports on your Dell docking station. These may include USB ports, audio jacks, Ethernet ports, DisplayPort, HDMI, or VGA ports.
- Based on the devices you want to connect, gather the necessary cables and adapters.
- Connect each peripheral or device to the corresponding port on the docking station. Ensure that the connections are secure.
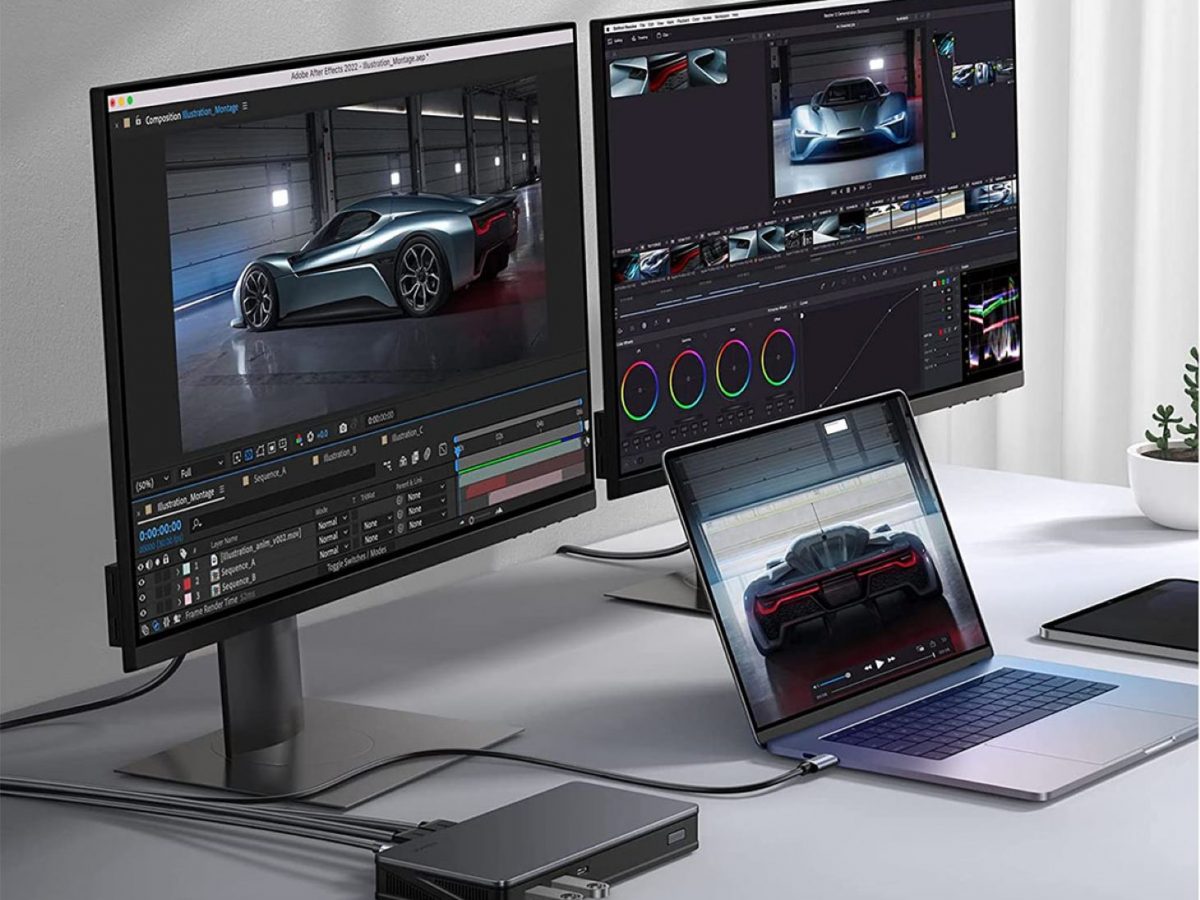
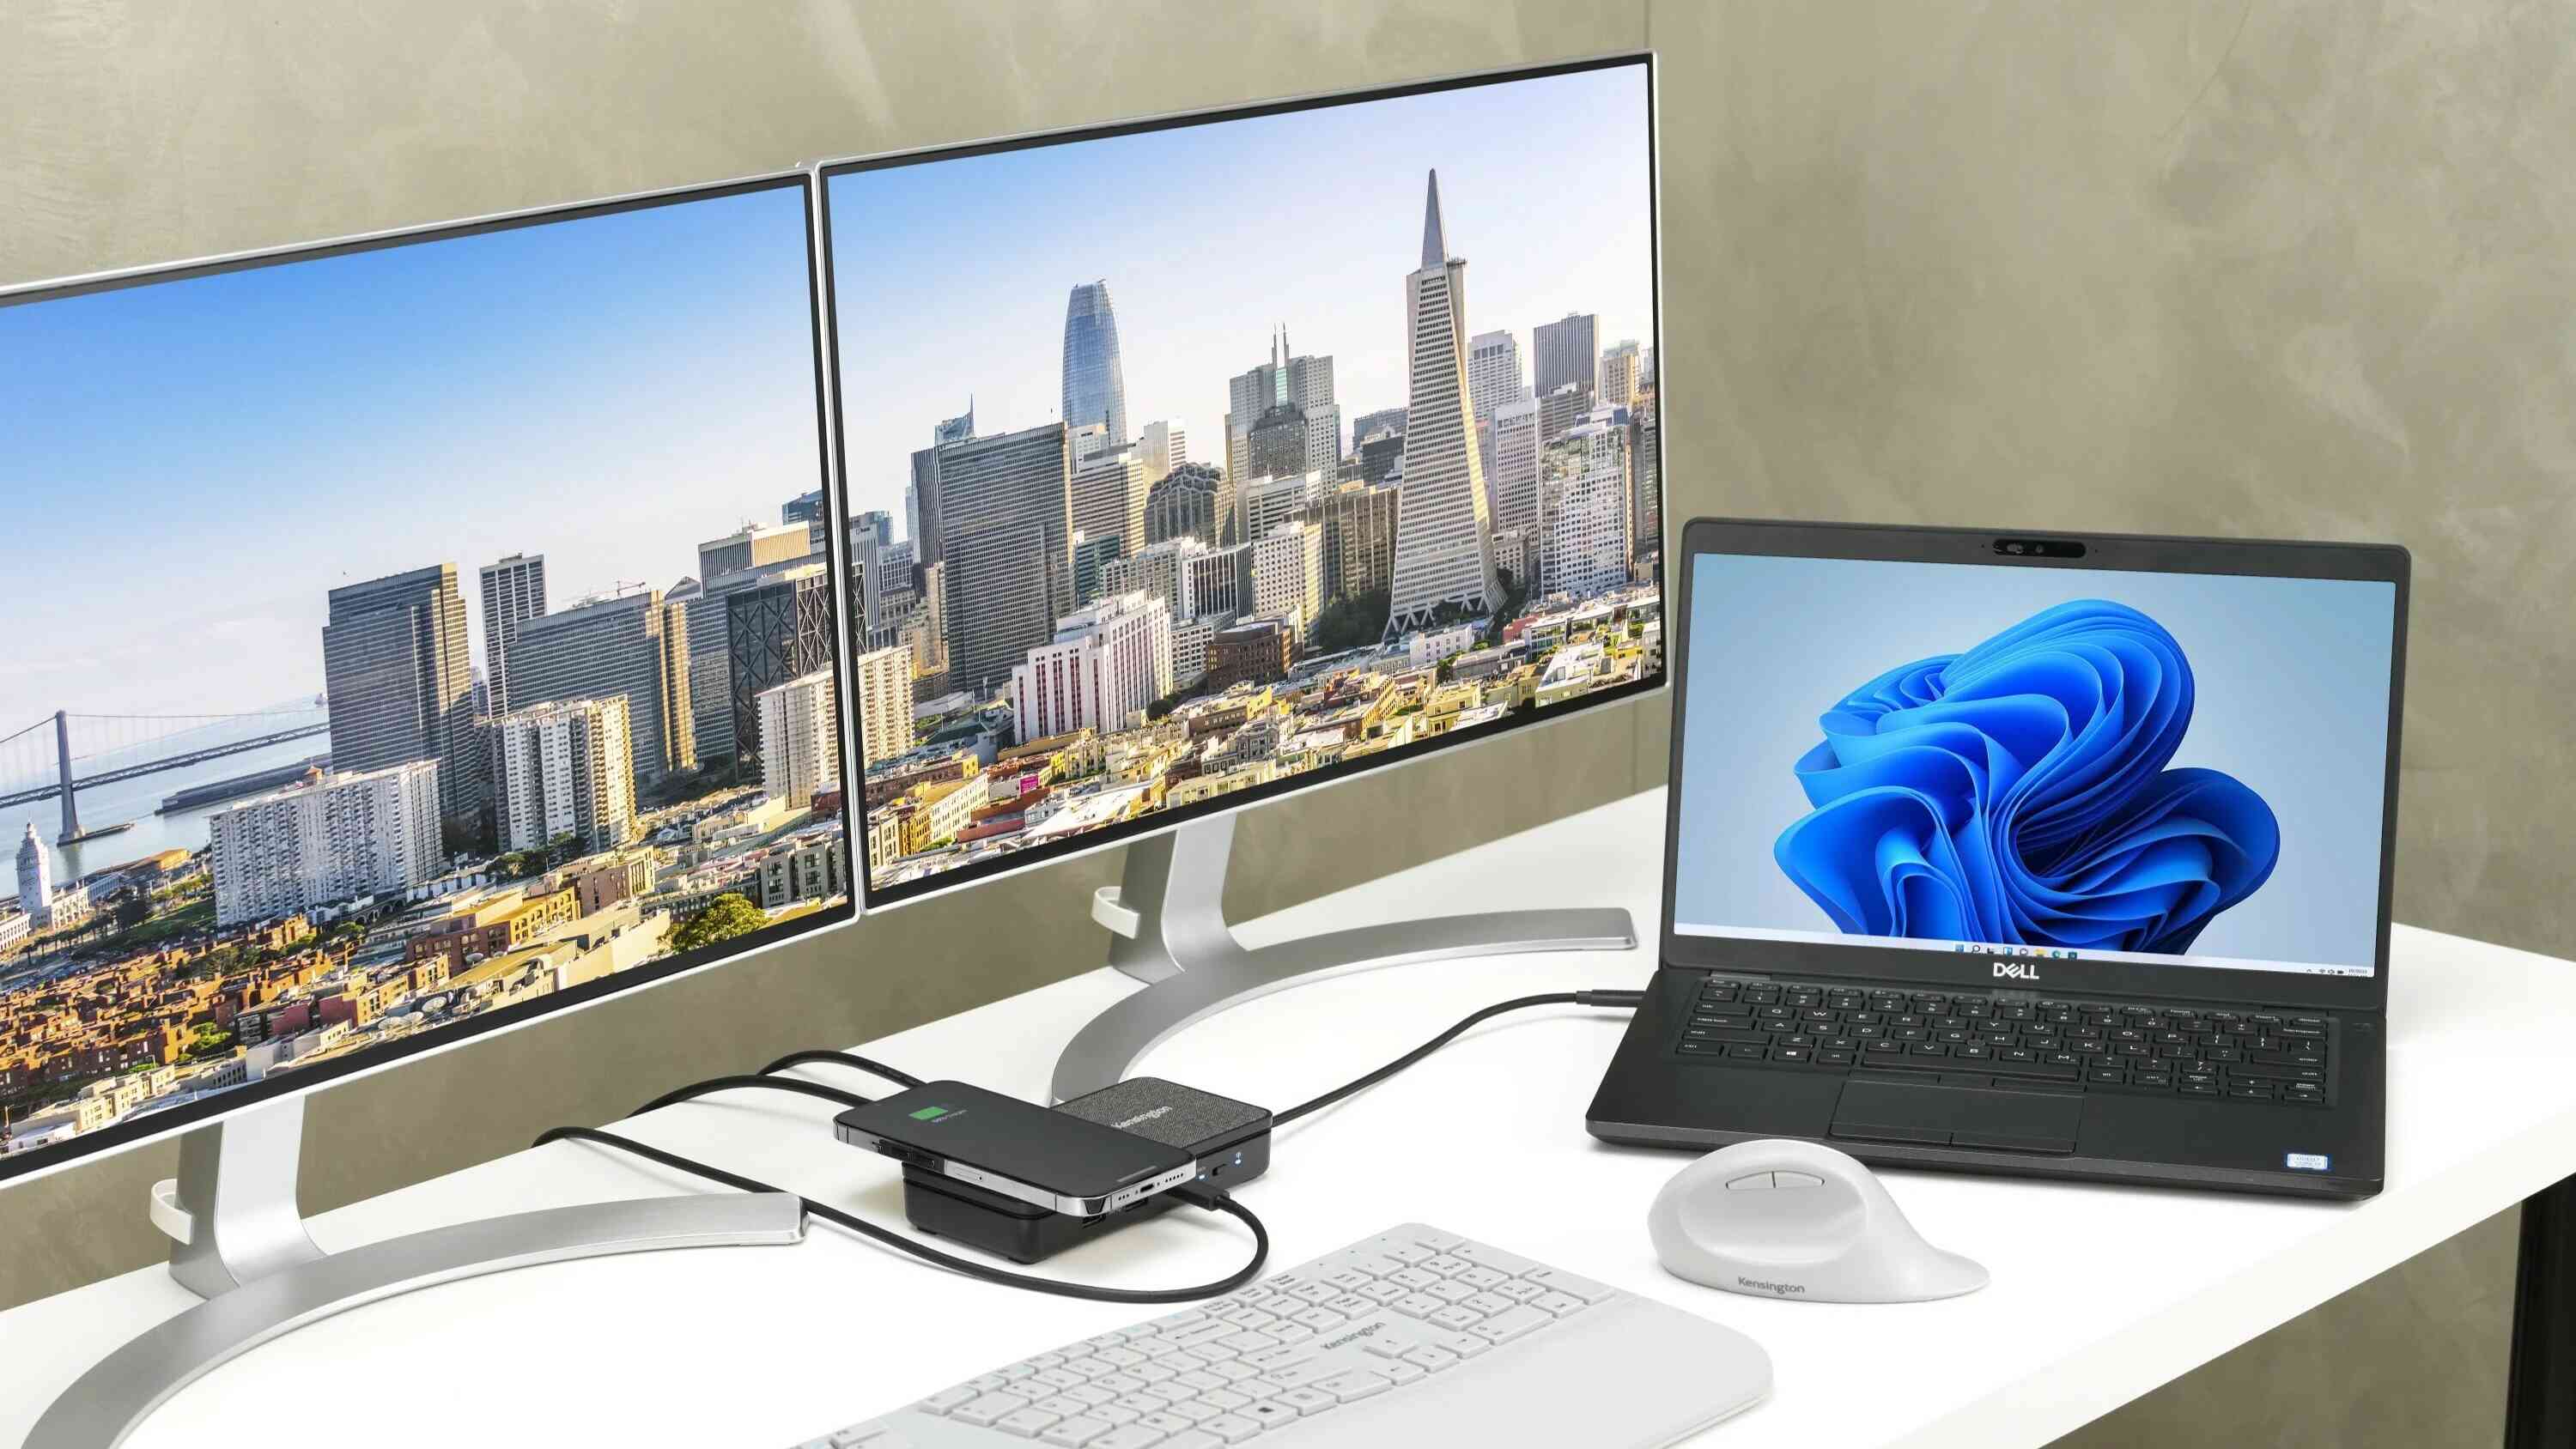
- If you’re connecting a monitor, use the appropriate video cable (HDMI, DisplayPort, VGA) to connect it to the docking station. If you have multiple monitors, connect them accordingly, considering the available ports and your computer’s graphics capabilities.
- For other devices, such as keyboards, mice, printers, speakers, or external storage drives, connect them using the provided USB ports.
- Ensure that all the devices are detected by your computer and recognized properly. You may need to install additional drivers or software for certain devices.
- Test each connected device to ensure that they are functioning correctly.
By connecting additional devices to your Dell docking station, you can conveniently use peripherals and expand your workstation without the hassle of connecting each device individually to your computer. In the next step, we’ll cover any required driver or software installations for optimal functionality.
Step 4: Install any required drivers or software
To ensure optimal functionality and compatibility, you may need to install specific drivers or software for your Dell docking station. Follow these steps to install any necessary drivers or software:
- Visit the official Dell support website and navigate to the drivers and downloads section.
- Enter the model number or select your specific docking station model from the available options.
- Locate and download any relevant drivers or software for your docking station and computer.
- Double-click on the downloaded file to begin the installation process.
- Follow the on-screen instructions to install the drivers or software.
- If prompted, restart your computer to complete the installation.
- After the drivers or software installation is complete, ensure that all connected devices and peripherals are functioning correctly.
- If you encounter any issues, refer to the troubleshooting section in the user manual or contact Dell’s customer support for further assistance.
Installing the necessary drivers or software will ensure that your Dell docking station operates smoothly and that all connected devices are recognized and functioning correctly. In the next step, we’ll explore how to configure the settings of the docking station, if applicable.
Step 5: Configure the docking station settings (if applicable)
Depending on the model of your Dell docking station, you may have the option to configure various settings to customize your docking station experience. Follow these steps to configure the settings of your docking station:
- Refer to the user manual or official documentation to understand the available settings and customization options for your specific docking station model.
- Access the docking station settings either through a dedicated software application or by using the on-screen display (OSD) on the connected monitor, if available.
- Explore the settings and options provided by the docking station. This may include adjusting display settings, organizing audio preferences, managing power settings, or customizing USB connectivity options.
- Make any desired changes or adjustments to the settings according to your preferences and requirements.
- Save the settings and exit the configuration menu or application.
- Test the connected devices and peripherals to ensure that they are still functioning correctly after making any changes to the settings.
Configuring the settings of your Dell docking station allows you to tailor the functionality and performance to best suit your needs. However, it’s important to note that not all docking stations have configurable settings, and this step may not be relevant to your specific model. Now, in the next step, we’ll test the docking station to ensure everything is working as expected.
Step 6: Test the docking station
After setting up your Dell docking station and configuring any applicable settings, it’s essential to test the functionality of the docking station and its connected devices. Follow these steps to test your docking station:
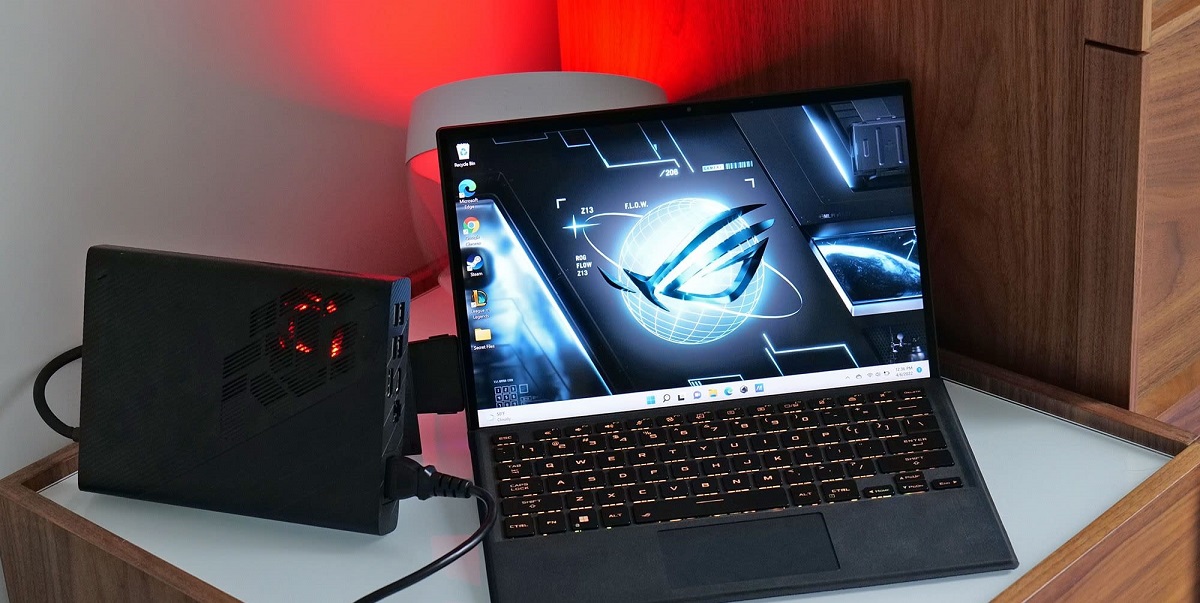
- Ensure that all connected devices, such as monitors, keyboards, mice, printers, and other peripherals, are powered on and properly connected to the docking station.
- Verify that the displays are working correctly. Check if the images are clear, the resolutions are set correctly, and the extended display or mirroring is functioning as expected.
- Test the connectivity and data transfer speeds of the USB ports. Check if you can access external storage devices or connect other USB peripherals without any issues.
- Test the audio output by playing some sound or music through the connected speakers or headphones. Ensure that the sound quality is satisfactory and there are no distortions.
- If your docking station has Ethernet connectivity, test the network connection by accessing the internet or connecting to a local network.
- Perform any other tests specific to the devices connected to your docking station, ensuring that they are functioning correctly.
- If you encounter any issues or inconsistencies during testing, refer to the troubleshooting section in your user manual or contact Dell’s customer support for assistance.
By thoroughly testing your Dell docking station and its connected devices, you can identify and address any potential issues early on. This step ensures that you can fully utilize the features and capabilities of your docking station without any disruptions. After completing these tests, you’re ready to enjoy the convenience and productivity of your newly set-up Dell docking station.
Conclusion
Congratulations! You have successfully set up your Dell docking station, expanding the capabilities of your computer and creating a more efficient and organized workspace. By following the steps outlined in this guide, you’ve learned how to unbox the docking station, connect it to your computer, connect additional devices, install necessary drivers or software, configure settings (if applicable), and test the docking station for proper functionality.
A Dell docking station provides numerous benefits, including easy connectivity to multiple peripherals, increased productivity, and a streamlined workflow. With the ability to connect external monitors, keyboards, mice, printers, and other devices with just a single connection to your computer, you can create a personalized workstation that meets your specific needs.
Remember, if you encounter any issues during the setup process or while using the docking station, refer to the user manual, Dell’s official documentation, or their customer support for assistance. They will be able to provide you with additional guidance and troubleshooting steps tailored to your specific docking station and computer model.
Now that your Dell docking station is set up and working smoothly, you can enjoy the convenience, flexibility, and enhanced productivity it brings to your daily computing activities. Whether you’re a professional working on important tasks or a student looking for a more comfortable study environment, the docking station is an invaluable tool that simplifies and improves your computing experience.
Thank you for following this guide, and we hope that your Dell docking station enhances your work or study experience for years to come!