Introduction
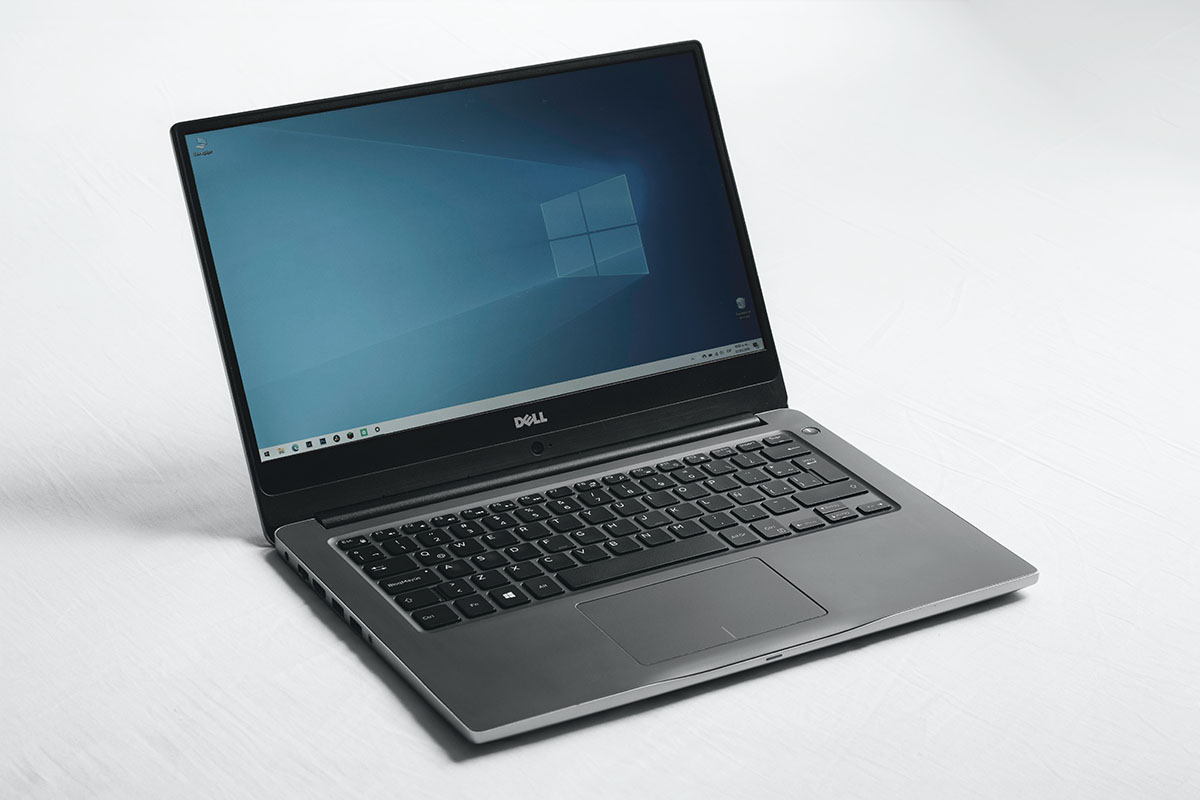
Welcome to this comprehensive guide on how to factory reset a Dell laptop. Whether you’re experiencing performance issues or software glitches, a factory reset can help restore your Dell laptop to its original state, improving its performance and resolving any persistent issues.
Performing a factory reset can be a daunting task for some, but with the right knowledge and guidance, you can easily reset your Dell laptop and start fresh. This guide will walk you through multiple methods to help you reset your Dell laptop, depending on your specific needs and the resources available to you.
A factory reset essentially reinstalls the operating system and removes all personal files and settings from your laptop. It’s important to note that performing a factory reset will erase all data on your laptop, so it’s crucial to back up any important files and documents before proceeding. We’ll discuss how to back up your data in a separate section to ensure that your valuable information remains safe throughout the reset process.
Whether you’re using Windows 10, Windows 8, or an older version of Windows, this guide will provide step-by-step instructions to help you navigate through the reset process. Additionally, we’ll also cover troubleshooting tips for common issues you may encounter during the reset process.
So, if you’re ready to restore your Dell laptop to its factory settings and resolve any performance or software issues, let’s dive into the various methods available to reset your Dell laptop. Whether you want to reset through the Windows settings, utilize the Dell Recovery Partition, or use a Dell recovery USB, we’ve got you covered with detailed instructions and guidance every step of the way.
Reasons to Factory Reset a Dell Laptop
There are several reasons why you may consider factory resetting your Dell laptop. Whether you’re troubleshooting software issues, preparing to sell or donate your laptop, or simply want a clean slate, a factory reset can offer a fresh start. Here are some common scenarios where a factory reset can be beneficial:
- Performance issues: Over time, your Dell laptop may become sluggish and unresponsive due to accumulated data, outdated software, or conflicting programs. A factory reset can help remove unnecessary files, reset system settings, and improve overall performance.
- Software glitches: If you’re encountering frequent crashes, freezes, or errors within the operating system or applications, a factory reset can help resolve these issues. By reinstalling the operating system, you can eliminate any software-related problems.
- Virus or malware infections: Despite having an antivirus program installed, your Dell laptop may still fall victim to malware or viruses. If your system is infected and you’ve exhausted all other options, a factory reset can eliminate the malicious software and restore your laptop to a clean state.
- Preparing to sell or donate: If you’re planning to sell or donate your Dell laptop, it’s crucial to remove all personal data. A factory reset ensures that your files, documents, and personal information are permanently erased from the laptop, protecting your privacy.
- System errors and instability: Over time, your laptop’s operating system may become unstable, resulting in frequent errors and crashes. A factory reset can help resolve these system issues by reinstalling the operating system and restoring the system stability.
Before proceeding with a factory reset, it’s important to remember that this process will erase all data and settings on your Dell laptop. Therefore, it’s vital to back up any important files or documents to an external storage device or cloud storage. Once you’ve identified the reason for resetting your Dell laptop and backed up your data, you can proceed with one of the methods we’ll discuss in the following sections.
Backup Your Data Before Resetting
Before initiating the factory reset process on your Dell laptop, it’s crucial to back up your data to ensure that you don’t lose any important files or documents. Factory resetting will erase all data and settings, returning your laptop to its original state. Here are some steps to help you back up your data:
- Identify important files: Begin by identifying the files and folders that you want to save. These may include personal documents, photos, videos, music, and any other data that you don’t want to lose during the reset process.
- External storage device: Connect an external storage device such as a USB flash drive, external hard drive, or a network-attached storage (NAS) device. Ensure that the storage device has sufficient capacity to accommodate all your important files.
- Manual file transfer: You can manually transfer your important files to the external storage device by copying and pasting them from their respective locations on your Dell laptop. This includes documents from the documents folder, photos from the pictures folder, and so on.
- Backup applications and settings: Consider backing up specific applications and their settings if necessary. Some applications provide built-in backup options or allow you to export settings. Check the documentation or website of each application for guidance on how to back up your data.
- Cloud storage: Another option for backing up your data is to utilize cloud storage services such as Google Drive, Dropbox, or OneDrive. Upload your important files and documents to the cloud, ensuring that they are securely stored and accessible from any device with an internet connection.
- Verify the backup: Once you have transferred or uploaded your files to the external storage device or cloud storage, it’s essential to verify that the backup was successful. Check that all your important files are present and accessible before proceeding with the factory reset.
Backing up your data provides an extra layer of protection and ensures that you can restore your files once the factory reset is complete. Make sure to double-check that you have securely stored all your important files before proceeding to avoid any potential loss.
Now that you have successfully backed up your data, you can proceed with the factory reset process. In the next sections, we will guide you through multiple methods to reset your Dell laptop, depending on your specific needs and available resources.
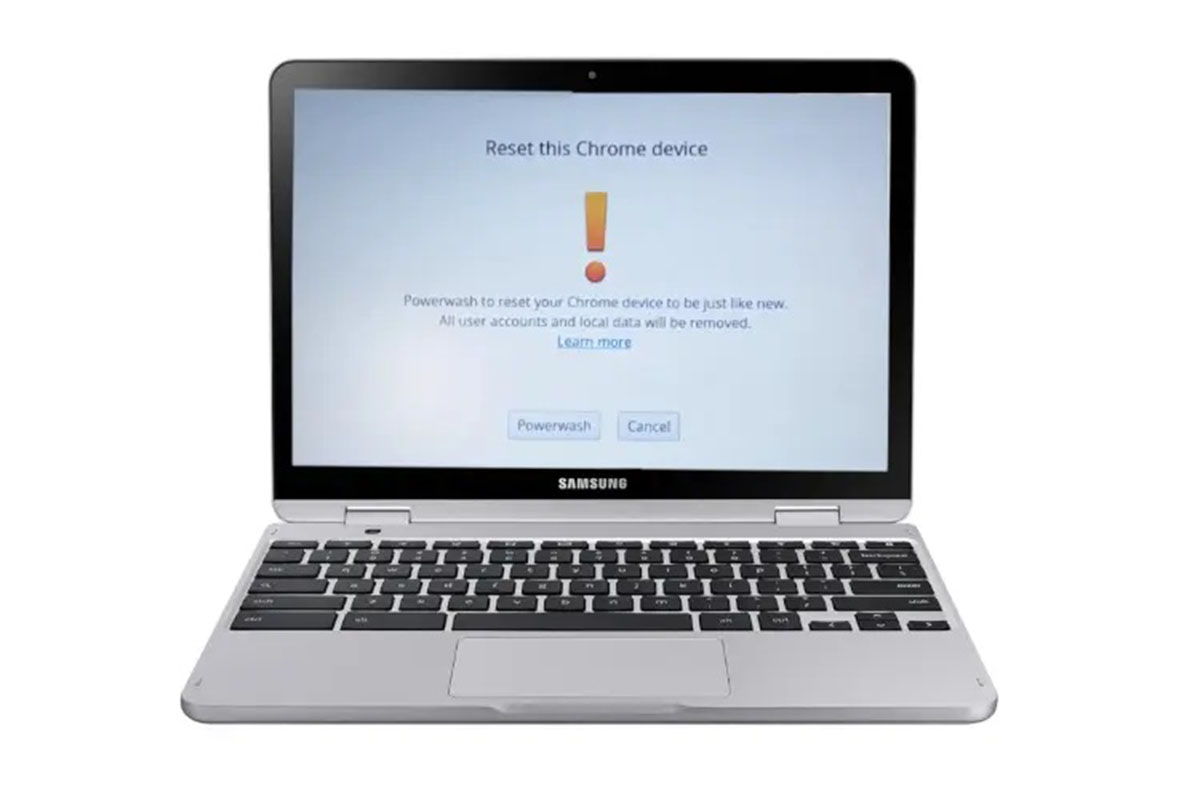
Method 1: Reset Through the Windows Settings
If you’re looking for a straightforward way to reset your Dell laptop, using the built-in Windows settings is an easy and convenient method. This method is available on Windows 10, Windows 8, and Windows 7. Follow these steps to reset your Dell laptop through the Windows settings:
- Backup your data: Before proceeding with the reset, ensure that you have backed up all your important files and data to an external storage device or cloud storage, as mentioned in the previous section.
- Open the Settings: Click on the Start menu and select the “Settings” icon, which resembles a gear. Alternatively, you can press the Windows key + I on your keyboard to open the Settings directly.
- Select “Update & Security”: In the Settings window, locate and click on the “Update & Security” option.
- Choose “Recovery”: Within the Update & Security settings, select the “Recovery” tab from the left-hand menu.
- Click “Get started” under “Reset this PC”: Under the “Reset this PC” section, click on the “Get started” button to initiate the reset process.
- Select the reset option: In the reset options screen, you will have two choices: “Keep my files” or “Remove everything.” Select the option based on your preferences. The “Keep my files” option will remove apps and settings but preserve your personal files, while the “Remove everything” option will erase everything on your laptop.
- Follow the on-screen instructions: Proceed with the on-screen instructions to complete the reset process. Windows will guide you through the steps, including confirming your choice, reinstalling Windows, and restarting your Dell laptop.
- Set up your laptop: After the reset, your Dell laptop will restart and prompt you to set up Windows again. Follow the on-screen instructions to configure your language preferences, user accounts, and other initial settings.
- Restore your files: Once you have completed the initial setup, you can restore your backed-up files from the external storage device or cloud storage back to your Dell laptop.
By following these steps, you can easily reset your Dell laptop through the Windows settings. This method provides a quick and straightforward approach to resolve software issues and restore your laptop to its original state.
Keep in mind that the reset process may take some time, depending on your laptop’s specifications and the amount of data on your system. It’s essential to remain patient and avoid interrupting the reset process to ensure a successful outcome.
Method 2: Reset Using the Dell Recovery Partition
If your Dell laptop came with a built-in recovery partition, you can utilize it to perform a factory reset. The recovery partition contains the necessary files to restore your laptop to its original factory settings. Follow these steps to reset your Dell laptop using the recovery partition:
- Backup your data: Before proceeding with the reset, make sure to back up all your important files and data to an external storage device or cloud storage, as mentioned earlier.
- Restart your laptop: Completely shut down your Dell laptop and power it back on.
- Access the recovery options: When the Dell logo appears on the screen during startup, press the specified key (such as F8, F11, or F12) to access the Advanced Boot Options menu or the Boot Options menu. The required key may vary depending on your Dell laptop model.
- Select “Repair Your Computer”: In the Advanced Boot Options or Boot Options menu, navigate to the “Repair Your Computer” option using the arrow keys on your keyboard and press Enter.
- Choose the keyboard layout: After selecting “Repair Your Computer,” choose the keyboard layout you prefer and click “Next.”
- Select “Troubleshoot” and then “Dell Backup and Recovery”: In the next screen, click on “Troubleshoot” and then select “Dell Backup and Recovery.”
- Choose “Recover my computer”: Within the Dell Backup and Recovery options, select “Recover my computer” and follow the on-screen prompts.
- Select the factory reset option: You will be presented with two options: “Just remove my files” and “Remove files and clean the drive.” Choose the option that suits your needs. The “Remove files and clean the drive” option is more secure as it ensures that your data cannot be recovered.
- Confirm and initiate the reset: Review the information displayed and click “Next” to confirm your choice and start the reset process. Follow the on-screen instructions to complete the reset.
- Set up your laptop: Once the reset is complete, your Dell laptop will restart. Follow the on-screen instructions to set up your laptop, including initial configuration settings, user accounts, and preferences.
- Restore your files: After setting up your laptop, you can restore your backed-up files from the external storage device or cloud storage back to your Dell laptop.
By following these steps, you can utilize the Dell recovery partition to perform a factory reset on your Dell laptop. This method ensures that your laptop is restored to its original factory settings, resolving any software issues that you may have encountered.
Keep in mind that the availability and accessibility of the recovery partition may vary depending on your Dell laptop model. If your laptop does not have a recovery partition or the partition is inaccessible, don’t worry. There are alternative methods available that we will explore in the following sections.
Method 3: Reset Using a Dell Recovery USB
If your Dell laptop doesn’t have a built-in recovery partition or if it’s inaccessible, you can still perform a factory reset using a Dell recovery USB. This method allows you to create a USB drive containing the necessary recovery files to restore your laptop to its original factory settings. Here’s how to reset your Dell laptop using a recovery USB:
- Backup your data: Before starting the reset process, ensure that you have backed up all your important files and data to an external storage device or cloud storage, as explained earlier.
- Access the Dell Recovery Media creation: Visit the official Dell website and search for the Dell Recovery Media creation tool. Download and install the tool on a working computer.
- Create a recovery USB: Launch the Dell Recovery Media creation tool and follow the on-screen prompts to create a recovery USB. Insert a USB drive with sufficient storage space, and the tool will guide you through the process.
- Insert the recovery USB: Once the recovery USB has been created, remove it from the computer and insert it into the Dell laptop that needs to be reset.
- Restart your laptop: Completely shut down your Dell laptop and power it back on.
- Access the boot menu: When the Dell logo appears on the screen during startup, press the specified key (such as F12 or ESC) to access the boot menu. The required key may vary depending on your Dell laptop model.
- Select the recovery USB: In the boot menu, use the arrow keys to navigate to the option that corresponds to the recovery USB. Press Enter to select it and initiate the recovery process.
- Choose the factory reset option: Follow the on-screen instructions to navigate through the Dell recovery interface. Select the option that allows you to perform a factory reset.
- Confirm and initiate the reset: Review the information displayed and confirm your choice to start the factory reset process. Follow the on-screen instructions to complete the reset.
- Set up your laptop: Once the reset is complete, your Dell laptop will restart. Follow the on-screen instructions to set up your laptop, including initial configuration settings, user accounts, and preferences.
- Restore your files: After setting up your laptop, you can restore your backed-up files from the external storage device or cloud storage back to your Dell laptop.
By following these steps, you can use a Dell recovery USB to perform a factory reset on your Dell laptop. This method provides an alternative solution when a built-in recovery partition is not available or accessible.
Keep in mind that creating a recovery USB will require a separate working computer and a compatible USB drive. It’s important to verify that your Dell laptop supports booting from a USB drive before proceeding with this method.
Method 4: Reset Using Dell SupportAssist OS Recovery
If you’re unable to access the recovery partition or create a recovery USB, another option to perform a factory reset on your Dell laptop is by utilizing the Dell SupportAssist OS Recovery feature. This method allows you to restore your laptop to its factory settings using the support software provided by Dell. Follow these steps to reset your Dell laptop using Dell SupportAssist OS Recovery:
- Backup your data: Before proceeding with the reset, ensure that you have backed up all your important files and data to an external storage device or cloud storage, as mentioned earlier.
- Access the Dell SupportAssist OS Recovery: Restart your Dell laptop and, during startup, press the specified key (such as F12 or F10) to access the boot menu. Choose the “Dell SupportAssist OS Recovery” option.
- Select “Factory Image Restore”: In the Dell SupportAssist OS Recovery screen, select “Troubleshoot,” followed by “Factory Image Restore.”
- Choose the factory reset option: You will be prompted with two options: “Keep my files” or “Remove everything.” Select the option that meets your requirements. The “Keep my files” option will remove apps and settings but preserve your personal files, while the “Remove everything” option will erase everything on your laptop.
- Confirm and initiate the reset: Review the information displayed and click “Next” to confirm your choice and start the reset process. Dell SupportAssist will guide you through the steps.
- Set up your laptop: After the reset process is complete, your Dell laptop will restart. Follow the on-screen instructions to set up your laptop, including initial configuration settings, user accounts, and preferences.
- Restore your files: Once you have completed the initial setup, you can restore your backed-up files from the external storage device or cloud storage back to your Dell laptop.
By following these steps, you can utilize the Dell SupportAssist OS Recovery feature to perform a factory reset on your Dell laptop. This method ensures that your laptop is returned to its original factory settings, resolving any software issues that may have been affecting its performance.
It’s important to note that the availability and accessibility of the Dell SupportAssist OS Recovery feature may vary depending on your Dell laptop model and the version of Dell SupportAssist installed. If your laptop does not have this feature or it’s not functioning correctly, consider exploring other methods we have discussed earlier.
Troubleshooting Common Issues During the Reset Process
While performing a factory reset on your Dell laptop, you may encounter certain issues or errors that could potentially disrupt the process. Here are some common problems that you may face during the reset process and their possible solutions:
- Power or battery issues: If your Dell laptop loses power or runs out of battery during the reset process, the reset may not complete successfully. To avoid this, ensure that your laptop is plugged into a power source and has sufficient battery charge before initiating the reset.
- Interrupted reset: If the reset process is interrupted or halted for any reason, it may result in an incomplete or corrupted reset. In such cases, restart your laptop and attempt the reset process again from the beginning.
- Hardware errors: If you encounter hardware errors during the reset process, such as a blue screen of death (BSOD), hard drive failure, or other hardware-related issues, it’s important to resolve these problems before proceeding with the reset. Consult with a professional technician or contact Dell’s support for assistance in diagnosing and resolving hardware issues.
- Recovery partition or USB not detected: If your Dell laptop fails to detect the recovery partition or the recovery USB during the reset process, ensure that the recovery partition is intact and accessible. Double-check the connections for the USB drive and try inserting it into different USB ports. If the problem persists, consider recreating the recovery USB or using an alternative method for resetting your laptop.
- Stuck or frozen at a certain stage: If the reset process gets stuck or freezes at a specific stage, it could be due to conflicting software, corrupted system files, or other factors. Wait for a reasonable amount of time to see if the process continues, or restart your laptop and attempt the reset again. If the problem persists, you may need to seek professional assistance or consult Dell’s support for guidance.
- Error messages: Throughout the reset process, you may encounter error messages that provide specific information about the problem. Take note of the error code or message and search for solutions or troubleshooting steps related to that error. Dell’s support website or community forums can be valuable resources for finding solutions to common error messages.
If you encounter any issues during the reset process that you are unable to resolve on your own, it is recommended to seek assistance from Dell’s support team or a professional technician. They will be able to provide guidance and help you overcome any obstacles that may arise.
Remember, troubleshooting issues during the reset process may require technical expertise, so it’s important to exercise caution and follow the recommended steps to ensure a successful factory reset of your Dell laptop.
Conclusion
Performing a factory reset on your Dell laptop can be a highly effective solution for resolving performance issues, software glitches, or preparing your laptop for sale or donation. Throughout this guide, we have explored various methods to help you reset your Dell laptop, including using the Windows settings, the recovery partition, a recovery USB, and Dell SupportAssist OS Recovery.
Before initiating the reset process, it’s crucial to back up all your important files and data to ensure they are not lost during the reset. Utilize external storage devices or cloud storage to securely store your files and restore them after the reset.
Each method outlined in this guide has its own advantages and requirements. Choose the method that best suits your specific situation and the resources available to you. If one method doesn’t work, you can always try another until you successfully reset your Dell laptop to its factory settings.
Throughout the reset process, it’s important to remain patient and follow the instructions carefully. Take note of any error messages or issues you encounter and search for solutions or seek professional assistance if needed.
By successfully resetting your Dell laptop, you can enjoy improved performance, resolve software issues, and have a fresh start with your device. Remember to reinstall necessary applications and restore your backed-up files to ensure you have everything you need.
We hope this guide has provided you with the knowledge and guidance needed to perform a factory reset on your Dell laptop. If you have any further questions or need additional support, don’t hesitate to reach out to Dell’s support team or consult with a professional technician who can assist you.
Good luck with your factory reset, and may your Dell laptop perform flawlessly once again!