Introduction
An Ethernet connection is a reliable and widely-used method of connecting your computer to a network. Whether you’re at home or in the office, having a stable and secure Ethernet connection can greatly enhance your internet experience. Unlike a Wi-Fi connection that relies on wireless signals, an Ethernet connection uses physical cables to establish a connection, resulting in faster speeds and more stable connections.
Setting up an Ethernet connection in Windows 7 is a straightforward process that can be completed in a few simple steps. In this guide, we will walk you through the process of setting up an Ethernet connection on your Windows 7 computer.
Before we dive into the setup process, it’s important to ensure that you have the necessary hardware requirements. You will need an Ethernet cable and an available Ethernet port on your computer or laptop. Most modern computers come equipped with an Ethernet port, but if you are using an older model, you may need to purchase an Ethernet adapter.
Once you have confirmed that you have the required hardware, you can proceed with connecting the Ethernet cable to your computer and configuring the network settings. By following these steps, you’ll be able to establish a reliable Ethernet connection on your Windows 7 computer in no time.
Step 1: Check your hardware requirements
Before you can set up an Ethernet connection on your Windows 7 computer, it’s important to ensure that you have the necessary hardware requirements. Here are the basic hardware components you will need:
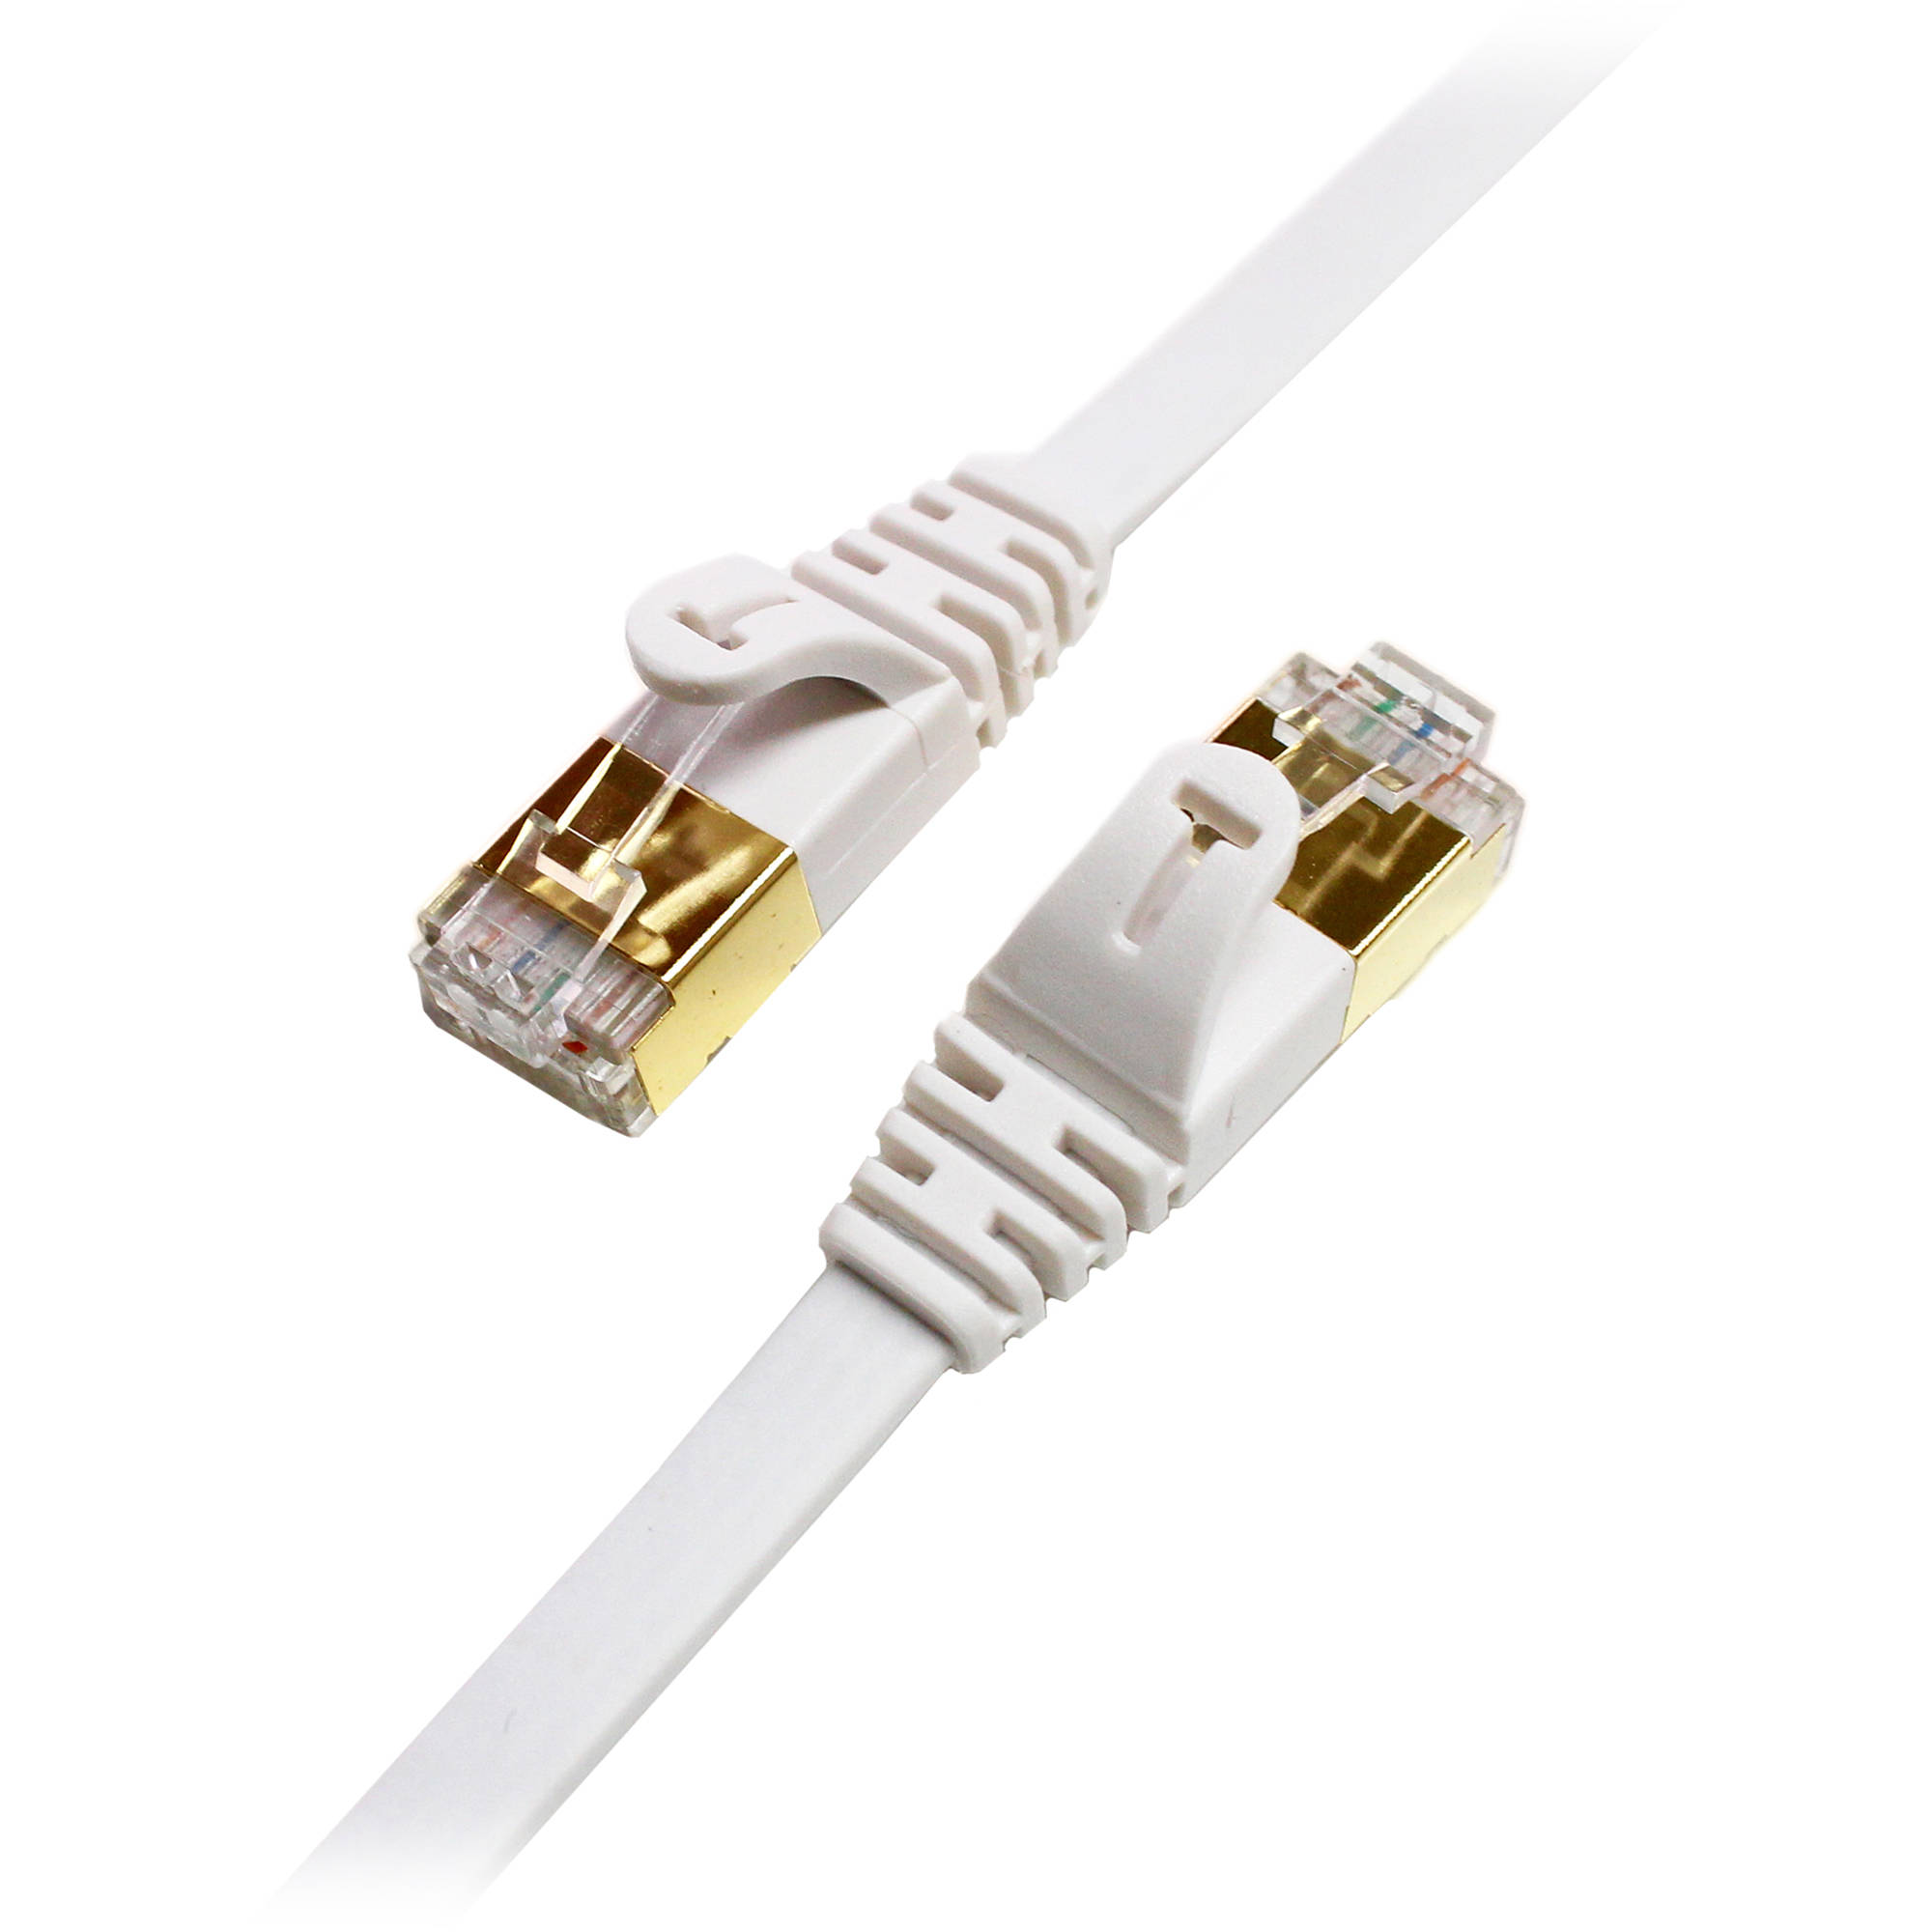
Ethernet Cable: The first requirement is an Ethernet cable, sometimes referred to as a network cable or LAN cable. This cable is used to connect your computer to the network. Ethernet cables come in different categories such as Cat5e, Cat6, and Cat7, with each providing different speeds and capabilities. Make sure you have an Ethernet cable that is compatible with your network infrastructure.
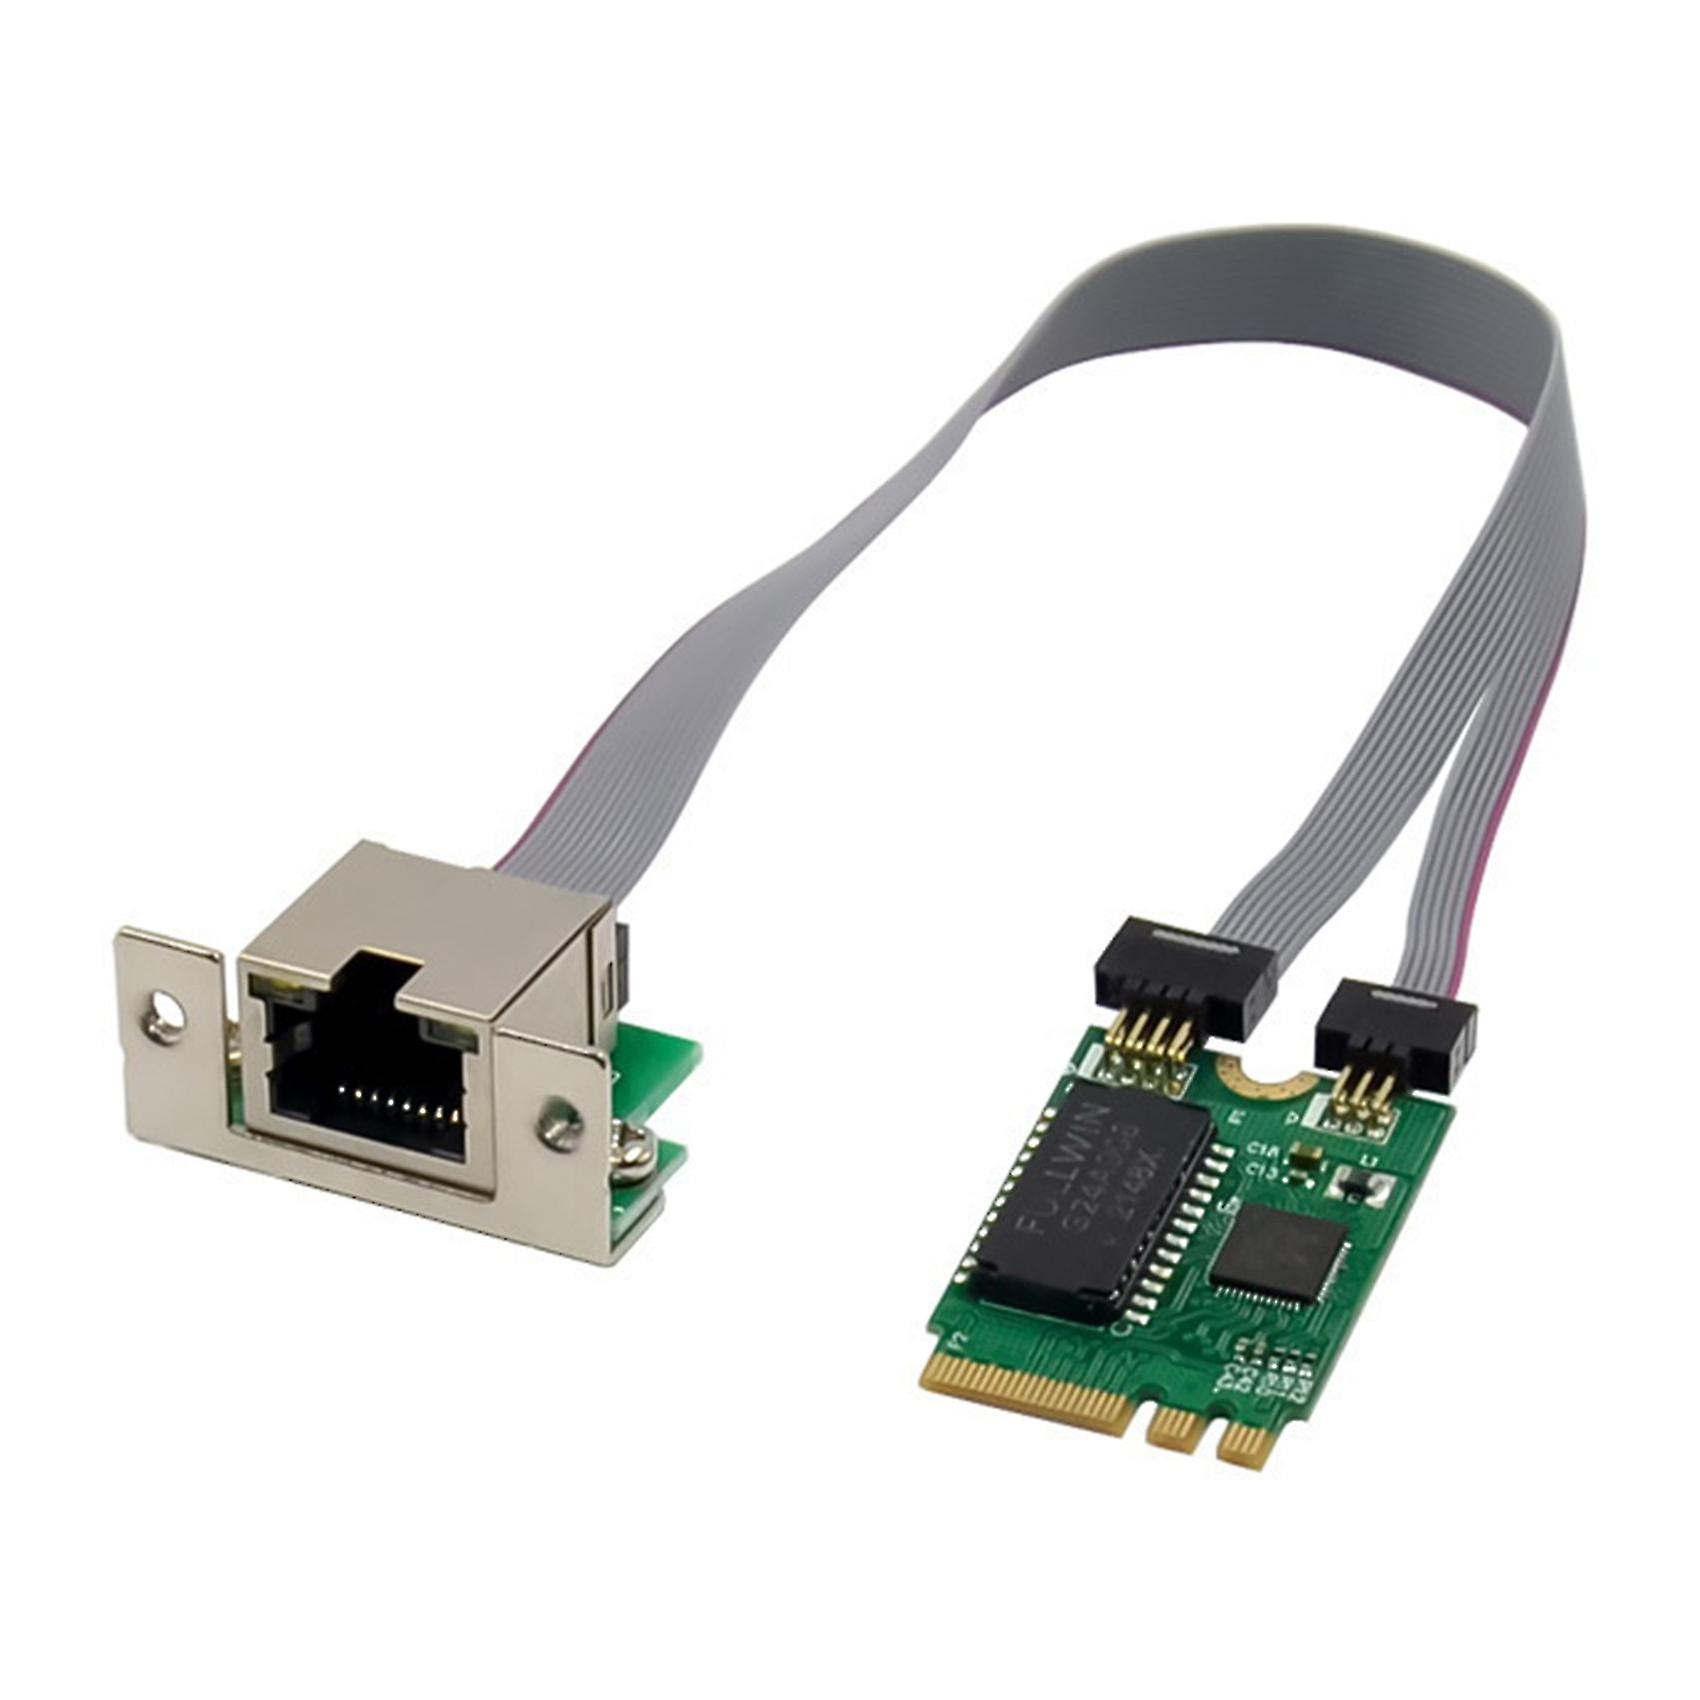
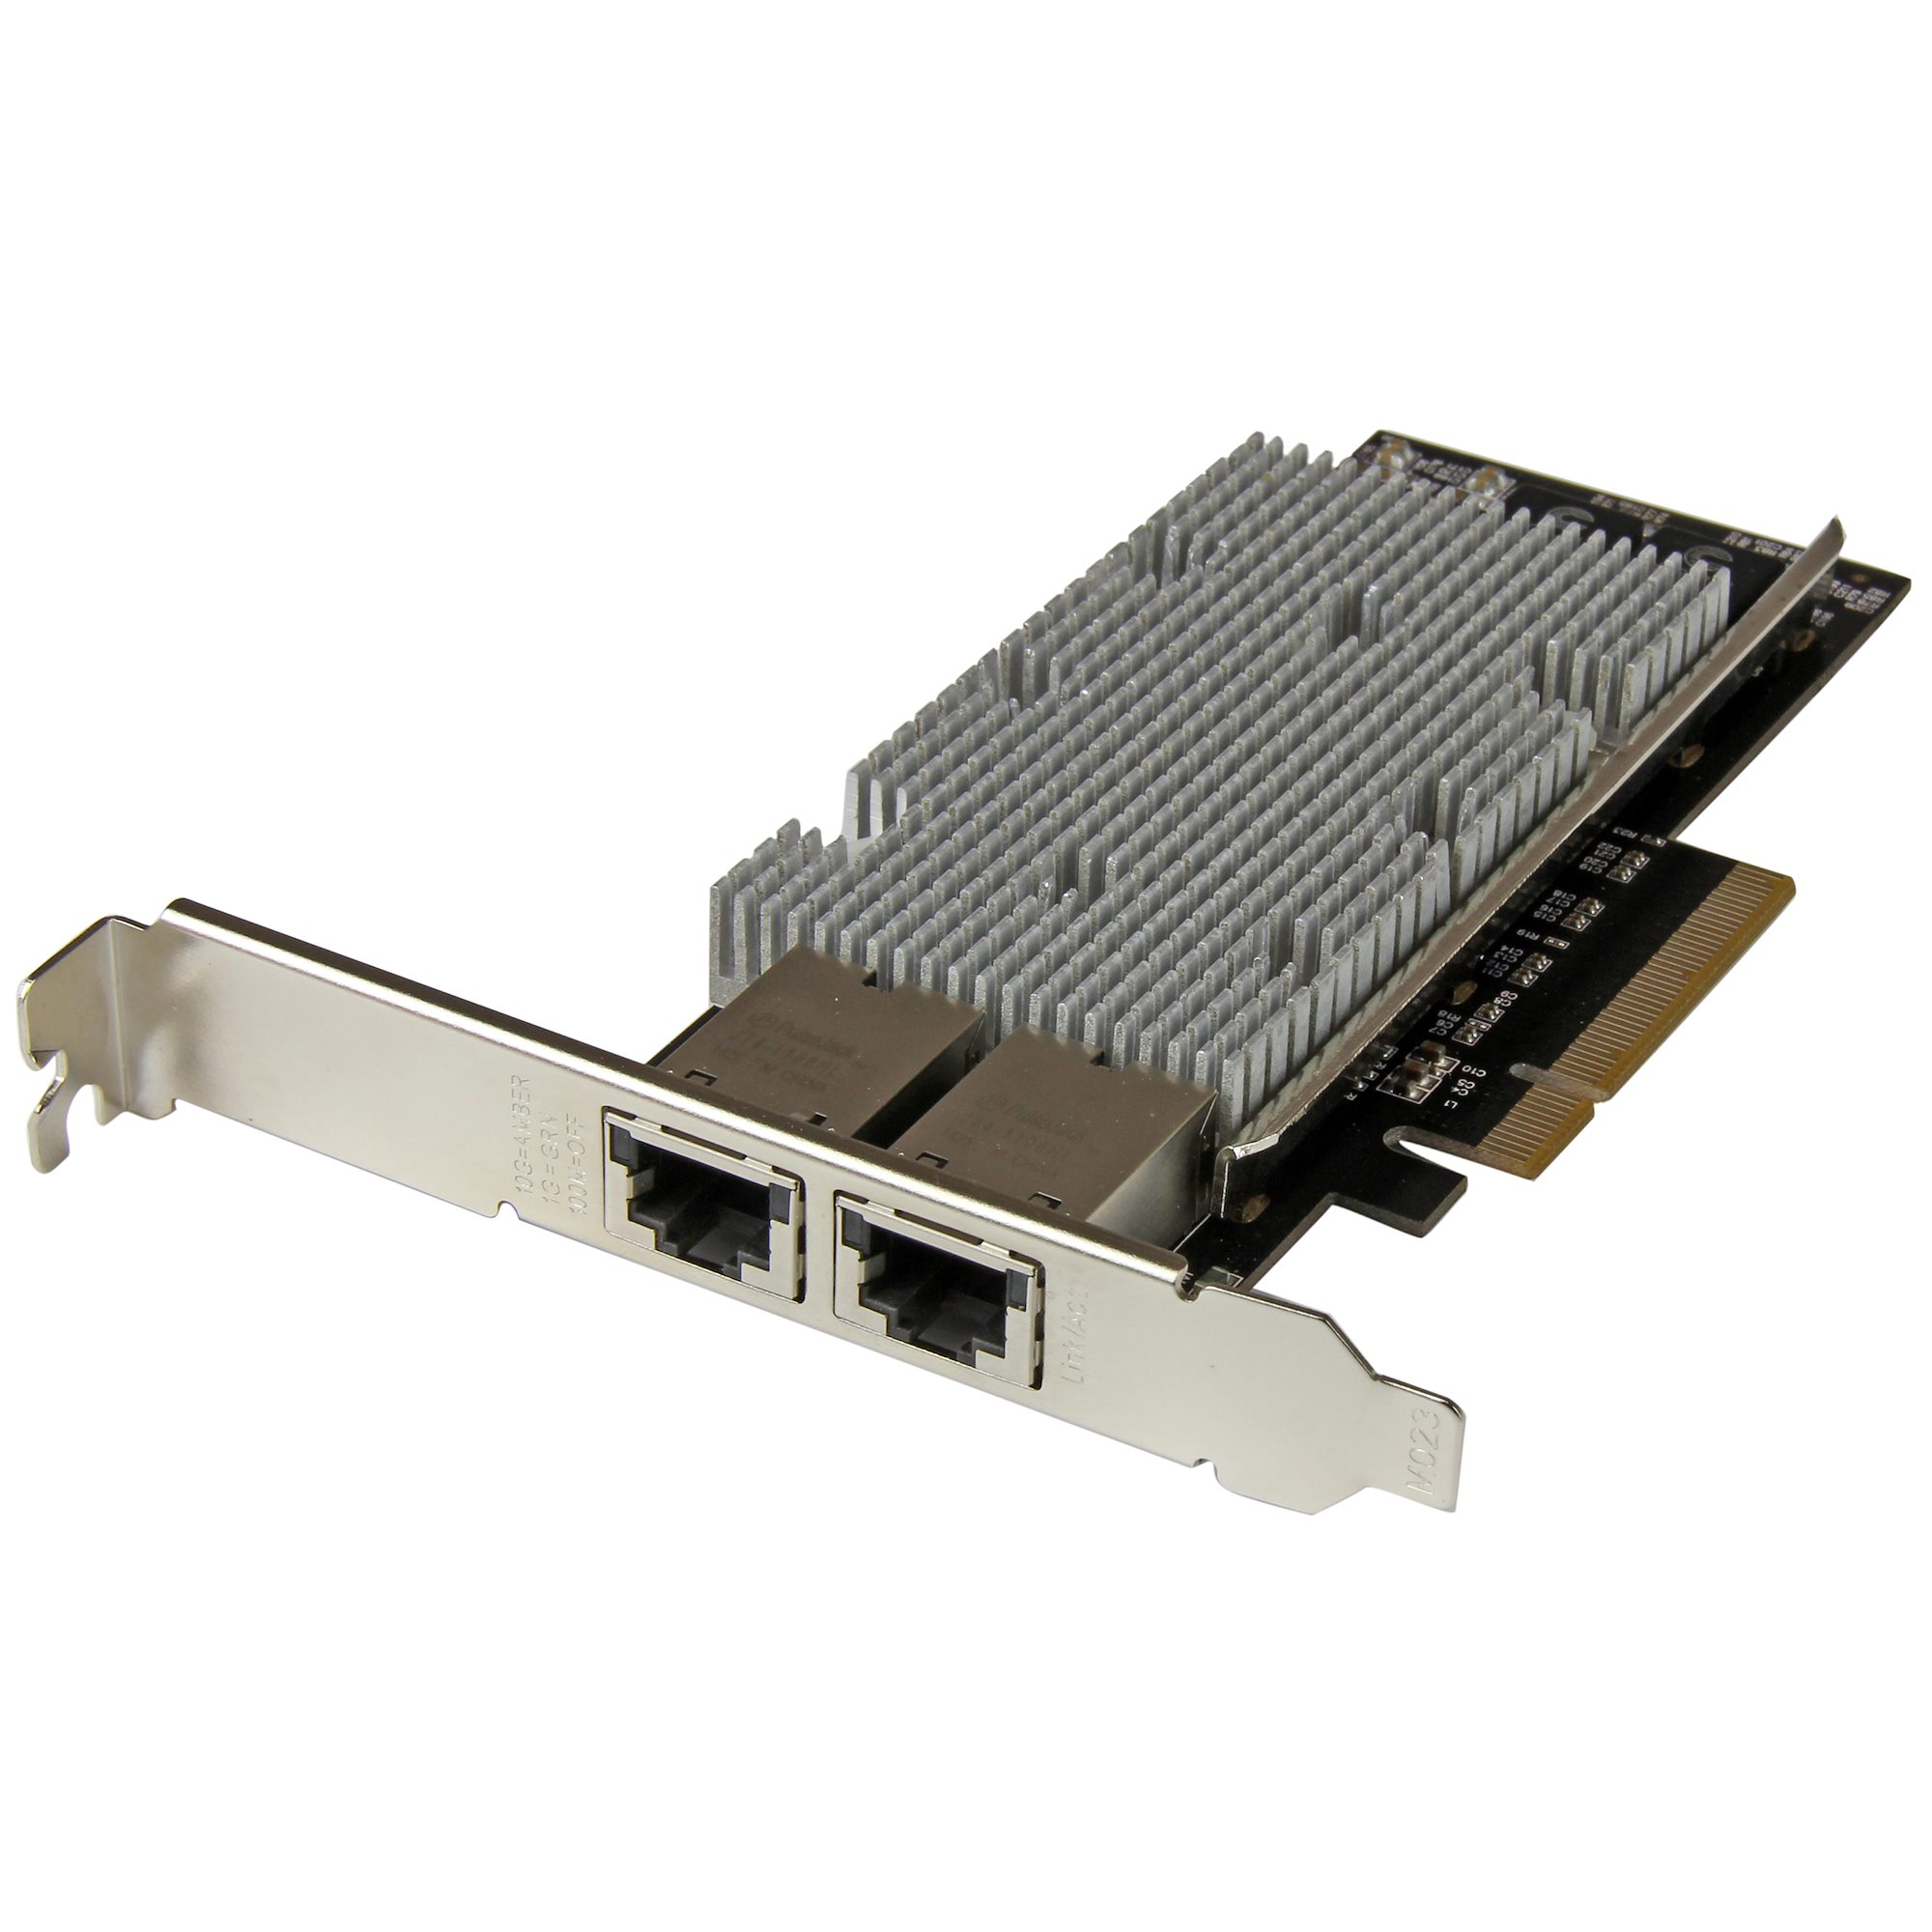
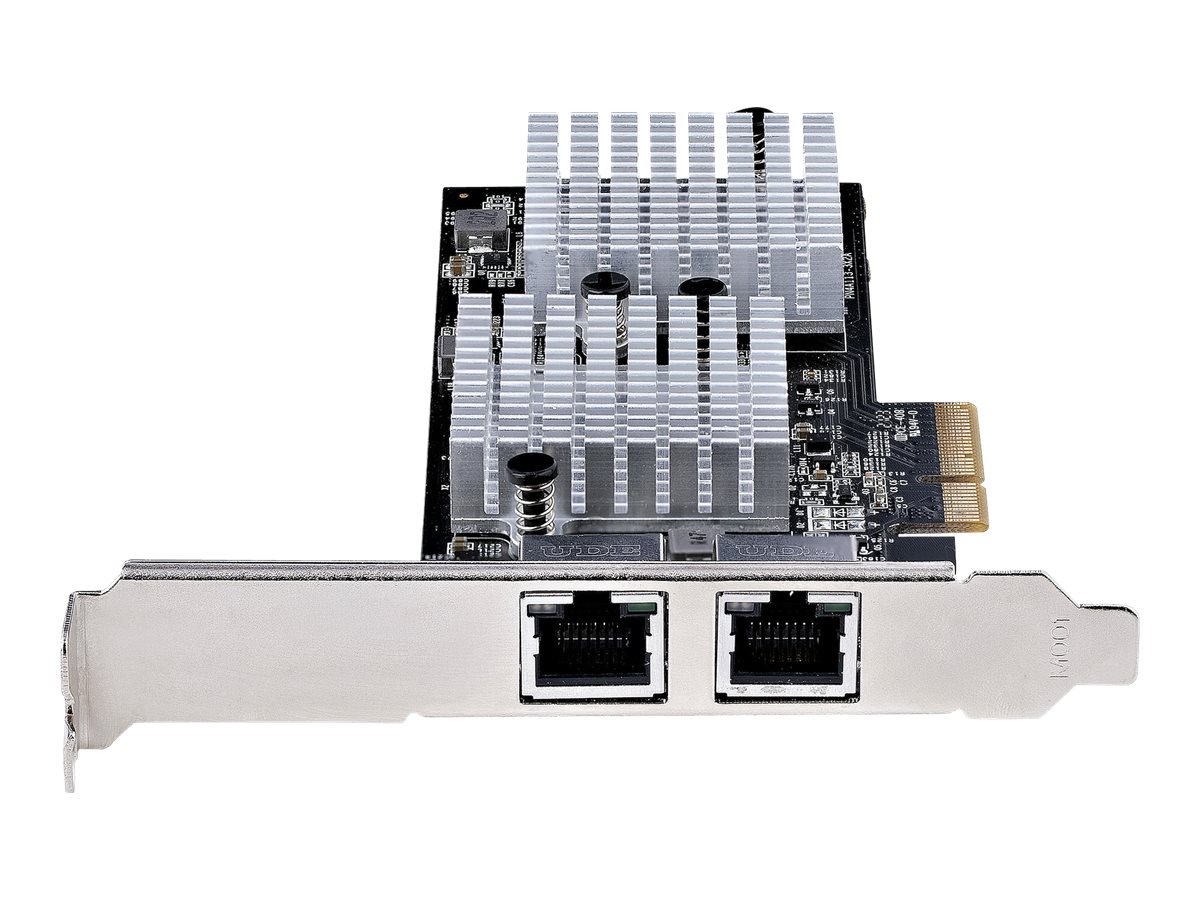
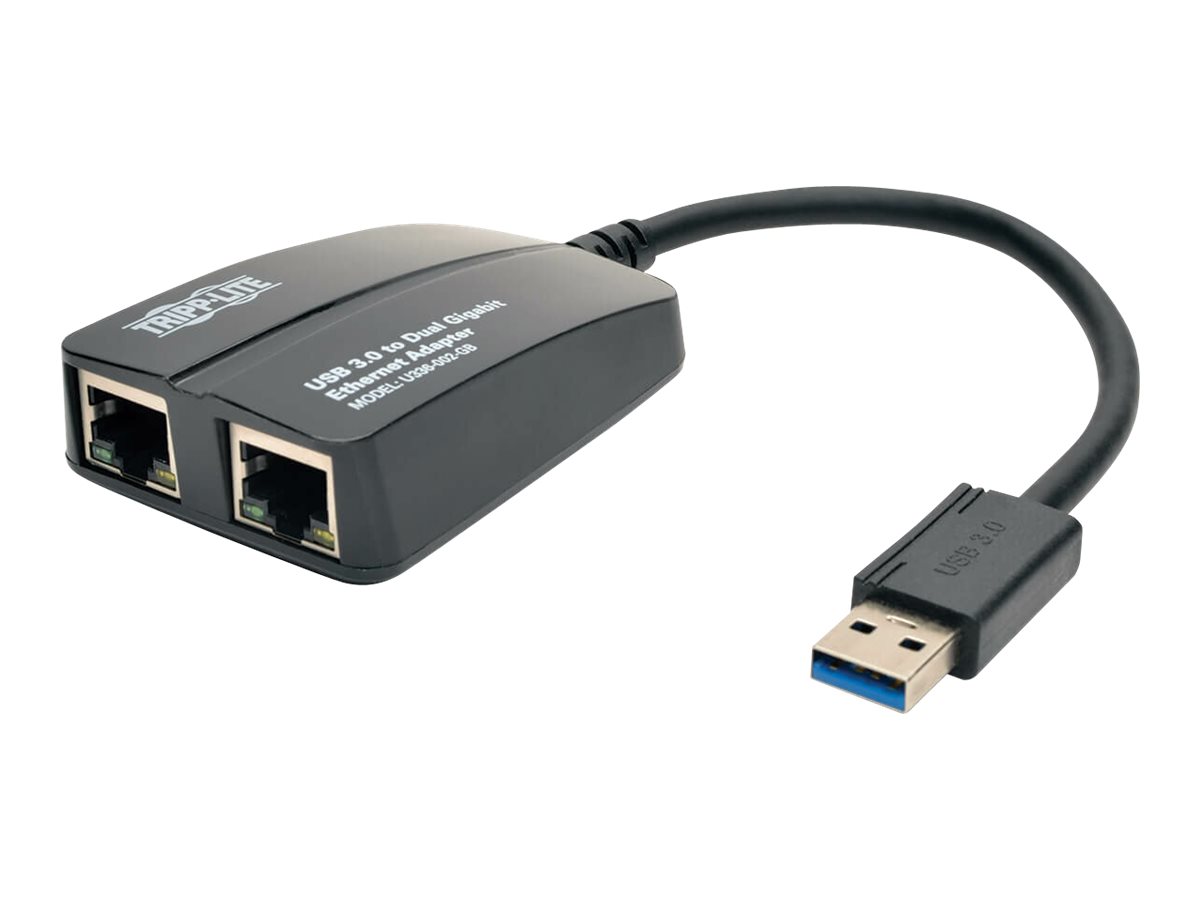
Ethernet Port: Your computer or laptop should have an Ethernet port, which is a jack where you can plug in the Ethernet cable. Most modern computers have built-in Ethernet ports, but if you’re using an older model or a laptop, you may need to check if it has a dedicated Ethernet port. Some laptops may require an Ethernet adapter, which you can purchase separately.
Router or Switch: In addition to the hardware requirements on your computer, you will also need a router or switch. This is the central device that connects all the devices on your network and allows them to communicate with each other. Make sure your router or switch has available Ethernet ports to connect your computer.
Once you have confirmed that you have the necessary hardware components, you can proceed to the next step of setting up your Ethernet connection. It’s important to note that different Ethernet cables may have varying speeds and capabilities. If you require faster speeds or if you’re setting up a network for demanding tasks such as gaming or video streaming, it’s recommended to use Cat6 or Cat7 cables for optimal performance.
Now that you’ve checked your hardware requirements, let’s move on to the next step: connecting the Ethernet cable to your computer.
Step 2: Connect the Ethernet cable
Now that you have confirmed that you have the necessary hardware requirements, it’s time to connect the Ethernet cable to your computer. Follow these steps to establish a physical connection:
1. Locate the Ethernet port on your computer or laptop. It is typically a rectangular port with a small tab in the middle.
2. Take one end of the Ethernet cable and insert it firmly into the Ethernet port on your computer. Make sure it is securely plugged in to avoid any loose connections.
3. After securing the connection on your computer, locate an available Ethernet port on your router or switch.
4. Take the other end of the Ethernet cable and insert it into the available Ethernet port on your router or switch. Again, ensure that the connection is snug.
5. With both ends of the Ethernet cable securely connected, you have successfully established a physical connection between your computer and the network.
It’s important to note that Ethernet cables can only reach a certain distance before the signal degrades. If you require a longer cable, consider using a network switch or extender to extend the reach of your Ethernet connection.
By connecting the Ethernet cable to both your computer and the router or switch, you have laid the foundation for a stable and reliable network connection. Now, let’s move on to configuring the network settings on your Windows 7 computer.
Step 3: Configure network settings
After connecting the Ethernet cable to your computer, the next step is to configure the network settings to establish a functional Ethernet connection on your Windows 7 computer. Follow these steps to configure the network settings:
1. On your Windows 7 computer, click on the “Start” button located at the bottom left corner of your screen.
2. From the Start menu, select “Control Panel”. This will open the Control Panel window where you can access various system settings.
3. In the Control Panel, click on the “Network and Internet” category, and then select “Network and Sharing Center”. This will open the Network and Sharing Center window.
4. In the Network and Sharing Center window, click on “Change adapter settings” located in the left-hand side panel. This will display a list of network connections on your computer.
5. Locate the Ethernet connection, typically named “Local Area Connection” or “Ethernet”. Right-click on the Ethernet connection and select “Properties” from the drop-down menu.
6. In the Ethernet properties window, scroll down and select “Internet Protocol Version 4 (TCP/IPv4)”. Then click on the “Properties” button below.
7. In the TCP/IPv4 properties window, select the option “Obtain an IP address automatically”. This will allow your computer to automatically obtain an IP address from your network router or DHCP server.
8. Similarly, select the option “Obtain DNS server address automatically” to ensure that your computer automatically obtains the DNS server address from the network.
9. Once you have made the necessary changes, click on the “OK” button to save the settings and close the windows.
By configuring the network settings, you have instructed your Windows 7 computer to obtain the necessary IP address and DNS server information automatically, which is essential for establishing a functional Ethernet connection. Now, let’s proceed to the final step of testing the connection.
Step 4: Test the connection
Now that you have connected the Ethernet cable and configured the network settings on your Windows 7 computer, it’s time to test the connection to ensure that everything is working properly. Follow these steps to test your Ethernet connection:
1. Open your preferred web browser, such as Google Chrome or Mozilla Firefox, on your Windows 7 computer.
2. In the address bar of your web browser, type in a website URL, such as www.google.com, and press Enter. This will attempt to load the webpage.
3. If the webpage loads successfully and you are able to browse the internet without any issues, congratulations! Your Ethernet connection is working properly.
4. If the webpage does not load or you encounter any connection errors, double-check the Ethernet cable connections on both your computer and the router or switch. Ensure that the cable is securely plugged in at both ends.
5. If the cable connections are secure and you are still experiencing issues, try restarting your computer and router. Sometimes a simple reboot can resolve connectivity problems.
6. If the issues persist even after checking the cable connections and restarting your devices, you may need to troubleshoot further. Consider reaching out to your network administrator or internet service provider for assistance.
Testing the connection is an important step to verify that your Windows 7 computer is successfully connected to the network via the Ethernet cable. By browsing the internet, you can ensure that your computer is receiving the necessary network connectivity and can access online resources.
Congratulations! You have successfully set up an Ethernet connection on your Windows 7 computer. Enjoy the benefits of a stable and reliable network connection for your internet activities.
Conclusion
Setting up an Ethernet connection on your Windows 7 computer is a straightforward process that can greatly improve your internet experience. By using physical cables, Ethernet connections offer faster speeds, more stable connections, and enhanced security compared to Wi-Fi connections.
In this guide, we covered the four essential steps to set up an Ethernet connection:
- Checking your hardware requirements
- Connecting the Ethernet cable
- Configuring the network settings
- Testing the connection
By following these steps, you can establish a reliable Ethernet connection on your Windows 7 computer and enjoy faster internet speeds and a more stable network connection.
Remember to check that you have the necessary hardware requirements, including an Ethernet cable and an Ethernet port on your computer. Connect the cable securely to both your computer and the router or switch, and then configure the network settings to ensure that your computer can obtain the necessary IP address and DNS server information automatically.
Finally, test the connection by browsing the internet and verifying that you can access websites without any issues. If you encounter any problems, double-check the cable connections, restart your computer and router, and seek assistance from your network administrator or internet service provider if needed.
With a properly set up Ethernet connection, you can enjoy faster and more reliable internet access, whether you’re at home, in the office, or anywhere else where you have access to a network. Stay connected, browse the web, stream videos, and engage in online activities with confidence and speed.
Now that you have successfully set up your Ethernet connection, go ahead and make the most out of your internet experience!