Introduction
Setting up an Ethernet connection is a straightforward process that can provide a stable and reliable internet connection for your devices. Whether you’re working from home, streaming movies, or gaming online, having a direct wired connection can offer faster speeds and reduced latency compared to Wi-Fi. In this guide, we’ll take you through the step-by-step process of setting up an Ethernet connection in your home or office.
Ethernet is a networking technology that uses cables to connect devices together in a local area network (LAN). It is widely used in homes and businesses to connect computers, laptops, gaming consoles, smart TVs, and other devices to the internet. Unlike Wi-Fi, which relies on wireless signals, Ethernet connections use physical cables to transmit data, resulting in more stable and consistent internet performance.
Before you start the setup process, it’s essential to gather the necessary equipment. You’ll need an Ethernet cable, a modem (provided by your internet service provider), a router (if you’re using one), and the devices you want to connect to the Ethernet network. Make sure you have everything ready before proceeding to avoid any delays or interruptions during the setup.
In the following steps, we’ll guide you through connecting your modem and router, configuring your Ethernet connection settings, and testing your connection. We’ll also provide troubleshooting tips for common issues you may encounter along the way. By the end of this guide, you’ll have a fully functional Ethernet connection that will enhance your internet experience.
Step 1: Gather the necessary equipment
Before you can set up an Ethernet connection, it’s important to gather all the necessary equipment. Here’s a list of the items you’ll need to ensure a smooth and successful setup process:
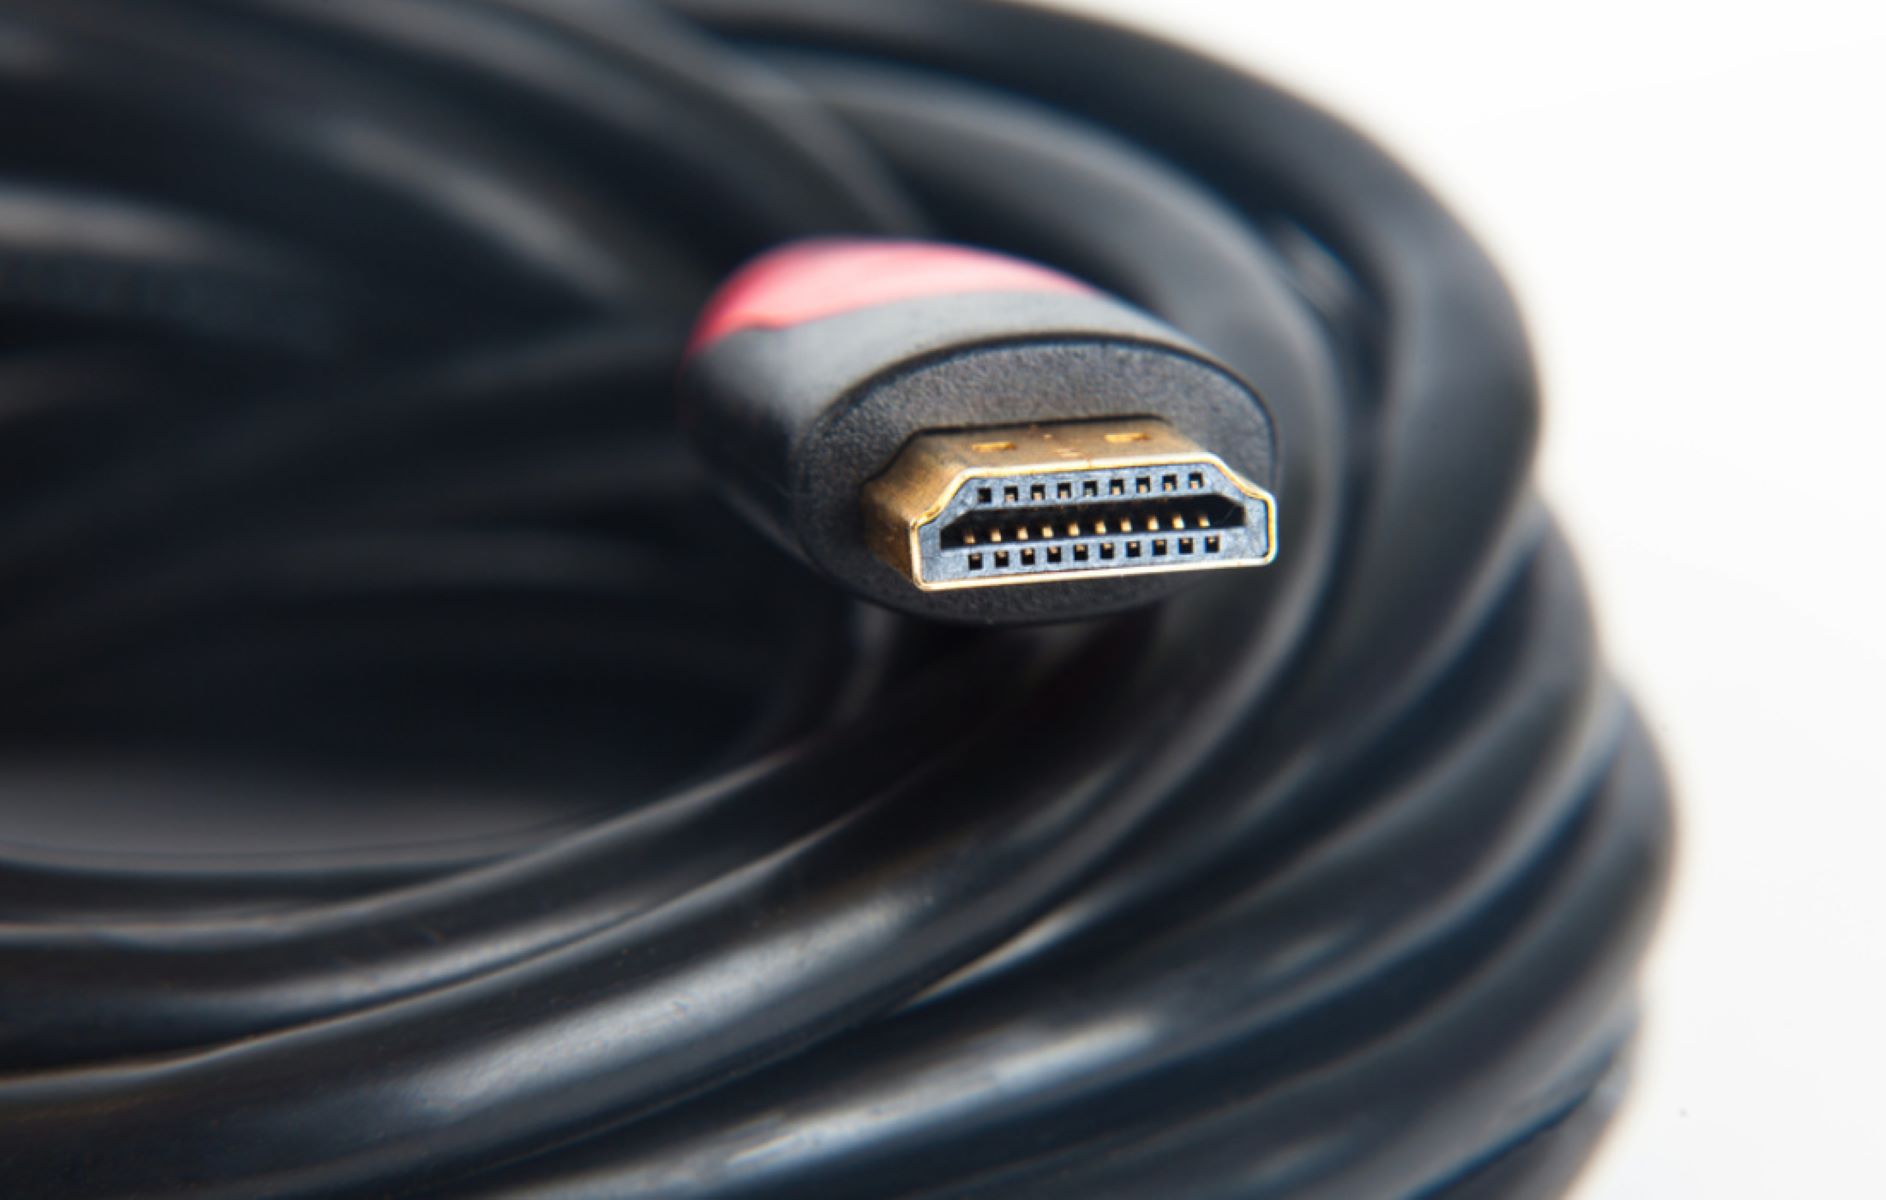
- Ethernet cable: You’ll need an Ethernet cable to establish a wired connection between your devices and the router. Make sure you have a cable long enough to reach from your modem/router to the devices you want to connect.
- Modem: Your internet service provider will supply you with a modem, which is essential for connecting to the internet. The modem is responsible for converting the signals from your service provider into a format that your devices can understand.
- Router (optional): While not necessary, a router is highly recommended as it allows you to create a local network and provides additional functionalities like Wi-Fi. If you’re using a separate router, make sure it’s compatible with your modem and has Ethernet ports available.
- Devices: Gather the devices you want to connect to the Ethernet network, such as computers, laptops, gaming consoles, smart TVs, or any other compatible devices. Ensure that they have Ethernet ports or are capable of connecting to the internet via Ethernet.
Once you have collected all the necessary equipment, you’re ready to move on to the next step. Having everything prepared beforehand will help streamline the setup process and minimize any potential delays or issues. Make sure the Ethernet cable is in good condition without any cuts or damage, as this may affect the quality of the connection.
It’s worth noting that the length of the Ethernet cable can affect the performance of your connection. If you need an extended cable to reach your devices, consider purchasing a high-quality cable that supports the desired length. Avoid excessively long cables as they may result in signal degradation. Additionally, try to place the modem and router in a central location to ensure optimal coverage and reach for your Ethernet network.
With all the necessary equipment gathered and in good condition, you’re now ready to proceed to the next step: locating your modem and router.
Step 2: Locate your modem and router
Locating your modem and router is the next step in setting up an Ethernet connection. These devices play a crucial role in connecting to the internet and establishing a wired network. Follow these steps to find and identify your modem and router:
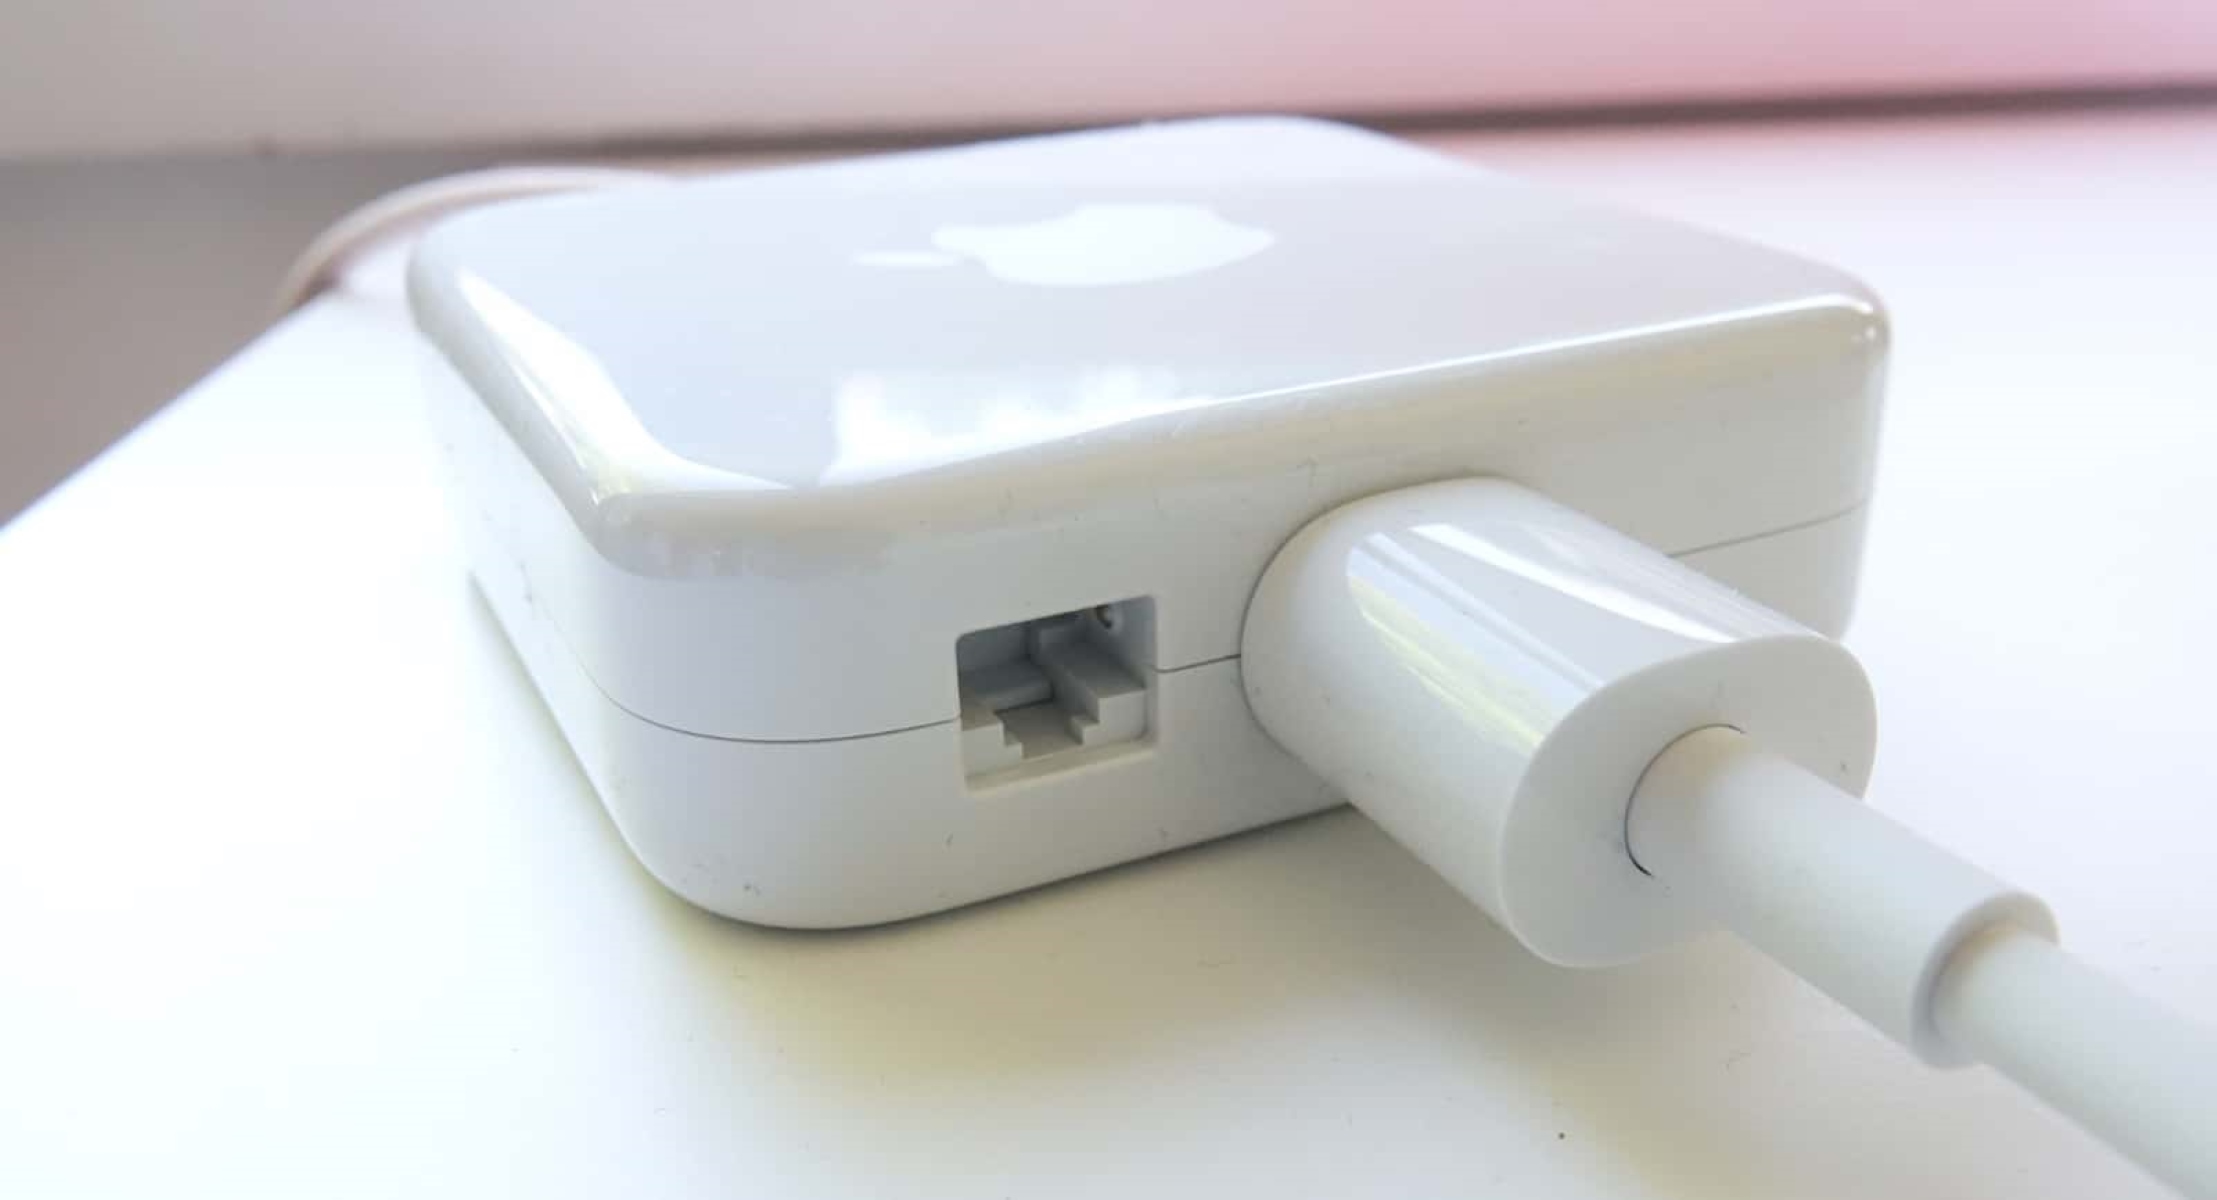
- Start by looking for the modem provided by your internet service provider. It is usually a rectangular box with various ports on the back, including a power port, Ethernet ports, and a port for the cable or DSL connection. The modem may have LEDs or indicators on the front to show its status.
- If you’re using a separate router, locate it as well. The router is generally used to distribute the internet connection to multiple devices and may have additional features like Wi-Fi. Like the modem, it will have several ports on the back, including Ethernet ports and a power port. It may also have LED indicators on the front for status monitoring.
- Ensure that both the modem and router are connected to a power source. Plug them into a nearby power outlet using their respective power adapters. Make sure the power sockets are easily accessible and not obstructed.
- Position the modem and router in a central location, away from obstructions such as walls or furniture. Placing them in a central area helps ensure better signal distribution throughout your home or office.
- Ensure that the modem and router are placed on a stable surface, such as a desk or shelf, to prevent accidental movement or damage. Avoid stacking other electronic devices on top of them.
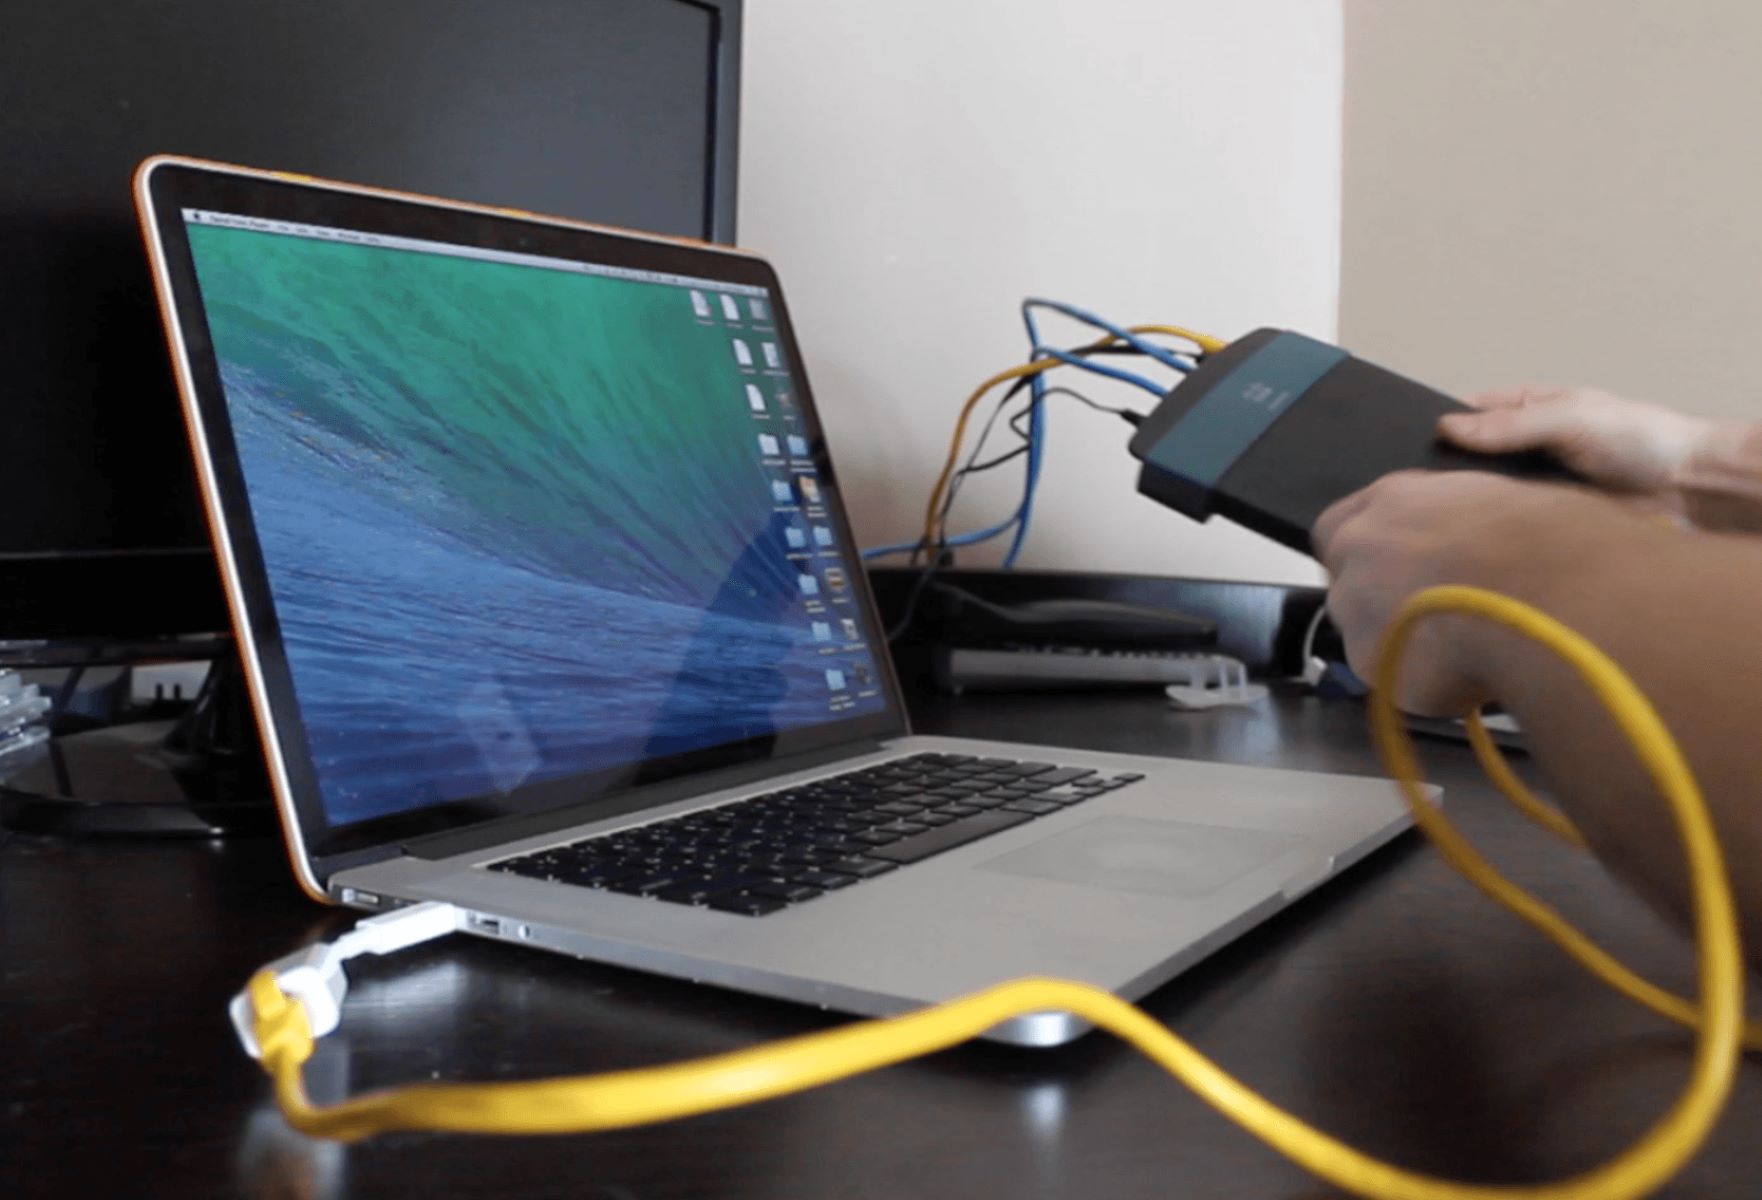
- If you’re using a router, make sure it is connected to the modem using an Ethernet cable. Plug one end of the Ethernet cable into the modem’s Ethernet port and the other end into the router’s WAN or Internet port.
- If your modem has multiple Ethernet ports, use one of them to connect your router. This will establish the connection between your modem and router.
Once you have located and positioned your modem and router properly, you’re now ready to proceed to the next step: connecting the modem to a power source.
Step 3: Connect the modem to a power source
Connecting your modem to a power source is an essential step in setting up your Ethernet connection. The power connection ensures that the modem has the necessary electrical supply to function correctly. Follow these steps to connect your modem to a power source efficiently:
- Locate the power adapter that came with your modem. It should be a small, rectangular-shaped device with a cable attached to it.
- Insert the plug end of the power adapter into the corresponding power port on the back of the modem. The power port is usually labeled “Power” or indicated by a power symbol.
- Plug the other end of the power adapter (the cable end) into a nearby power outlet. Ensure that the power outlet is easily accessible and not obstructed.
- Make sure the power socket is compatible with the power adapter. Check the voltage requirements of the power adapter, which are usually printed on the adapter or specified in the modem’s user manual.
- Once the modem is connected to a power source, check for LED indicators or lights on the modem’s front panel. These indicators will typically show the power status, internet connectivity, and other important information.
- Allow the modem a few moments to power up. It may take a minute or two for the modem to establish a connection with your service provider’s network.
- While the modem is powering up, avoid moving or disconnecting any cables. Unplugging the modem during this process can interrupt the connection establishment and require additional setup steps.
Congratulations! You have successfully connected your modem to a power source. The modem is now receiving electrical power to function correctly. In the next step, we will guide you through connecting the modem to the router using an Ethernet cable.
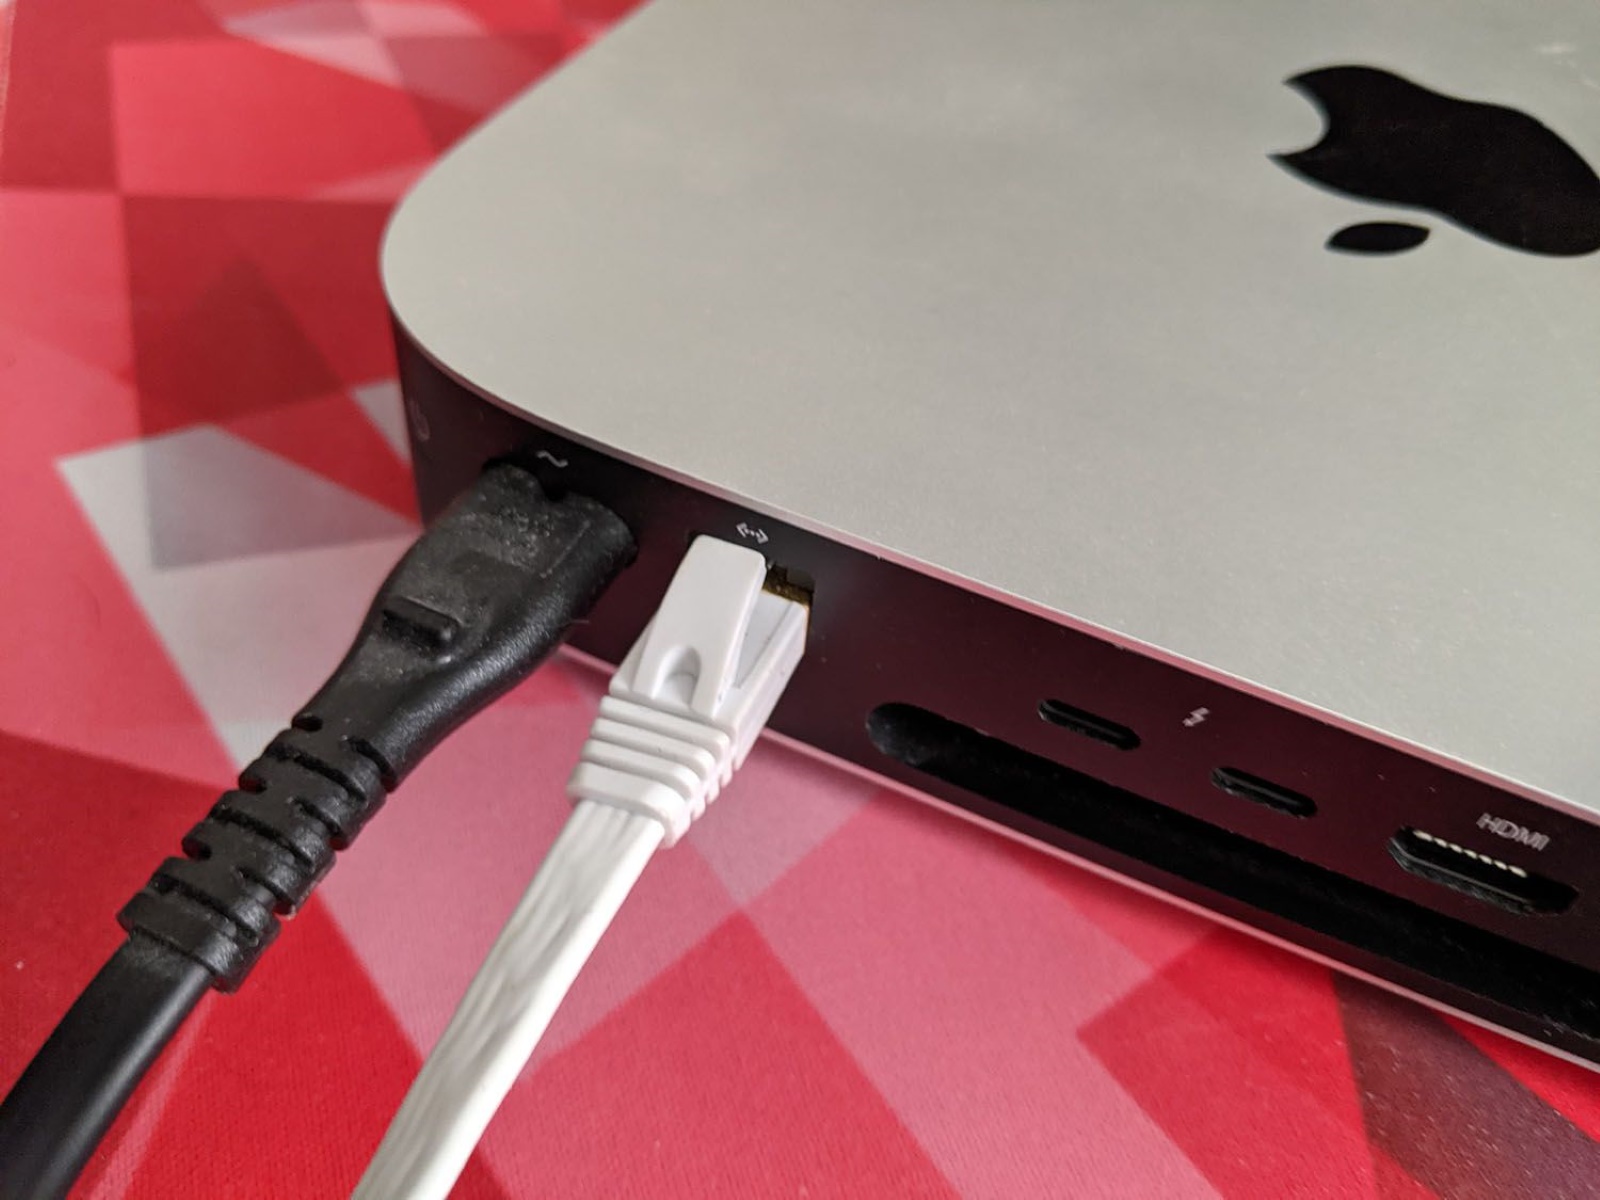
Step 4: Connect the modem to the router using an Ethernet cable
Connecting your modem to the router using an Ethernet cable is an important step in establishing your Ethernet connection. This connection allows the modem to transmit the internet signal to the router, which will then distribute the connection to your devices. To connect the modem and router, follow these steps:
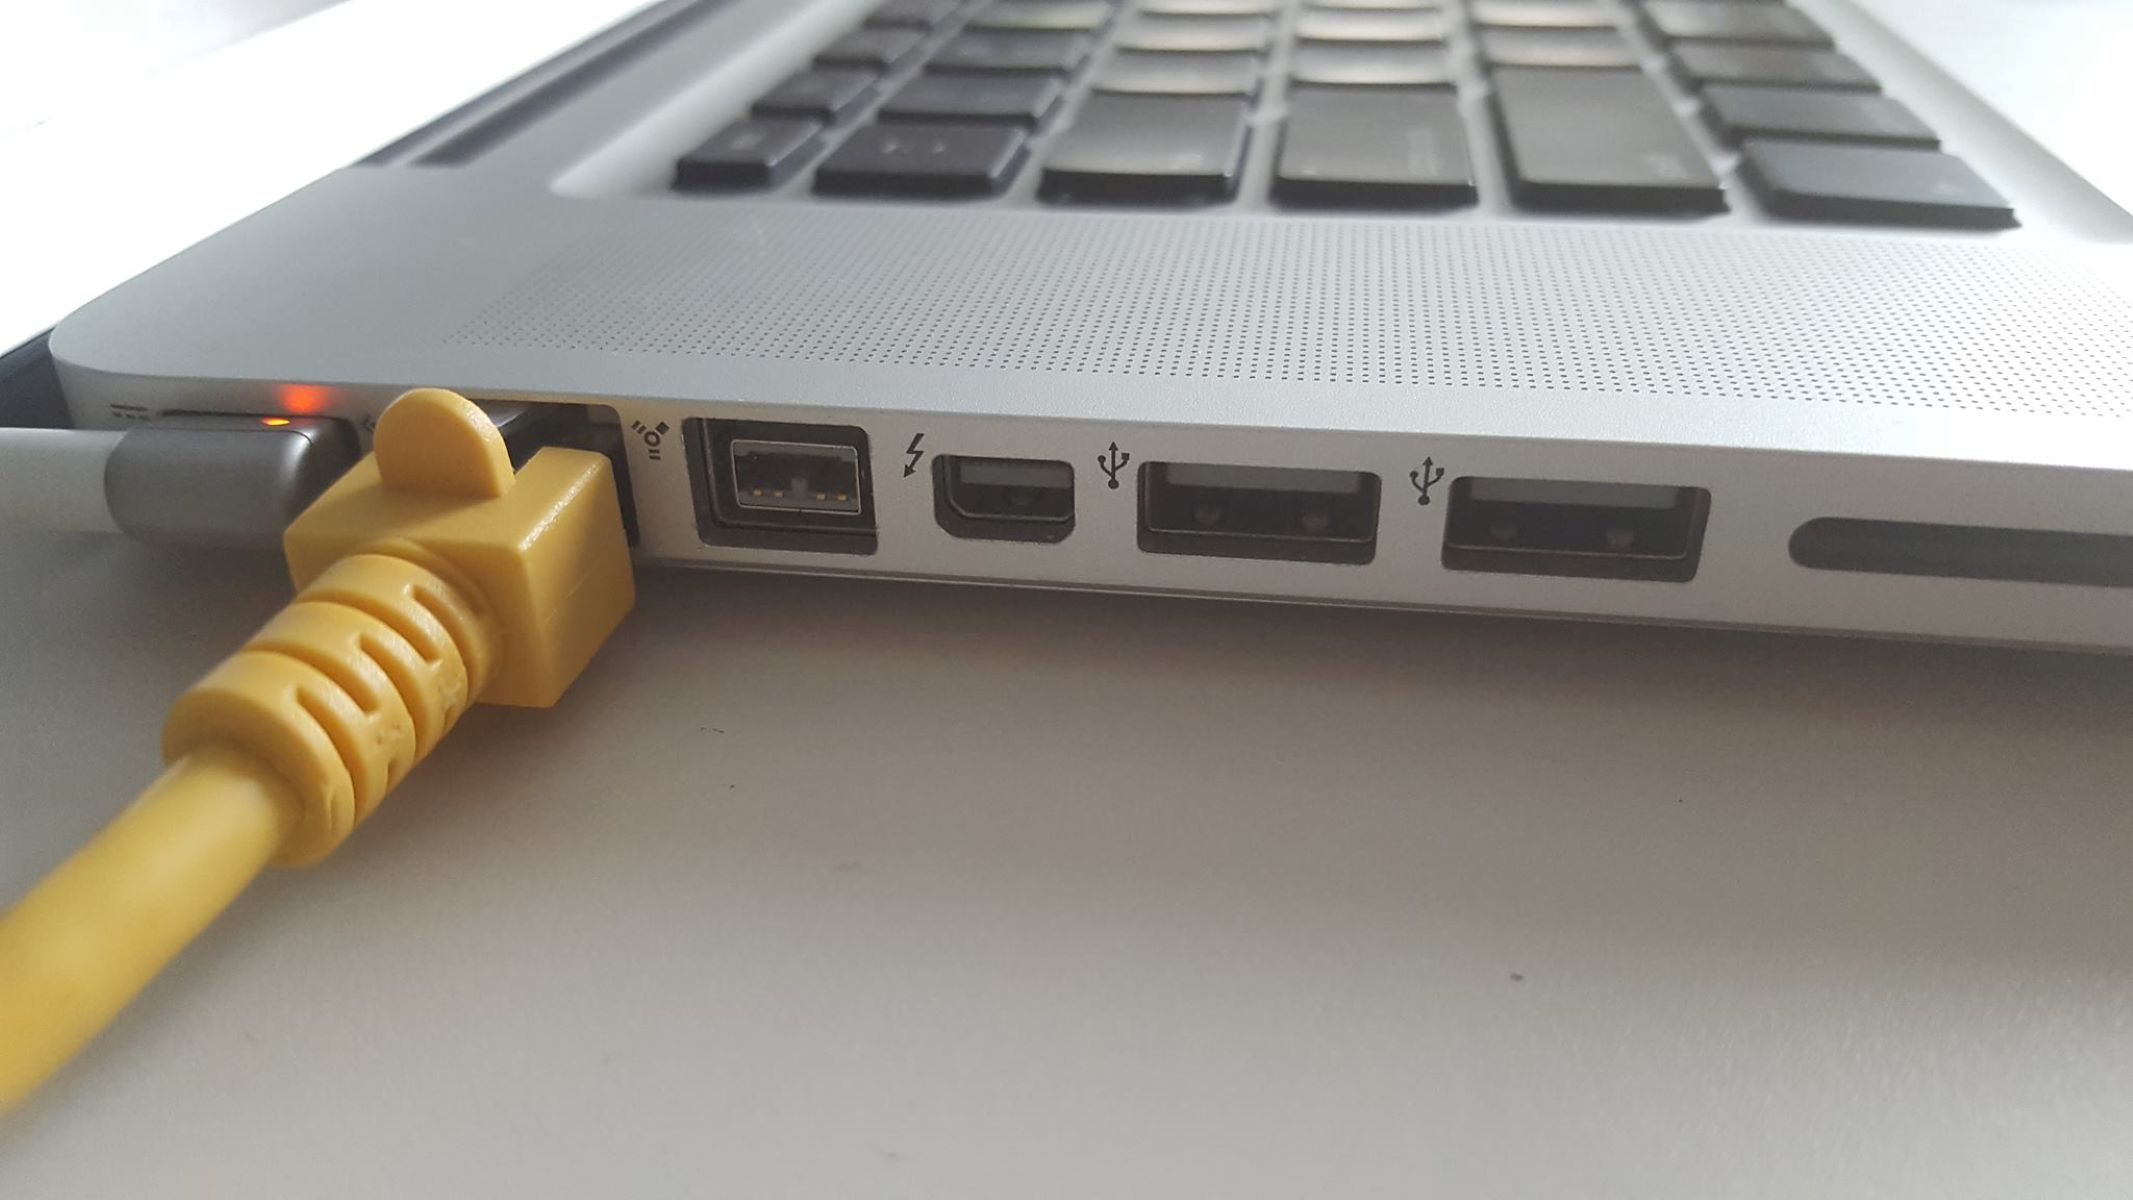
- Locate an available Ethernet port on the back of your modem. These ports are usually labeled “Ethernet,” “LAN,” or numbered.
- Take one end of the Ethernet cable and insert it into the Ethernet port on the back of the modem. Ensure that the cable is inserted securely, forming a snug connection.
- Now, find an available Ethernet port on the back of your router. The ports on the router are typically labeled with numbers or labeled “LAN” or “Ethernet.”
- Take the other end of the Ethernet cable and insert it into the Ethernet port on the back of the router. Again, make sure the connection is secure.
- If your router and modem are separate devices, ensure that the Ethernet cable is connected to the router’s WAN or Internet port. This port is usually separate from the LAN ports and often labeled specifically.
- Confirm that the cable is securely connected to both the modem and the router by gently tugging on it. A properly connected cable should not easily come loose.
- Allow a few moments for the modem and router to establish a connection. The status lights on both devices will indicate their connectivity status.
- Once the connection is established, the internet signal from the modem will be transmitted to the router through the Ethernet cable, allowing for the distribution of the connection to your devices.
Great job! You have successfully connected your modem to the router using an Ethernet cable. In the next step, we will guide you through connecting your devices to the router to complete the Ethernet setup process.
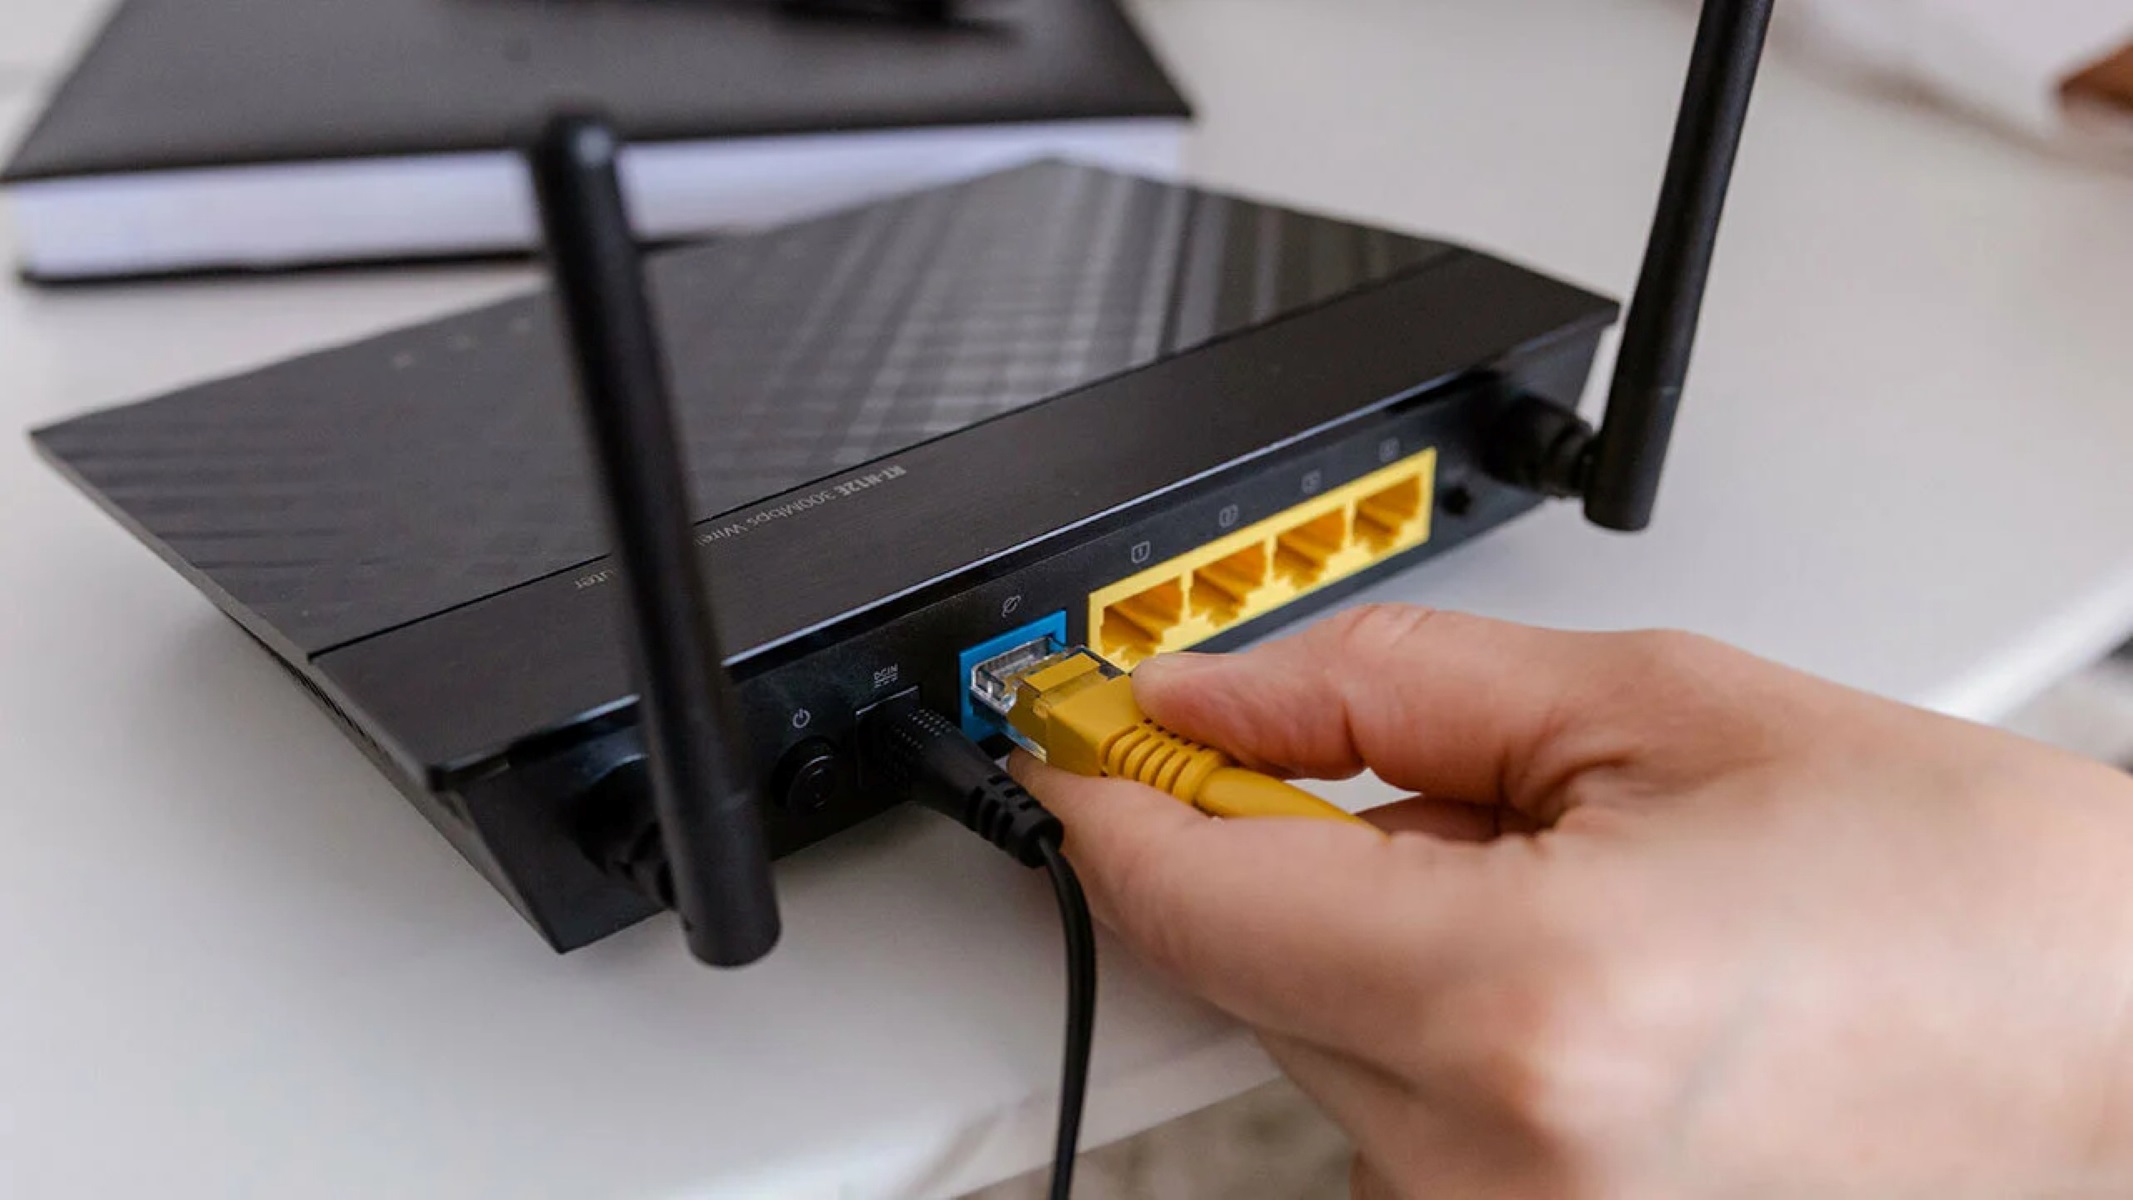
Step 5: Connect your devices to the router
After connecting the modem to the router, the next step is to connect your devices to the router to complete the Ethernet setup process. By establishing these connections, your devices will be able to access the internet through the wired network. Follow these steps to connect your devices to the router:
- Identify the Ethernet ports on the back of your router. These ports are usually labeled with numbers or labeled “LAN” or “Ethernet.”
- Take an Ethernet cable and insert one end into an available Ethernet port on the router. Make sure the connection is secure.
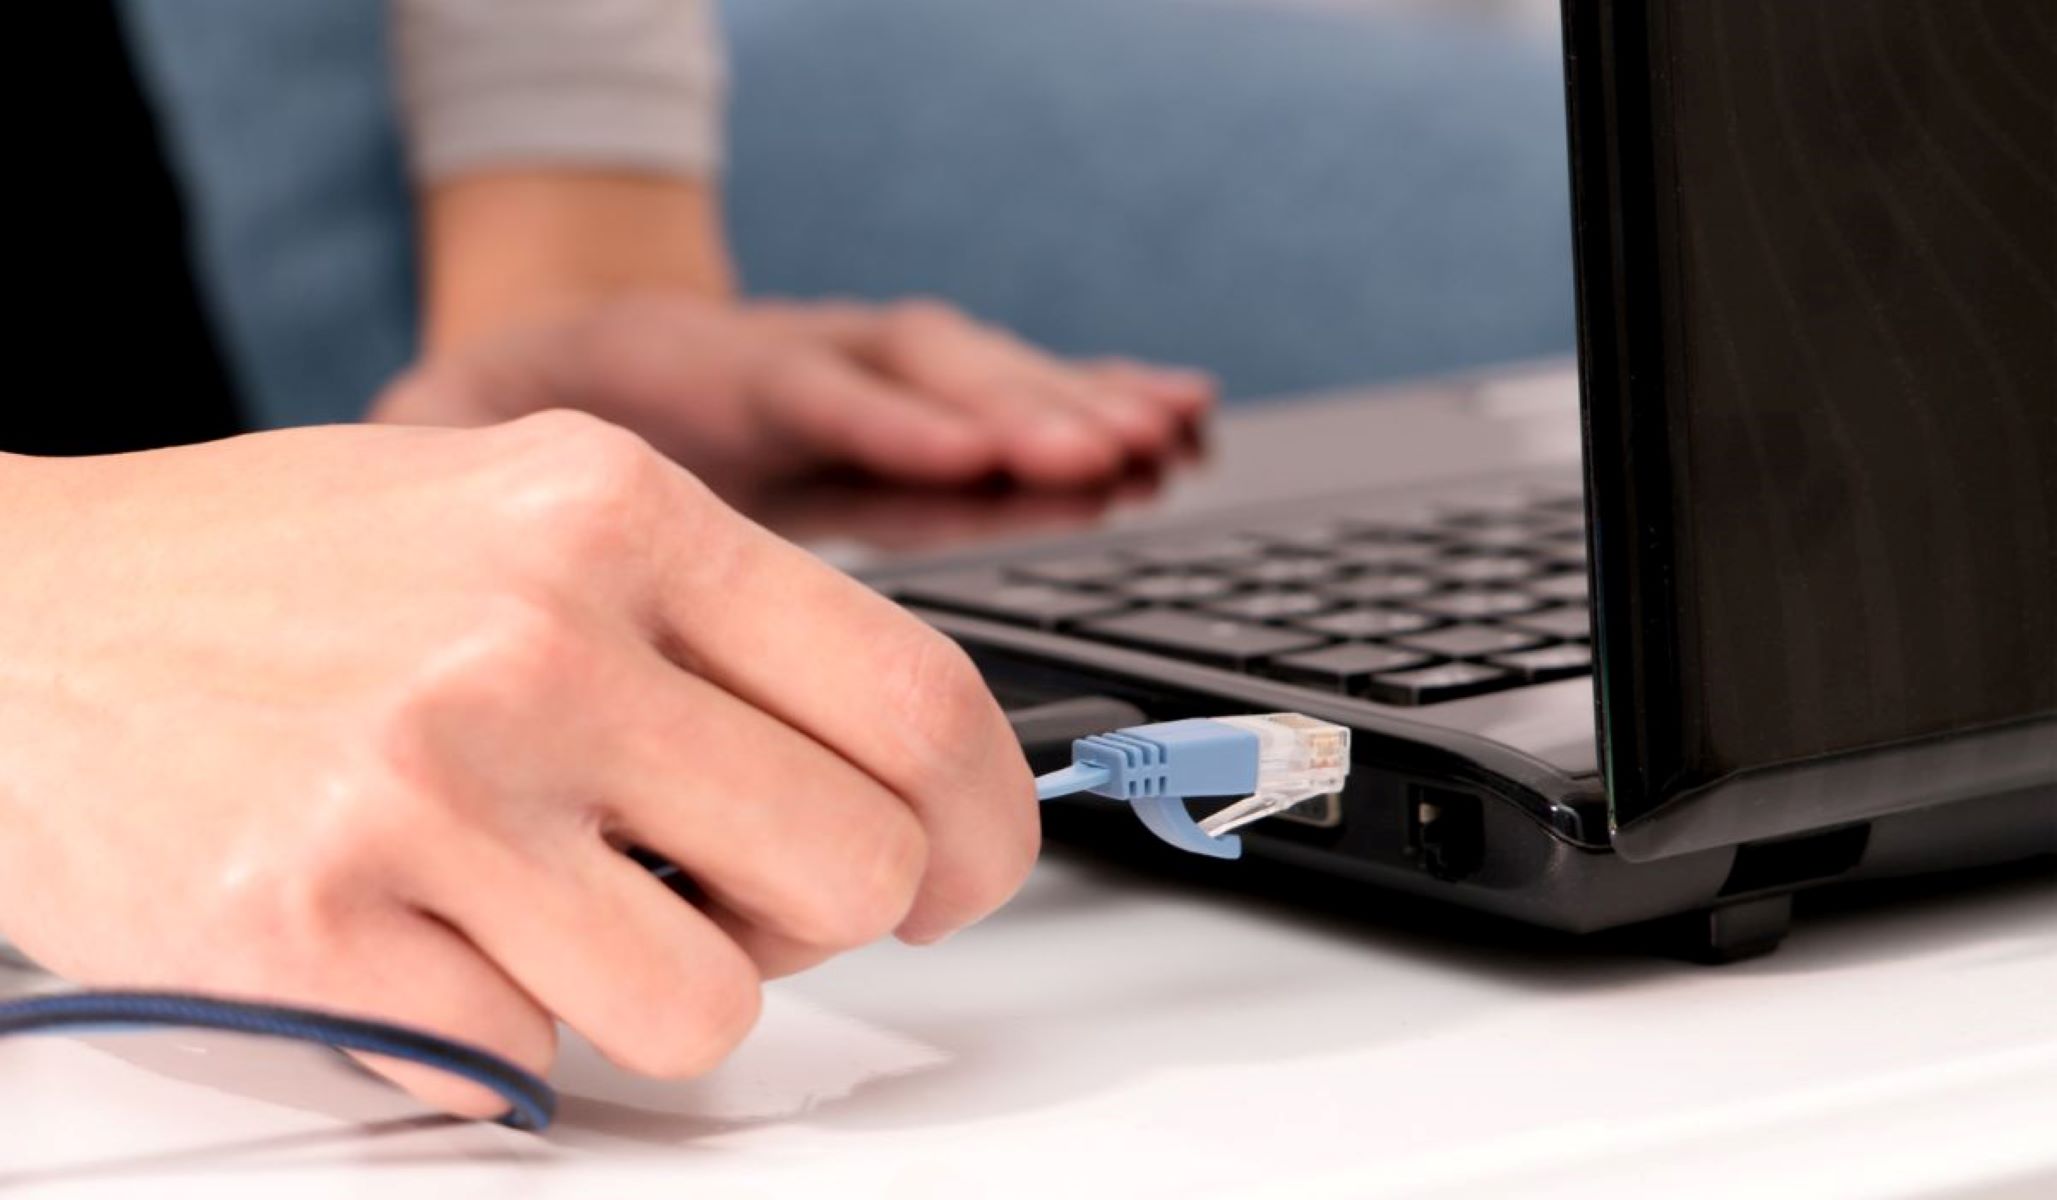
- On the other end of the cable, locate the Ethernet port on the device you want to connect. This port is also typically labeled with the Ethernet symbol or the word “LAN.”
- Insert the Ethernet cable into the Ethernet port on your device, ensuring a secure connection.
- Repeat the above steps for each device you wish to connect to the Ethernet network. This can include computers, laptops, gaming consoles, smart TVs, or any other Ethernet-compatible devices.
- Once all the devices are connected, double-check the connections to ensure they are firmly inserted into the Ethernet ports.
- Allow a few moments for the router to recognize the connected devices. The router’s LED lights will indicate the status of the connections.
- Once the connections are established, your devices are now connected to the router and can access the internet through the Ethernet network.
Congratulations! You have successfully connected your devices to the router using Ethernet connections. Each device should now be able to access a stable and reliable internet connection. In the next step, we will guide you through the process of configuring your Ethernet connection settings.
Step 6: Configure your Ethernet connection settings
Configuring your Ethernet connection settings is an important step to ensure optimal performance and security. By adjusting these settings, you can customize your network preferences and fine-tune your connection. Follow these steps to configure your Ethernet connection settings:
- Open a web browser on one of the devices connected to the router.
- Type the IP address of the router into the browser’s address bar. The IP address is usually printed on a label on the router itself or can be found in the router’s manual. Common router IP addresses include 192.168.0.1, 192.168.1.1, or 192.168.1.254.
- Press Enter to access the router’s administration page.
- You will be prompted to enter a username and password to log in to the router’s settings. Consult the router’s manual or check the manufacturer’s website for the default login credentials. It is recommended to change the default login credentials for improved security.
- Once logged in, navigate to the Ethernet settings section. The exact location and terminology may vary depending on your router’s model and firmware.
- Configure the desired settings. This may include setting a custom network name (SSID), enabling or disabling DHCP (Dynamic Host Configuration Protocol), configuring IP addresses, setting up port forwarding, or applying any other desired network preferences.
- Save your changes and exit the router’s settings. The router will reboot, applying the new settings.
- Repeat the above steps on each device connected to the router if you wish to customize the Ethernet connection settings for each individual device.
Congratulations! You have successfully configured your Ethernet connection settings. By customizing these settings, you can optimize your network for your specific requirements. In the next step, we will guide you through testing your Ethernet connection.
Step 7: Test your Ethernet connection
After setting up your Ethernet connection and configuring the necessary settings, it’s essential to test the connection to ensure everything is functioning correctly. By performing a test, you can verify that your devices are connected to the network and that you have a stable and reliable internet connection. Follow these steps to test your Ethernet connection:
- Open a web browser on one of the devices connected to the Ethernet network.
- Visit a website or run a speed test to check your internet connection. You can use popular speed testing websites like speedtest.net to measure the upload and download speeds of your connection.
- If the website loads successfully, and the speed test results are in line with your internet plan, it indicates that your Ethernet connection is working correctly.
- If you encounter any issues, such as slow speeds or the inability to access websites, try restarting your modem, router, and devices. Power cycling these devices can often resolve temporary network issues.
- If the problem persists, double-check the Ethernet connections on both the modem and router, ensuring they are secure and correctly plugged in.
- You can also try connecting a different device to the Ethernet network to see if the issue lies with a specific device.
- If troubleshooting steps do not resolve the issue, it is recommended to contact your internet service provider for further assistance.
Congratulations! You have successfully tested your Ethernet connection. By confirming that your devices are connected and the internet is functioning correctly, you can enjoy a stable and reliable online experience. In the next step, we will provide troubleshooting tips for common issues you may encounter with your Ethernet connection.
Step 8: Troubleshooting tips for common issues
While setting up an Ethernet connection is usually a smooth process, it’s not uncommon to encounter some issues along the way. In this step, we’ll provide troubleshooting tips for common problems you may face with your Ethernet connection. Follow these tips to help resolve any issues you may encounter:
- No internet connection: If you have connected all the cables correctly but still have no internet access, try power cycling your modem and router. Disconnect them from the power source, wait for about 30 seconds, and then reconnect them. This can help refresh the connection and resolve minor connectivity issues.
- Slow internet speed: If you are experiencing slow internet speeds, check the Ethernet cable for any damage or try using a different cable. Additionally, make sure that your devices are using the latest network drivers. You can typically find these drivers on the manufacturer’s website.
- Intermittent connection: If your Ethernet connection keeps dropping or disconnecting intermittently, check the Ethernet cable for any loose connections. Ensure that the cables are properly inserted into the Ethernet ports. If the problem persists, consider replacing the Ethernet cable with a new one.
- Device connectivity issues: If some devices connected to the Ethernet network are unable to access the internet, ensure that they are connected to the correct ports on the router. Check the Ethernet settings on the devices to ensure they are set to obtain an IP address automatically (DHCP).
- Firewall or security software: If you have installed firewall or security software on your computer, it might be blocking the internet connection. Check the settings of your security software and make sure it allows the necessary network traffic for your Ethernet connection.
- Check modem and router settings: If you are experiencing persistent issues, log in to your router’s settings and ensure that the configuration is correct. Double-check the DHCP (Dynamic Host Configuration Protocol) settings, ensure that the firmware is up to date, and consider resetting the router to factory defaults if necessary.
- Contact your internet service provider: If you have tried all the troubleshooting steps and are still experiencing issues with your Ethernet connection, it may be necessary to reach out to your internet service provider for further assistance. They can help diagnose and resolve any problems with your internet connection.
By following these troubleshooting tips, you can resolve common issues with your Ethernet connection and ensure a stable and reliable network. If the problem persists, don’t hesitate to seek assistance from your internet service provider for more advanced troubleshooting steps.
Conclusion
Congratulations on successfully setting up your Ethernet connection! By following the steps outlined in this guide, you have established a stable and reliable wired network for your devices. An Ethernet connection offers faster speeds, lower latency, and more consistent connectivity compared to Wi-Fi, making it an ideal choice for various activities such as working from home, gaming, streaming, and more.
In this guide, we started by gathering the necessary equipment, including an Ethernet cable, modem, router (if applicable), and your devices. We then moved on to locating the modem and router, connecting the modem to a power source, and establishing a connection between the modem and the router using an Ethernet cable. After that, we connected our devices to the router and configured the Ethernet connection settings to optimize performance.
Once everything was set up, we performed a test to ensure the proper functioning of the Ethernet connection. If you encountered any issues during the setup process, we provided troubleshooting tips to help you resolve common problems.
Remember to periodically check the cables and connections to ensure they are secure and free from any damage. If you experience ongoing issues with your Ethernet connection, don’t hesitate to contact your internet service provider for further assistance.
With your Ethernet connection up and running, you can now enjoy faster internet speeds, reduced lag, and a more reliable connection for all your online activities. Whether you’re browsing the web, streaming content, or engaging in online gaming, the benefits of a wired Ethernet connection will enhance your overall online experience.
Thank you for following this guide, and we hope that it has been helpful in setting up your Ethernet connection. Enjoy your fast and reliable internet access!