Introduction
Welcome to the world of Ethernet connections, where high-speed internet and reliable network connectivity are made possible. Whether you’re setting up a new computer, connecting to the internet, or troubleshooting network issues, knowing where to plug in the Ethernet cable is essential.
Ethernet is a standard method of connecting devices, allowing them to communicate with each other and access the internet. It uses a system of cables, connectors, and ports that carry data between devices at lightning-fast speeds.
In this guide, we will explore the different types of Ethernet ports you might encounter and explain where you should plug in the Ethernet cable. Whether you’re connecting your computer, router, modem, or other devices, we’ll provide clear and concise instructions to simplify the process.
Understanding how Ethernet connections work will empower you to establish a reliable and secure network setup in your home or office. Let’s dive in and discover the different Ethernet ports you may encounter in your digital journey.
Understanding Ethernet Connections
Ethernet connections are the backbone of modern networking, providing fast and stable internet access for various devices. Before we delve into where to plug in the Ethernet cable, let’s first understand the different types of Ethernet connections you may come across.
There are two main types of Ethernet connections: wired and wireless. While wireless connections are convenient for devices like smartphones and tablets, wired Ethernet connections offer a more reliable and secure way to connect devices that require a stable internet connection.
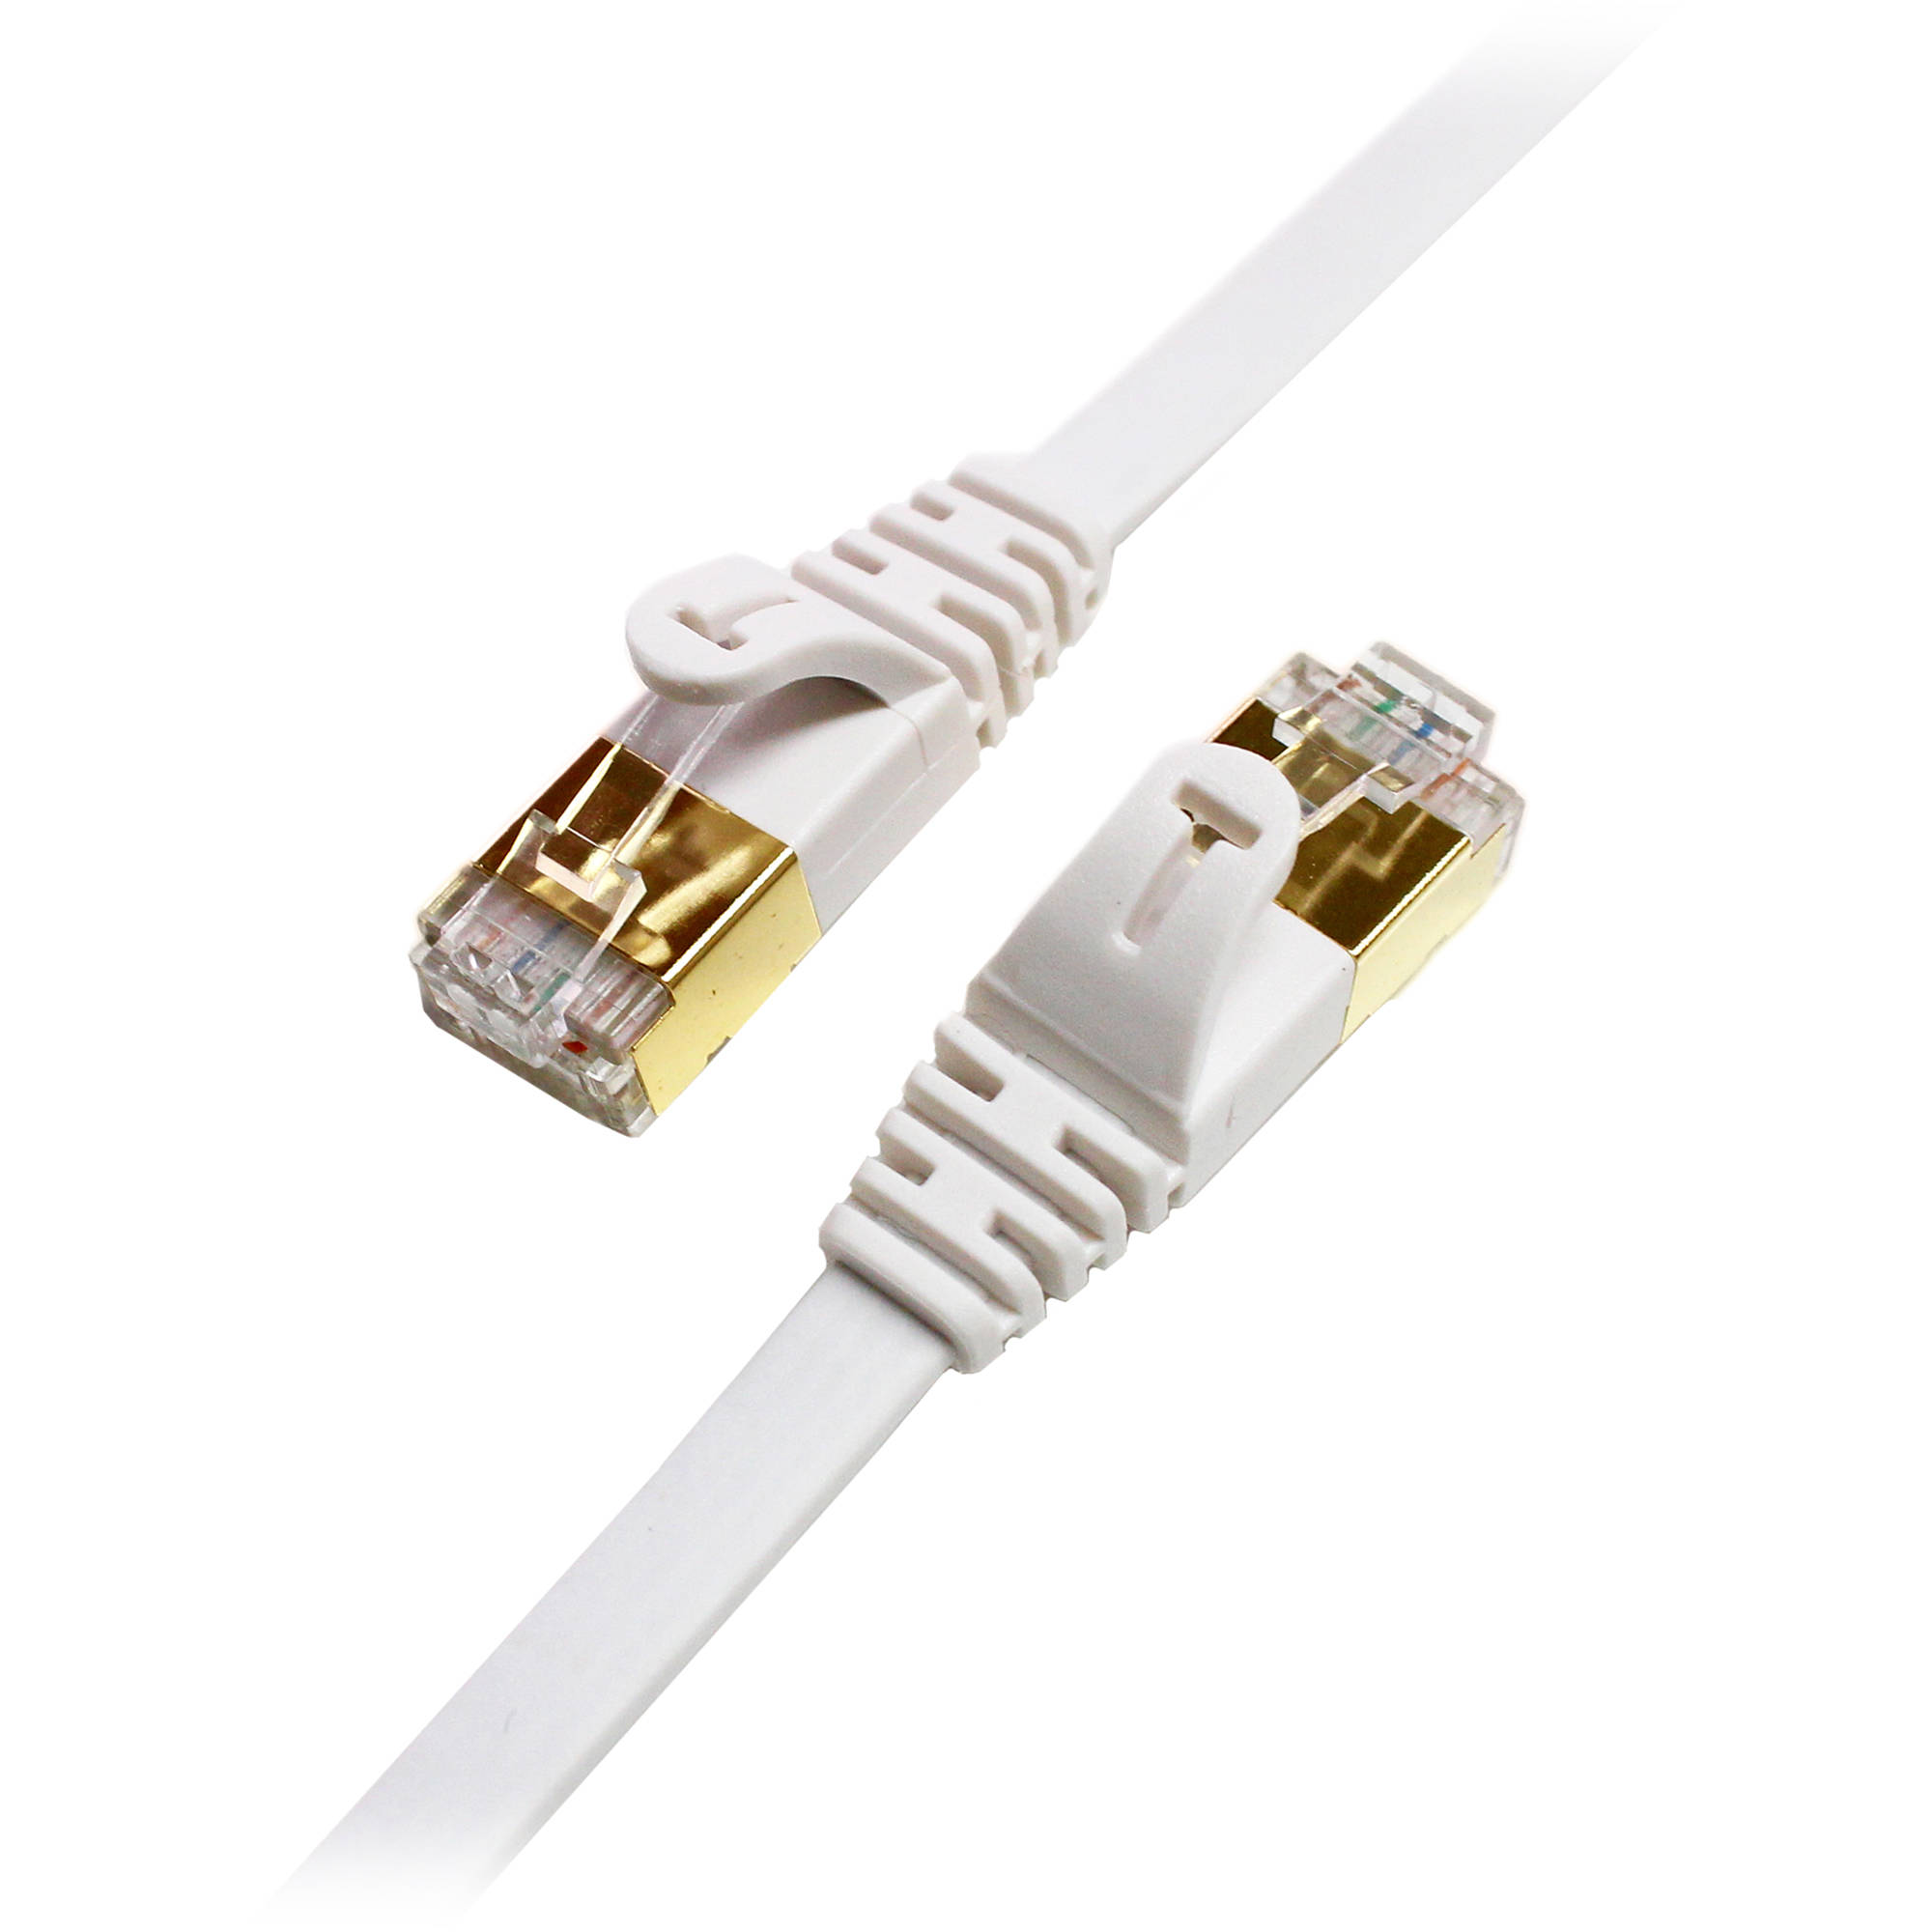
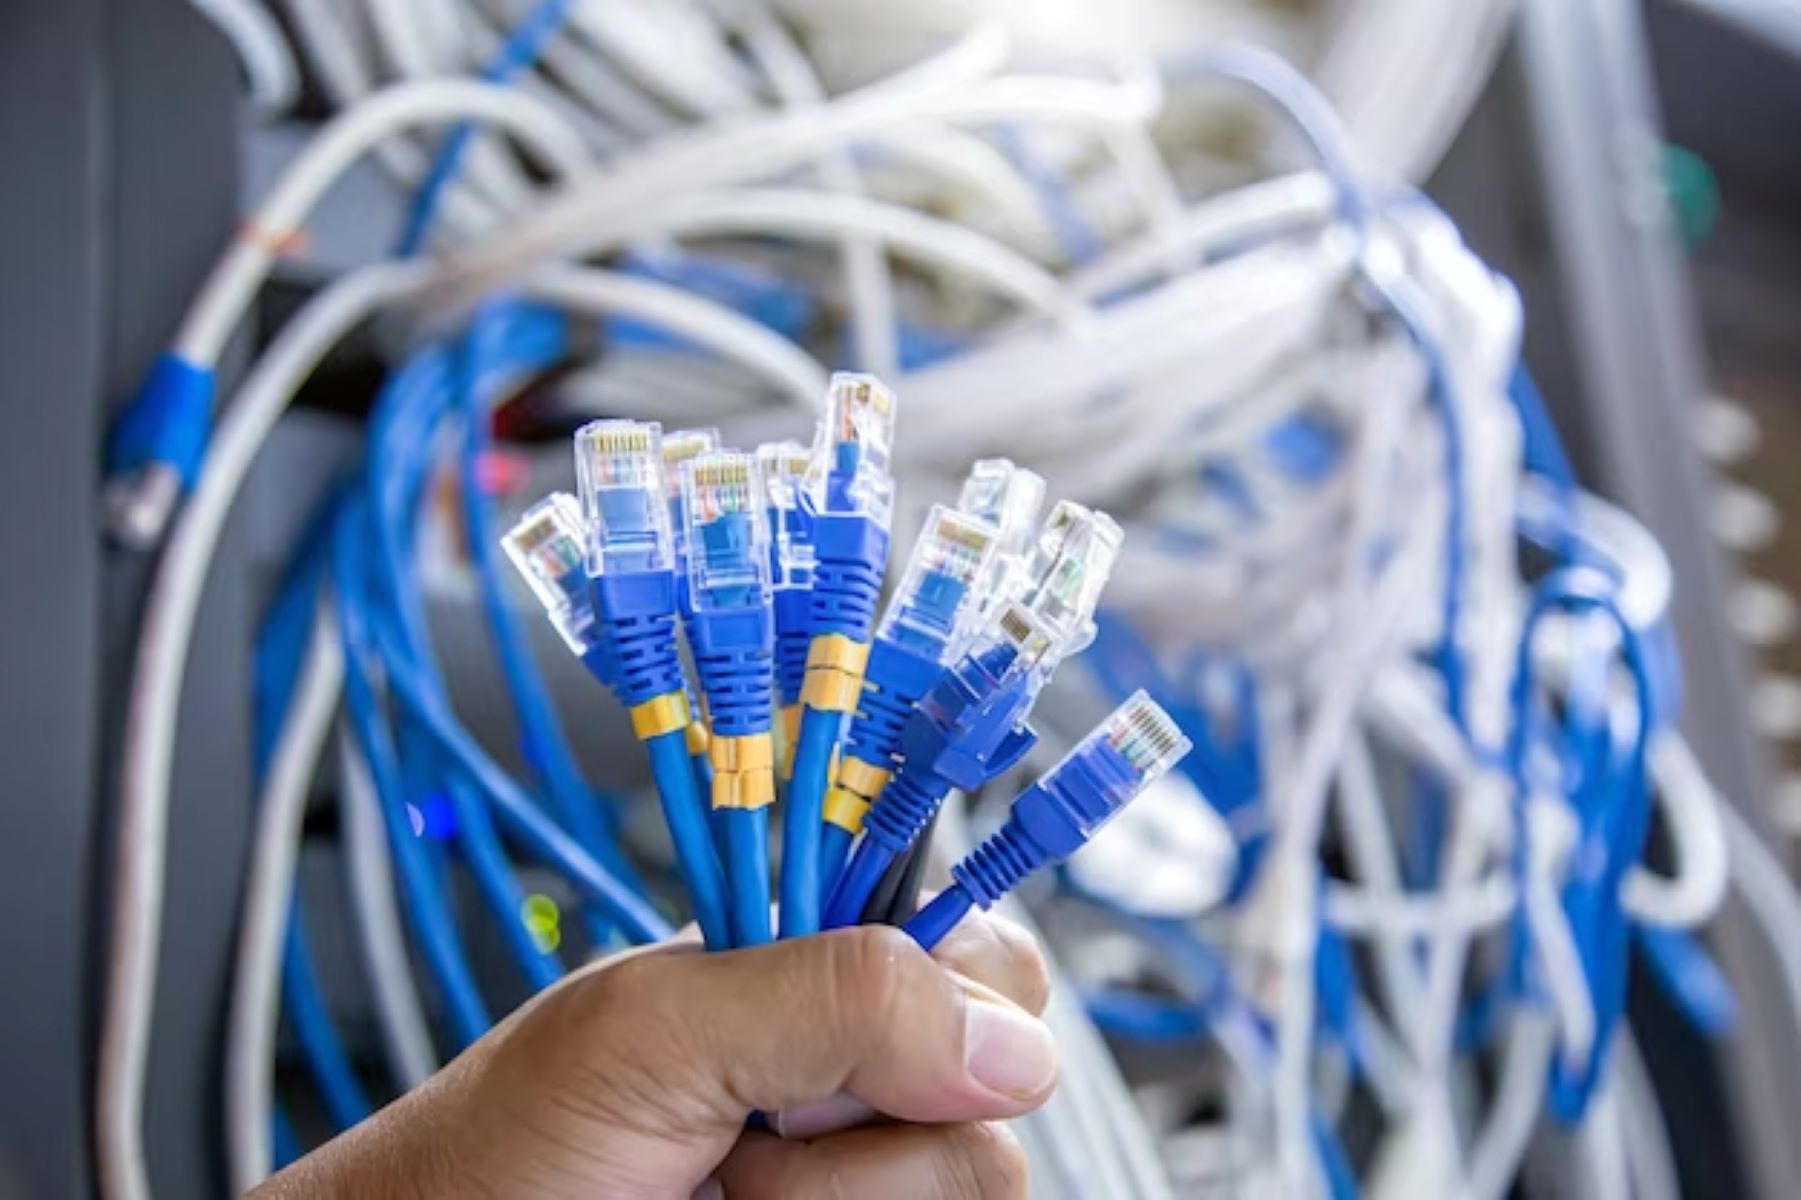
Wired Ethernet connections utilize Ethernet cables to establish a direct connection between devices. These cables are typically categorized by their speed capabilities, such as Cat5, Cat5e, Cat6, or Cat7 cables. The higher the category number, the faster the cable can transmit data.
In addition to the cables, Ethernet connections require specific ports and connectors to establish a successful connection. Each device, such as a computer, router, modem, or other networking equipment, will have Ethernet ports designed to accommodate the appropriate cable.
Selecting the correct type of Ethernet cable and matching it with the right port is crucial for achieving optimal network performance. Now that we have a basic understanding of Ethernet connections, let’s explore the various Ethernet ports commonly found on devices.
Ethernet Port on the Computer
When it comes to connecting your computer to an Ethernet network, locating the Ethernet port is the first step. Most desktop computers and laptops come equipped with an Ethernet port, usually located on the back or side of the device.
The Ethernet port on a computer is typically rectangular in shape and slightly larger than a phone jack. It is often labeled as “Ethernet,” “LAN,” or depicted with an image of three connected lines. On some laptops, the Ethernet port may be hidden behind a small panel or located on the underside of the device.
To establish a connection, you will need an Ethernet cable that matches the port on your computer. Most modern computers support at least Gigabit Ethernet, so using a Cat5e or Cat6 cable is recommended for optimal performance.
Once you have identified the Ethernet port on your computer and obtained the appropriate cable, simply insert one end of the Ethernet cable into the port. Make sure it clicks securely into place to ensure a stable connection.
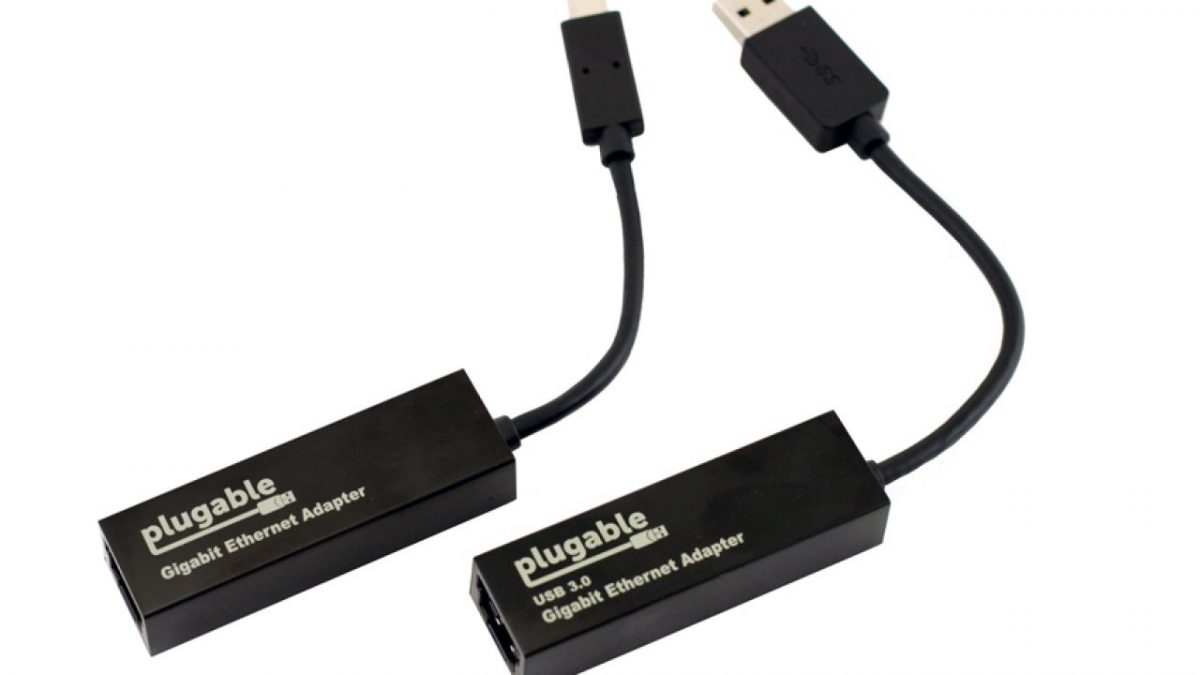
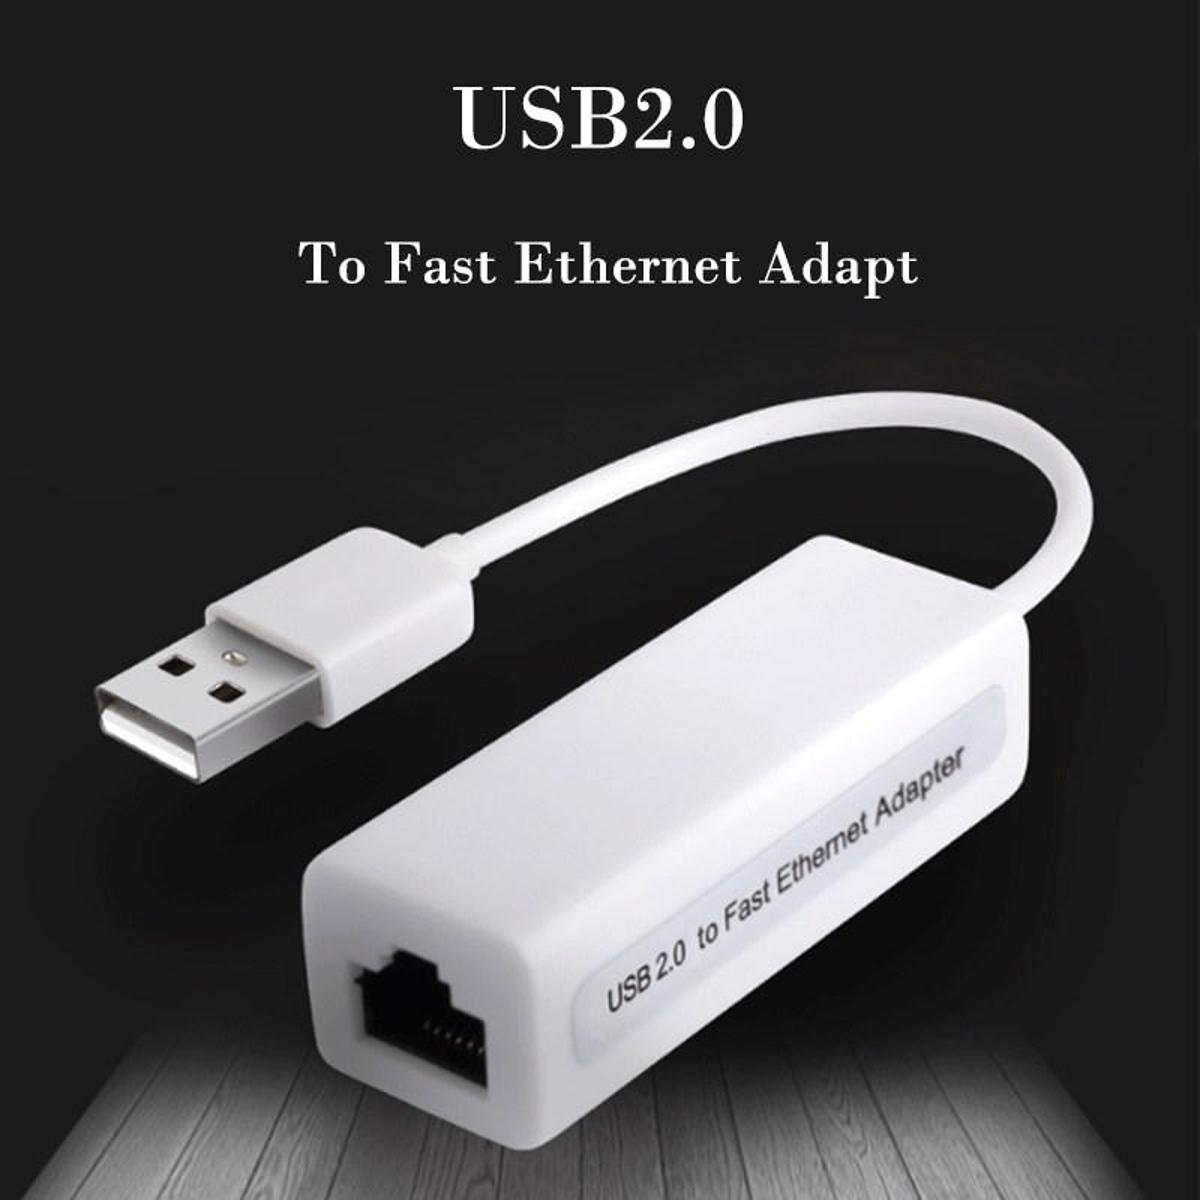
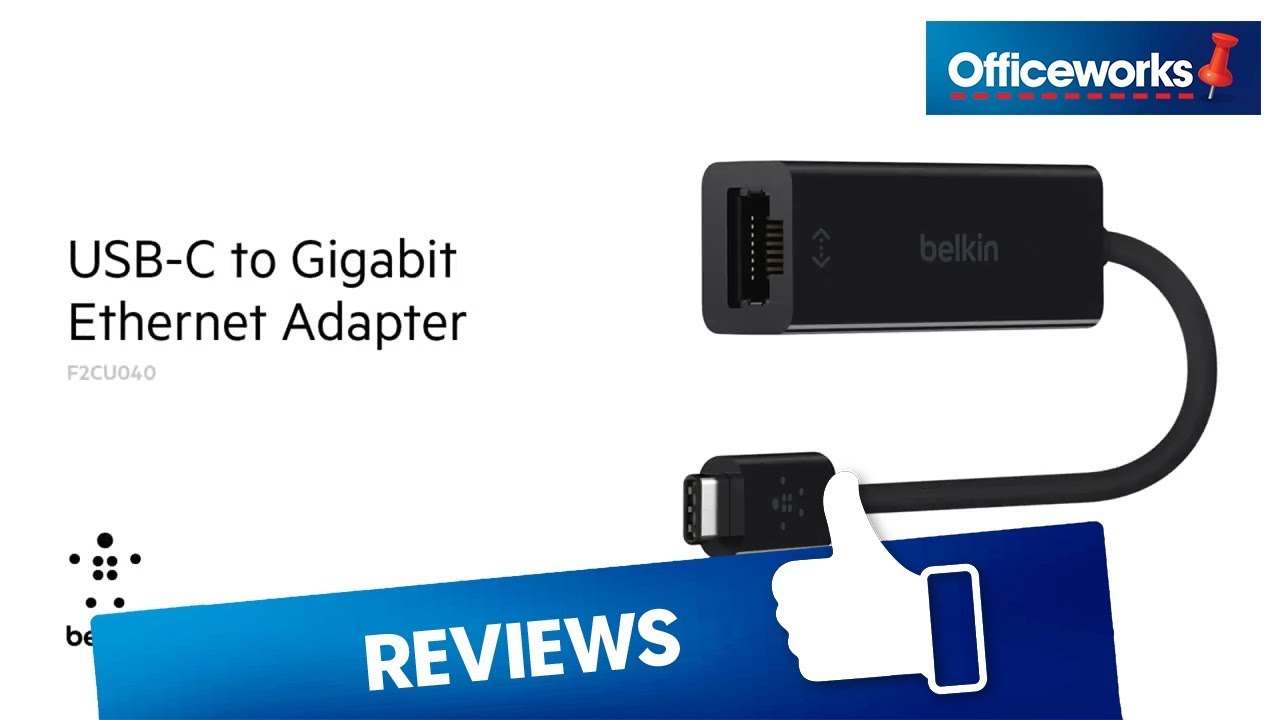
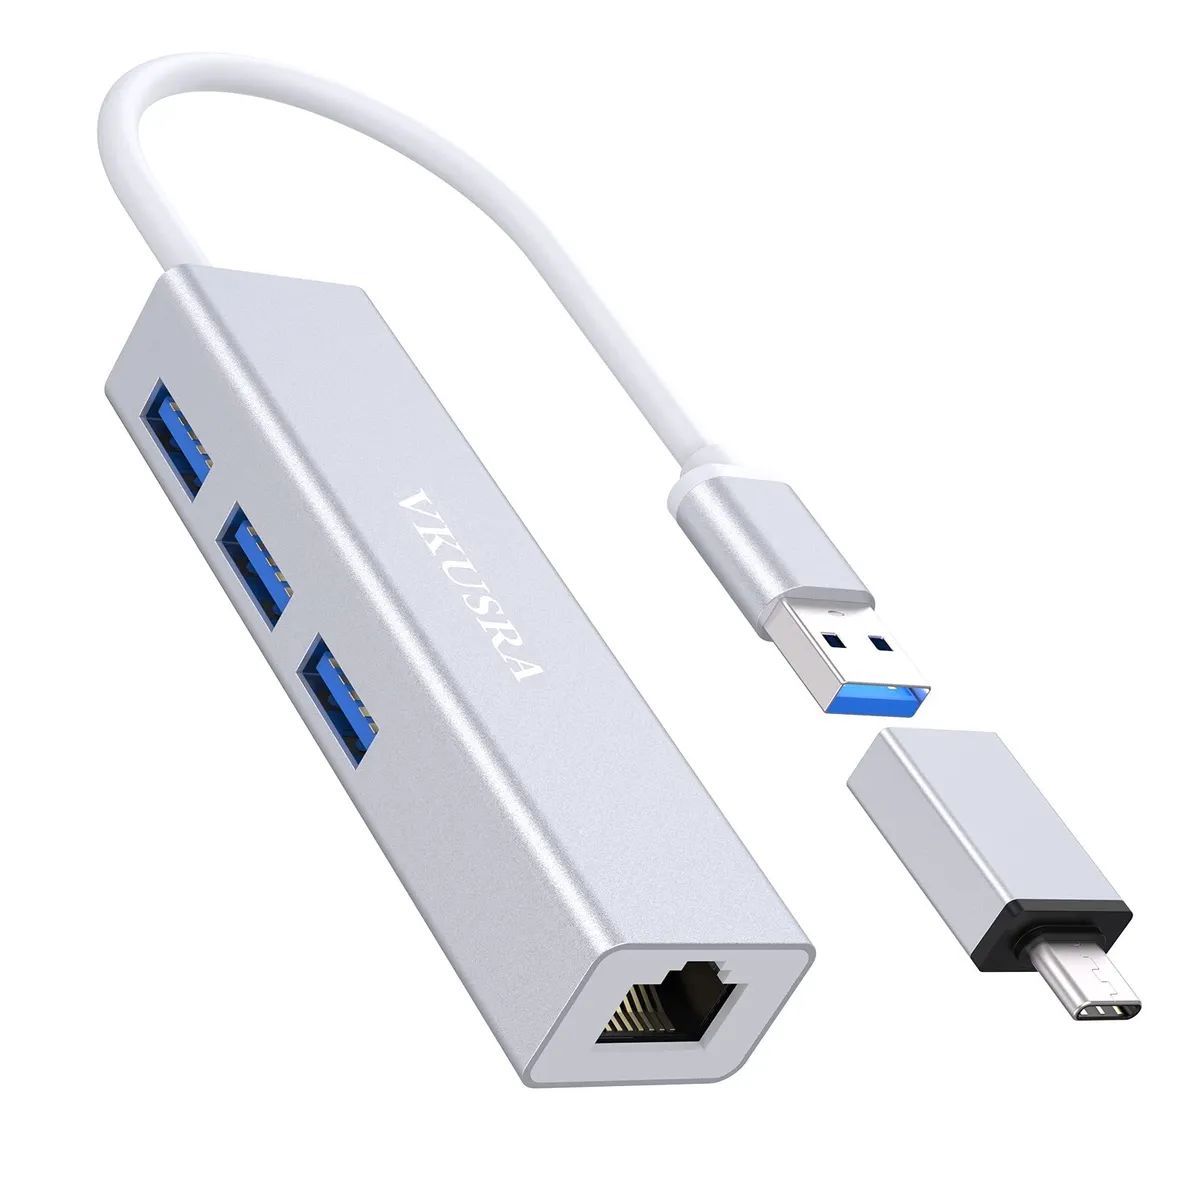
Keep in mind that some newer laptops may not have an Ethernet port built-in. If your laptop lacks an Ethernet port, you can still connect to a wired network using a USB-to-Ethernet adapter. This adapter plugs into a USB port on your computer and provides an Ethernet port for the connection.
Now that you have successfully located and connected the Ethernet port on your computer, it’s time to move on to the next step: connecting your device to a router or modem.
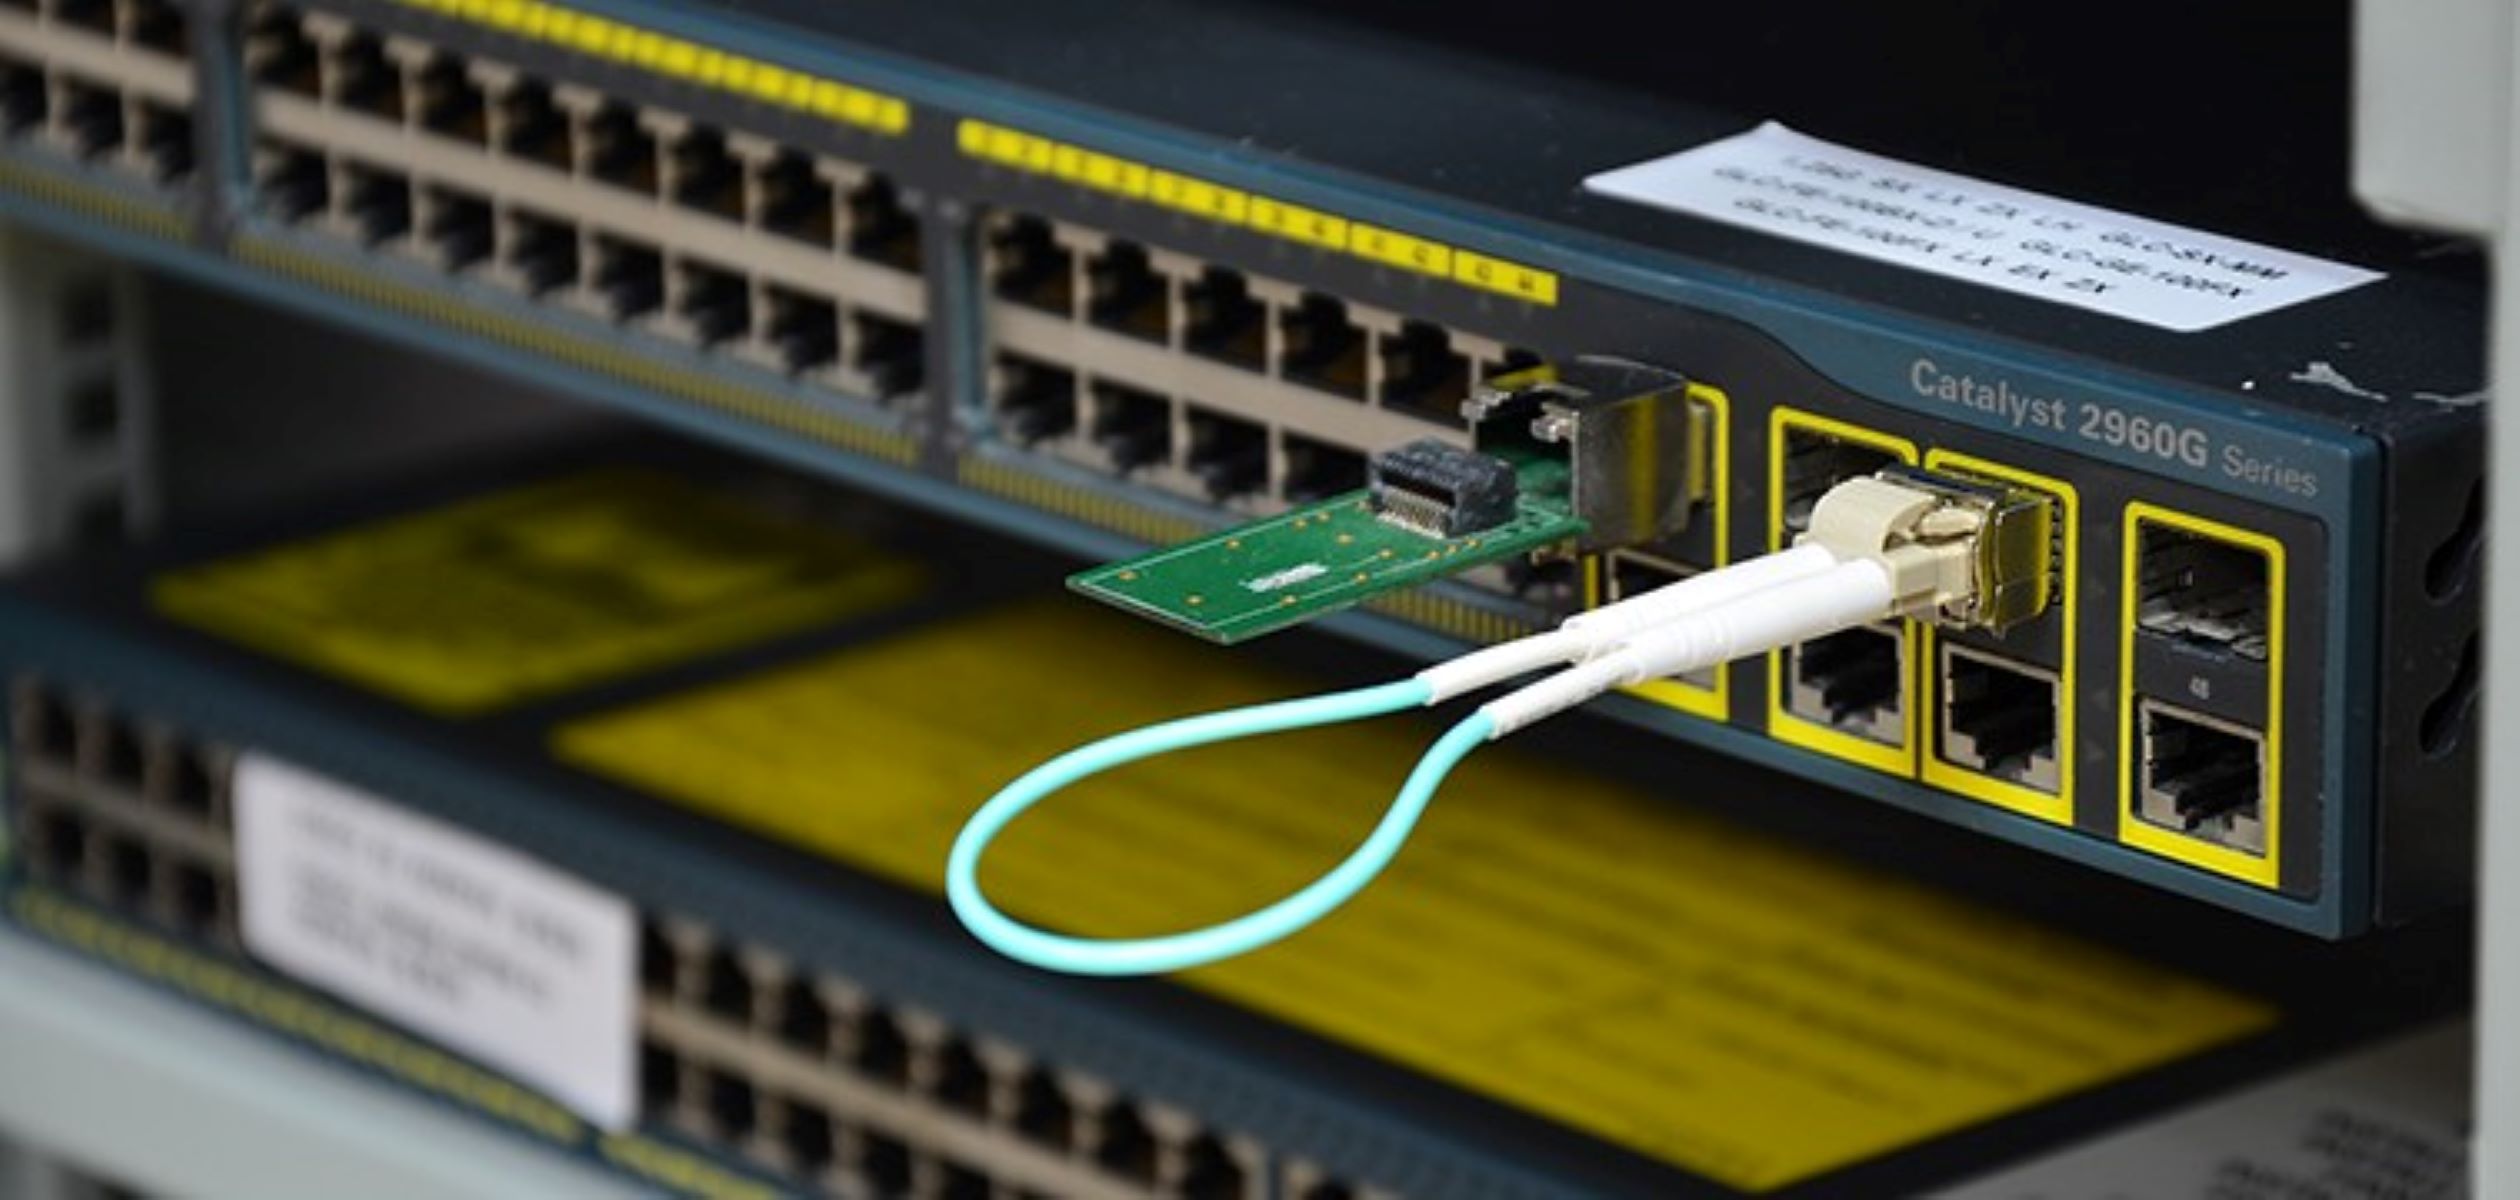
Ethernet Port on the Router or Modem
When setting up your internet connection, the router or modem plays a crucial role in delivering network connectivity to your devices. These devices also have Ethernet ports that allow for wired connections.
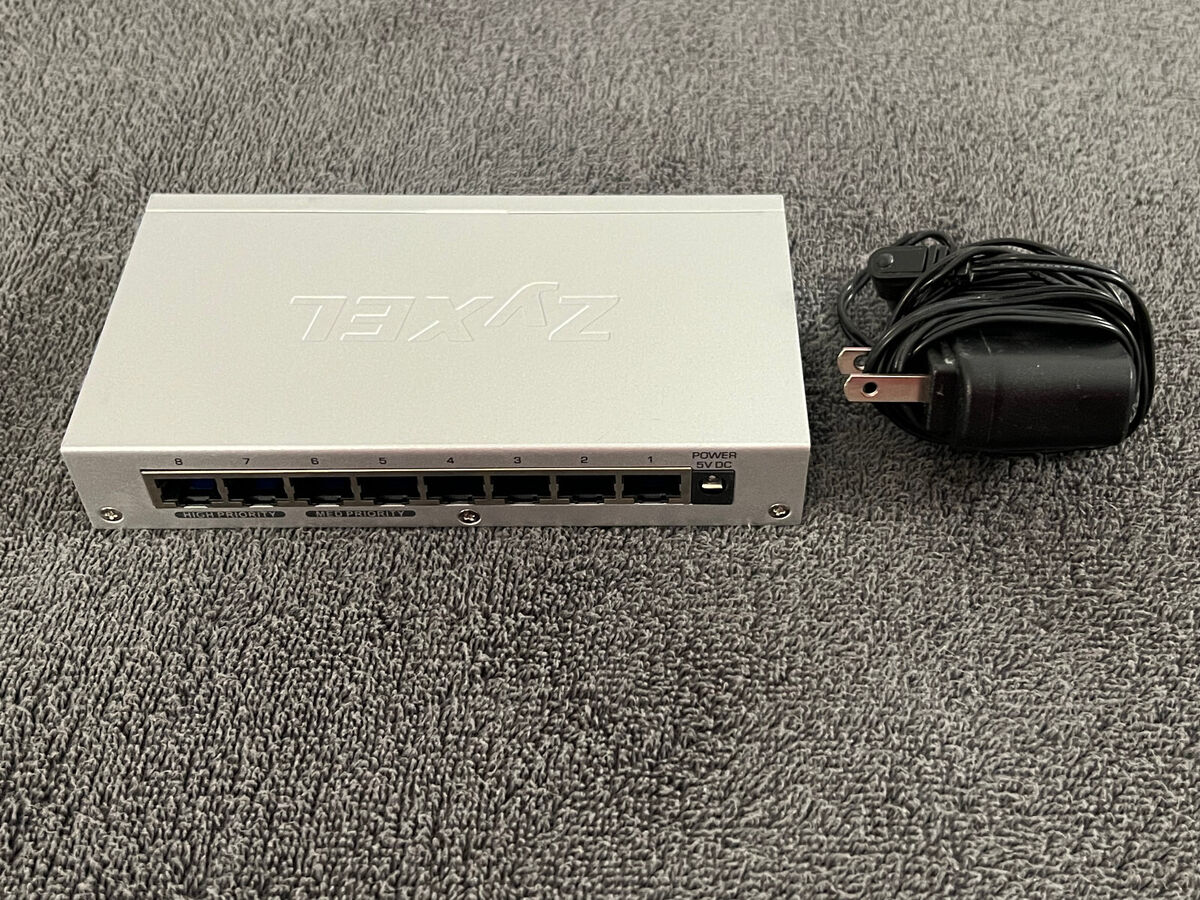
Most routers and modems have multiple Ethernet ports, typically located on the back or bottom of the device. These ports are labeled as “Ethernet,” “LAN,” or numbered for easier identification. The number of Ethernet ports may vary depending on the make and model of the router or modem.
For a typical home setup, you will find at least four Ethernet ports on the back of your router. These ports are usually color-coded, with one port often labeled as “Internet” or “WAN” for connecting to your internet service provider’s modem.
To establish a connection from your computer to the router or modem, simply plug one end of the Ethernet cable into the Ethernet port on your computer, and the other end into any available Ethernet port on the router or modem. It is recommended to use Cat5e or Cat6 cables for optimum performance.
If you are using a separate modem and router, ensure that you connect the Ethernet cable from the modem’s Ethernet port to the router’s “Internet” or “WAN” port. This configuration allows the router to receive the internet signal from the modem and distribute it to your devices through its Ethernet ports.
In situations where you have a combined modem and router unit, known as a gateway, you can skip the step of connecting a separate modem. Simply plug one end of the Ethernet cable into your computer and the other end into any available Ethernet port on the gateway device.
Now that you have successfully connected your computer to the router or modem, you can enjoy a stable and high-speed wired connection to your internet service provider.
Ethernet Port on Other Devices
In addition to computers, routers, and modems, there are various other devices that may have Ethernet ports for establishing a wired connection. These devices can range from gaming consoles and smart TVs to network switches and printers.
Gaming consoles, such as PlayStation and Xbox, often come equipped with Ethernet ports to provide a stable and reliable internet connection for online gaming. These ports are typically located on the back or side of the console and can be easily identified. Simply connect one end of the Ethernet cable to the console and the other end to an available Ethernet port on your router.
Many modern smart TVs also feature Ethernet ports, allowing you to connect your television directly to your home network for streaming content or accessing online features. Locate the Ethernet port on the back or side of your smart TV and connect it to an available Ethernet port on your router or modem using an Ethernet cable.
Network switches, commonly used in office environments to connect multiple devices to a network, have multiple Ethernet ports. These ports allow you to connect computers, printers, and other devices to expand your network capabilities. Connect one end of the Ethernet cable to a computer, printer, or any other device, and the other end to one of the Ethernet ports on the network switch.
Printers with built-in network capabilities often feature Ethernet ports to enable wired printing and network connectivity. Locate the Ethernet port on your printer and connect it to an Ethernet port on your router, modem, or network switch using an Ethernet cable.
Other devices, such as network-attached storage (NAS) devices, digital media players, and even some home security systems, may also have Ethernet ports for network connectivity. Refer to the specific device’s documentation or look for the Ethernet port near the device’s back or bottom panel.
By connecting these devices to your network via Ethernet, you can ensure faster data transfer speeds, improved reliability, and reduced network congestion compared to a wireless connection.
Now that we have covered the various devices that may have Ethernet ports, let’s move on to the next step: connecting the Ethernet cable.
Connecting the Ethernet Cable
Now that you have located the Ethernet ports on your devices, it’s time to connect them using an Ethernet cable. Follow these simple steps to establish a wired connection:
- Ensure that all devices you want to connect are powered off.
- Take an Ethernet cable and examine the connectors at each end. One end of the cable should have a connector that matches the Ethernet port on your device, while the other end will have a connector that matches the port on your router, modem, or other networking equipment.
- With the devices powered off, insert one end of the Ethernet cable into the Ethernet port on your computer or other device. Make sure it clicks securely into place.
- Connect the other end of the Ethernet cable to the corresponding Ethernet port on your router, modem, network switch, or other networking device.
- After making sure both ends of the cable are securely connected, power on your devices.
- Wait for the devices to establish a connection. This may take a few moments as the devices negotiate and configure the network settings.
- Once the connection is established, you should see a solid indicator light or an active network icon on your device, indicating that you are successfully connected via Ethernet.
Remember, for optimal performance, use a high-quality Ethernet cable, such as Cat5e, Cat6, or Cat7. These cables are designed to deliver fast and reliable data transmission.
By connecting your devices with Ethernet cables, you can experience faster internet speeds, lower latency, and more stable connections compared to relying solely on wireless networks.
If you encounter any issues with the Ethernet connection, refer to the troubleshooting section in this guide for possible solutions.
Troubleshooting Ethernet Connection Issues
While setting up and using Ethernet connections is generally straightforward, you may encounter occasional issues that can affect network connectivity. Here are some troubleshooting steps you can take to resolve common Ethernet connection problems:
- Check cable connections: Ensure that both ends of the Ethernet cable are securely plugged into their respective ports. If the connection seems loose, unplug and reconnect the cables to establish a better connection.
- Restart devices: Power off the devices connected via Ethernet, including your computer, router, modem, or any other networking equipment. Wait for a few seconds, then power them back on. This simple step can resolve minor connection issues.
- Replace the cable: If you suspect that the Ethernet cable is faulty, try using a different cable. Sometimes a damaged or low-quality cable can cause connectivity problems.
- Update network drivers: Outdated or incompatible network drivers can cause issues with your Ethernet connection. Visit the manufacturer’s website of your computer or network adapter and download the latest drivers for your specific model.
- Disable firewall or antivirus software: Occasionally, firewall or antivirus software can block Ethernet connectivity. Temporarily disable these applications and check if the connection is restored. If so, adjust the settings to allow Ethernet traffic.
- Reset network settings: If you have made changes to your network settings, such as modifying IP addresses or DNS configurations, try resetting the settings to their default values. Consult the device’s user manual or the manufacturer’s website for guidance on how to perform a network reset.
- Check for firmware updates: Ensure that your router or modem has the latest firmware installed. Outdated firmware can cause compatibility issues and impact Ethernet connectivity. Visit the manufacturer’s website or use the device’s administration panel to check for and install any available updates.
- Seek professional assistance: If you have exhausted all troubleshooting steps and still cannot establish a stable Ethernet connection, it may be beneficial to seek assistance from a professional network technician or contact customer support for your specific device or internet service provider.
Remember to approach troubleshooting systematically, focusing on one potential issue at a time. This will help you identify and resolve the problem more efficiently.
By following these troubleshooting steps, you can overcome Ethernet connection issues and enjoy a reliable, high-speed wired network connection.
Conclusion
Understanding where to plug the Ethernet cable is crucial for establishing a reliable and high-speed network connection. By familiarizing yourself with the various Ethernet ports on your devices and following the steps outlined in this guide, you can easily connect your computer, router, modem, and other devices with Ethernet capabilities.
Remember to locate the Ethernet port on your computer, connect it to the Ethernet port on your router or modem, and ensure that all cable connections are secure. Additionally, consider using high-quality Ethernet cables, such as Cat5e, Cat6, or Cat7, to optimize data transmission and network performance.
If you encounter any connectivity issues, try troubleshooting by checking cable connections, restarting devices, and updating drivers or firmware. Take advantage of troubleshooting techniques, such as disabling firewall or antivirus software, resetting network settings, or seeking professional assistance when needed.
By utilizing Ethernet connections, you can enjoy faster internet speeds, reduced latency, increased network stability, and a more reliable networking experience overall. Wired connections are particularly beneficial for activities that demand a stable and robust internet connection, such as online gaming, streaming high-definition content, or transferring large files.
Whether you are setting up a home network, connecting multiple devices, or troubleshooting network issues, understanding Ethernet connections will empower you to maximize your network’s potential. Take the time to familiarize yourself with the Ethernet ports on your devices, connect them properly, and ensure a seamless and efficient wired network experience.
Now that you have successfully learned where to plug the Ethernet cable, enjoy the benefits of a fast and reliable network connection for all your digital needs!