Introduction
When it comes to establishing a reliable and speedy network connection, Ethernet cables play a crucial role. These cables allow data to be transmitted over a local area network (LAN) with minimal interruptions or delays. However, like any other piece of technology, Ethernet cables can sometimes experience issues or degradation in performance.
Testing your Ethernet cables is essential to ensure that they are functioning optimally and providing the desired connection speed. By conducting regular tests, you can identify and address any potential issues, such as cable faults, damage, or poor connectivity. Whether you are setting up a new network or troubleshooting an existing one, understanding how to test Ethernet cables is a valuable skill that can save you time and frustration.
In this article, we will guide you through the process of testing an Ethernet cable to ensure its reliability and performance. We will cover different testing methods and provide step-by-step instructions to make the process easier to follow. By the end of this guide, you will have the knowledge and tools to effectively test your Ethernet cables and ensure a stable and efficient network connection.
Tools and Equipment Needed
Before you begin testing your Ethernet cable, there are a few tools and equipment that you will need to ensure accurate and reliable results. Having these items on hand will make the testing process smoother and more efficient. Here are the essential tools you will need:
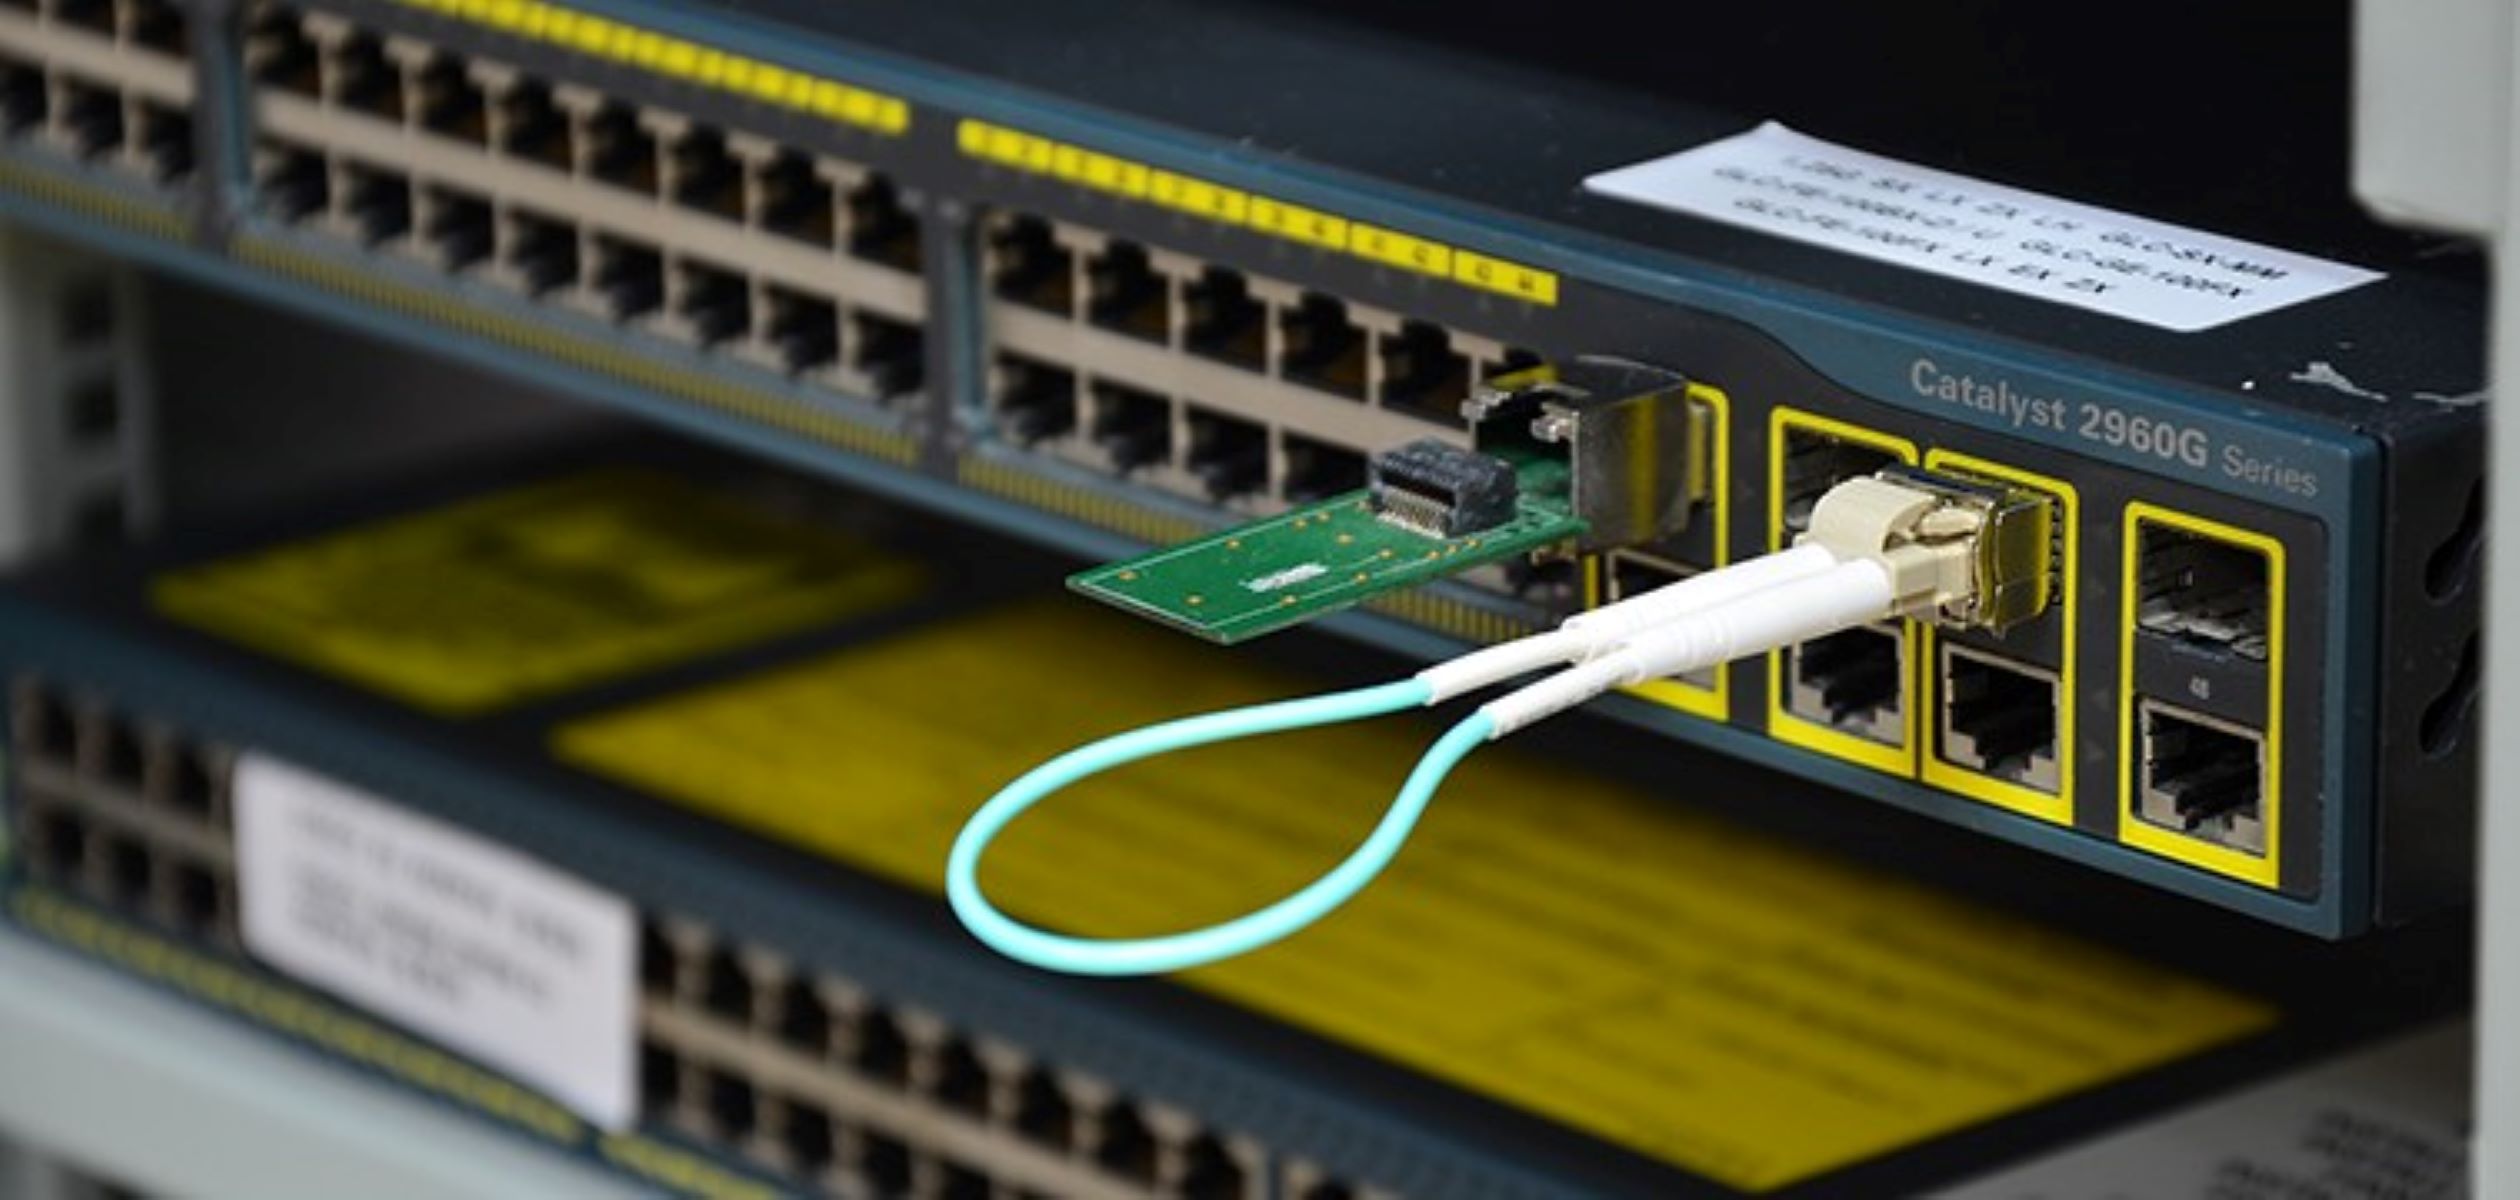
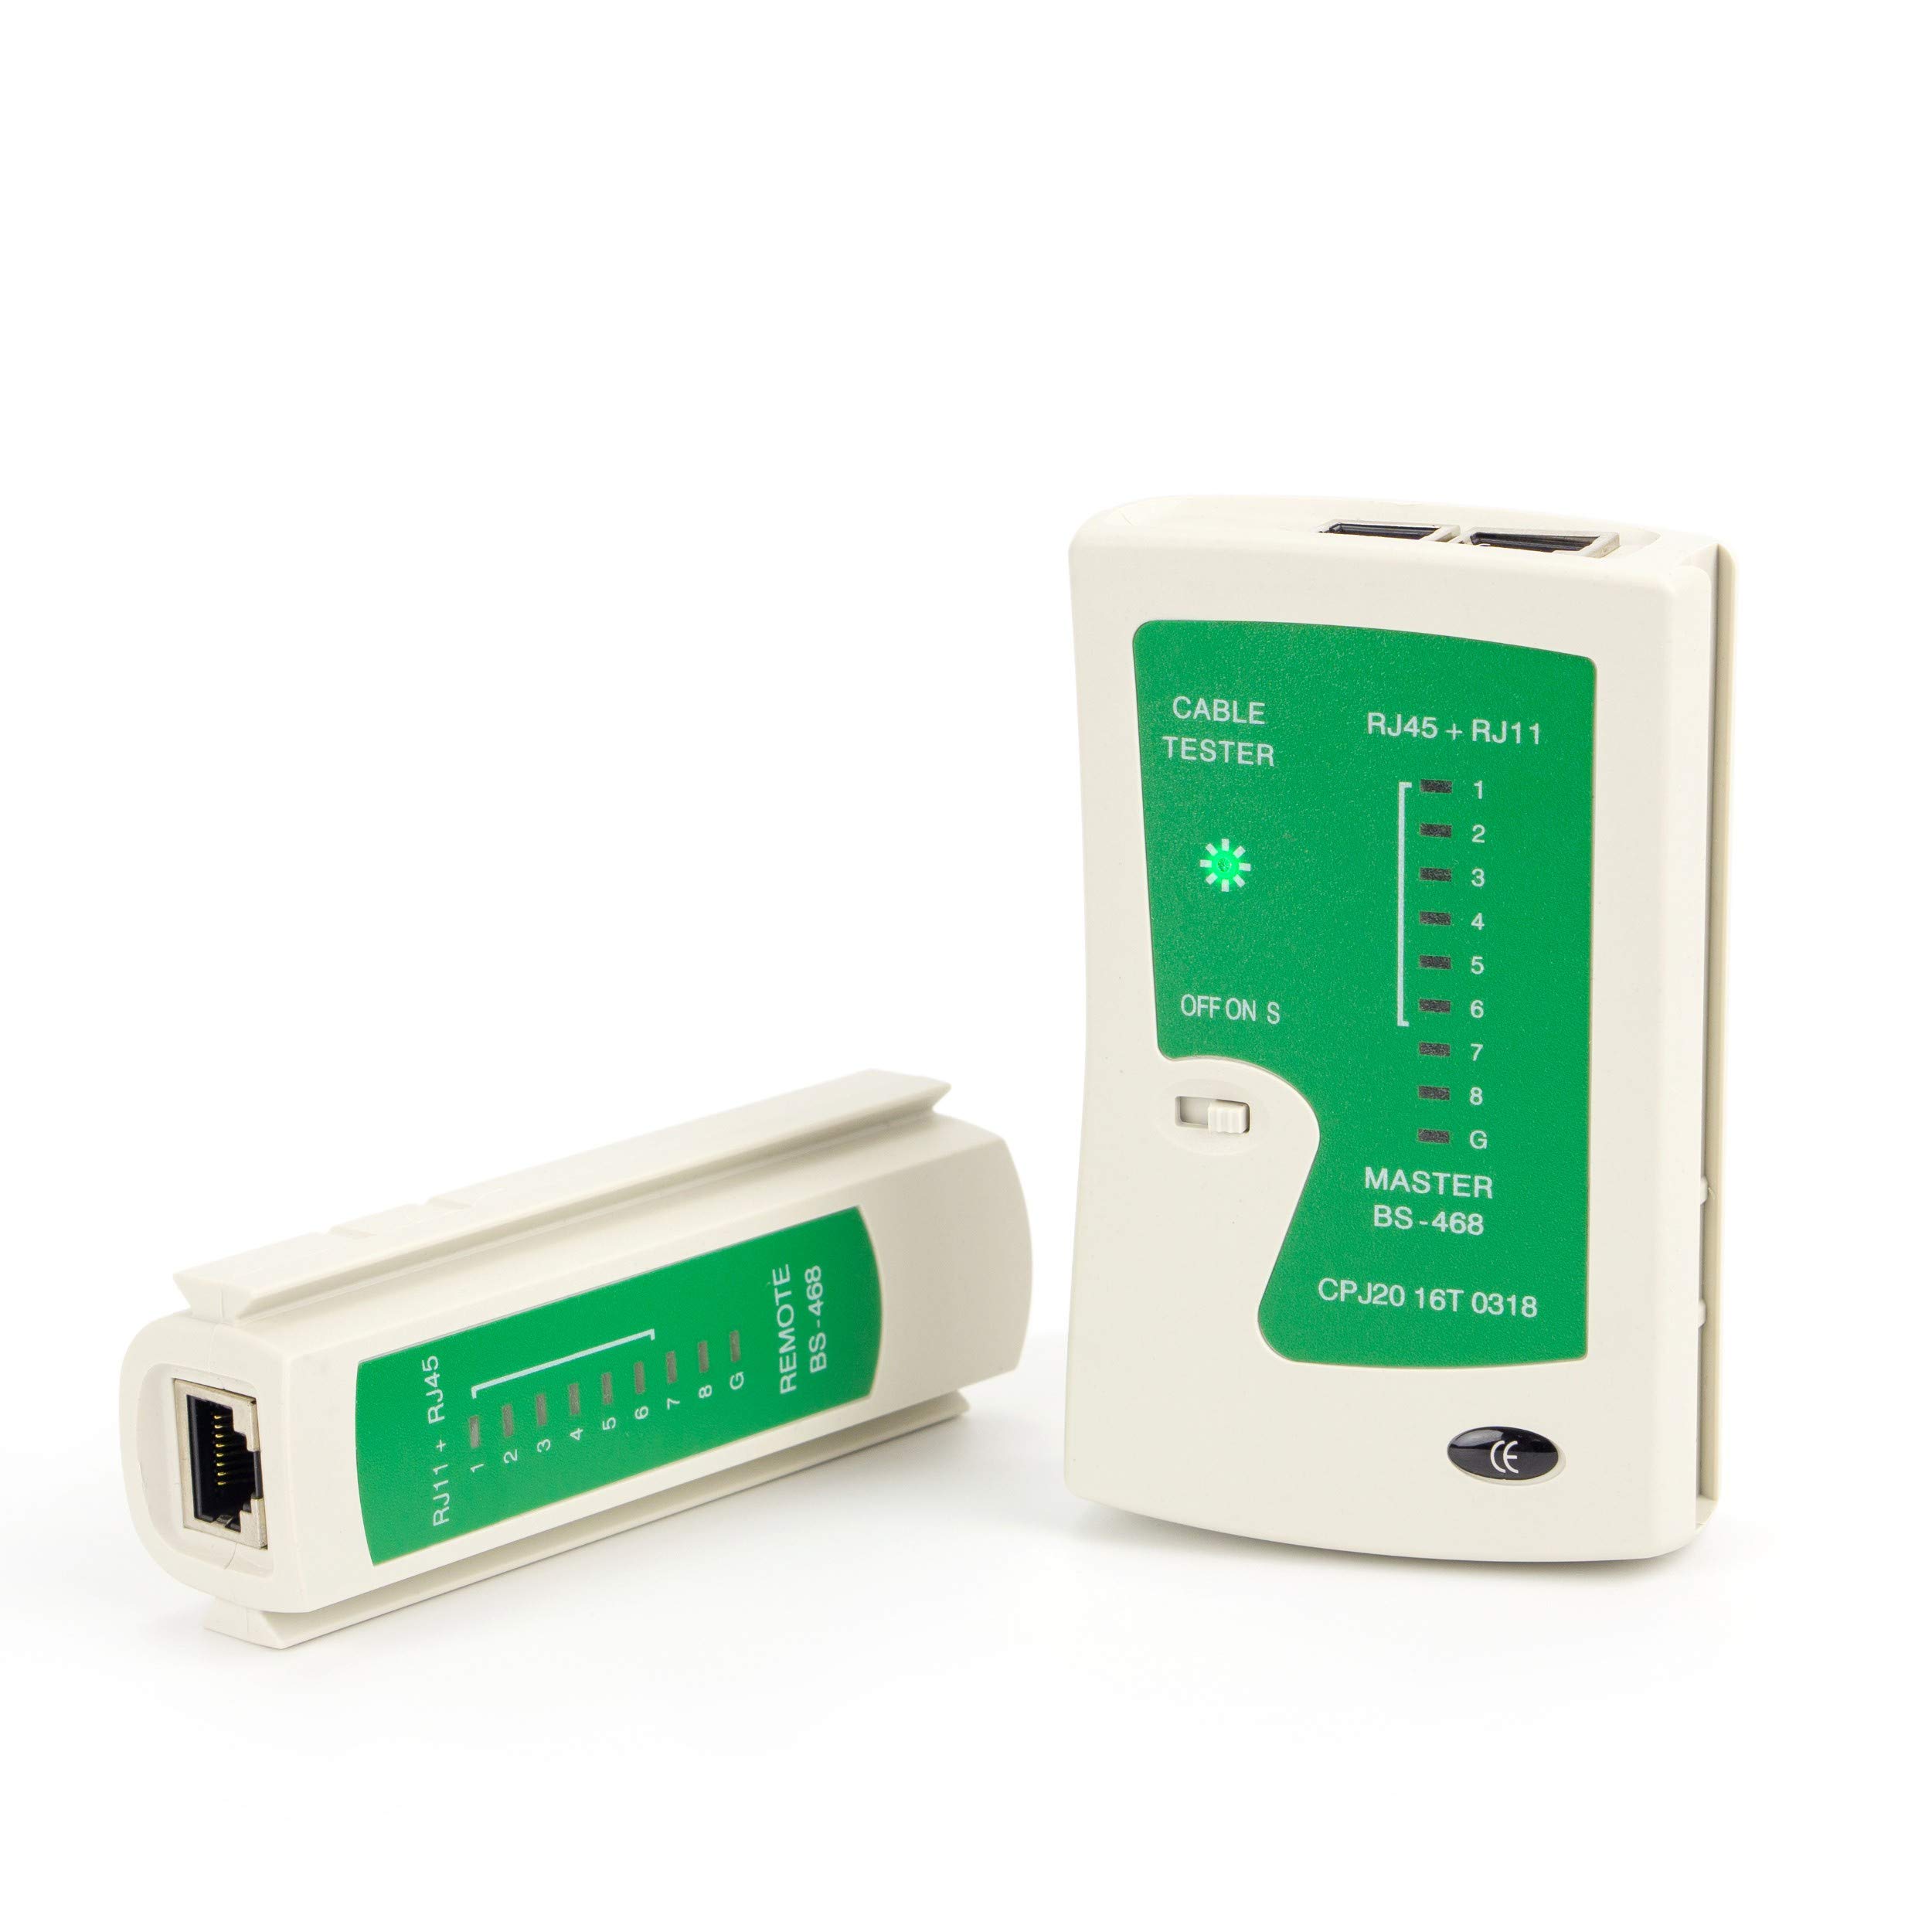
- Cable Tester: A cable tester is a device specifically designed to test Ethernet cables. It helps identify any faults or connectivity issues in the cable, providing a detailed analysis of its performance.
- Cable Analyzer: A cable analyzer is a more advanced tool that provides comprehensive testing capabilities. It can measure cable length, identify common faults, measure signal quality, and even perform detailed certification tests.
- TDR (Time-Domain Reflectometer): A TDR is a specialized tool used to locate faults and measure cable length accurately. It analyzes the cable by sending electrical pulses and measuring the reflections to pinpoint any damage or issues.
- Loopback Plug: A loopback plug is a simple device that connects to one end of a cable, creating a loop that allows the cable to send and receive signals back to itself. It is used for continuity testing and verifying signal flow.
- Computer or Laptop: You will need a computer or laptop to run the testing software and analyze the results. Make sure your device has an Ethernet port or an adapter to connect the cable.
While these tools are not all necessary for basic testing, having access to them can provide more in-depth analysis and troubleshooting options. Additionally, ensure that you have the appropriate cables and connectors to connect your Ethernet cable to the testing equipment.
Step 1: Visual Inspection
Before diving into the technical testing methods, it is crucial to begin with a visual inspection of your Ethernet cable. This step allows you to identify any visible damage or issues that may affect the cable’s performance. Follow these steps for a thorough visual inspection:
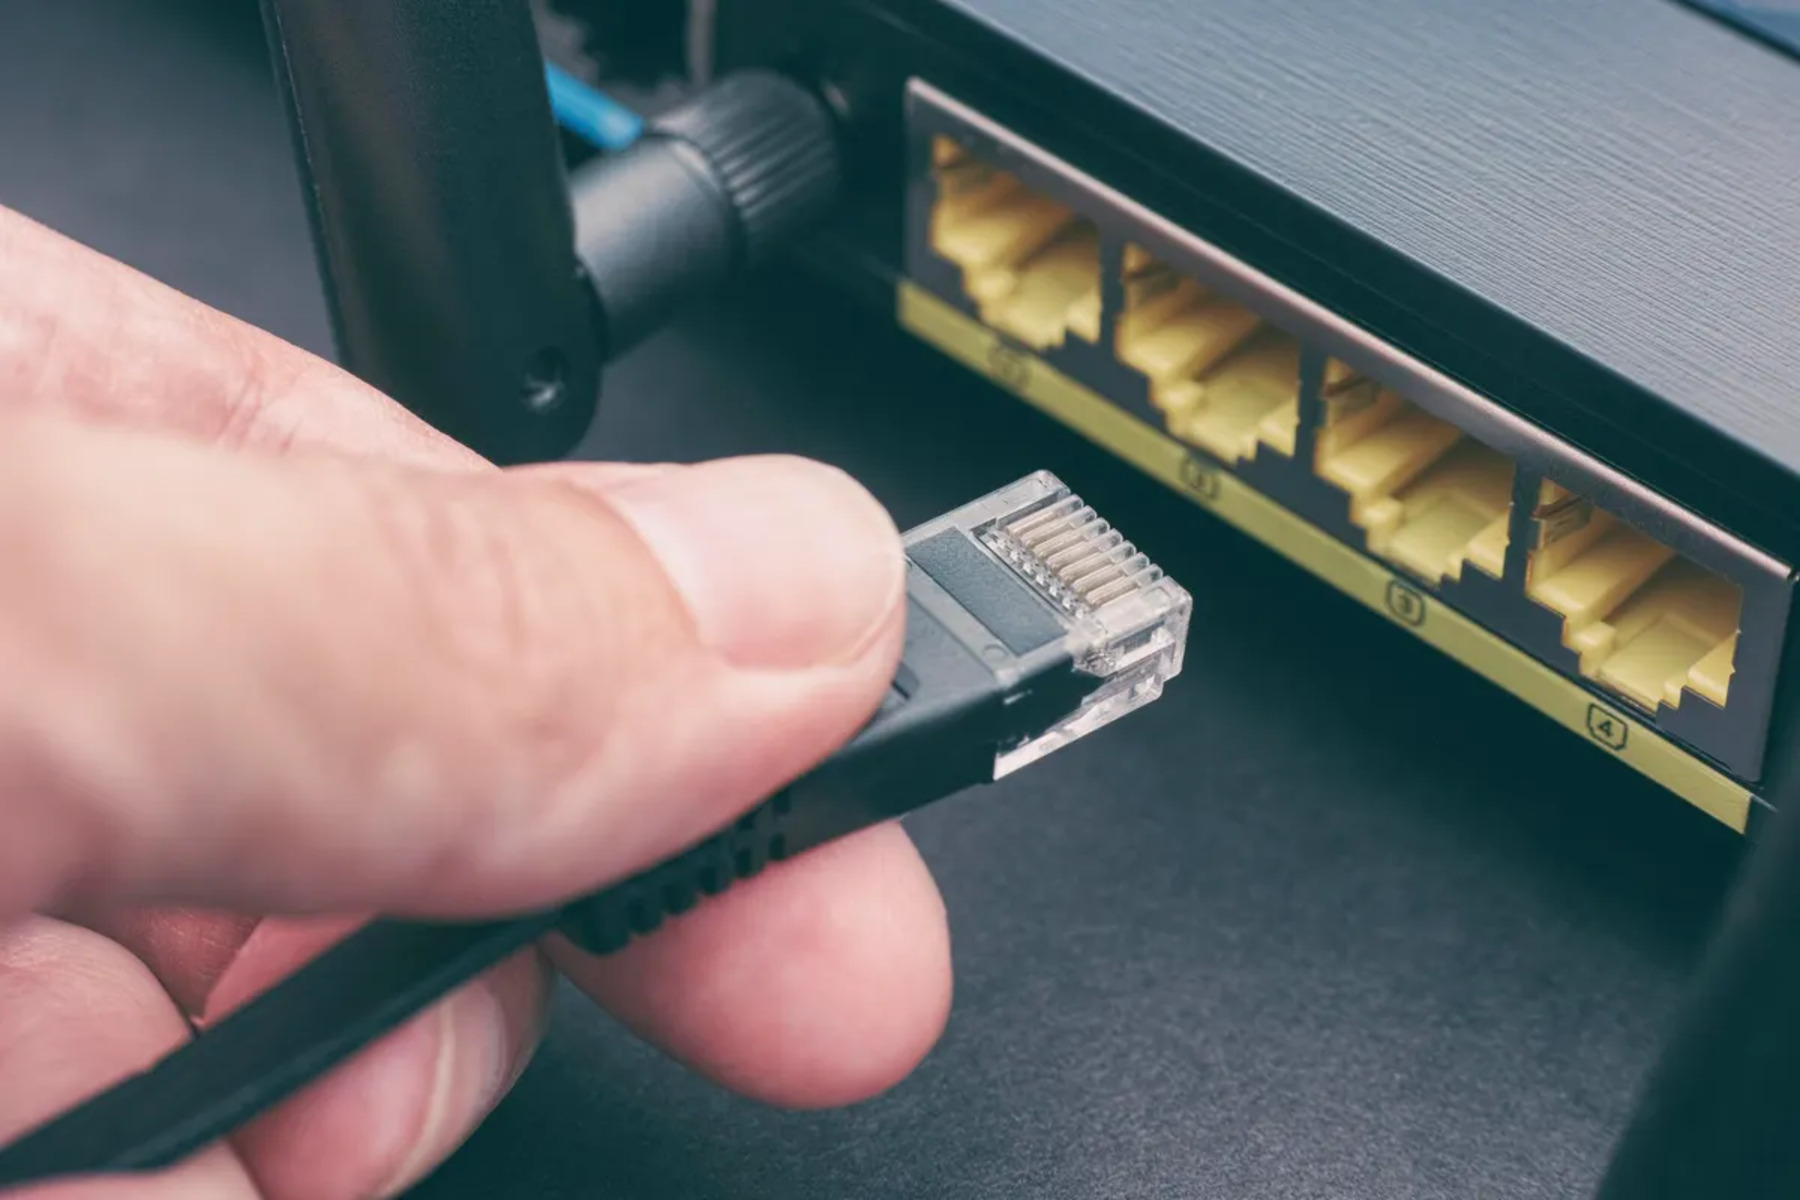
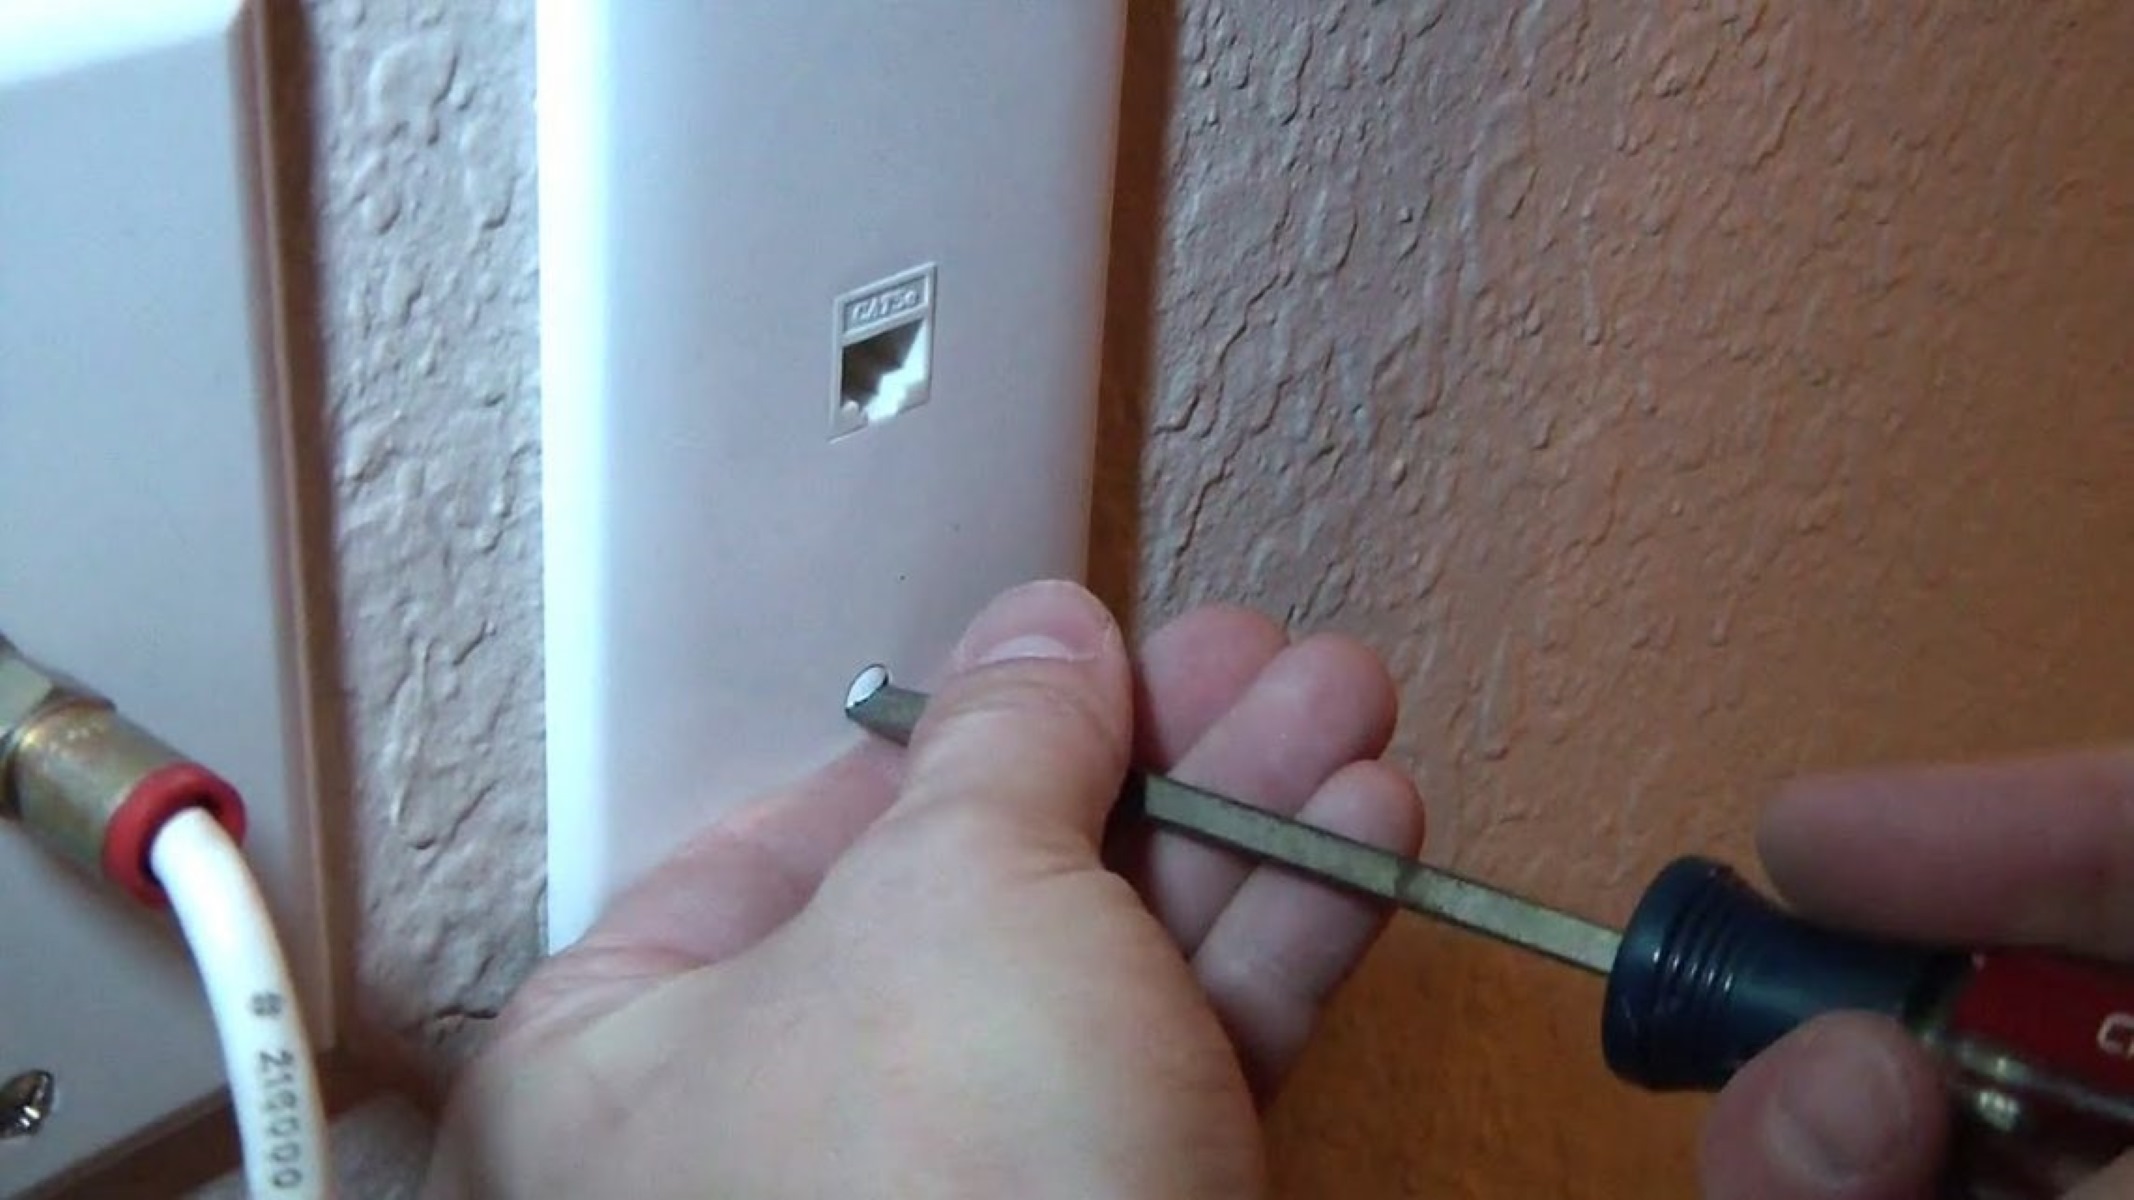
- Examine the cable connectors: Check both ends of the Ethernet cable for any bent or broken pins, loose connections, or signs of corrosion. Ensure that the connectors are fully inserted into the ports.
- Inspect the cable jacket: Look for any noticeable cuts, fraying, or damage to the outer jacket of the cable. Avoid using cables with severe jacket damage, as it can lead to interference or signal loss.
- Check for kinks or bends: Smooth out any kinks or sharp bends in the cable, as these can cause signal degradation. Avoid tightly coiling or bending the cable beyond its recommended radius.
- Verify cable length: If the cable has length markings, compare the actual length to the labeled length. A significant deviation from the labeled length could indicate a manufacturing defect or cable alteration.
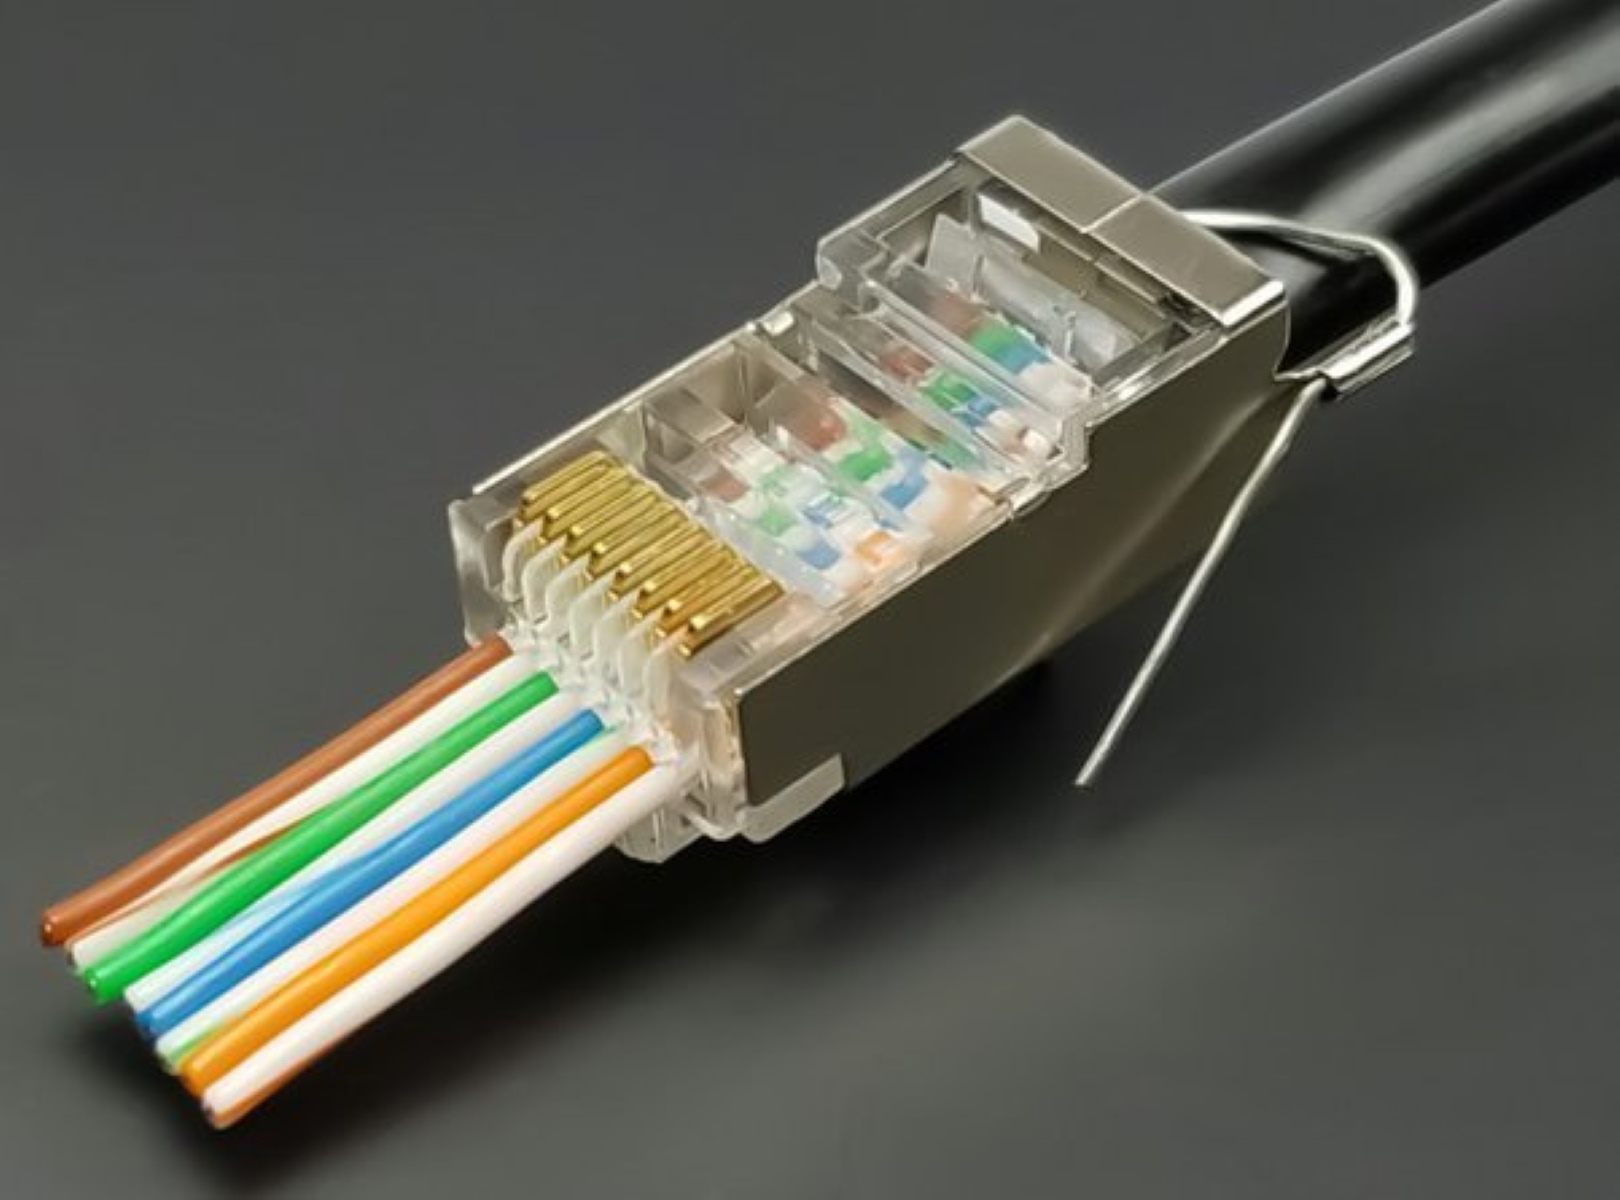
- Inspect for visible wire damage: Carefully examine the exposed wires inside the cable. Look for signs of fraying, twisting, or breaks in the individual conductors. Any visible wire damage can impact signal transmission.
A thorough visual inspection is a crucial first step in testing your Ethernet cable. Even the smallest issue can cause significant disruptions to your network. If you notice any visible damage or abnormalities during the visual inspection, consider replacing the cable with a new one to ensure optimal performance.
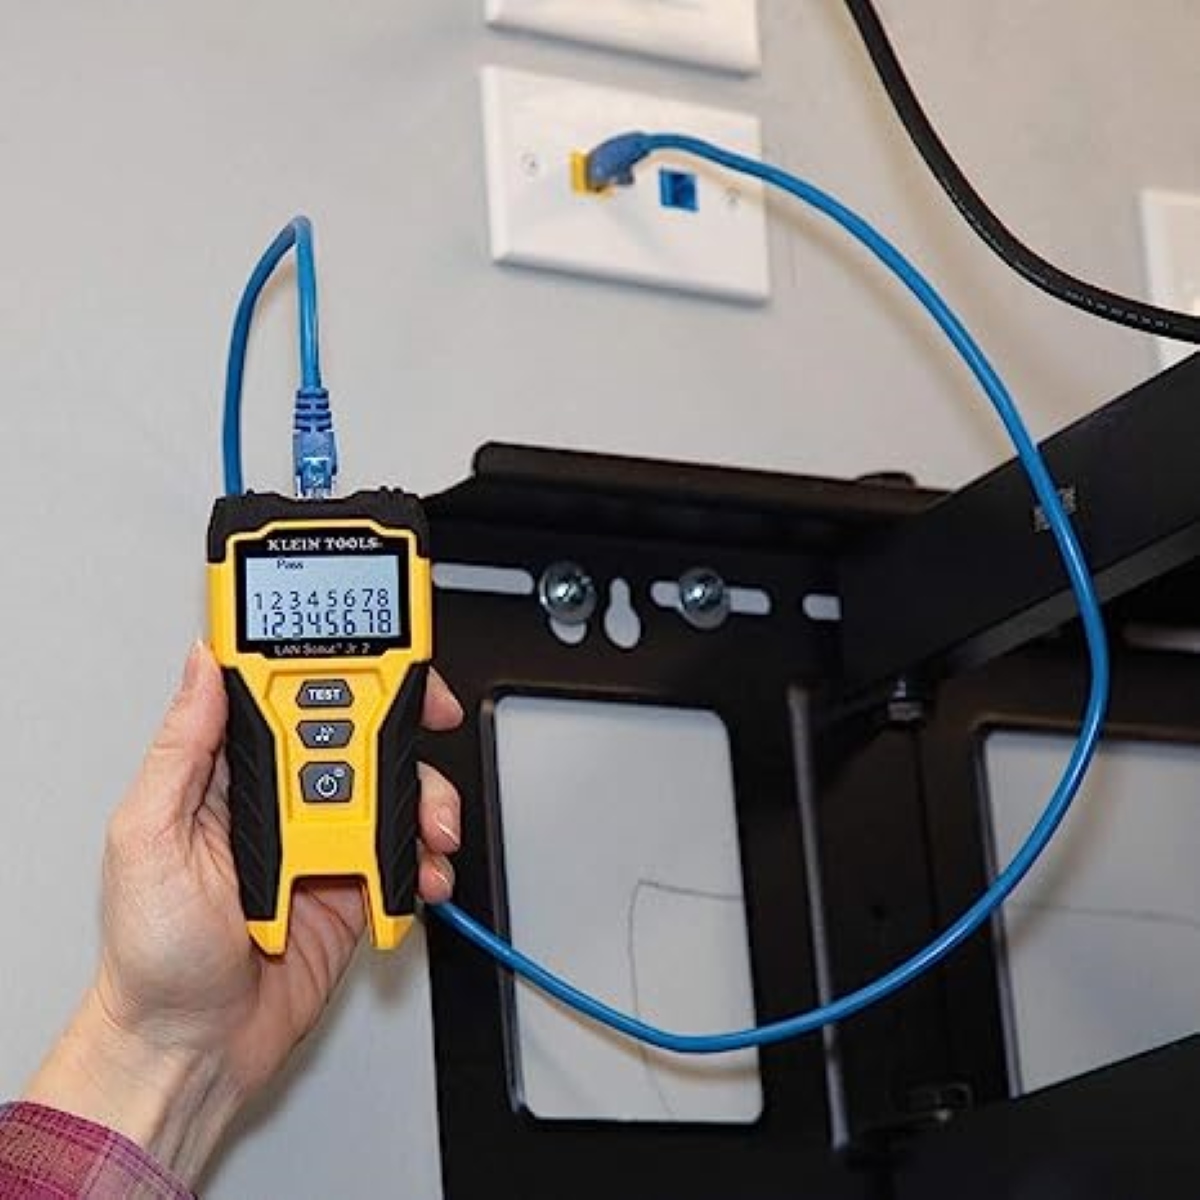
Step 2: Continuity Test
After performing a visual inspection, the next step is to conduct a continuity test on your Ethernet cable. This test checks if there is a consistent electrical connection between the different pins of the cable. Follow these steps to perform a continuity test:
- Prepare the loopback plug: Plug one end of the loopback plug into the transmit (TX) port and the other end into the receive (RX) port of the Ethernet cable.
- Connect the cable: Plug one end of the Ethernet cable into the testing device or computer’s Ethernet port and the other end into the appropriate port on the loopback plug.
- Run the continuity test: Use the cable tester or network testing software to perform the continuity test. The tester will send a signal through the cable, and if the connection is continuous, it should receive the signal back from the loopback plug.
- Interpret the results: The tester software will display the results of the continuity test. Ensure that all the pins of the cable are properly connected, and there are no breaks or open circuits.
A positive continuity test indicates that the electrical signals can flow through the cable without any interruptions. If the test shows any signs of discontinuity or open circuits, it suggests that there may be a fault in the cable or poor connectivity at one or both ends. In such cases, you may need to replace the cable or check the connectors for any damage or loose connections.
Performing a continuity test helps determine the basic functionality of the Ethernet cable and ensures that the internal wiring is intact. It is an essential step before moving on to more advanced testing methods for analyzing the cable’s performance.
Step 3: Cable Analyzer Test
Once you have performed the visual inspection and continuity test, the next step is to conduct a cable analyzer test. This test provides a more comprehensive analysis of the Ethernet cable’s performance, measuring various aspects such as signal quality, crosstalk, and cable length. Follow these steps to perform a cable analyzer test:
- Connect the cable: Plug one end of the Ethernet cable securely into the appropriate port on the cable analyzer device.
- Configure the test settings: Set up the cable analyzer according to your specific needs. This may include selecting the appropriate cable standards (such as Cat5e or Cat6), setting the desired test parameters, and choosing the specific tests to be performed.
- Start the test: Initiate the cable analyzer test, allowing it to analyze the cable’s performance. The analyzer will send test signals through the cable and measure various parameters, such as attenuation, noise, and impedance.
- Review the test results: Once the test is complete, the cable analyzer will display the results. Pay close attention to any areas where the cable may fail or exhibit poor performance, such as excessive signal loss or high levels of crosstalk.
- Interpret the results: Analyze the test results to identify any issues or areas for improvement. Based on the analyzer’s report, you can determine if the cable meets the required standards and specifications for its intended use.
A cable analyzer test provides a more in-depth analysis of the Ethernet cable’s performance, allowing you to assess its overall quality and suitability for high-speed data transmission. It helps identify potential problems and enables you to take necessary actions, such as replacing faulty cables or making improvements to your network infrastructure.
Note that cable analyzer tests require specialized equipment and may involve more technical knowledge. If you are unsure about performing this test yourself, consider seeking assistance from a professional network technician or consultant.
Step 4: Cable Certification Test Using TDR
In addition to the cable analyzer test, you can also use a Time-Domain Reflectometer (TDR) to perform a cable certification test. TDR is a specialized tool that measures cable length and identifies faults or disruptions within the cable. This test is particularly useful for certifying the cable’s performance and ensuring it meets industry standards. Follow these steps to conduct a cable certification test using TDR:
- Connect the TDR device: Connect one end of the Ethernet cable securely to the TDR device.
- Configure the TDR settings: Set up the TDR according to the cable type and desired parameters. This may include selecting the cable type (Cat5e, Cat6, etc.), setting the velocity of propagation, and specifying the test range.
- Perform the certification test: Initiate the cable certification test using the TDR. The device will send electrical pulses through the cable and measure the reflections to determine cable length and locate any cable faults or disruptions.
- Interpret the TDR results: Analyze the TDR results to assess the cable’s performance. The TDR report will indicate if the cable meets the industry standards, providing information on cable length, any impedance mismatches, attenuation, or faults.
- Take necessary actions: Based on the TDR results, take appropriate actions to rectify any identified issues. This may involve repairing or replacing the cable, correcting impedance mismatches, or improving the overall installation to ensure optimal performance.
A cable certification test using TDR provides a thorough evaluation of the cable’s characteristics and verifies its compliance with industry standards. This test is especially crucial for critical network installations or when working with long cable runs where signal integrity is paramount.
Although TDR tests can provide valuable insights into cable performance, they require specialized equipment and technical expertise. If you are unsure about performing this test yourself, consider consulting with an experienced network technician or professional.
Step 5: Testing Ethernet Cable Speed and Performance
After conducting the visual inspection, continuity test, cable analyzer test, and cable certification test, the final step is to test the Ethernet cable’s speed and performance. This step allows you to measure the actual data transfer rate and ensure that the cable is capable of achieving the desired network speed. Follow these steps to test Ethernet cable speed and performance:
- Connect the cable: Plug one end of the Ethernet cable into your testing device, such as a computer, laptop, or network switch. Ensure that the other end is connected to the appropriate network device.
- Select a speed testing tool: There are various online tools available that allow you to test the speed of your internet connection. Use a reliable and reputable speed testing tool to validate the performance of your Ethernet cable.
- Run the speed test: Start the speed test and allow it to measure the upload and download speeds. The test will send and receive data packets through the Ethernet cable, providing you with accurate speed measurements.
- Analyze the results: Once the speed test is complete, review the results to determine the upload and download speeds experienced through the Ethernet cable. Compare these speeds to your internet service provider’s advertised speeds to ensure they align.
- Take necessary actions: If the speeds are significantly lower than what is expected, you may need to troubleshoot and identify any factors contributing to the slowdown. This could include checking for network congestion, updating firmware or drivers, or contacting your internet service provider for assistance.
Testing the speed and performance of your Ethernet cable is crucial to ensure that it can handle the required data transmission without any bottlenecks or limitations. By conducting regular speed tests, you can identify potential issues and make the necessary adjustments to optimize your network connectivity.
Remember that the speed and performance of your Ethernet cable may also depend on other factors, such as the quality of your network equipment and the overall network configuration. Consider performing speed tests at different times to account for variations in network traffic and usage.
Conclusion
Testing your Ethernet cable is an essential aspect of ensuring a reliable and efficient network connection. By following the steps outlined in this guide, you can identify any issues or faults in your Ethernet cable and take appropriate actions to rectify them. Here’s a quick recap of the testing process:
- Start with a visual inspection, checking for any physical damage or loose connections.
- Perform a continuity test using a cable tester or loopback plug to ensure consistent connectivity.
- Consider conducting a cable analyzer test to analyze signal quality, crosstalk, and other performance parameters.
- Utilize a Time-Domain Reflectometer (TDR) for a cable certification test, measuring cable length and detecting faults.
- Lastly, test the actual speed and performance of the Ethernet cable using a reliable speed testing tool.
Regularly testing your Ethernet cable helps troubleshoot issues, optimize network performance, and ensure that you are getting the most out of your network connection. It allows you to identify and address any potential problems, such as damaged cables, poor connectivity, or speed limitations.
Remember to utilize the appropriate tools and equipment for each testing step, and seek professional assistance when needed. Additionally, maintain proper cable management and handle cables with care to prevent damage and maintain optimal performance.
By investing time and effort into testing your Ethernet cable, you can enjoy a reliable and stable network connection that supports your data transfer needs. So, don’t overlook the importance of regular testing and ensure the longevity and efficiency of your network infrastructure.