Introduction
Running Ethernet outside can be a daunting task, especially if you want to connect devices in different buildings or across a large outdoor area. However, with the right equipment and techniques, it is possible to establish a reliable and high-speed wired connection outdoors.
Whether you’re looking to extend your home network, set up a security camera system, or establish a network connection in an outdoor workspace, running Ethernet outside can provide a solution. By utilizing a few key steps, you can ensure that your outdoor Ethernet connection is secure, weatherproof, and able to deliver fast and reliable internet access.
In this article, we will guide you through the process of running Ethernet cables outside, from choosing the right cable to weatherproofing, routing, hiding, terminating, and testing the connection. By following these steps and best practices, you can successfully set up an outdoor Ethernet connection that meets your specific needs.
Before we dive into the details, it’s important to note that running Ethernet cables outside may require some technical knowledge and basic understanding of networking concepts. If you’re comfortable with handling hardware, running cables, and configuring network devices, you’re already on the right track. If not, it’s always a good idea to consult a professional or seek assistance from someone with experience in networking.
Now, let’s get started with the first step: preparing the necessary equipment.
Preparing the Equipment
Before you begin running Ethernet cables outside, it’s essential to gather all the necessary equipment to ensure a smooth installation process. Here’s a list of the equipment you’ll need:
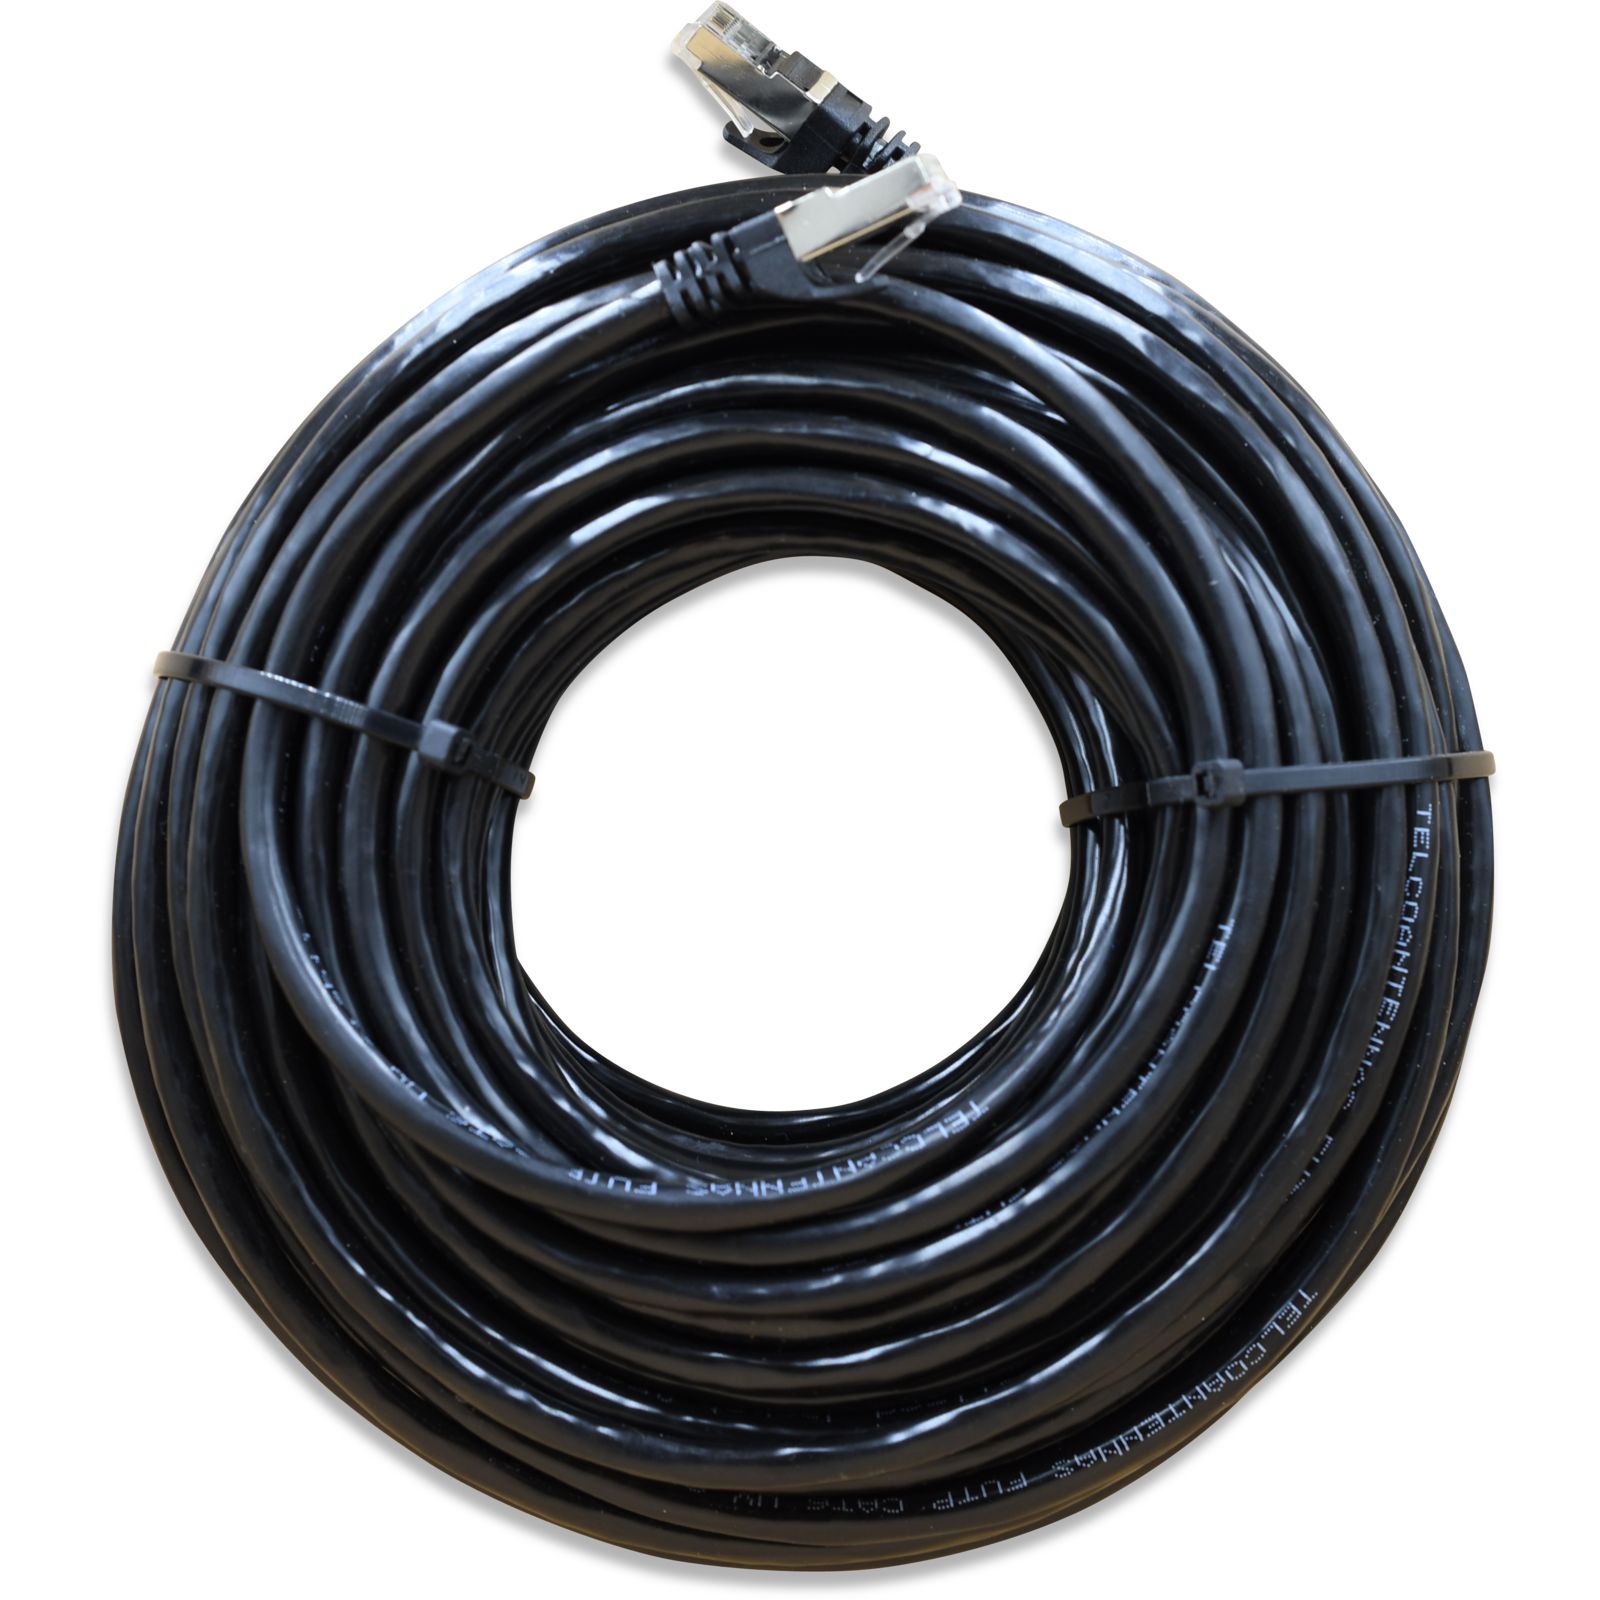
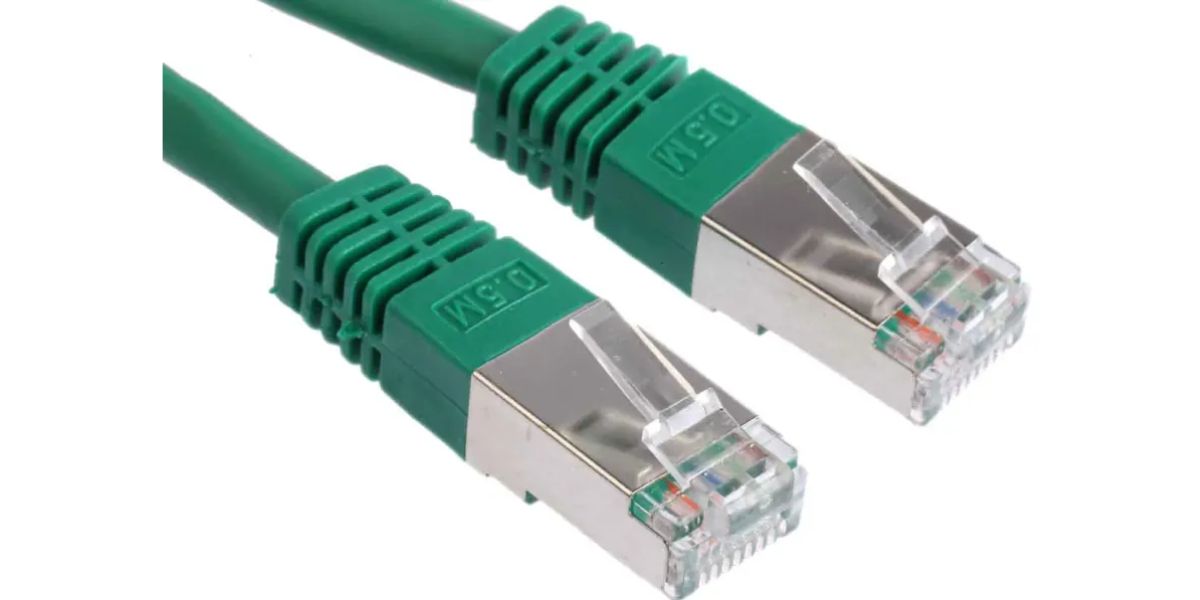
- Ethernet cables: Choose cables with specifications suitable for outdoor use. Outdoor-rated cables are designed to withstand environmental elements such as rain, UV rays, and temperature fluctuations.
- Ethernet connectors: These connectors will be used to terminate the ends of the Ethernet cables. Make sure to select connectors that are compatible with the type of cable you’re using.
- Cable tester: A cable tester will help you diagnose any potential issues with the connection. It is recommended to have a cable tester on hand to ensure the integrity of your Ethernet cables.
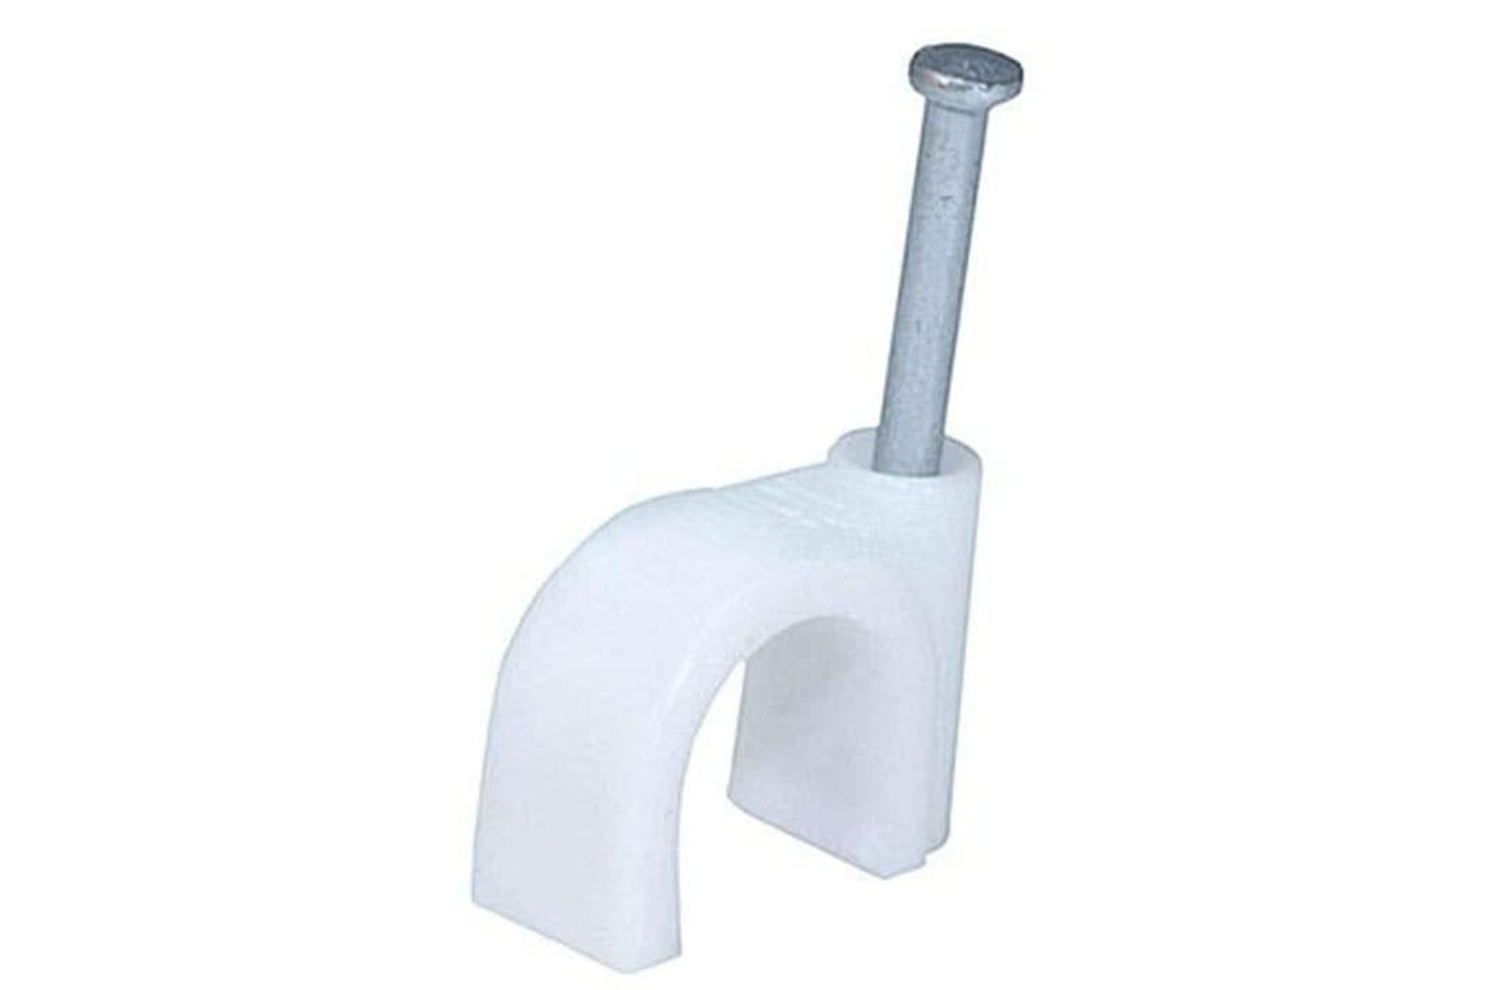
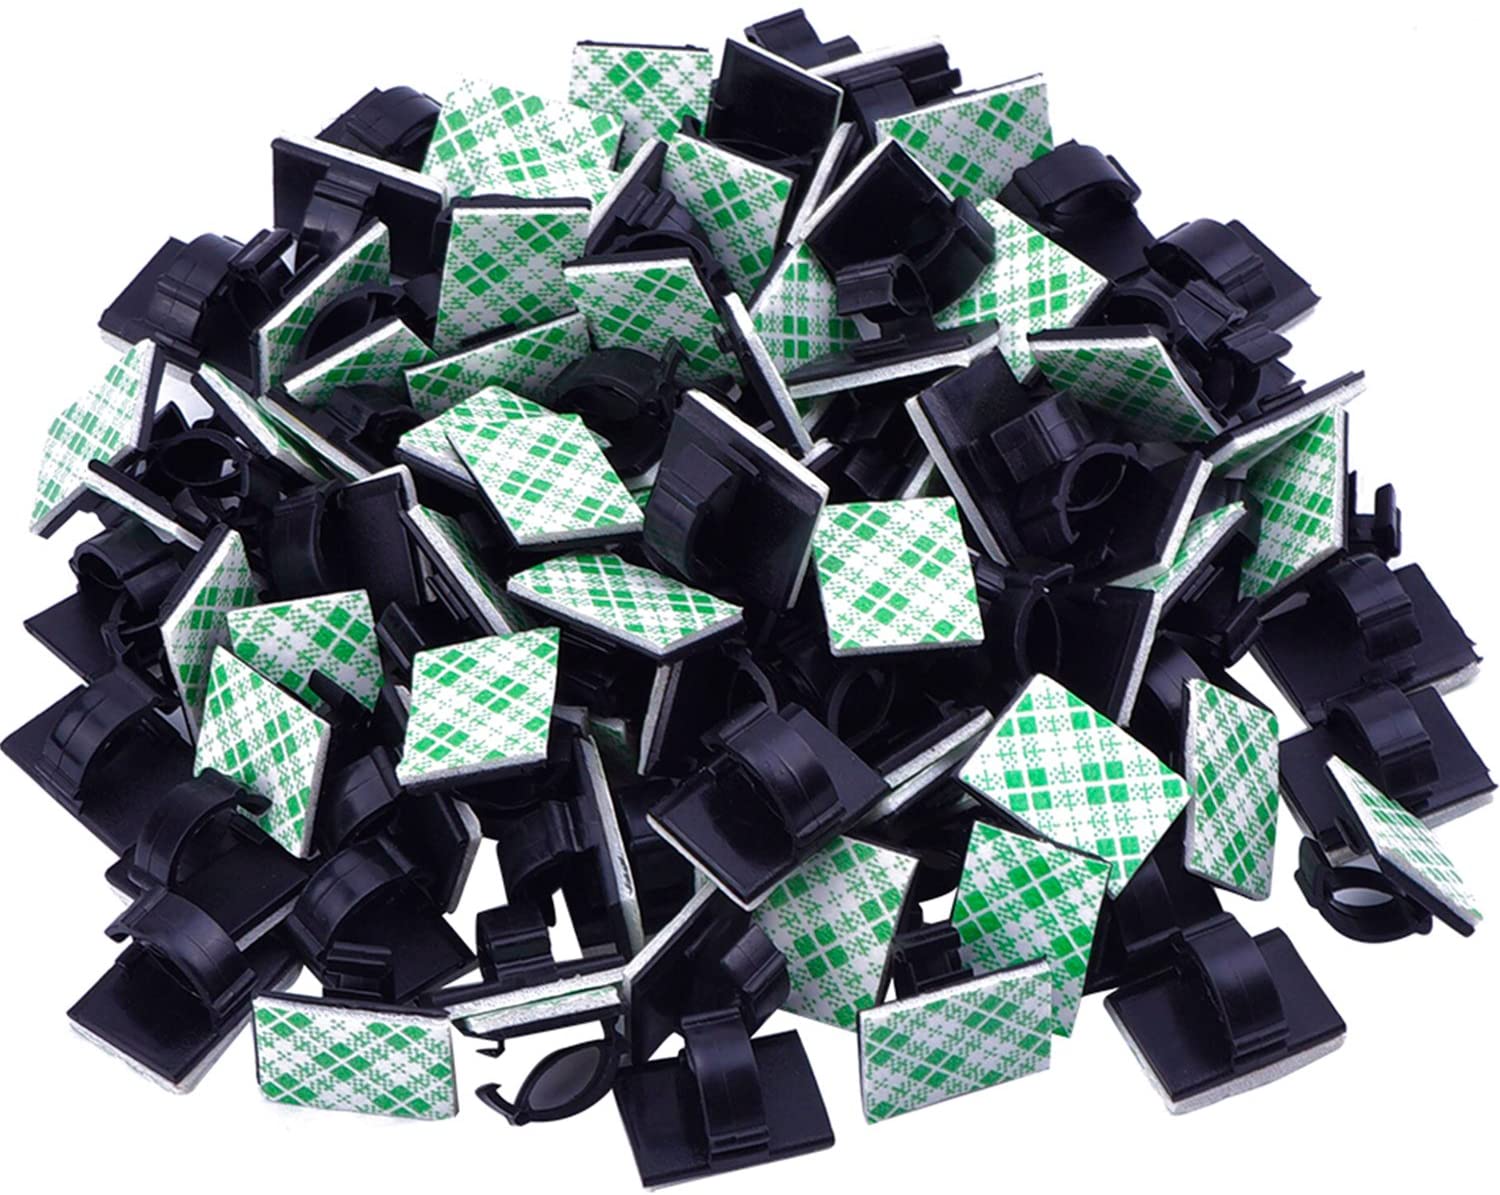
- Cable clips and brackets: These tools will help you securely attach the cables to walls, outdoor surfaces, or any other structures along the cable’s route.
- Weatherproof enclosures: If your Ethernet cables will be exposed to the elements, consider using weatherproof enclosures to protect the connectors and connection points.
- Grounding equipment: If required, ensure you have the necessary grounding equipment and follow the appropriate grounding procedures for outdoor Ethernet installations.
- Tools: Prepare basic tools such as a cable cutter, stripper, crimping tool, screwdriver, and measuring tape to assist with the installation process.
Once you have gathered all the required equipment, you can proceed to the next steps of running Ethernet outside. Having all the necessary tools and materials ready will enable a more efficient installation process and help ensure the quality and durability of your outdoor Ethernet setup.
Choosing the Right Ethernet Cable
When running Ethernet outside, it is crucial to select the appropriate cable that can withstand outdoor conditions and deliver reliable performance. Here are some factors to consider when choosing the right Ethernet cable:
- Outdoor-rated cable: Look for cables specifically designed for outdoor use. These cables are constructed with durable materials and have additional protection against moisture, UV rays, and temperature changes.
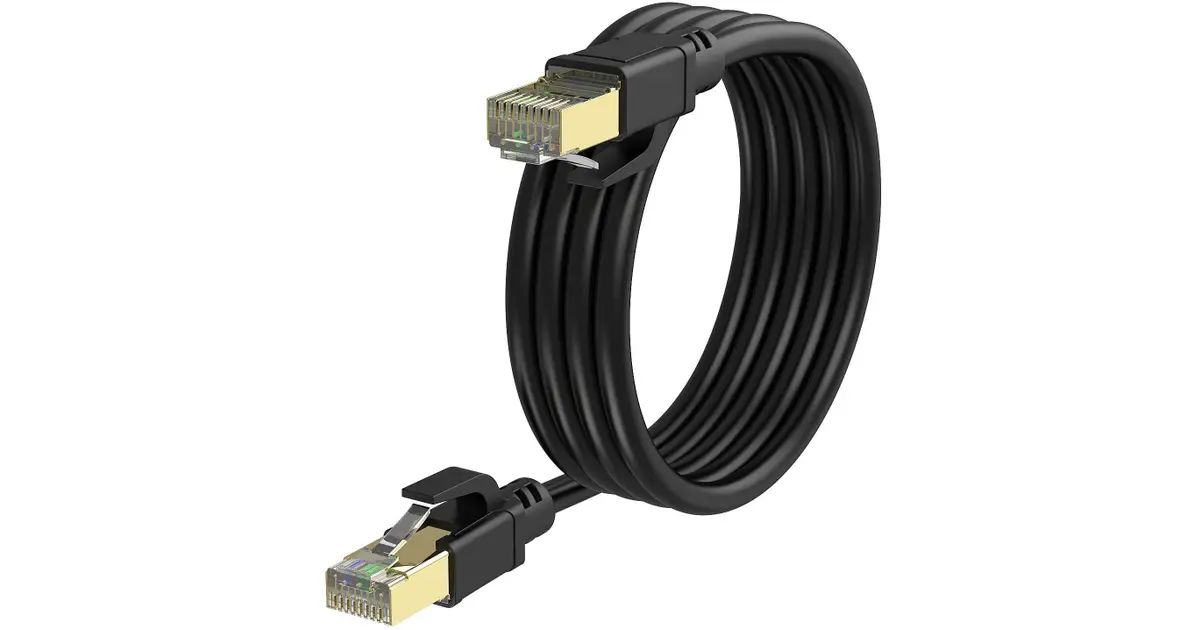
- Cable Category: Ethernet cables come in different categories, such as Cat5e, Cat6, and Cat6a. Choose a cable category that meets your speed and bandwidth requirements. For most outdoor applications, Cat6 is a suitable choice.
- Cable length: Measure the distance between the source and destination of your outdoor Ethernet connection. Ensure that you choose a cable with sufficient length to cover this distance with some extra slack for flexibility.
- Shielding: Consider cables with shielding options, such as shielded twisted pair (STP) or foil shielded twisted pair (FTP), especially if you anticipate exposure to electrical interference or other external factors.
- Connectors: Verify that the connectors on the cable match the connectors you’ll be using for termination. Some Ethernet cables come with pre-attached connectors, while others require termination with separate connectors.
Remember, choosing the right Ethernet cable is crucial for a successful outdoor installation. It ensures that your connection remains stable, protected from environmental factors, and capable of delivering the required speed and performance.
Once you have selected the appropriate Ethernet cable, you can move on to the next step: weatherproofing the cable to protect it from outdoor conditions.
Weatherproofing the Cable
When running Ethernet outside, it is crucial to weatherproof the cable to protect it from the elements. Here are some steps to ensure the cable remains protected:
- Use conduit or tubing: Consider enclosing the Ethernet cable in conduit or tubing to provide an added layer of protection. This helps shield the cable from moisture, UV rays, and physical damage.
- Seal connectors: Apply weatherproofing sealant or tape around the connectors to prevent moisture from seeping in. This helps maintain the integrity of the connection and prevents corrosion.
- Elevate the cable: Avoid having the cable rest directly on the ground. Elevate it using cable clips or brackets to prevent it from coming into contact with standing water or other potential hazards.
- Properly ground the cable: If needed, ensure that the Ethernet cable is properly grounded to dissipate any potential electrical surges or static charges that may occur during inclement weather.
- Protect the cable from direct sunlight: If the cable will be exposed to direct sunlight, consider using UV-resistant materials or covering the cable with a protective layer to prevent degradation due to prolonged sun exposure.
By weatherproofing the Ethernet cable, you ensure its longevity and maintain a reliable connection in outdoor environments. Take the necessary precautions to safeguard the cable from moisture, UV rays, physical damage, and other weather-related factors.
Now that you have weatherproofed the cable, it’s time to plan the route for the Ethernet connection. Planning the route ensures efficient connectivity and minimizes any potential disruptions or obstructions in the cable’s path.
Route Planning
Route planning is a critical step when running Ethernet outside. Proper planning ensures that the cable is installed efficiently and minimizes any potential disruptions or obstructions along the way. Here are some steps to consider during the route planning process:
- Identify the starting and ending points: Determine where you will be connecting the Ethernet cable outside and where it will terminate indoors. This will help you establish the most direct and efficient route.
- Inspect the area: Take a close look at the outdoor environment where the cable will be installed. Look for any potential obstacles, such as trees, fences, or structures that may require you to adjust the route.
- Measure the distance: Use a measuring tape to determine the exact length of the cable needed. This will help you ensure that you have enough cable to complete the installation without any surprises.
- Avoid interference: Plan your route away from potential sources of interference, such as power lines, electrical equipment, or strong electromagnetic fields, as these can degrade the quality of the Ethernet signal.
- Consider accessibility: Think about accessibility when planning the route. Ensure that the cable will be easily accessible for maintenance or repairs in the future, if necessary.
- Plan for expansion: If you anticipate the need for additional Ethernet connections in the future, consider laying extra cables or leaving room for expansion when planning the route.
By carefully planning the route, you can minimize any potential issues and ensure that the Ethernet cable is installed efficiently and effectively. Take into consideration the layout of the outdoor area, potential obstacles, and any future expansion needs during the route planning process.
Now that you have a clear plan for the route, it’s time to move on to the next step: hiding and securing the Ethernet cable to maintain a clean and organized outdoor installation.
Hiding and Securing the Cable
When running Ethernet outside, it’s important to hide and secure the cable to maintain a tidy and organized installation. Here are some strategies to hide and secure the Ethernet cable:
- Use cable clips or brackets: Install cable clips or brackets along the route to secure the cable to walls, fences, or other structures. This helps keep the cable in place and prevents it from hanging loosely or becoming a tripping hazard.
- Bury the cable: If possible, bury the Ethernet cable underground. Dig a trench along the planned route and place the cable inside, ensuring the appropriate depth according to local regulations. This method provides a clean, hidden installation.
- Conceal the cable with landscaping: Use landscaping features such as shrubs, bushes, or mulch to cover and hide the Ethernet cable. This option works well if the cable is running through a garden or outdoor area with existing plants or foliage.
- Purchase cable covers: Consider using cable covers to enclose and protect the Ethernet cable. These covers are typically made of durable materials and can be placed along walls or other surfaces to conceal the cable.
- Paint the cable: If the cable is exposed and visible, you can paint it to match the color of the surrounding surfaces. This helps the cable blend in and become less noticeable.
- Secure the cable with zip ties: Use zip ties to secure the cable to existing structures or objects along the route. This method keeps the cable neat and prevents it from sagging or getting tangled.
By implementing these strategies, you can effectively hide and secure the Ethernet cable, creating a clean and organized outdoor installation. It’s important to balance functionality with aesthetics to ensure a visually pleasing result.
Now that the Ethernet cable is hidden and secured, it’s time to move on to the next step: terminating the cable to establish the connection.
Terminating the Cable
Terminating the Ethernet cable is an essential step to establish a reliable and secure connection. Here’s how you can terminate the cable:
- Measure and cut the cable: Measure and cut the Ethernet cable to the desired length, ensuring that you have enough slack for termination.
- Strip the cable: Using a cable stripper, carefully remove the outer jacket of the Ethernet cable to expose the individual twisted pairs of wires. Be cautious not to cut into the inner wires.
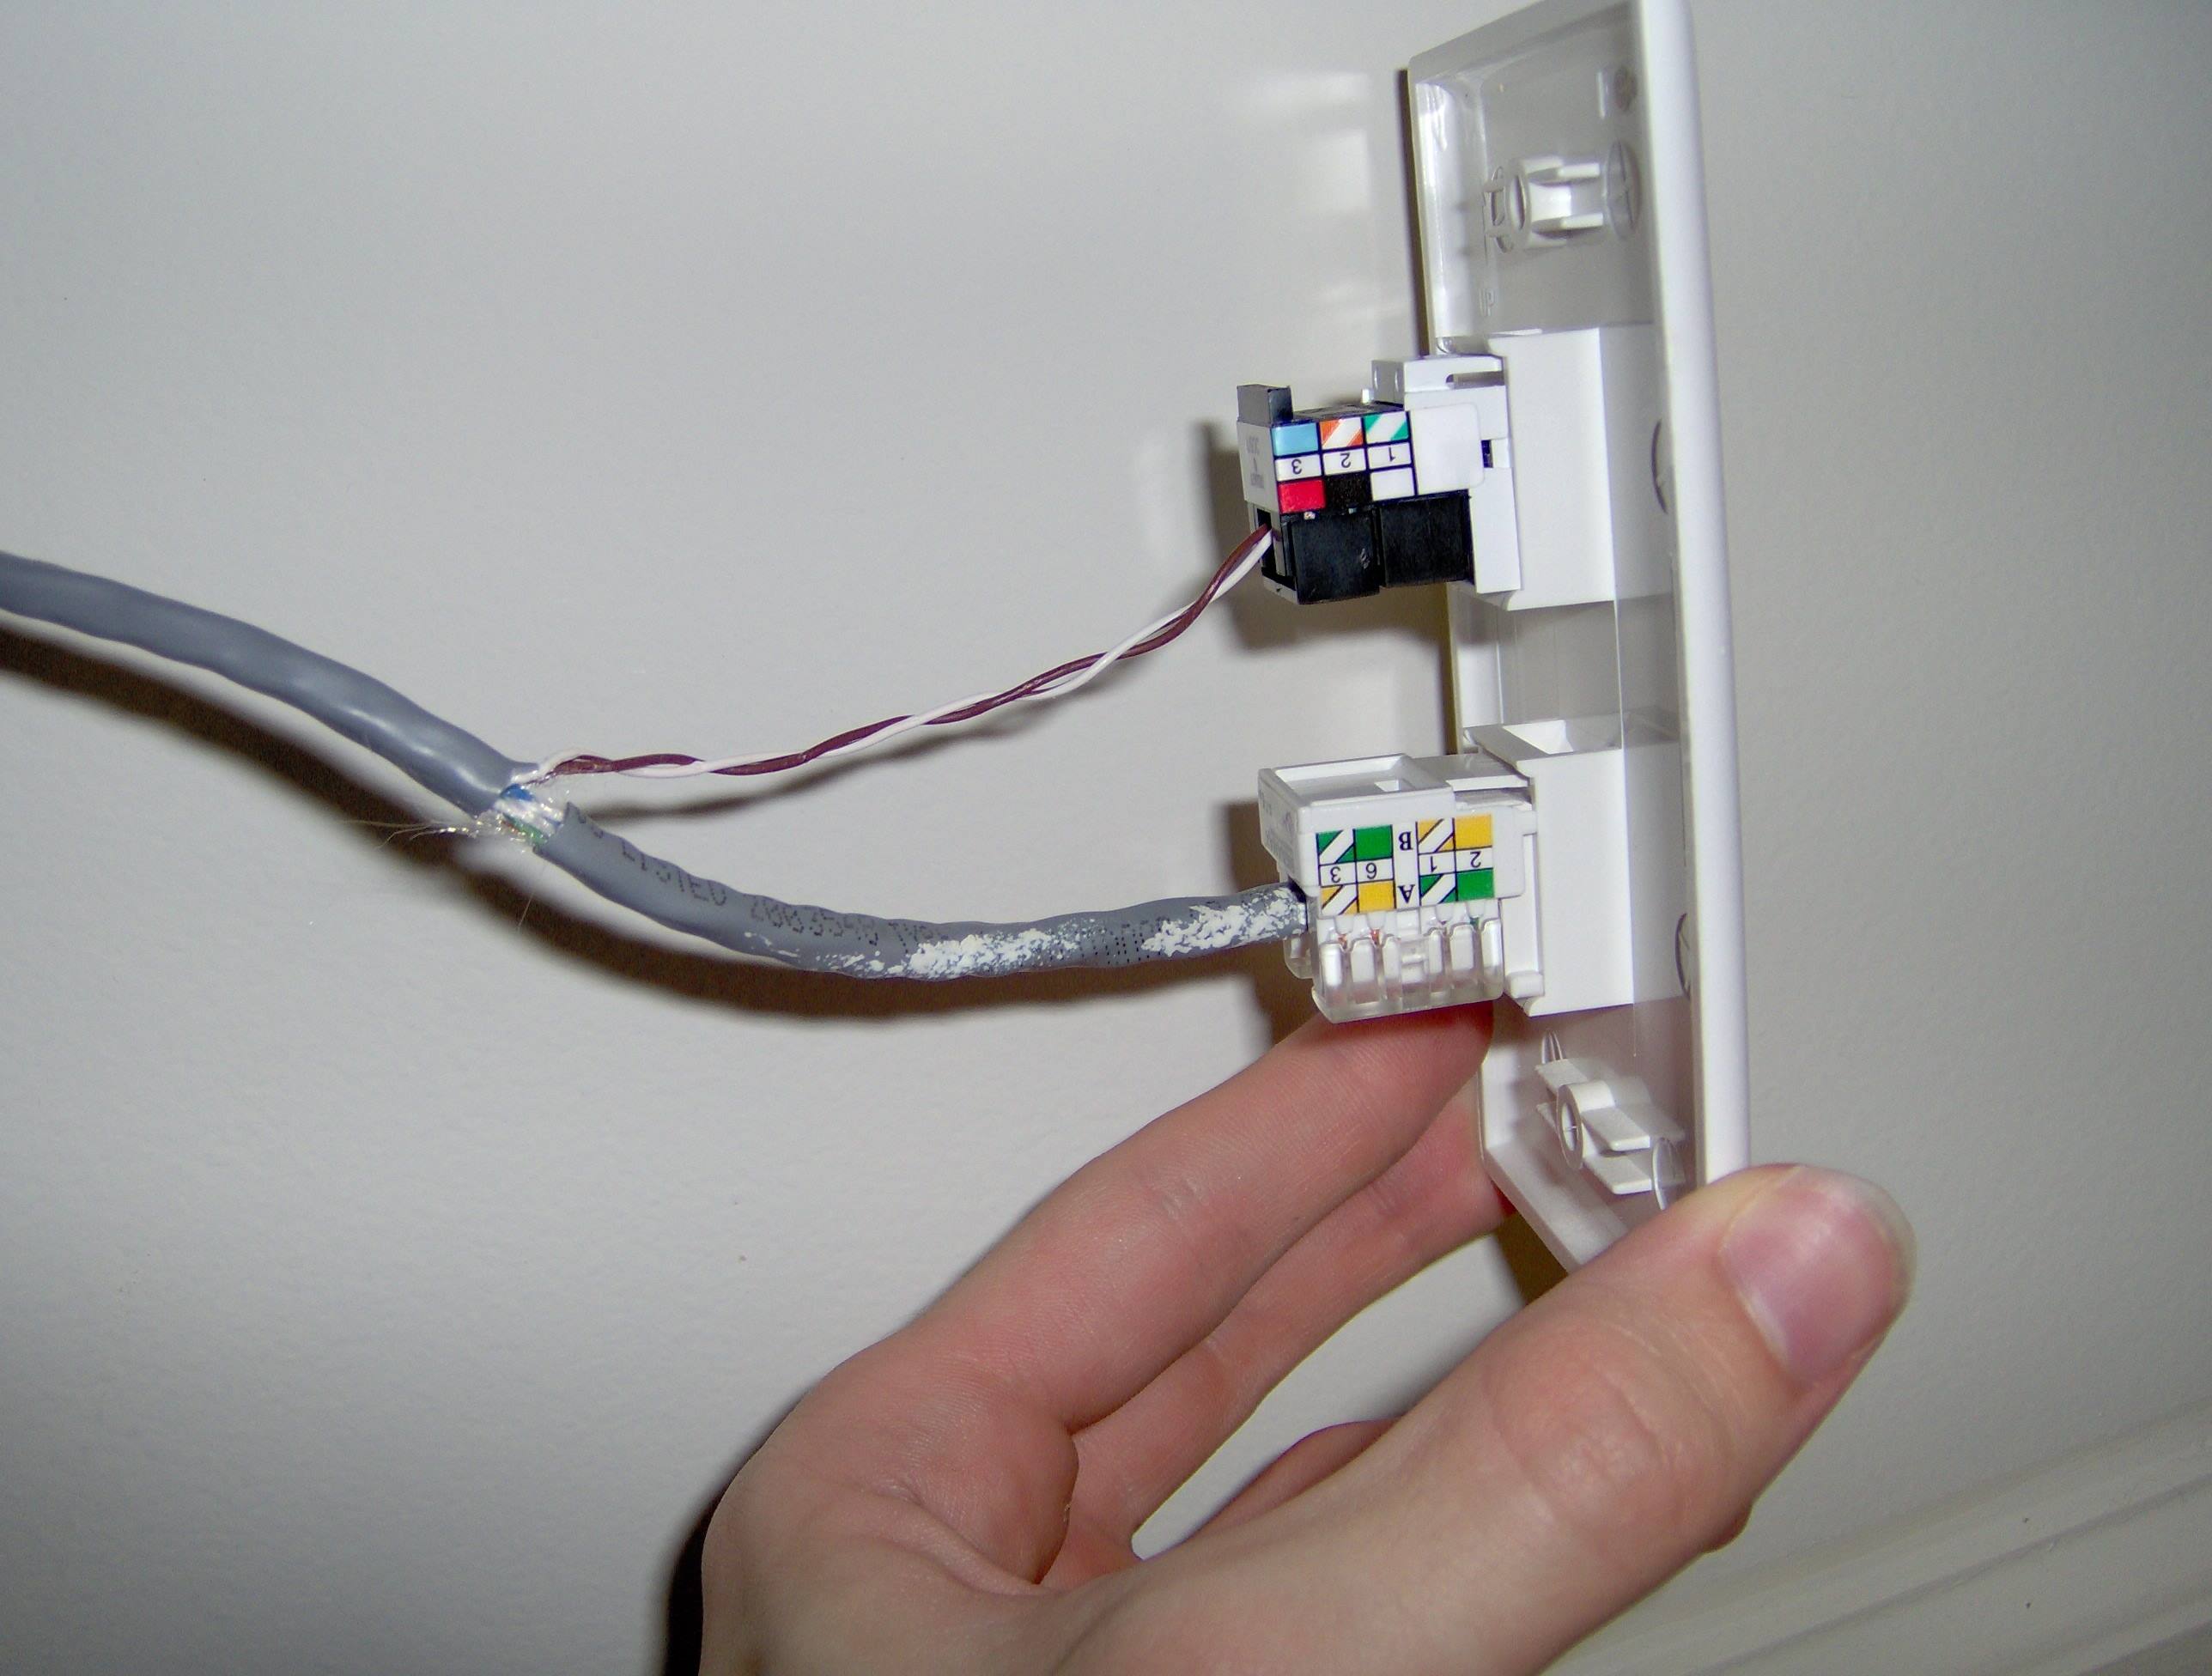
- Straighten and arrange the wires: Straighten and arrange the twisted pairs of wires according to the T568B or T568A wiring standard. This standard determines the order in which the wires should be placed in the connector.
- Trim the wires: Trim the excess wire length to ensure that the wires are of equal length and neatly aligned inside the connector.
- Insert the wires into the connector: Insert each wire into its corresponding slot in the connector, making sure they are fully seated and properly aligned. Use a crimping tool to secure the wires in place.
- Repeat for the other end: If you’re terminating both ends of the Ethernet cable, repeat the above steps for the other end as well.
It’s important to follow the correct wiring standard and ensure that the wires are properly seated and secured in the connector. This will ensure a reliable and consistent Ethernet connection.
Once the cable is terminated, you can proceed to the final step: testing the connection to verify its functionality.
Testing the Connection
After completing the termination of the Ethernet cable, it’s crucial to test the connection to ensure it is functioning properly. Here are the steps to test the Ethernet connection:
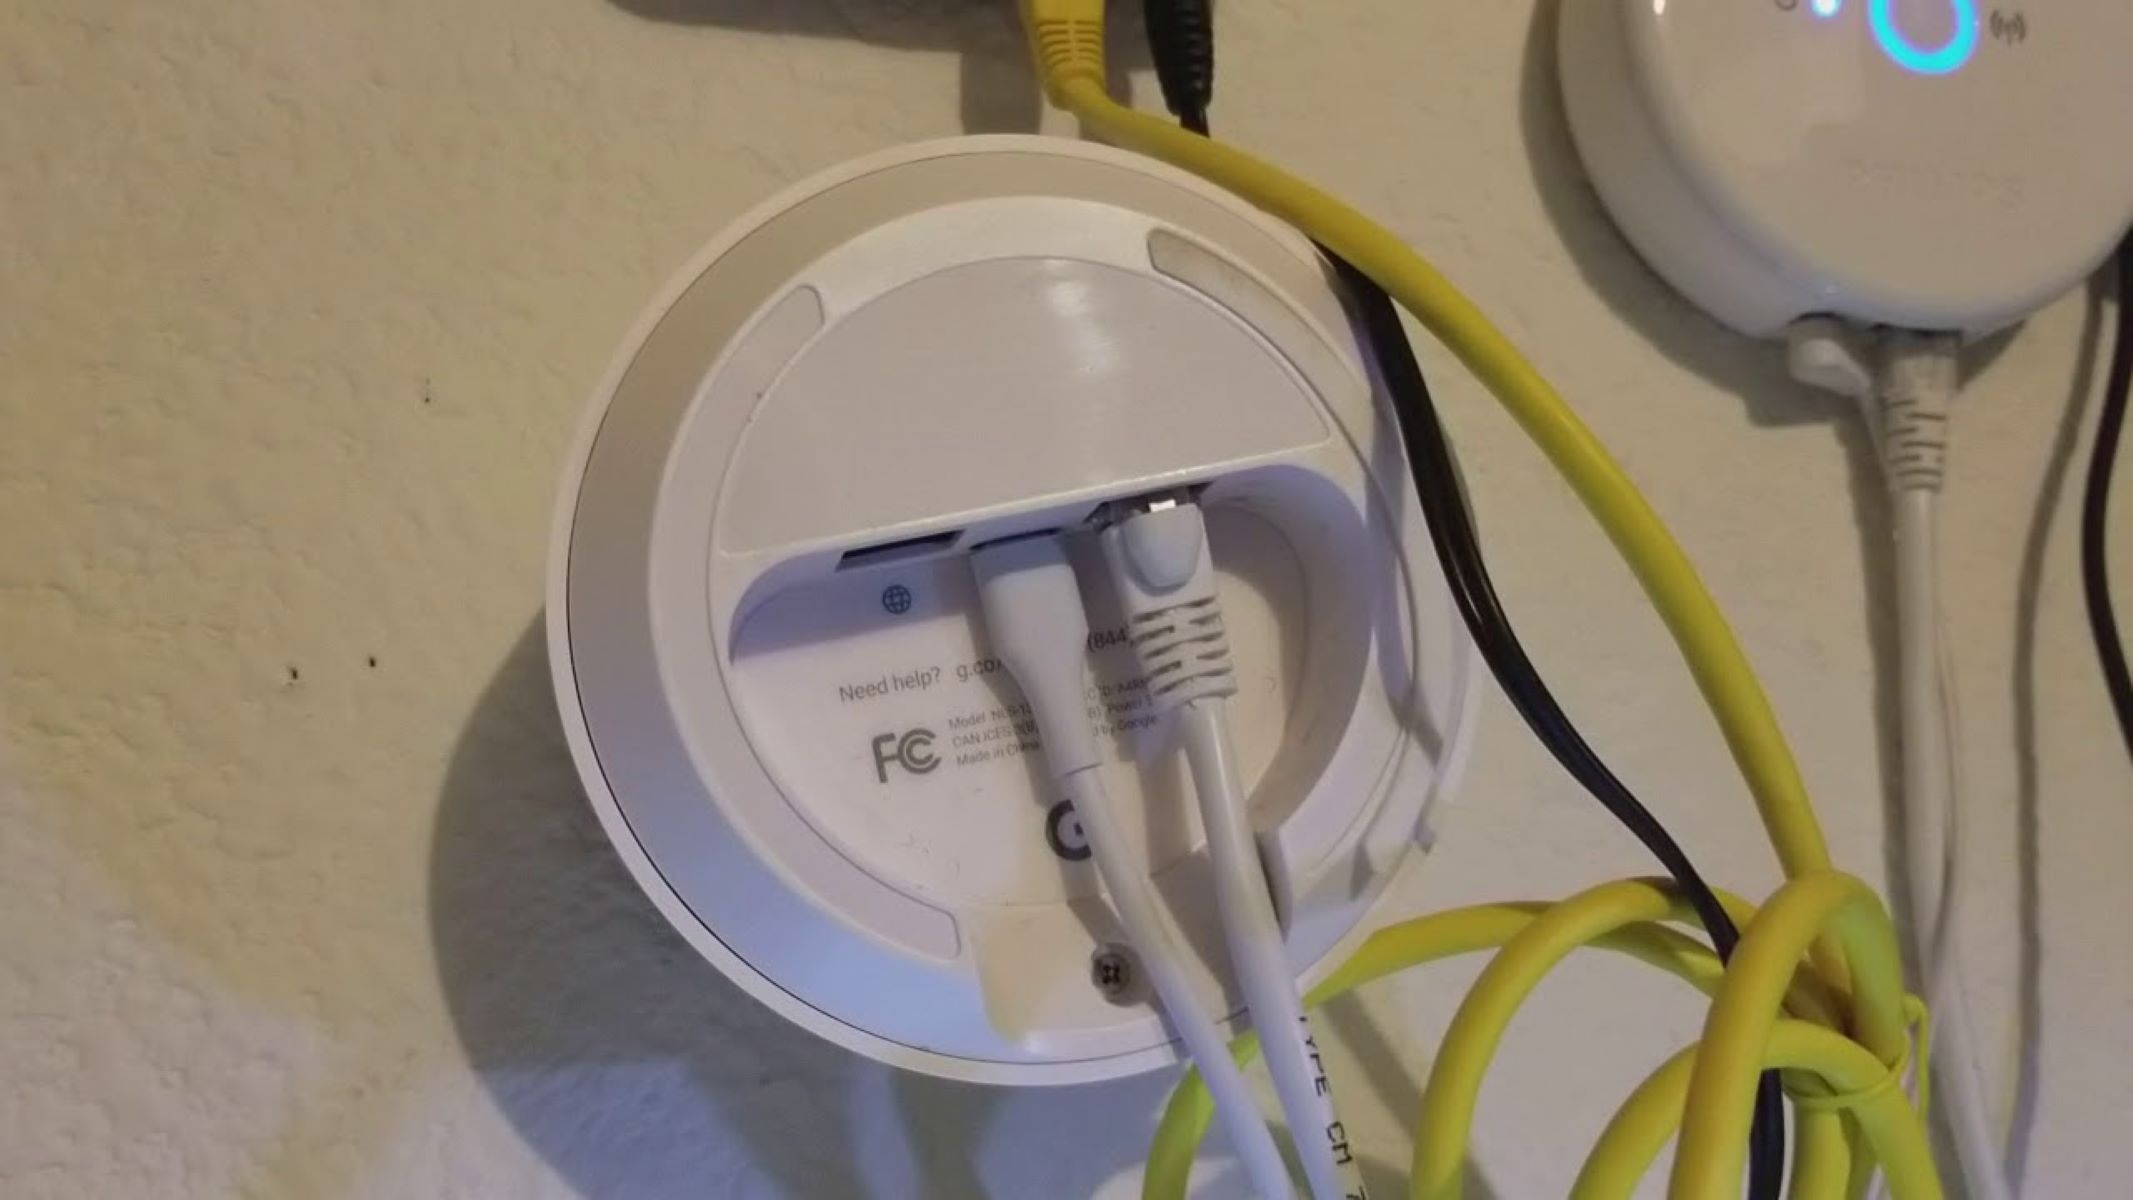
- Check the physical connection: Verify that the Ethernet cable is securely connected to both the source and destination devices, such as routers, switches, or computers. Ensure that the connectors are firmly seated in their respective ports.
- Use a cable tester: Connect a cable tester to each end of the Ethernet cable and run the appropriate tests. The cable tester will check for continuity, proper wiring, and potential issues like shorts or open circuits.
- Verify link status: On the connected devices, check the link status indicators to confirm that an active Ethernet connection has been established. The link status indicators typically display a solid or blinking light to indicate a successful connection.
- Test network connectivity: If the link status indicates a successful connection, test the network connectivity by accessing the internet or transferring data between devices. Verify that the connection is stable and capable of delivering the expected speed and performance.
- Troubleshoot if necessary: If the test results indicate any issues or the connection is not functioning correctly, troubleshoot the problem by inspecting the termination points, checking the connectors, or retesting the cable with a different cable tester.
Regular testing ensures that your outdoor Ethernet connection is reliable and capable of meeting your networking requirements. If any issues are detected during the testing process, address them promptly to maintain a stable and efficient connection.
By following these steps for testing the connection, you can ensure that your Ethernet installation is successful and that your devices can communicate over the network effectively.
Congratulations! You have completed the process of running Ethernet outside. With proper equipment, cable selection, weatherproofing, route planning, cable hiding and securing, termination, and testing, you have successfully established a reliable and functional outdoor Ethernet connection.