What is Port Forwarding?
Port forwarding is a crucial technique used in computer networking to allow external devices to access specific services or applications on a private local network. In simple terms, it’s like opening a door in a firewall to allow inbound connections from the internet to a particular device or server on your network.
When data is transmitted over a network, it is divided into packets, each labeled with a source and destination IP address and port number. A port is a specific communication endpoint for a particular service or application. For instance, web servers use port 80 for HTTP traffic, while email servers use port 25 for SMTP.
The primary reason for using port forwarding is to enable remote access to devices or services on a private network. Without port forwarding, the router acts as a barrier preventing external devices from directly communicating with devices on the local network. However, by configuring port forwarding rules on the router, you can allow specific external requests to reach designated devices within the network.
For example, suppose you have a home server running a web application and you want to access it from outside your local network. By setting up port forwarding, you can redirect incoming requests on port 80 of your public IP address to the internal IP address of your server, effectively making the web application accessible from anywhere on the internet.
Port forwarding is not limited to web applications. It can also be utilized for online gaming, remote desktop access, file sharing, and many other applications that require external access to devices within a local network.
It’s important to note that port forwarding involves potential security risks. By opening ports on your router, you are exposing your devices and services to the internet. Therefore, it is crucial to implement proper security measures and only forward ports that are necessary for the specific applications you intend to use.
In the following sections, we will discuss how to set up port forwarding on your Ethernet network, ensuring that you can access your desired services while keeping your network secure.
Why Port Forwarding is Important
Port forwarding plays a crucial role in facilitating various networking functionalities and enabling seamless connectivity between devices on a local network and the internet. Here are a few reasons why port forwarding is important:
Remote Access: Port forwarding allows users to access devices, services, and applications on their local network remotely. Whether you need to connect to a home security camera system while you’re away, access files on your personal server from a different location, or control IoT devices remotely, port forwarding enables secure and convenient remote access.
Online Gaming: Port forwarding is essential for online gaming, as it allows game servers to communicate with players across the internet. By forwarding the necessary ports, you can ensure smooth gameplay, reduce lag, and avoid connection issues, ensuring a seamless gaming experience.
File Sharing: Port forwarding enables efficient file sharing between devices on a local network and external clients. Whether you are hosting a file server or using peer-to-peer (P2P) file sharing applications, port forwarding ensures that your computer is accessible to other users, allowing them to download and upload files easily.
Media Streaming: If you want to stream media content from a local server to external devices, port forwarding is essential. By forwarding the appropriate ports, you can ensure that media streaming applications can deliver content flawlessly to devices like smart TVs, tablets, and smartphones, regardless of your location.
Web Hosting: For individuals or businesses hosting websites or web applications on their own servers, port forwarding is crucial. By forwarding port 80 for HTTP or port 443 for HTTPS, incoming requests from the internet can reach your server, allowing visitors to access your website or application with ease.
Multiplayer Gaming: Port forwarding is necessary for hosting multiplayer game sessions on your local network. By forwarding the specific game’s ports, you can invite friends to join your game without them needing to be on the same local network, broadening your gaming possibilities.
By understanding the importance of port forwarding, you can leverage this technique to enhance your networking capabilities and optimize the connectivity between your devices and the outside world. However, it’s essential to ensure proper configuration and security measures to safeguard your network from potential threats.
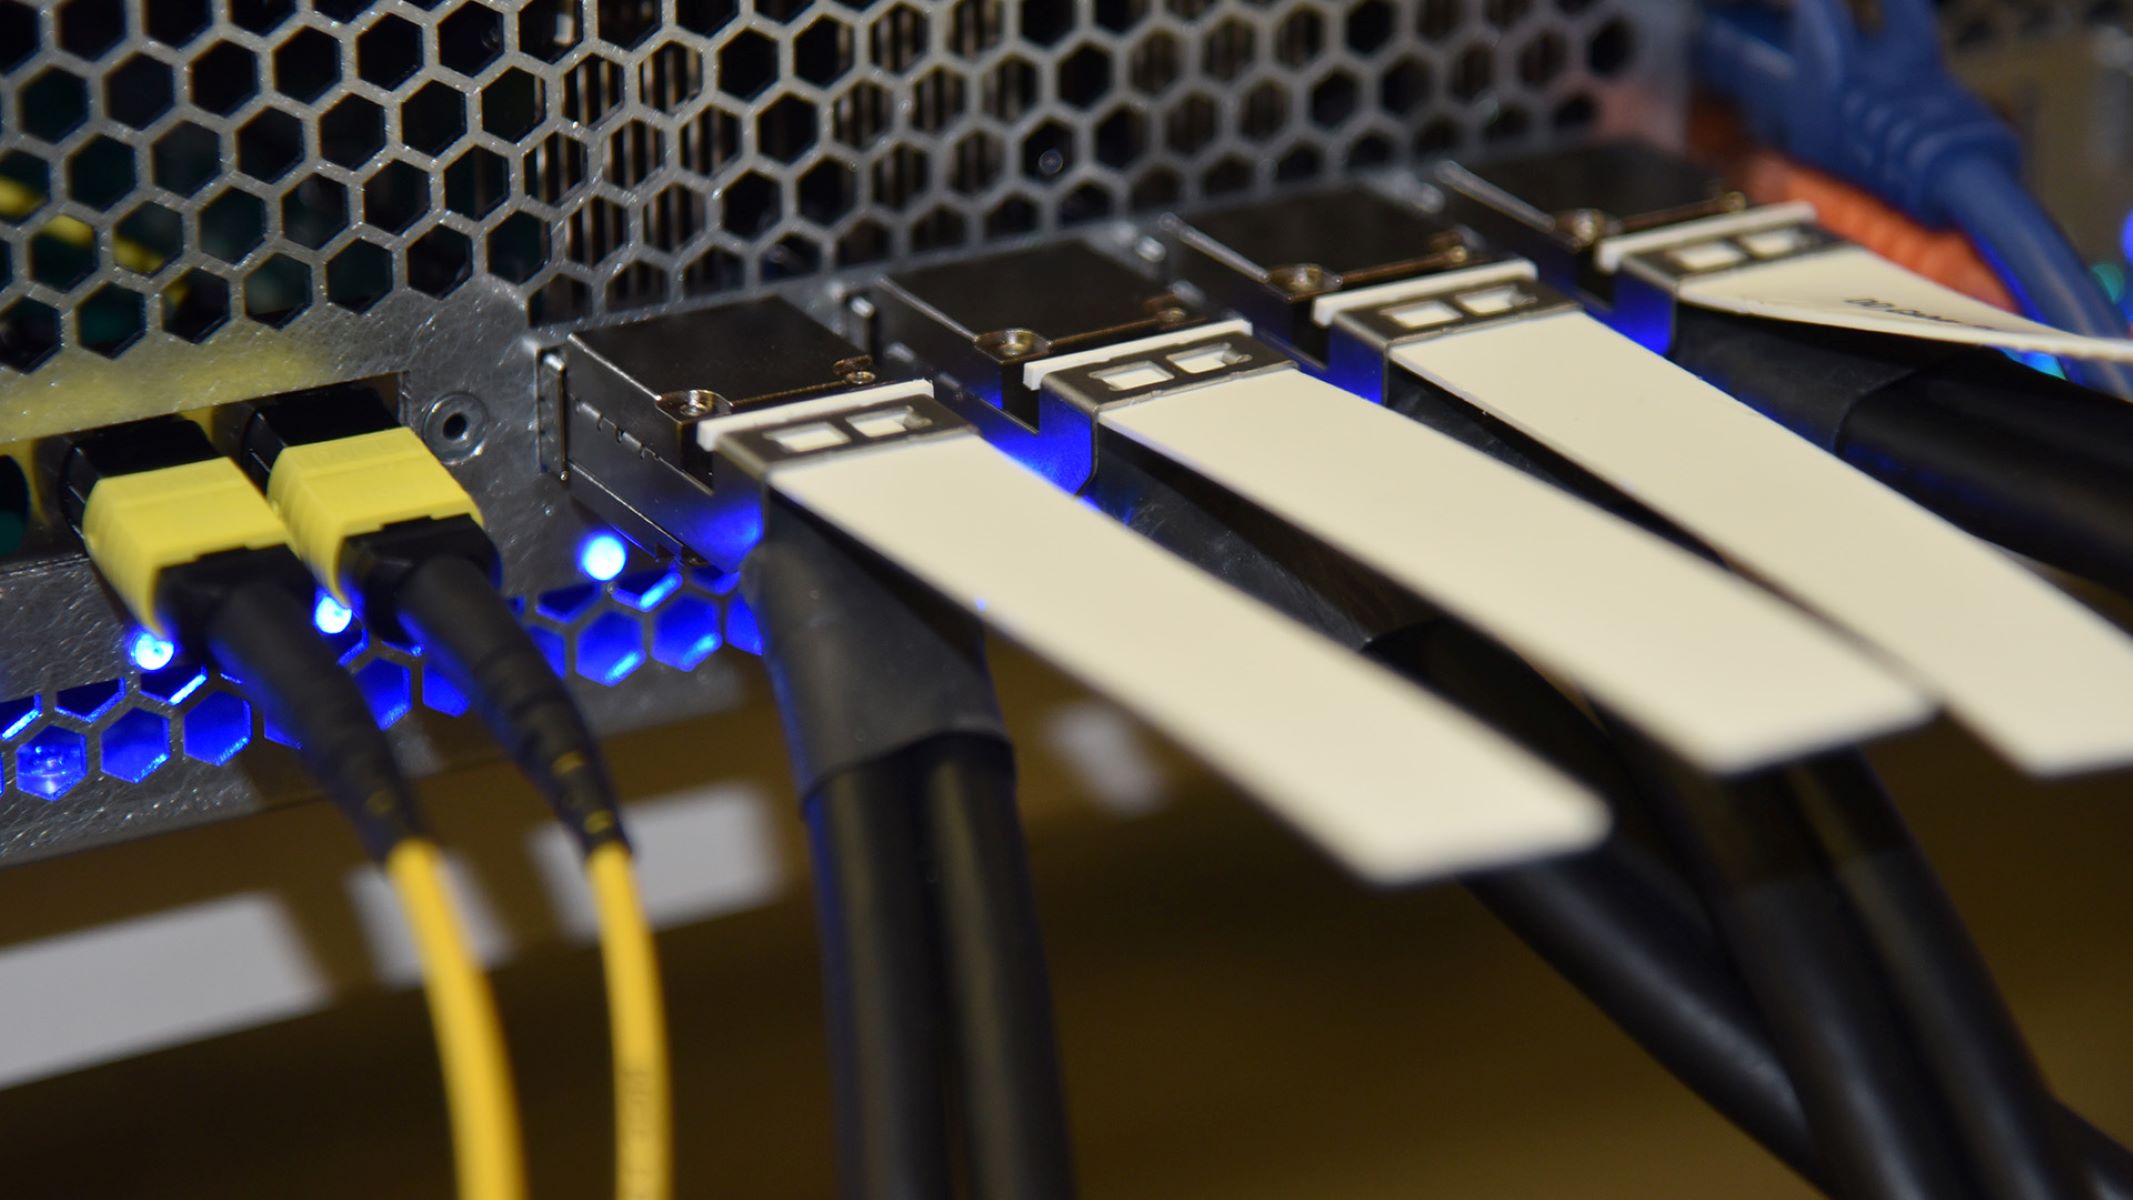
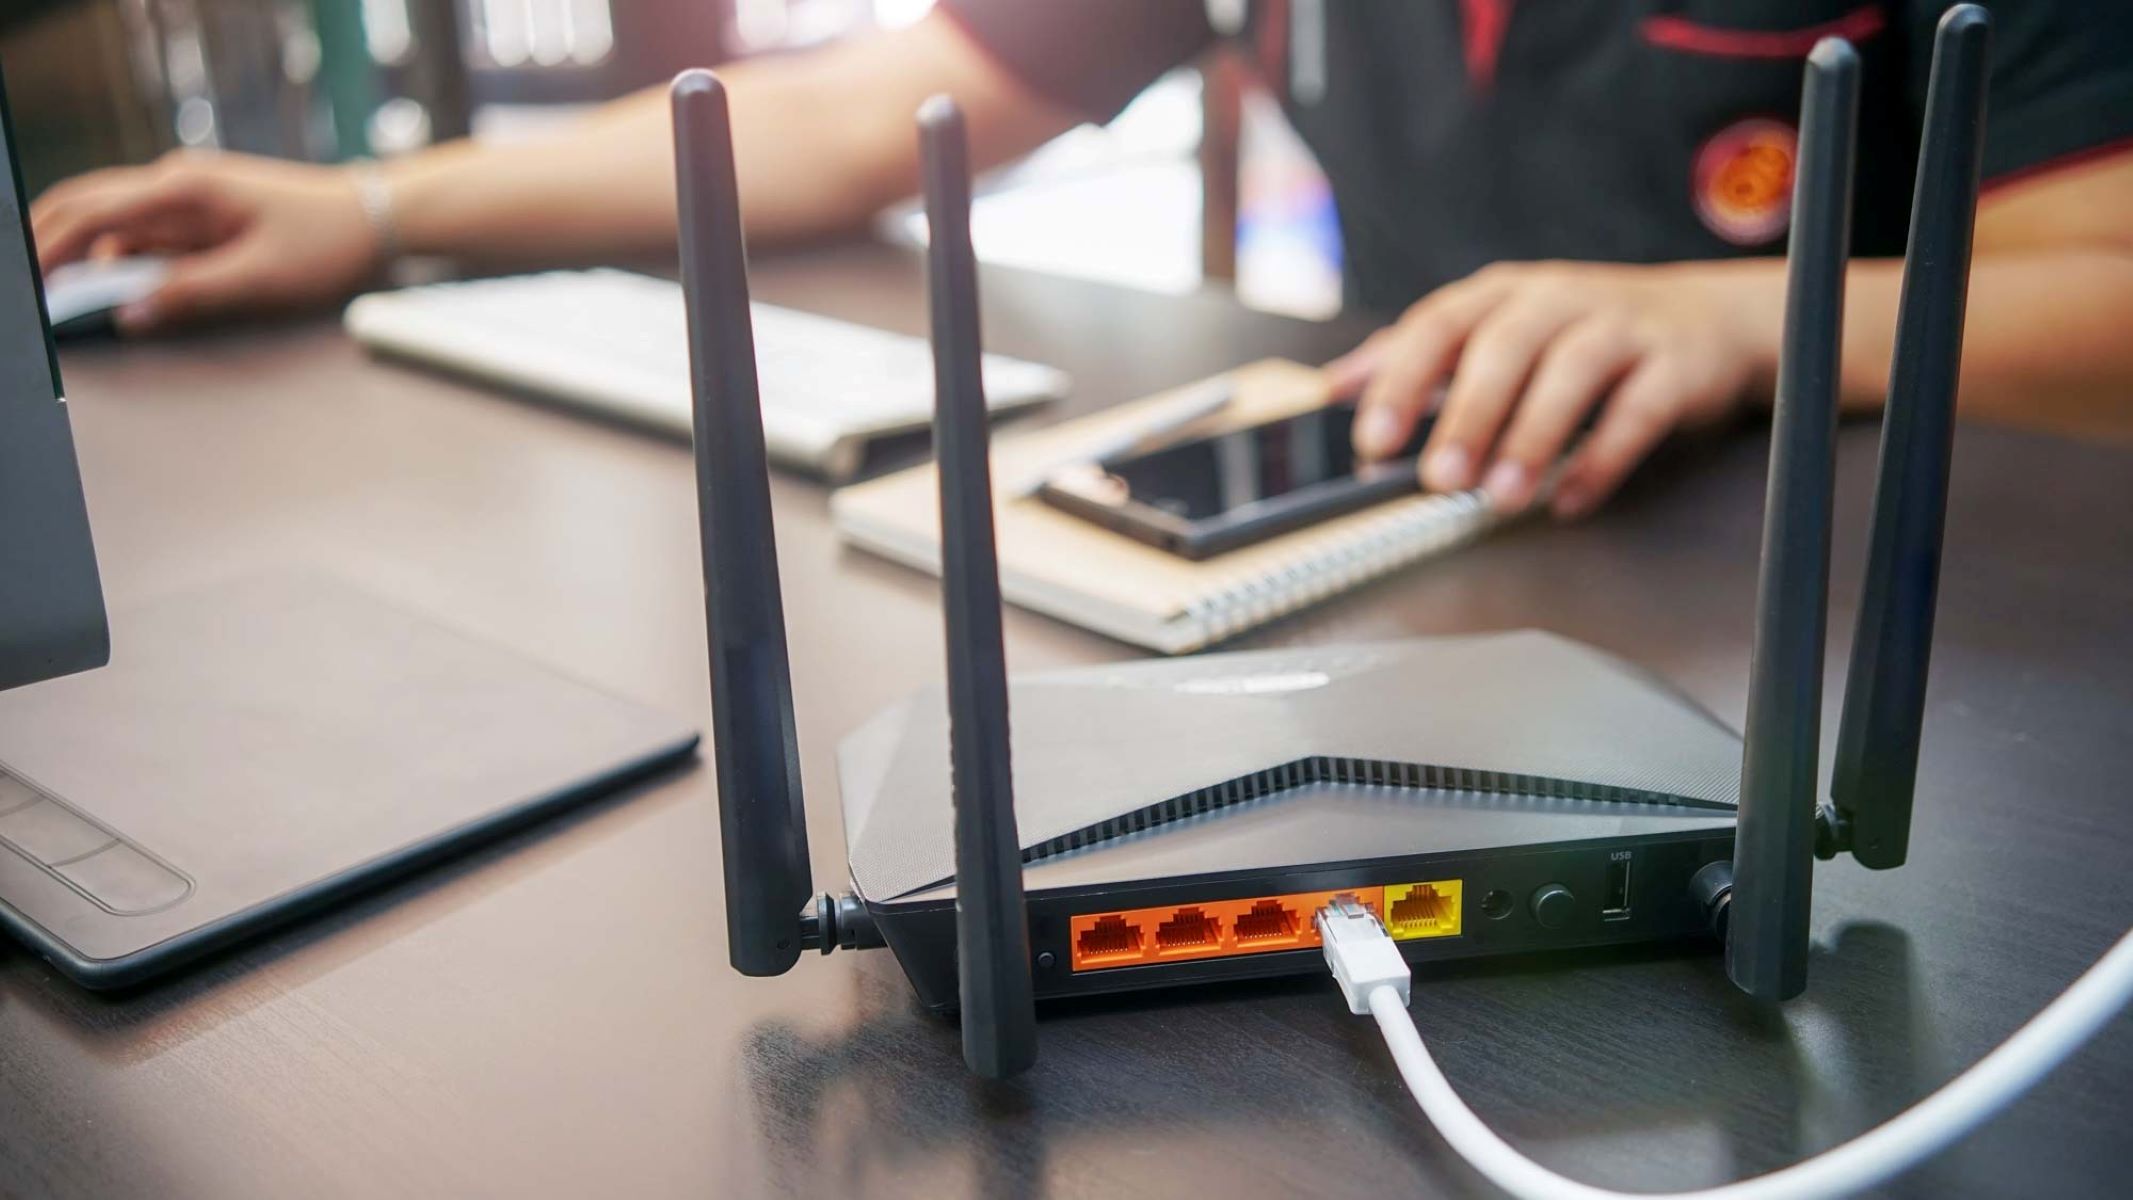
Understanding Ethernet Ports
Ethernet ports are physical connectors on devices that allow the transfer of data over a wired local area network (LAN) connection. They are one of the most common types of ports used for network connectivity and are typically found on computers, routers, switches, and other network devices.
Ethernet ports are often labeled with “Ethernet,” “LAN,” or a symbol representing a network plug. They are usually rectangular in shape, with eight small copper pins arranged in a specific pattern. These pins are responsible for transmitting and receiving data signals between devices.
Each Ethernet port is associated with a specific network speed, commonly referred to as the Ethernet standard. The most common standards include:
- 10BASE-T: This is the oldest and slowest Ethernet standard, offering a maximum data transfer rate of 10 megabits per second (Mbps). It uses unshielded twisted pair (UTP) or Category 3 cabling.
- 100BASE-TX: This standard is commonly known as Fast Ethernet and supports data transfer speeds of up to 100 Mbps. It also utilizes UTP or Category 5 or higher cabling.
- 1000BASE-T: Also known as Gigabit Ethernet, this standard supports data transfer rates of up to 1 gigabit per second (Gbps or 1000 Mbps). It requires Category 5e or higher cabling.
- 10GBASE-T: This is the latest and fastest Ethernet standard, providing data transfer speeds of up to 10 Gbps. It requires Category 6a or higher cabling.
Ethernet ports can also differ in terms of their physical connector types. The most commonly used connector types are RJ-45 and RJ-11. RJ-45 connectors are larger and used for Ethernet connections, while RJ-11 connectors are smaller and used for telephone lines.
When connecting devices with Ethernet ports, it’s important to match the Ethernet standard and use the appropriate Ethernet cable. For example, if you have a Gigabit Ethernet port, ensure you use a Category 5e or higher cable to achieve the maximum data transfer rate.
Ethernet technology provides a reliable and high-speed wired connection for networking devices. It offers advantages such as low latency, greater stability, and higher bandwidth compared to wireless connections. Ethernet ports are the gateway for establishing wired connections, facilitating efficient communication between devices on a network.
In the next sections, we will explore how to find your device’s IP address, access your router’s settings page, and set up port forwarding on your Ethernet network.
How to Find your Device’s IP Address
IP (Internet Protocol) address is a unique numeric identifier assigned to each device connected to a network. To set up port forwarding on your Ethernet network, you need to find your device’s IP address. Here are a few methods to help you locate it:
Method 1: Using the Command Prompt (Windows)
- Open the Command Prompt by pressing Windows key + R, typing “cmd,” and pressing Enter.
- In the Command Prompt window, type “ipconfig” and press Enter.
- Look for the “IPv4 Address” under the Ethernet adapter or Wireless LAN adapter, depending on your connection.
- The number displayed next to “IPv4 Address” is your device’s IP address.
Method 2: Using the Network Settings (Mac)
- Click on the Apple menu at the top-left corner of the screen and select “System Preferences.”
- In the System Preferences window, click on “Network.”
- Select your active network connection (Ethernet or Wi-Fi) from the list on the left side.
- Your IP address will be displayed on the right side, next to “IPv4 Address.”
Method 3: Router Configuration Page
- Open a web browser on a device connected to the same network as the device whose IP address you want to find.
- Enter your router’s IP address in the address bar. Typically, it is something like “192.168.1.1” or “192.168.0.1.” If you’re unsure, consult your router’s manual or contact your Internet Service Provider (ISP).
- Enter the router’s username and password to access the settings page. If you haven’t changed the default credentials, check the router’s manual or search online for the default login information.
- Once logged in, navigate to the “Status” or “Connected Devices” section to find a list of connected devices along with their IP addresses.
- Locate your device in the list and note down the corresponding IP address.
By using one of these methods, you can easily identify your device’s IP address. This information is vital when configuring port forwarding, as it allows you to direct incoming external traffic to the specific device on your local network.
Accessing your Router’s Settings Page
To set up port forwarding on your Ethernet network, you need to access your router’s settings page. Here’s how you can do it:
Step 1: Determine your Router’s IP Address
- On a Windows computer, open the Command Prompt by pressing Windows key + R, typing “cmd,” and pressing Enter. On a Mac, open the Terminal.
- In the Command Prompt or Terminal, type “ipconfig” and press Enter (Windows) or “ifconfig” (Mac).
- Look for the “Default Gateway” or “Router” entry. The number displayed next to it is your router’s IP address. It is usually something like “192.168.1.1” or “192.168.0.1.”
Step 2: Access the Router’s Settings Page
- Open a web browser on a device connected to the same network as the router.
- Type the router’s IP address into the address bar of the browser and press Enter.
- You will be redirected to the router’s login page.
Step 3: Log in to the Router
- Enter the username and password for your router. If you haven’t changed the default login credentials, they can usually be found on the router itself or in the router’s manual. Alternatively, you can search online for the default login information for your specific router model.
- Click on the “Login” or “Submit” button to proceed.
Step 4: Navigate to the Port Forwarding Section
- Once logged in, you will be in the router’s settings or configuration page.
- The exact location of the port forwarding settings may vary depending on the router’s make and model. Look for options such as “Port Forwarding,” “Virtual Servers,” or “Applications & Gaming.”
- Click on the appropriate option to access the port forwarding settings.
Now that you have successfully accessed your router’s settings page, you are ready to configure port forwarding for your desired applications or services. The next sections will guide you through the process of setting up a static IP address and enabling port forwarding on your router.
Setting Up a Static IP Address
Before configuring port forwarding on your Ethernet network, it’s recommended to assign a static IP address to the device you want to forward ports to. A static IP address ensures that the device always receives the same IP address, making it easier to manage port forwarding rules. Here’s how you can set up a static IP address:
Step 1: Access your device’s network settings
- Open the Control Panel on a Windows computer or the System Preferences on a Mac.
- Click on “Network and Internet” (Windows) or “Network” (Mac).
- Select the network connection that you want to configure a static IP address for, such as “Ethernet” or “Wi-Fi.”
- Click on the “Properties” or “Advanced” button (Windows) or the “Advanced…” or “TCP/IP” tab (Mac).
Step 2: Choose a static IP address
- Within the network settings, look for an option to set a static IP address. This option may be called “Use the following IP address” (Windows) or “Manually” (Mac).
- Enter an IP address that is within the range of your local network and is not already assigned to another device. It’s recommended to consult your router’s settings or documentation to determine the appropriate IP address range.
- Specify the subnet mask, which is usually set to “255.255.255.0” for home networks.
Step 3: Configure other network settings
- If required, enter the IP address of your router as the default gateway. This information can be obtained from your router’s settings or documentation.
- Set the DNS server addresses. You can use the DNS servers provided by your Internet Service Provider (ISP) or use popular public DNS servers like Google DNS (8.8.8.8 and 8.8.4.4).
Step 4: Save the network settings
- After entering the necessary network settings, click on “Apply” or “OK” to save the changes.
- Restart your device to ensure that the static IP address is applied correctly.
By setting up a static IP address for your device, you ensure that it always receives the same IP address, eliminating the need to reconfigure port forwarding rules every time the IP address changes. With the static IP address in place, you can proceed to enable port forwarding on your router for the desired applications or services.
How to Enable Port Forwarding on your Router
Once you have accessed your router’s settings page and set up a static IP address for your device, you can proceed to enable port forwarding on your router. Here’s a general procedure to enable port forwarding:
Step 1: Locate the Port Forwarding or Virtual Servers Section
- Within your router’s settings page, navigate to the port forwarding or virtual server section.
- The exact location and naming of this section may vary depending on your router’s make and model. Look for options like “Port Forwarding,” “Virtual Servers,” or “Applications & Gaming.”
Step 2: Add a New Port Forwarding Rule
- Click on the option to add a new port forwarding rule or virtual server.
- Specify a name for the rule, such as the name of the application or service you are forwarding ports for.
- Enter the internal IP address of the device you want to forward ports to. This is the static IP address you assigned to the device in the previous section.
- Specify the port or range of ports you want to forward. For example, if you are forwarding port 80 for a web server, enter “80” in both the start and end port fields.
- Choose the protocol (TCP, UDP, or both) for the port forwarding rule.
- If applicable, enable the “Enable” or “On” option for the port forwarding rule.
Step 3: Save and Apply the Port Forwarding Rule
- Click on the “Save,” “Apply,” or “Submit” button to save and apply the port forwarding rule.
- Your router will then apply the changes and enable port forwarding for the specified port(s) and device.
Repeat the above steps for each port or range of ports you want to forward. Ensure that you only forward the necessary ports for the applications or services you intend to use. Exposing unnecessary ports can pose security risks.
Once the port forwarding rules are saved and applied, external devices will be able to access the specified services or applications on the device with the assigned static IP address. You can now proceed to test your port forwarding setup to ensure it is functioning correctly.
Choosing the Ports to Forward
When setting up port forwarding on your router, it’s important to choose the appropriate ports to forward for the services or applications you want to make accessible from the internet. Here are some considerations to help you choose the ports to forward:
Specific Application Requirements: Different applications and services require specific ports to function properly. For example, web servers typically use port 80 for HTTP and port 443 for HTTPS traffic. Gaming applications often use specific port ranges for multiplayer connectivity. Check the documentation or online resources for the application or service you are using to determine the required ports.
Default Port Assignments: Many applications and services have default port assignments. For example, email servers use port 25 for SMTP, FTP servers use port 21 for file transfers, and remote desktop applications may use ports 3389 or 5900. Consider using the default port assignments for easier configuration and better compatibility with client devices.
Security and Avoiding Commonly Scanned Ports: Some ports are commonly targeted by malicious scanning activities. To enhance security, it’s a good practice to avoid forwarding commonly scanned ports, such as port 22 for SSH or port 23 for Telnet. If possible, choose non-standard ports for your applications or services.
Multiple Ports or Port Ranges: Some applications or services may require multiple ports or a range of ports to be forwarded. Ensure that you configure the necessary port or port range correctly in your router’s port forwarding settings.
Consideration for Both TCP and UDP: Some applications or services may require both TCP (Transmission Control Protocol) and UDP (User Datagram Protocol) ports to be forwarded. TCP is reliable and ensures data delivery, while UDP is faster but may lead to some data loss. Make sure to enable port forwarding for the appropriate protocols required by your application.
Test and Troubleshoot: Once you have chosen the ports to forward, it’s crucial to test the accessibility of the services or applications from external devices. Ensure that the forwarded ports are functioning correctly and that the forwarded services are accessible as intended. This will help you identify any issues or conflicts and allow you to make necessary adjustments.
By carefully selecting the ports to forward, you can ensure that the specific services or applications you want to make accessible from the internet are correctly configured and secured on your network.
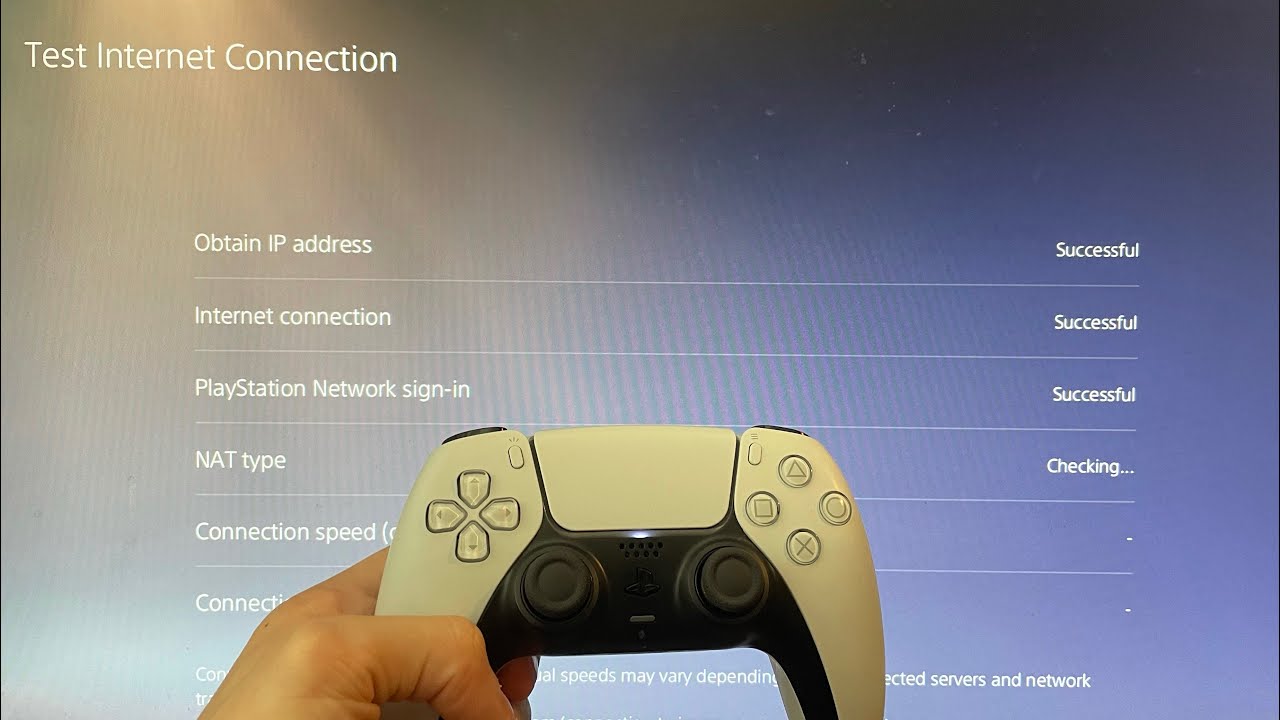
Testing Your Port Forwarding Setup
Once you have set up port forwarding on your router, it is essential to test the configuration to ensure that the forwarded ports are functioning correctly. Here are some methods you can use to test your port forwarding setup:
1. Online Port Checker Tools:
Several online port checker tools are available that can help you verify if a specific port is open and accessible from the internet. Simply search for “port checker tool” in your preferred search engine and choose a reliable tool. Enter the port number you want to test and click “Check.” The tool will check if the port is open and reachable.
2. Application-specific Testing Tools:
Some applications or services provide built-in testing tools to check the accessibility of their specific ports. For example, if you have set up port forwarding for a web server, try accessing the website from a device outside your local network using the public IP address of your router. If the website loads successfully, it indicates that the port forwarding is working for port 80 (HTTP) or port 443 (HTTPS).
3. Remote Access:
If you have enabled port forwarding to access your device remotely, such as through Remote Desktop Protocol (RDP) or SSH, attempt to establish a remote connection from an external device using the appropriate client application. If the connection is successful, it indicates that the port forwarding is working for the respective ports.
4. Network Tools:
Network diagnostic tools like Telnet or PuTTY can be used to test port accessibility. Using the command prompt or terminal, you can attempt to establish a connection to a specific port of your device’s IP address. For example, to test port 22 for SSH, you can use the command “telnet
It’s important to remember that when testing port forwarding, make sure the device you are testing from is outside your local network since port forwarding directs traffic from external sources to internal devices. Additionally, check if any firewalls or security software on the device being accessed are configured to allow incoming connections on the forwarded ports.
If you encounter any issues during testing, double-check the port forwarding configuration on your router and ensure that the correct ports and IP addresses are specified. It may also be necessary to restart your router or the application or service you are forwarding ports for. Consult the documentation or seek technical support for further troubleshooting assistance.
By thoroughly testing your port forwarding setup, you can ensure that external devices can successfully access the services or applications hosted on your local network, enabling seamless remote access and connectivity.
Troubleshooting Port Forwarding Issues
While setting up port forwarding can greatly enhance network functionality, it may sometimes encounter issues that can disrupt the expected flow of communication. Here are some common troubleshooting steps to help resolve port forwarding issues:
1. Double-check Port Forwarding Configuration:
Ensure that the port forwarding rules on your router are correctly configured. Verify that the correct ports and IP addresses are entered, and the rules are enabled. Any errors in the configuration can prevent successful port forwarding.
2. Check Firewall and Security Settings:
If you have a firewall or security software installed on the device, make sure it allows incoming connections on the forwarded ports. Adjust the settings to permit the necessary communication. Additionally, check if your router has built-in firewall settings that may need to be adjusted to allow the forwarded ports.
3. Restart Router and Devices:
Try restarting your router and the devices involved in the port forwarding setup. Sometimes, a simple reboot can resolve connectivity issues and refresh the network settings.
4. Verify IP Address Assignments:
Ensure that the static IP address assigned to the device on your local network is correctly entered in the port forwarding configuration. An incorrect IP address can prevent traffic from reaching the desired device.
5. Check DHCP Settings:
If your router uses DHCP (Dynamic Host Configuration Protocol) to assign IP addresses, verify that the device receiving the forwarded traffic has a DHCP reservation or lease that guarantees it always receives the same IP address. This ensures that the port forwarding remains functional even after restarts or IP address renewals.
6. ISP Restrictions:
Some Internet Service Providers (ISPs) may impose restrictions on port forwarding or block certain ports altogether. Contact your ISP to determine if there are any restrictions in place that may be interfering with your port forwarding setup.
7. Check for Firmware Updates:
Ensure that your router’s firmware is up to date. Manufacturers frequently release firmware updates that address performance issues and security vulnerabilities. Check the manufacturer’s website for any available updates and follow the instructions to update your router’s firmware.
8. Consult Manufacturer’s Documentation or Support:
If you have exhausted the troubleshooting steps and are still encountering issues with port forwarding, consult the manufacturer’s documentation or contact their technical support for further assistance. They will have specific knowledge about your router model and may be able to provide additional guidance or troubleshooting steps.
By carefully following these troubleshooting steps, you can identify and resolve common port forwarding issues, ensuring that your network functions optimally and the desired services or applications are accessible from the internet.
Conclusion
Port forwarding is a vital technique in networking that allows external devices to access specific services or applications on a private local network. By configuring port forwarding on your router, you can enable remote access to devices, facilitate online gaming, enable file sharing, and more.
In this guide, we covered the basics of port forwarding and why it is important. We discussed how to find your device’s IP address, access your router’s settings page, set up a static IP address, enable port forwarding, choose the ports to forward, test the port forwarding setup, and troubleshoot any issues that may arise.
Throughout the process, it’s essential to ensure the security of your network by only forwarding necessary ports, configuring firewalls to allow incoming connections, and keeping your router’s firmware up to date. Regularly testing and monitoring your port forwarding setup will help ensure that your services and applications are accessible while maintaining the integrity of your network.
Remember that the specific steps may vary depending on your router’s make and model, so consult the manufacturer’s documentation or support for detailed instructions tailored to your router.
By leveraging port forwarding effectively, you can enhance your networking capabilities, enabling seamless remote access, better online gaming experiences, efficient file sharing, and more. Enjoy the benefits of an optimized network setup and the convenience of effortlessly accessing your desired services and applications from anywhere in the world.