Introduction
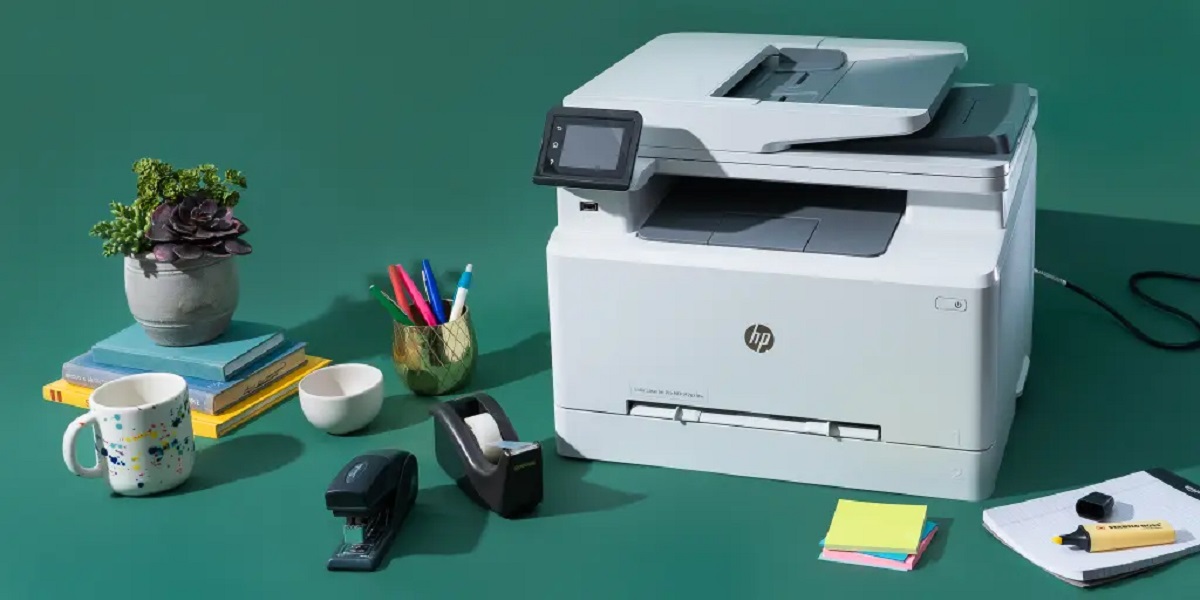
Connecting your HP printer with an Ethernet cable can provide you with a reliable and secure network connection. This method is particularly useful in offices or homes with multiple devices connected to a network. By establishing a direct connection between your printer and router, you can share the printer across various devices without the need for additional setup or configuration.
In this article, we will guide you through the step-by-step process of connecting your HP printer with an Ethernet cable. Whether you’re a tech-savvy individual or a beginner, our instructions are easy to follow and require no prior technical knowledge.
Before we delve into the steps, it’s essential to ensure that your printer is compatible with Ethernet connectivity. Most modern HP printers are equipped with Ethernet ports, which allow for seamless integration into your network. If you’re uncertain about your printer’s compatibility, refer to the user manual or check the manufacturer’s website for specifications.
Now that you’ve verified your printer’s compatibility let’s move on to the next step: gathering the necessary equipment.
Step 1: Check Your Printer
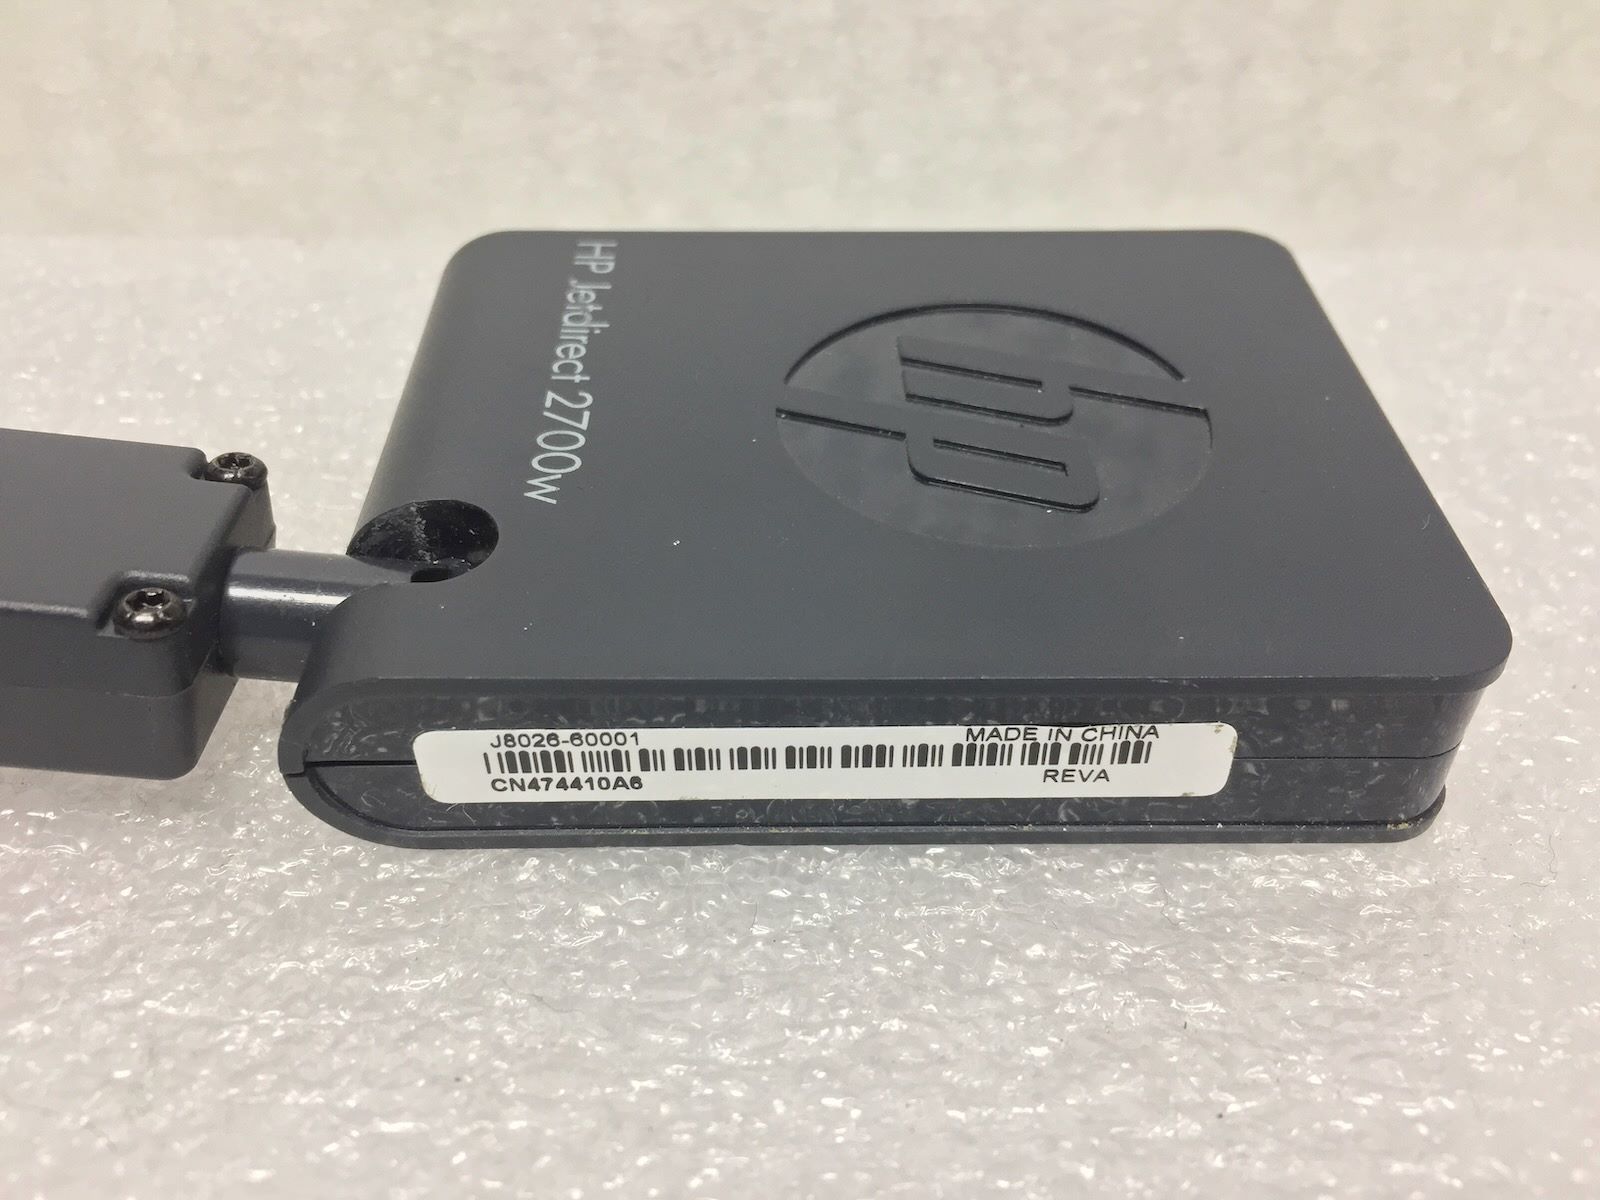
Before you can connect your HP printer using an Ethernet cable, it’s essential to ensure that your printer is equipped with an Ethernet port. This port allows for the physical connection between your printer and the router, enabling network connectivity.
Start by locating the Ethernet port on your printer. It is usually located on the back or side of the device, near the other connectivity ports. The Ethernet port looks similar to a telephone jack, but slightly larger. It may be labeled as “Ethernet,” “LAN,” or have an icon depicting two arrows pointing in opposite directions.
If you’re having trouble locating the Ethernet port, refer to the user manual or the manufacturer’s website for specific instructions on where to find it for your model. Additionally, some printers may have multiple Ethernet ports, especially those designed for business or higher volume printing.
Aside from the Ethernet port, ensure that your printer is powered on and connected to a power source. Having a stable power connection is crucial for successful printer configuration and network connectivity.
Once you have confirmed that your printer has an Ethernet port and is powered on, you’re ready to gather the necessary equipment for the next step.
Step 2: Gather the Necessary Equipment
Before you can connect your HP printer to your network using an Ethernet cable, you’ll need to gather a few essential items to ensure a successful setup:
- An Ethernet cable: This cable will be used to establish the physical connection between your printer and your router. Ensure that you have a cable of sufficient length to reach from your printer to your router.
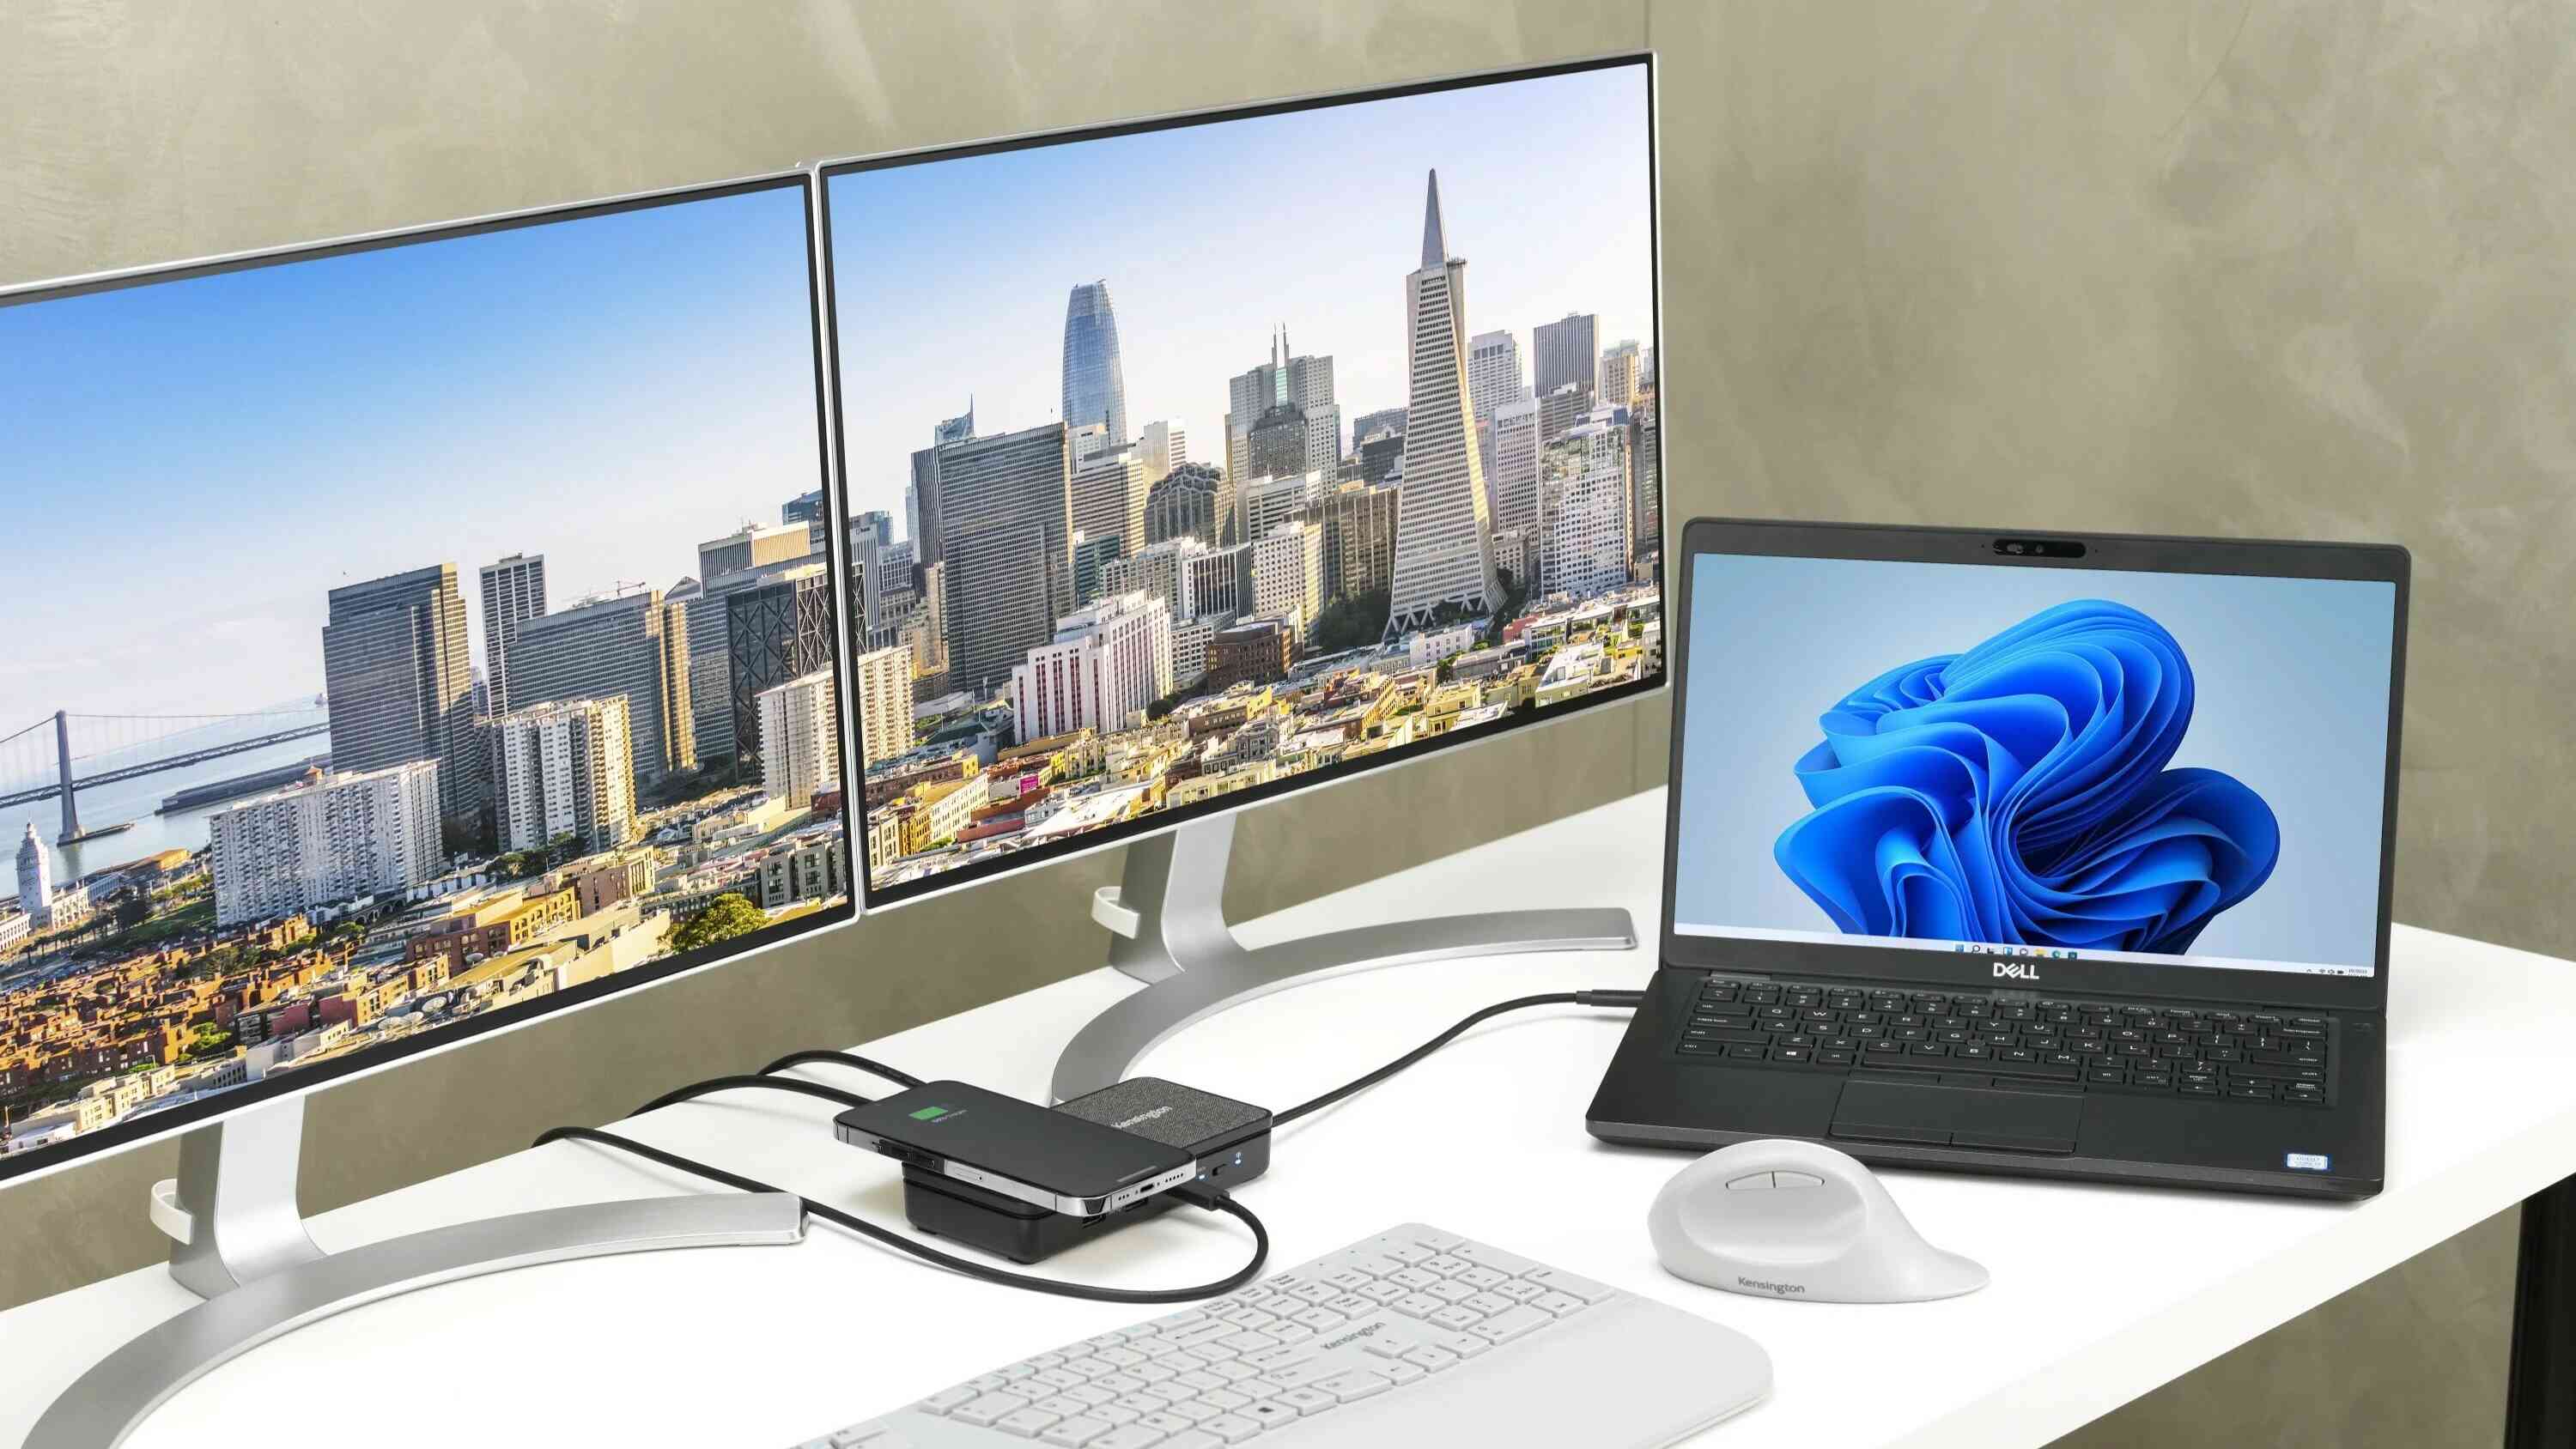
- A router with an Ethernet port: Your router should have at least one available Ethernet port. This port will be used to connect the printer for network communication.
- A computer or mobile device: You will need a computer or mobile device with internet access to configure the printer settings and ensure proper connection with the network.
- Printer software: Download and install the latest printer software and drivers from the official HP website or use the installation CD that came with your printer. This software will facilitate the setup and configuration process.
Once you have gathered these items, make sure that your computer or mobile device is connected to the same network that you intend to connect your printer to. This ensures that the printer and computer can communicate effectively during the setup process.
With all the necessary equipment gathered, you are now ready to move on to the next step: connecting the Ethernet cable.
Step 3: Connect the Ethernet Cable
Now that you have all the necessary equipment gathered, it’s time to connect your HP printer to your network using an Ethernet cable.
- Start by ensuring that your printer is turned on and properly connected to a power source.
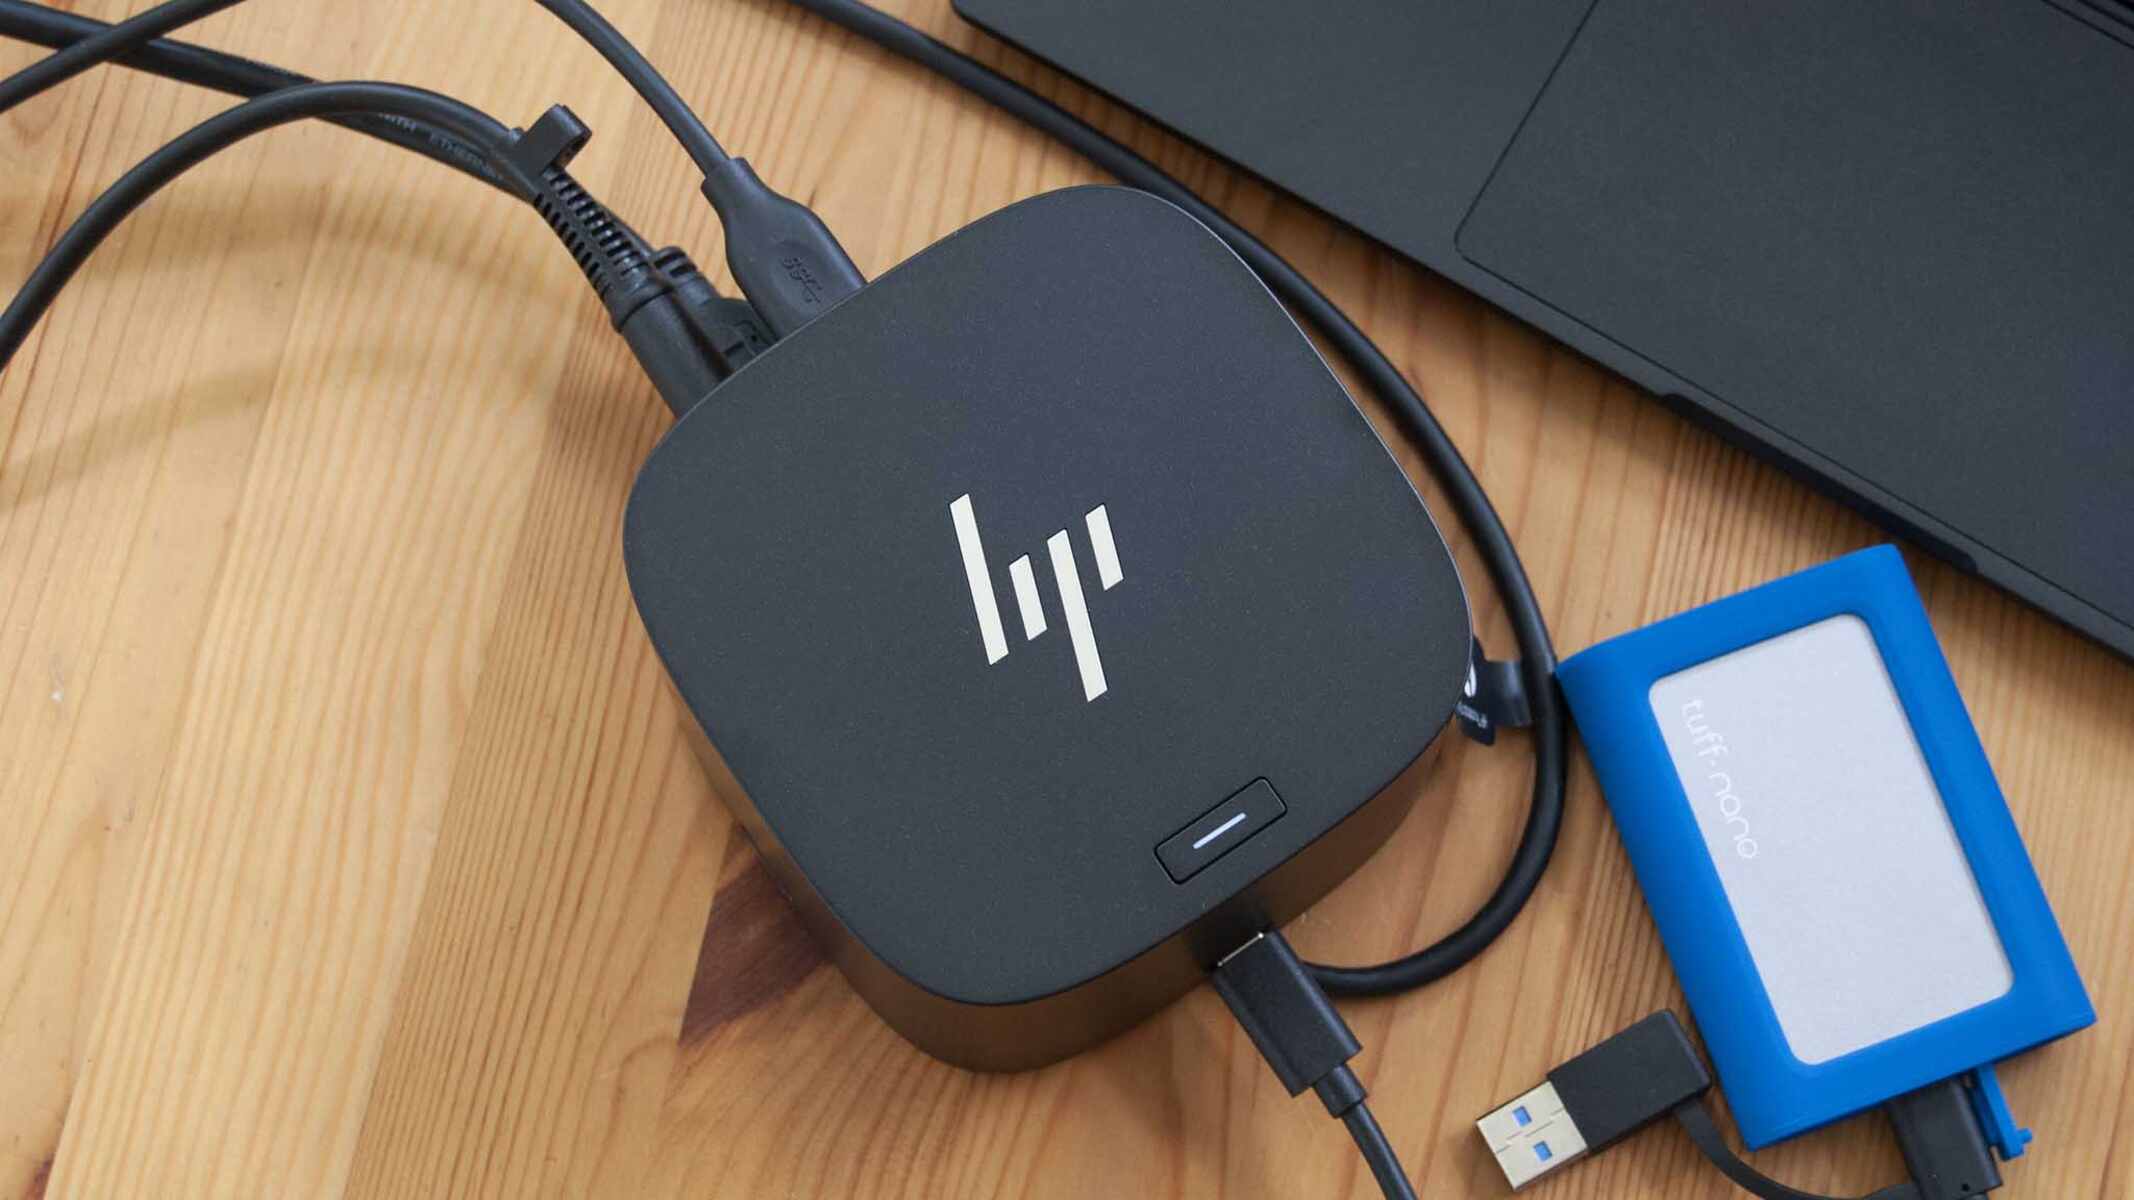
- Locate the Ethernet port on both your printer and your router. The Ethernet port on your printer is typically found on the back or side of the device.
- Take one end of the Ethernet cable and insert it into the Ethernet port on your printer. Make sure to push the connector firmly into place.
- Next, take the other end of the Ethernet cable and insert it into an available Ethernet port on your router. Again, ensure that the connector is securely inserted.
- Once the cable is connected to both the printer and the router, wait for a moment to allow the devices to establish a connection. You may notice a small LED light near the Ethernet port on both the printer and the router. This light should turn on, indicating a successful connection.
With the Ethernet cable securely connected, your printer is now physically connected to your network. In the next step, we will configure the printer settings to ensure proper communication with the network.
Step 4: Configure Printer Settings
After connecting your HP printer to the network using the Ethernet cable, the next step is to configure the printer settings to establish proper communication and ensure seamless printing.
- Ensure that your computer or mobile device is connected to the same network that your printer is connected to.
- Open a web browser on your computer or mobile device and enter the IP address of your printer in the address bar. You can find the IP address in the printer’s network settings or by printing a network configuration page.
- Once you enter the IP address, you will be directed to the printer’s web interface.
- In the printer’s web interface, navigate to the “Network” or “Settings” menu. The exact location may vary depending on your printer model.
- Look for an option called “Network Setup” or “Ethernet Setup” and select it.
- Within the setup menu, locate the “Ethernet” or “Wired” option and choose it to configure the Ethernet settings.
- Choose the “Automatic” or “Dynamic IP” option to allow the printer to obtain an IP address automatically from the router.
- Save the changes and wait for the printer to apply the settings.
Once the printer has applied the new settings, it should be successfully configured to communicate with the network through the Ethernet connection. To ensure that everything is properly set up, it is recommended to perform a test print.
In the next step, we will guide you through the process of testing the connection between your printer and the network.
Step 5: Test the Connection
After configuring the printer settings, it’s essential to test the connection to ensure that your HP printer is successfully connected to the network and ready for printing.
- Open a document or image on your computer or mobile device that you want to print.
- Select the “Print” option within the application you’re using to open the document or image.
- Choose your HP printer from the list of available printers. Make sure that it is the printer you’ve just connected to the network.
- Adjust any necessary print settings, such as the number of copies or the paper size.
- Click or tap the “Print” button to send the print job to your HP printer.
- Wait for the printer to receive the print job and start printing.
- Check the printed document or image to verify that it has printed correctly and without any issues.
If the test print is successful and you see the printed document or image, congratulations! Your HP printer is now successfully connected to the network using an Ethernet cable.
If the test print is not successful or you encounter any issues, refer to the printer’s user manual or the manufacturer’s website for troubleshooting steps. Ensure that the printer is properly connected to the network and that the printer software is correctly installed on your computer or mobile device.
With the connection successfully tested, you can now enjoy the convenience of printing wirelessly and effortlessly from any device connected to your network.