Introduction
Welcome to our guide on how to run Ethernet cable through your house. Whether you’re setting up a home office, creating a wired network for faster and more reliable internet connections, or simply looking to expand your existing network, running Ethernet cable is a great solution. By directly connecting your devices to an Ethernet network, you can enjoy faster speeds, lower latency, and secure connections.
Running Ethernet cable through your house may seem like a daunting task, but with proper planning and the right tools, it can be a straightforward and rewarding DIY project. In this guide, we will walk you through the step-by-step process, from planning and preparing to securing and concealing the Ethernet cable.
Before we dive into the details, it’s important to note that running Ethernet cable through the house involves drilling holes, fishing cables through walls, and making connections, so it’s essential to have a basic understanding of DIY home improvement techniques and be comfortable handling tools. If you’re unsure or uncomfortable with any step, it’s always best to consult a professional.
Now that we’ve covered the basics, let’s move on to the first step: planning and preparing. This step is crucial as it ensures a smooth and efficient installation process, minimizes disruptions, and helps you determine the best route for your Ethernet cable.
Step 1: Planning and Preparing
Before you begin running Ethernet cable through your house, it’s important to spend some time planning and preparing to ensure a successful installation. Here are the key points to consider:
1. Identify the desired network locations: Start by determining where you want to install Ethernet connections in your house. These could include rooms where you need a stable internet connection, such as your home office, living room, or entertainment area.
2. Measure the distance: Measure the total length of Ethernet cable required to connect all the desired network locations. This will help you determine the amount of cable you need to purchase.
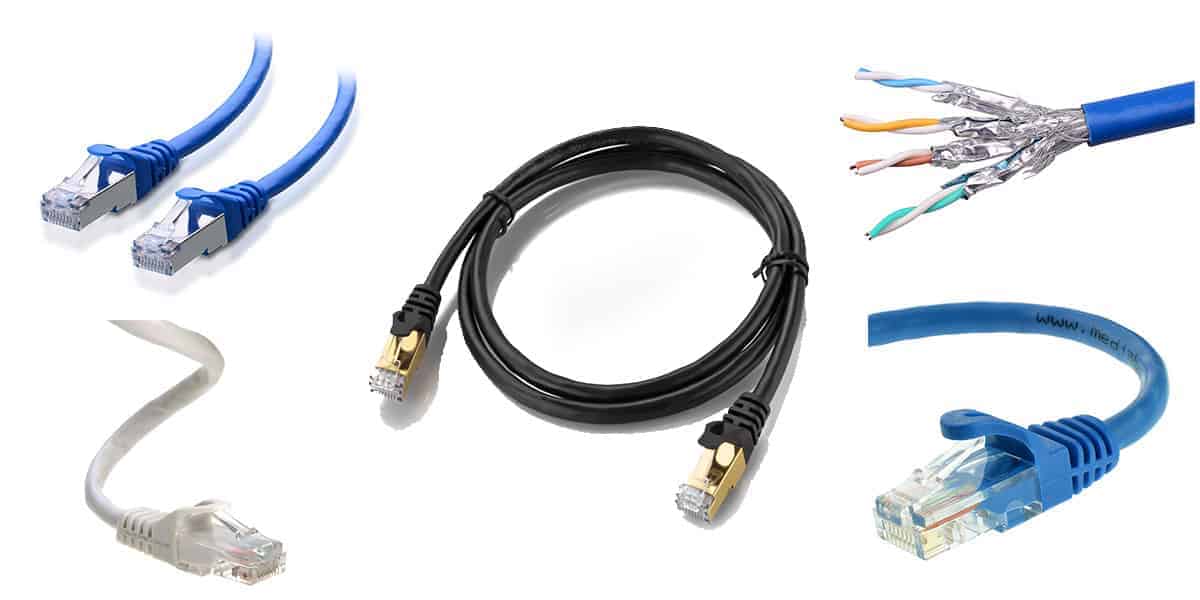
3. Choose the type of Ethernet cable: Ethernet cables come in various categories, such as Cat5e, Cat6, and Cat7, each offering different data transmission speeds and capabilities. Consider your current and future internet needs to select the appropriate category.
4. Plan the cable route: Take time to map out the most efficient route for running the Ethernet cable. Consider the existing infrastructure of your house, such as walls, floors, and ceilings. Look for areas where you can easily conceal the cable, such as behind baseboards or through crawl spaces.
5. Check for obstacles: Identify potential obstacles that may hinder the cable installation, such as electrical wires, pipes, or structural elements. It’s important to avoid drilling or running cables near these obstacles to ensure safety and a clean installation.
6. Check local building codes: Research and adhere to any local building codes or regulations regarding running cables through walls or ceilings. It’s always best to follow guidelines to prevent any potential issues.
7. Create a materials list: Based on your planning and measurements, create a list of materials you’ll need for the installation, such as Ethernet cable, wall plates, connectors, cable staples, and tools like drills and fish tape.
By taking the time to plan and prepare, you’ll have a clear roadmap for running Ethernet cable through your house. This preparation will save you time and ensure a smooth installation process. Now, let’s move on to the next step: gathering the necessary tools and materials.
Step 2: Gathering the Necessary Tools and Materials
Now that you have a solid plan in place, it’s time to gather the tools and materials you’ll need for running Ethernet cable through your house. Here’s a checklist of the essential items:
- Ethernet cable: Purchase the appropriate length and category of Ethernet cable based on your measurement from step 1. Consider getting extra cable to account for any unforeseen obstacles or changes in the cable route.
- Wall plates and connectors: Wall plates allow you to neatly terminate the Ethernet cable and provide a connection point. Choose wall plates that match your house’s decor and include the appropriate number of ports for your needs.
- Tools: You’ll need a few tools to complete the installation. These may include a power drill with drill bits, fish tape, a cable cutter/stripper, a screwdriver, and a stud finder.
- Cable staples or clips: These will help secure the Ethernet cable along the planned route, keeping it neat and organized. Make sure to choose the appropriate type of staple or clip for the surface you’ll be attaching it to.
- Labeling materials: It’s a good idea to label both ends of the Ethernet cable with room names or device names. This will make it easier to identify and troubleshoot connections later on.
- Safety equipment: Always prioritize safety. Consider having gloves, safety goggles, and a mask to protect yourself while drilling or working in tight spaces.
Once you have gathered all the necessary tools and materials, you’ll be well-prepared to begin the installation process. Having everything on hand will save you time and allow for a smoother workflow.
Before moving on to the next step, double-check your list to ensure that you haven’t missed any items. It’s better to have everything you need before starting the installation. Now, let’s move on to the exciting part: choosing the best route for the Ethernet cable.
Step 3: Choosing the Best Route for Ethernet Cable
Choosing the best route for running Ethernet cable through your house is essential to ensure minimal visibility and maximum functionality. Follow these steps to determine the optimal path:
1. Evaluate your house’s layout: Take into account the layout and structure of your house to identify potential pathways for running the cable. Consider factors such as the location of existing electrical outlets, access to crawl spaces or basements, and the proximity of network devices.
2. Identify the least visible route: Look for routes that minimize the cable’s visibility, such as running it through walls or ceilings rather than across floors. Utilize existing cable conduits, baseboards, or crown molding to conceal the cable and maintain a clean and professional appearance.
3. Consider existing openings: Identify existing openings in your walls, such as cable or electrical outlets, and determine if they can be used as entry or exit points for the Ethernet cable. This can help simplify the installation process and minimize the number of new holes that need to be drilled.
4. Avoid potential signal interference: Ensure that the chosen route does not pass near sources of electromagnetic interference, such as power lines, electrical panels, or major appliances. This will help maintain a stable and reliable network connection.
5. Plan for future expansion: If you anticipate the need for additional Ethernet connections in the future, plan your cable route accordingly. Leave room for expansion and consider running extra cables to accommodate future network expansion or device additions.
6. Consult building codes and regulations: Ensure that the planned cable route adheres to the building codes and regulations in your area. This step is particularly important when running cables through walls, ceilings, or other hidden spaces.
By carefully choosing the best route for your Ethernet cable, you can ensure a clean and efficient installation process. Take the time to evaluate your options and consider factors such as visibility, potential interference, and future expansion. Once you have determined the optimal cable route, you can move on to the next step: drilling holes and installing wall plates.
Step 4: Drilling Holes and Installing Wall Plates
Once you have determined the route for your Ethernet cable, it’s time to start the physical installation by drilling holes and installing wall plates. Follow these steps carefully:
1. Determine the locations for wall plates: Based on your planned cable route, identify the locations where you will install the wall plates. These should be near the devices or areas where you will connect your Ethernet cable.
2. Use a stud finder: Before drilling any holes, use a stud finder to locate studs or structural elements in the wall. This will help you avoid drilling into them and ensure a secure installation.
3. Drill the holes: Using an appropriately sized drill bit, carefully drill holes through the walls at the locations where you will install the wall plates. Take care to keep the holes clean and free from any debris.
4. Install the wall plates: Place the wall plates over the drilled holes and secure them using the provided screws. Make sure the wall plates are aligned straight and flush against the wall surface.
5. Feed the Ethernet cable through the wall plates: Starting from one end of the cable route, insert the Ethernet cable through the hole in the wall plate. Gently guide the cable through the wall cavity, ensuring it doesn’t get caught on any obstacles.
6. Repeat for additional wall plates: If you have multiple wall plates along the cable route, repeat the process of drilling holes and installing the wall plates. Connect each plate to the previous one by feeding the Ethernet cable through the holes in each plate.
7. Fasten the cables: Use cable staples or clips to secure the Ethernet cable along the wall or baseboard, keeping it tidy and protected. Ensure there is enough slack in the cable for proper connection to devices.
By following these steps, you will have successfully drilled holes and installed wall plates for your Ethernet cable. This provides a clean and organized appearance while creating access points for connecting your devices. Now that the physical installation is complete, it’s time to move on to the next step: fishing the Ethernet cable through the walls.
Step 5: Fish the Ethernet Cable Through the Walls
Fishing the Ethernet cable through the walls is a crucial step in the installation process. Follow these steps to successfully navigate the cable through the walls:
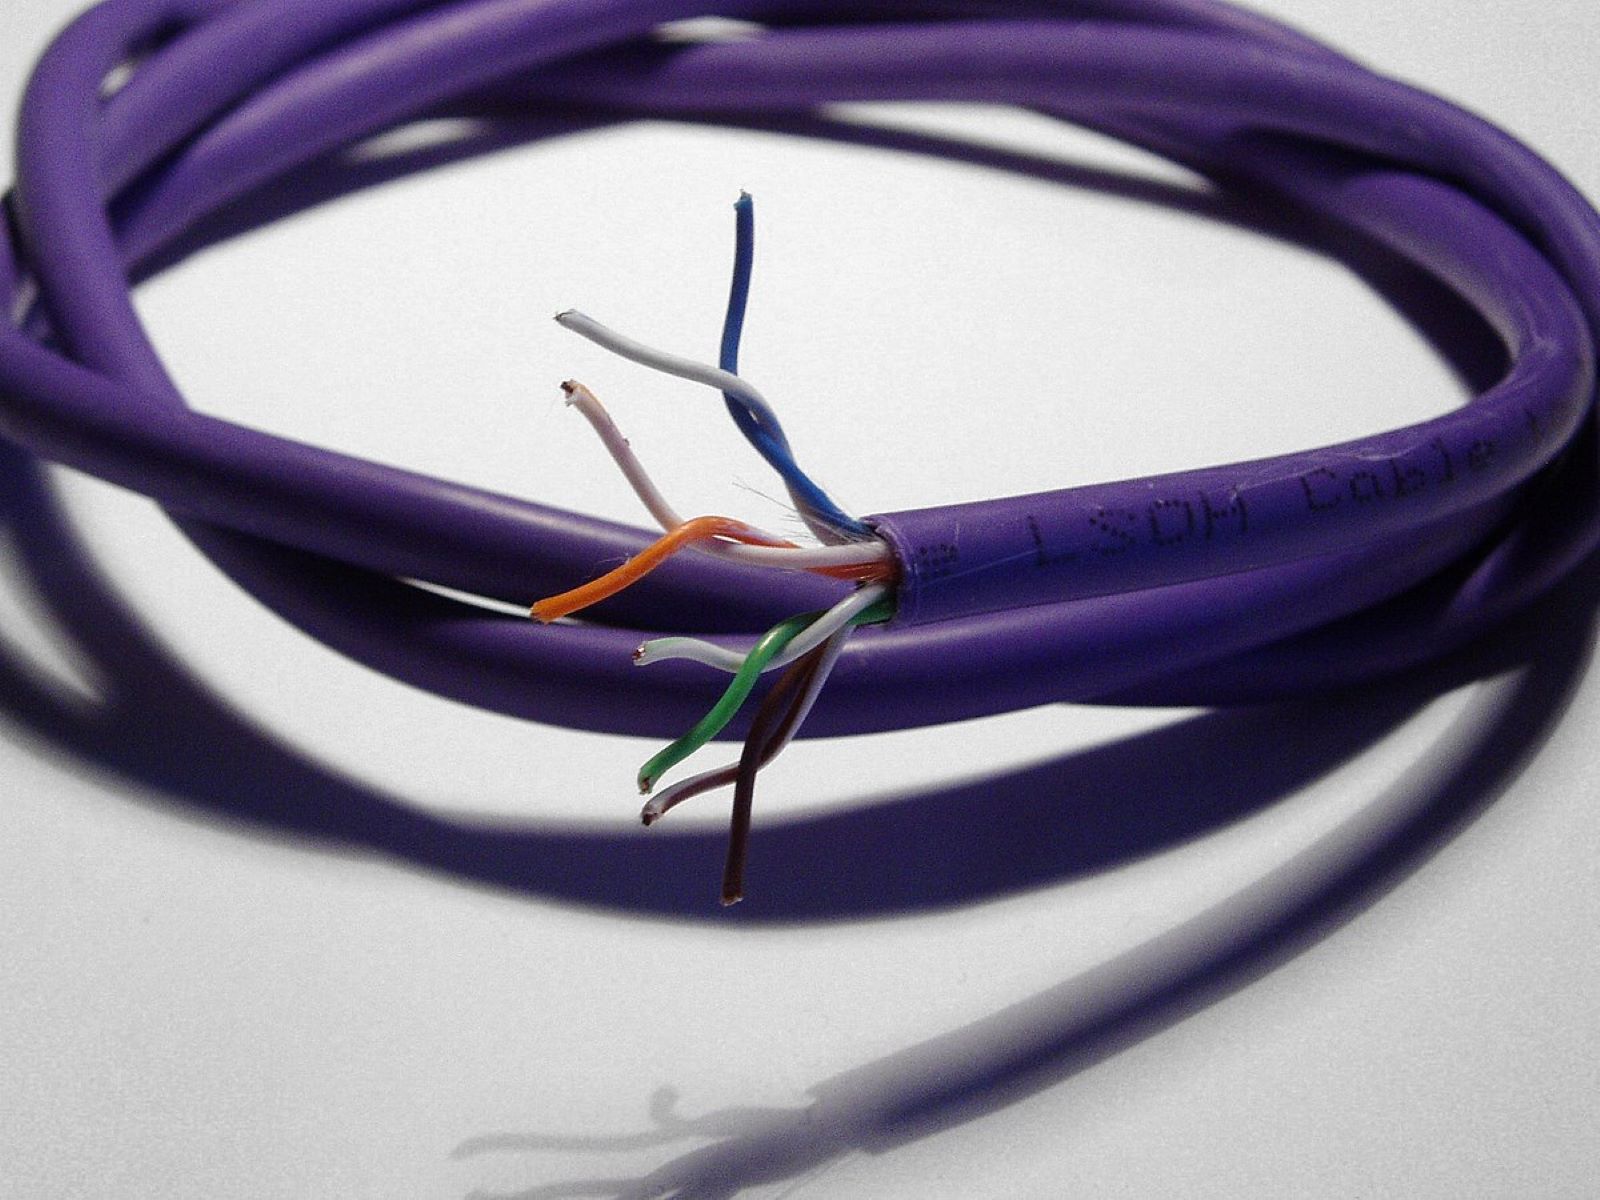
1. Prepare the cable: Strip approximately two inches of the outer sheath from the Ethernet cable using a cable stripper. Be careful not to cut into the individual wires inside.
2. Attach a fish tape: Take a fish tape, a long flexible tool used for pulling cables through walls, and attach it securely to the end of the Ethernet cable. Make sure it is tightly secured to prevent it from detaching during the fishing process.
3. Locate the destination wall plate: Identify the wall plate where the Ethernet cable is intended to exit. This will likely be the other end of the cable route or the location where you want to connect a device.
4. Create an access hole: Using a drill and a small drill bit, create a small access hole in the wall close to the destination wall plate. This hole will allow you to retrieve the fish tape and Ethernet cable.
5. Fish the Ethernet cable through the wall: Insert the fish tape, with the attached Ethernet cable, into the access hole you created. Carefully feed the fish tape through the wall cavity, gently guiding it towards the destination wall plate. Use caution to avoid any obstructions or damage to the cable.
6. Retrieve the fish tape and cable: Once the fish tape reaches the destination wall plate, carefully pull it out through the access hole, bringing the Ethernet cable along with it. Be gentle to avoid any tension and ensure the cable isn’t damaged during retrieval.
7. Connect the cable to the wall plate: Terminate the Ethernet cable by connecting it to the appropriate ports on the wall plate. Follow the instructions provided with the wall plate to ensure a proper and secure connection.
8. Repeat as necessary: If you have additional Ethernet cables running through walls to different locations or wall plates, repeat the fishing process for each cable.
By carefully following these steps, you will successfully fish the Ethernet cable through the walls. This ensures a clean and hidden installation while allowing you to connect your devices to the network. With the cable securely in place, it’s time to move on to the next step: connecting the Ethernet cable to your devices.
Step 6: Connect the Ethernet Cable to Devices
Now that you have successfully fished the Ethernet cable through the walls and reached the desired wall plates, it’s time to connect the cable to your devices. Follow these steps to establish the connections:
1. Identify the devices: Determine which devices you want to connect to the Ethernet network. These can include computers, gaming consoles, smart TVs, and other devices that benefit from a faster and more reliable connection.
2. Locate the Ethernet ports: Identify the Ethernet ports on your devices. These ports are typically located on the back or sides of the devices and are labeled as “LAN,” “Ethernet,” or with a symbol representing a network connection.
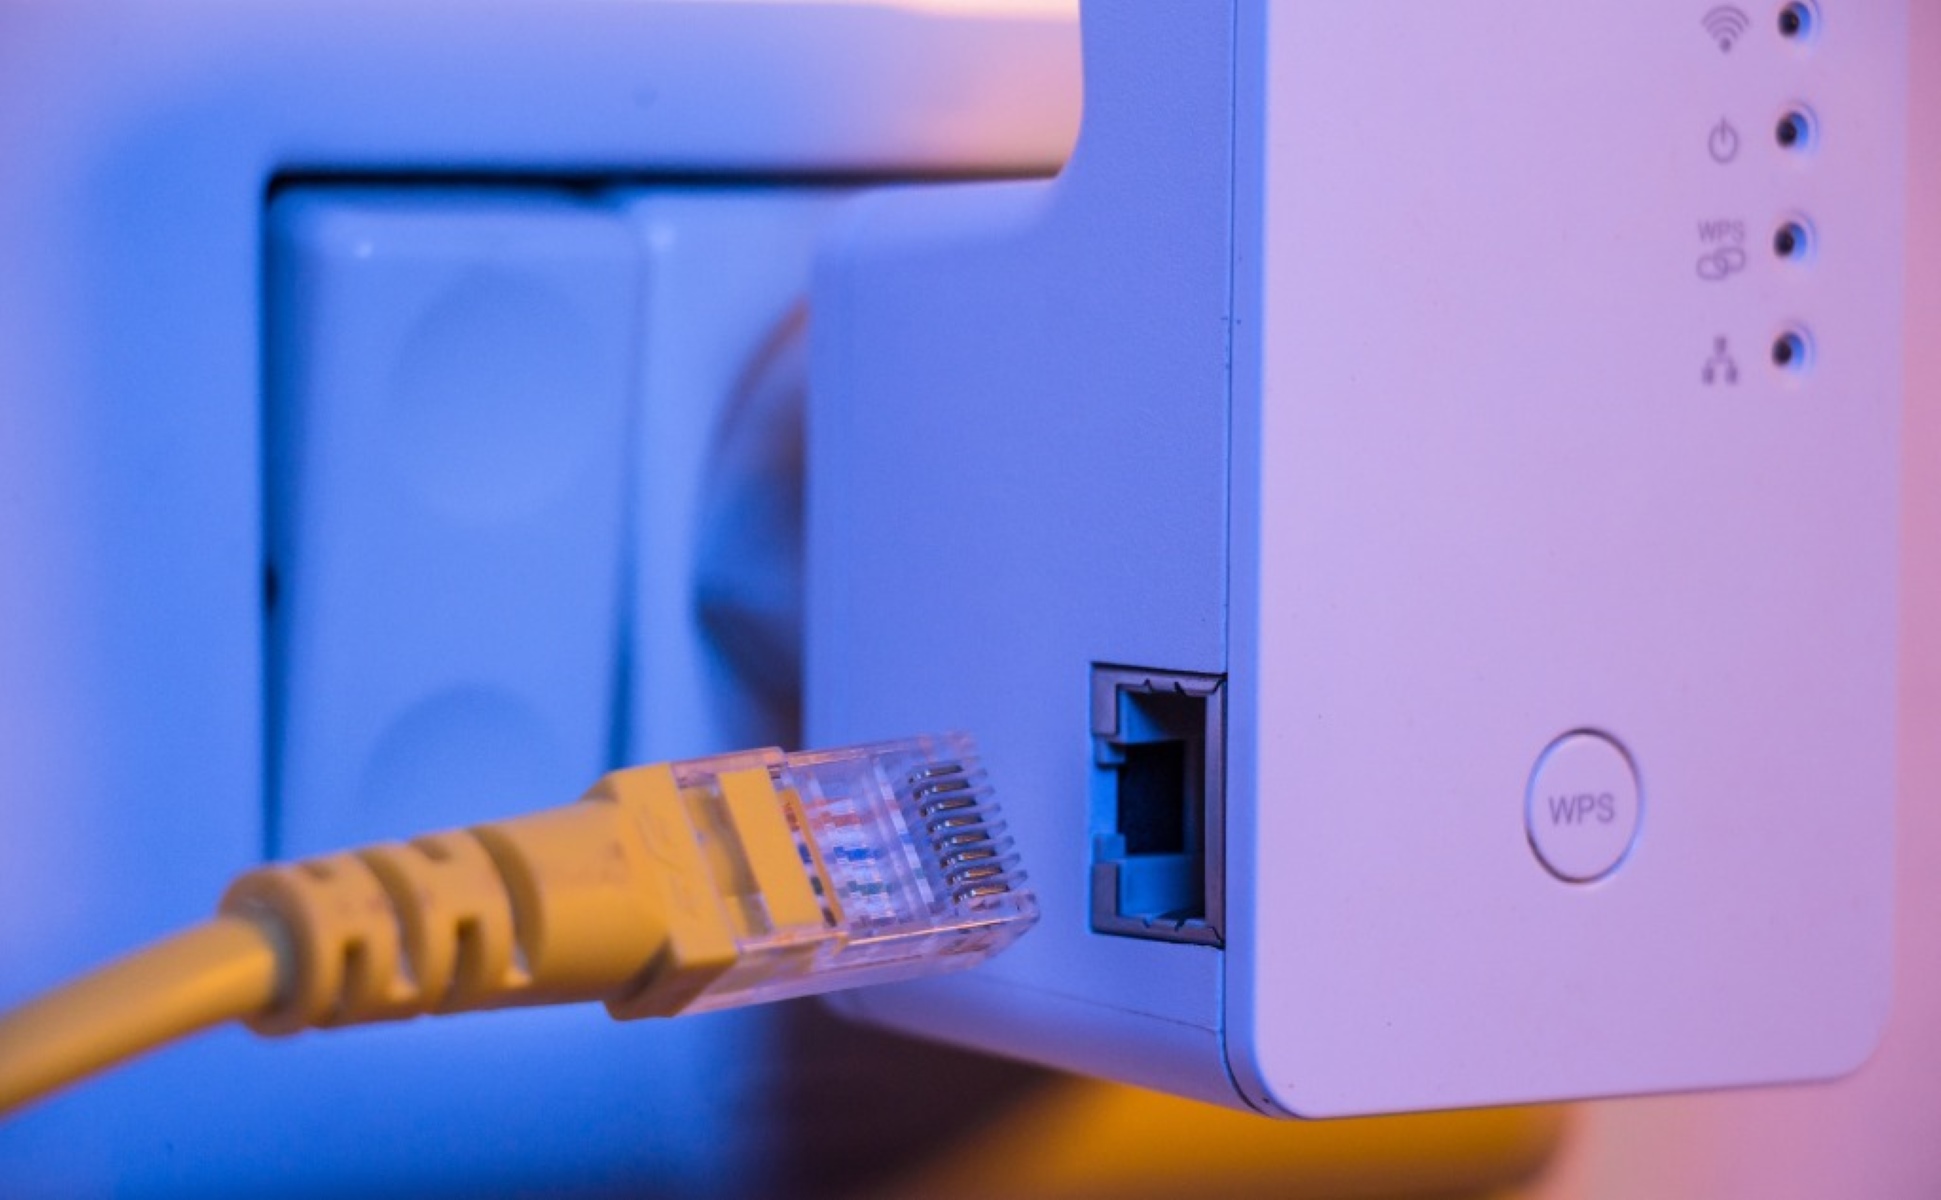
3. Plug in the Ethernet cable: Insert one end of the Ethernet cable into the Ethernet port on the wall plate. Ensure a secure connection by pushing the cable connector firmly into the port until it clicks into place.
4. Connect to the device’s Ethernet port: Take the other end of the Ethernet cable and plug it into the Ethernet port of the desired device. Again, ensure a secure connection by pushing the cable connector firmly into the port.
5. Repeat for other devices: If you have multiple devices to connect, repeat the process of plugging the Ethernet cable into the wall plate and connecting it to each device’s Ethernet port. Ensure that each connection is secure and properly seated.
6. Test the connections: Once all the Ethernet cable connections are made, test the network connectivity on each device. Ensure that the devices are detecting and properly utilizing the Ethernet connection. Check for a stable internet connection and fast data transfer speeds.
7. Troubleshoot if necessary: If you encounter any issues with the network connectivity, double-check the cable connections, ensure the devices are configured to use the Ethernet connection, and troubleshoot any network settings if needed.
By following these steps, you will successfully connect the Ethernet cable to your devices, providing them with the benefits of a reliable and high-speed network connection. Once the connections are established and tested, you can move on to the next step: testing and troubleshooting the network.
Step 7: Testing and Troubleshooting
After connecting the Ethernet cable to your devices, it’s important to test the network and troubleshoot any potential issues to ensure a seamless and reliable connection. Follow these steps to test and troubleshoot:
1. Check network status: On each device connected to the Ethernet network, check the network settings to confirm that the devices are detecting the Ethernet connection. Look for the network icon or indicator that signifies an active wired connection.
2. Test internet connection: Open a web browser on each device and navigate to a web page. Check the internet connection speed and responsiveness to ensure that the Ethernet cable is providing a reliable connection.
3. Verify connectivity between devices: If you have multiple devices connected to the Ethernet network, test the connectivity between them. For example, transfer files or attempt to stream media between devices to ensure a smooth and uninterrupted connection.
4. Troubleshoot network issues: If you encounter any network issues, such as slow speeds or intermittent connectivity, try the following troubleshooting steps:
- Restart the devices: Power cycle the devices connected to the Ethernet network, including the router or modem.
- Check cable connections: Ensure that all cable connections are secure and properly seated.
- Check router settings: Access the router’s administration panel and ensure that the Ethernet ports are enabled and configured correctly.
- Update drivers and firmware: Ensure that your device’s drivers and router’s firmware are up to date to eliminate any compatibility issues.
- Consult technical support: If the troubleshooting steps don’t resolve the issue, consult the device manufacturer or an IT professional for further assistance.
5. Monitor network performance: After troubleshooting and resolving any issues, monitor the network performance over time. Keep an eye out for any recurring problems or changes in speed or reliability. Address any abnormalities promptly to maintain a seamless network connection.
By conducting thorough testing and troubleshooting, you can ensure that your Ethernet network is functioning optimally. Enjoy the benefits of fast and reliable connections between your devices and a stable internet experience. With the network tested and troubleshooted, it’s time to move on to the final step: securing and concealing the Ethernet cable.
Step 8: Securing and Concealing the Ethernet Cable
Once you have tested and ensured proper functionality of your Ethernet network, the final step is to secure and conceal the Ethernet cable. This will not only help maintain a tidy and organized appearance but also protect the cable from potential damage. Follow these steps to secure and conceal the cable:
1. Use cable clips or staples: Secure the Ethernet cable along its route using cable clips or staples. These can be attached to baseboards, walls, or other surfaces using appropriate tools or adhesive backs. Make sure to space the clips or staples evenly to prevent the cable from sagging or hanging loosely.
2. Hide the cable behind furniture: If possible, arrange furniture such as bookcases, couches, or desks strategically to hide the Ethernet cable behind them. This can help conceal the cable and keep it out of sight.
3. Utilize cable management solutions: Invest in cable management solutions such as cable raceways or wire covers. These products are designed to hide cables and provide a seamless and professional look. They can be easily mounted on walls or baseboards, providing a clean and organized appearance.
4. Utilize existing wall cavities: If you have access to wall cavities or crawl spaces, consider running the Ethernet cable through these areas for a completely concealed installation. However, exercise caution and follow any applicable building codes or regulations when working in hidden spaces.
5. Label the cable ends: To easily identify and troubleshoot connections in the future, label the ends of the Ethernet cable with room names or device names. This simple step will save you time and effort when managing and maintaining your network.
6. Secure loose cables: Take the time to tidy up any other loose cables in the area. Use cable ties or Velcro straps to bundle them together and keep the area organized and clutter-free.
7. Periodic checks: Regularly inspect the cable and its secured areas to ensure that it remains in place and hasn’t been accidentally dislodged. If necessary, make adjustments or re-secure any loose sections.
By following these steps, you can create a clean and professional-looking installation while protecting the Ethernet cable from potential damage. The secure and concealed cable will seamlessly blend into your home or office environment. With the installation complete, you can now enjoy the benefits of a stable and high-speed network connection throughout your house.
Conclusion
Running Ethernet cable through your house may seem like a daunting task, but with proper planning, preparation, and execution, you can successfully create a wired network that offers faster and more reliable internet connections. By following the steps outlined in this guide, you can navigate the process with ease and achieve a professional result.
Starting with the initial planning and preparation phase, you will be able to determine the route, gather the necessary tools and materials, and ensure compliance with local building codes. Drilling holes and installing wall plates provide the foundation for the cable installation, while fishing the Ethernet cable through the walls allows you to establish connections at different locations.
Connecting the Ethernet cable to your devices and testing the network ensures that the network is functioning optimally. If any issues arise, the troubleshooting steps outlined in this guide will help you pinpoint and resolve them. By securing and concealing the Ethernet cable, you can achieve a clean and organized appearance in your home or office.
Remember to always prioritize safety and consult professionals or experts if you are uncertain about any step in the process. With the right tools and careful execution, running Ethernet cable through your house can be a rewarding DIY project that provides you with a fast, reliable, and stable network connection.
Now that you have completed the installation process, take a moment to admire your work and enjoy the benefits of your newly established Ethernet network. Whether you’re working from home, streaming movies, or enjoying online gaming, you can rest assured knowing that your network connection is optimized for speed and reliability.