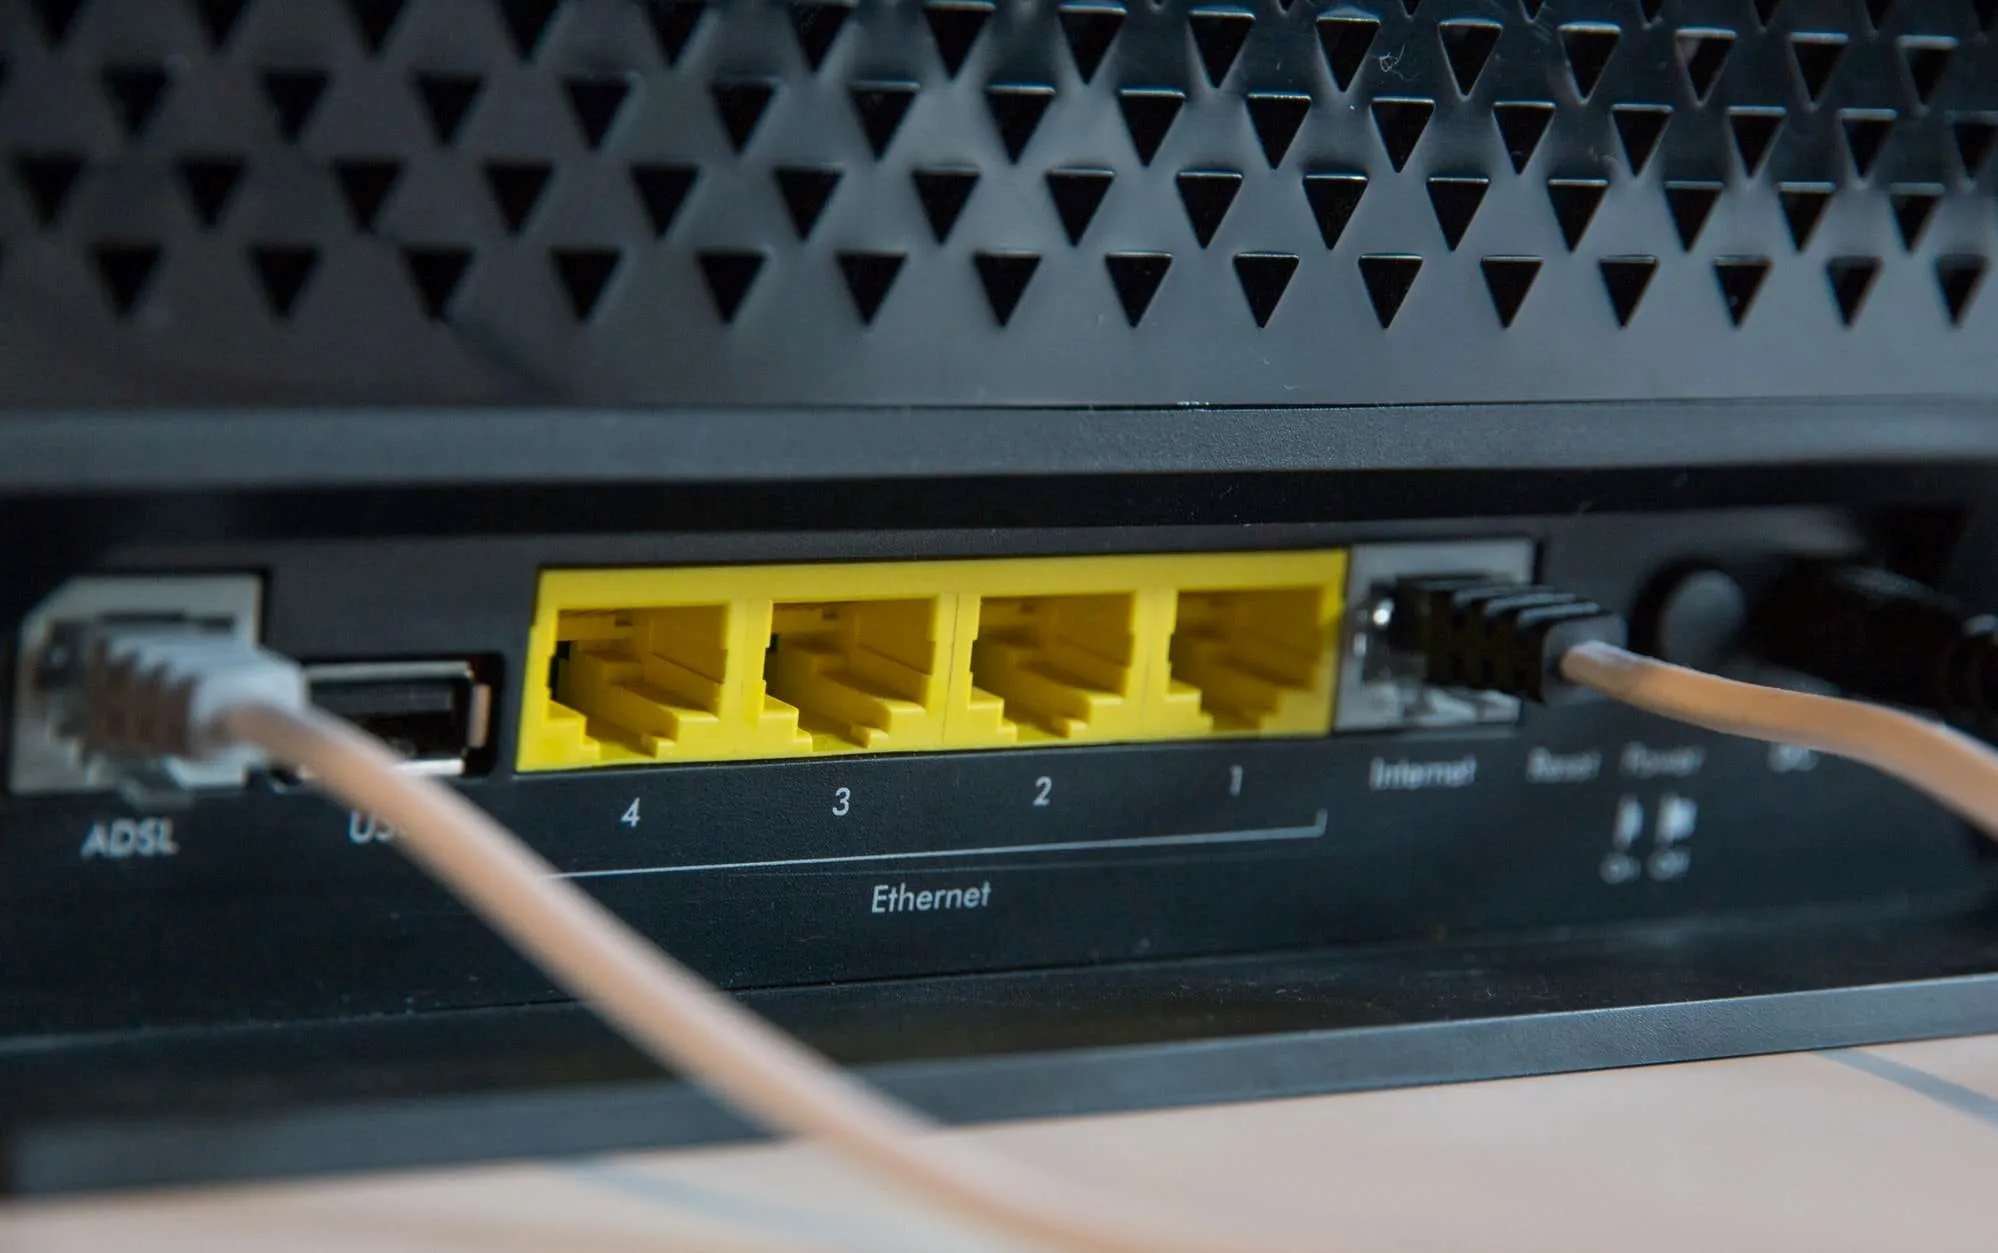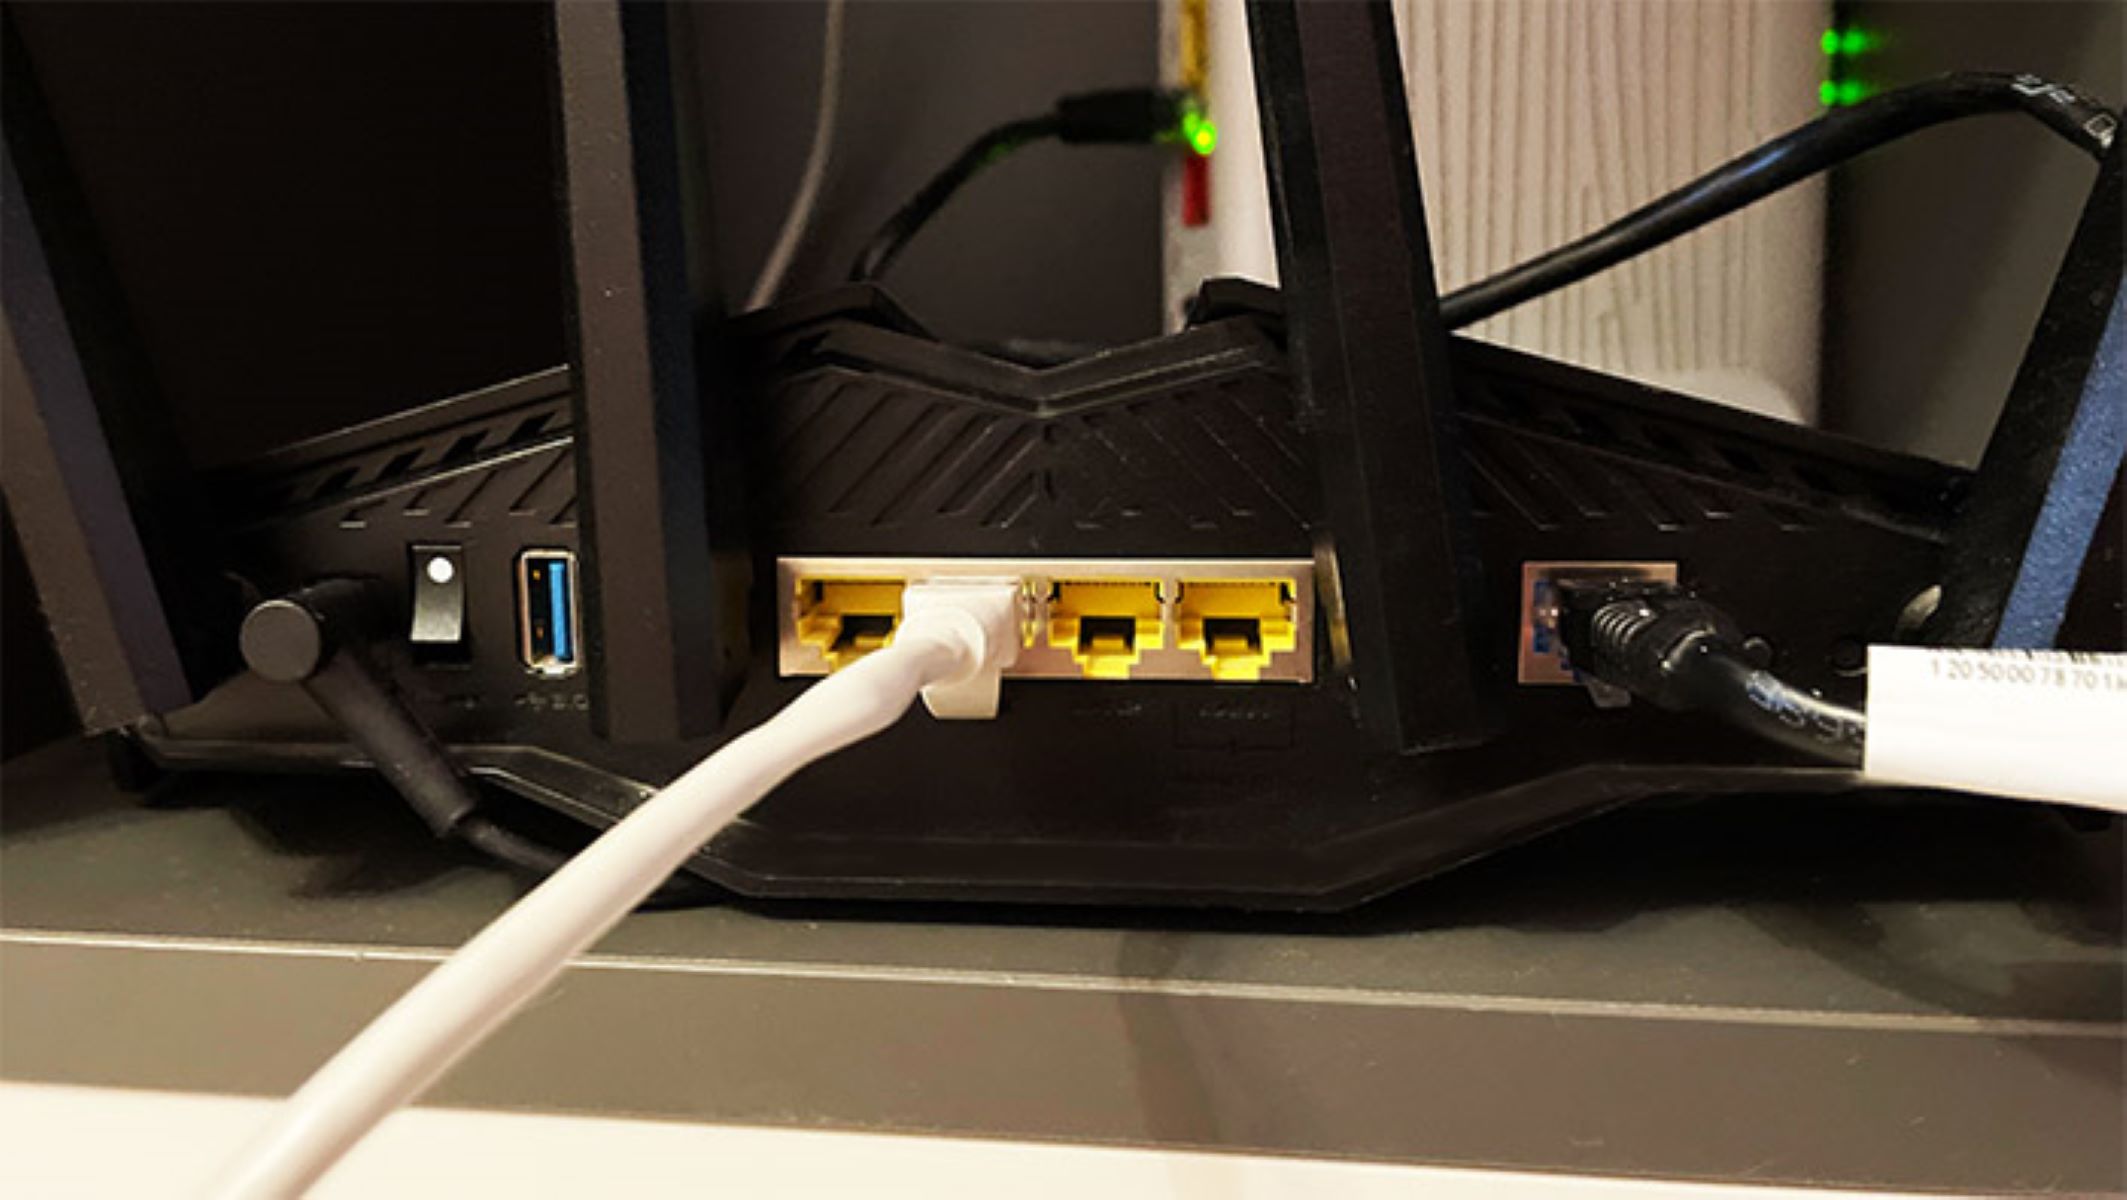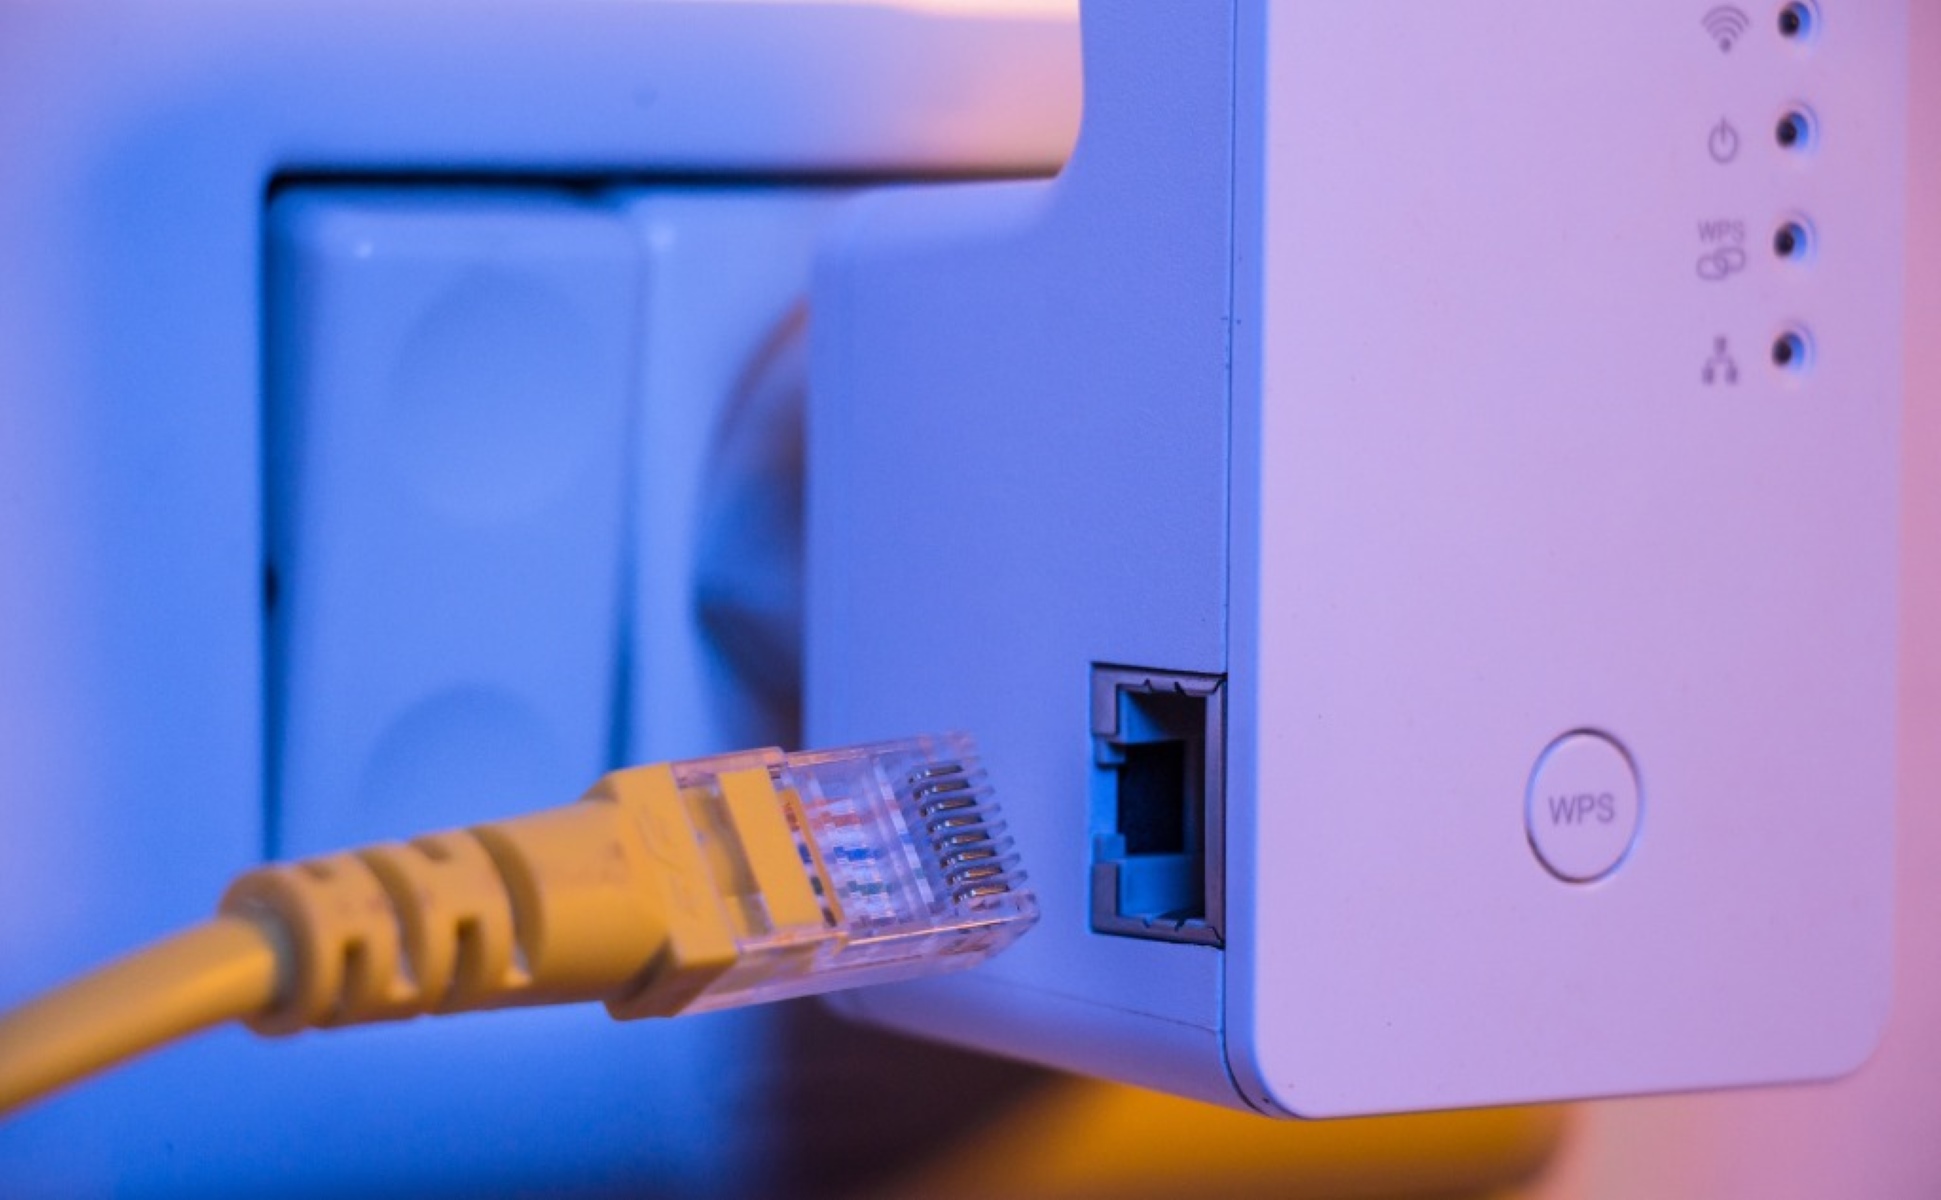
To activate Ethernet ports in house, you need to connect the in-wall cables that run from each wall jack to your router or network switch, which is almost always done at a central wiring panel. If a wall jack isn't working, the cause is usually a loose connection in that panel or an unconnected cable, not a problem with the port itself.
What you need before you activate Ethernet ports in house
Before you start, gather a few essentials. You’ll need a router with at least one open LAN port (more if you plan to activate several jacks at once), a short Ethernet patch cable for each wall port you want to make live, and optionally a cable tester or tone-and-probe kit to identify wires. The patch cables connect the in-wall wiring to your router, so make sure they’re long enough to reach from the router to the cables in the panel. If you’re unsure which cable category to use for your setup, any Cat5e or higher cable will work for standard internet speeds; Cat6 and Cat8 mainly offer more future-proofing and maximum speed.
Find your home's central wiring panel
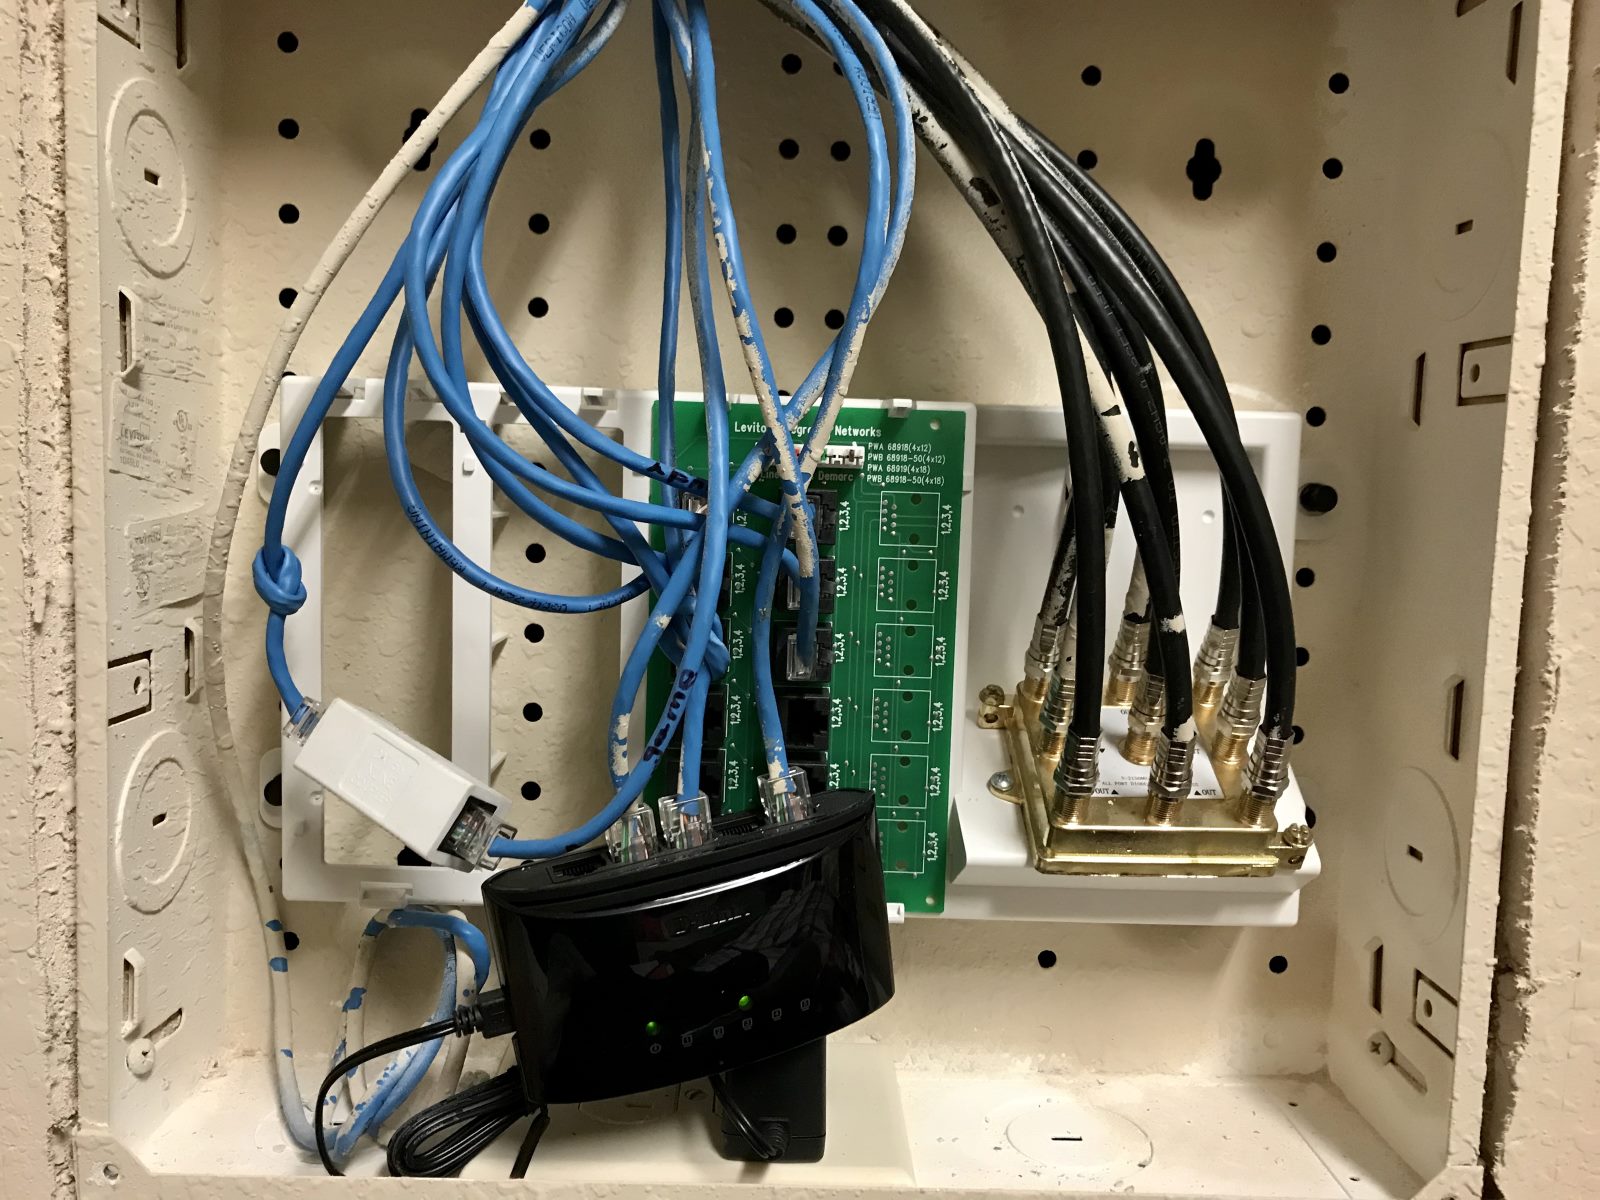
The single most important step people miss is locating the structured media panel, the metal or plastic enclosure where all the Ethernet cables from your rooms converge. This panel is typically installed in a basement, a utility closet, a garage, or sometimes inside a bedroom closet near the main electrical service. Open the panel door and look inside. You’ll see a bundle of twisted-pair cables, often blue or white, each terminating in a plug or a punch-down block. These cables are the other ends of the wall jacks throughout your house. If you don’t have a panel, the cables may be tucked behind the router or modem, or they may exit through a hole in the wall near where your internet service enters the house. The activation happens here, not at the wall jack itself.
Match each wall port to its cable in the panel
Once the panel is open, you need to know which cable goes to which room. If not, you have two practical options. First, use a network continuity tester: plug one small tester unit into a wall jack in a room, then touch the other unit to each cable in the panel until the tester lights up or beeps, indicating a match. Second, use a tone-and-probe tool: connect the tone generator to the wall jack, then sweep the probe over the cables in the panel until you hear the tone through the cable’s insulation. This method works even if the cables are not terminated with plugs. Write down the room name on a piece of tape and wrap it around the matching cable as you go.
Use a cable tester for unmarked cables
If you have multiple unmarked cables, a continuity tester is the most straightforward way to identify them. Plug the remote end into the wall jack, then connect the main unit to each cable in the panel one by one. When the tester shows a complete circuit, you’ve found the match. Repeat for each port you want to activate.
Use a tone-and-probe tool for buried cables
If the cables in the panel are not terminated with RJ45 plugs, a tone-and-probe kit is a better choice. Attach the tone generator to the wall jack’s pins, then use the probe to listen for the tone along each cable in the panel. The tone will be loudest on the correct cable, even if it’s bundled with others.
Connect the in-wall cables to your router or switch
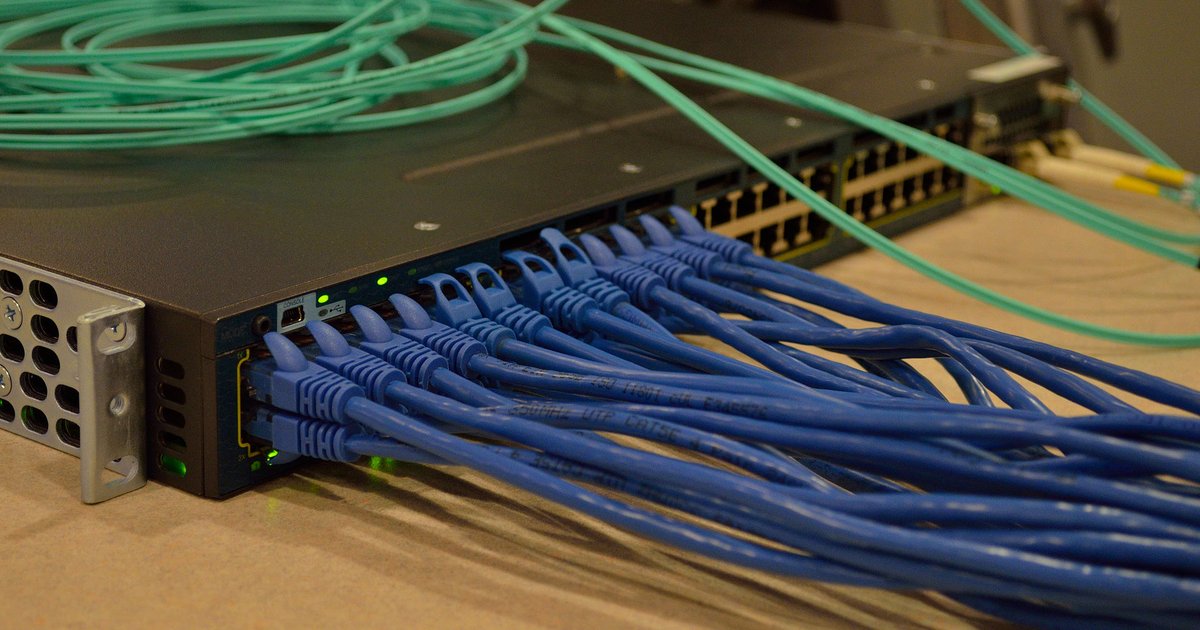
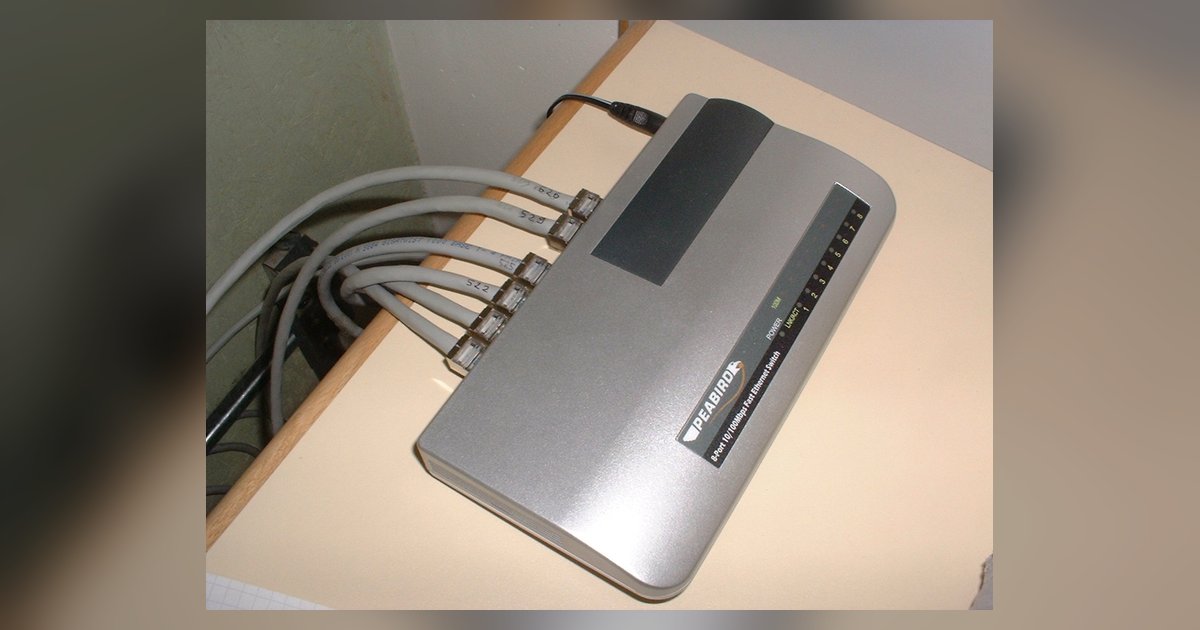
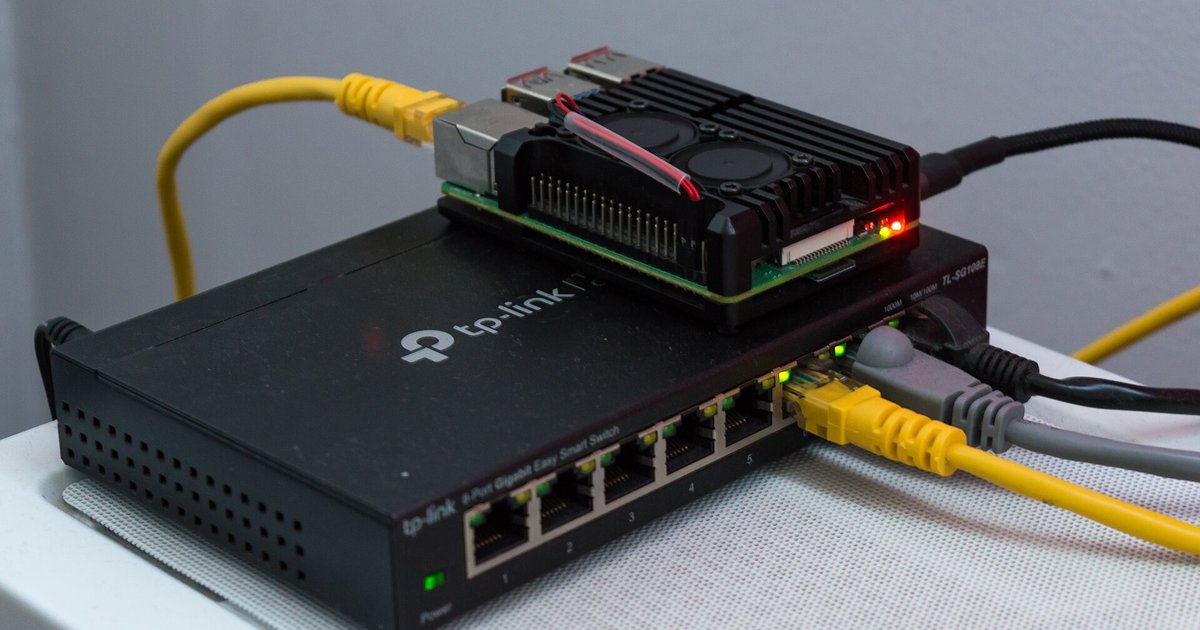
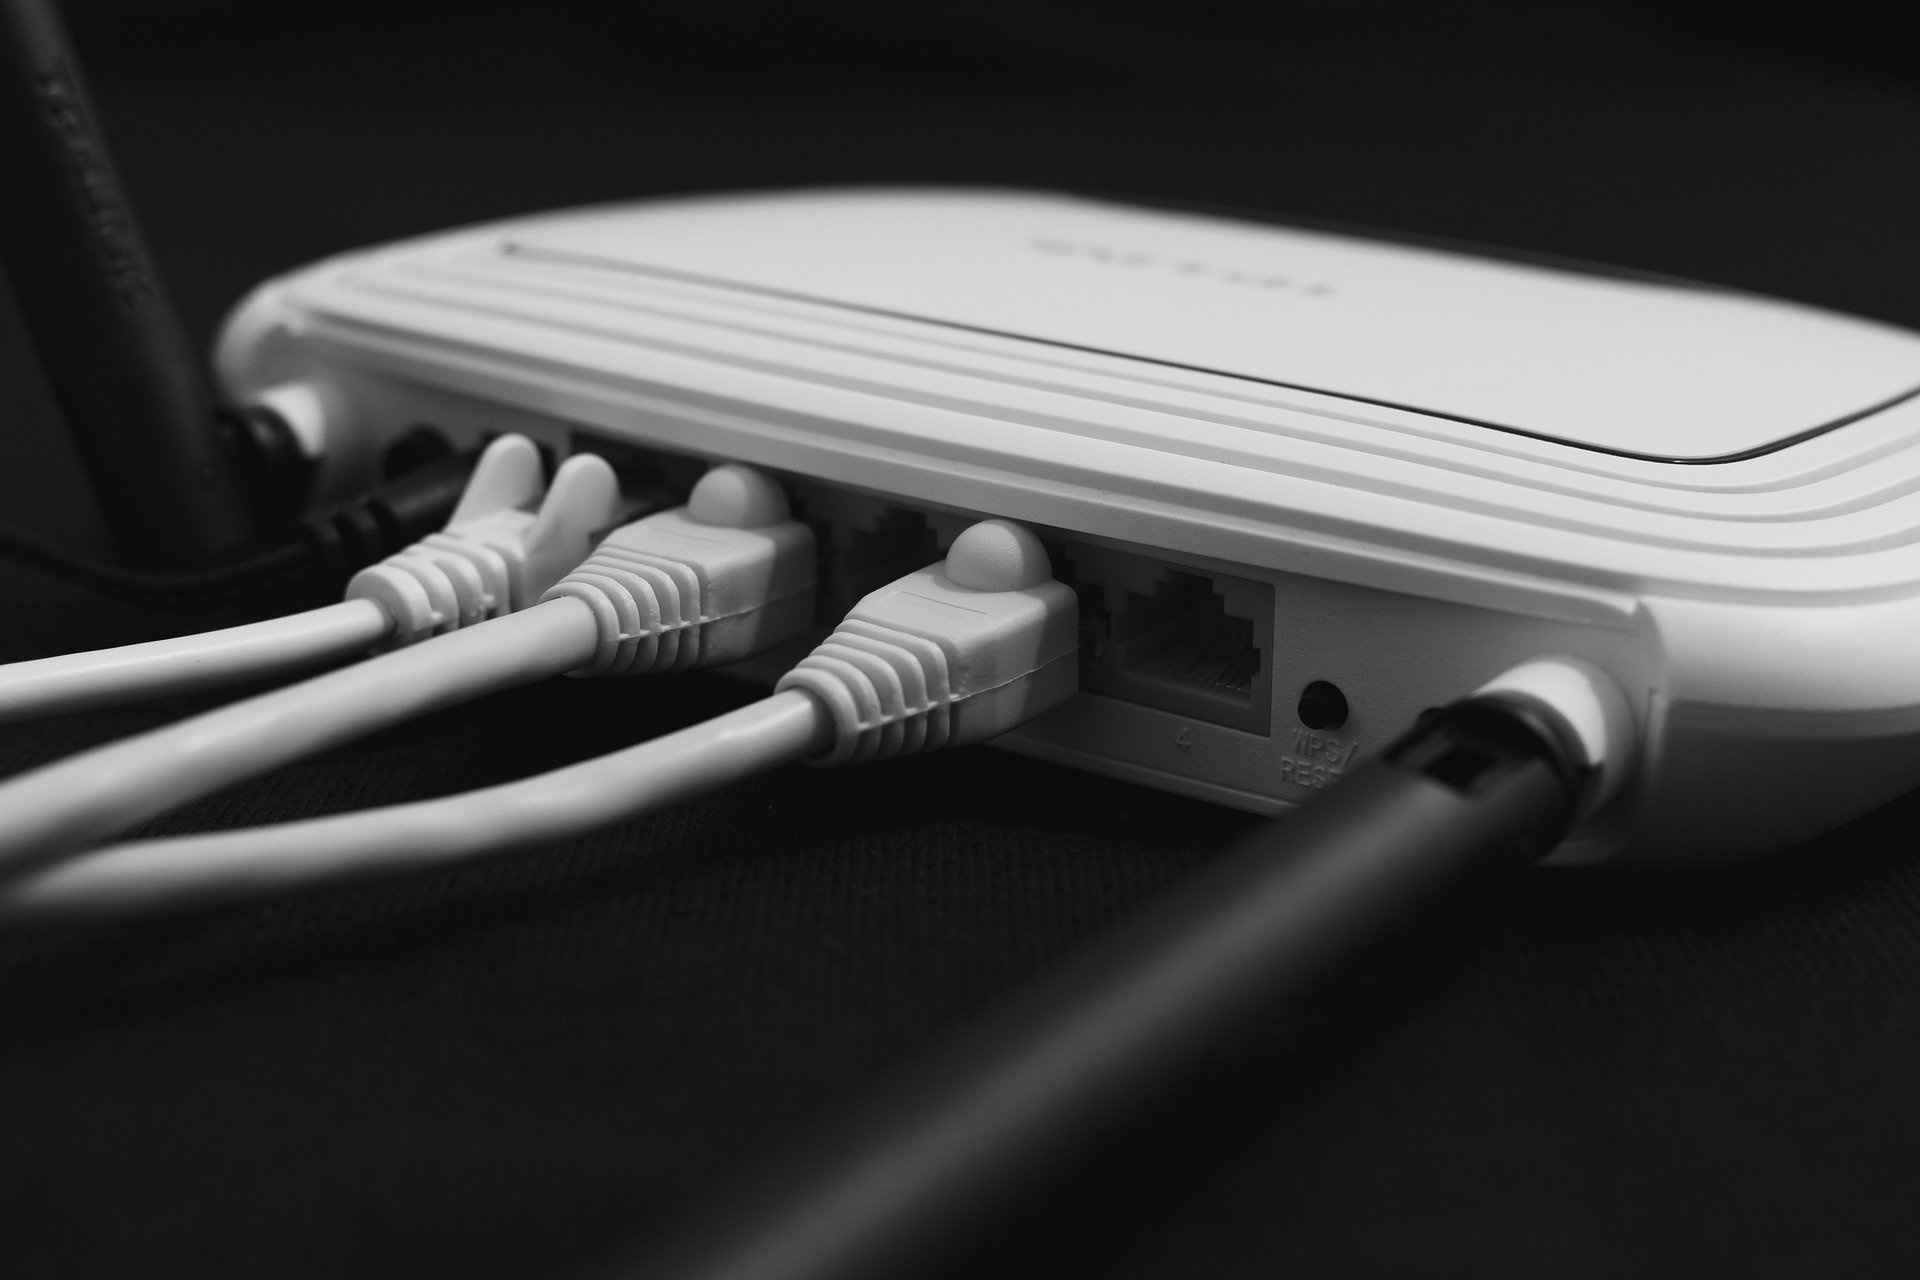
Now you’re ready to make the connection that actually activates the port. Take one of your short Ethernet patch cables and plug one end into a LAN port on your router. Plug the other end into the in-wall cable you just identified, either directly into its RJ45 plug or into the corresponding port on a patch panel if your system uses one. Repeat this for each wall jack you want to activate, using a separate LAN port on the router for each cable. If your router has fewer LAN ports than the number of jacks you need to activate, add a Gigabit Ethernet switch. Connect the switch to one of the router’s LAN ports with a patch cable, then connect each in-wall cable to a port on the switch. The switch expands your available ports without any additional configuration. Once all the patch cables are snug, the wall jacks are live. If you ever need to temporarily disconnect a device from a wall jack, you can safely unplug Ethernet cable from the router or switch side without affecting other connections.
Plug in your device and test the connection
Go to the room with the wall jack you just activated. Connect your device, a laptop, desktop, gaming console, or smart TV, to the wall jack using a standard Ethernet cable. Plug one end into the device’s network port and the other into the wall jack. Check the link lights: your device’s Ethernet port should show a solid or blinking light, and the corresponding port on your router or switch should also light up. If both lights are on, open a web browser and run a speed test to confirm you’re getting the expected internet speed. If there’s no light or no internet, go back to the panel and re-check three things. First, make sure the patch cable is fully seated in both the router/switch port and the in-wall cable’s plug. Second, verify that you matched the correct in-wall cable to the correct wall jack, a mislabeled cable is a common mistake. Third, confirm that the router or switch port is actually working by plugging a known-good device directly into that port with a short cable. If the port works but the wall jack doesn’t, the issue may be a broken wire in the wall, which usually requires re-terminating the cable ends or calling a low-voltage technician. If you’re trying to improve your overall network performance, remember that wired connections give you the most stable speeds, so it’s often worth the effort to use Ethernet instead of wifi for stationary devices like desktop computers, TVs, and gaming consoles. After you’ve confirmed the connection works, you can enjoy the reliability of a wired network in that room. For any remaining jacks, repeat the matching and connection steps one at a time until every port you need is active. The Ethernet cable connection points are always the same: the wall jack in the room, the in-wall cable in the panel, and the LAN port on your router or switch, so once you’ve done one, the rest follow the same pattern.