Introduction
An ethernet cable is a common tool used to connect devices such as computers, routers, and switches to a local area network (LAN) or the internet. It plays a critical role in ensuring a reliable and stable connection for data transfer. However, like any other piece of equipment, ethernet cables can deteriorate over time, leading to degraded performance or even complete failure.
Identifying whether your ethernet cable is causing issues can save you valuable time and frustration troubleshooting other components of your network setup. In this article, we will discuss the symptoms of a faulty ethernet cable and provide you with practical methods to test its functionality.
Whether you are experiencing slow internet speeds, intermittent connectivity, or random disconnections, a bad ethernet cable could be the culprit. It is important to understand the signs of a bad cable so that you can take appropriate measures to resolve the issue.
So, let’s take a look at the common symptoms of a bad ethernet cable and explore the ways you can test its integrity.
Symptoms of a Bad Ethernet Cable
A bad ethernet cable can manifest itself in various ways, impacting your network performance and connectivity. Recognizing these symptoms will help you diagnose if your ethernet cable is causing issues. Here are the most common signs:
- Slow Internet Speeds: If you notice a significant decrease in your internet speed, it could be due to a faulty ethernet cable. As data is transmitted over the cable, any damage or interference can result in data loss or delays, leading to slower download and upload speeds.
- Intermittent Connectivity: A bad ethernet cable may cause your connection to drop intermittently. You may experience sudden disconnections, where your device loses connectivity to the network and then reconnects sporadically.
- Packet Loss: Packet loss occurs when data packets traveling through the cable fail to reach their destination. It can cause disruptions in audio and video streaming, online gaming, and overall network performance. If you notice frequent buffering or lagging during these activities, it could be a sign of a bad ethernet cable.
- Unreliable Connection: A reliable network connection is crucial, especially for tasks that require consistent data transfer, such as video conferencing or file sharing. If your ethernet cable is faulty, you may experience unreliable connections, where the connection drops frequently or becomes unstable.
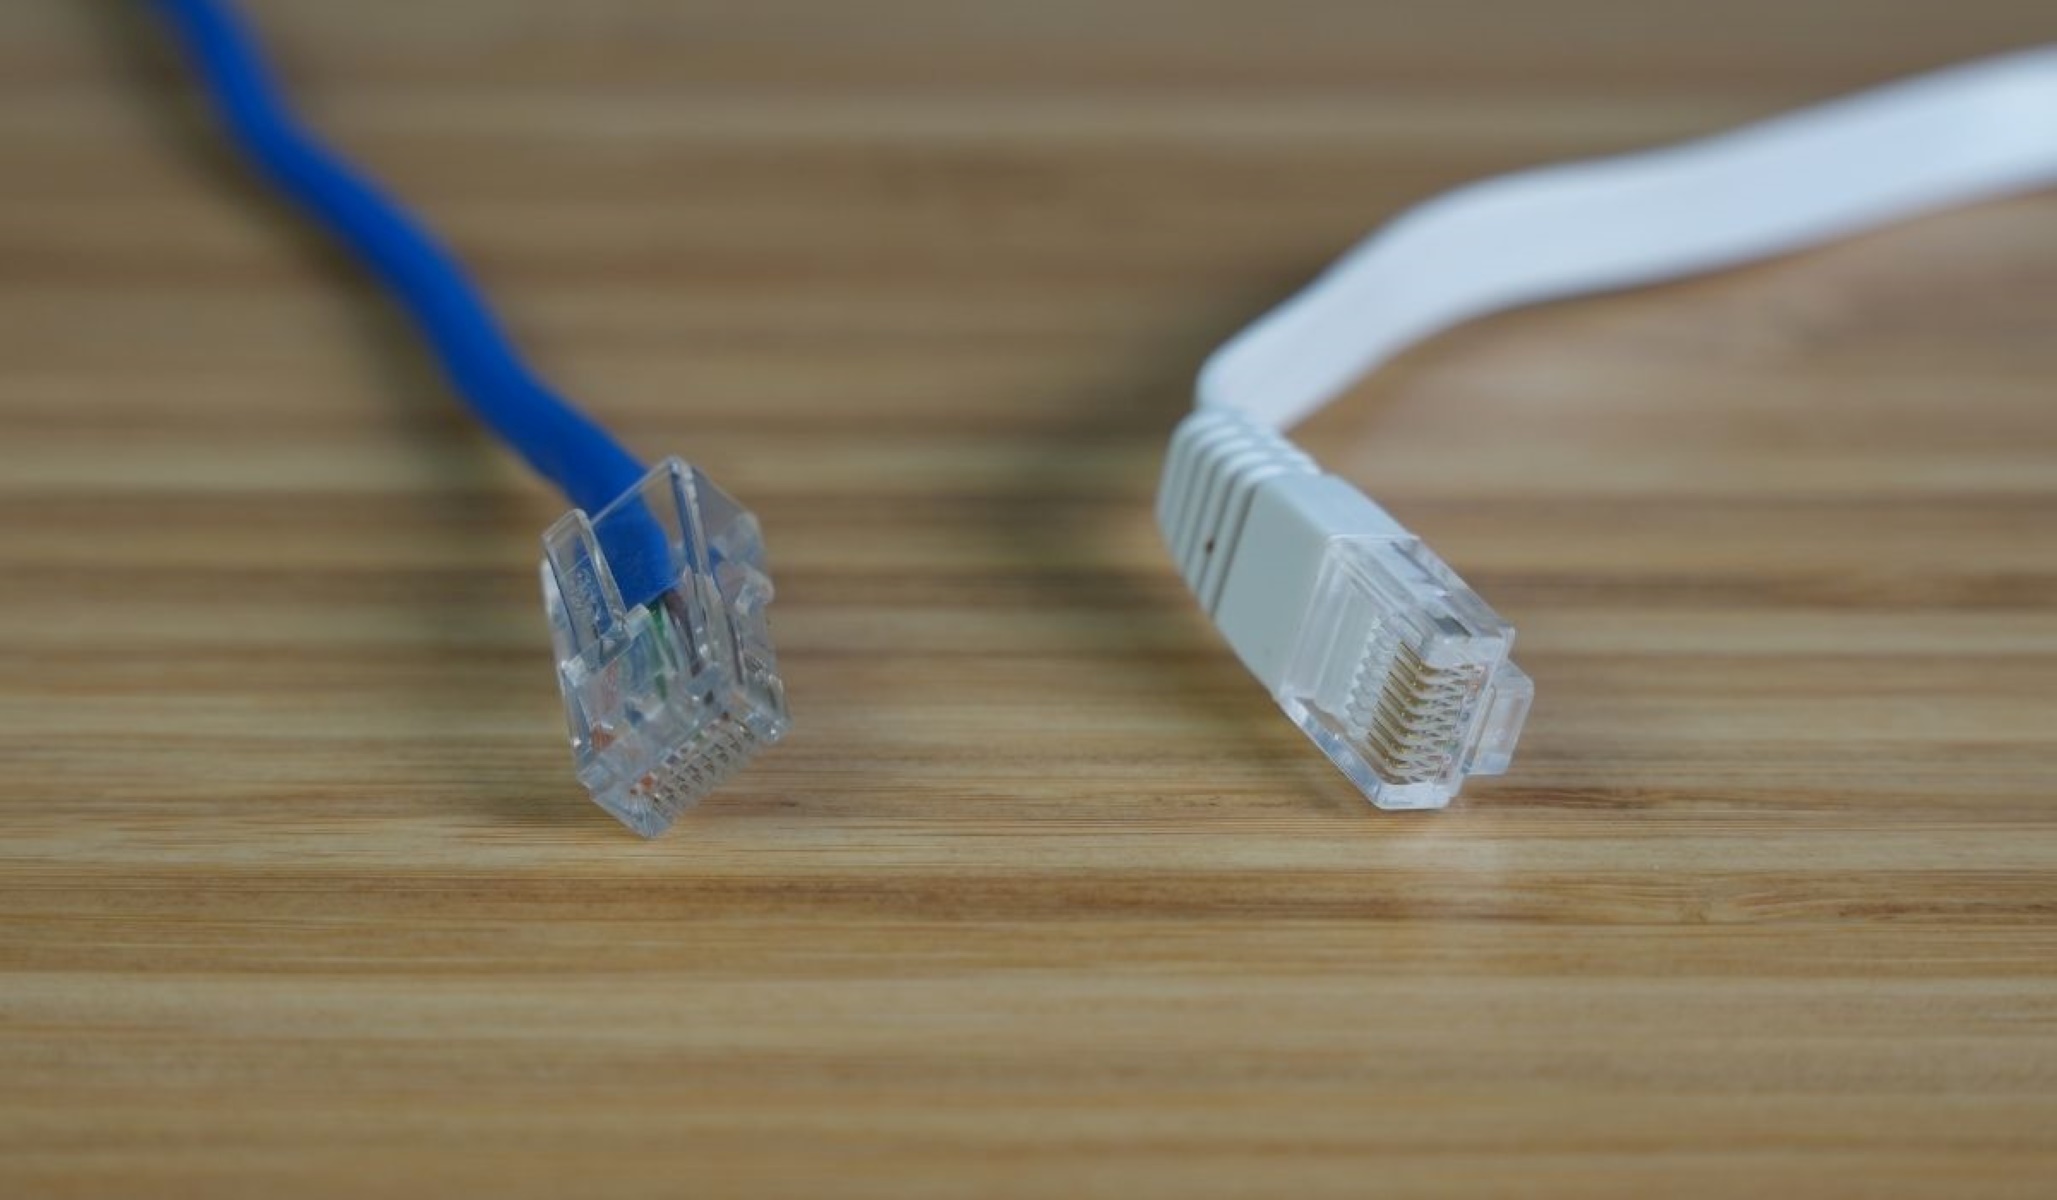
- Physical Damage: Examine the ethernet cable for any visible signs of damage, such as cuts, fraying, or bent connectors. Physical damage to the cable can disrupt the flow of data, leading to performance issues.
If you recognize one or more of these symptoms, it’s essential to test your ethernet cable to confirm if it is indeed the cause of the problem. In the following sections, we will discuss different methods to test the functionality of your ethernet cable and determine if a replacement is necessary.
Testing Your Ethernet Cable
Once you suspect that your ethernet cable may be the culprit behind network issues, it’s important to test its functionality to determine if it needs to be replaced. Here are some methods you can use to test your ethernet cable:
Visual Inspection
The first step in testing your ethernet cable is to visually inspect it for any physical damage. Check for cuts, frayed wires, bent connectors, or any other visible signs of wear and tear. If you notice any damage, it’s likely that the cable is causing the problems and should be replaced.
Testing for Signal Loss
Signal loss is a common issue that can occur with ethernet cables. To test for signal loss, you can try connecting your device directly to the modem or router using a known working ethernet cable. If the connection is stable and the issues disappear, it indicates that your original cable is causing signal loss and needs to be replaced.
Using a Cable Tester
A cable tester is a valuable tool for testing the integrity of ethernet cables. It can help identify various issues, including open circuits, short circuits, and miswiring. By connecting the cable to the tester, you can quickly determine if there are any faults present. The tester will indicate whether the cable is functioning correctly or if it needs to be replaced.
Testing for Interference
Electromagnetic interference (EMI) and radio frequency interference (RFI) can also affect ethernet cable performance. Nearby electrical cables, power sources, or other electronic devices can introduce interference. To test for interference, try moving the cable away from potential sources of interference and see if the issues persist. If they do, it may be necessary to replace the cable with one that offers better shielding.
By using these testing methods, you can determine if your ethernet cable is indeed the cause of the network issues. Remember, a faulty cable can severely impact your network performance, so it’s crucial to address the problem promptly by replacing the cable if needed.
Visual Inspection
Before proceeding with more advanced testing methods, it’s essential to visually inspect your ethernet cable for any signs of physical damage. A thorough visual inspection can provide valuable insights into the condition of the cable and help identify potential issues that may be affecting its functionality.
Here’s a step-by-step guide on how to visually inspect your ethernet cable:
- Examine the Cable Jacket: Check the outer plastic covering of the ethernet cable, also known as the cable jacket. Look for any cuts, tears, or visible signs of wear and tear. If you notice any damage to the cable jacket, it can indicate internal damage as well. In such cases, it’s recommended to replace the cable.
- Inspect the Connectors: Inspect both ends of the ethernet cable for any bent pins, loose connectors, or signs of corrosion. Ensure that the connectors are clean and securely attached.
- Check for Frayed Wires: Gently run your fingers along the length of the cable, feeling for any areas where the wires may be exposed or frayed. If you encounter any rough spots or wires poking out, it’s an indication of potential damage. Damaged wires can cause signal loss or even short circuits, affecting the cable’s performance.
- Look for kinks or twists: Straighten out the cable and observe its entire length. Check for any kinks or twists that may have developed over time. Kinks and twists can disrupt the flow of data and cause intermittent connectivity issues.
If you find any visible signs of damage during the visual inspection, it’s highly likely that the ethernet cable is the source of the network problems you’re experiencing. In such cases, it’s recommended to replace the cable with a new one to ensure reliable and efficient network connectivity.
On the other hand, if the cable appears to be in good condition with no visible damage, it doesn’t necessarily mean it is problem-free. Internal wiring issues or electromagnetic interference may still be affecting its performance. In such cases, it’s advisable to proceed with further testing methods to get a more accurate assessment of the cable’s functionality.
Testing for Signal Loss
Signal loss is a common problem that can occur with ethernet cables, leading to degraded network performance. Testing for signal loss can help determine if your ethernet cable is the cause of the connectivity issues you’re experiencing. Here are a few methods to test for signal loss:
Direct Connection Test:
One way to test for signal loss is by connecting your device directly to the modem or router using a known working ethernet cable. If the connection is stable, and the network issues disappear, it indicates that your original cable may be causing signal loss. This test helps rule out other potential sources of the problem and narrows down the issue to the ethernet cable.
Alternate Cable Test:
To further confirm if signal loss is occurring, you can try using an alternate ethernet cable of good quality and connect it between your device and the modem or router. If the new cable provides a stable connection with improved performance, it suggests that the original cable may indeed be faulty and causing signal loss.
Observing Link Speed and Stability:
Another way to identify signal loss is to observe the link speed and stability of the connection. Modern operating systems and network adapters provide information about the link speed and status. If you notice fluctuations in the link speed or frequent disconnections, it may indicate signal loss caused by a faulty ethernet cable.
Using Network Diagnostic Tools:
Network diagnostic tools can also help determine if signal loss is occurring. Some operating systems have built-in network diagnostic utilities that can test the ethernet connection and provide information on its performance. These tools can help identify if signal loss is present and provide suggestions for resolving the issue.
If any of the above tests indicate signal loss or if you consistently experience poor network performance, it may be a strong indication that your ethernet cable is causing the problem. In such cases, replacing the cable with a new one of high quality is recommended to ensure a stable and reliable network connection.
Using a Cable Tester
A cable tester is a valuable tool that can help diagnose and identify potential issues with ethernet cables. It allows you to conduct comprehensive testing to determine the integrity and functionality of the cable. Here’s how to use a cable tester:
Step 1: Prepare the Cable Tester
Ensure that the cable tester is properly powered, either by battery or through a wall outlet if it requires external power. Familiarize yourself with the tester’s controls and display, as different models may have different functionalities.
Step 2: Connect the Cable
Plug one end of the ethernet cable into the tester’s “Transmitter” or “Sender” port. Then, plug the other end of the cable into the tester’s “Receiver” or “Remote” port. Make sure the connections are secure to ensure accurate testing.
Step 3: Start the Test
Once the cable is properly connected to the tester, initiate the testing process as per the instructions provided for your specific cable tester model. It may involve pressing a button or navigating through a menu. The tester will then send signals through the cable and assess its functionality.
Step 4: Interpret the Results
After the testing process is complete, the cable tester will display the results. It may indicate whether the cable passed or failed the test, or provide more detailed information about the specific issues detected, such as open circuits, short circuits, or miswiring. Some advanced cable testers may provide additional data on signal quality and performance metrics.
Step 5: Take Appropriate Action
Based on the test results, you can determine the next course of action. If the cable passes the test, it is likely functioning correctly. However, if it fails or if significant issues are detected, it is recommended to replace the cable to ensure reliable and efficient network connectivity.
Using a cable tester can save you time and effort in diagnosing ethernet cable issues by pinpointing the exact problems. It provides a more accurate assessment of the cable’s condition compared to visual inspection alone, especially when dealing with internal faults that are not immediately visible. Invest in a good-quality cable tester for a thorough evaluation of your ethernet cables.
Testing for Interference
Interference can significantly impact the performance and reliability of ethernet cables. It can disrupt the transmission of data, leading to network issues and connectivity problems. Testing for interference can help identify if external factors are affecting your ethernet cable. Here are some methods to test for interference:
Check for Nearby Sources of Interference:
Start by identifying any potential sources of electromagnetic interference (EMI) or radio frequency interference (RFI) in your immediate vicinity. These could include electrical cables, power sources, electronic devices, or even appliances like microwaves or cordless phones. Move your ethernet cable away from these sources of potential interference and observe if there is any improvement in network performance.
Test Different Cable Paths:
In some cases, simply changing the path of the ethernet cable can minimize the impact of interference. Try routing the cable away from potential sources of interference such as electrical wires or other cables. Experiment with different cable paths and observe if there is any reduction in network issues or improved network performance.
Use Shielded Ethernet Cables:
Shielded Ethernet cables are designed to reduce the effect of external interference. They are constructed with additional shielding layers that help safeguard against electromagnetic and radio frequency interference. Consider replacing your current ethernet cable with a shielded one and test if the interference issues improve.
Test with a Different Ethernet Port:
In some cases, the ethernet port on your device may be the source of interference. Try connecting the ethernet cable to a different port on your device, such as a different network card or a port on a different router or switch. If the interference issues resolve or improve, it suggests that the original port was causing the interference, and you may need to replace or repair it.
Consult a Professional:
If you have tried the above methods and are still experiencing interference issues with your ethernet cable, it may be helpful to consult a professional network technician. They can assess the situation, perform advanced tests, and provide expert advice on mitigating interference and improving your network’s overall performance.
Testing for interference is crucial in ensuring reliable and consistent network connectivity. By identifying and addressing potential sources of interference, you can optimize your ethernet cable’s performance and minimize network disruptions.
Conclusion
Testing the functionality of your ethernet cable is essential when experiencing network issues. By identifying a bad ethernet cable early on, you can save time and frustration troubleshooting other components in your network setup. Through visual inspection, testing for signal loss, using a cable tester, and checking for interference, you can determine if your ethernet cable is the source of the problem.
During the visual inspection, look for physical damage, such as cuts, fraying, or bent connectors. If any damage is visible, it’s likely the cable is causing issues and should be replaced. Testing for signal loss involves direct connections, alternate cables, and observing link speed and stability. If signal loss is detected, replacing the cable is recommended to restore optimal performance.
Using a cable tester allows for comprehensive testing, identifying issues like open circuits, short circuits, or miswiring. The results can guide you in determining the cable’s functionality and whether a replacement is necessary. Additionally, testing for interference is crucial as electromagnetic or radio frequency interference can disrupt the transmission of data. Proper cable routing, shielded cables, or consulting a professional can help minimize interference effects.
In conclusion, regular testing and maintenance of your ethernet cable ensure a reliable and stable network connection. By being proactive and addressing any issues with your ethernet cable, you can optimize your network performance and enhance your online experience.