Introduction
Your Ethernet cable is a critical component in your network setup, responsible for transmitting data between devices. Ensuring that your Ethernet cable is working properly is essential for maintaining a stable and reliable network connection. Whether you’re experiencing connectivity issues or simply want to verify the performance of your cable, it’s important to know how to check if your Ethernet cable is working.
In this article, we will guide you through various methods to determine the functionality of your Ethernet cable. We will cover physical checks for damage, testing connectivity, checking the link LED, verifying connection speed, testing with different devices, using network testing tools, and troubleshooting common issues.
By following these steps, you will be able to identify any issues with your Ethernet cable and take the necessary steps to rectify them. Whether you’re a network administrator or a home user, knowing how to assess the functionality of your Ethernet cable is fundamental in maintaining a seamless and reliable network connection.
So, without further ado, let’s dive into the world of Ethernet cable troubleshooting and learn how to determine if your Ethernet cable is working as it should.
Checking for Physical Damage
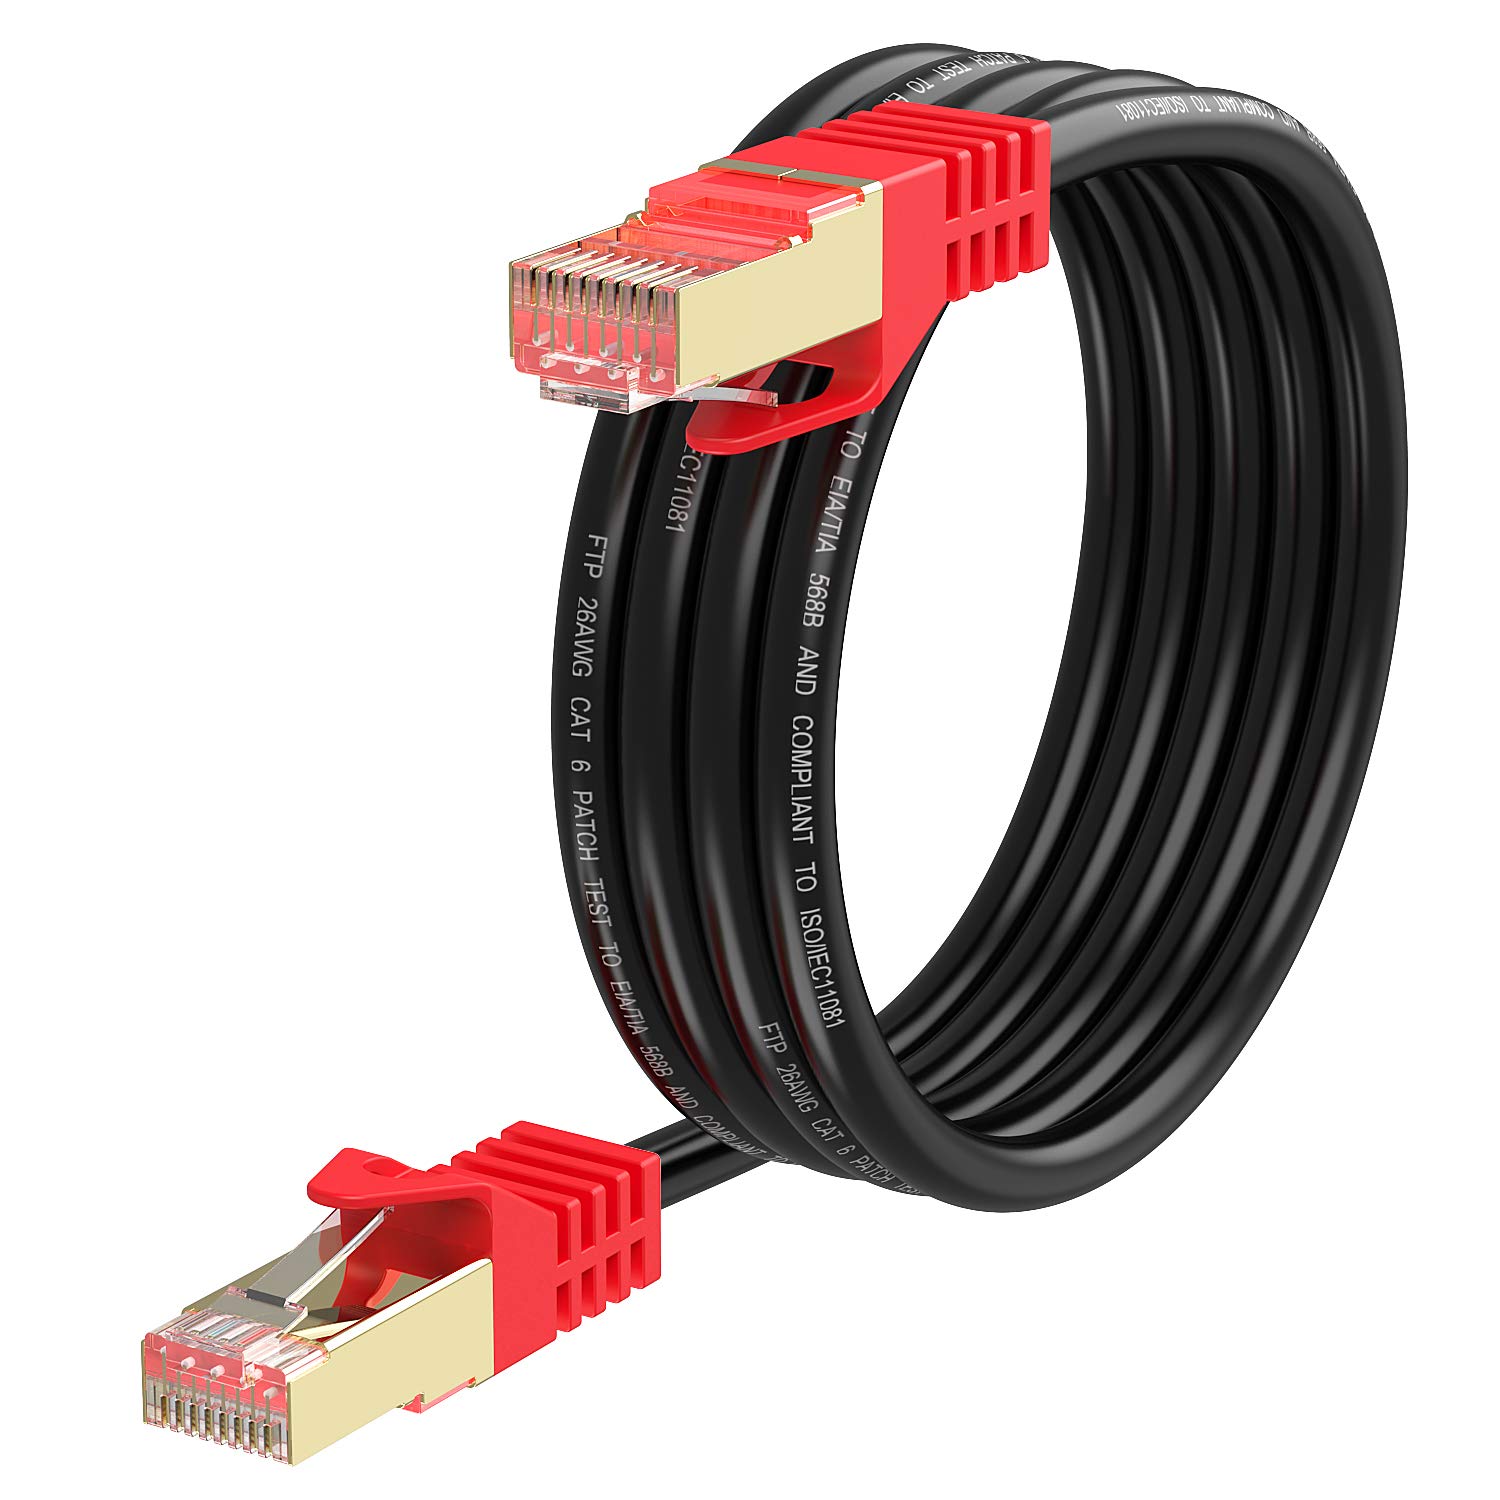
One of the first steps in determining if your Ethernet cable is working is to visually inspect it for any physical damage. Physical damage to the cable can lead to connectivity issues and signal degradation. Here’s how to check for physical damage:
- Inspect the cable’s outer jacket for any cuts, tears, or frayed ends. These can expose the internal wires and disrupt the signal transmission.
- Check the connectors on both ends of the cable. Look for any bent or broken pins, as well as loose or damaged housing. These can cause poor connection and data loss.
- Ensure that the cable isn’t excessively tangled or twisted. Twisted cables can cause signal interference and reduce network performance.
- If possible, try using a known-working Ethernet cable in place of the suspect cable. If the new cable works fine, it may indicate that the original cable is indeed damaged.
Remember that even small physical damage can lead to significant connectivity issues, so it’s essential to thoroughly examine the cable for any visible signs of damage. If you notice any issues, it’s recommended to replace the cable with a new one to ensure a reliable network connection.
By performing a visual inspection and addressing any physical damage, you can eliminate potential cable-related issues and move on to other troubleshooting steps to further diagnose your network connectivity.
Testing Connectivity
Once you have checked for physical damage and ensured that your Ethernet cable is in good condition, the next step is to test its connectivity. This will help you determine if the cable is capable of transmitting data effectively. Here are a few methods to test the connectivity of your Ethernet cable:
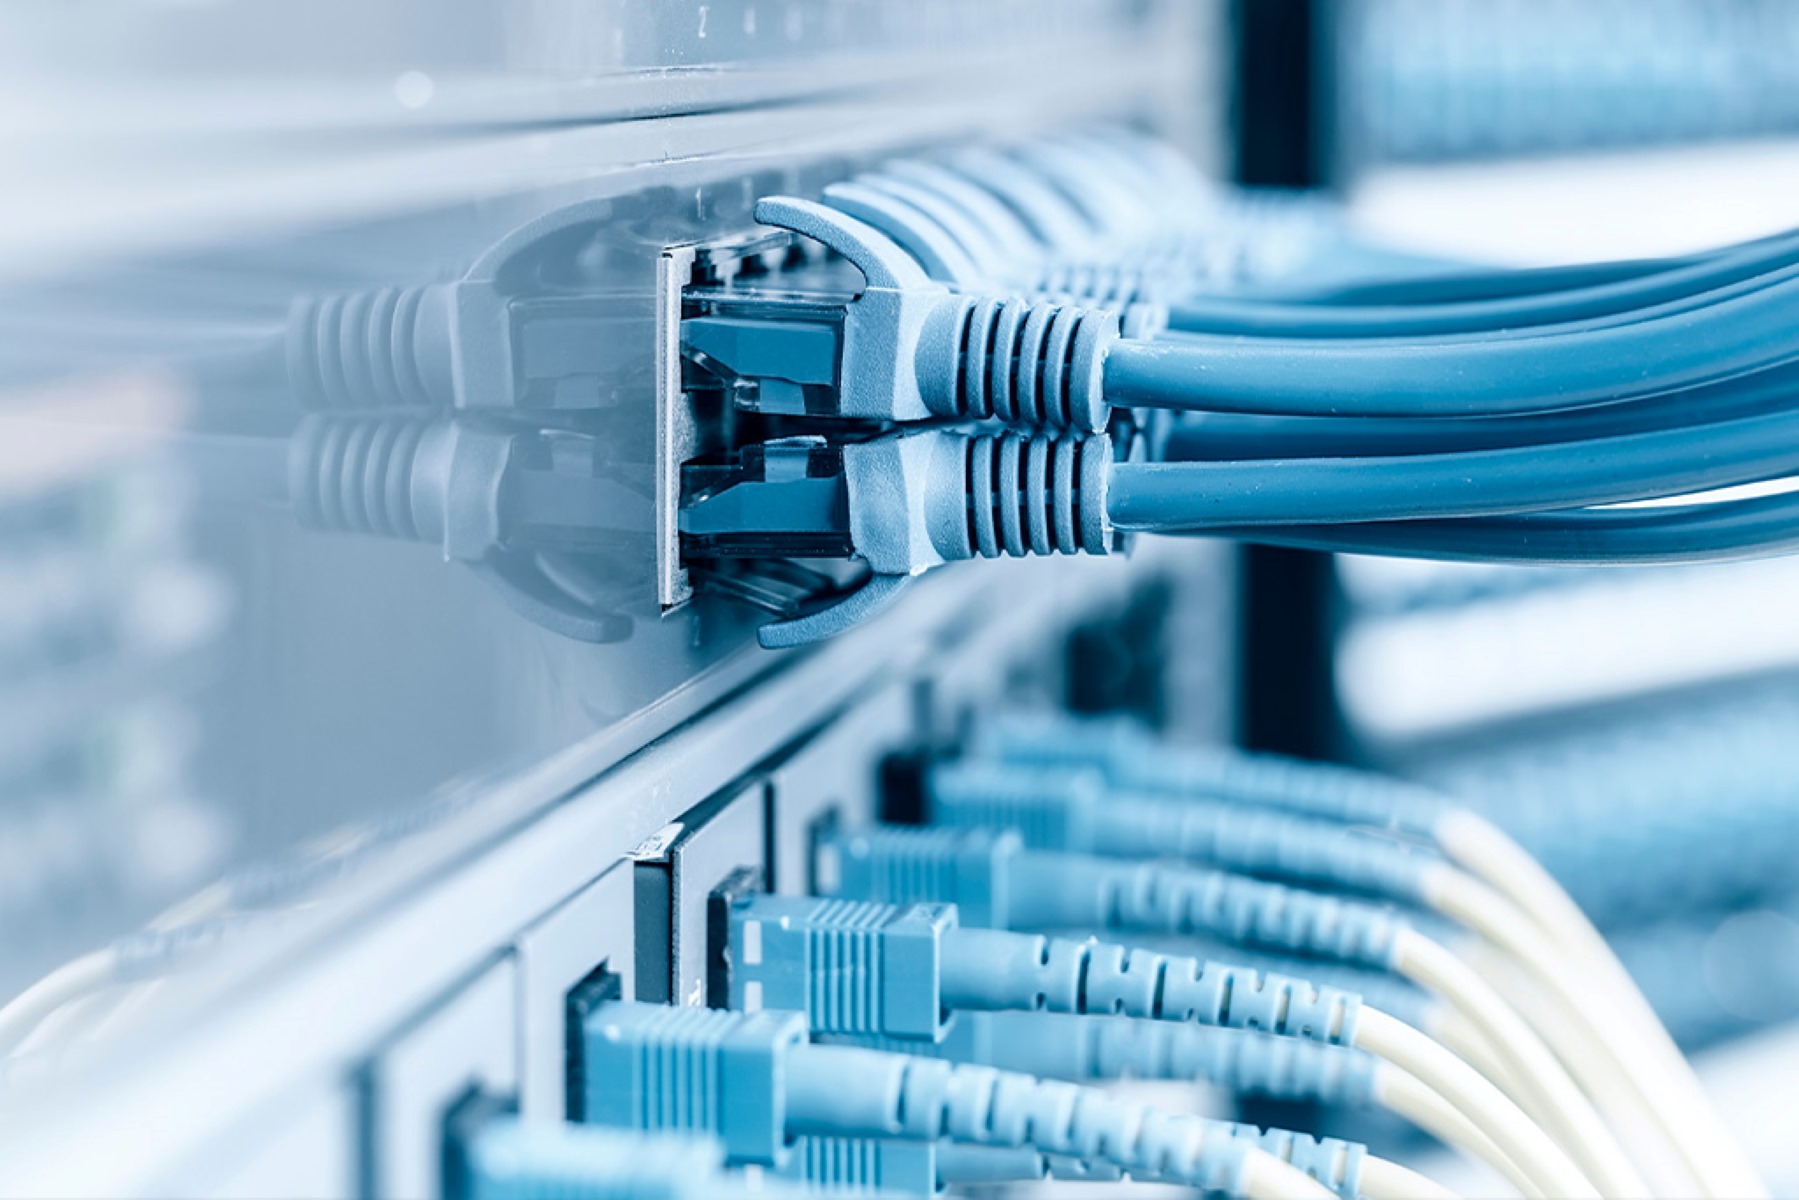
- Connect the Ethernet cable to your computer or laptop and to the network device, such as a router or modem.
- Open a web browser and try to access a reliable website, such as google.com or bbc.co.uk. If the website loads successfully, it indicates that the cable is functioning properly and transmitting data.
- If you encounter connection issues or the website fails to load, try disconnecting and reconnecting the Ethernet cable to ensure a secure connection.
- Consider testing the cable with a different computer or laptop, if available. This can help identify if the issue lies with your device or the cable itself.
- If you still experience connectivity issues, try connecting a different Ethernet cable to the same network device. If the new cable works without any issues, it may suggest that the original cable is faulty.
It’s important to note that testing connectivity is not only limited to accessing websites. You can also test network connectivity by transferring files between devices or running network diagnostic tools available on your operating system.
By testing the connectivity of your Ethernet cable, you can quickly identify any issues and troubleshoot them accordingly. If the cable fails to provide a stable connection, you may need to consider using a different cable to ensure reliable network performance.
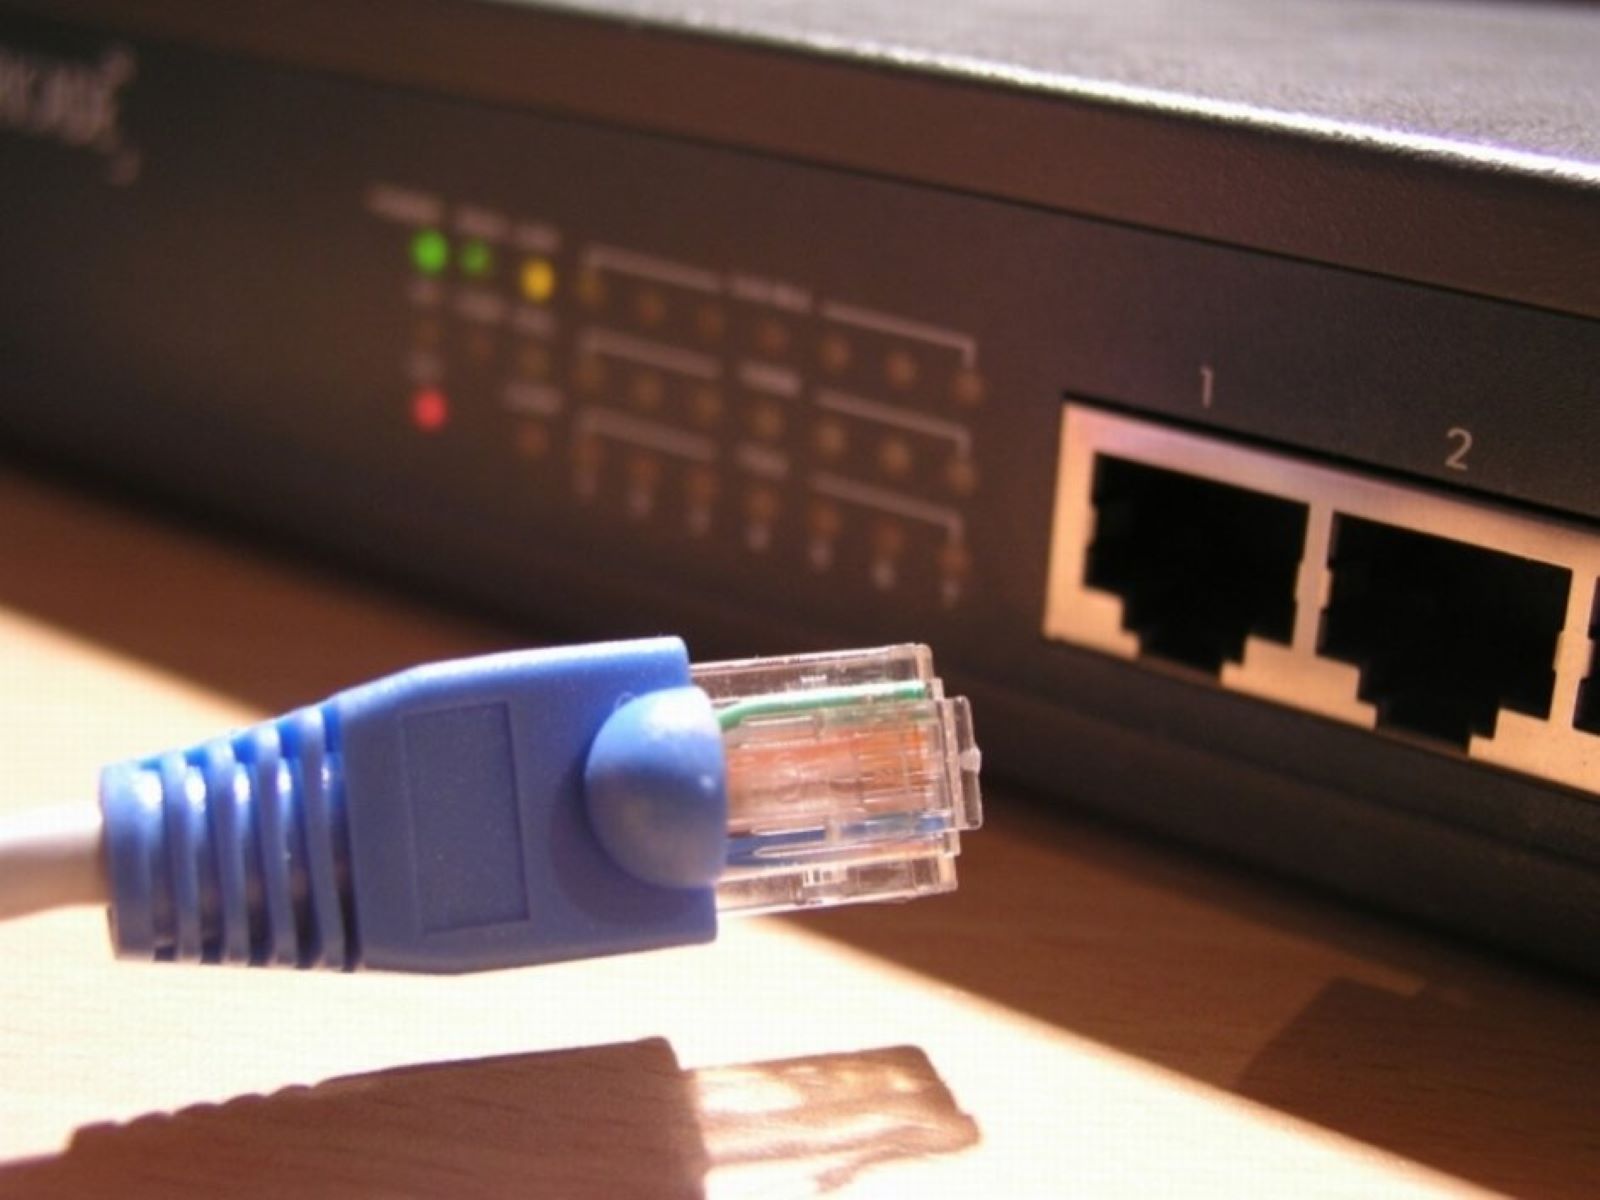
Checking Link LED
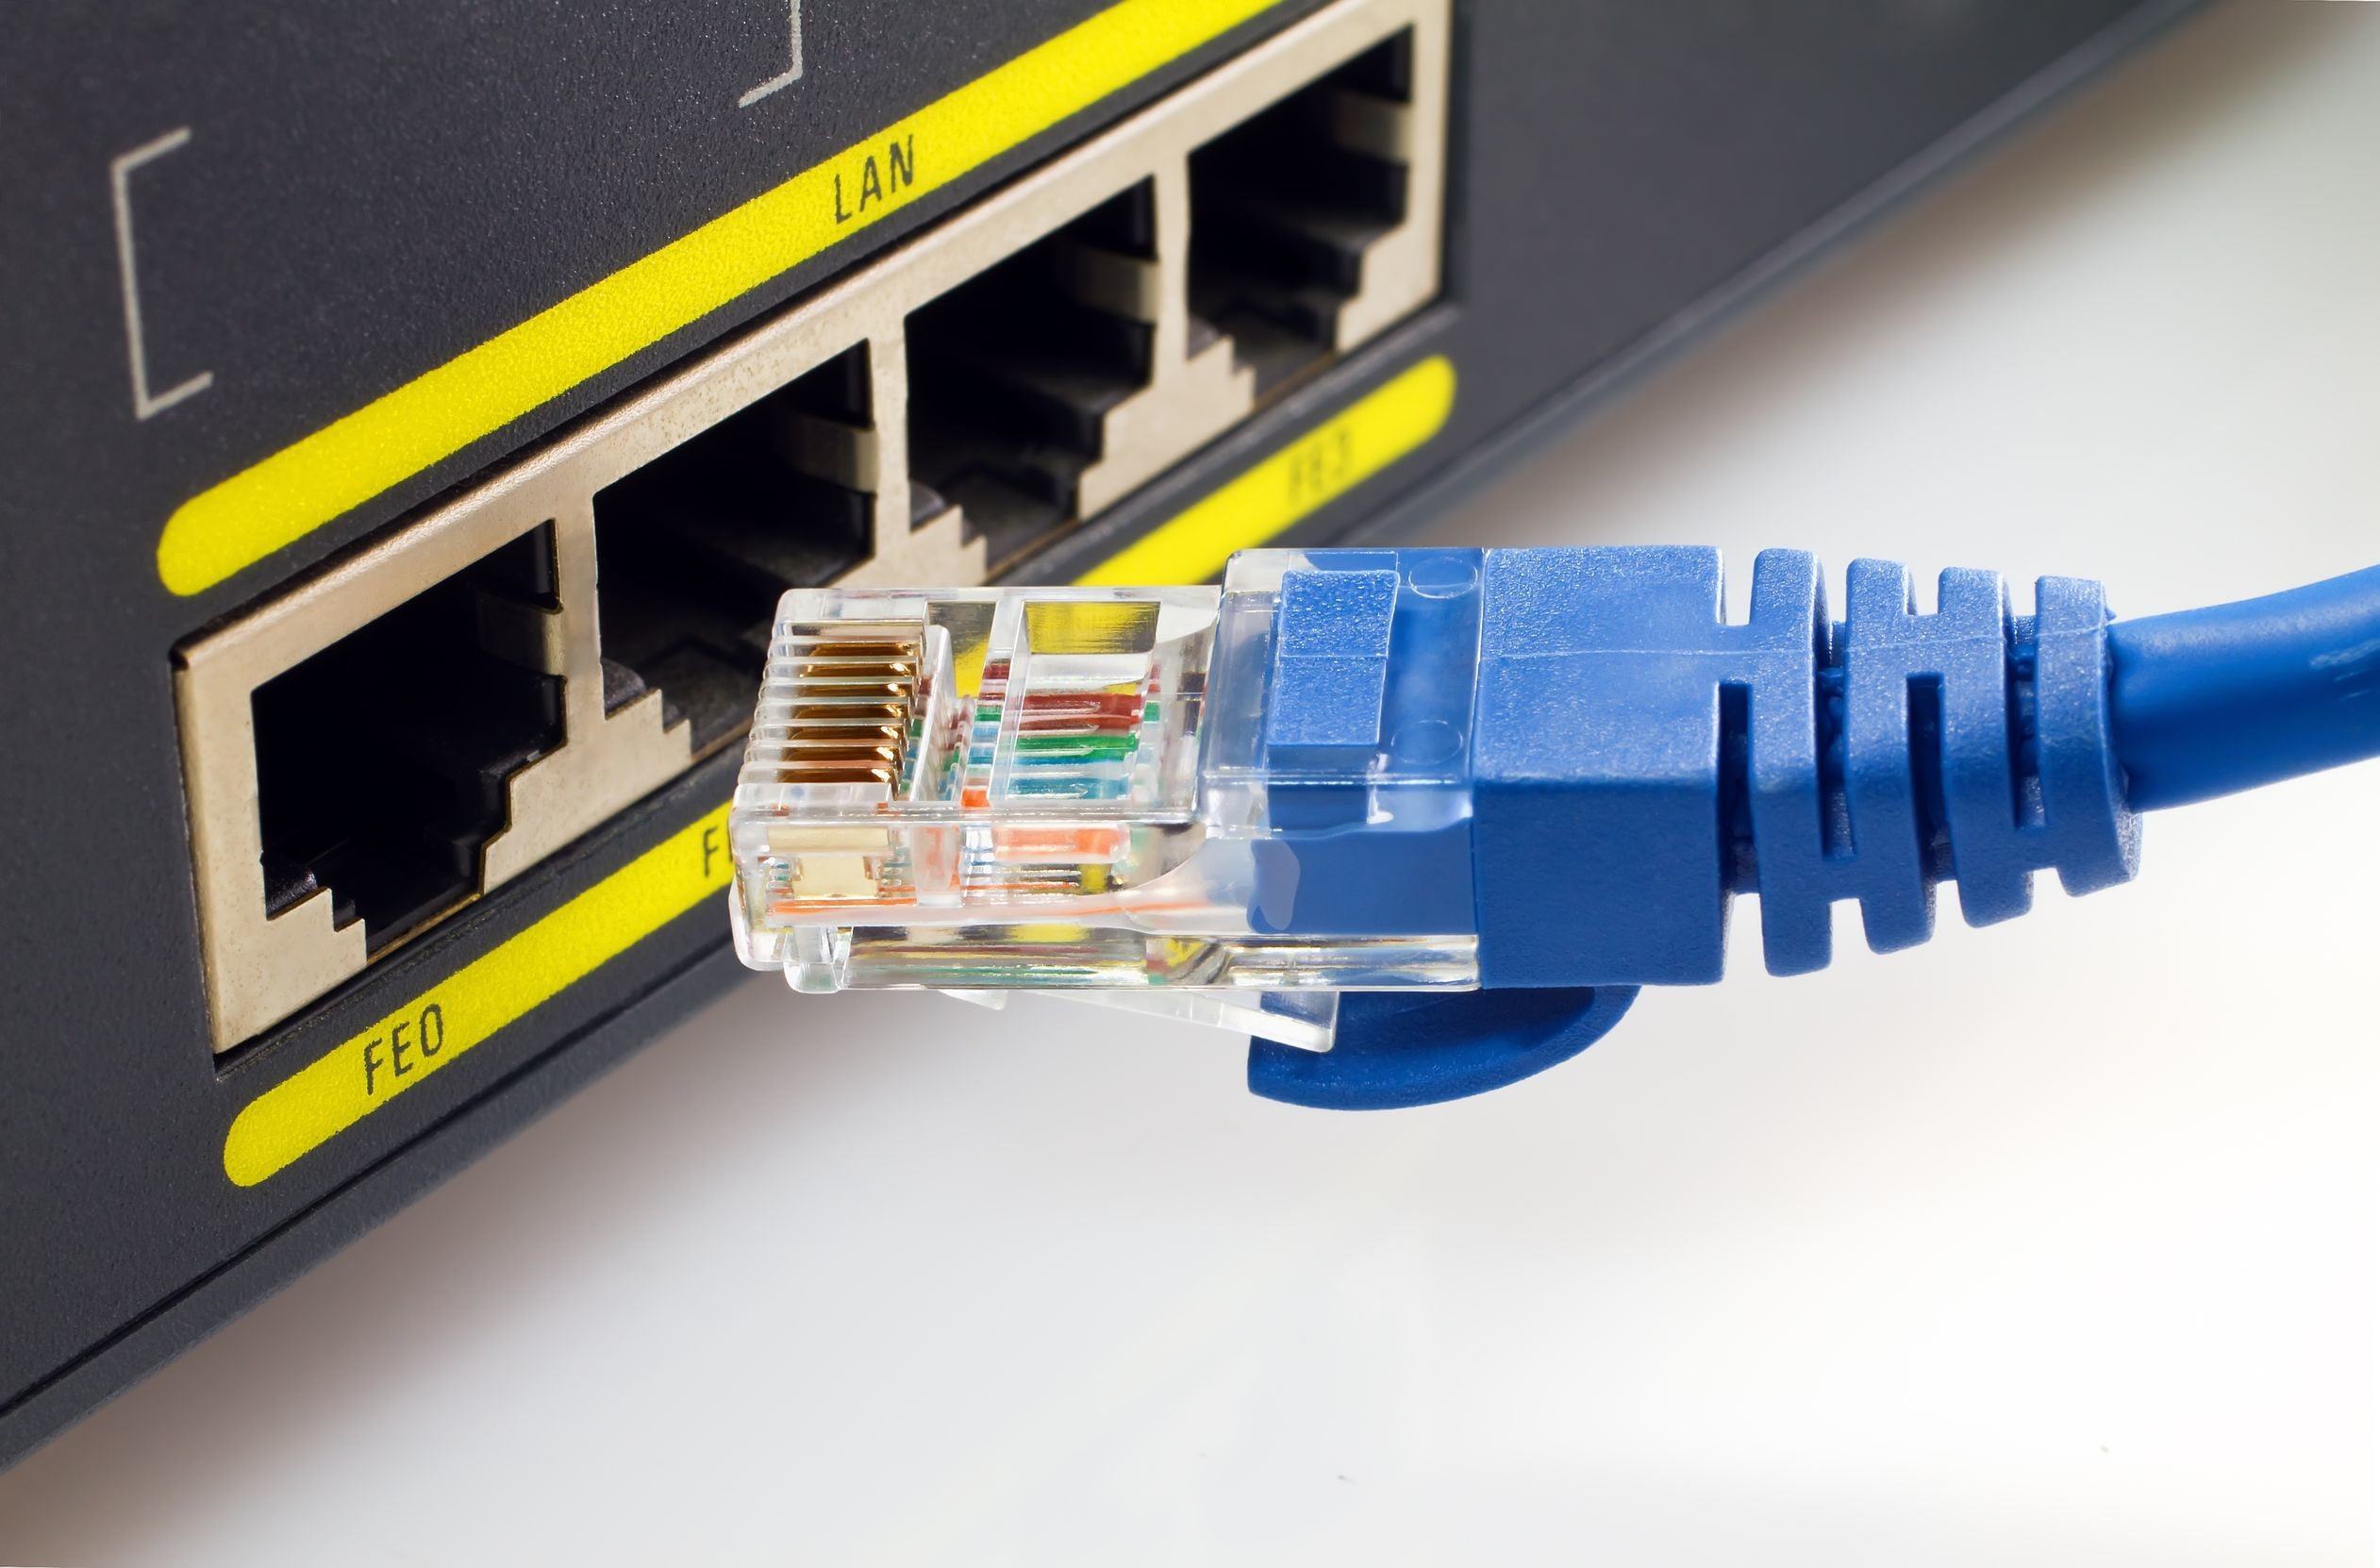
Another useful method to determine if your Ethernet cable is working is by checking the link LED lights on your network devices. Link LED lights are small indicators located on Ethernet ports and provide valuable information about the connection status. Here’s how to check the link LED:
- Locate the Ethernet port on your network device, such as a router, switch, or modem, where the cable is connected.
- Look for the small LED lights near the Ethernet port. There are usually two lights: one for link/activity and one for speed.
- Observe the behavior of the link/activity LED. If the LED is solid or blinking in a regular pattern, it indicates a successful connection and data transmission.
- If the link/activity LED is not lit or is flashing irregularly, it may suggest an issue with the cable or the network device.
- Consider checking the other end of the Ethernet cable connected to your computer or laptop. Ensure that the link/activity LED on the computer’s Ethernet port is also functioning properly.
By examining the link LED lights, you can quickly determine if the Ethernet cable is establishing a connection with the network device. If the link LED is not lighting up or is showing irregular activity, you may need to troubleshoot further by checking the cable for physical damage or testing connectivity on a different device.
Note that the link LED lights may vary in appearance or color depending on the network device, so consult the device’s user manual for more specific information.
Verifying Connection Speed
Once you have ensured that your Ethernet cable is physically intact and establishing a connection, it’s essential to verify the connection speed. The speed at which data is transmitted through your Ethernet cable can impact network performance. Here’s how you can verify the connection speed:
- On your computer or laptop, navigate to the network settings or control panel.
- Locate the Ethernet or LAN settings section.
- Check the listed connection speed. It is often denoted in megabits per second (Mbps) or gigabits per second (Gbps).
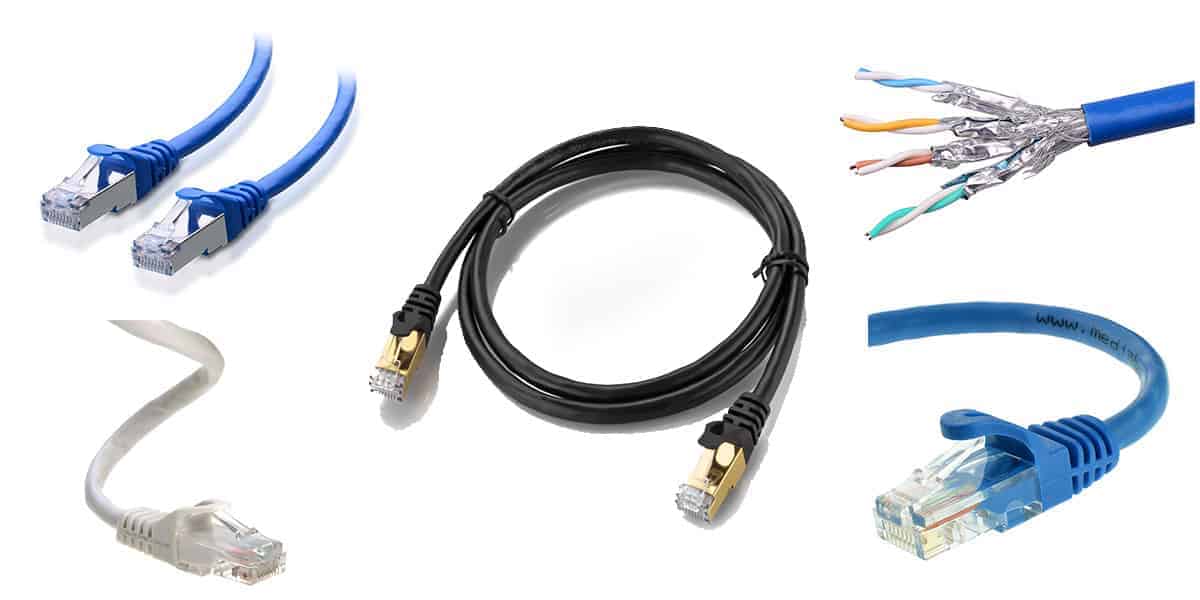
- Compare the connection speed to the maximum speed that your Ethernet cable supports. Common Ethernet cable categories include Cat5, Cat5e, Cat6, and Cat7, each with different maximum speeds.
- If the listed connection speed is lower than expected, it may indicate a compatibility issue between your Ethernet cable and the network device.
- Consider trying a different Ethernet cable that supports a higher maximum speed to ensure optimal performance.
Verifying the connection speed ensures that your Ethernet cable is capable of providing the desired network performance. If the connection speed is not meeting your expectations, using a higher category Ethernet cable may help improve the speed and overall network experience.
Remember that factors such as network congestion, distance, and the capabilities of the connected devices can also influence the actual connection speed. However, verifying the connection speed gives you a better understanding of what your Ethernet cable can handle.
Testing with Different Devices
If you’re still experiencing network connectivity issues or suspect that your Ethernet cable may be causing problems, testing the cable with different devices can help determine the source of the issue. Here’s how you can test your Ethernet cable with different devices:
- Connect the Ethernet cable to a different computer or laptop that is known to have a stable network connection.
- Ensure that the network settings on the device are correctly configured to use an Ethernet connection.
- Try accessing websites or performing network-related tasks on the different device to check if the Ethernet cable works without any issues.
- If the Ethernet cable provides a stable connection on the different device, it indicates that the cable itself is functioning properly.
- In this case, the connectivity problem may be specific to the original device or its network settings.
- If the Ethernet cable still exhibits connection issues on the different device, it suggests a potential problem with the cable itself.
- In such cases, consider replacing the Ethernet cable with a new one to ensure reliable network performance.
Testing your Ethernet cable with different devices helps isolate whether the problem lies with the cable or the specific device you initially used. This step eliminates any device-specific issues and ensures that the cable itself is capable of establishing a stable network connection.
Keep in mind that some devices may require additional configuration or drivers to properly utilize an Ethernet connection. Consult the device’s user manual or manufacturer’s website for specific instructions regarding Ethernet connectivity.
Using Network Testing Tools
To further diagnose and troubleshoot network connectivity issues, you can leverage various network testing tools that are available. These tools can provide detailed insights into the performance and functionality of your Ethernet cable. Here are some commonly used network testing tools:
- Ping: The ping command is a network utility that checks the connectivity between your device and a target IP address or domain. By sending small packets of data and measuring the response time, you can determine if there are any network delays or packet loss.
- Speed Test: Online speed test tools are available for testing the upload and download speeds of your internet connection. By running a speed test, you can evaluate the overall performance of your network connection and identify any discrepancies.
- Network Diagnostic Tools: Operating systems often have built-in network diagnostic tools that can help troubleshoot connectivity issues. These tools can perform tests and provide recommendations for resolving network problems.
- WireShark: WireShark is a powerful network protocol analyzer that captures and analyzes network traffic. By examining the packets transmitted through your Ethernet cable, you can gain insights into the quality and integrity of your network connection.
Using network testing tools allows you to gather specific information about the performance of your Ethernet cable and pinpoint any network-related issues. By analyzing the test results and following the recommendations provided, you can take appropriate actions to improve your network connectivity.
Remember that network testing tools can provide valuable data, but they should be used in conjunction with other troubleshooting steps to get a comprehensive understanding of the situation. If you’re unsure about how to interpret the results or resolve any identified issues, it’s advisable to consult a professional or seek support from your network service provider.
Troubleshooting Common Issues
Even with a properly functioning Ethernet cable, you may still encounter common network connectivity issues. Understanding and troubleshooting these issues can help restore a stable and reliable network connection. Here are some common issues and their possible solutions:
- No Connection: If you are unable to establish a network connection, check if all devices are powered on and properly connected. Restarting the devices can often resolve this issue. Additionally, ensure that the Ethernet cable is securely plugged into the correct port on each device.
- Slow Connection: Slow network speeds can be caused by various factors. Try restarting your modem or router, as well as the connected devices. Make sure that there are no bandwidth-consuming applications running in the background. If the issue persists, contact your internet service provider for further assistance.
- Intermittent Connectivity: If you experience frequent interruptions in your network connection, check for any physical damage on the Ethernet cable or loose connections. Additionally, make sure that the cable is not placed near sources of electromagnetic interference, such as power cables or microwaves.
- Incorrect IP Configuration: Incorrect IP configuration can lead to network connection issues. Ensure that your devices are configured to obtain IP addresses automatically via DHCP. You can also try releasing and renewing the IP address to resolve any conflicts.
- Outdated Firmware/Drivers: Outdated firmware or drivers on your networking devices can cause compatibility issues and impact network performance. Check for firmware or driver updates on the manufacturer’s website and install the latest versions.
These are just a few examples of common network issues. If you continue to experience problems, it may be helpful to consult online forums, contact technical support, or seek assistance from a professional network technician for more advanced troubleshooting steps.
Remember, troubleshooting network connectivity issues can require patience and perseverance. It’s important to methodically diagnose and address each potential problem, starting from the simplest solutions and progressing towards more complex troubleshooting steps.
Conclusion
Ensuring that your Ethernet cable is working properly is essential for maintaining a reliable network connection. By following the steps outlined in this article, you can effectively determine if your Ethernet cable is in good condition and troubleshoot any connectivity issues.
Start by checking for physical damage, examining the cable’s outer jacket, connectors, and overall condition. If necessary, replace the cable with a new one to ensure reliable transmission of data.
Next, test the connectivity by connecting the Ethernet cable to different devices and verifying internet access or file transfer capabilities. This will help identify if the cable itself is causing any issues or if the problem lies with the device or network settings.
Additionally, checking the link LED lights on your network devices can provide valuable information about the connection status. The link LED should be solid or blinking regularly to indicate a successful connection and data transmission.
Remember to verify the connection speed and ensure that it aligns with the capabilities of your Ethernet cable. Adjustments might be necessary if the speed does not meet your expectations.
If you encounter persistent issues, it’s recommended to use network testing tools, such as ping or speed test utilities, to gather more detailed information and diagnose network-related problems.
Finally, troubleshooting common issues like no connection, slow connection, intermittent connectivity, incorrect IP configuration, or outdated firmware/drivers can help resolve network connectivity problems.
By following these steps and troubleshooting methods, you’ll be able to ensure that your Ethernet cable is working properly and maintain a seamless network connection that meets your needs.