Introduction
Welcome to this step-by-step guide on how to connect an Ethernet cable to your Xfinity router. Ethernet cables are a reliable and secure way to establish a wired internet connection, offering fast speeds and stable connectivity. Whether you’re setting up your router for the first time or need to troubleshoot connectivity issues, this guide will walk you through the process.
Connecting an Ethernet cable to your Xfinity router is a straightforward process that requires minimal technical knowledge. By following the steps provided in this guide, you’ll be able to establish a wired connection to enjoy a reliable internet connection without any hassle.
This guide will cover everything you need to know, from gathering the necessary materials to testing the connection. So, let’s get started!
Note: Before proceeding, ensure that you have the permission and access rights to connect devices to your Xfinity router. Also, make sure you have an Ethernet cable that is compatible with your router and device.
Step 1: Gather the necessary materials
Before you begin connecting the Ethernet cable to your Xfinity router, it’s important to gather all the required materials. This will ensure a smooth and hassle-free setup process. Here’s what you’ll need:
- An Ethernet cable: Make sure to choose a high-quality cable that is long enough to reach from your router to the device you want to connect. Ethernet cables typically come in different lengths, ranging from a few feet to several meters.
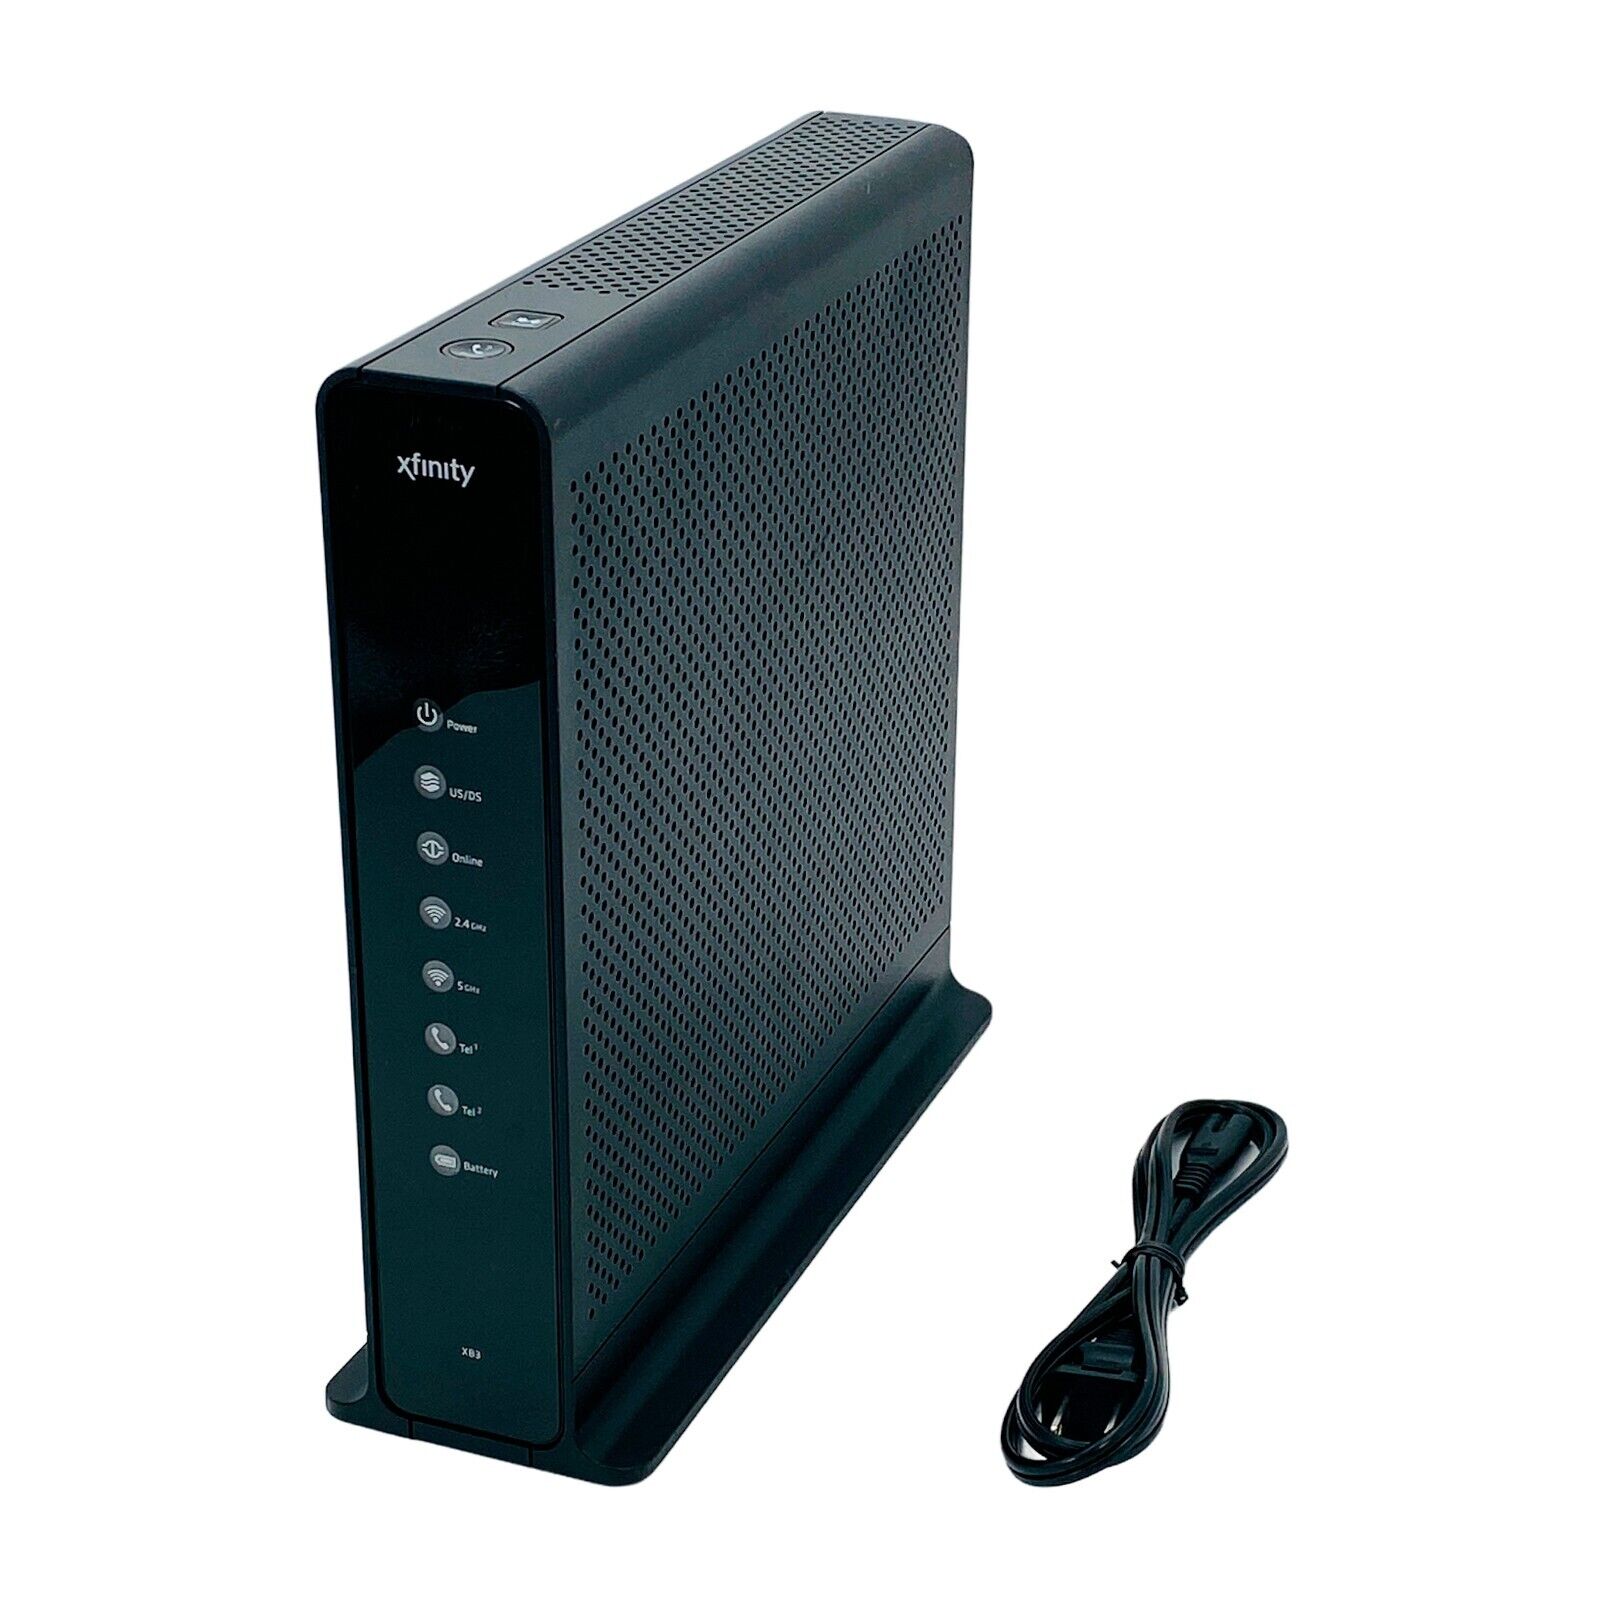
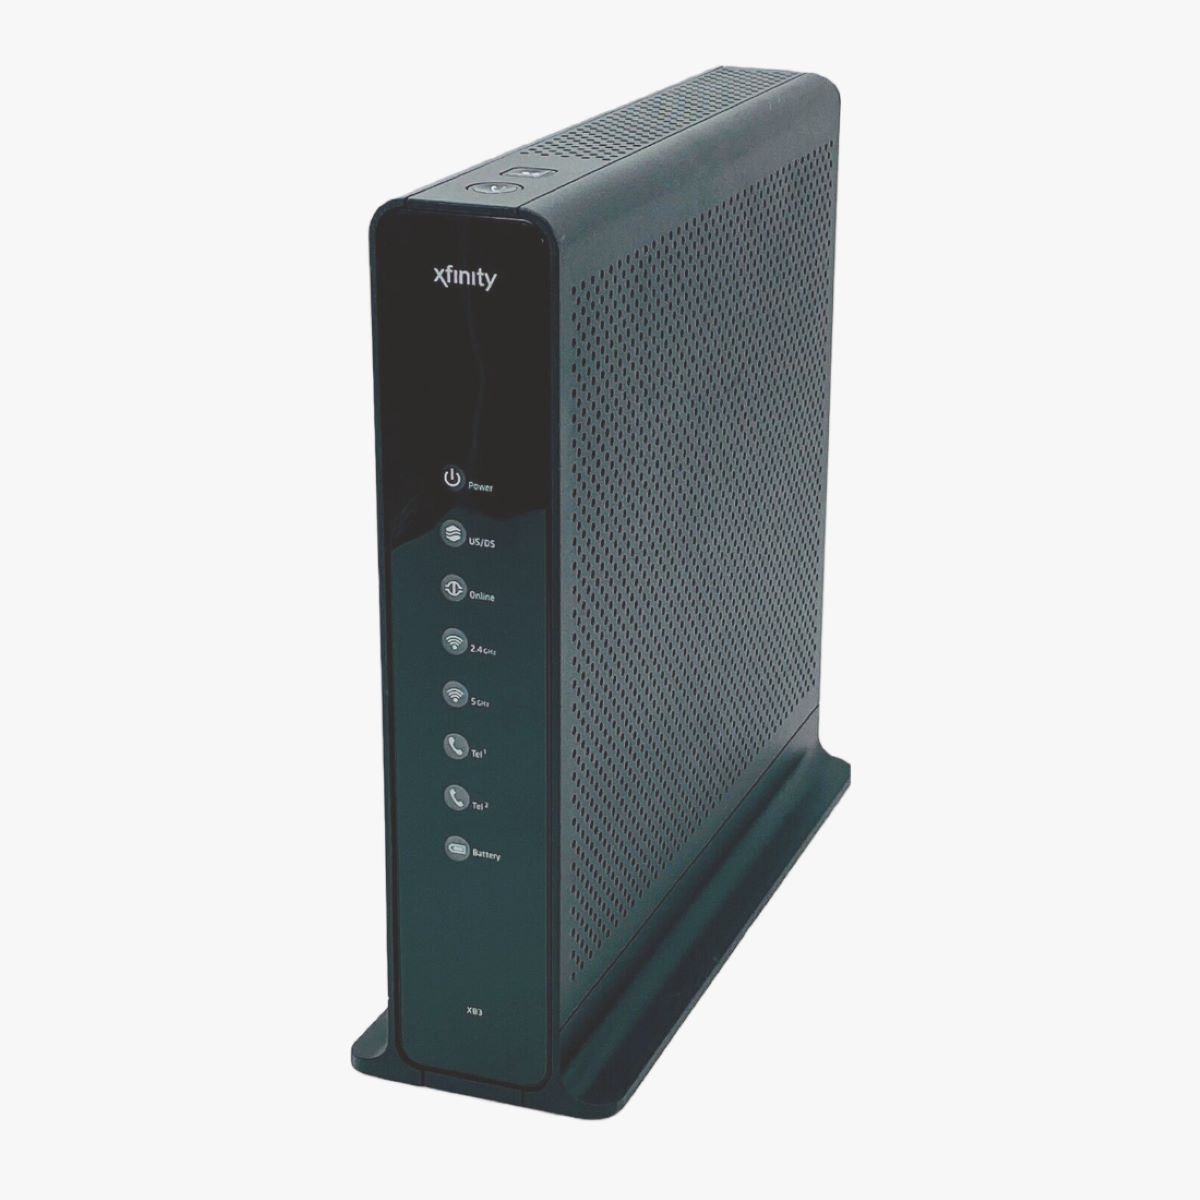
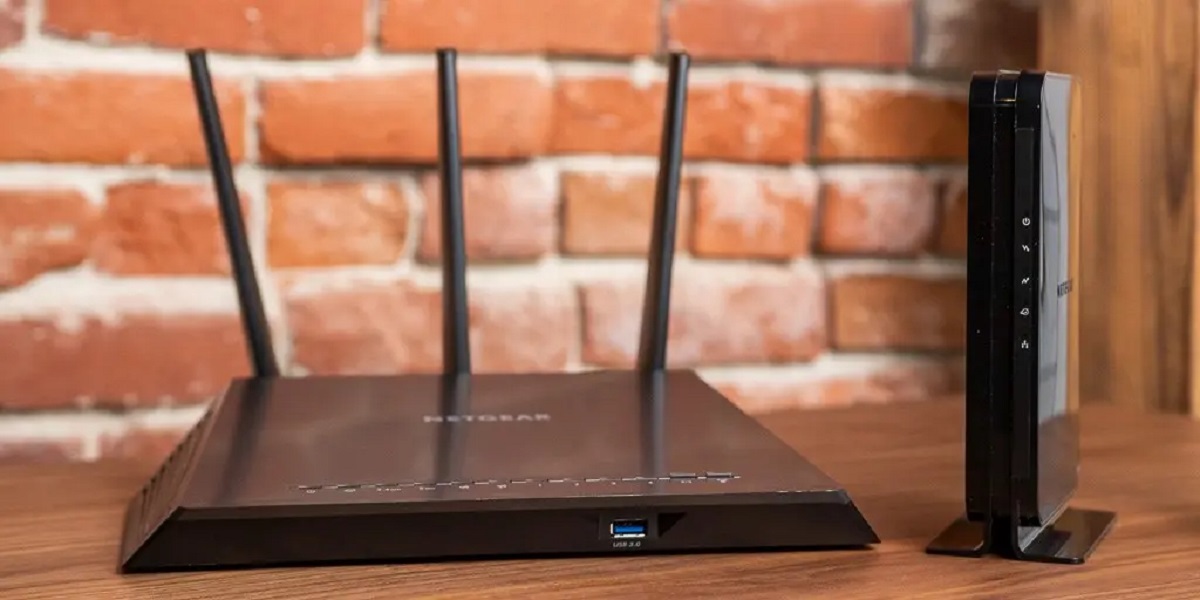
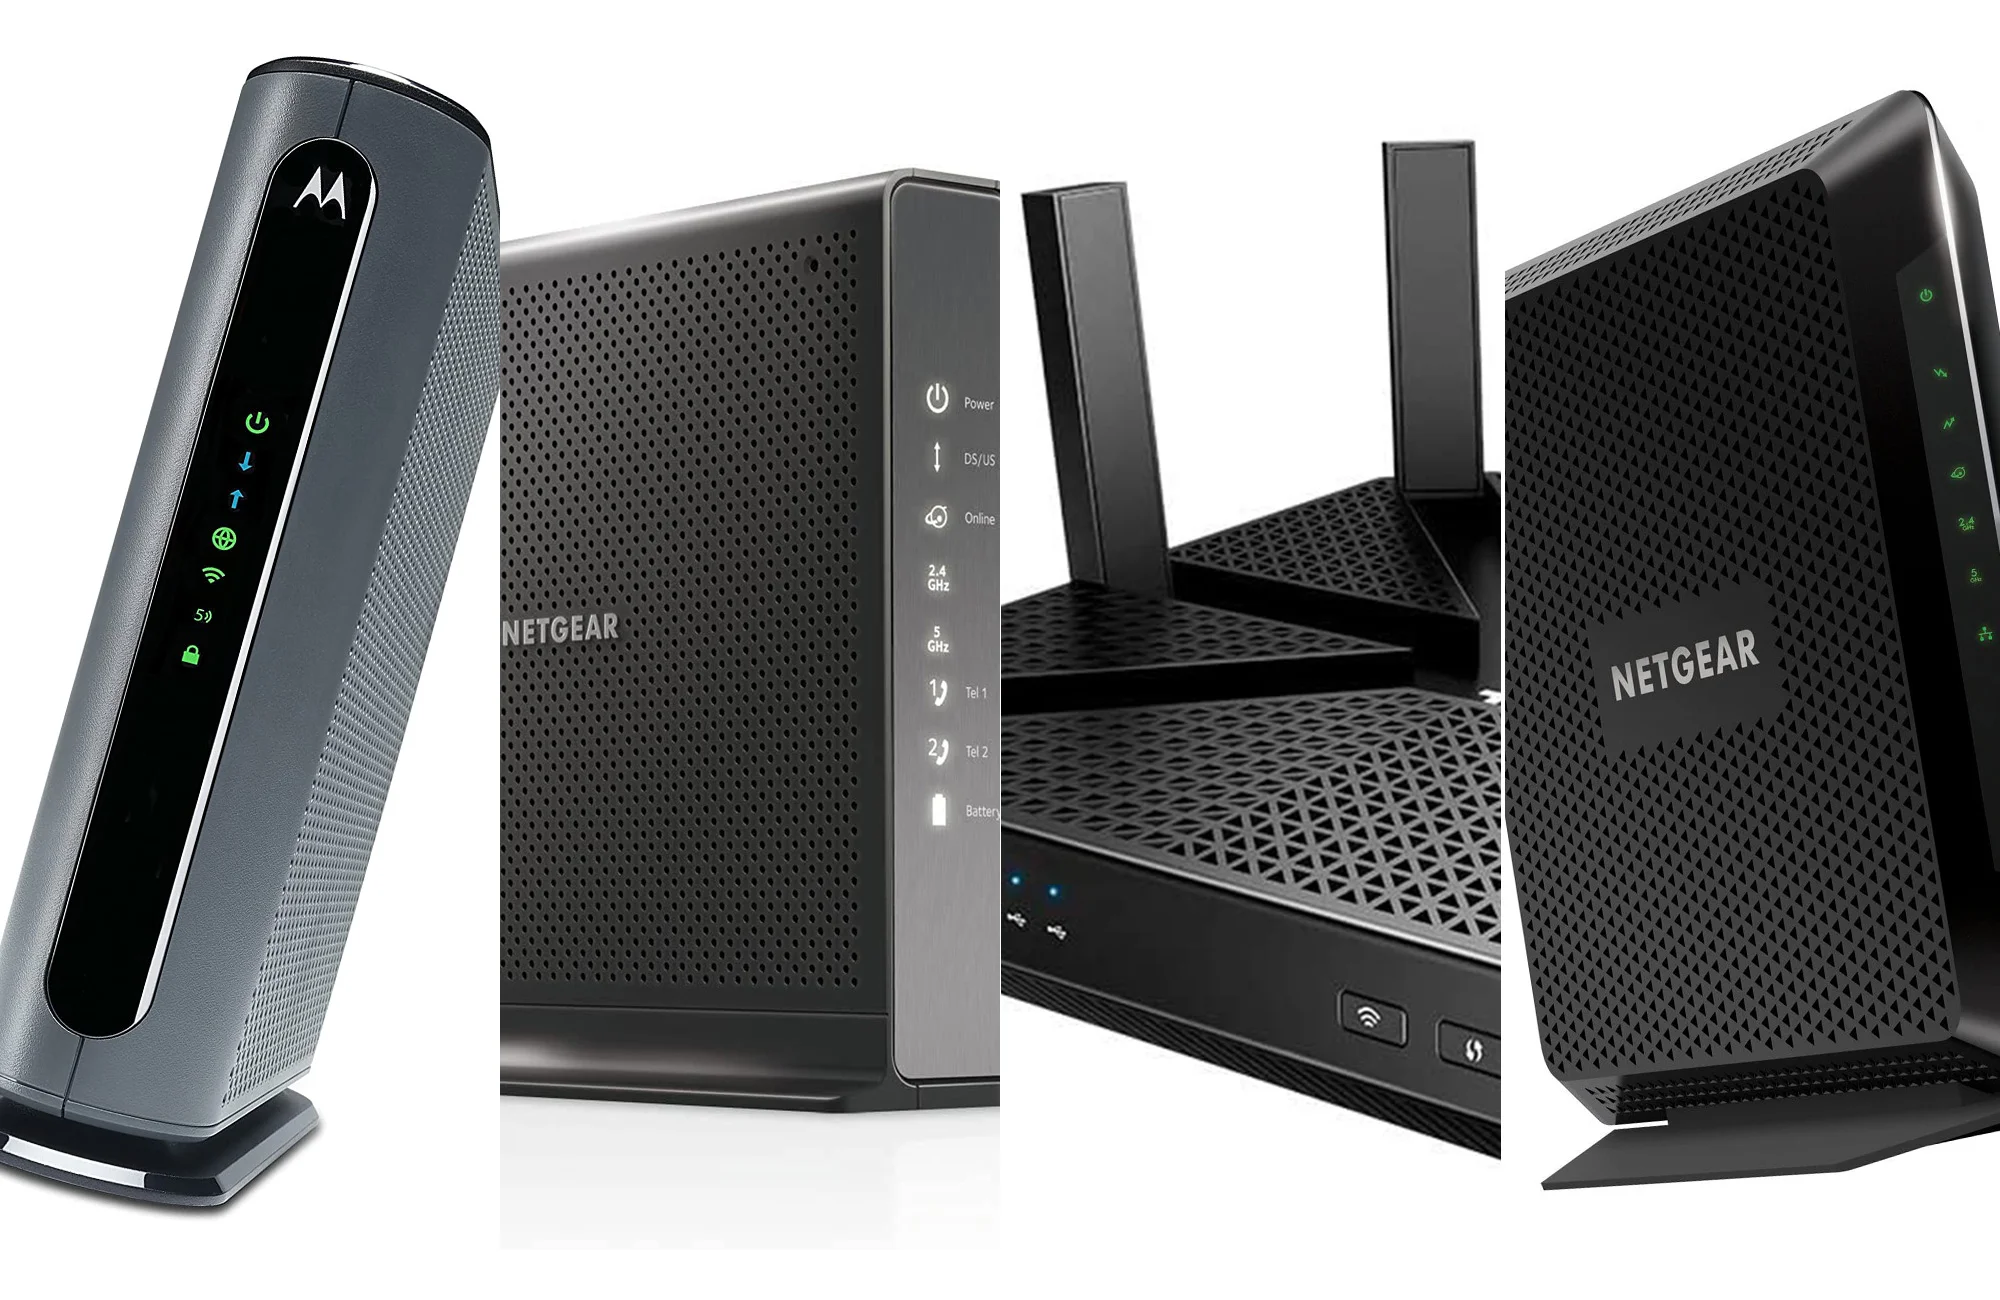
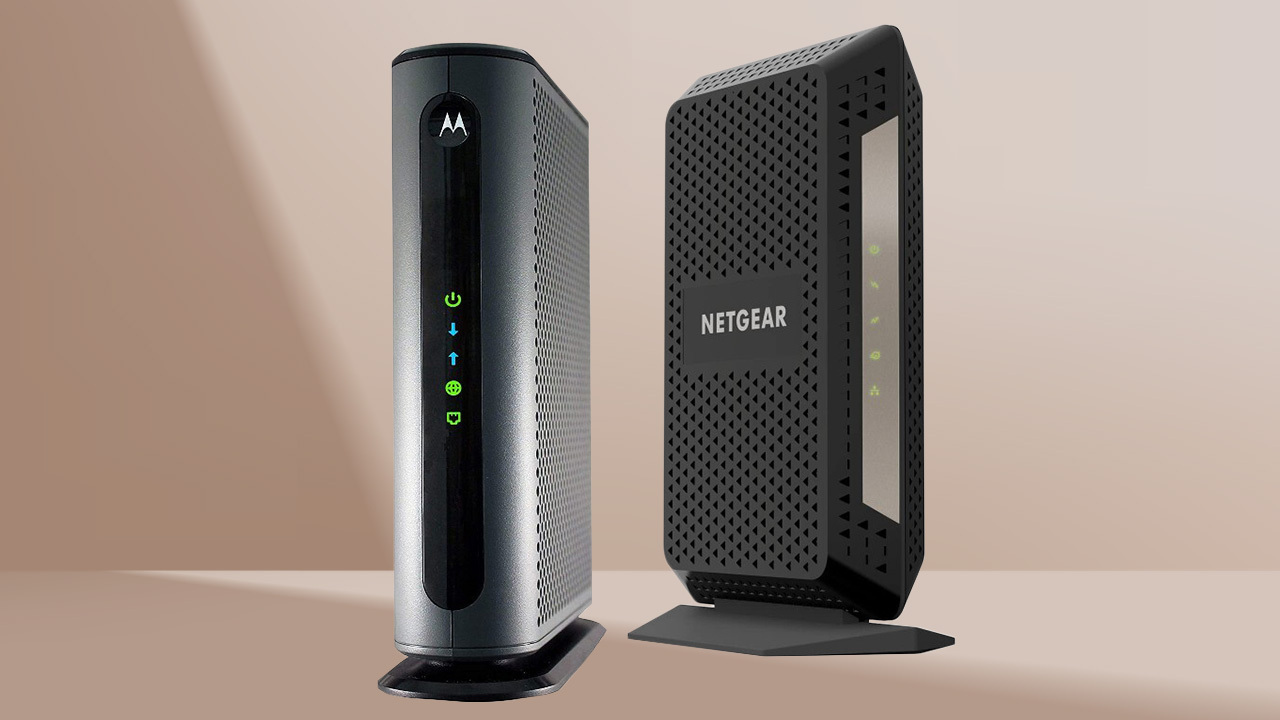
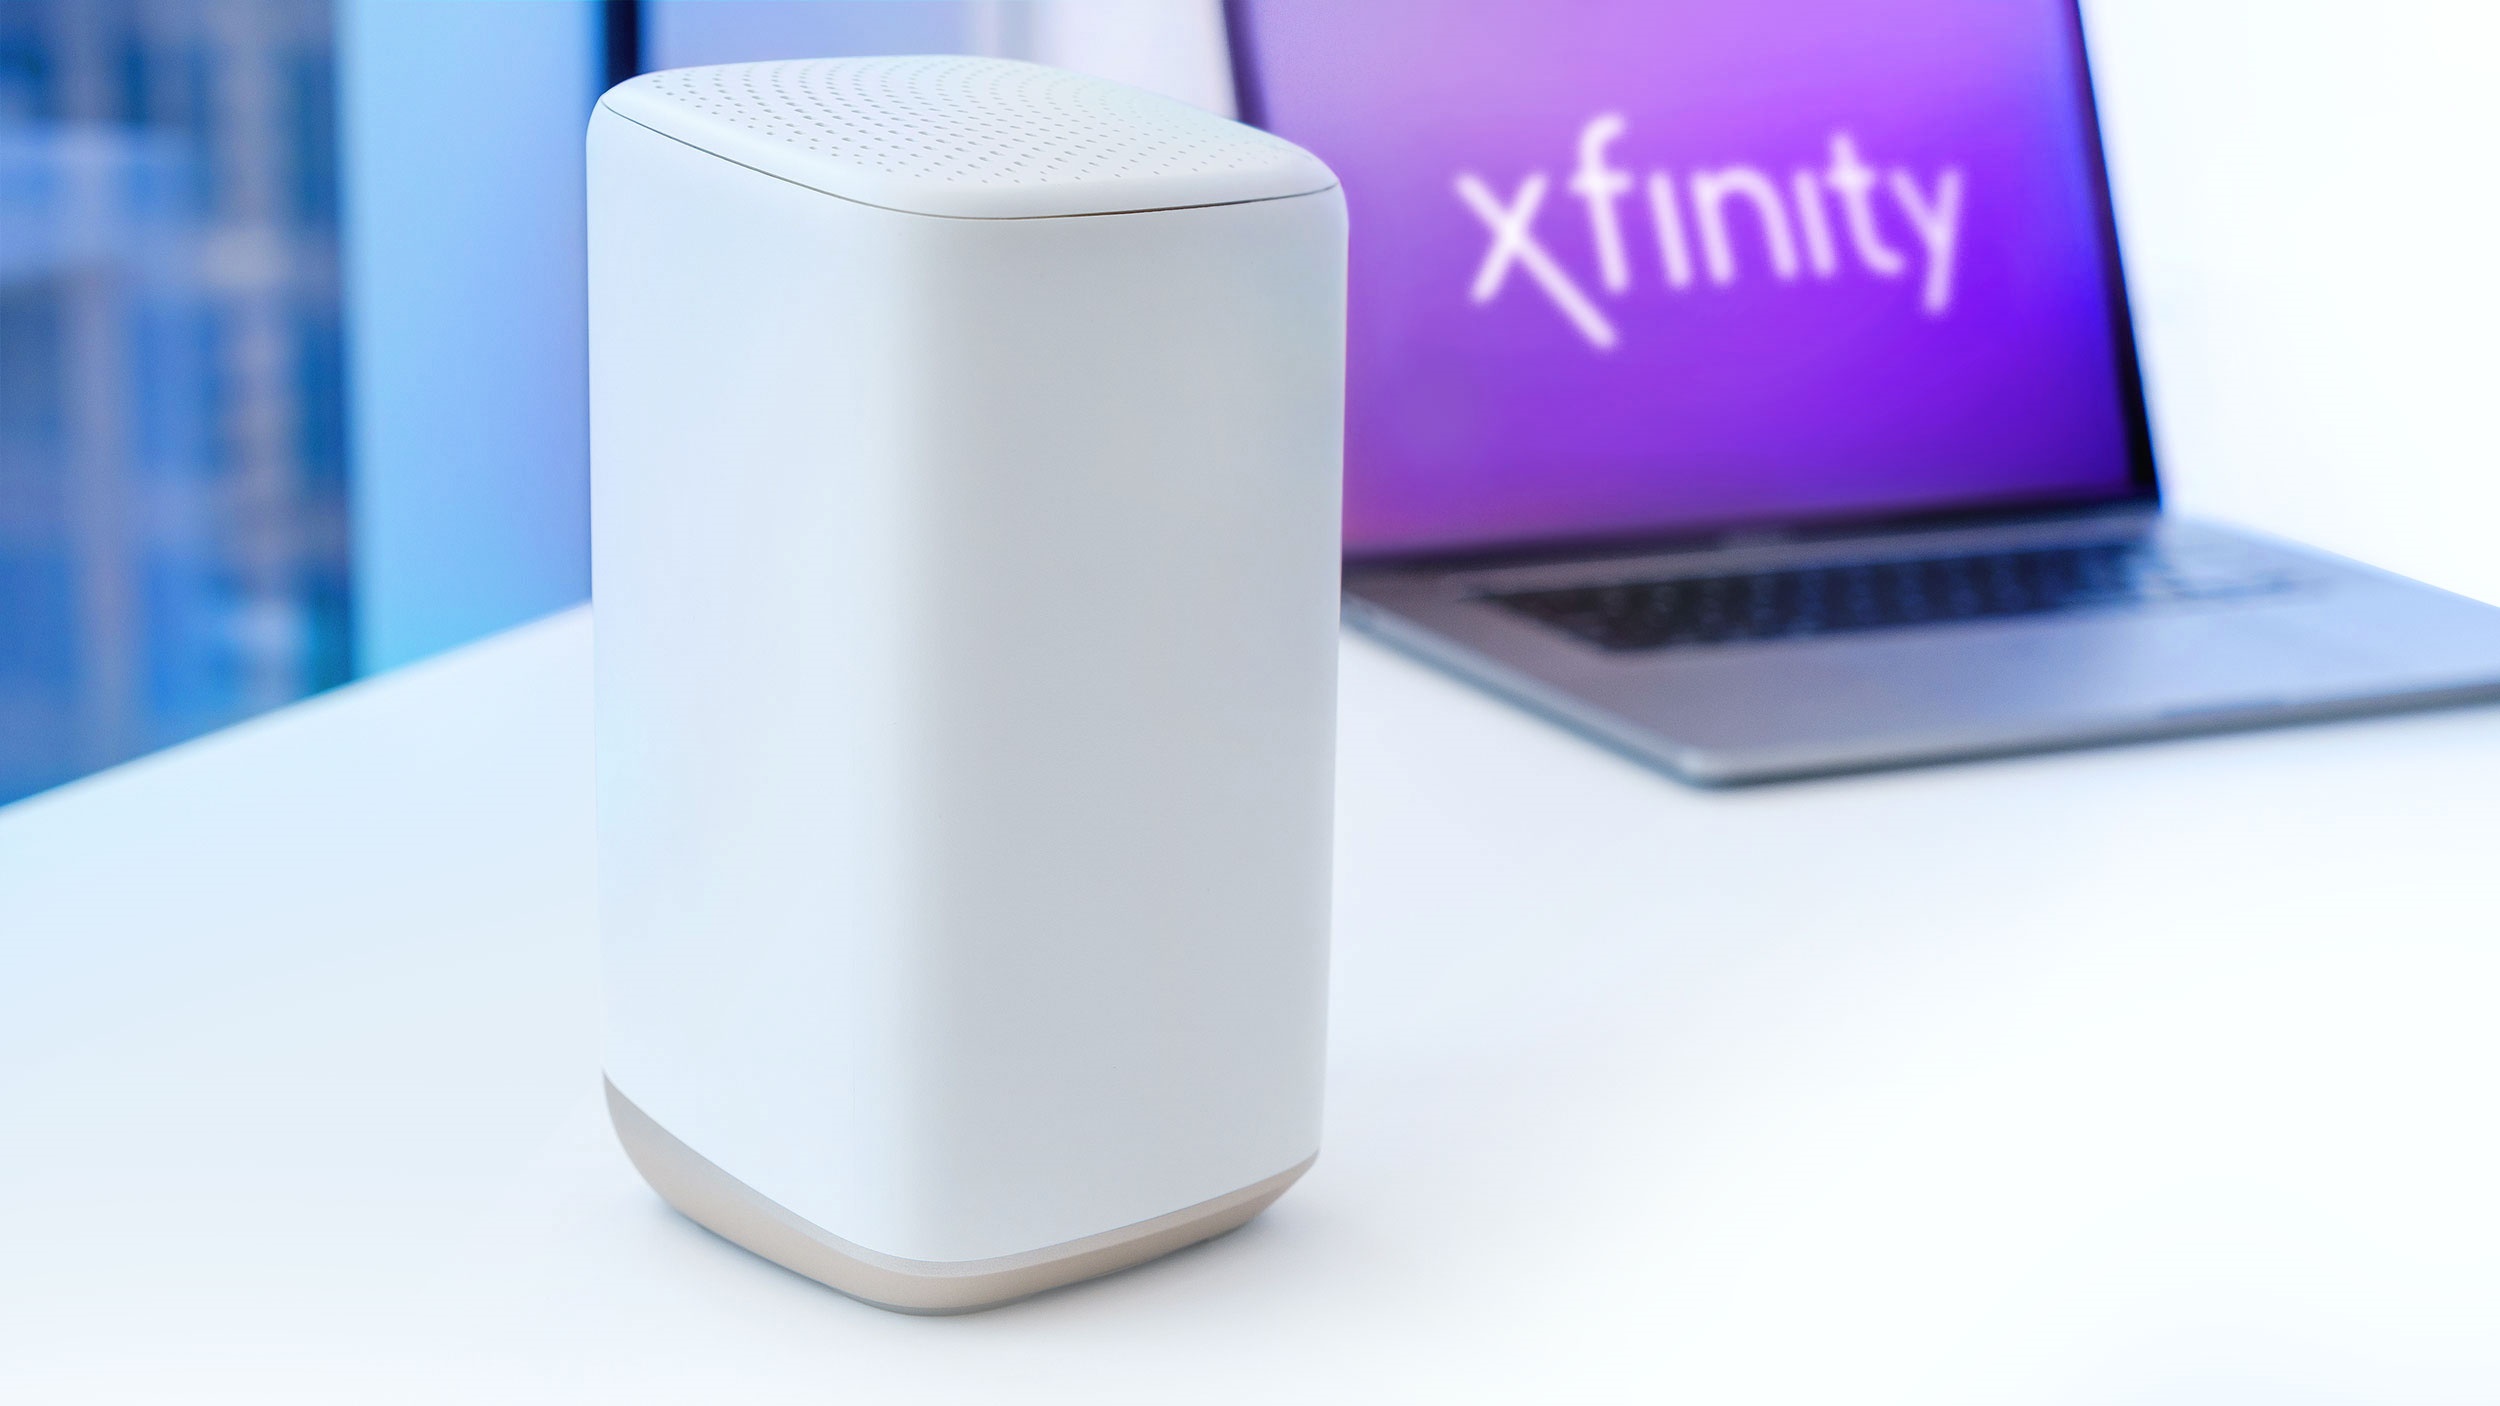
- Xfinity router: Ensure that you have your Xfinity router set up and powered on. If you haven’t set up your router yet, refer to the manufacturer’s instructions or contact your internet service provider for assistance.
- Device with Ethernet port: You’ll need a device with an Ethernet port, such as a computer, gaming console, or smart TV. Most modern devices have an Ethernet port located on the back or side. If you’re unsure, refer to the device’s user manual or do a quick online search.
Once you have gathered all the necessary materials, you’re ready to move on to the next step: locating the Ethernet ports on your Xfinity router.
Step 2: Locate the Ethernet ports on the Xfinity router
Now that you have all the materials ready, the next step is to locate the Ethernet ports on your Xfinity router. These ports are where you will connect the Ethernet cable to establish a wired connection. Here’s how to find the Ethernet ports:
- Locate your Xfinity router: The Xfinity router is usually a small device provided by your internet service provider. It may have antennas and indicator lights on the front, and ports and buttons on the back or sides.
- Identify the Ethernet ports: Look for a series of small, rectangular-shaped ports on the back or side of the router. They are typically labeled with numbers or symbols, such as “LAN” or “Ethernet,” to indicate their purpose.
- Count the number of ports: Take note of how many Ethernet ports are available on your Xfinity router. Most routers have multiple ports to connect multiple devices simultaneously.
Locating the Ethernet ports on your Xfinity router is essential to know where to connect the Ethernet cable. Once you have identified the appropriate ports, you can proceed to the next step of connecting the cable.
Step 3: Identify the Ethernet cable
Now that you know where the Ethernet ports are located on your Xfinity router, you need to identify the Ethernet cable that you’ll be using to establish the wired connection. Ethernet cables come in different categories, commonly known as Cat5, Cat5e, Cat6, or Cat6a, with each category offering varying speeds and performance.
To identify the Ethernet cable:
- Inspect the connectors: Ethernet cables have connectors on both ends. These connectors are usually clear plastic with metal connectors inside. Make sure the connectors are intact and undamaged.
- Check the cable category: Look for markings on the cable itself to determine its category. The category is typically printed on the side of the cable and may be labeled as Cat5, Cat5e, Cat6, or Cat6a.
- Consider the length: Ethernet cables come in various lengths, ranging from a few feet to several meters. Ensure that the length of the cable you have is appropriate for your setup and can comfortably reach from the router to your device.
It’s important to use a high-quality Ethernet cable that matches or exceeds your internet speed requirements. This will ensure optimal performance and reliability when establishing the wired connection between your Xfinity router and your device.
Now that you have identified the Ethernet cable, you’re ready to move on to the next step: connecting one end of the Ethernet cable to your Xfinity router.
Step 4: Connect one end of the Ethernet cable to the Xfinity router
With the Ethernet cable identified, it’s time to connect one end of the cable to the appropriate Ethernet port on your Xfinity router. Follow these steps to ensure a proper connection:
- Locate an available Ethernet port on your Xfinity router: Refer to the earlier step where you identified the Ethernet ports. Choose an available port to connect your Ethernet cable. If all the ports are occupied, you may need to temporarily disconnect one of the devices or consider using a switch to expand the number of available ports.
- Insert the Ethernet cable into the port: Take one end of the Ethernet cable and align the connector with the Ethernet port on the Xfinity router. Gently push the connector into the port until it clicks or fits snugly. Ensure that the connection is secure to avoid any disruptions in the wired connection.
- Verify the connection: Once connected, visually inspect the port and cable to ensure that they are properly aligned and securely attached. You should see the connector firmly inserted into the Ethernet port without any visible gaps or looseness.
By following these steps, one end of the Ethernet cable should now be securely connected to your Xfinity router. Now it’s time to move on to the next step: connecting the other end of the Ethernet cable to your device.
Step 5: Connect the other end of the Ethernet cable to your device
After successfully connecting one end of the Ethernet cable to your Xfinity router, it’s time to connect the other end of the cable to your device. Follow these steps to establish the wired connection:
- Locate the Ethernet port on your device: Look for the Ethernet port on the device you want to connect to the internet. The Ethernet port is usually located on the back or side of the device. It resembles a slightly larger version of the Ethernet port on the router.
- Insert the Ethernet cable into the port: Take the other end of the Ethernet cable and align the connector with the Ethernet port on your device. Gently push the connector into the port until it clicks or fits securely. Ensure that the connection is firm to avoid any interruptions in the wired connection.
- Verify the connection: Check that the Ethernet cable is securely connected to both the device and the router. Ensure that there are no visible gaps or looseness in the connections. A properly inserted Ethernet cable should be flush with the port and not easily dislodged.
Once you have successfully connected the other end of the Ethernet cable to your device, you have established a wired connection between your Xfinity router and the device. Now you’re ready to move on to the final step: testing the connection to ensure it’s working as expected.
Step 6: Test the connection
Now that you have connected both ends of the Ethernet cable, it’s time to test the wired connection between your Xfinity router and your device. Testing the connection will ensure that everything is properly set up and that you can enjoy a stable and reliable internet connection. Follow these steps to test the connection:
- Power on your device: Make sure that the device you connected to the Xfinity router is powered on and ready to use.
- Open a web browser or use a network application: Launch a web browser like Google Chrome, Mozilla Firefox, or Microsoft Edge on your device. Alternatively, you can use a network-dependent application such as a gaming platform or video streaming service.
- Access a website or online service: Type in the address of a website you want to visit or use the network application to access an online service. If the page loads quickly, or if you can use the online service without any issues, this indicates that your wired connection is working properly.
- Check network speed: If you want to verify the speed of your wired connection, you can use an online speed-testing tool. Visit a reliable speed-testing website and run the test to measure your connection’s upload and download speeds.
- Repeat the test on multiple devices: To ensure that the wired connection is functioning correctly, it’s a good idea to test it on multiple devices. Connect different devices to the Ethernet cable and repeat the same steps to ensure consistent and reliable performance across devices.
If the web pages load quickly, online services work without interruptions, and the speed test shows satisfactory results, congratulations! Your wired connection between the Xfinity router and your device is functioning as intended.
If you encounter any issues with the connection or experience slow speeds, double-check the Ethernet cable connections, restart your devices, and ensure there are no network configuration issues that may be affecting your connection.
By following these steps and testing the connection, you can ensure that your wired connection is reliable, providing you with fast and stable internet access.
Conclusion
Congratulations on successfully connecting an Ethernet cable to your Xfinity router! By following the steps outlined in this guide, you have established a stable and reliable wired connection between your router and device. This connection offers fast speeds, low latency, and improved security compared to wireless connections, making it an ideal choice for tasks that require a robust internet connection.
We started by gathering the necessary materials, including an Ethernet cable, Xfinity router, and a device with an Ethernet port. Then, you located the Ethernet ports on your Xfinity router and identified the appropriate port for connection.
Next, you identified the Ethernet cable and ensured it matched your requirements in terms of category, length, and quality. You then connected one end of the Ethernet cable to the Xfinity router and the other end to your device.
After the physical connections were made, you tested the wired connection by powering on the device, accessing websites or online services, and checking network speed. Successful completion of these tests confirmed the proper functioning of the wired connection, giving you peace of mind and reliable internet access.
Remember, if you ever need to disconnect the Ethernet cable in the future, simply remove it from both the Xfinity router and your device carefully. To reconnect, repeat the steps outlined in this guide.
Thank you for following this step-by-step guide. We hope it has been helpful in establishing a wired connection using an Ethernet cable with your Xfinity router. Enjoy the benefits of a stable and speedy internet connection!