Introduction
As technology continues to evolve, so do the ways in which we connect our devices to the internet. While most laptops these days come equipped with built-in Wi-Fi capabilities, there may be times when you find yourself in need of a wired connection. However, what do you do if your laptop doesn’t have an Ethernet port?
In this article, we will explore how to connect an Ethernet cable to a laptop that lacks an Ethernet port. Whether you’re working in a location with limited Wi-Fi coverage, or you simply prefer the stability and speed of a wired connection, there are solutions available to help you establish a reliable Ethernet connection on your laptop.
We will guide you through the process of understanding Ethernet cables, finding the right Ethernet adapter, connecting the Ethernet cable to your laptop, configuring the Ethernet connection, and troubleshooting common issues that may arise along the way. By the end of this article, you will have the knowledge and confidence to connect an Ethernet cable to your laptop, even without an Ethernet port.
So, if you’re ready to explore the world of wired connections and enhance your internet connectivity, let’s get started with the first step – understanding Ethernet cables.
Section 1: Understanding Ethernet Cables
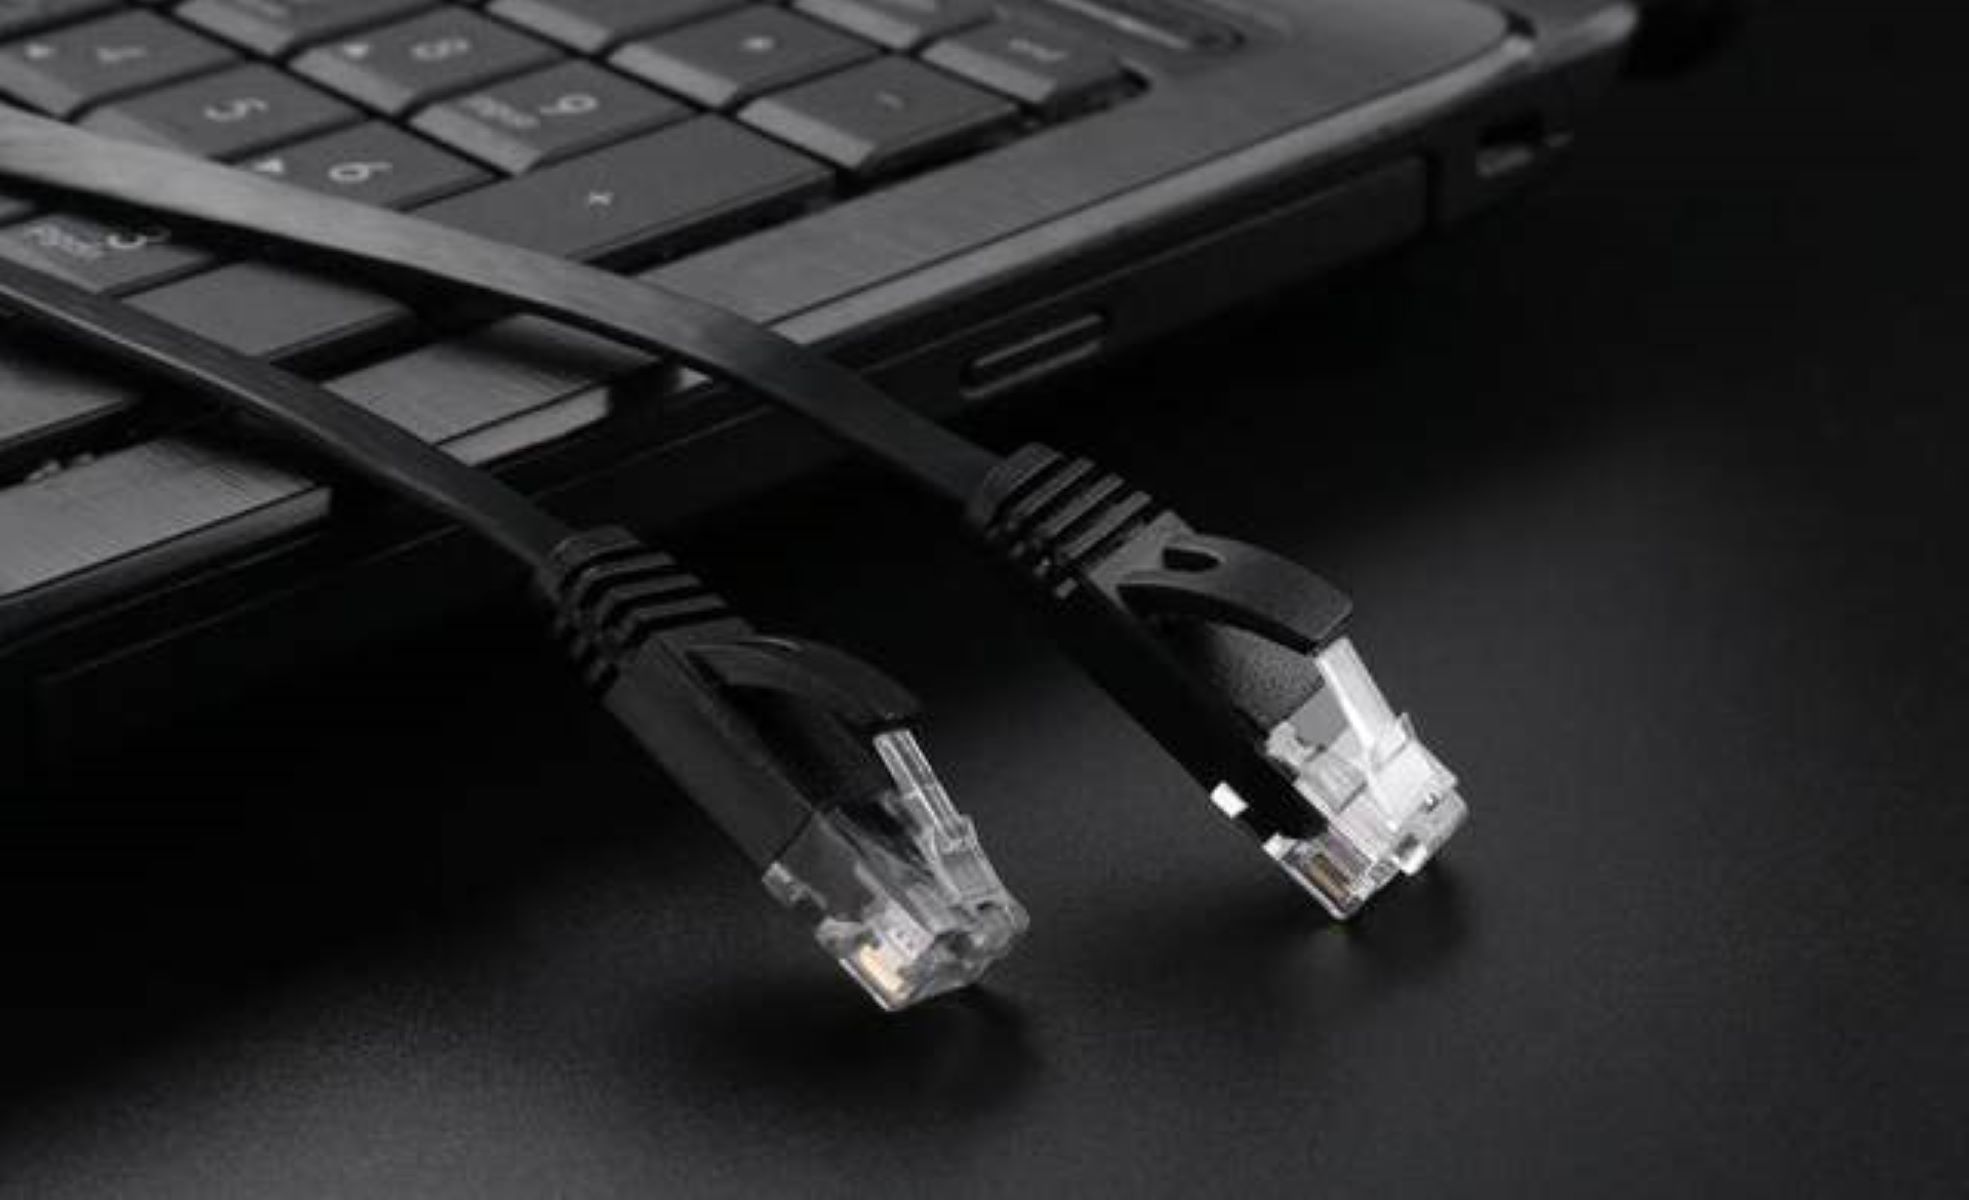
Before we dive into connecting an Ethernet cable to a laptop without an Ethernet port, it’s essential to have a basic understanding of Ethernet cables. Ethernet cables, also known as network cables or Ethernet patch cables, are used to establish a wired network connection between devices.
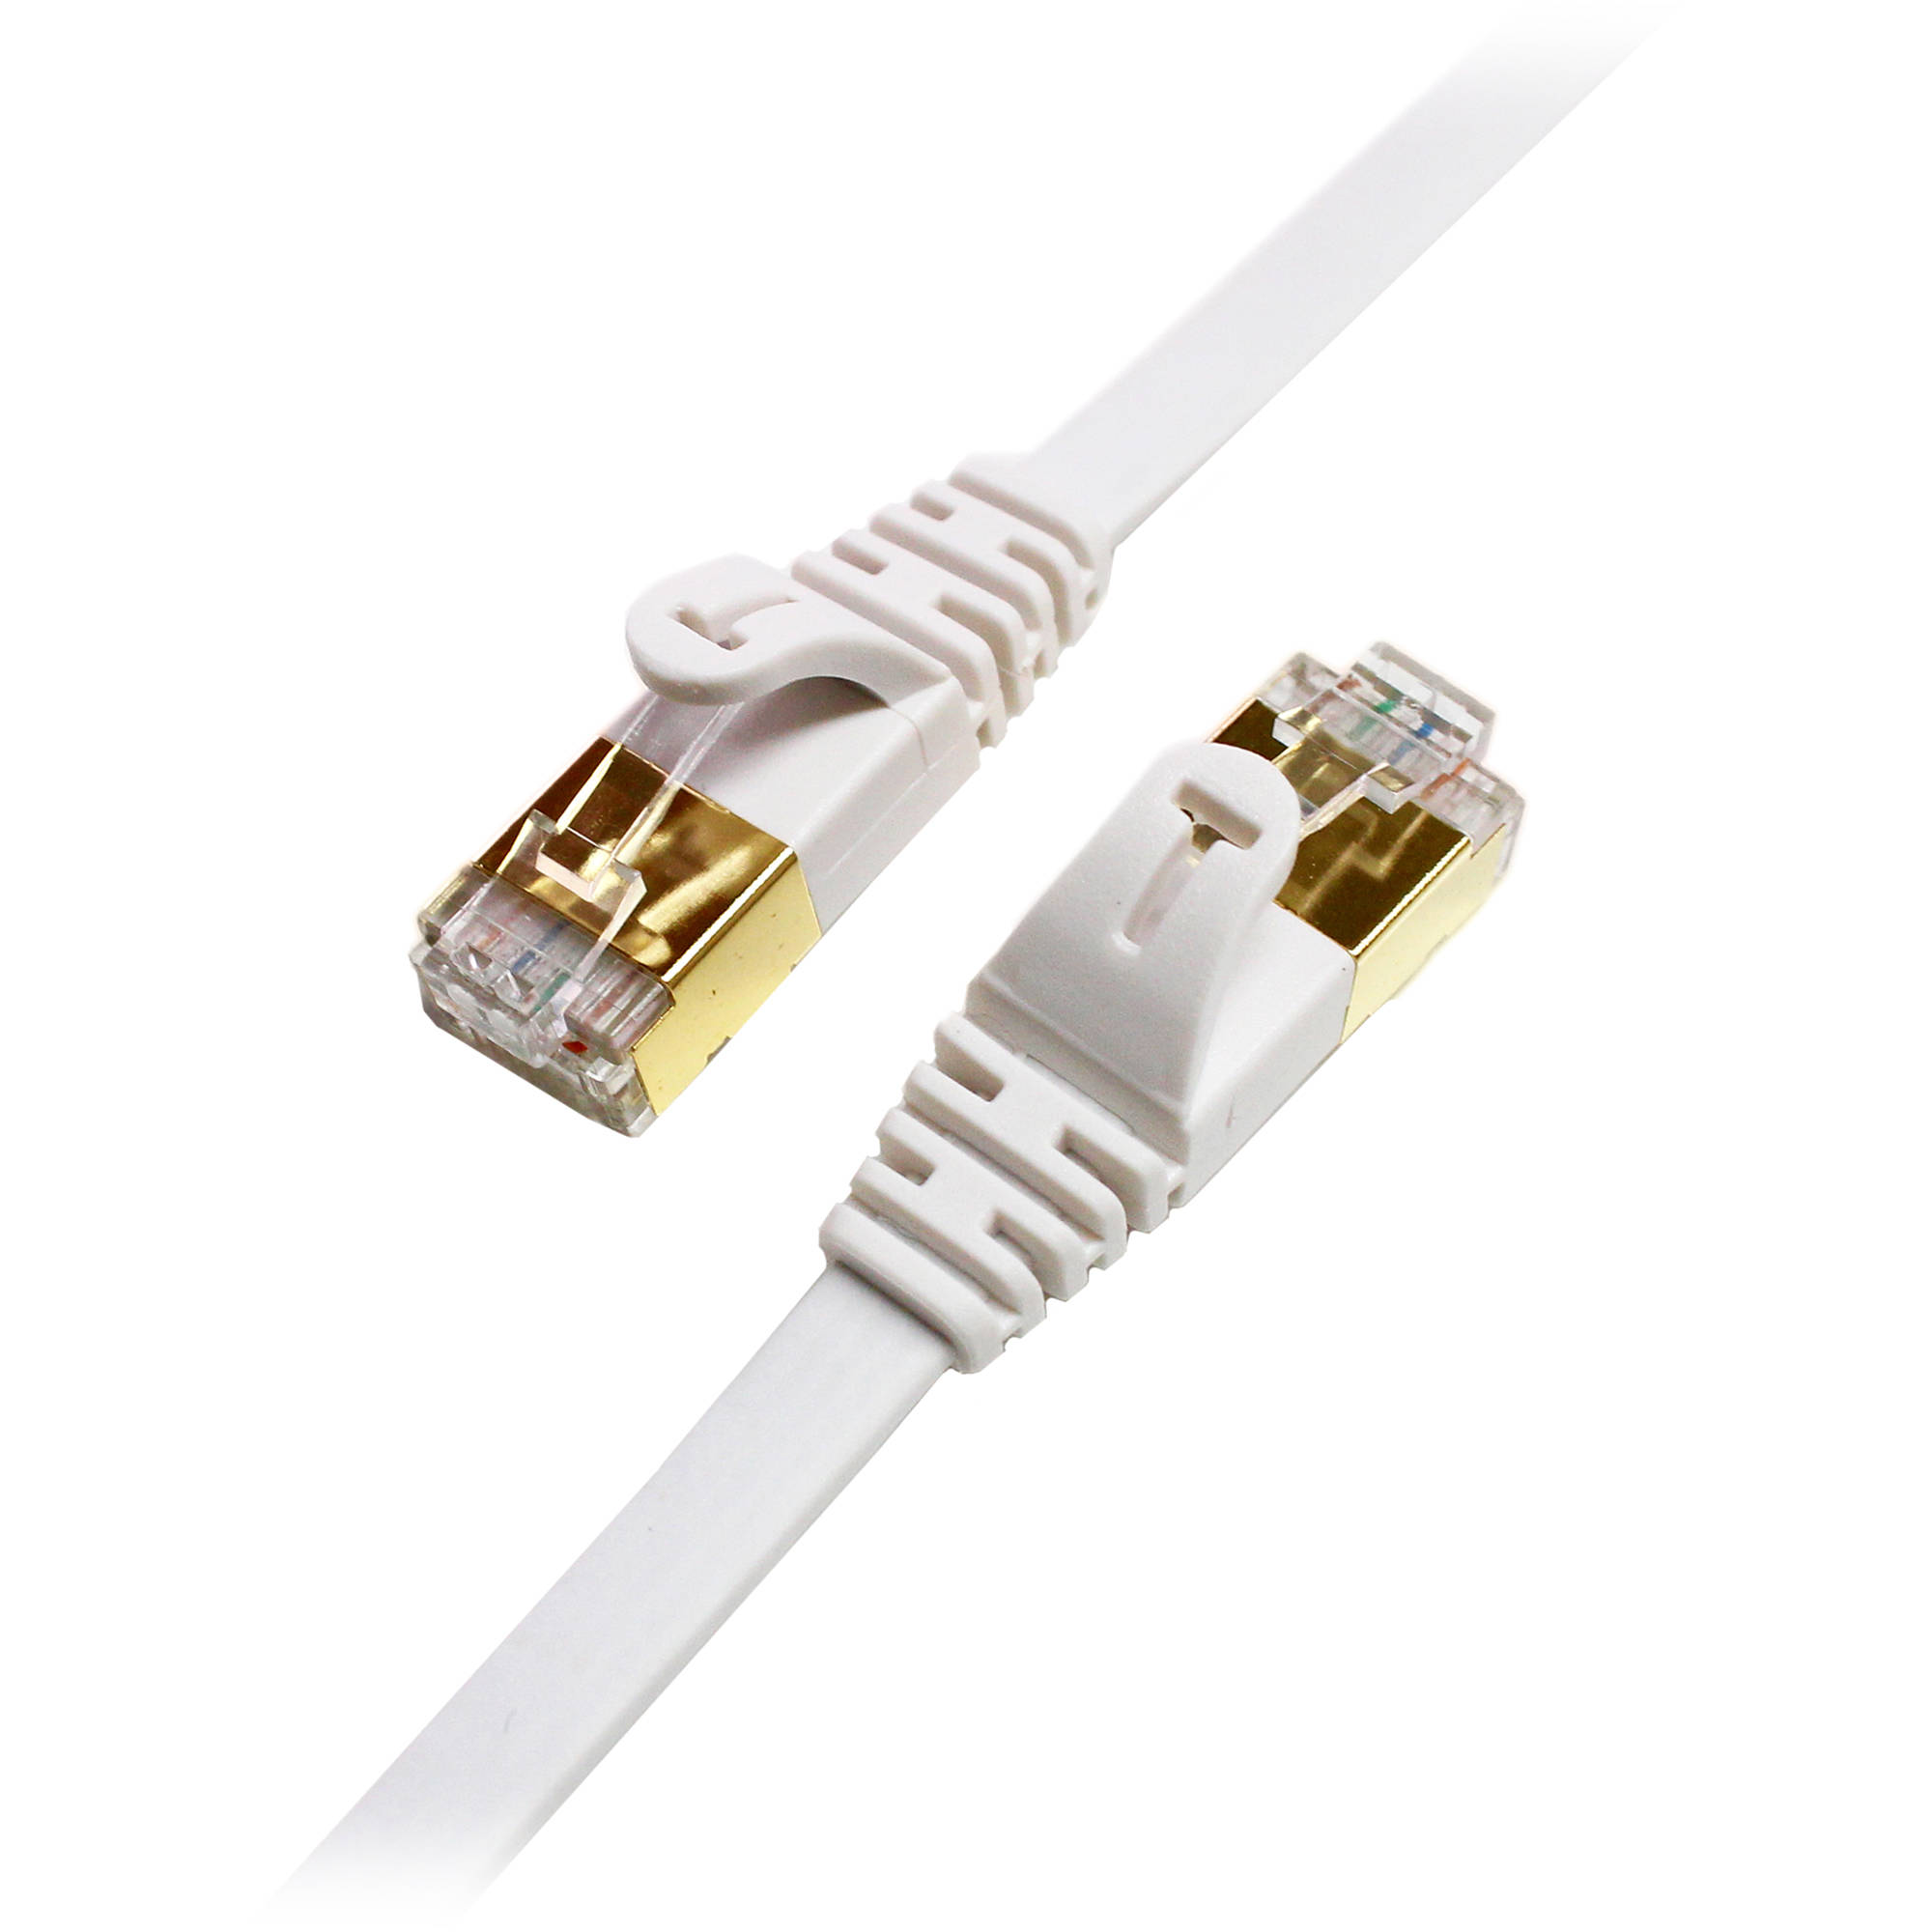
These cables serve as a medium for transmitting data signals between devices, such as your laptop and a router or modem. They come in various categories, including Cat5e, Cat6, and Cat7, with each category offering different speeds and performance levels.
When selecting an Ethernet cable, it’s important to consider the capabilities of your devices and ensure compatibility. For example, if you have a Gigabit router but use a Cat5e cable, you won’t be able to achieve the full potential speed of your network connection.
Another factor to consider is the length of the Ethernet cable. It’s best to measure the distance between your laptop and the router to determine the appropriate cable length. It’s generally recommended to avoid using excessively long cables, as this can lead to signal degradation.
One of the advantages of Ethernet cables is their reliability and stability in providing a consistent network connection. Wired connections are less prone to interference compared to wireless connections, which can be affected by factors such as distance, obstacles, and other wireless devices.
Now that you have a better understanding of Ethernet cables, let’s move on to the next section, where we will explore how to find the right Ethernet adapter for your laptop without an Ethernet port.
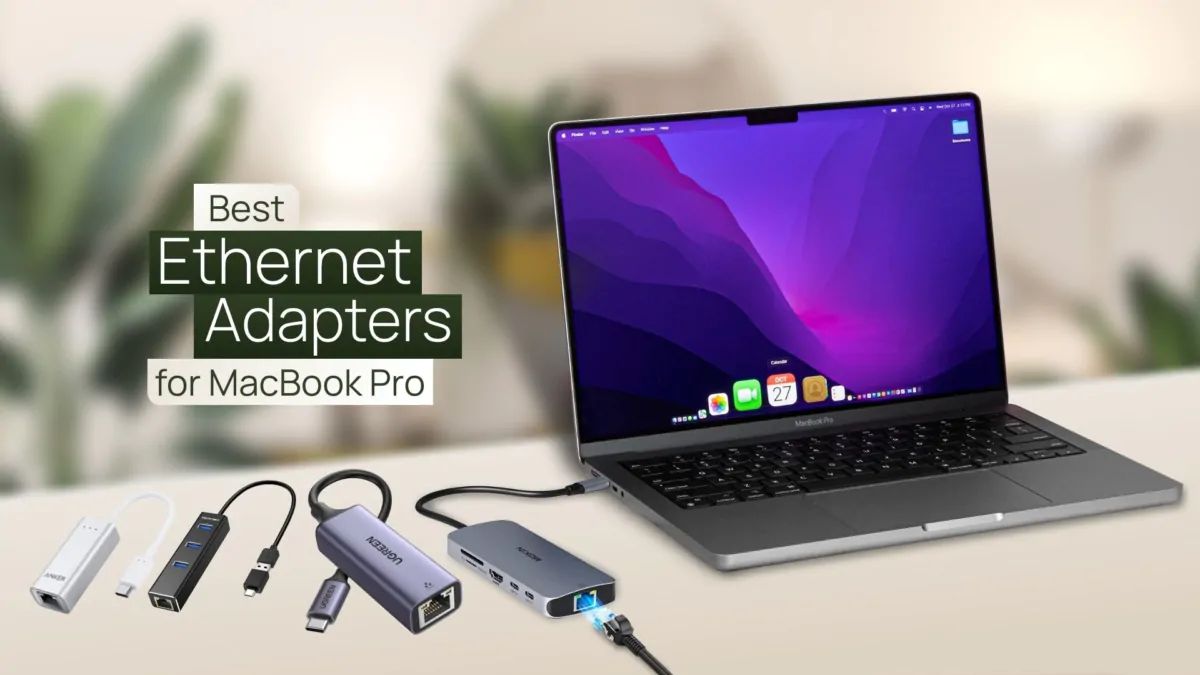
Section 2: Finding the Right Ethernet Adapter
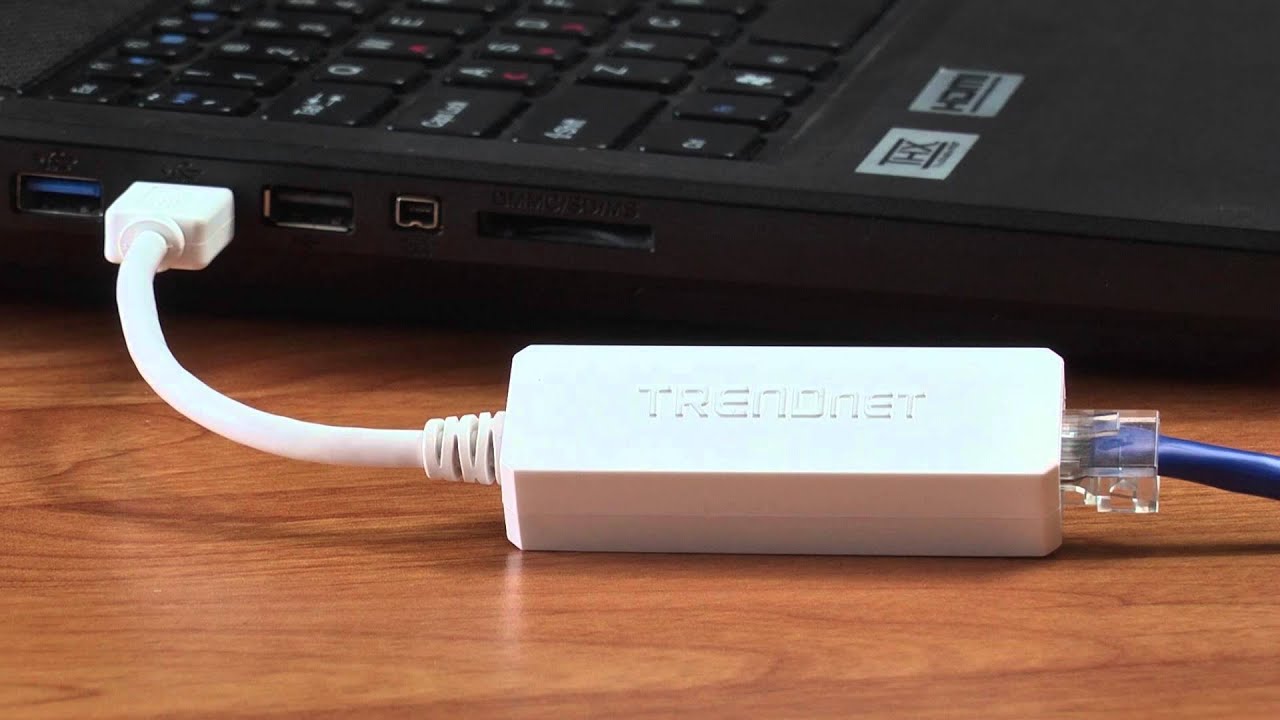
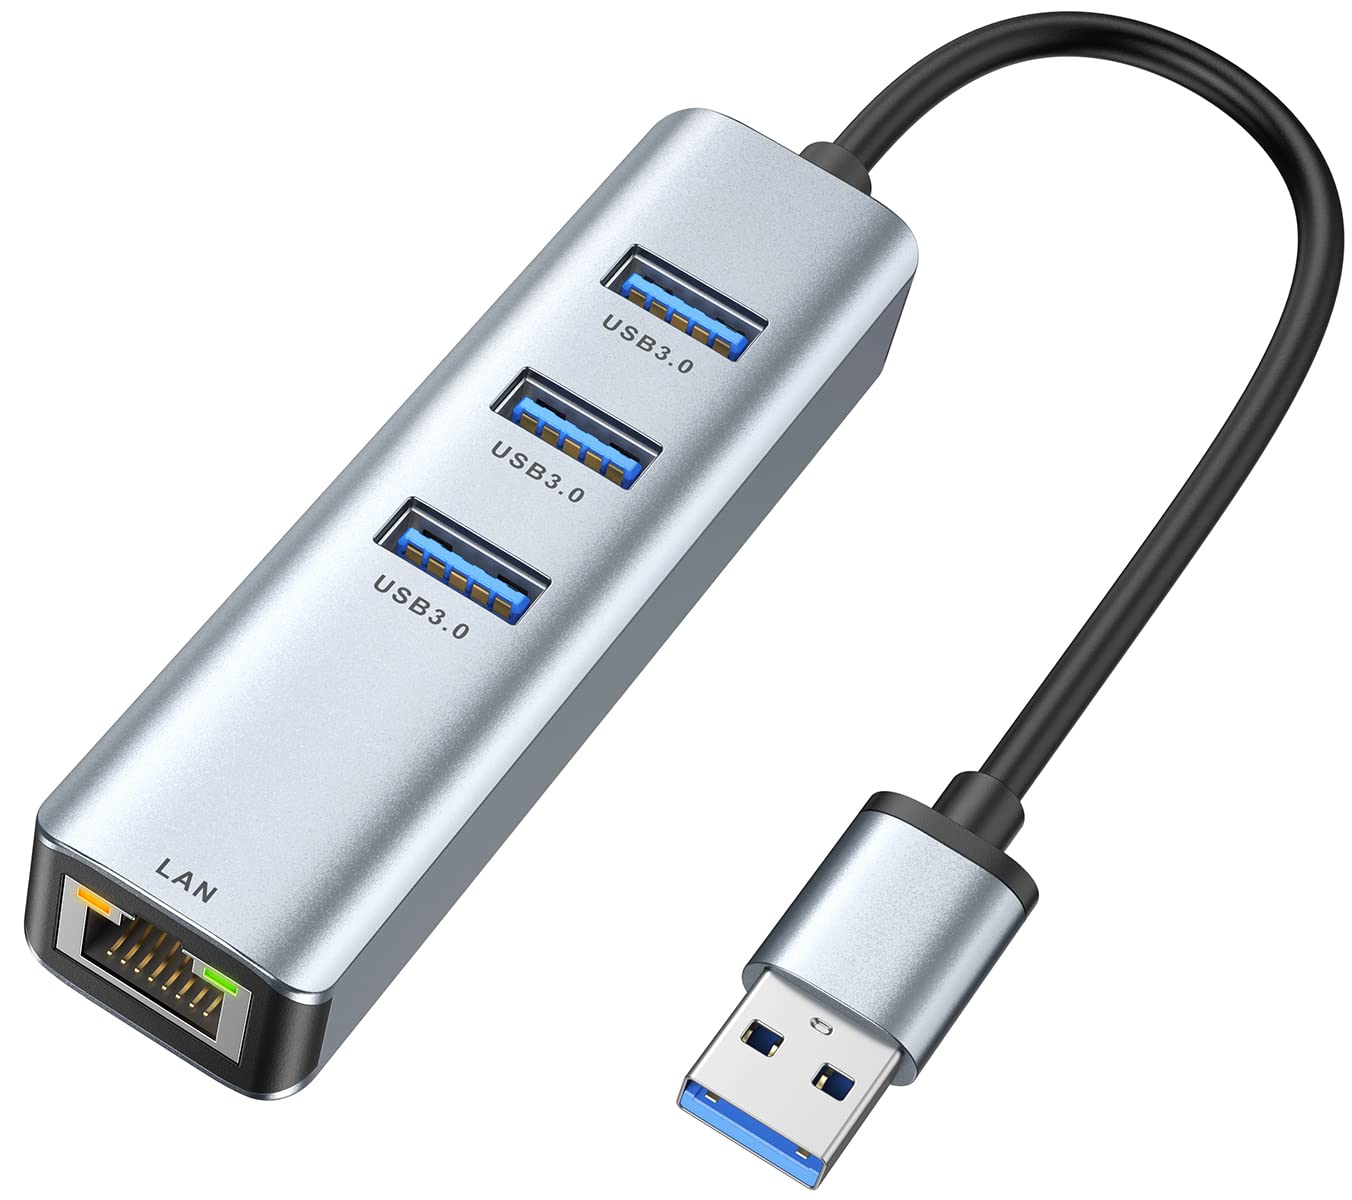
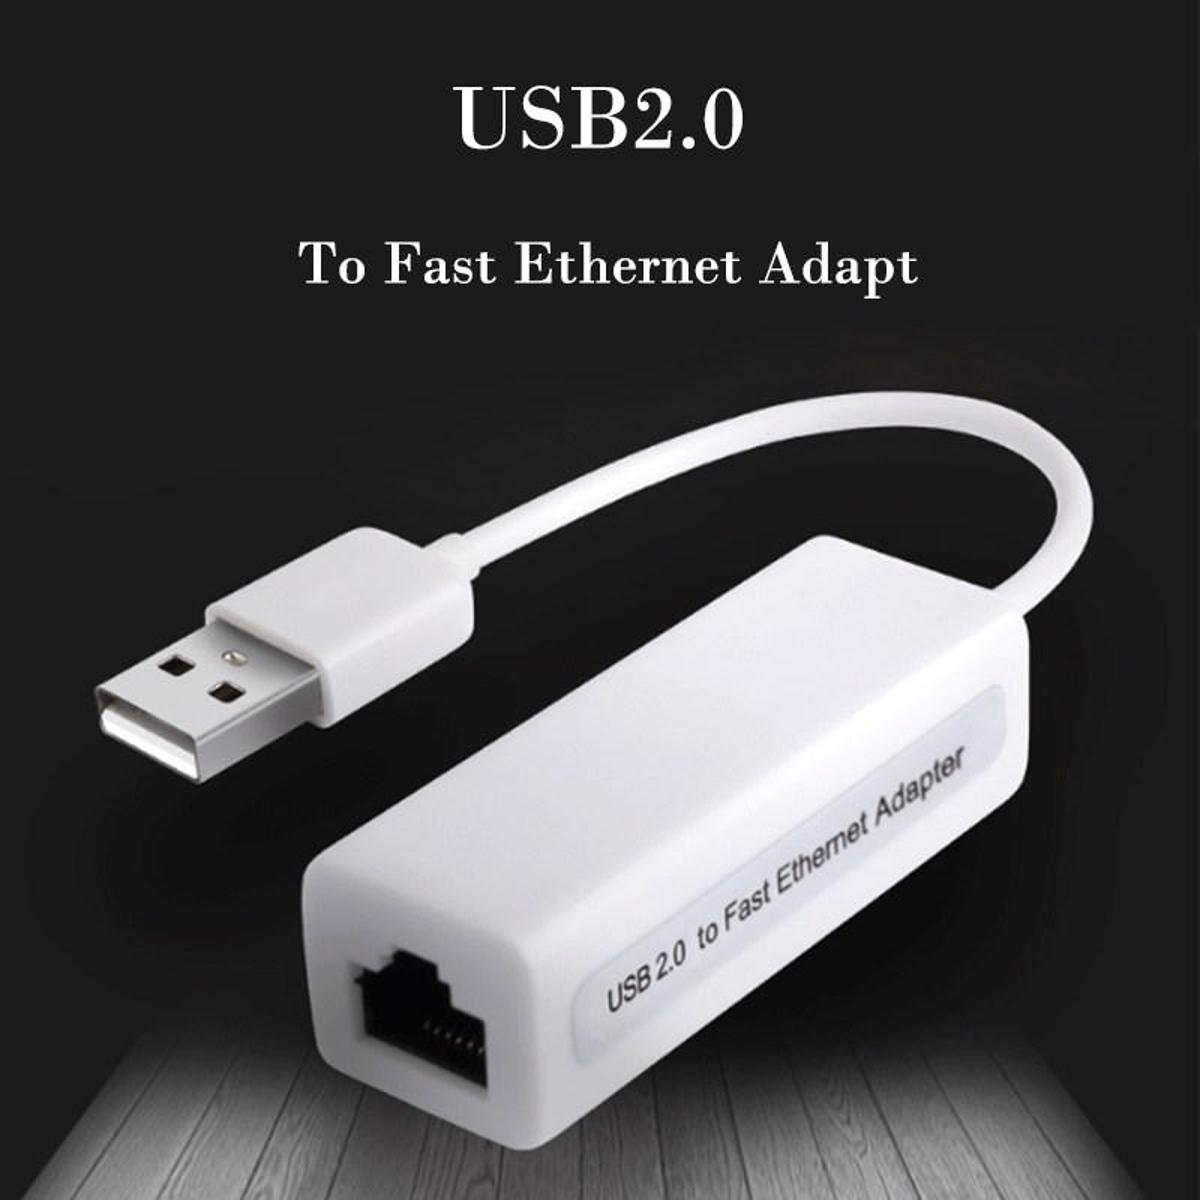
If your laptop lacks a built-in Ethernet port, don’t worry! You can still connect an Ethernet cable to your laptop by using an Ethernet adapter or dongle. An Ethernet adapter is a small device that allows you to add an Ethernet port to your laptop through a USB connection.
When choosing an Ethernet adapter, there are a few factors to consider:
- Compatibility: Ensure that the Ethernet adapter is compatible with your laptop’s operating system. Most adapters support Windows, macOS, and Linux, but it’s always a good idea to double-check.
- Speed: Look for an adapter that supports Gigabit Ethernet (1000 Mbps) for the best performance. This will ensure you can take full advantage of high-speed internet connections.
- Size and Portability: Consider the size and design of the Ethernet adapter, especially if you plan to use it while traveling. A compact and lightweight adapter is ideal for portability.
You can find Ethernet adapters at electronics stores or online retailers. Look for reputable brands that offer reliable products. Additionally, reading customer reviews can provide valuable insights into the performance and durability of different adapters.
Once you have identified the Ethernet adapter that suits your needs, you’re ready to move on to the next section, where we will guide you through the process of connecting the Ethernet cable to your laptop.
Section 3: Connecting the Ethernet Cable to the Laptop
Now that you have your Ethernet adapter, it’s time to connect the Ethernet cable to your laptop. Here’s a step-by-step guide:
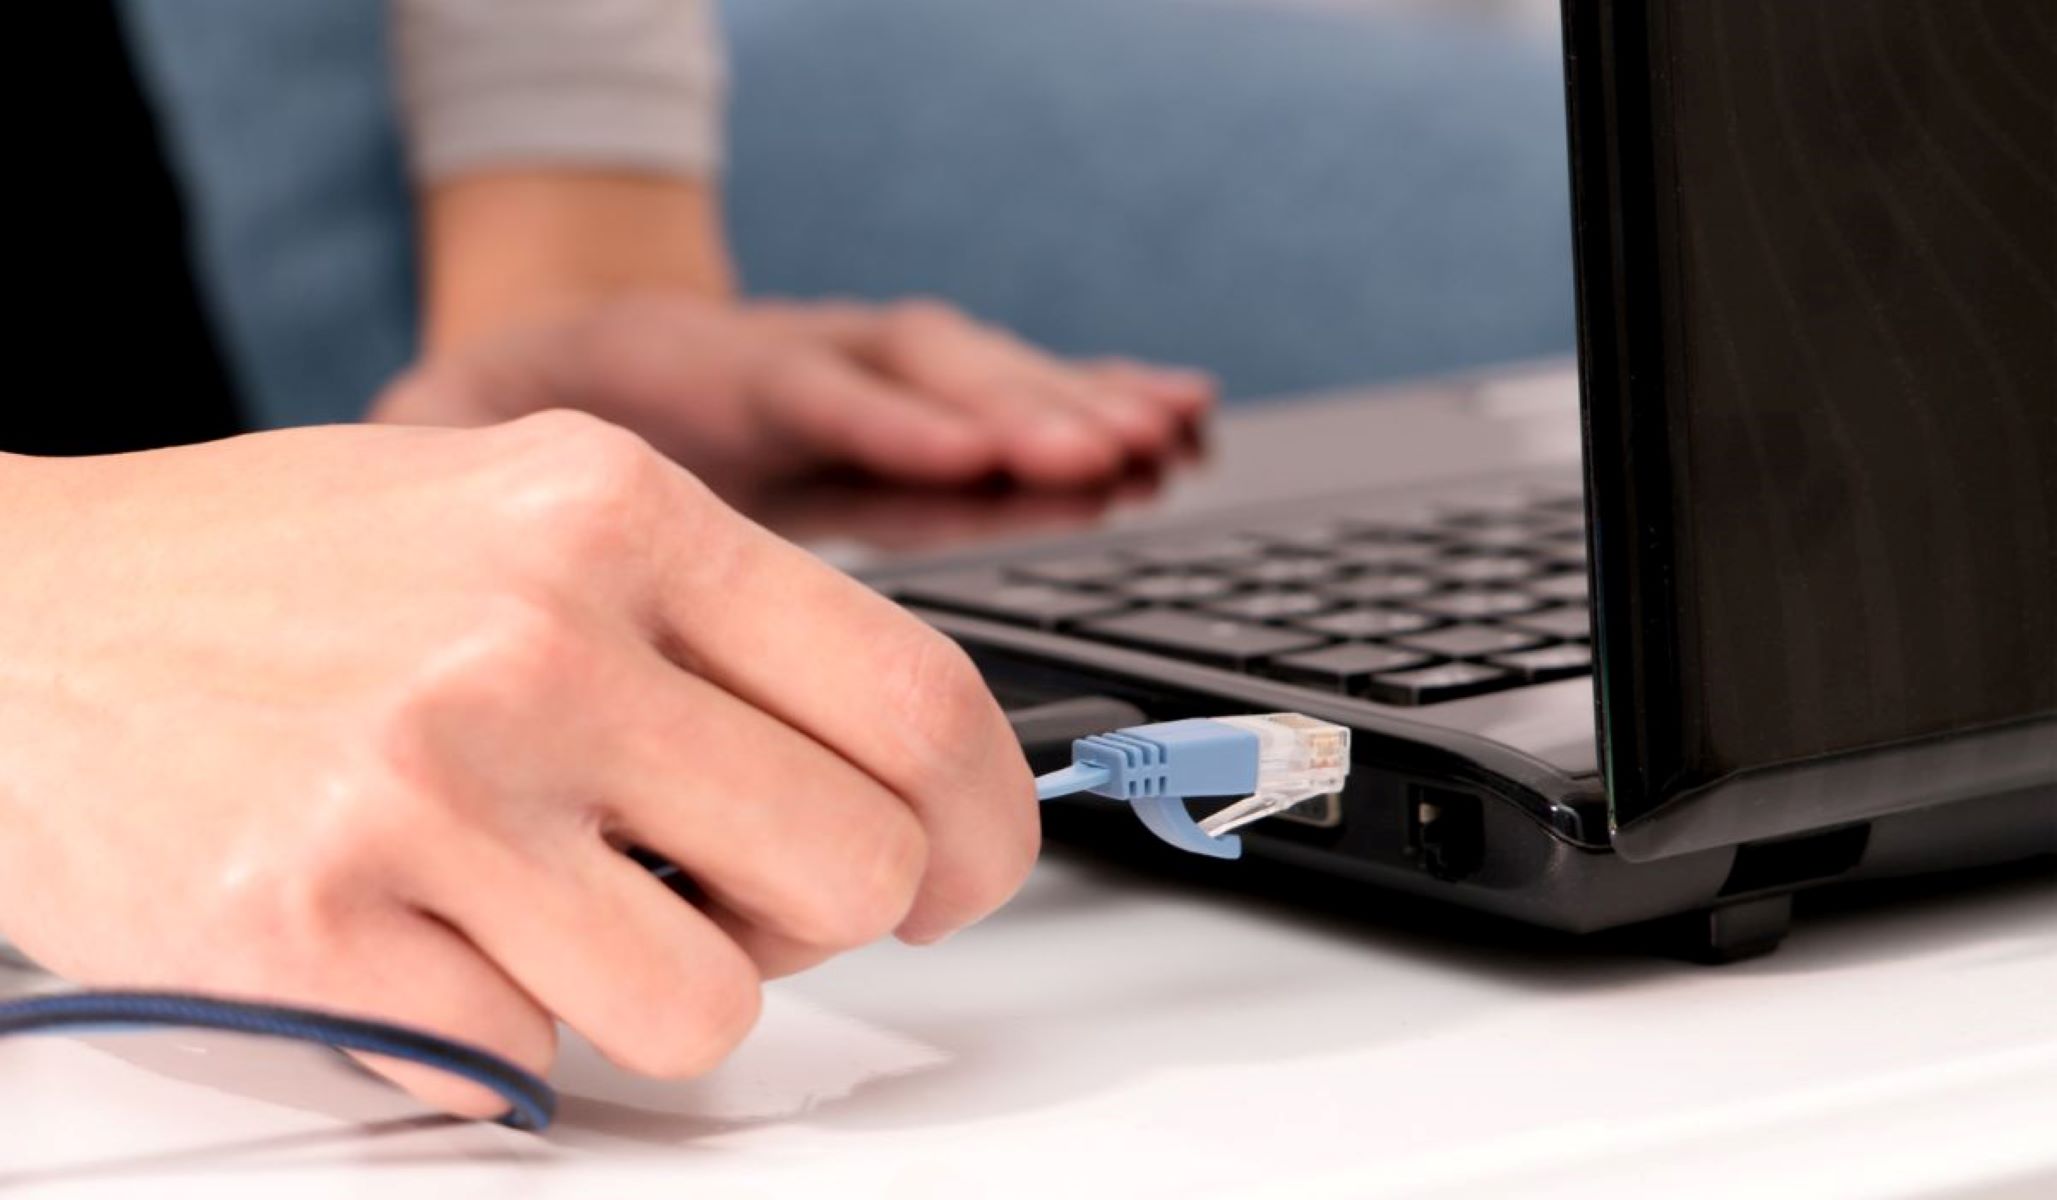
- Begin by inserting one end of the Ethernet cable into the Ethernet port on your adapter.
- Connect the other end of the Ethernet cable to the Ethernet port on your router or modem.
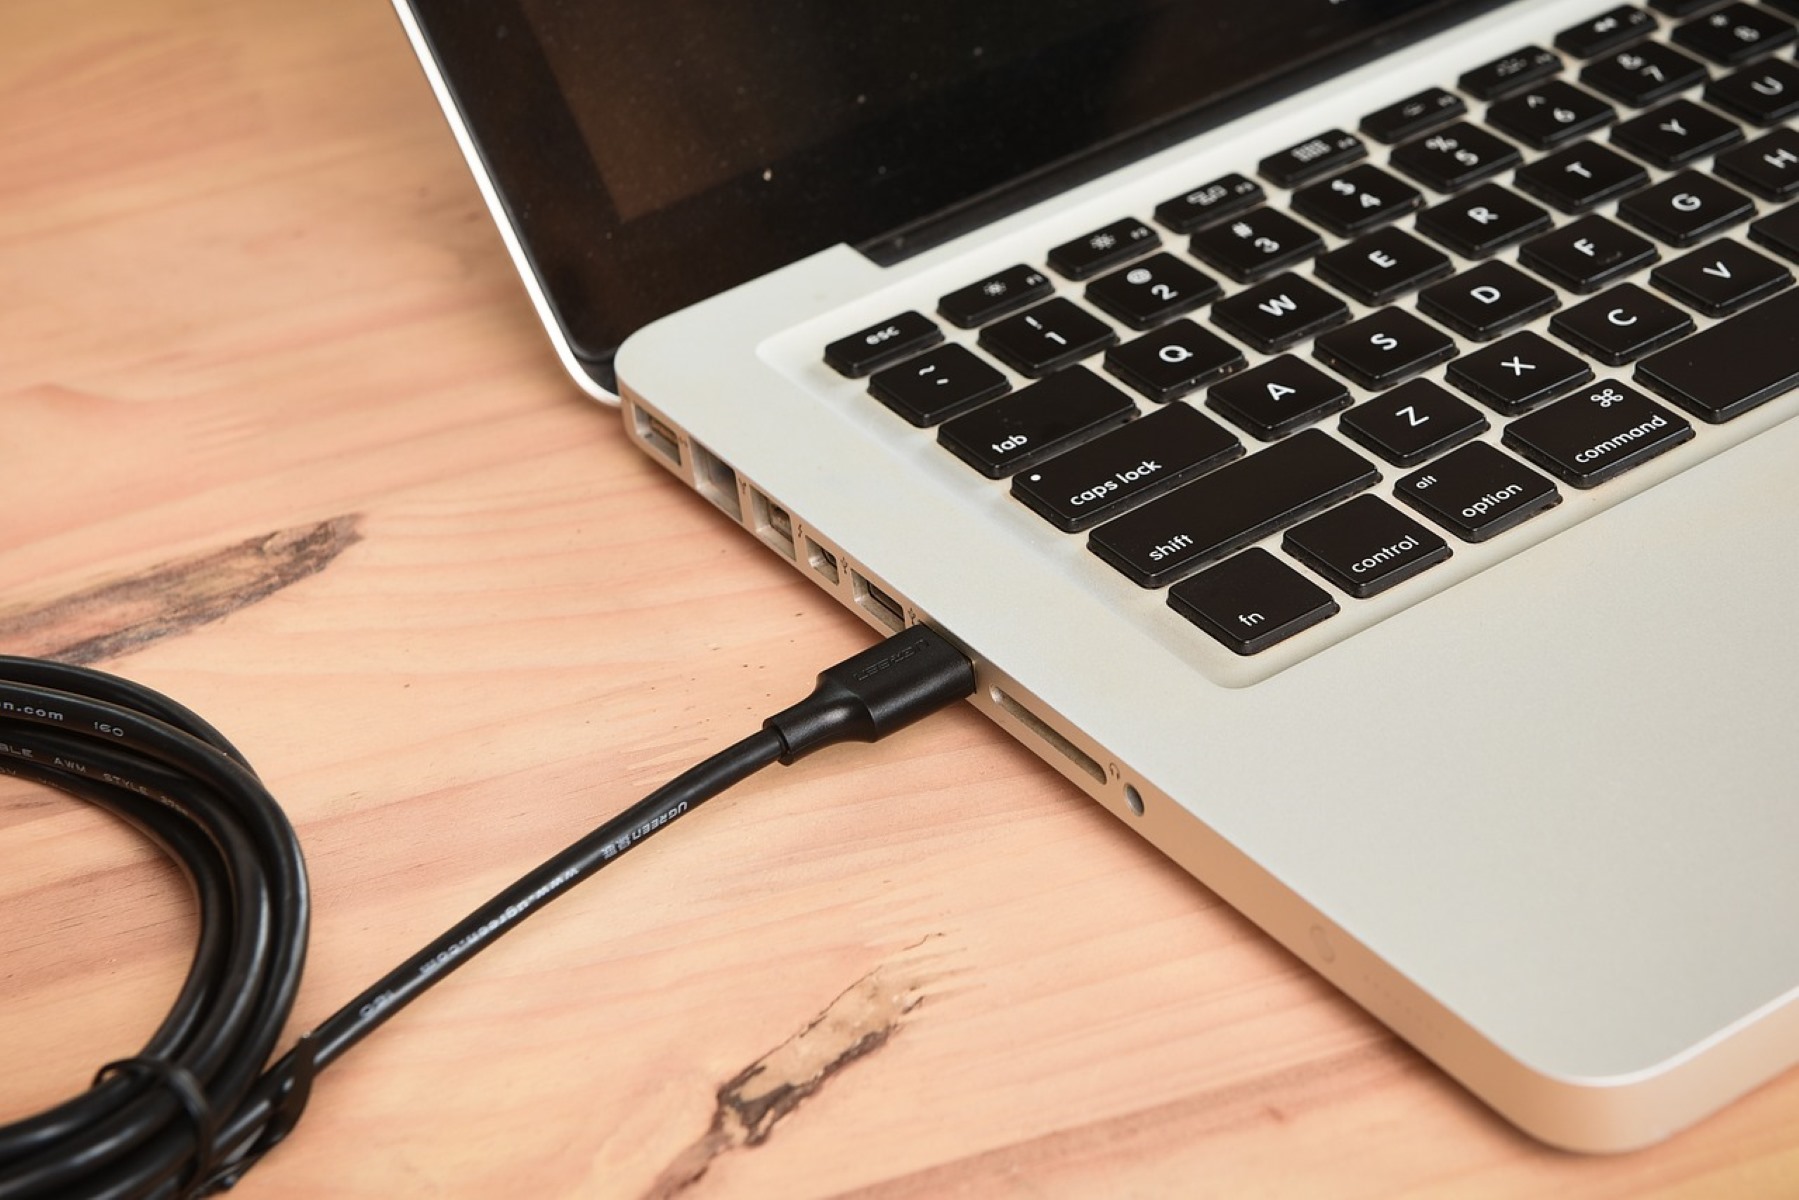
- Plug the USB end of the Ethernet adapter into an available USB port on your laptop.
- Wait for your laptop to recognize the adapter. You may need to install drivers or software if prompted.
- Once the adapter is recognized, your laptop should automatically switch to using the wired connection. If not, you may need to manually enable the Ethernet connection in your laptop’s network settings.
Ensure that all connections are secure and properly inserted. It’s a good practice to check for any loose or damaged cables that could affect the connection quality.
Once you have connected the Ethernet cable to your laptop, you can start enjoying the benefits of a wired connection, including faster and more reliable internet speeds.
In the next section, we will cover how to configure the Ethernet connection on your laptop to ensure optimal performance.
Section 4: Configuring the Ethernet Connection
After connecting the Ethernet cable to your laptop, it’s important to configure the Ethernet connection for optimal performance. Here’s what you need to do:
- On your laptop, navigate to the network settings. In Windows, you can access this by right-clicking on the network icon in the system tray and selecting “Open Network & Internet Settings.” On a Mac, go to the Apple menu, select “System Preferences,” and then choose “Network.”
- Locate the Ethernet connection. It should be labeled “Ethernet” or “USB Ethernet” in the network settings.
- Click on the Ethernet connection and select “Properties” or “Advanced” to access more settings.
- Ensure that the settings are configured for automatic IP address assignment (DHCP) unless specifically instructed otherwise by your network administrator.
- If needed, you can also set a specific DNS server address for the Ethernet connection.
- Save your changes and exit the network settings.
By configuring these settings, your laptop will be able to communicate with the router or modem through the Ethernet connection more effectively.
It’s worth noting that some operating systems may automatically configure the Ethernet connection without the need for manual setup. However, it’s always a good idea to check the settings to ensure everything is properly configured.
In the next section, we will address some common issues that you may encounter when connecting an Ethernet cable to a laptop without an Ethernet port and provide troubleshooting tips to help you resolve them.
Section 5: Troubleshooting Common Issues
While connecting an Ethernet cable to a laptop without an Ethernet port is generally a straightforward process, there may be instances where you encounter some common issues. Here are some troubleshooting tips to help you address those problems:
- No Internet Connection: If you have connected everything correctly but do not have an internet connection, try restarting your laptop and the router or modem. Also, ensure that the Ethernet cable is securely plugged into both the adapter and the router or modem.
- Driver Issues: Sometimes, you may need to install specific drivers for the Ethernet adapter to work correctly. Check the manufacturer’s website for the latest drivers and install them if necessary.
- Compatibility Problems: Confirm that the Ethernet adapter is compatible with your laptop’s operating system. If not, consider looking for alternative adapters that are known to work with your specific OS.
- Slow Internet Speed: If you notice that your internet speed is slower than expected, make sure that you are using a high-quality Ethernet cable that supports your network speed. Additionally, check for any background programs or downloads that may be consuming bandwidth.
- Device Not Recognizing Adapter: In rare cases, your laptop may not recognize the Ethernet adapter. Try using a different USB port or restarting your laptop to see if it resolves the issue. If not, contact the adapter manufacturer for further assistance.
If you continue to experience connectivity issues, it’s recommended to reach out to technical support or consult online forums for troubleshooting advice specific to your laptop model and Ethernet adapter.
Remember, troubleshooting is a process of elimination, so be patient and methodical when attempting to resolve any issues you encounter.
With these troubleshooting tips, you should be able to overcome common challenges when connecting an Ethernet cable to a laptop without an Ethernet port.
Now, let’s wrap up this article and summarize the key points we’ve covered.
Conclusion
Connecting an Ethernet cable to a laptop without an Ethernet port may initially seem challenging, but with the help of an Ethernet adapter and the right configuration, you can establish a reliable and fast wired connection.
In this article, we discussed the importance of understanding Ethernet cables and selecting the appropriate category and length for your needs. We then explored how to find the right Ethernet adapter, considering factors such as compatibility, speed, and portability.
We provided a step-by-step guide on connecting the Ethernet cable to your laptop, ensuring all connections were secure and properly inserted. We also discussed the importance of configuring the Ethernet connection in your laptop’s network settings to optimize performance.
Should you encounter any issues, we offered troubleshooting tips to address common problems such as no internet connection, driver issues, compatibility problems, slow internet speed, and unrecognized adapters.
By following these guidelines and troubleshooting steps, you can successfully connect an Ethernet cable to your laptop without an Ethernet port, enabling you to enjoy a stable and speedy wired connection whenever needed.
Remember to always use high-quality Ethernet cables and adapters, and keep them in good condition to ensure the best possible connectivity.
Thank you for reading, and we hope this article has helped you in connecting an Ethernet cable to your laptop without an Ethernet port.