Introduction
An Ethernet port is a crucial component in any network setup, serving as a connection point for devices such as computers, routers, and switches. Whether you are setting up a new network or troubleshooting an existing one, it’s essential to ensure that your Ethernet ports are in proper working condition. Testing Ethernet ports in the wall can help identify any issues like faulty wiring, loose connections, or problems with the network signal.
In this guide, we will explore different methods to test Ethernet ports in the wall, from simple visual inspections to using specialized tools like cable testers and network analyzers. By following these steps, you can determine if your Ethernet port is functioning correctly and diagnose any potential problems.
It’s crucial to test Ethernet ports periodically, especially if you experience connectivity issues, slow internet speeds, or irregular network performance. By identifying and resolving any issues with your Ethernet ports, you can ensure seamless data transmission and optimize your network’s efficiency.
Before we dive into the testing methods, let’s gain a better understanding of Ethernet ports and how they work within a network.
Understanding Ethernet Ports
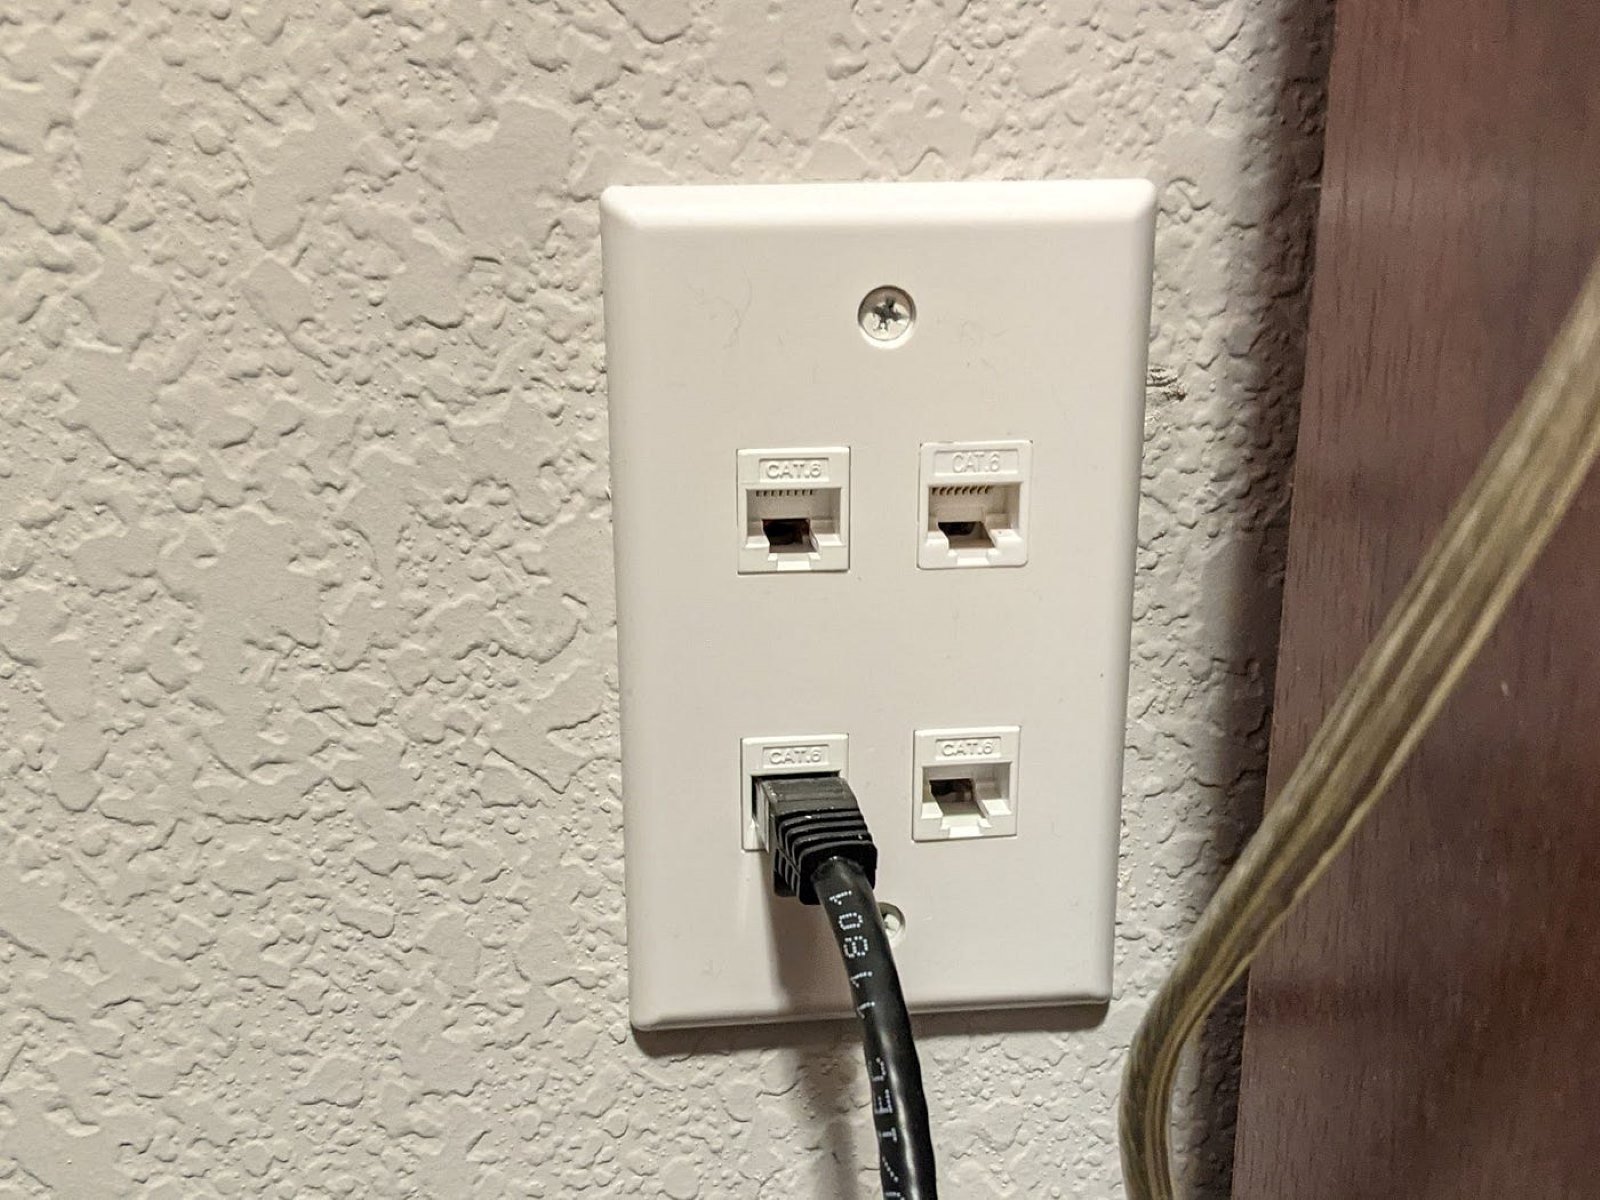
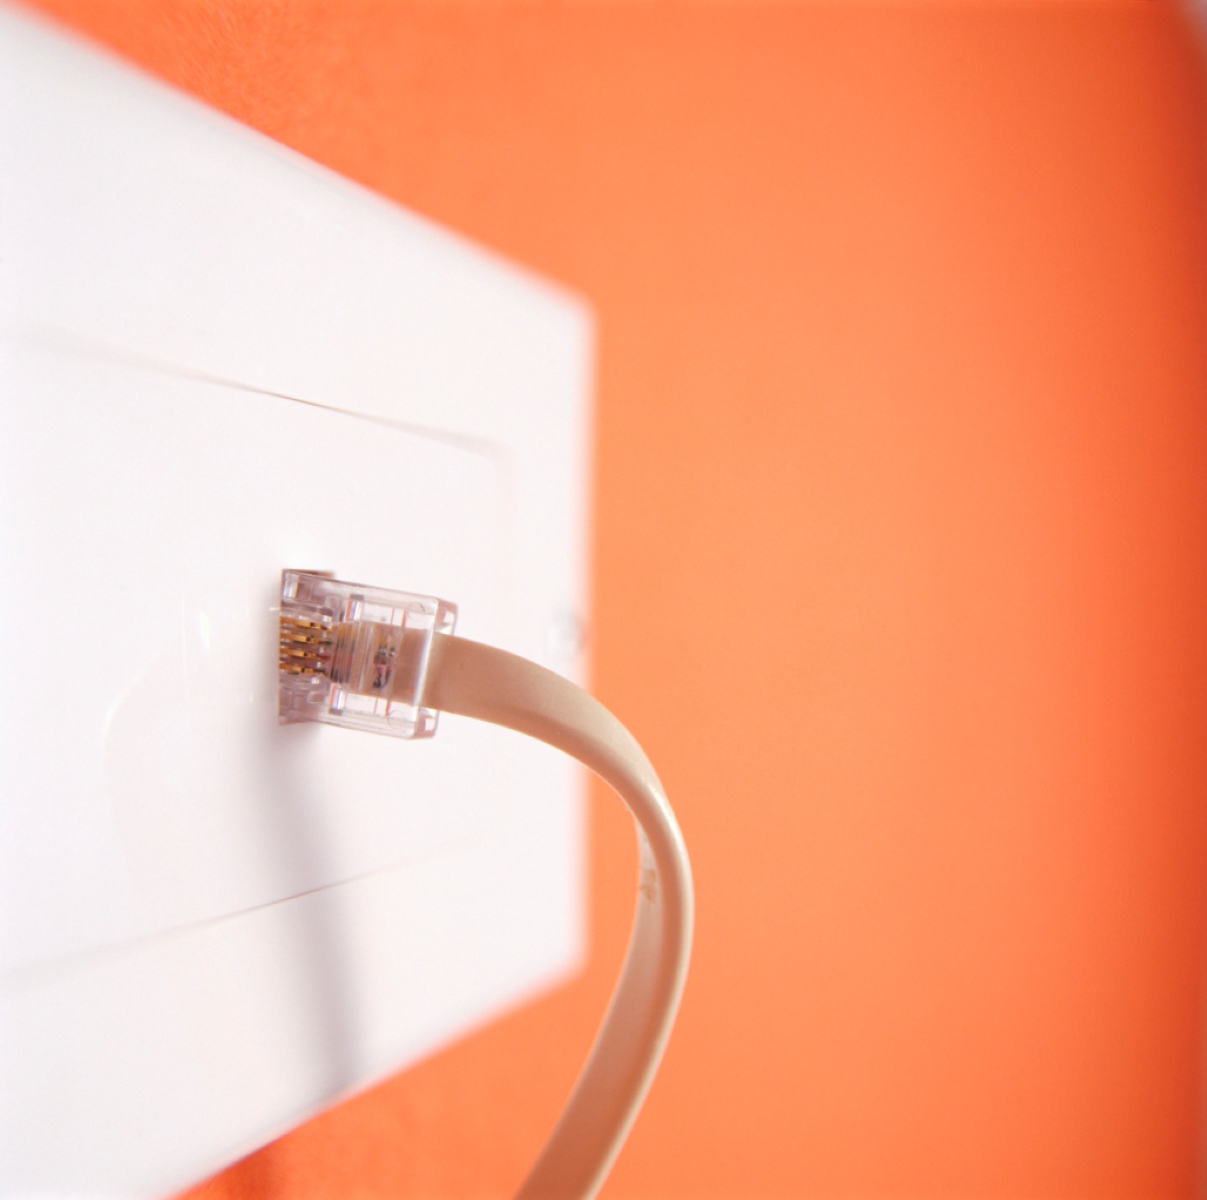
Ethernet ports, commonly known as RJ-45 ports, are physical connectors that allow devices to connect to a local area network (LAN). These ports are typically found on computers, routers, switches, and other network-enabled devices. They provide a means for transmitting data packets between devices within a network.
Each Ethernet port has multiple pins, usually eight, that establish a connection with an Ethernet cable. These ports adhere to the Ethernet standard, which defines the physical and electrical properties of the connection. The most common Ethernet standard used today is Gigabit Ethernet (1000BASE-T), which provides high-speed data transmission up to 1 Gbps.
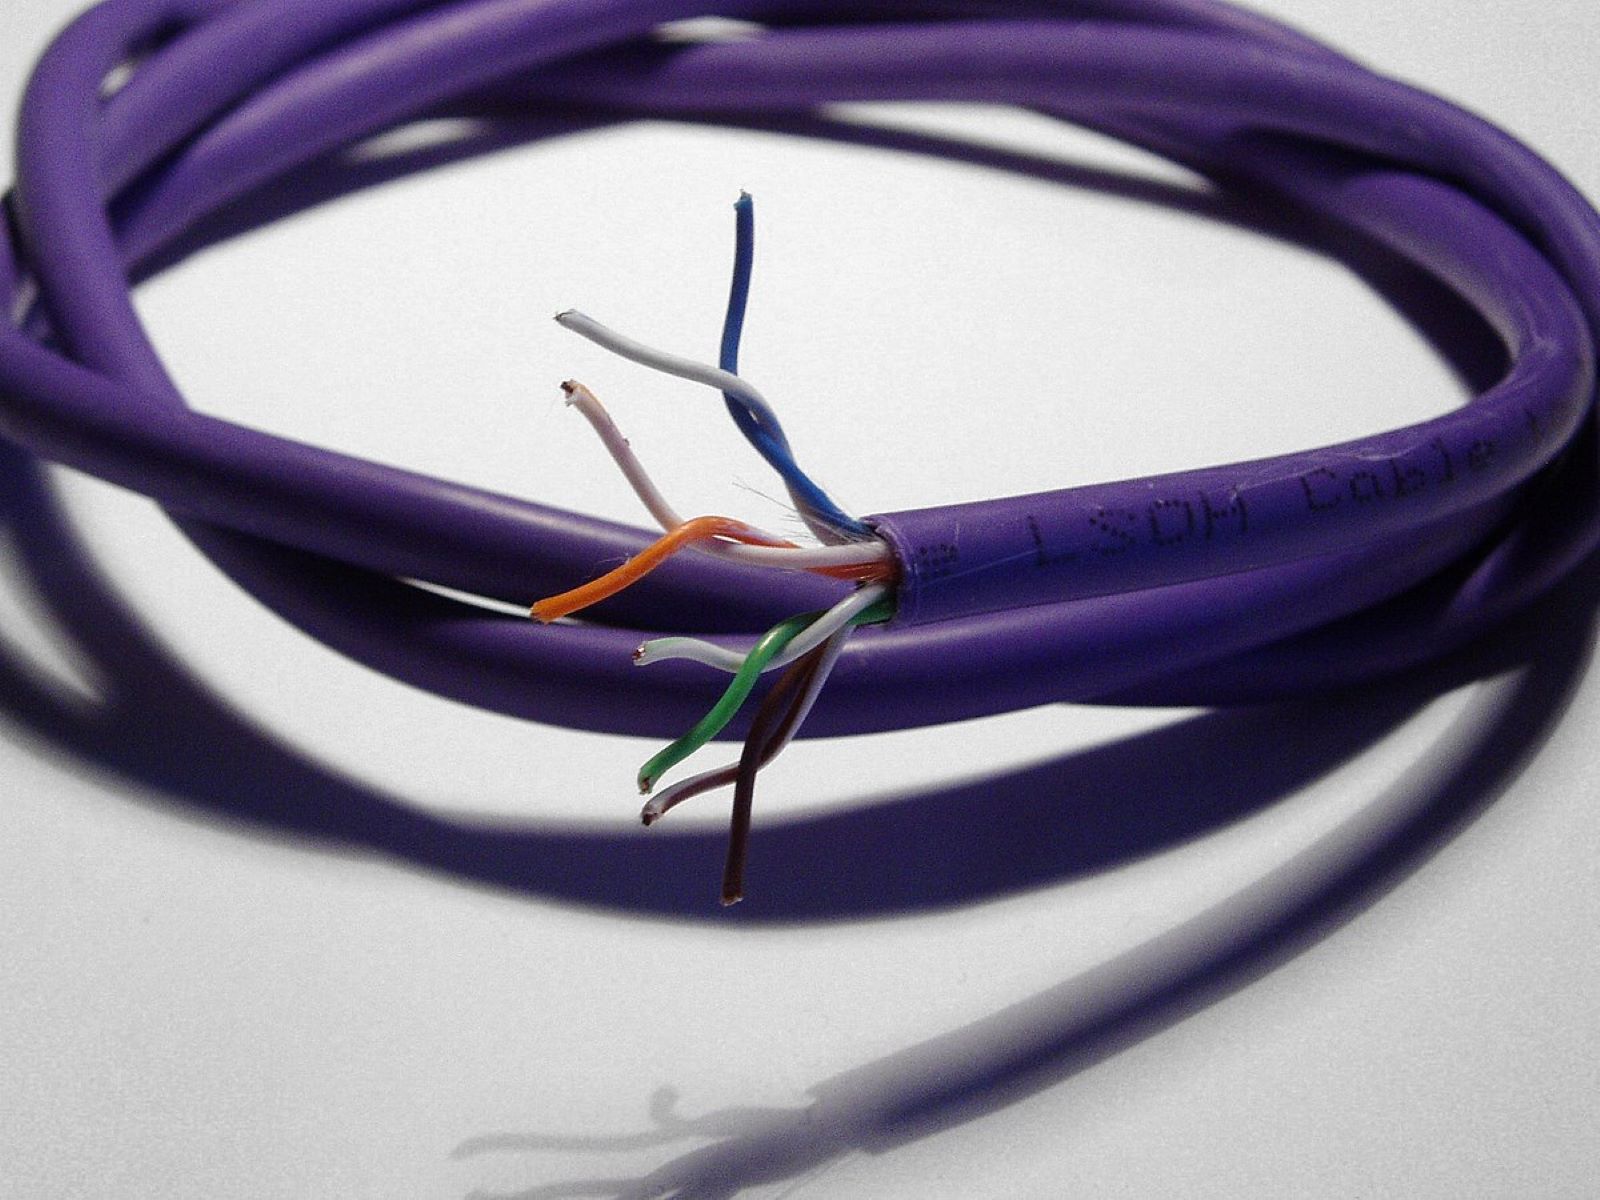
Ethernet ports utilize twisted-pair cables, such as Category 5e (Cat5e) or Category 6 (Cat6). These cables consist of four pairs of wires, with each pair twisted together to minimize interference and crosstalk. The use of twisted-pair cables allows for reliable and efficient data transmission.
When connecting devices using Ethernet ports, it’s important to understand the concept of network topology. Network topology determines how devices are interconnected within a network, whether it’s a star, bus, ring, or mesh topology.
In a typical home or office network, Ethernet ports are commonly used in a star topology, where each device connects to a central network switch or router. This configuration allows for easy expansion and flexibility in adding or removing devices.
Ethernet ports also support various transmission protocols, such as TCP/IP (Transmission Control Protocol/Internet Protocol), which is the foundation of data communication on the internet. These protocols ensure that data is packetized, addressed, and delivered across the network reliably and efficiently.
Now that we have a better understanding of Ethernet ports, let’s look at the tools required to test them in the wall.
Tools Needed for Testing
In order to accurately test Ethernet ports in the wall, you will need a few essential tools. These tools will help you check the connectivity, integrity, and performance of the Ethernet ports. Here are the tools you will need:
- Flashlight: A flashlight will come in handy during the visual inspection of the Ethernet port. It will help you spot any physical damage, loose connections, or debris that may be obstructing the connection.
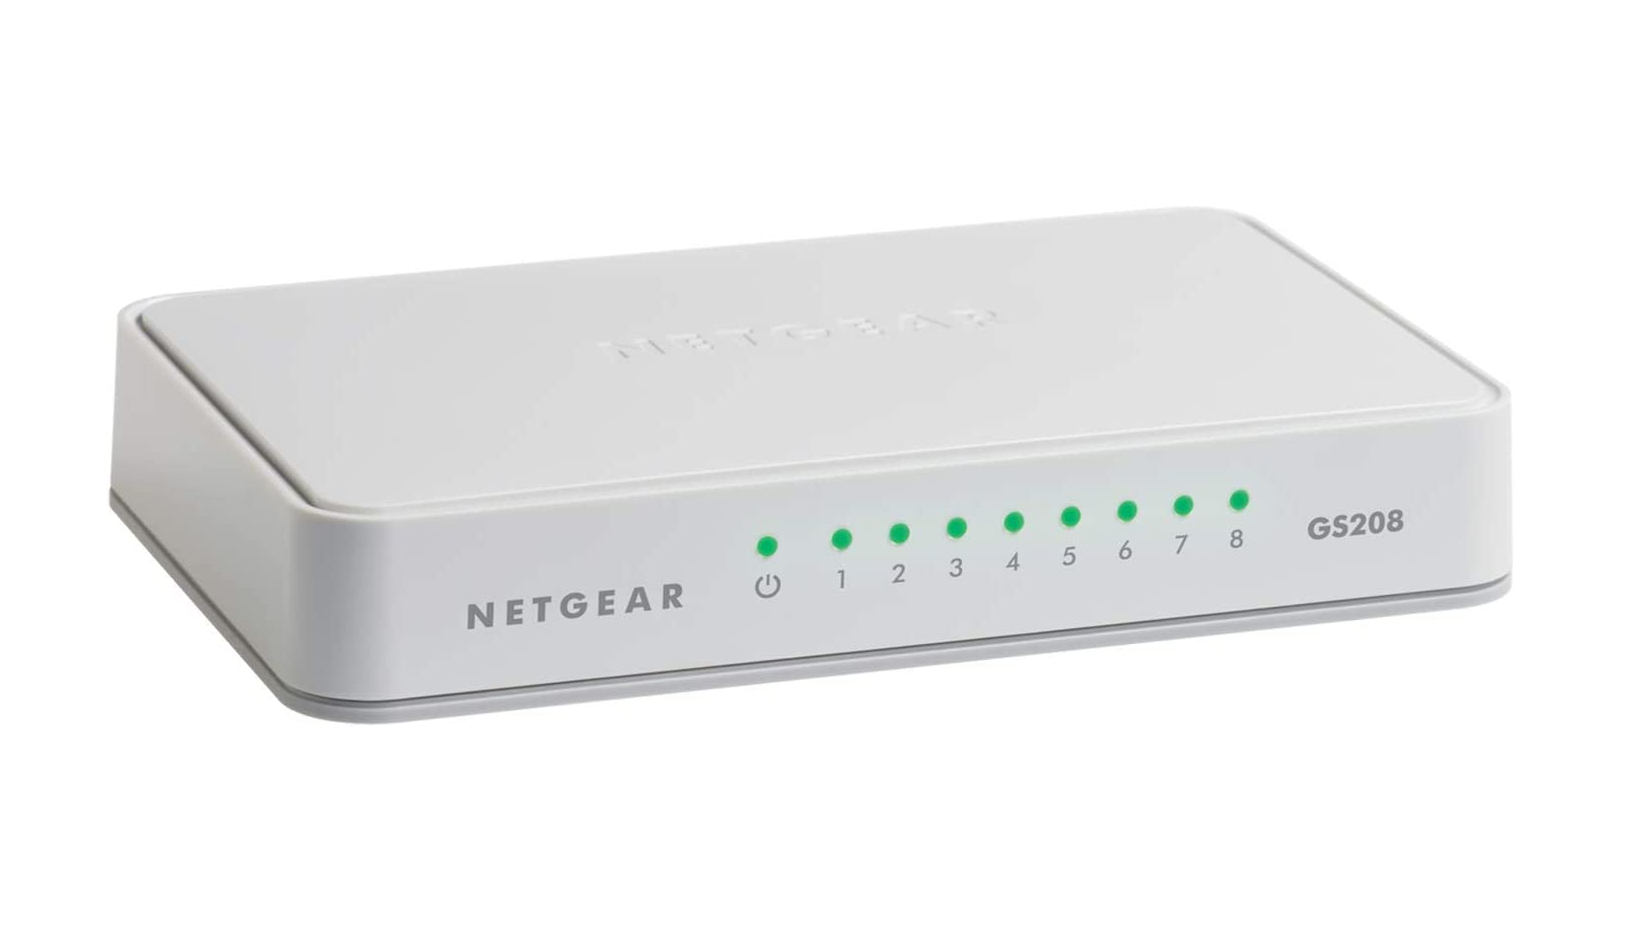
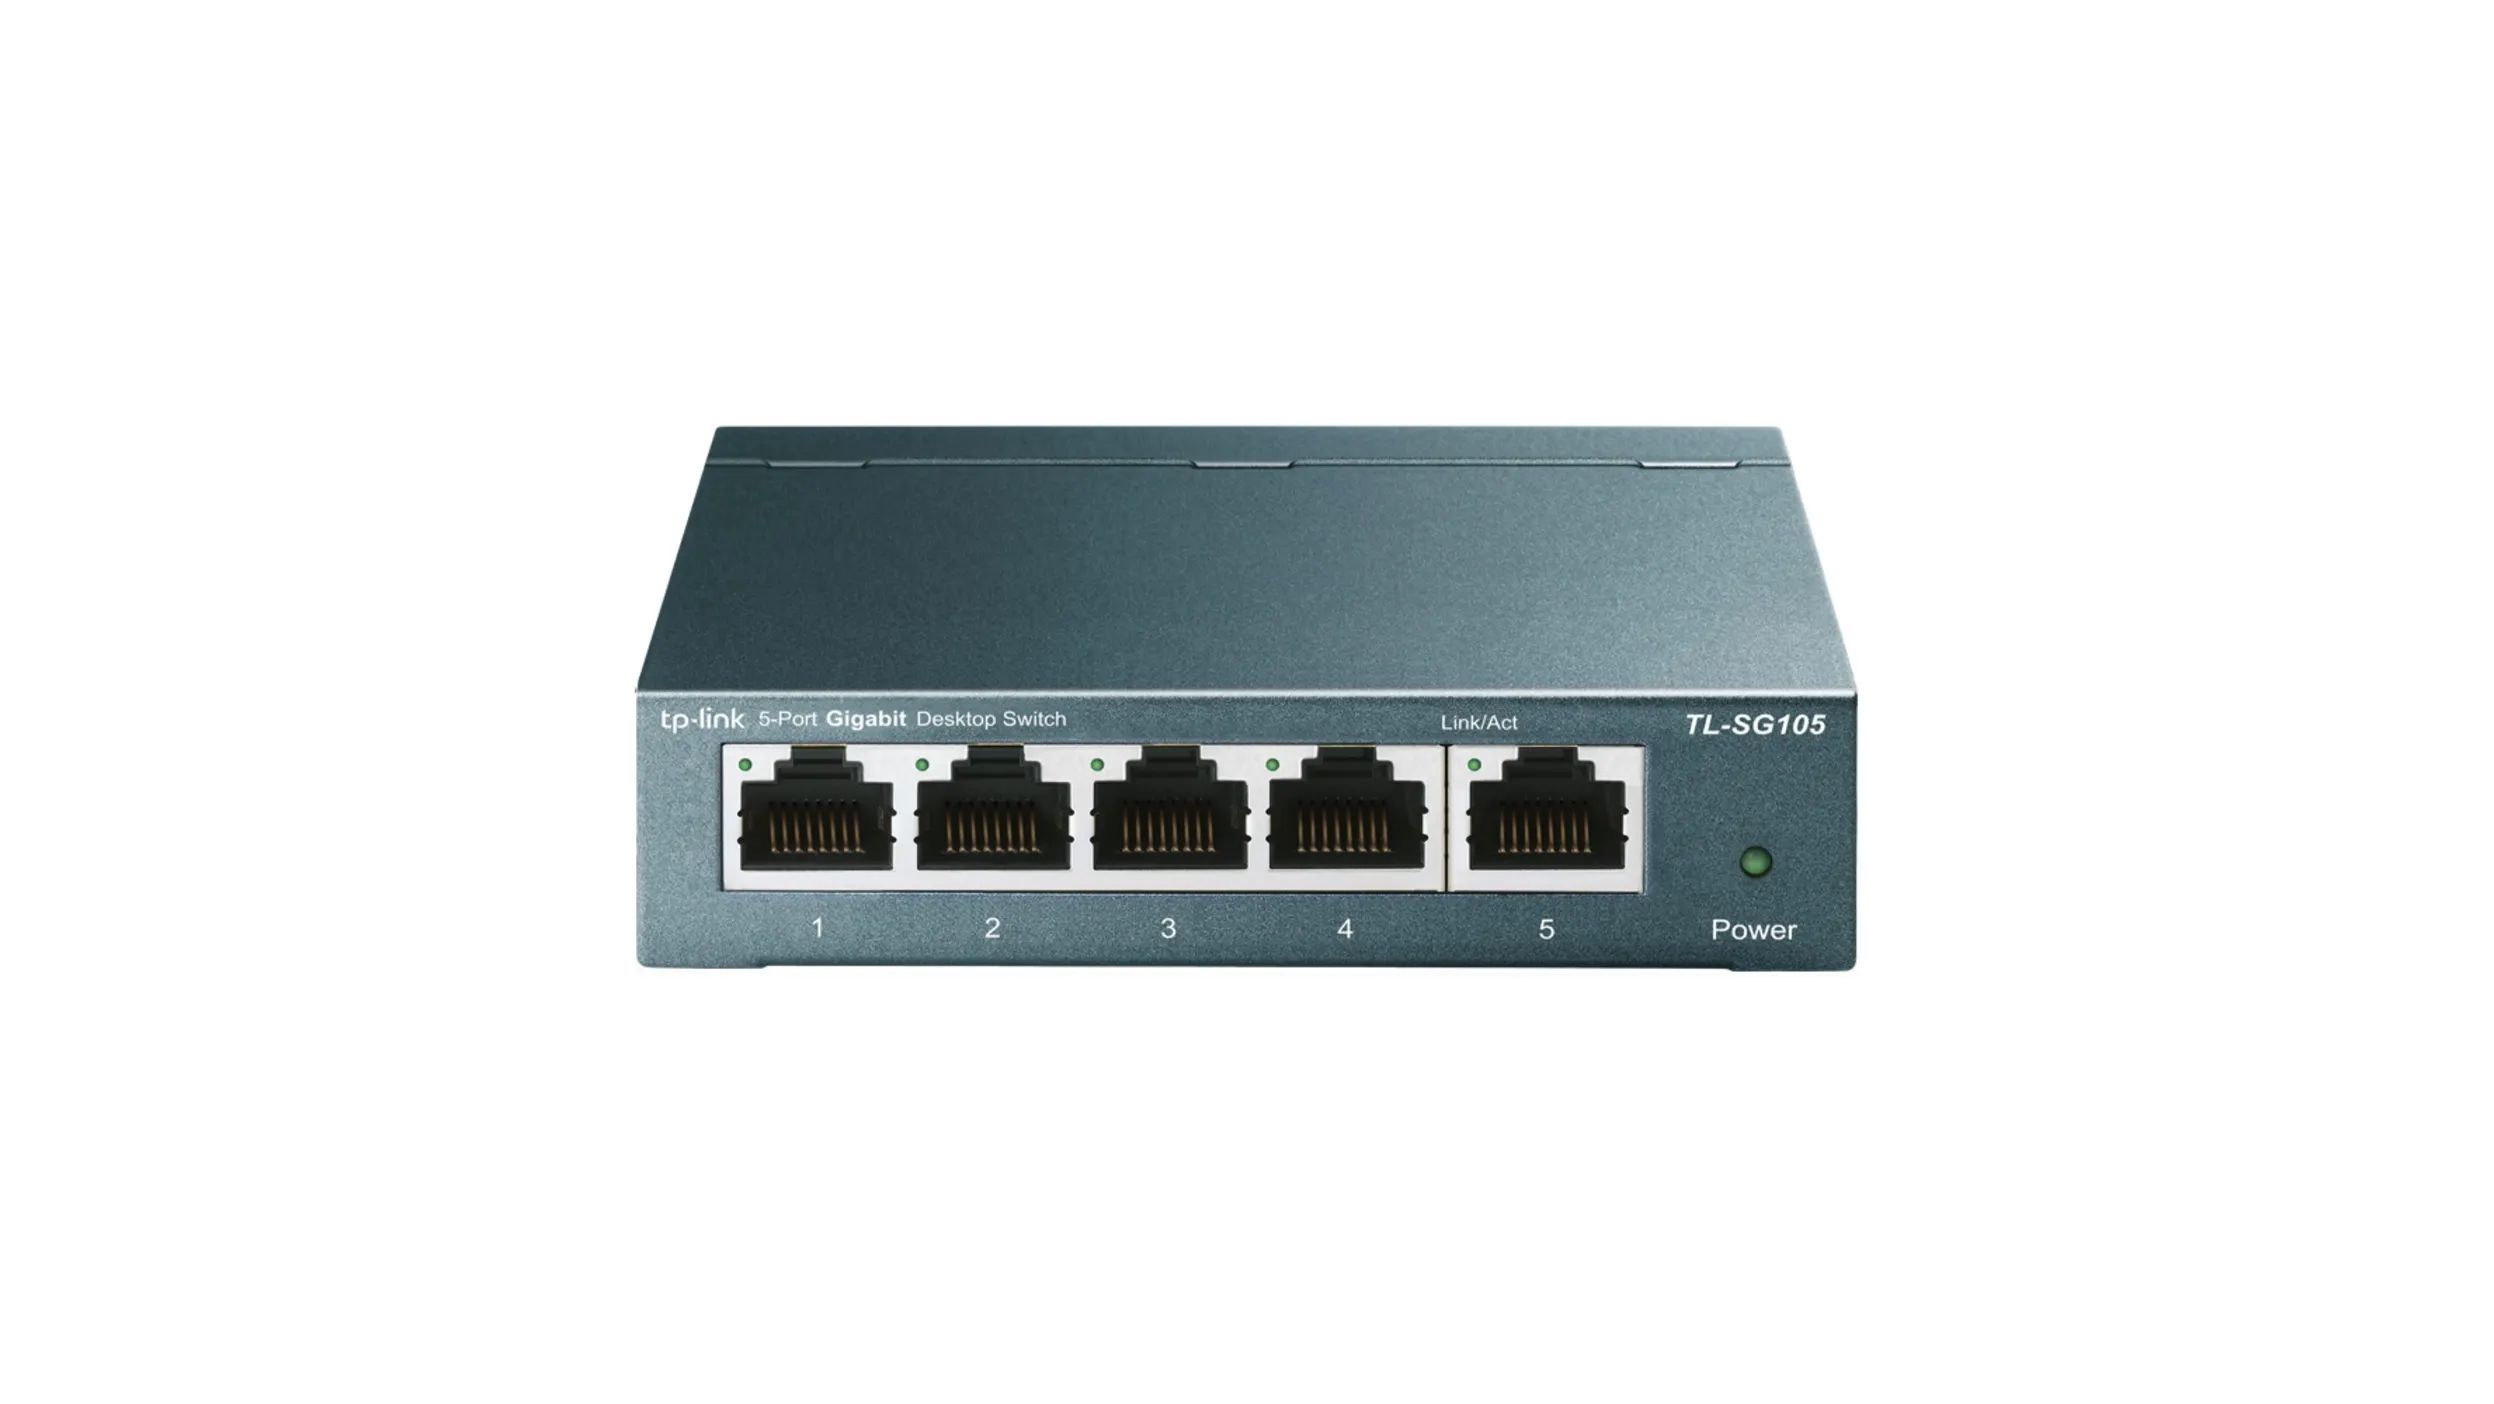
- Cable Tester: A cable tester is a specialized tool designed to check the continuity and wiring configuration of Ethernet cables. It can identify any open circuits, short circuits, or crossed wires, providing valuable insights into the integrity of the Ethernet port.
- Network Analyzer: A network analyzer is a more advanced tool used for in-depth analysis of network performance and troubleshooting. It can capture and analyze network traffic, identify bottlenecks, and detect any anomalies or errors in the Ethernet port’s functionality.
- Laptop or Computer: You will need a laptop or computer to connect to the Ethernet port and perform various tests. This will allow you to check for network connectivity, test transfer speeds, and perform advanced network diagnostics.
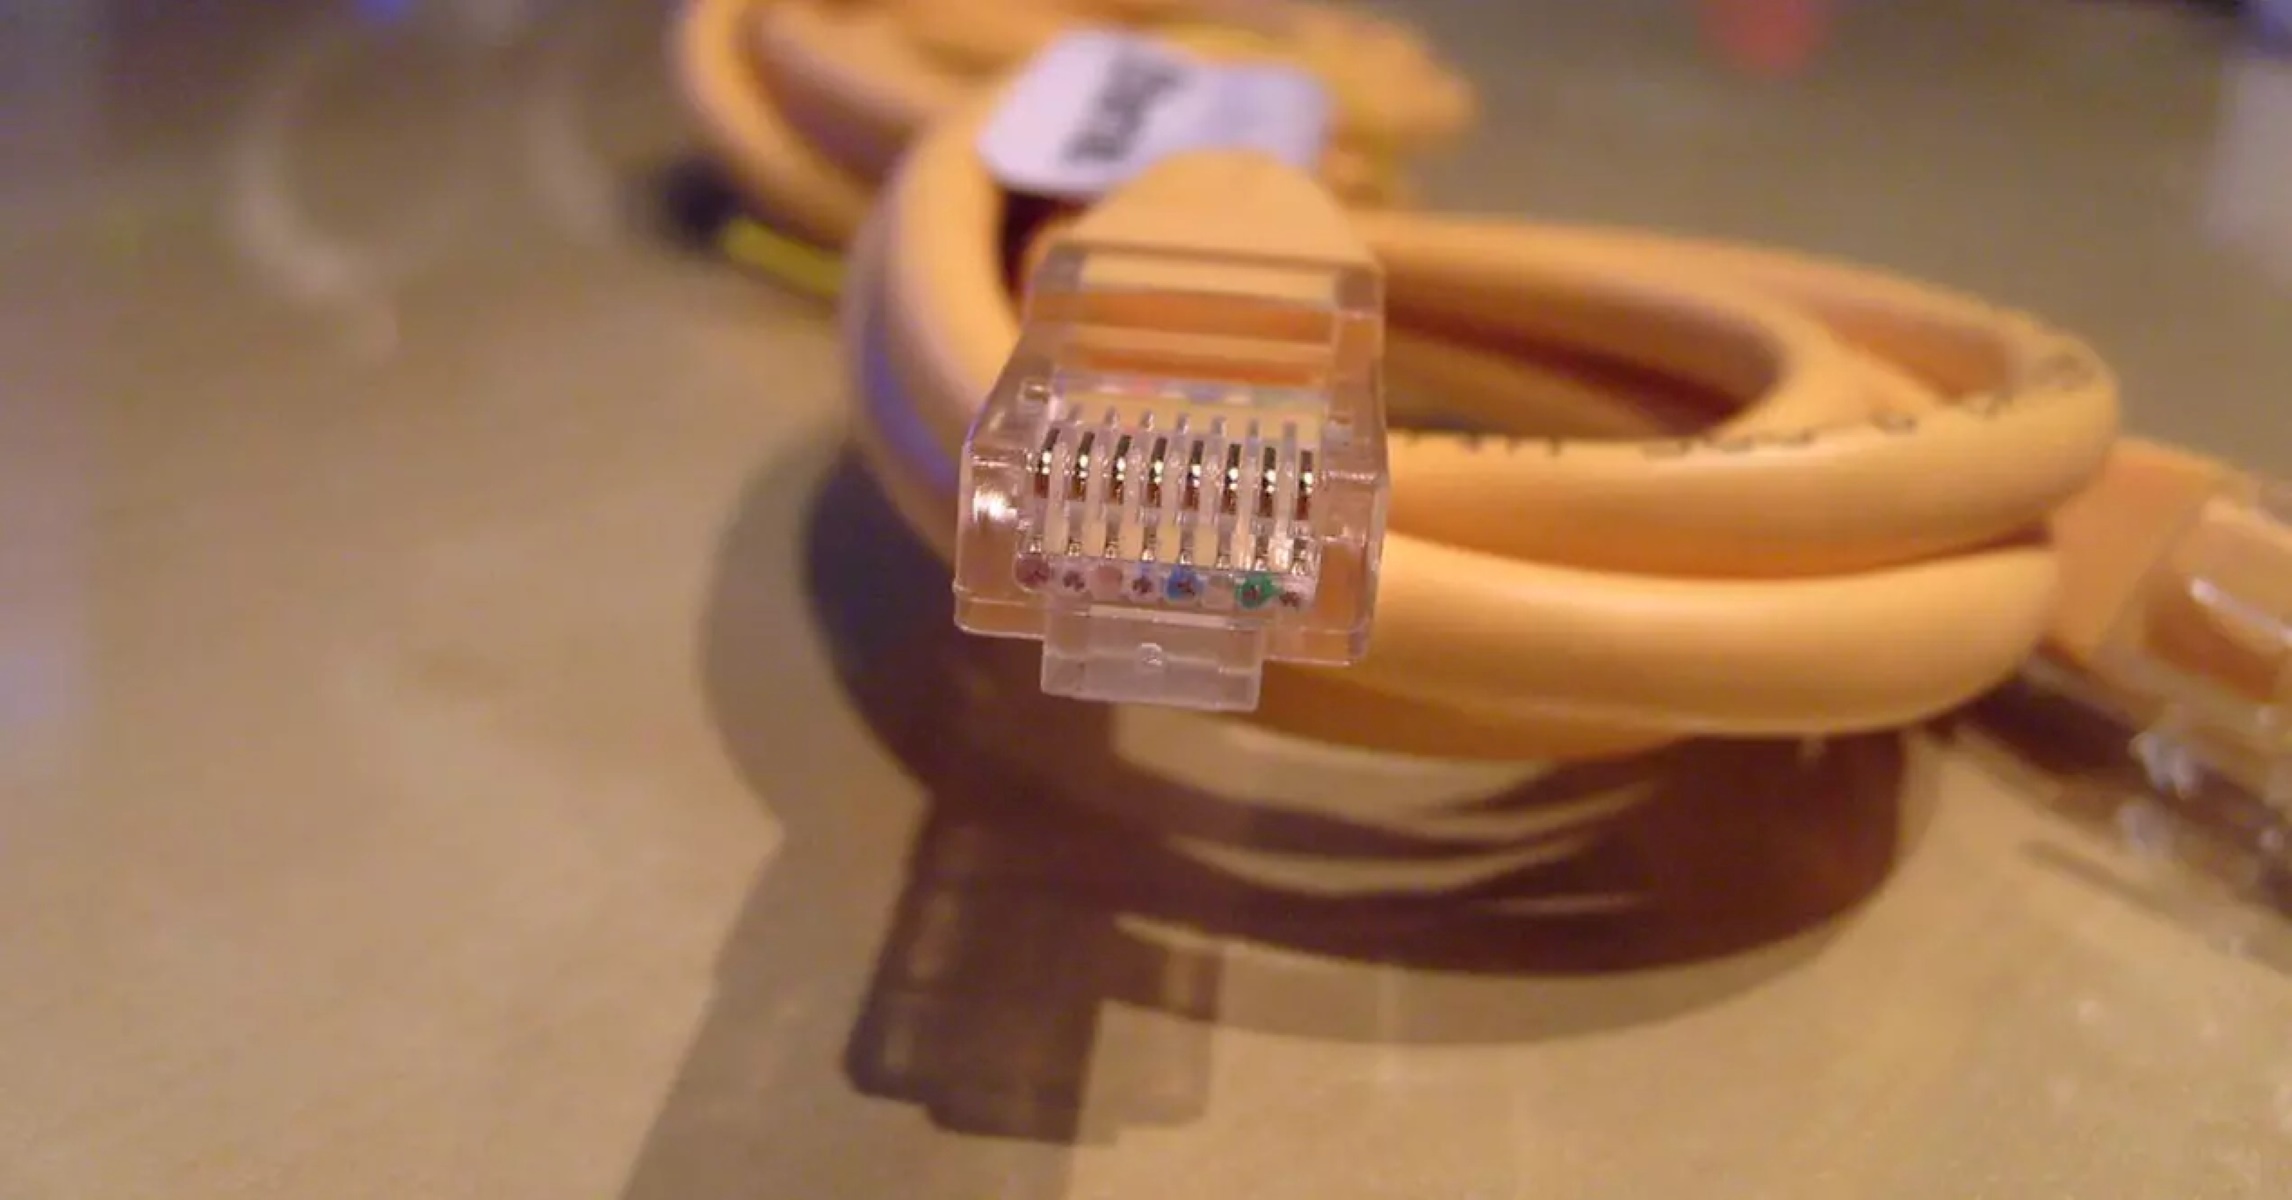
- Ethernet Cable: To establish a connection between your laptop/computer and the Ethernet port, you will need an Ethernet cable. Make sure you have a reliable and properly functioning cable to ensure accurate testing.
Having these tools at your disposal will enable you to diagnose any potential issues with your Ethernet ports effectively. They will help you identify problems related to physical connections, cable integrity, network performance, and more.
Now that we know the essential tools required for testing, let’s proceed to the step-by-step process of testing an Ethernet port in the wall.
Steps to Test Ethernet Port in Wall
Testing an Ethernet port in the wall may seem daunting, but with the right approach, it can be a straightforward process. Follow these step-by-step instructions to effectively test your Ethernet port:
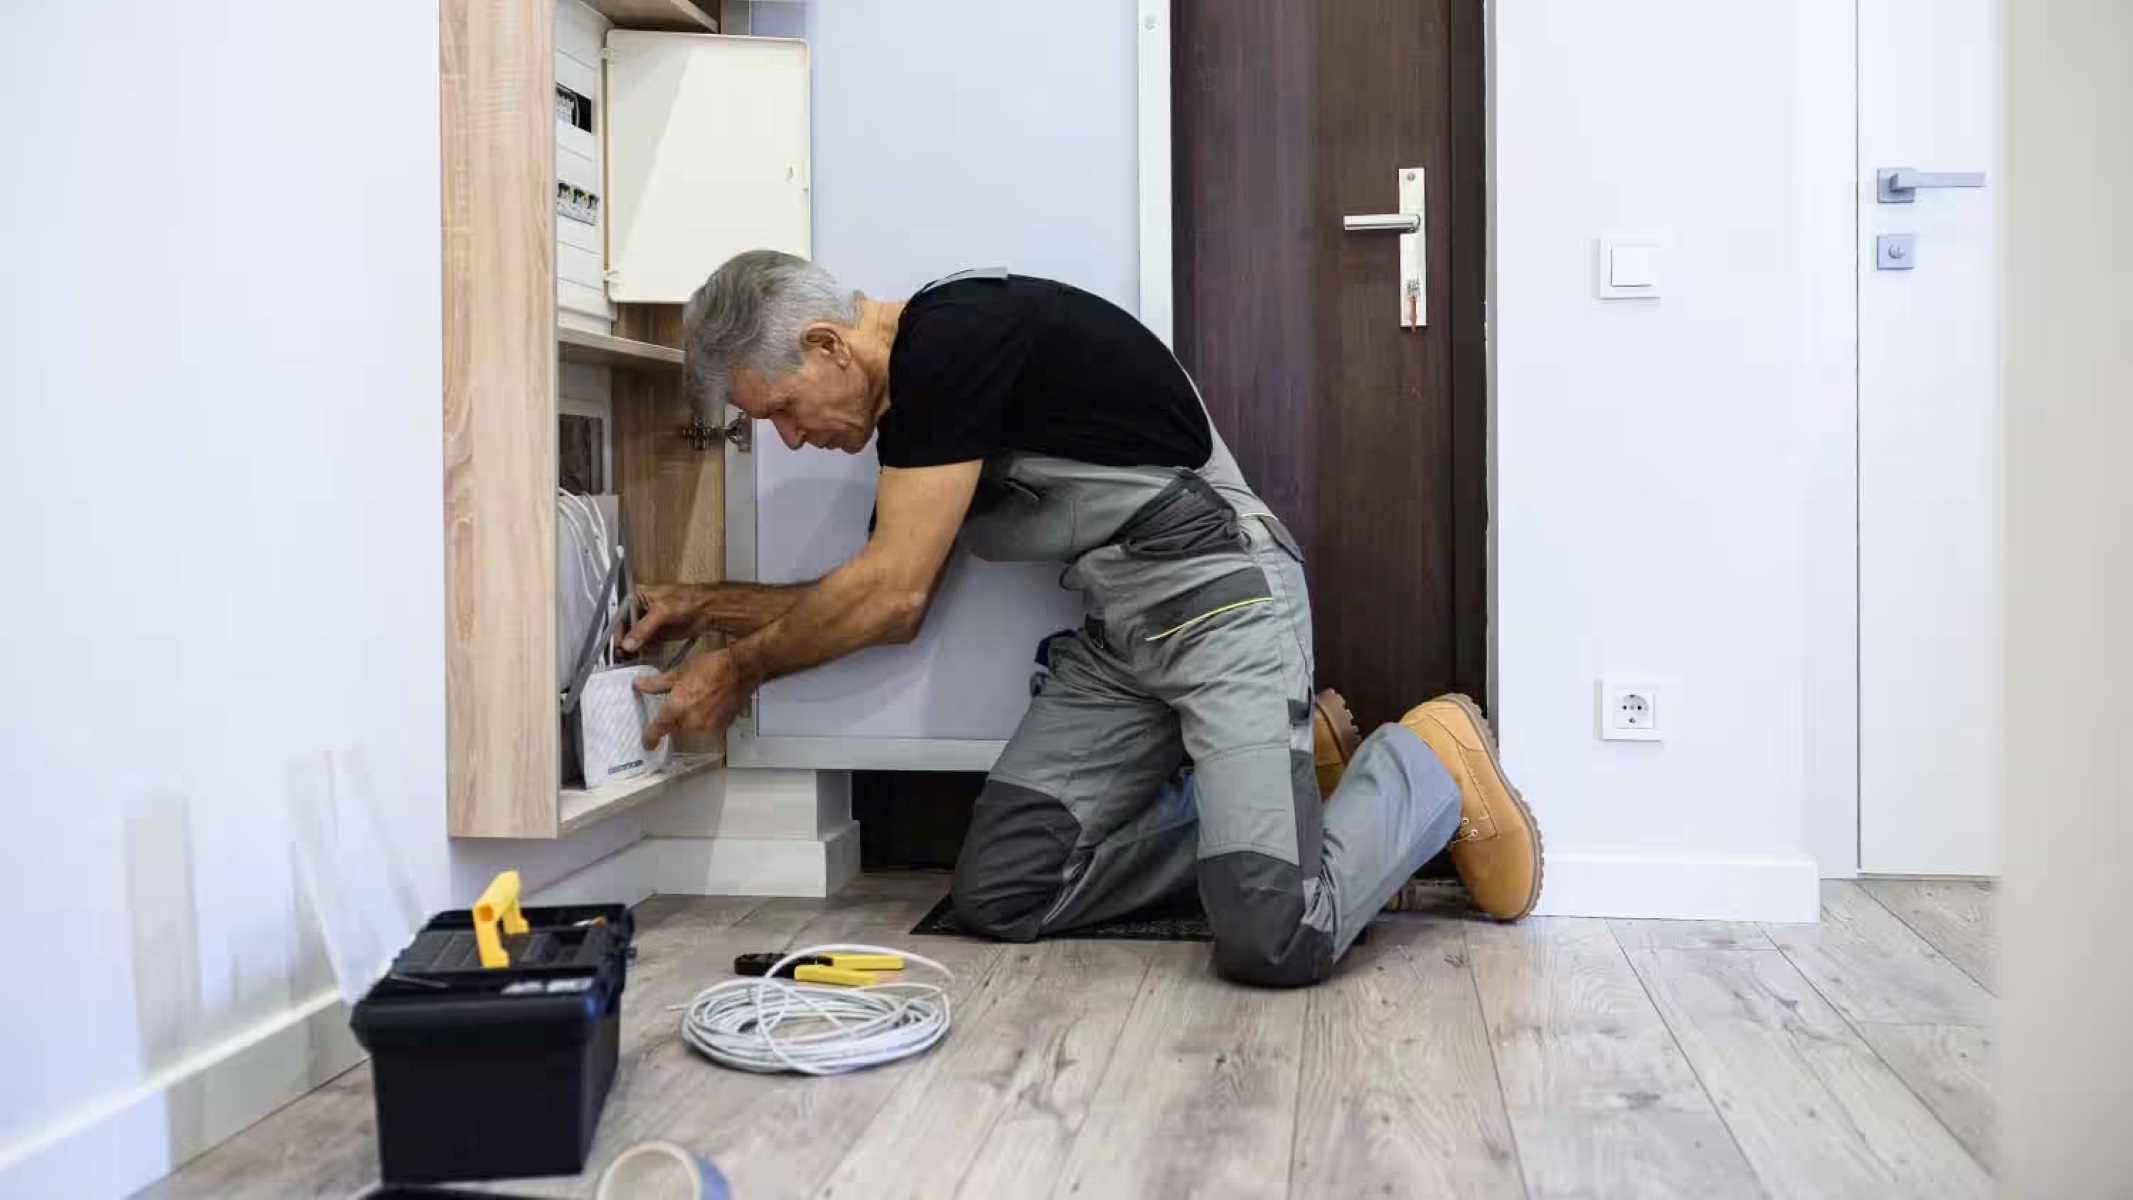
- Step 1: Visual Inspection: Begin by visually inspecting the Ethernet port for any signs of physical damage or loose connections. Use a flashlight to check for bent pins, debris, or obstructions that may interfere with the connection.
- Step 2: Connect Your Device: Connect your laptop or computer to the Ethernet port using a reliable Ethernet cable. Ensure that the cable is securely plugged into both the Ethernet port and your device’s Ethernet port.
- Step 3: Check Network Connectivity: Verify if your device detects a network connection. Look for the network icon in the system tray or check the network settings on your device to ensure it recognizes the Ethernet connection.
- Step 4: Test Data Transfer: Transfer a small file or perform a network speed test to check the data transfer speed. This will help determine if there are any issues affecting the Ethernet port’s performance.
- Step 5: Use a Cable Tester: If you suspect a wiring issue, use a cable tester to check the integrity of the Ethernet cable. Plug one end of the cable into the cable tester and the other end into the Ethernet port. Follow the instructions provided with the cable tester to conduct the test.
- Step 6: Utilize a Network Analyzer: For more advanced testing, use a network analyzer to diagnose any network-related problems. These tools can help identify issues like packet loss, latency, or network congestion that may be affecting the Ethernet port’s performance.
- Step 7: Repeat the Process: If you have multiple Ethernet ports in the wall, repeat the above steps for each port to ensure they are all functioning properly.
By following these steps, you can effectively test the Ethernet port in the wall and identify any potential issues. Remember to document your findings and troubleshoot any problems accordingly.
Next, we will explore different methods you can use to visually inspect the Ethernet ports.
Method 1: Visual Inspection
Visual inspection is the first method to test an Ethernet port in the wall. It allows you to identify any visible signs of physical damage, loose connections, or debris that may affect the port’s functionality. Follow these steps for a thorough visual inspection:
- Step 1: Shine a Light: Use a flashlight to illuminate the Ethernet port. This will help you see any small details that may be difficult to spot otherwise.
- Step 2: Check for Physical Damage: Look for any visible signs of physical damage such as bent or broken pins, cracked plastic housing, or signs of excessive wear and tear. Physical damage can interfere with the proper connection of the Ethernet cable.
- Step 3: Ensure Secure Connections: Make sure that the Ethernet cable is securely plugged into the port. Check if there are any loose connections or signs of corrosion on the port or cable. A loose or damaged connection can lead to connectivity issues.
- Step 4: Remove Debris: Clear away any debris, dust, or dirt that may have accumulated in the port. Use a can of compressed air or a small brush to gently clean the area. These particles can hinder the proper connection and signal transmission.
- Step 5: Verify LED Indicators: Most Ethernet ports have LED indicators that provide information about the port’s status and activity. Make sure that the LED lights are functioning and indicating the correct status. If there are any irregularities or no LED activity, it could be an indication of a problem.
By visually inspecting the Ethernet port, you can quickly identify any visible issues that may be affecting its performance. If you notice any problems during the visual inspection, you may need to further investigate or seek professional assistance to resolve the issue.
In the next section, we will explore an alternative method using a cable tester to test the Ethernet port in the wall.
Method 2: Using a Cable Tester
A cable tester is a valuable tool for testing the integrity and connectivity of Ethernet cables. By using a cable tester, you can ensure that the Ethernet port in the wall is functioning properly. Follow these steps to test the Ethernet port using a cable tester:
- Step 1: Prepare the Cable Tester: Familiarize yourself with the cable tester’s user manual or instructions to understand its features and operation.
- Step 2: Connect the Cable: Plug one end of the Ethernet cable into the cable tester, ensuring it is securely connected to the appropriate port or slot.
- Step 3: Connect the Other End: Plug the other end of the Ethernet cable into the Ethernet port in the wall that you want to test.
- Step 4: Run the Test: Activate the cable tester by following the instructions provided. The cable tester will then analyze the wiring configuration and continuity of the Ethernet cable.
- Step 5: Interpret the Results: The cable tester will display the test results, indicating whether the cable is properly wired, has any open or short circuits, or has crossed wires. Refer to the cable tester’s manual to understand the meanings of the displayed results.
- Step 6: Repeat the Test: If you have multiple Ethernet ports in the wall, repeat the above steps for each port to ensure they are all functioning correctly.
Using a cable tester provides a quick and efficient way to identify any issues with the Ethernet cable or the wiring configuration. It can help pinpoint specific problems related to the cable itself, such as damaged wires or incorrect wiring, that may affect the connectivity of the Ethernet port.
However, it’s important to note that a cable tester can only assess the integrity of the cable and the wiring. If the Ethernet port itself is faulty, the cable tester may not detect the issue. In such cases, further troubleshooting or assistance from a professional may be required.
In the next section, we will explore another method using a network analyzer to test the Ethernet port in the wall.
Method 3: Using a Network Analyzer
A network analyzer is a powerful tool that allows for in-depth analysis of network performance and troubleshooting. It can help you assess the functionality of an Ethernet port in the wall by capturing and analyzing network traffic. Follow these steps to test the Ethernet port using a network analyzer:
- Step 1: Set Up the Network Analyzer: Connect the network analyzer to the Ethernet port you want to test. Ensure that the analyzer is properly configured to capture network traffic.
- Step 2: Start the Capture: Begin capturing network traffic by activating the network analyzer. Depending on the analyzer, you may need to specify the desired time duration for the capture or set specific filters to focus on specific traffic.
- Step 3: Analyze the Traffic: Once the capture is complete, analyze the captured network traffic using the features and tools provided by the network analyzer software. Look for any anomalies, errors, or irregularities that may indicate issues with the Ethernet port.
- Step 4: Diagnose the Problem: Identify any potential problems related to connectivity, packet loss, latency, or network congestion that may be affecting the performance of the Ethernet port. The network analyzer’s tools and statistics can help you pinpoint the source of the issue.
- Step 5: Take Action: Based on your analysis and diagnosis, take the necessary steps to resolve the identified problems. This may involve reconfiguring network settings, replacing faulty equipment, or seeking further assistance.
A network analyzer offers advanced capabilities for comprehensive network testing and troubleshooting. It allows you to delve deeper into the performance of the Ethernet port and the network as a whole. By utilizing a network analyzer, you can gain valuable insights into the functionality and potential issues of the Ethernet port in the wall.
Keep in mind that network analyzers can be complex tools, requiring a certain level of technical knowledge to interpret the captured data. It’s essential to familiarize yourself with the analyzer’s features and consult relevant documentation or seek professional assistance if needed.
In the next section, we will conclude the guide and recommend some products that can help you in testing Ethernet ports.
Conclusion
Testing Ethernet ports in the wall is crucial for maintaining a reliable and efficient network. By ensuring the proper functionality of these ports, you can avoid connectivity issues, optimize data transfer speeds, and troubleshoot any problems that may arise.
In this guide, we discussed different methods to test Ethernet ports. We started with a visual inspection, which allows you to identify any visible physical damage, loose connections, or debris that may affect the port’s functionality. Then, we explored how using a cable tester can help assess the integrity of the Ethernet cable and the wiring configuration.
Finally, we discussed the use of a network analyzer for advanced network testing and troubleshooting. A network analyzer allows for in-depth analysis of network traffic, helping you diagnose issues such as packet loss, latency, or network congestion that may affect the Ethernet port’s performance.
Remember, periodic testing of Ethernet ports is essential, especially if you notice connectivity issues, slow internet speeds, or irregular network performance. By detecting and resolving potential problems, you can ensure seamless data transmission and optimize your network’s efficiency.
As a recap, make sure you have the necessary tools for testing, such as a flashlight, cable tester, network analyzer, laptop or computer, and Ethernet cables. Follow the step-by-step instructions provided for each testing method to ensure accurate results.
Whether you conduct a visual inspection, use a cable tester, or employ a network analyzer, regularly testing your Ethernet ports will help you maintain a robust and reliable network. It’s important to stay proactive and address any issues promptly to ensure uninterrupted network connectivity and optimal performance.
Take advantage of the methods and tools discussed in this guide to test Ethernet ports effectively. If you encounter any complex issues or need further assistance, don’t hesitate to consult with a network professional who can provide expert guidance and support.
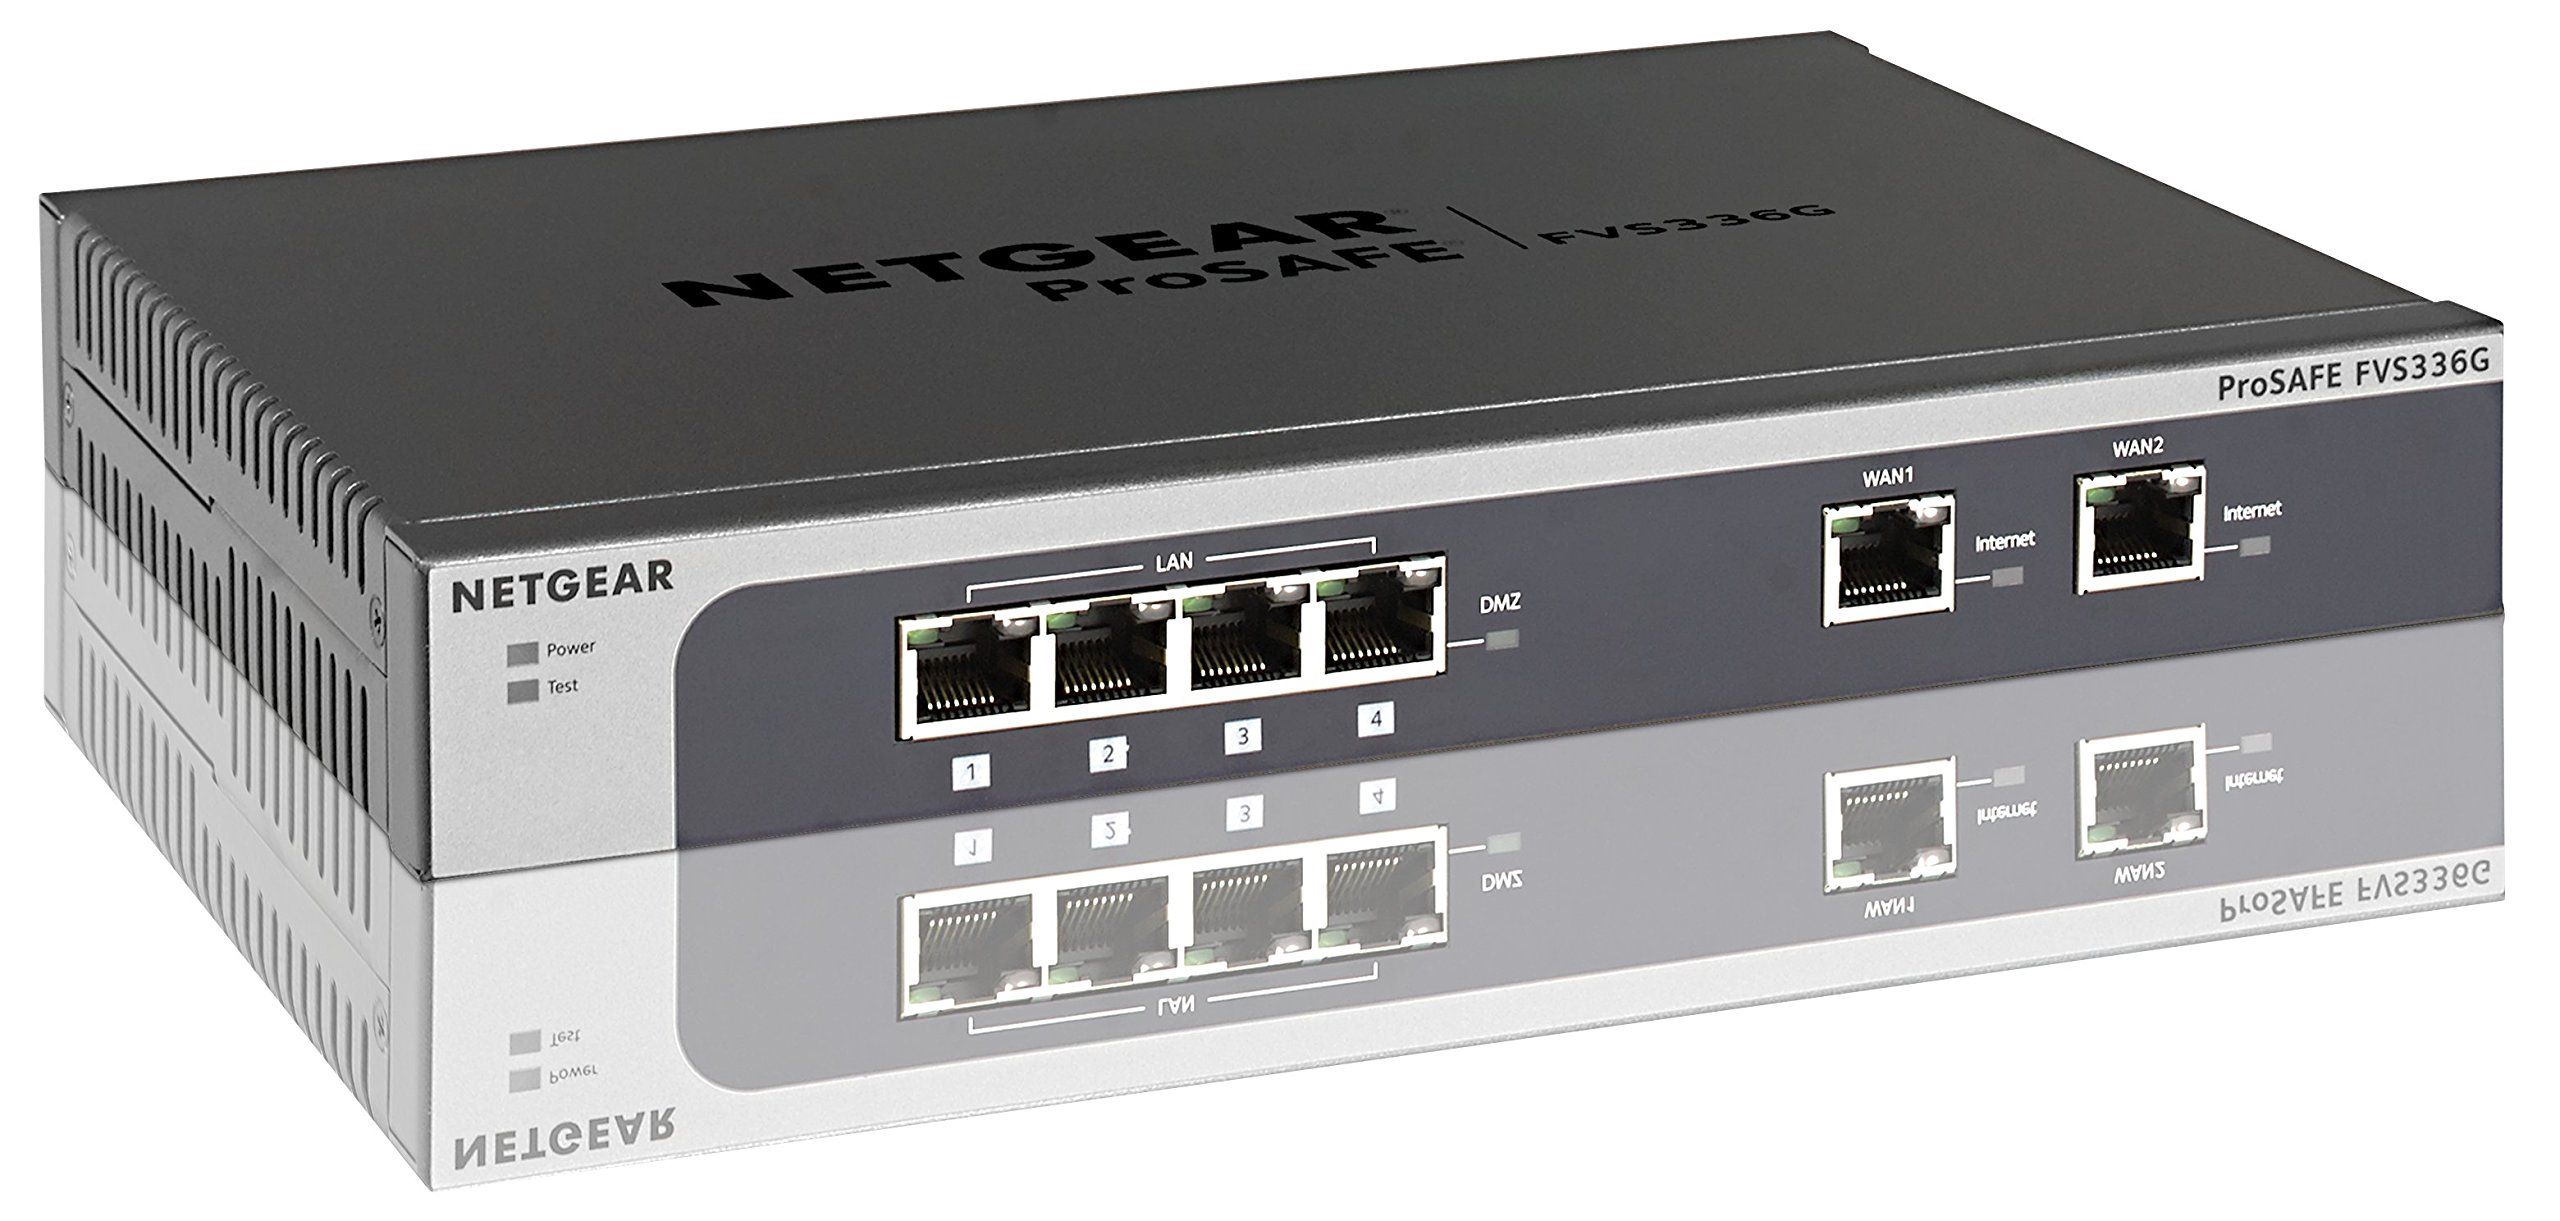
Recommended Products for Testing Ethernet Ports:
- Ethernet Cable Tester
- Network Analyzer Tool
- LAN Cable Tester
- Fluke Networks Cable Tester
- Portable Network Analyzer
With the right tools and knowledge, you can ensure that your Ethernet ports are in optimal working condition, providing you with a reliable network connection for your devices.
Recommended Products for Testing Ethernet Ports
When it comes to testing Ethernet ports, having the right tools can make the process much smoother and more effective. Here are some recommended products that can assist you in testing Ethernet ports:
- Ethernet Cable Tester: An Ethernet cable tester is a valuable tool for checking the continuity and wiring configuration of Ethernet cables. Look for a tester that can identify open circuits, short circuits, and crossed wires. Some popular options include the Fluke Networks Cable Tester and the Klein Tools LAN Cable Tester.
- Network Analyzer Tool: A network analyzer is an advanced tool that allows for in-depth analysis of network performance. It can help you diagnose issues such as packet loss, latency, and network congestion. Consider products like Wireshark, SolarWinds Network Analyzer, or Colasoft Capsa as powerful network analyzer tools.
- LAN Cable Tester: LAN cable testers are designed specifically for testing Ethernet cables in local area networks. They can detect issues like wiring faults, length measurement, and cable mapping. The T3 Innovation Net Prowler and the Cable Matters Cable Tester are highly regarded LAN cable testers.
- Fluke Networks Cable Tester: Fluke Networks is a well-known brand in the networking industry, offering a range of cable testers. Their testers are known for their accuracy and reliability. The Fluke Networks CableIQ Qualification Tester and the Fluke Networks DSX CableAnalyzer are popular choices.
- Portable Network Analyzer: Portable network analyzers are compact and easily transportable devices that can assist in network troubleshooting. They provide real-time monitoring and analysis of network traffic. Consider products like the NETSCOUT AirCheck G2 or the OptiView XG Network Analyzer for portable network analysis.
These recommended products have proven to be reliable and effective in testing Ethernet ports and diagnosing network issues. However, it’s important to choose a product that suits your specific needs and budget.
Before making a purchase, research the features, capabilities, and user reviews of the products. Consider factors such as ease of use, accuracy, and compatibility with your network setup.
By investing in quality testing tools, you can ensure accurate and efficient testing of Ethernet ports, enabling you to maintain a reliable network and troubleshoot any problems that may arise.
With the right tools at your disposal, testing Ethernet ports in the future will be a breeze, and you will have the confidence to diagnose and resolve any issues that affect your network’s performance.