Introduction
Running Ethernet cable between floors is a common requirement in both residential and commercial settings. Whether you need to establish a reliable network connection for your home office or set up a robust networking infrastructure in a multi-story building, properly running Ethernet cable between floors is crucial. While it may seem like a daunting task, with the right tools, materials, and techniques, you can accomplish it successfully.
In this guide, we will walk you through the step-by-step process of running Ethernet cable between floors. From determining the best route to connecting the cable to the necessary ports, we will cover all the essential aspects to ensure a seamless and efficient installation.
Before we jump into the details, it’s important to note that running Ethernet cable between floors requires basic knowledge of networking and familiarity with common tools such as measuring tape, fish tape, cable clips, and wall plates. Additionally, it’s essential to follow safety guidelines and obtain any necessary permits or approvals before starting any work that involves drilling or making modifications to the building structure.
Now that we’ve covered the basics, let’s dive into the tools and materials you will need to get started on running Ethernet cable between floors.
Tools and Materials Needed
Before you begin running Ethernet cable between floors, it’s important to gather all the necessary tools and materials. Having everything you need readily available will help streamline the installation process and ensure a successful outcome. Here’s a list of the essential tools and materials:
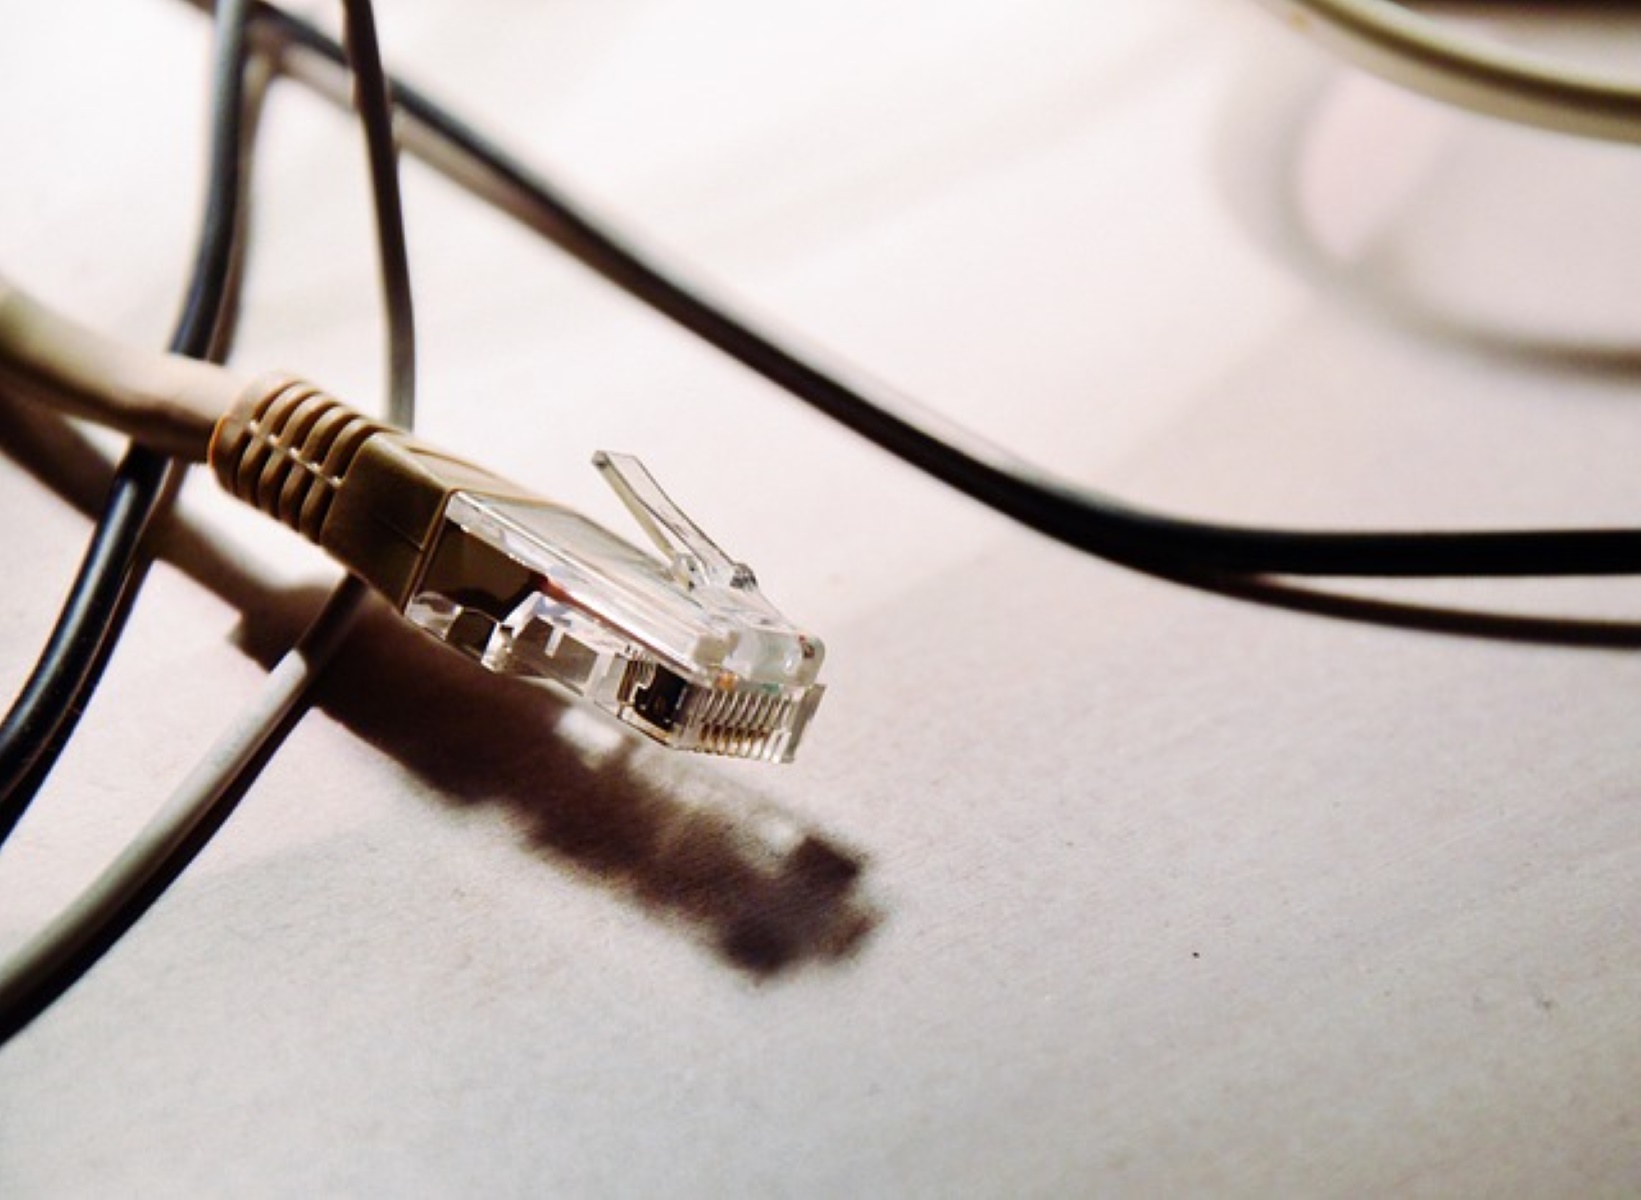
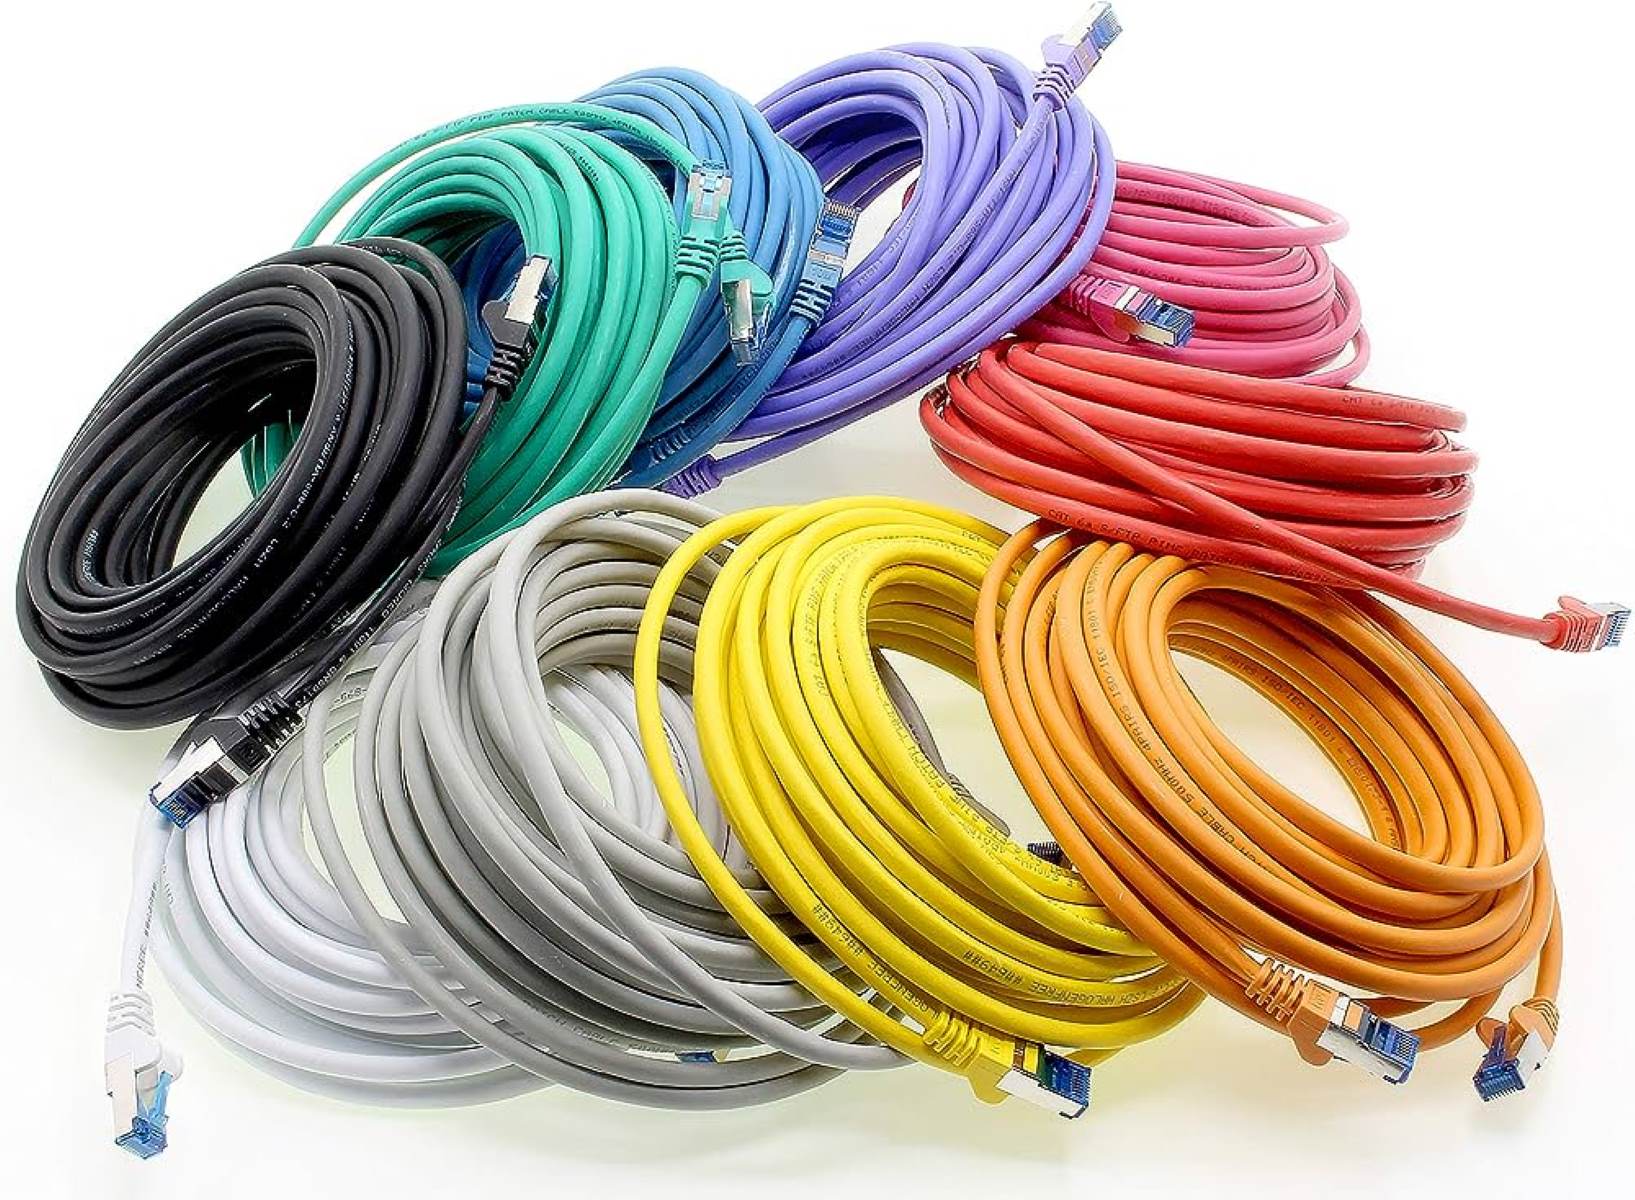
- Ethernet cable: Make sure to choose a high-quality, reliable Ethernet cable that fits your needs. There are different types and categories of Ethernet cables available, such as Cat5e, Cat6, and Cat6a, each with varying speeds and performance levels.
- Measuring tape: A measuring tape will come in handy to accurately measure the distances between floors, walls, and other points of installation.
- Fish tape: Fishing tape, also known as wire pulling tape, is used to guide and pull the Ethernet cable through walls, floors, and other confined spaces.
- Cable clips or stapler: These are necessary for securely fastening the Ethernet cable along the walls or baseboards to keep it neatly in place.
- Wall plates: Wall plates are used to cover and protect the Ethernet cable terminations on the walls. Select wall plates that are designed specifically for Ethernet installations.
- Drill and drill bits: If you need to make holes in walls or floors to route the Ethernet cable, a drill with the appropriate drill bits will be necessary.
- Screwdriver: You may need a screwdriver to remove wall plates or make other minor adjustments during the installation process.
- Labeling materials: It’s a good practice to label both ends of the Ethernet cables and any wall plates or equipment connections for easier identification and troubleshooting in the future.
- Cable tester: A cable tester is crucial to ensure that the Ethernet cable is properly connected and transmitting data without any issues.
These are the fundamental tools and materials you will need to successfully run Ethernet cable between floors. Depending on your specific installation requirements, you may also need additional items such as conduit, cable management solutions, or patch panels. By gathering all the necessary tools and materials before you start, you can ensure a smoother, more efficient installation process. With the tools in hand, it’s time to move on to determining the best route for your Ethernet cable.
Determining the Best Route
Before you start running Ethernet cable between floors, it’s crucial to determine the best route for the cable. This involves assessing the environment and identifying the most efficient path that minimizes cable length and maximizes performance. Here are the steps to help you determine the best route:
- Measure the distance: Use a measuring tape to determine the exact distance between the starting and ending points of the cable. This will help you estimate the length of Ethernet cable needed.
- Survey the building structure: Carefully inspect the walls, floors, and other architectural features of the building. Look for existing conduit, cable trays, or any other infrastructure that may provide a ready-made route for the Ethernet cable.
- Consider accessibility: Evaluate the accessibility of potential routes. Look for areas where it will be relatively easy to run the cable without excessive drilling or modification of the building structure.
- Avoid interference: Identify any potential sources of interference such as electrical lines or noisy equipment. Avoid running the Ethernet cable parallel to these sources to prevent signal degradation.
- Plan around obstacles: Take note of any obstacles that may pose challenges during cable installation, such as furniture, appliances, or structural elements. Determine how you can route the cable around or through these obstacles effectively.
- Future-proofing: Anticipate future needs by considering additional locations where you may require Ethernet connections. Plan the route with scalability in mind to avoid having to redo the installation later.
By carefully assessing the environment and following these steps, you can determine the best route for your Ethernet cable. Once you have established the route, you can proceed to prepare the walls and floors for cable installation.
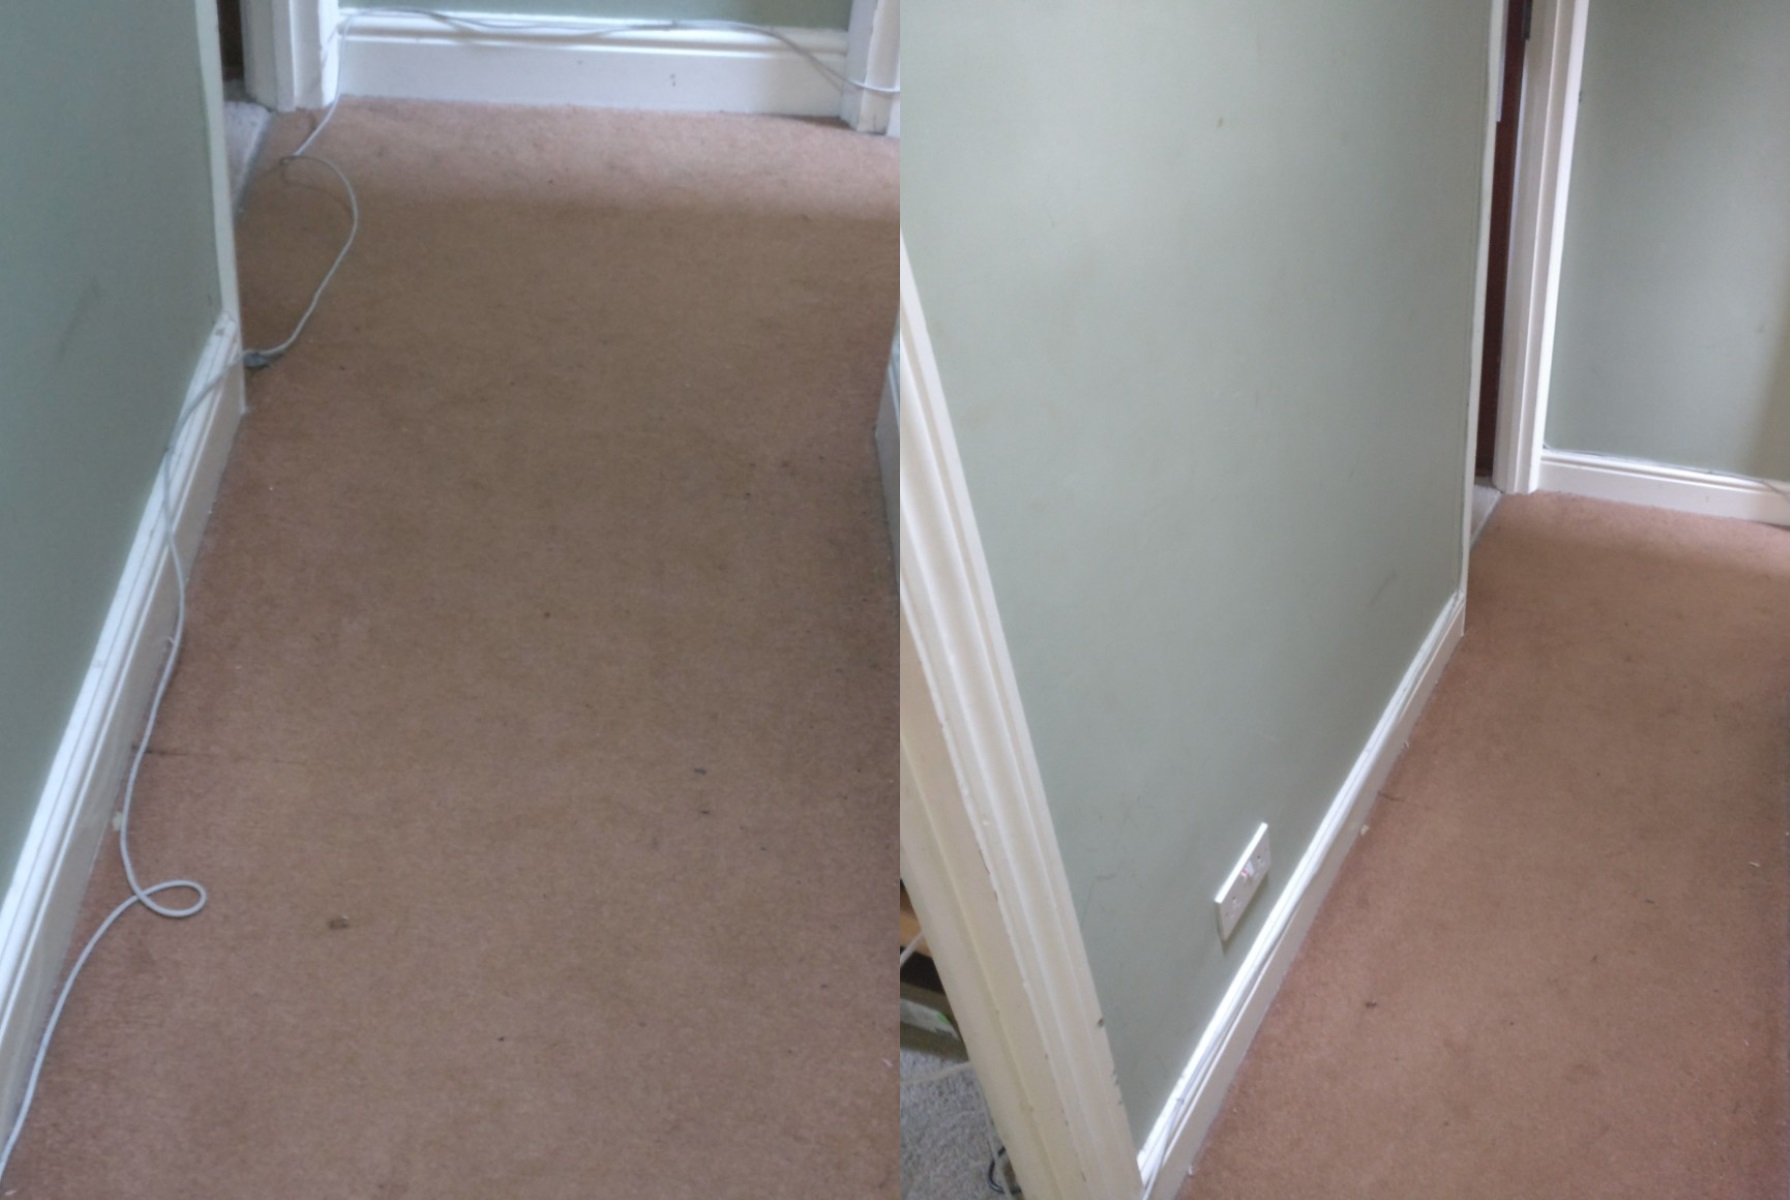
Preparing the Walls and Floors
Before running Ethernet cable between floors, it’s important to prepare the walls and floors to ensure a smooth and efficient installation process. Here are the steps to help you prepare the walls and floors:
- Clear the path: Remove any furniture, decorations, or obstacles that may impede the cable installation process. Clearing the path will make it easier to access the walls or floors where the cable needs to be run.
- Inspect the walls and floors: Examine the walls and floors for any obstructions, such as pipes, electrical wires, or other cables. Take note of these obstacles and plan the cable route accordingly to avoid potential damage or interference.
- Mark the drilling points: If you need to drill holes to route the cable through walls or floors, use a pencil or marker to mark the exact drilling points. Double-check measurements to ensure accuracy.
- Protect the walls and floors: To prevent damage to the walls or floors during drilling, use masking tape or painter’s tape to mark the drilling area and provide a protective barrier. This will help minimize any potential scuffs or scratches.
- Use a stud finder: If you plan to run the cable through walls, use a stud finder to locate the wooden studs. Running the cable along the studs will ensure a secure and stable installation.
- Create cable entry points: If you need to pass the cable through walls or floors, create entry points by drilling holes that are slightly larger than the cable diameter. Be cautious not to drill into any electrical or plumbing lines.
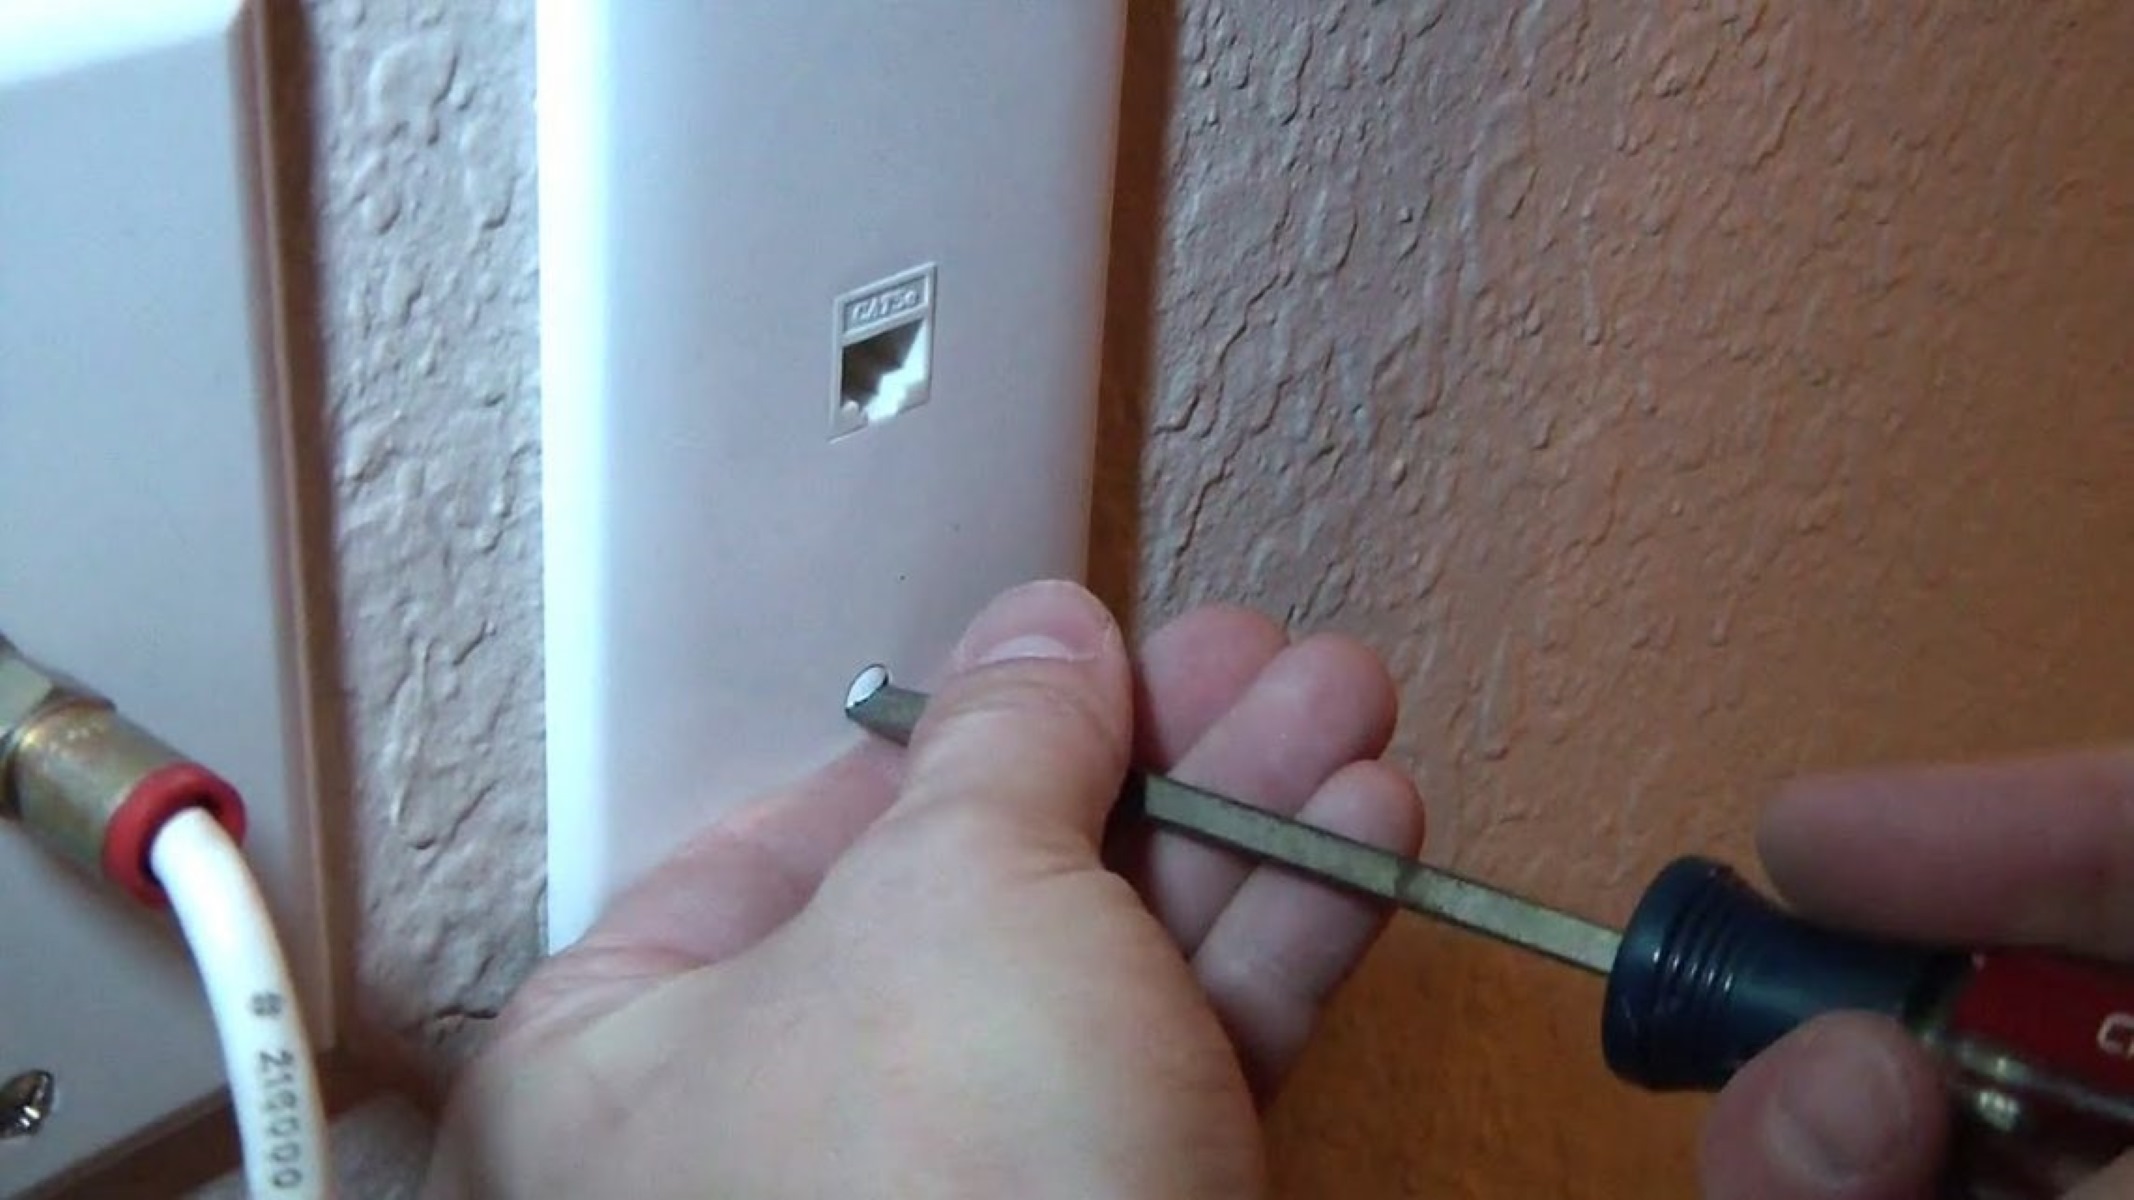
- Install wall plates: Once the cable has been run through the walls or floors, install wall plates or junction boxes to secure and organize the cable terminations. Use a screwdriver to securely fasten the wall plates.
By preparing the walls and floors adequately, you can ensure a clean and professional-looking installation of the Ethernet cable. With the preparations complete, it’s time to move on to selecting the right type of Ethernet cable.
Selecting the Right Type of Ethernet Cable
Choosing the appropriate type of Ethernet cable is crucial to ensure optimal performance and reliability of your network connection. There are several factors to consider when selecting the right cable for running between floors. Here’s what you need to know:
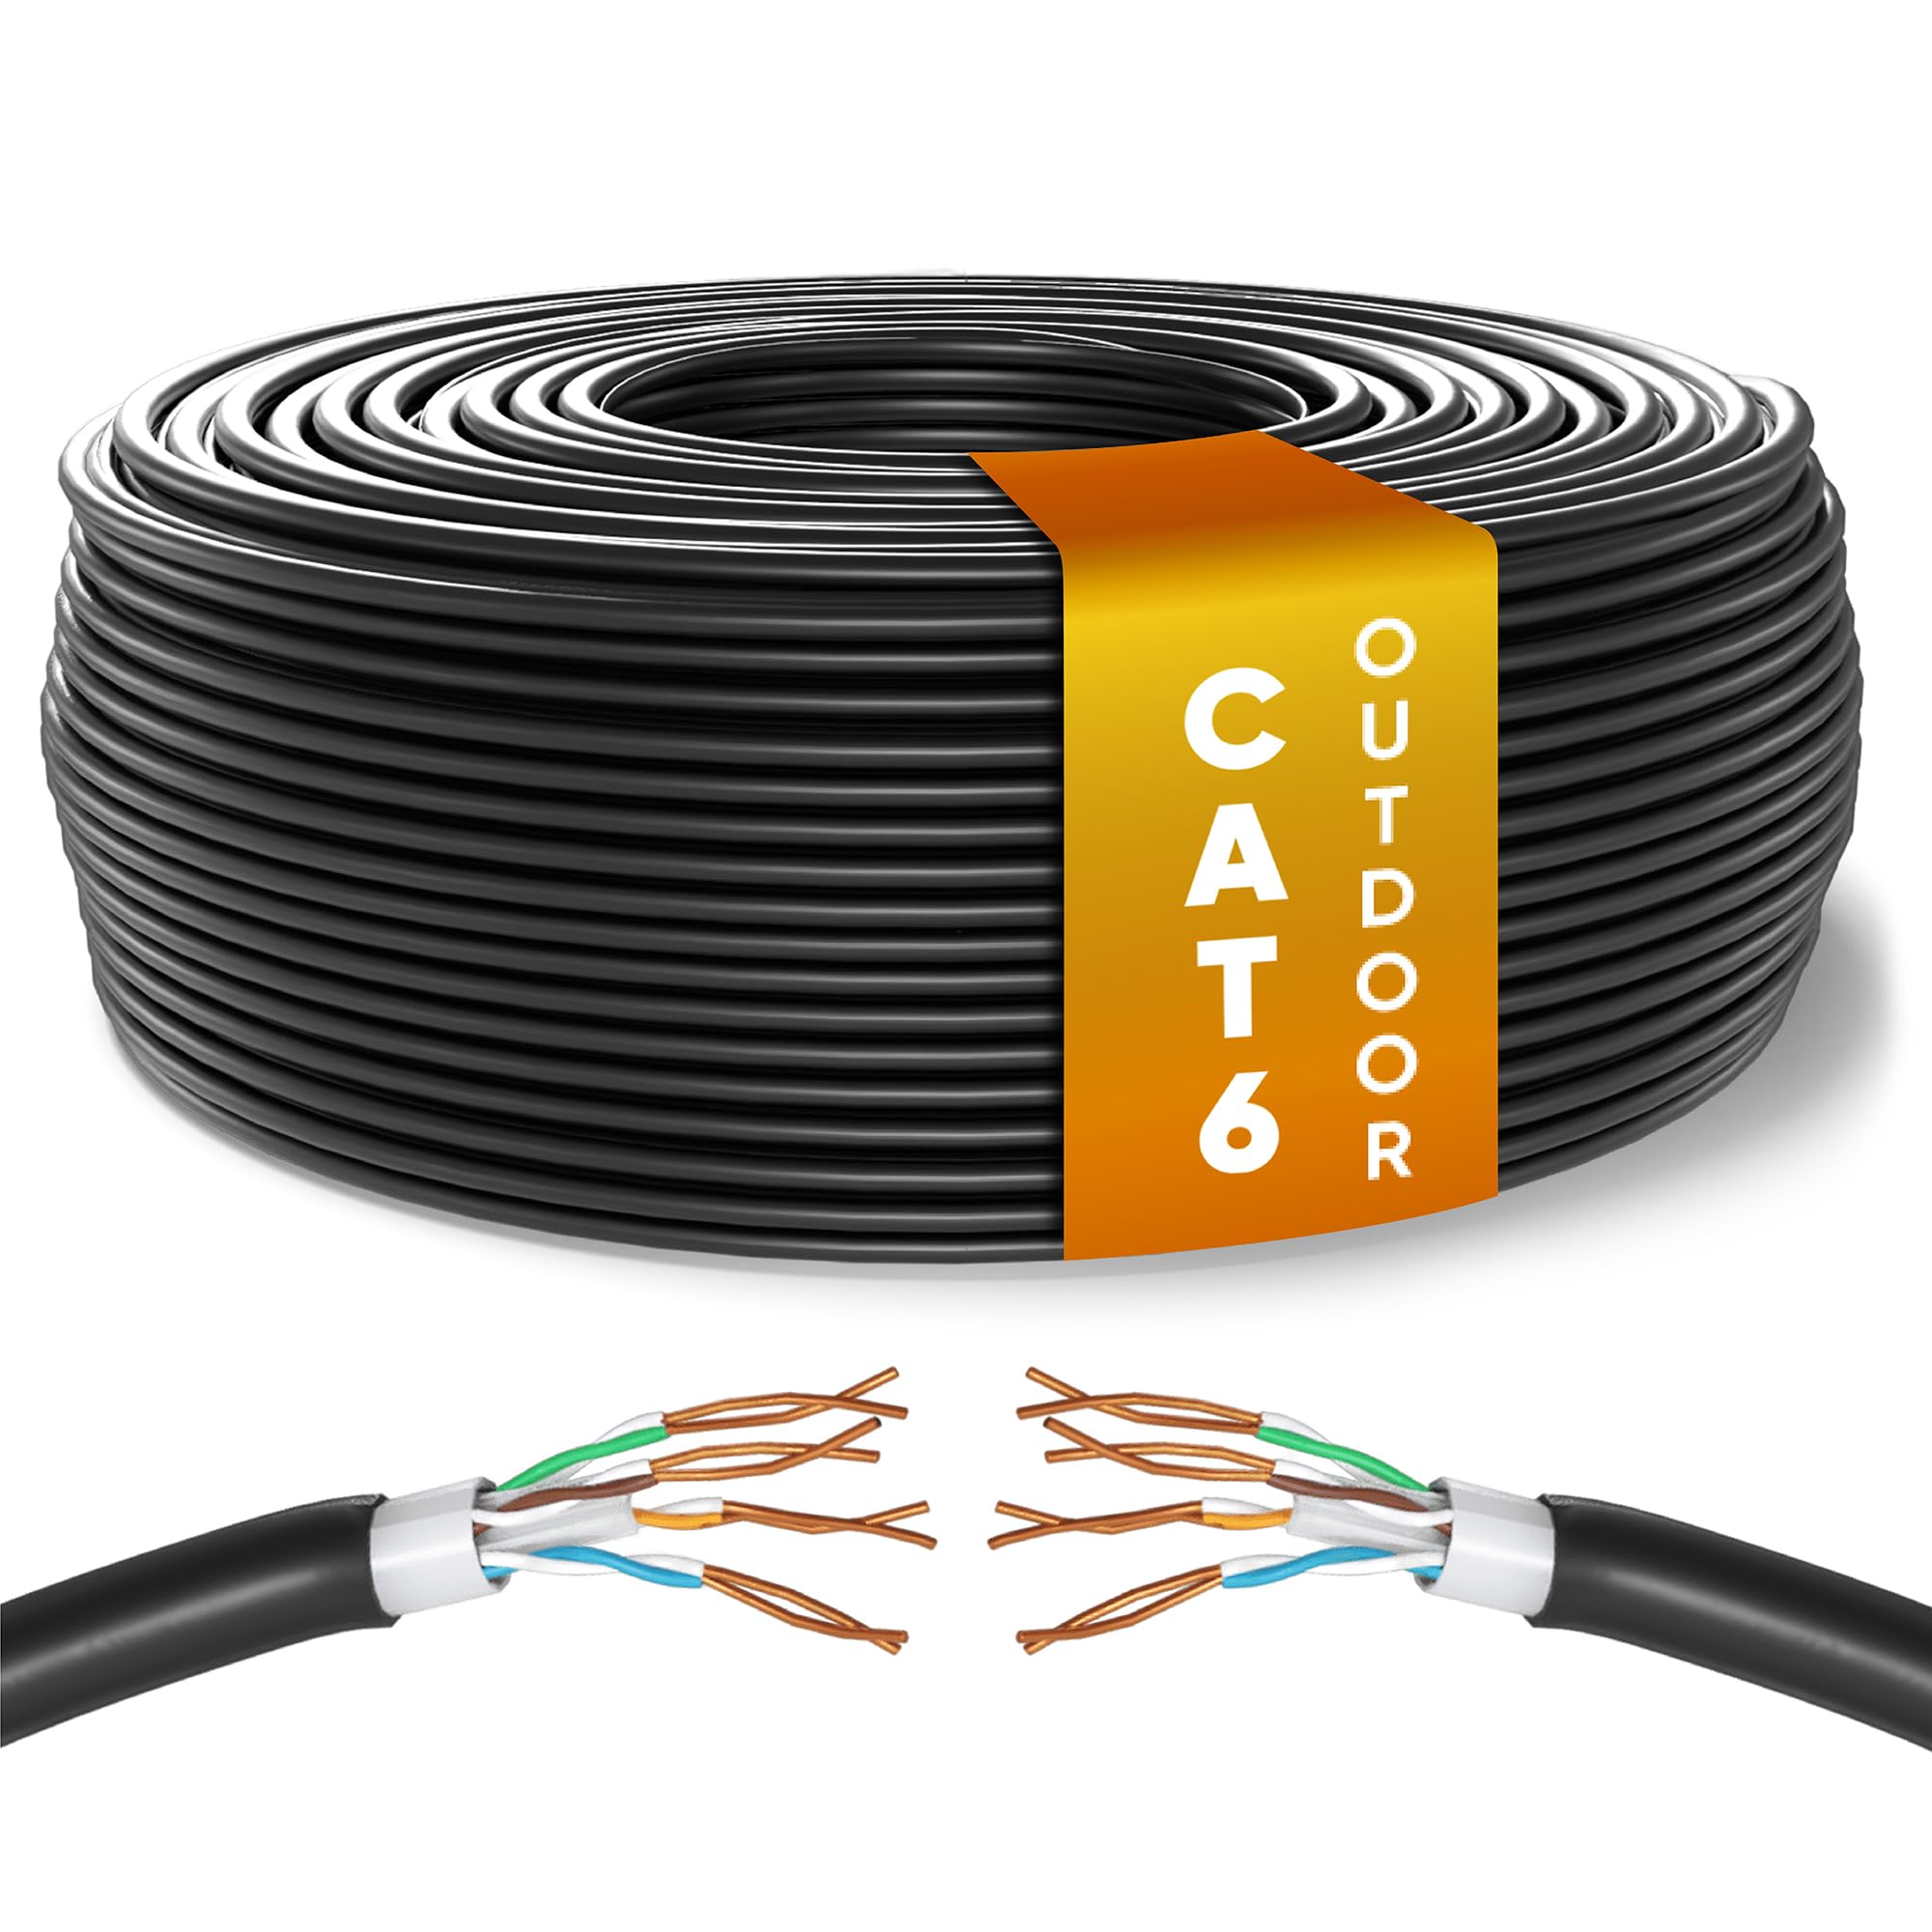
Category of Ethernet cable: The most common categories of Ethernet cables are Cat5e, Cat6, and Cat6a. Cat5e is the minimum requirement for most residential and small office setups, offering speeds up to 1 Gigabit per second (Gbps). Cat6 cables support higher speeds, up to 10 Gbps, making them suitable for larger networks or multimedia applications. If you require even higher performance, Cat6a cables can provide speeds up to 10 Gbps and have better shielding to reduce crosstalk.
Cable length: Measure the distance between the floors and choose a cable that is long enough to span the entire route. It’s recommended to add some additional length to account for any unforeseen obstacles or cable management requirements.
Shielding: Consider whether you need a shielded or unshielded Ethernet cable. Shielded cables are designed to reduce electromagnetic interference, making them suitable for environments with high levels of electrical noise. Unshielded cables, on the other hand, are more common for typical residential or office setups where interference levels are lower.
Use quality cables: Invest in high-quality Ethernet cables from reputable manufacturers. Quality cables will ensure better signal integrity and durability, resulting in a more reliable and long-lasting network connection.
Labeling and color coding: Consider labeling and color coding the Ethernet cables for easier identification. This will make troubleshooting and maintenance tasks more efficient, especially if you have multiple cables running between floors.
By considering these factors and selecting the right type of Ethernet cable, you can ensure that your network connection between floors is fast, stable, and consistent. Once you have the appropriate cable, you can proceed to run it through walls or floors.
Running the Cable Through Walls
Running Ethernet cable through walls is a common method for creating a clean and concealed network connection between floors. Here’s a step-by-step guide to help you run the cable through walls:
- Identify the entry and exit points: Determine where you want the cable to enter and exit the walls. These points should align with your previously marked drilling points.
- Drill the holes: Use a drill with the appropriate drill bit to create the entry and exit holes. Make sure the holes are slightly larger than the cable diameter to allow for easy passage.
- Attach the cable to a fish tape: Securely fasten the Ethernet cable to a fish tape. Ensure that the cable is tightly attached and won’t come loose during the installation process.
- Feed the fish tape through the walls: Insert the fish tape with the attached cable into the entry hole and carefully guide it through the walls until it reaches the exit hole. Use gentle and steady motions to avoid damaging the cable or the walls.
- Retrieve the cable: Once the fish tape reaches the exit hole, gently pull it out from the other side, bringing the Ethernet cable along with it. Take care not to strain or kink the cable.
- Secure the cable: Use cable clips or other appropriate fastening methods to secure the cable along the walls and keep it neatly in place. Make sure to avoid any sharp objects or potential sources of damage.
- Install wall plates or junction boxes: Place wall plates or junction boxes at both the entry and exit points to neatly terminate the cable. Follow the manufacturer’s instructions to securely fasten the plates to the walls.
Running Ethernet cable through walls requires patience and precision. Take your time to ensure that the cable is properly routed and secured to avoid any issues with the network connection. Once you have successfully run the cable through the walls, you can proceed to connect it to the necessary ports.
Running the Cable Through Floors
Running Ethernet cable through floors is an effective way to establish a network connection between different levels of a building. Here’s a step-by-step guide to help you run the cable through floors:
- Identify the entry and exit points: Determine where you want the cable to enter and exit the floors. These points should align with your previously marked drilling points.
- Prepare the floor: If necessary, remove any carpeting or flooring materials to access the subfloor. This may involve carefully prying up floorboards or cutting through carpet to create an opening.
- Drill the holes: Use a drill with the appropriate drill bit to create the entry and exit holes in the subfloor. Ensure that the holes are slightly larger than the cable diameter to allow for easy passage.
- Feed the cable through the floor: Insert the Ethernet cable through the entry hole in the subfloor and carefully guide it through to the exit hole on the floor below. Use caution to prevent any damage to the cable or the surrounding area.
- Retrieval on the lower floor: Once the cable reaches the exit hole, retrieve it from the lower floor by gently pulling it through. Be mindful of any obstacles or obstructions that may interfere with the cable’s path.
- Secure the cable: Use cable clips or other appropriate fastening methods to secure the cable along the floor joists or other structural elements. Ensure that the cable is properly supported and protected from potential damage.
- Install floor plates or junction boxes: Place floor plates or junction boxes at both the entry and exit points to neatly terminate the cable. Follow the manufacturer’s instructions to securely install the plates or boxes.
Running Ethernet cable through floors requires careful planning and execution. Take the necessary precautions to avoid damaging the cable or the structural integrity of the building. Once the cable is successfully run through the floors, you can proceed to connect it to the necessary ports or devices.
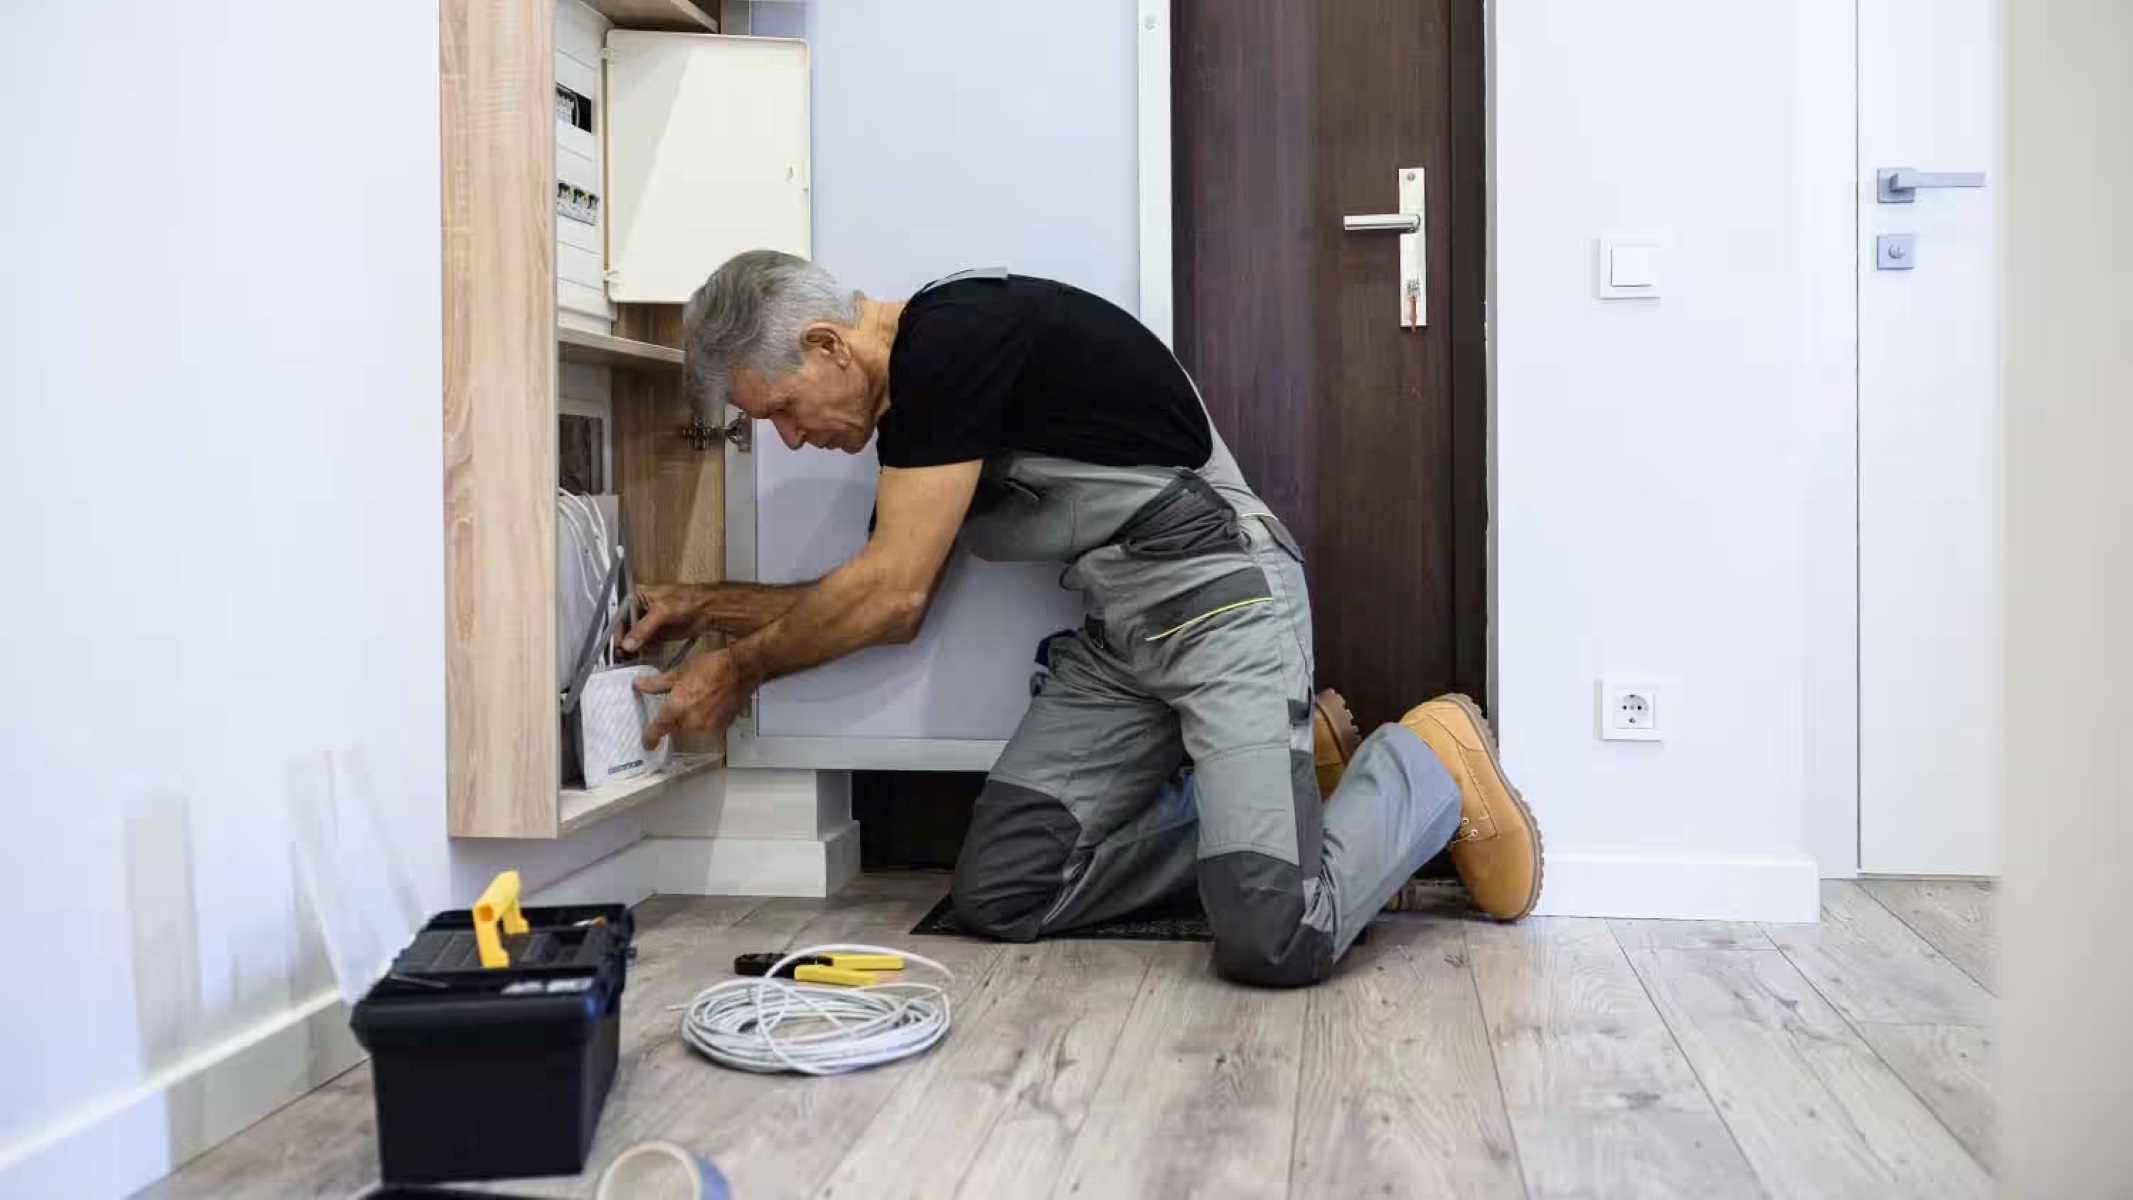
Connecting the Cable to the Necessary Ports
Once you have successfully run the Ethernet cable between floors, the next step is to connect it to the necessary ports or devices. Here’s a step-by-step guide to help you make the connections:
- Identify the endpoints: Determine the locations where you want to connect the Ethernet cable. These could be wall outlets, patch panels, or directly into networking equipment such as switches or routers.
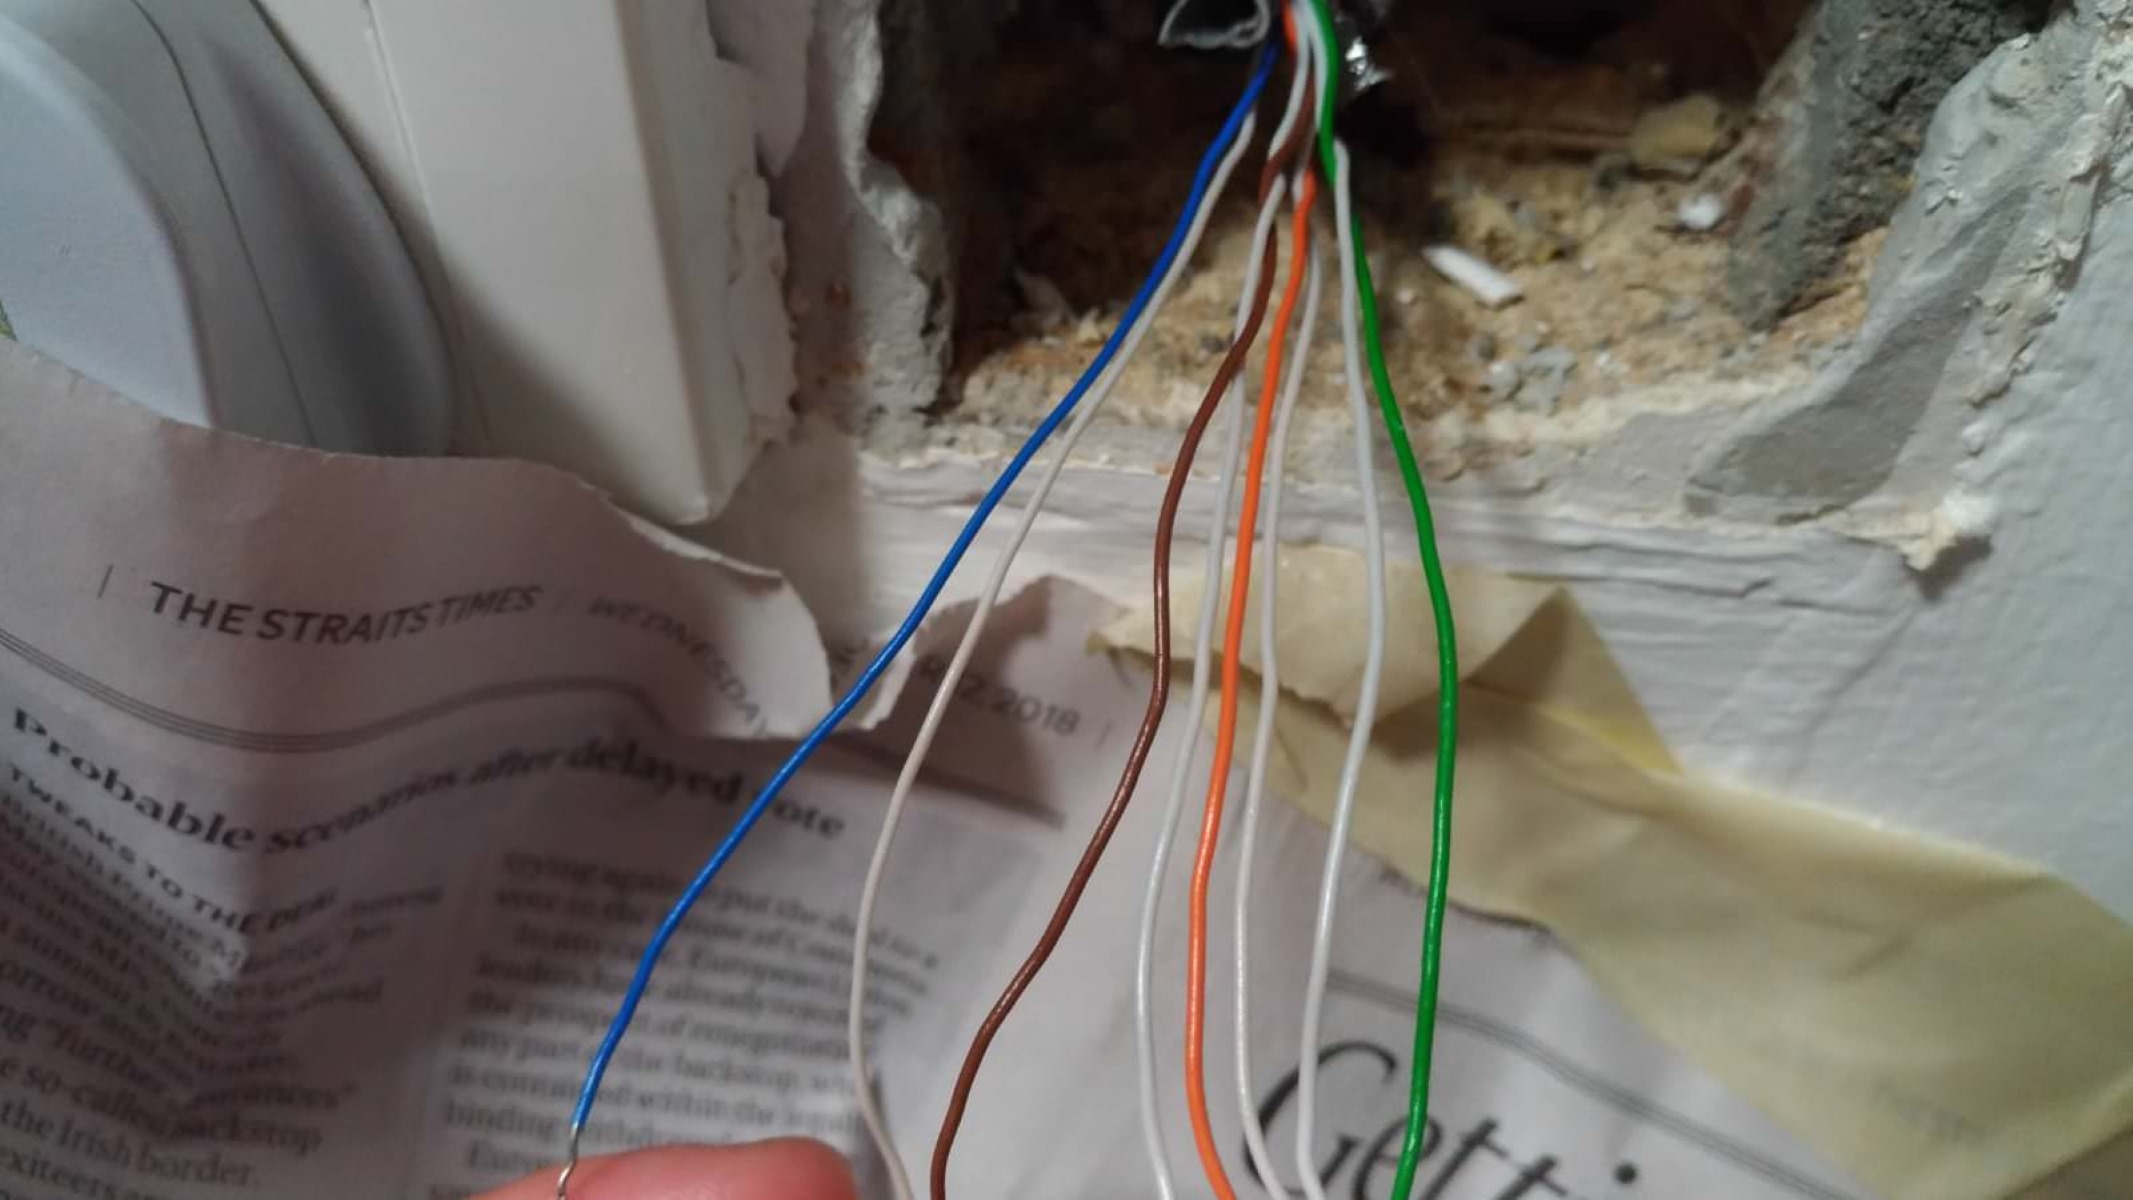
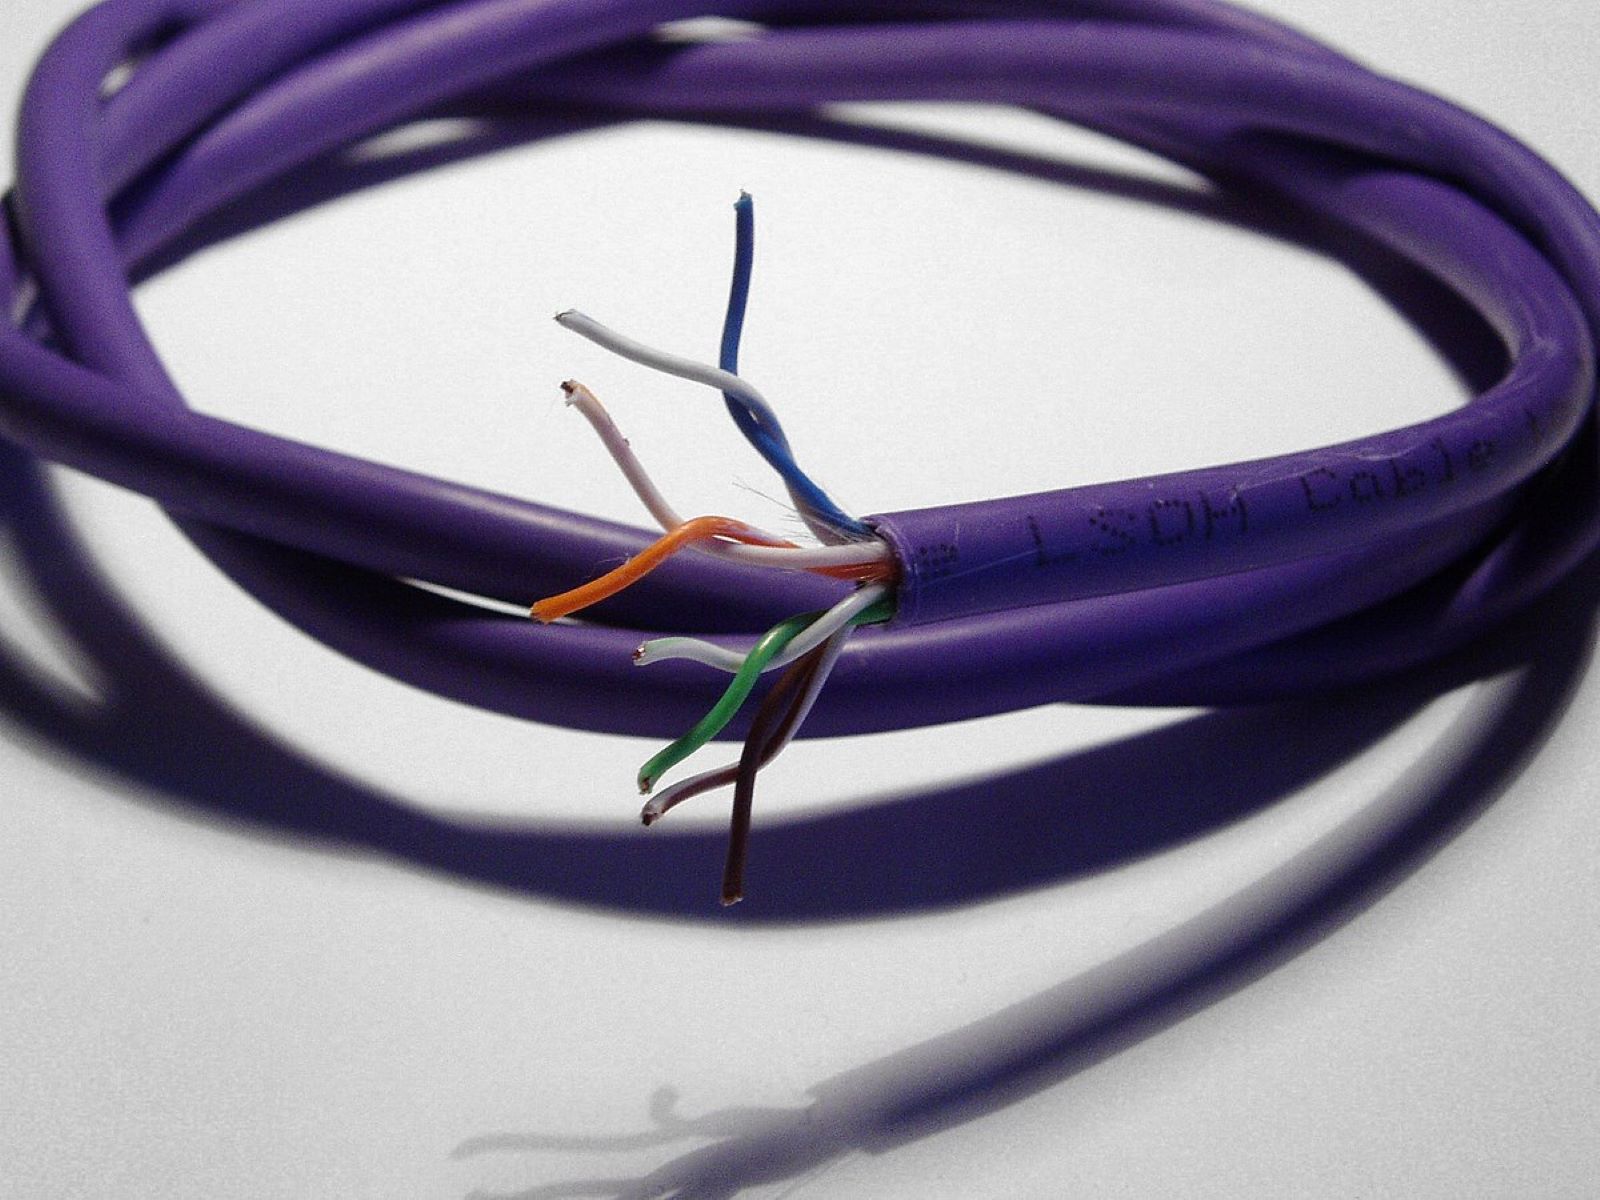
- Prepare the cable ends: Trim off any excess cable length, leaving enough to comfortably work with. Use a cable stripper or sharp knife to carefully remove the outer jacket, exposing the individual twisted pairs of wires.
- Strip and untwist the wire pairs: Strip a small portion of the insulation from each of the individual wire pairs. Untwist the pairs and straighten the wires to ensure they can be properly inserted into the ports.
- Punch down or crimp the connectors: Depending on the type of connection point, you may need to punch down the wires onto a patch panel or crimp them onto RJ-45 connectors. Follow the specific instructions for your equipment to make secure and proper connections.
- Test the connections: Once all the connections are made, it’s essential to test the Ethernet cable for proper continuity and signal strength. Use a cable tester to verify that all the wires are correctly connected and that there are no faults or shorts.
- Label and document the connections: To facilitate future troubleshooting and maintenance, label the cable ends and document the connections. This will make it easier to identify and trace the cables in case any issues arise.
By carefully connecting the Ethernet cable to the necessary ports, you can establish reliable network connectivity between different floors of your building. Take your time to ensure proper termination and testing to avoid any potential issues with the connection.
Testing the Connection
After you have connected the Ethernet cable to the necessary ports, it’s crucial to test the connection to ensure proper functionality and performance. Here’s a step-by-step guide to help you test the Ethernet connection between floors:
- Verify physical connections: Double-check that all the cable connections are secure and properly seated in the ports. Ensure that there are no loose or disconnected cables.
- Use a cable tester: Connect a cable tester to one end of the Ethernet cable and follow the manufacturer’s instructions to initiate the testing process. The tester will verify the continuity of each wire and check for any potential faults or shorts.
- Check link status: Once the cable tester confirms that all the wires are properly connected, verify the link status on the networking equipment or devices. Check for the presence of link lights or connection indicators that indicate a successful connection.
- Test data transfer: To ensure that the Ethernet cable is capable of transmitting data without errors, perform a data transfer test. Copy large files or stream high-definition videos across the network to evaluate the speed and stability of the connection.
- Measure network performance: If required, use network performance testing tools to measure the speed, latency, and overall performance of the network connection between floors. Compare the results with the expected standards for your network setup.
- Monitor for consistency: After testing, monitor the network connection between floors for a period of time to ensure consistency and stability. Keep an eye out for any dropouts, slowdowns, or other issues that may indicate a problem with the connection.
By thoroughly testing the Ethernet connection between floors, you can ensure that it is functioning properly and delivering the expected performance. Address any issues or inconsistencies that arise during testing promptly to maintain a reliable network connection.
Conclusion
Running Ethernet cable between floors can seem like a challenging task, but with proper planning and execution, it can be accomplished successfully. By following the steps outlined in this guide, you can establish a reliable network connection that connects different levels of your building.
We started by introducing the importance of running Ethernet cable between floors and understanding the tools and materials needed for the installation process. We then discussed how to determine the best route for the cable, whether it’s through walls or floors, and how to prepare the walls and floors for installation.
Selecting the right type of Ethernet cable is crucial for optimal performance, and we provided guidance on choosing the appropriate category and considering factors like shielding and cable length. We also covered the steps for running the cable through walls and floors, ensuring that it is properly secured and protected along the way.
Next, we discussed the essential process of connecting the cable to the necessary ports, whether it’s through punching down or crimping connectors. Testing the connection is a critical step to verify its functionality, and we provided steps for checking physical connections, using a cable tester, and testing data transfer and network performance.
By successfully completing these steps, you can confidently establish a reliable Ethernet connection between floors, enabling seamless communication and data transfer across your building.
Remember to adhere to safety guidelines, follow local regulations, and obtain any necessary permits or approvals for the installation process. Additionally, if you encounter any difficulties or feel unsure about specific steps, it may be helpful to consult with a professional network installer or IT technician.
With the knowledge gained from this guide, you are equipped to tackle the task of running Ethernet cable between floors. Enjoy the benefits of a robust and interconnected network within your building!